Unleash Your Patronus Part 4
Hello everyone, welcome to Part 4 of our Walkthrough for Unleash Your Patronus Adventure of Harry Potter Hogwarts Mystery. In the previous part, you did a lot of studying and practicing in order to learn the Patronus Charm.
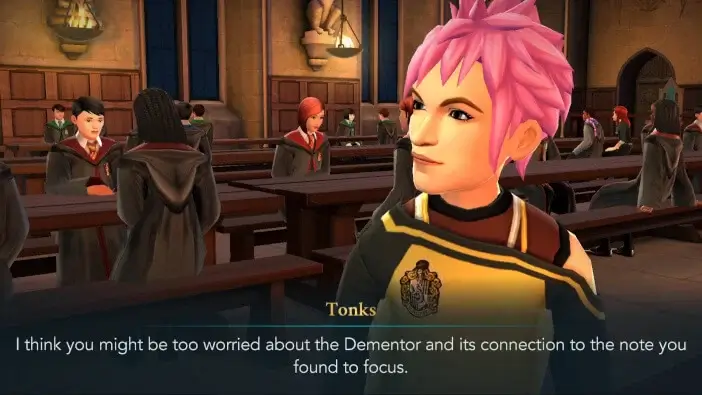
You also came up with a happy memory that should be powerful enough to conjure a Patronus. However, something is still missing. According to Tonks, you need to confront your fears before you’re ready to cast this difficult spell. Head to the Great Hall to meet her and Merula.
Summary
Part 4 Summary:
- Task 1: Confront Your Fears
- Location: The Great Hall
- Requirements: 3 hours – 5/5 stars
- Choice (if you lied to Merula earlier): Tell Merula why you lied to her
- To save time explaining: +5 Courage
- You didn’t need to know: +5 Knowledge
- I don’t trust you (18 Empathy): +10 Empathy
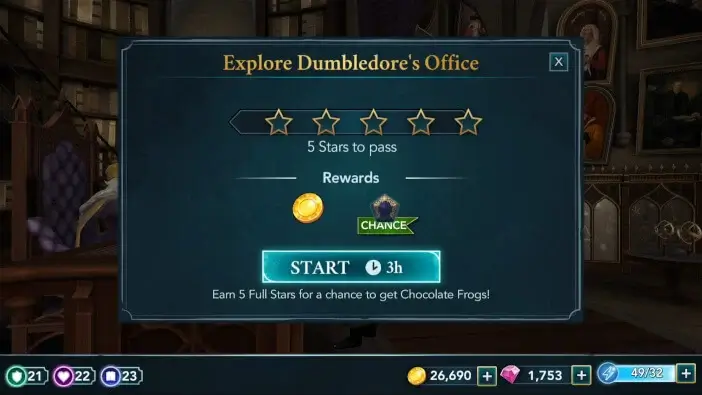
- Task 2: Meet with Dumbledore
- Location: Dumbledore’s Office
- Requirements: 3 hours – 5/5 stars
- Task 3: Talk to Merula
- Waiting Time: 4 hours
- Location: Potions Classroom
- Requirements: 3 hours – 5/5 stars
- Choice: Tell Merula what you think about her plan
- That could work (18 Knowledge): +10 Knowledge
- That’s stupid: +5 Empathy
- Task 4: Face the Dementor
- Location: Training Grounds
- Requirements: 8 hours – 5/5 stars
- Choice: Decide if you will let Merula cast the Patronus Charm
- Have Merula cast the Patronus Charm: +5 Empathy
- Cast the Patronus Charm yourself: +5 Courage
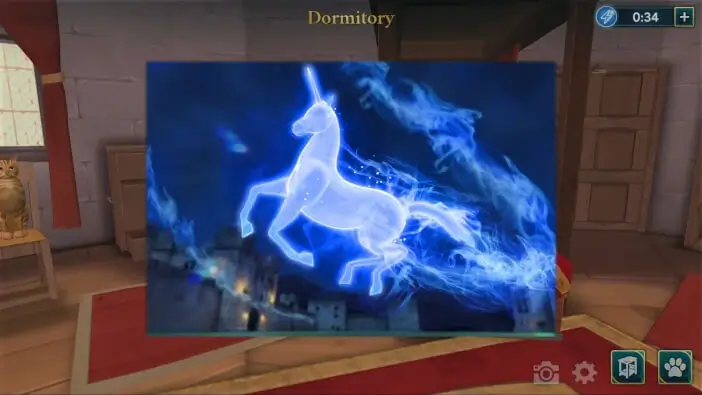
- Part 4 Rewards: 2000 Experience Points, 250 Coins, 3 Chocolate Frogs, and a Patronus picture will be placed in your Dormitory.
Walkthrough
Video guides are available at our YouTube channel. Use the button below.
[Disclaimer: This walkthrough will feature the gameplay from the perspective of a Year 4 student. Since the adventure is available for students of Year 4 and above, the star and attribute requirements for certain tasks might be different for you, depending on your current progress of the main story.]
When you arrive, you will be able to check out what some of your classmates have to say by tapping on their speech bubbles.
Tonks will explain why she thinks you’re still unable to conjure a Patronus.
If you decided to lie to Merula in the Library during the previous Part, this is when she’ll find out about ‘R”s note. She will get quite upset about it, and you’ll have three options to respond to her. None of these will have any significant impact on the story, so feel free to pick whichever one you prefer.
You’ll then get to talk to them about your fears. Doing so requires earning five stars within three hours. Since all five stars are needed to pass, avoid starting this task if you are out of energy.

Make sure to slide the screen left and right to see all the available actions. The only action with bonus progress is tied to Merula, so be sure to focus on it whenever you see it available in order to finish the task as fast as possible.

After you are done, you will feel a bit better and the choice you made back in the Three Broomsticks will be referenced here.

Shortly after that, Professor McGonagall will arrive and she’ll tell you that Professor Dumbledore wants to have a word with you.

Proceed to the Headmaster’s office for your next task.
Once you arrive, Professor Dumbledore will ask you to wait a bit until he’s done writing a letter.

Doing so requires earning five stars within three hours. All five stars are needed to pass.
There is a bonus progress action tied to your character. Prioritize it whenever it is available to save some energy.

Once you’re done, Professor Dumbledore will tell you he knows what you’ve been doing lately. He will want to know why you acted against his wishes and investigated the threat that was in the note.
You’ll explain everything to him since there’s no point in keeping it a secret anymore.

Once again, the choice you made in the Three Broomsticks will be referenced here, and it will have an impact on some of the following dialogue lines.

The Headmaster will tell you he doesn’t intend to punish you, and he’ll explain why he didn’t want you to get involved. He’ll say that he wanted to protect you. However, things didn’t play out the way he intended.
He’ll also give you an honest piece of advice.


He will also suggest you talk to Merula.
However, before you can continue, there is a waiting period of four hours. You should check the remaining time on your adventure now. If it is anything less than 12 hours, you might want to consider spending some gems or time toffees to speed things up. Otherwise, you should be fine with waiting.
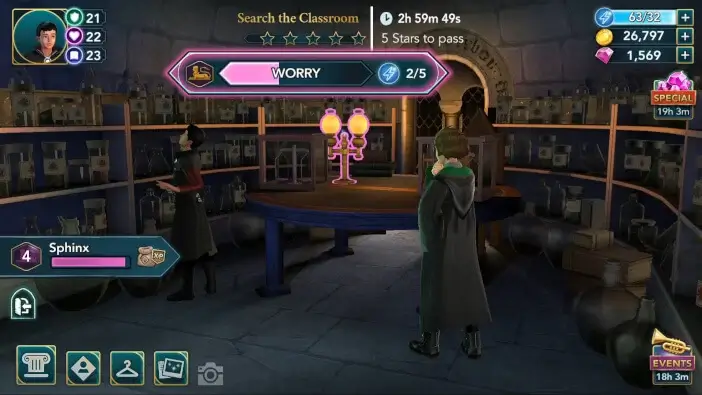
Either way, once you are able to continue, head to the Potions Classroom to meet Merula. When you get there, you’ll find out that she is searching for the Dementor on her own.

Apparently, she is hoping that facing the Dementor will awaken her dormant Patronus. You have two options to reply with. If you like Merula, it is recommended to pick the first option.

As it turns out, she heard the rumor that a Dementor was spotted in the Potions Classroom and she decided to see if it’s true.
The two of you will then start searching the classroom. To do so, you need to acquire five stars within three hours. All five stars are needed to pass.

Focus on completing bonus progress actions whenever they’re available if you’re looking to save some energy. Bonus progress actions are tied to Merula and the object on the table.
Once you’re done, you’ll conclude that Dementor was definitely not in the Potions Classroom.
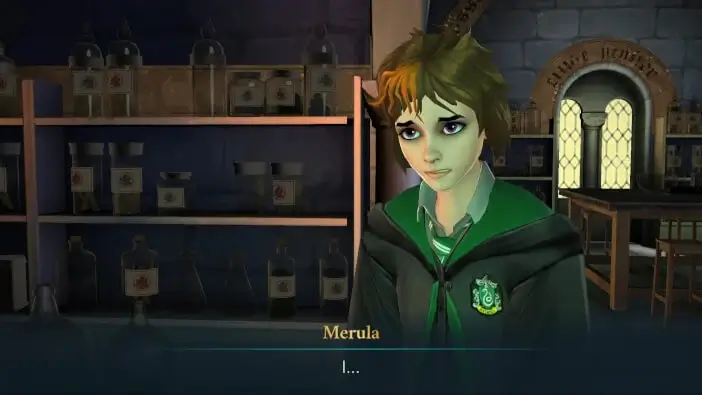
You’ll then talk to Merula about her fears.

And stubborn as she is, she’ll refuse to show any sign of weakness. However, after reasoning with her, you’ll calmly ask her again. Sadly, she won’t be willing to tell you about her fears.
She’ll almost open up when you ask her one more time.
But just as Merula was about to open up, Tonks will barge into the classroom. Apparently, she saw the Dementor again.

There’s no time to waste, proceed to the Training Grounds as soon as possible. Sadly, when you arrive, you’ll realize that the Dementor is no longer there.
Still, you’ll suggest searching the area. To do so, you need to earn five stars within eight hours. All five stars are required to pass.

There are bonus progress actions linked to your character and Merula. Prioritize them to save some energy.

Once you are done, you’ll try talking to Merula about her fears once again.
And eventually, she’ll open up to you and explain why she’s worried. She will tell you that only those that are pure of heart can cast Patronus Charm.
She’ll go on and say that she wanted to prove she’s not the same as her parents by learning the Patronus Charm. However, she won’t be sure if she really want to know the answer.

Moments later, the Dementor will come back, and Tonks will warn you about its arrival.

You’ll quickly have to decide if you want to let Merula deal with the Dementor or if you should be the one to do it.
This choice is VERY IMPORTANT. It is highly recommended to let Merula cast the Patronus Charm. This will prove she’s nothing like her parents, and it will likely be referenced in the future. If you decide not to let her cast the spell, she’ll get hurt, and you’ll quickly step in to deal with the Dementor.

If you let her cast the spell, you’ll give her a final few words of encouragement.

She’ll then ready her wand and cast the spell at the approaching Dementor.

It will work, and the Dementor will be repelled by her Patronus Charm.

Merula will be completely overjoyed by this since she got the answer she desperately needed.

However, her Patronus was an incorporeal one, so it wasn’t enough to completely banish the Dementor. Now is your turn to try.
Tonks will remind you of your happy memory just as you ready your wand.
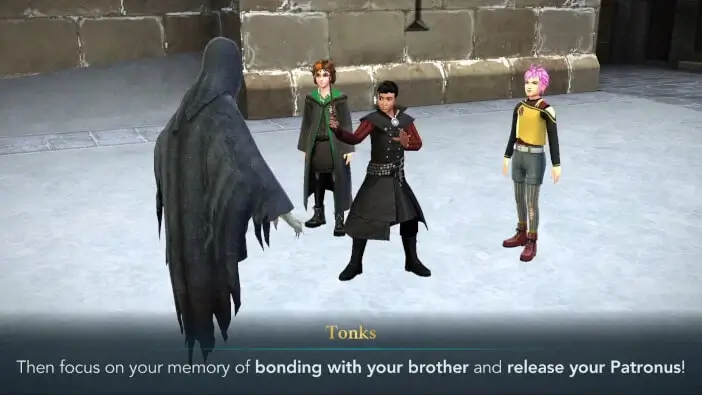
Trace the wand movement on the screen to cast the spell.

The spell will work, and your Patronus will charge at the Dementor, banishing it for good this time.

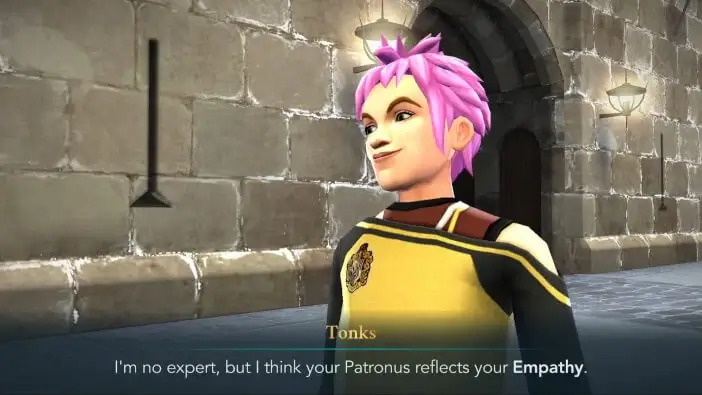
Tonks will congratulate you on defeating the Dementor. She will mention the corporeal form of your Patronus. The choices you made while talking to Tonks about the Patronus Charm will take effect here.

If you encouraged Merula to cast the Patronus Charm, she’ll thank you for it. Otherwise, she’ll thank you for saving her from the Dementor.

She’ll also give you a note she found on the ground. It will be another message from ‘R’.

Both Tonks and you will be puzzled by the message. This will leave some questions unanswered, but for now, you should rejoice.

With that, Unleash Your Patronus Adventure will come to an end. Hit the Collect button to claim your rewards. You will receive 2000 Experience Points, 250 Coins, and 3 Chocolate Frogs.
You will earn the achievement for completing the adventure.

The picture of the corporeal form of your Patronus will be placed in your Dormitory.

And so, you learned to cast one of the most difficult defensive spells. There is no doubt that it’ll come in handy during your future adventures.
Thank you for reading and see you soon with more amazing adventures for Harry Potter Hogwarts Mystery!