Year 5 Chapter 20
Harry Potter Hogwarts Mystery
Hello everyone, welcome to our Walkthrough for Chapter Twenty of Year Five of Harry Potter Hogwarts Mystery. Last time, while you were hanging out with your friends in the courtyard, Rowan got possessed by the mysterious dark wizard and attacked you. Thankfully, Ben was able to defend you and the rest of your friends before anyone got hurt.
Later on, when you visited Rowan in the Hospital Wing, you found out that your friend was likely under the influence of the Imperius Curse. Afterward, you met with Madam Rakepick in the Knockturn Alley where she demonstrated the Cruciatus Curse on one of the Knockturn Denizens. This left your character shocked, but ultimately, you didn’t want to learn one of the Unforgivable Curses.
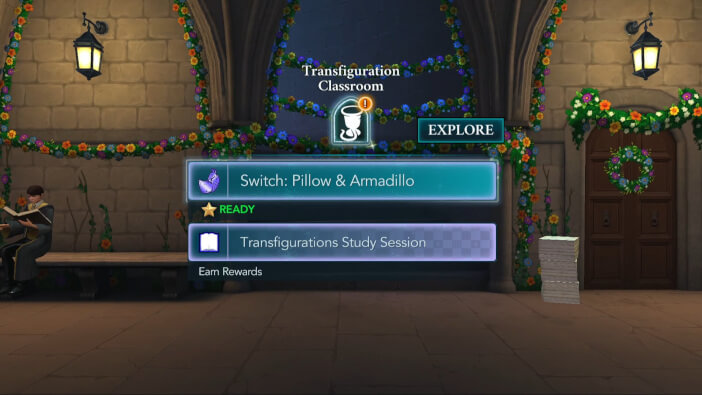
Now, you can start the chapter by doing the lessons. Head to the Transfiguration classroom when you are ready.
[Disclaimer: Walkthrough for this chapter has been updated in June 2022.]
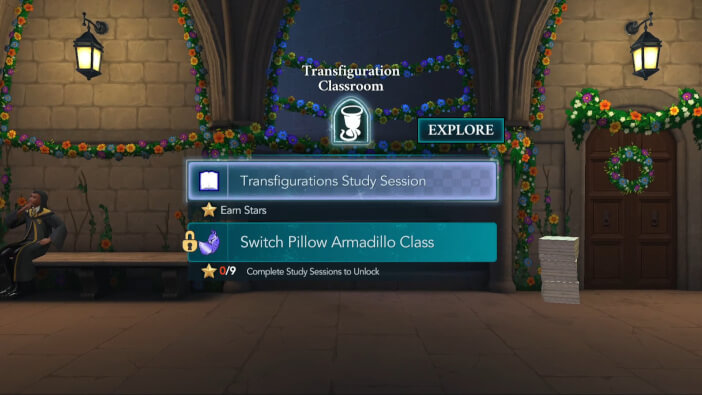
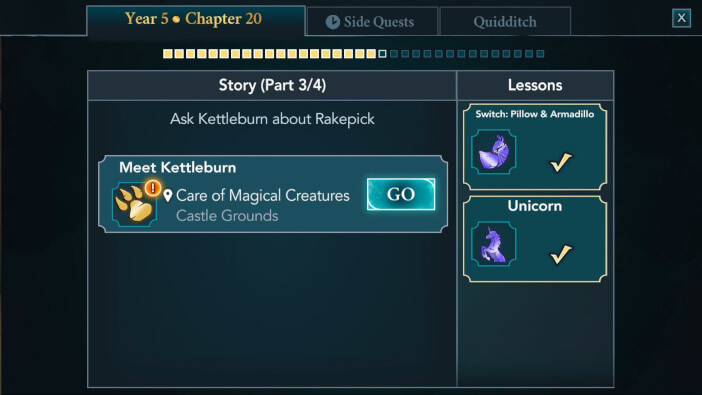
To unlock Switch: Pillow & Armadillo lesson, you need to obtain nine stars from Transfiguration classes. Choose the class duration suitable to your liking and hit the Start button to begin.
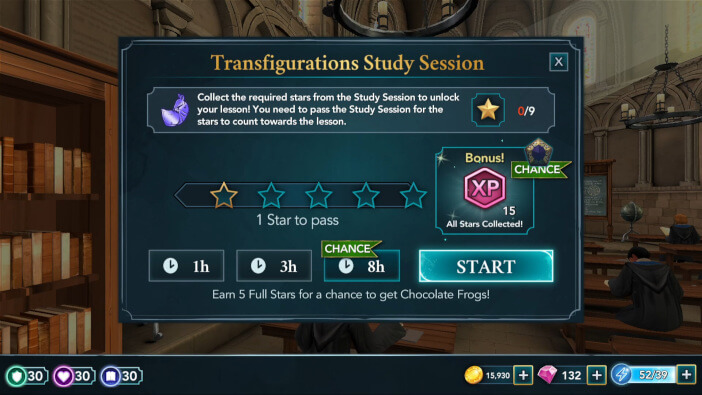
In general, these classes don’t have many 5-cost actions, so you’ll likely need a bit more energy than usual to obtain all the stars. Still, prioritize the 5-cost actions whenever they are available.
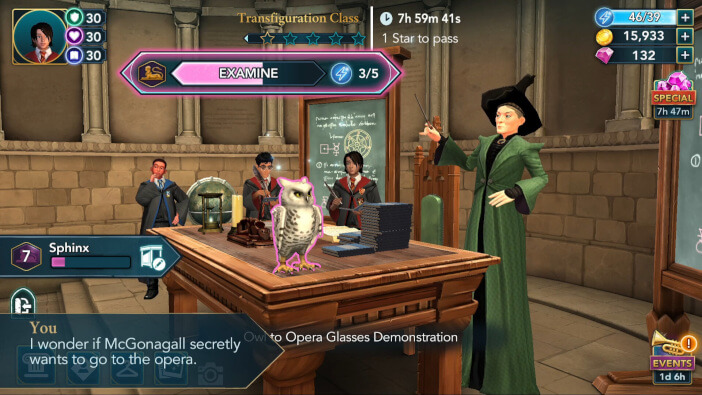
As always, try to successfully complete all the mini-tasks to gain additional Knowledge points.
Return to the classroom once you acquire all nine stars.
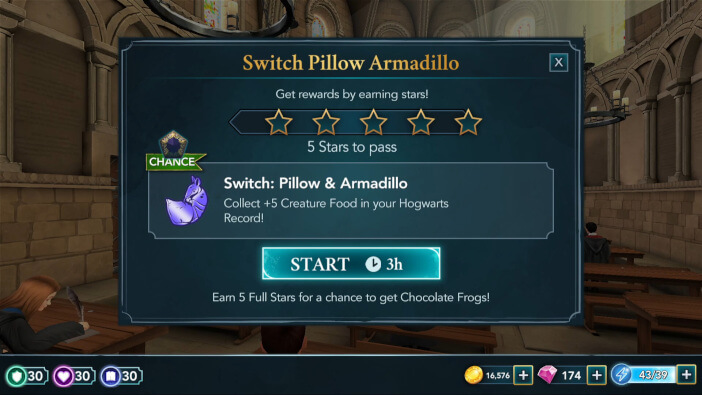
Learning Switch: Pillow & Armadillo requires earning five stars within three hours. All five stars are needed to pass, so avoid starting this lesson if you are low on energy.
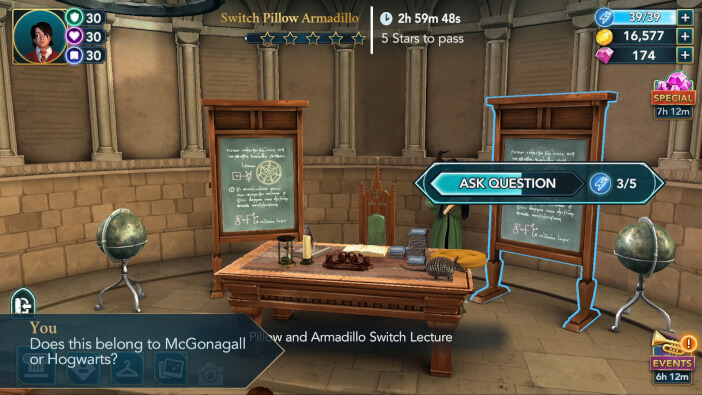
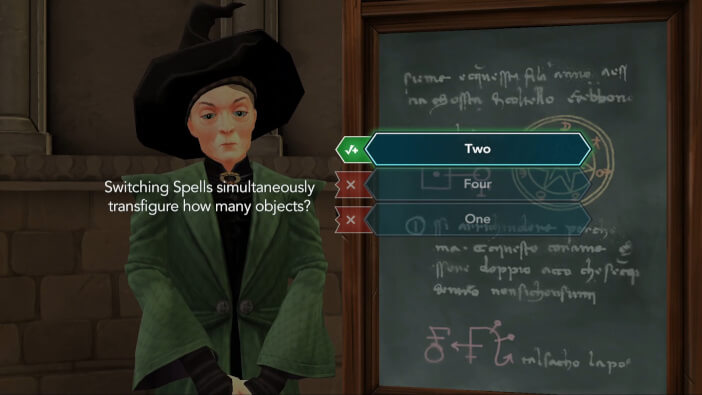
Do this lesson just like the classes you did beforehand and you’ll be done in no time.
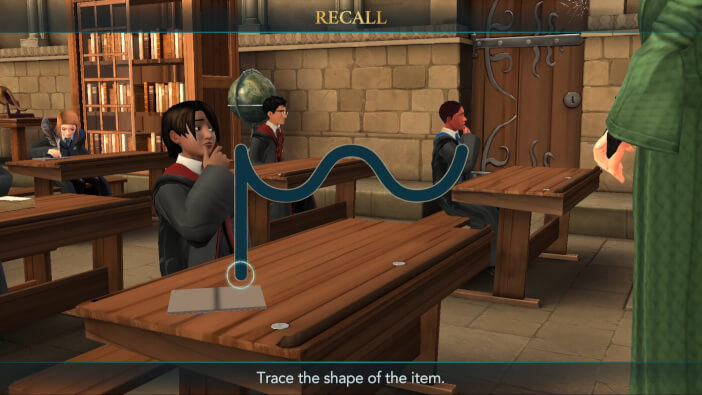
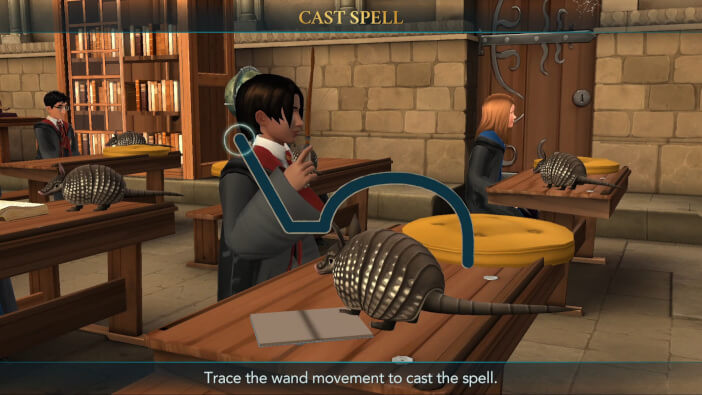
Once you earn the fifth star, you’ll need to cast the spell. Trace the wand movement on the screen to do so.
When you are done, hit the Collect button to claim your rewards.
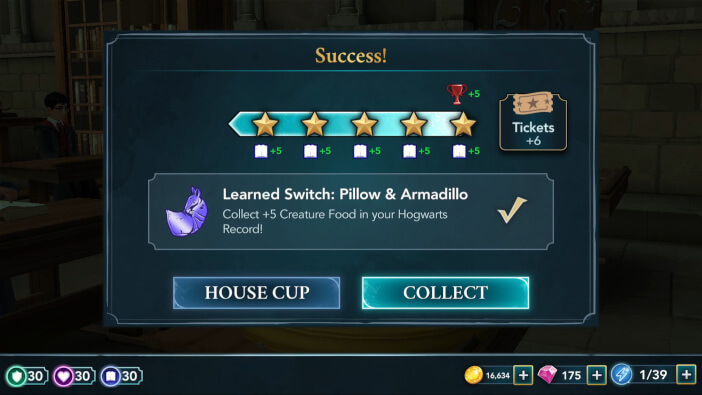
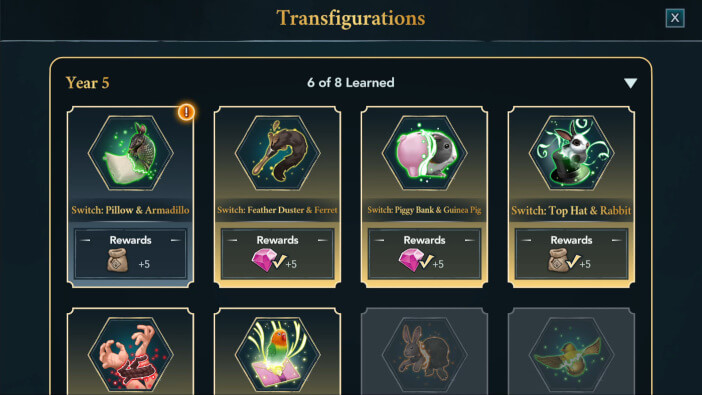
You’ll earn an additional reward for completing the lesson. You can claim it in the Transfiguration section of your Hogwarts Record.
Next, you should proceed to the Care of Magical Creatures.

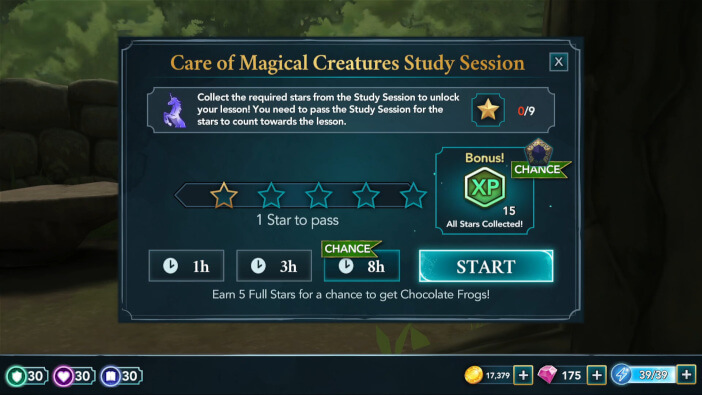
To unlock the Unicorn lesson, you need to earn a total of nine stars from the Care of Magical Creatures classes. As always, choose the class duration you prefer and hit Start to begin.
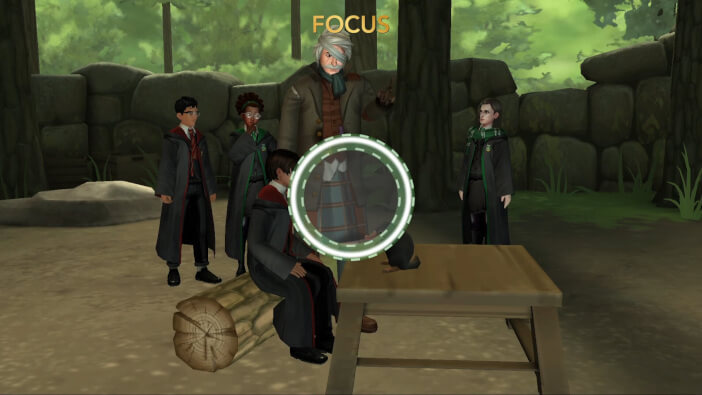
In general, 5-cost actions should be plentiful during these classes, so use that to your advantage.
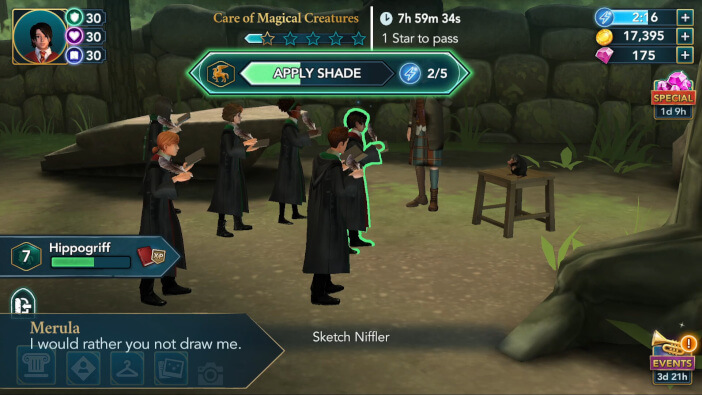
And stay focused on the mini-tasks to earn some extra Courage points.
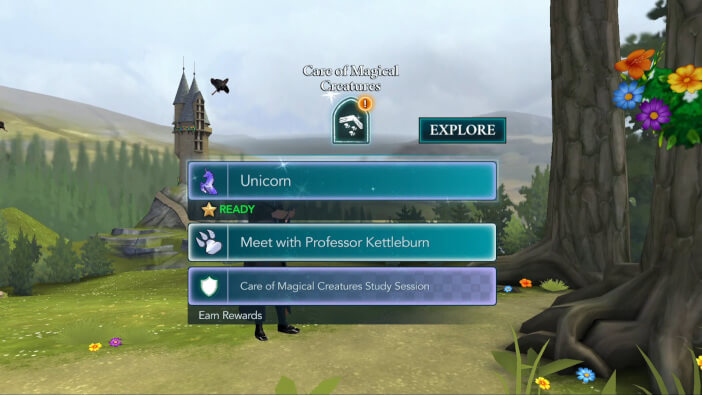
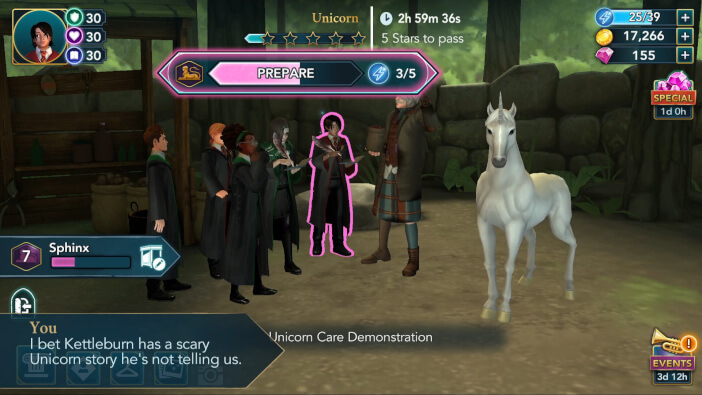
Once you acquire enough stars to unlock the lesson, head back to the Care of Magical Creatures to attend it.
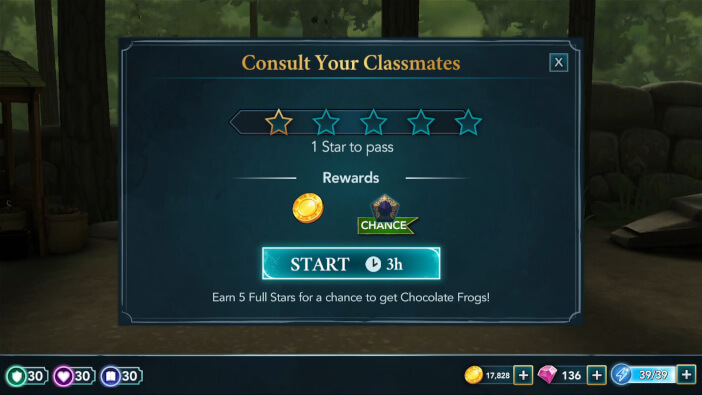
To complete the Unicorn lesson, you’ll need to earn five stars within three hours. All five stars are needed to pass, so avoid starting the lesson if your energy is low.
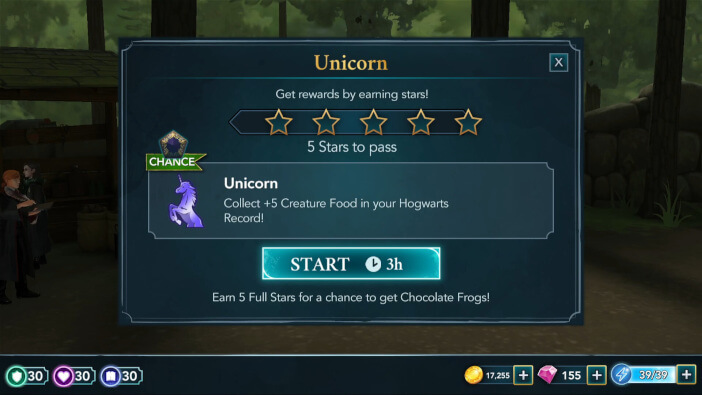
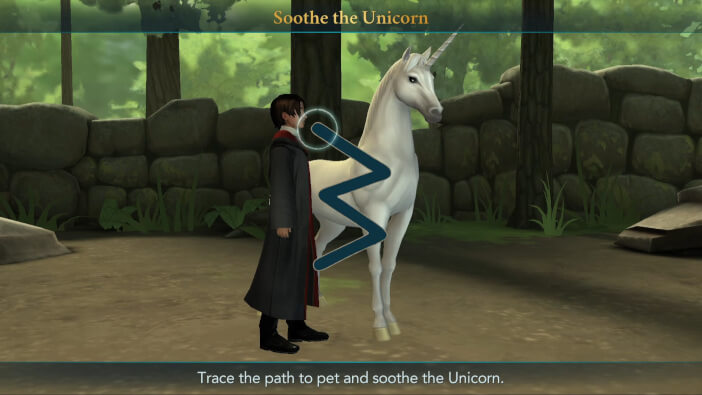
Follow the same steps you took while you were doing the classes and you shouldn’t encounter any problems.
When you are done, hit the Collect button to claim your rewards.
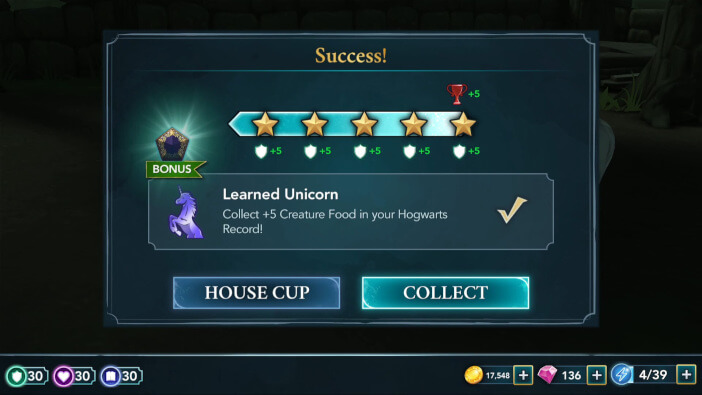
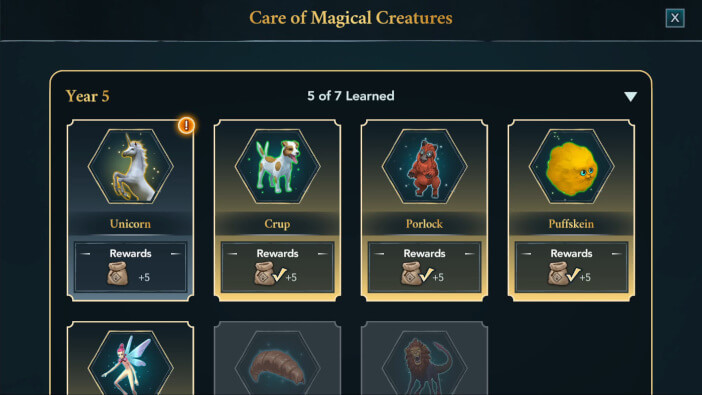
You will be able to claim an additional reward in the Care of Magical Creatures section of your Hogwarts Record.
Now that you are done with the lessons, you can proceed to the Grand Staircase to meet Penny.
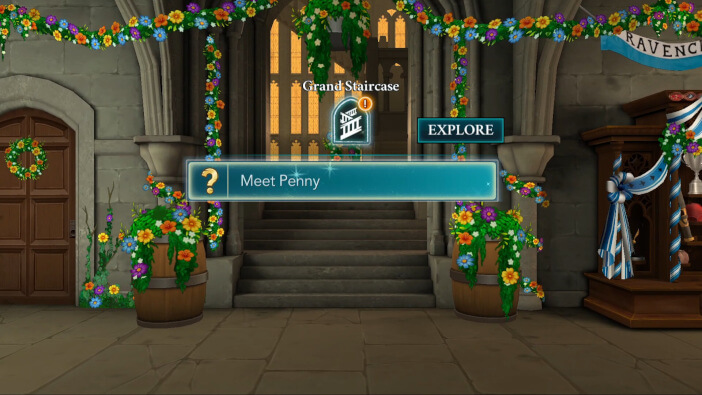
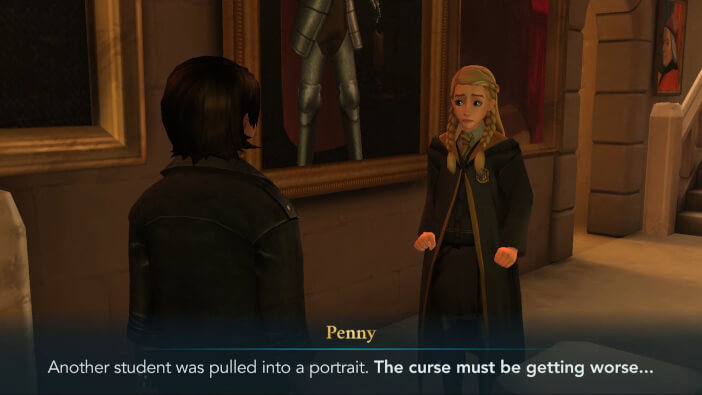
When you get there, she’ll inform you that another student got trapped inside a portrait.
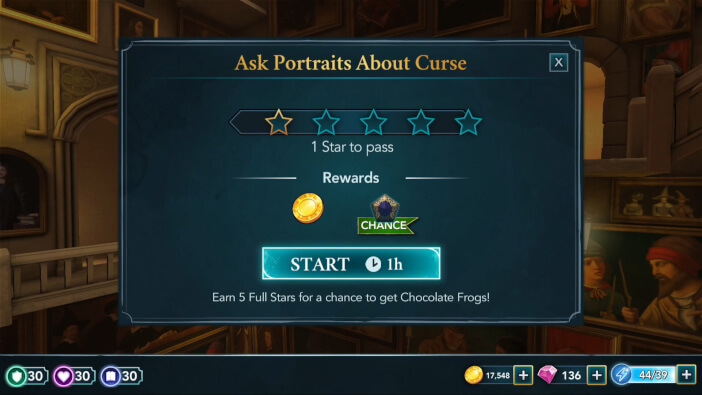
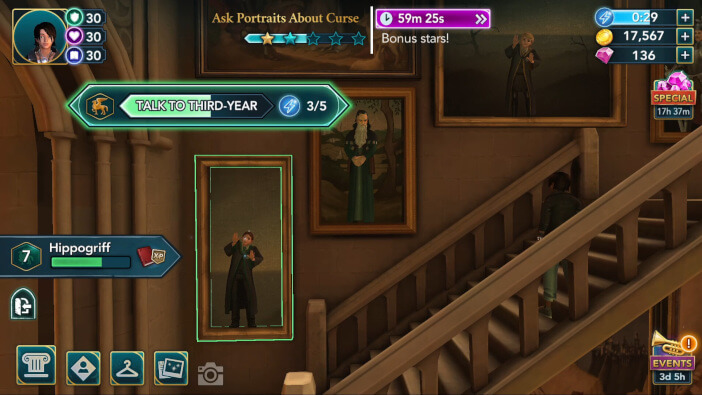
You’ll then get to see if the portraits know anything about it. This task requires earning five stars within an hour. One star is required to pass.
There are 5-cost actions tied to your character, Penny, and the student trapped in the portrait. Prioritize those to save energy.
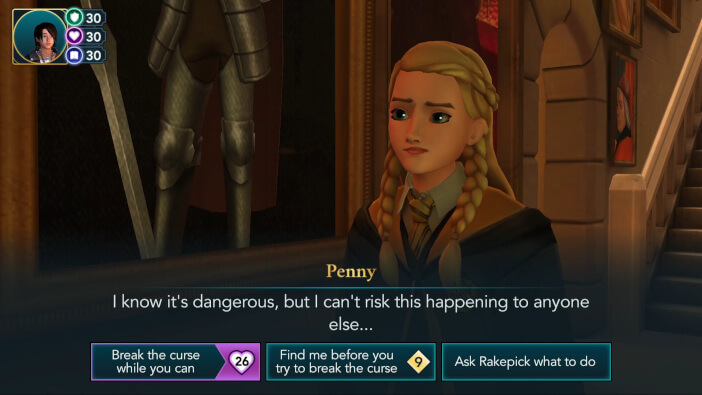
Once you are done, Penny will ask you what to do in case she finds the next Cursed Vault. You have three response options. If you like Penny, it is recommended to select the second option.
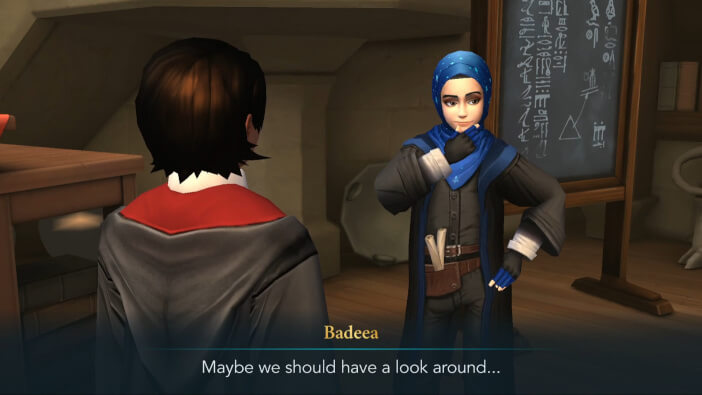
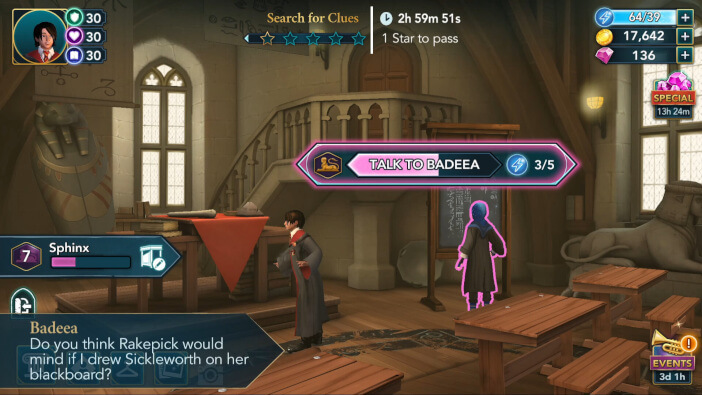
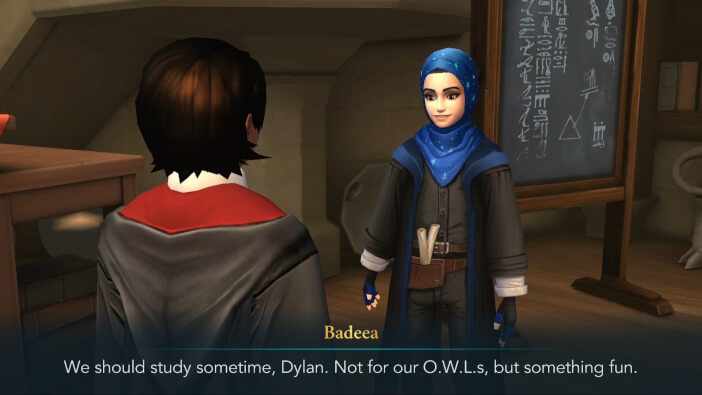
For the next task, you’ll need to meet Badeea. Proceed to the Defence Against the Dark Arts classroom when you are ready.

She’ll suggest looking around for clues.
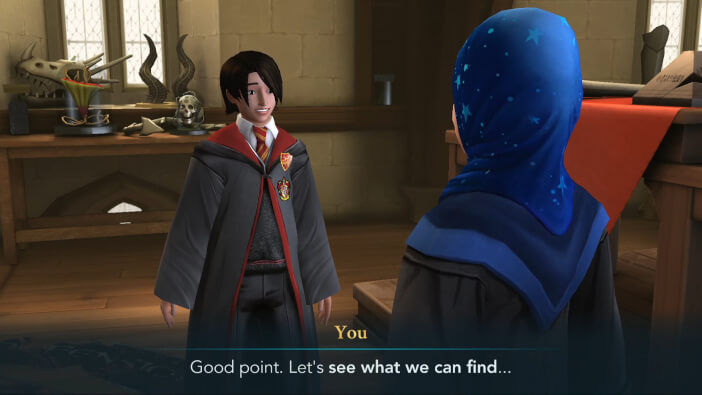
To do that, you need to earn five stars within three hours. One star is needed to pass.
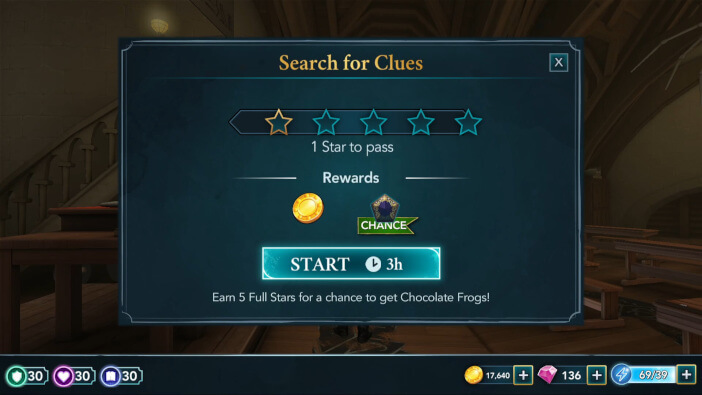
It is highly recommended to fully complete this task since there is a waiting period before the next one is available. It is also worth noting there is a 5-cost action tied to Badeea.
Sadly, the only thing you’ll find is the letter from Professor Kettleburn.
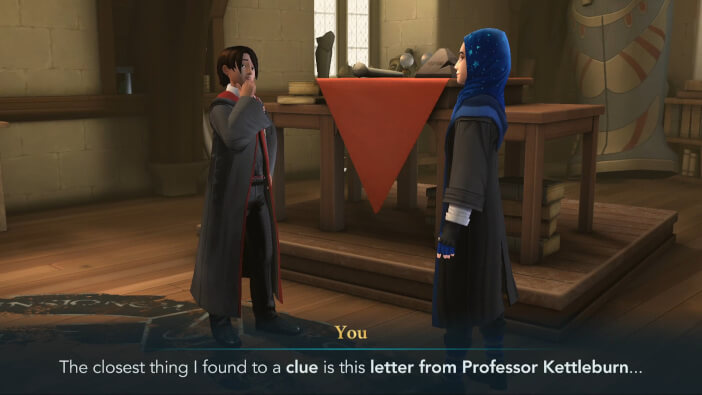
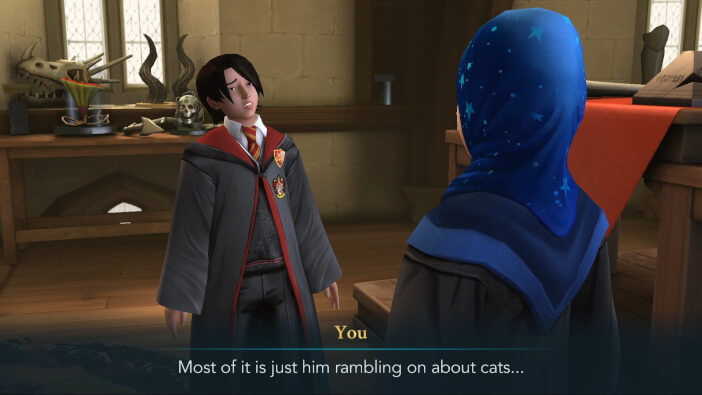
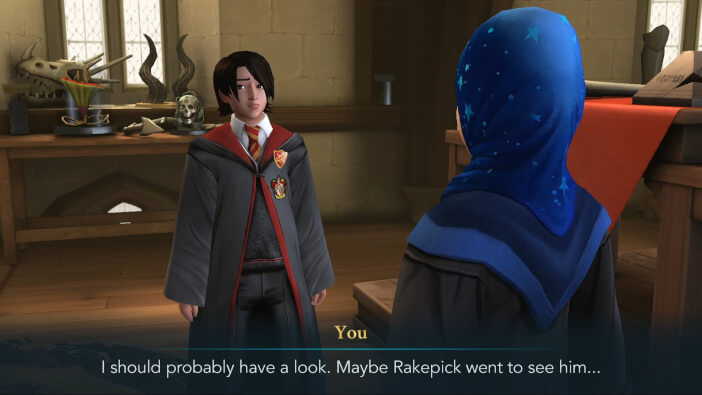
With no other leads, you’ll decide to talk to him and see if he knows anything.
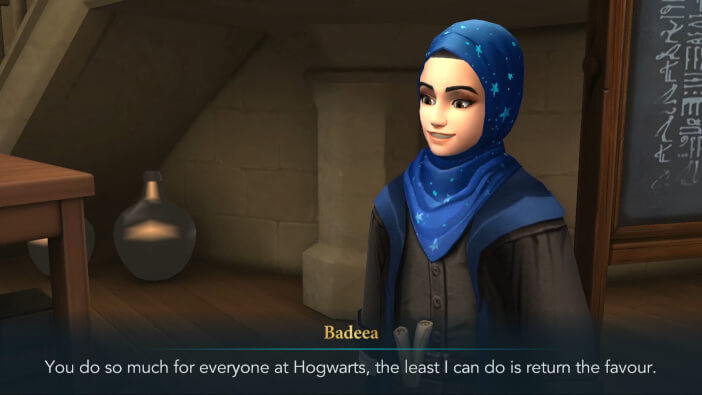
Shortly after, Badeea will offer to teach you something in the future.
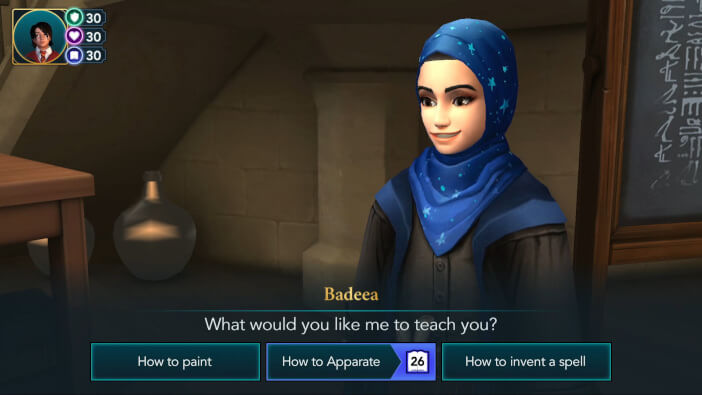
You have three options to choose from. This choice won’t significantly impact the story, so feel free to pick the option you find the most interesting.
Before you can continue, there is a waiting period of three hours.
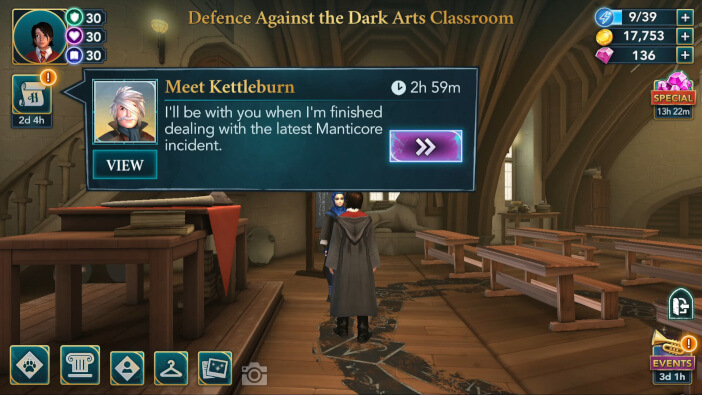
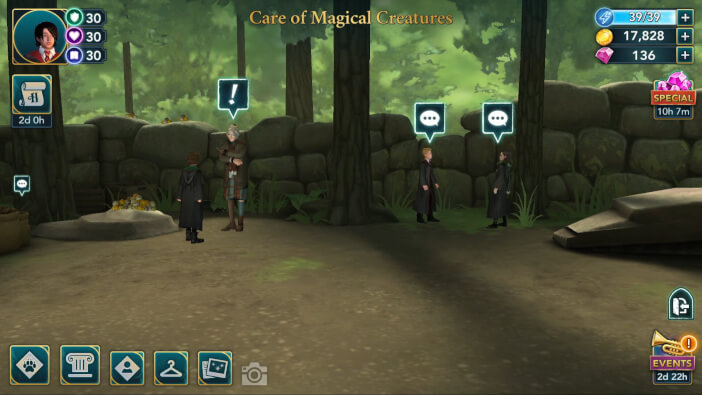
Once the waiting time is over, proceed to the Care of Magical Creatures to meet Professor Kettleburn.
Upon arriving, you’ll notice the speech bubbles above some of your classmates. Tap on those if you want to see what they have to say to you.
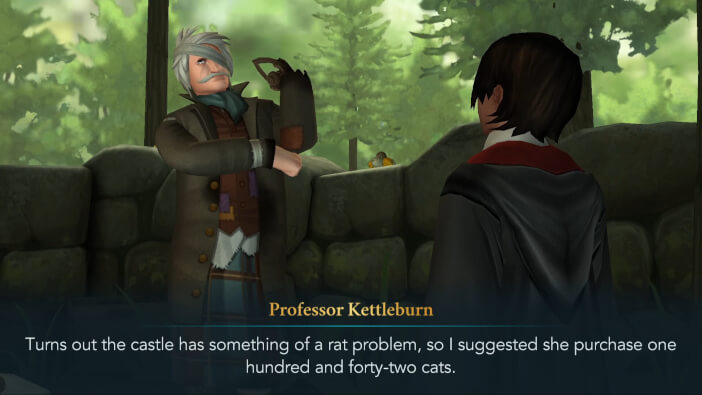
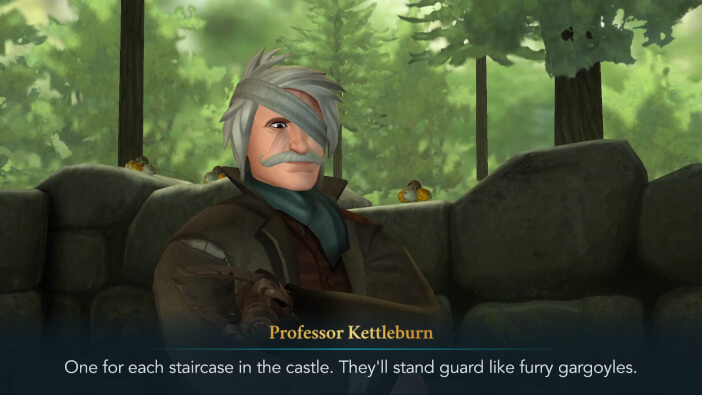
The Professor will tell you that Madam Rakepick consulted him about a rat problem and he suggested that she purchase one hundred and forty-two cats.
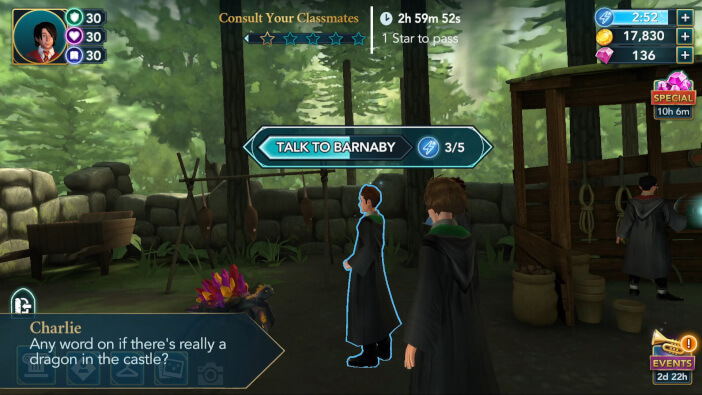
Sadly, the class is about to begin, and your conversation will have to wait until it’s over. This one requires you to obtain five stars within three hours. One star is needed to pass.
Be sure to slide the screen left and right to see all the available actions. There are 5-cost actions tied to Barnaby and Professor Kettleburn. Focus on those actions to save energy.
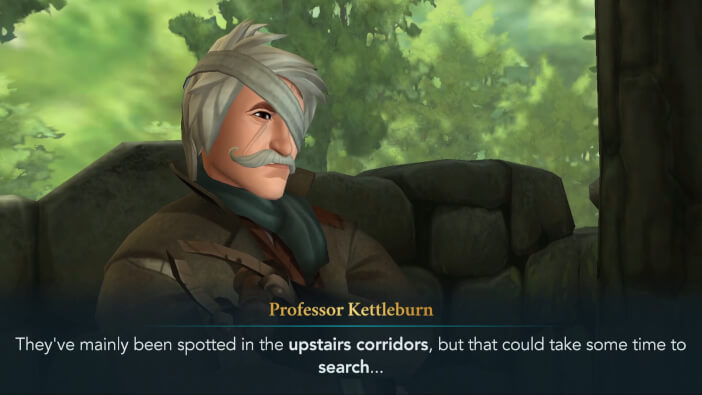
After the class, Professor Kettleburn will tell you the place the rats were spotted at.
Latest Story:
Everything Wrong with Harry Potter and the Sorcerer’s Stone movie Vol. 1
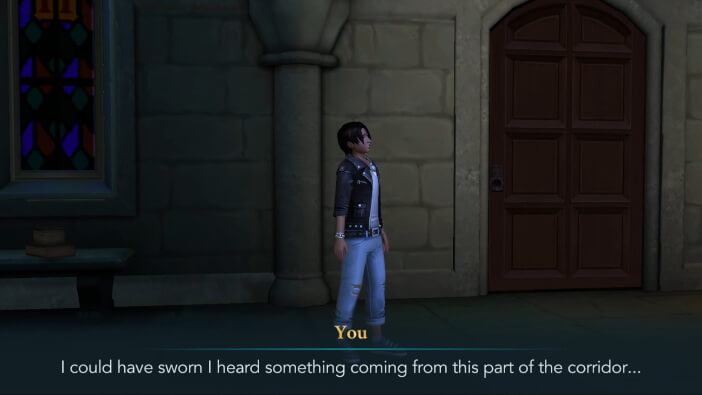
Proceed to the upstairs corridor for your next task.
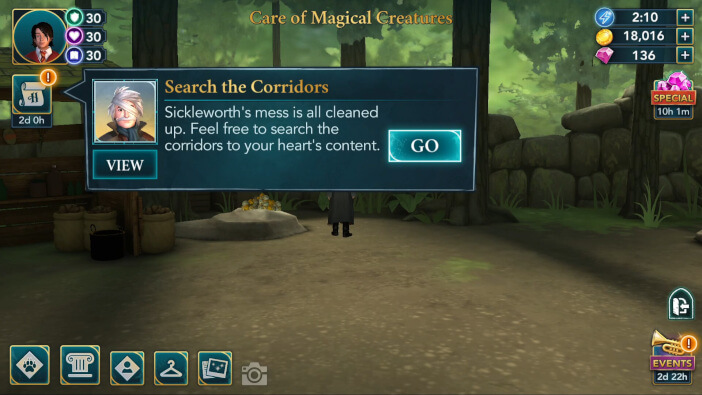
After getting there, you’ll hear some weird noise, but you won’t be able to see what’s causing it.
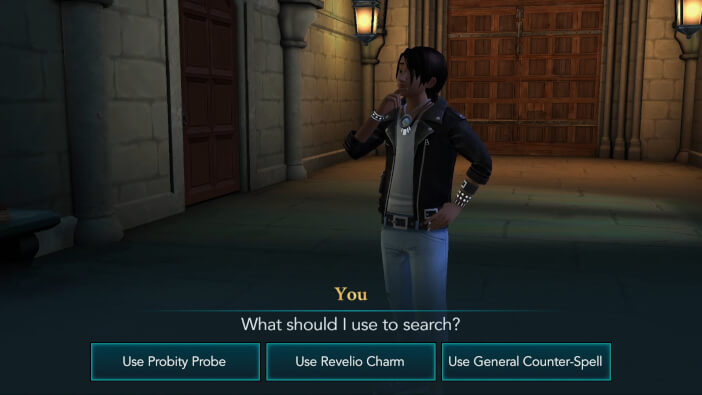
You’ll then get to choose how to search the corridor. You have three options. Bear in mind that the first one is only available if you took Probity Probe from Jay earlier in year five. Regardless, each option will lead to the same outcome, so feel free to pick the one you prefer.
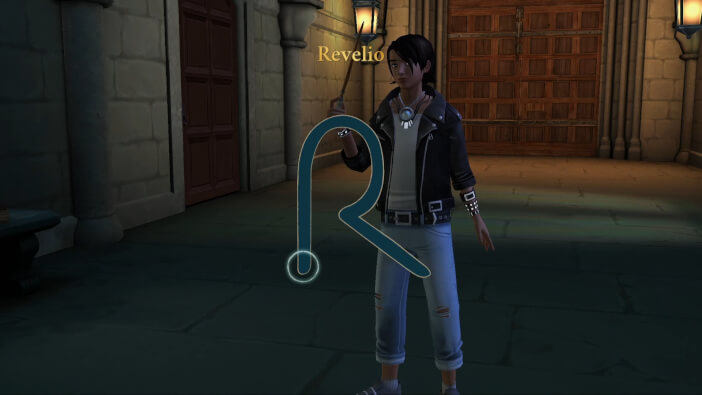
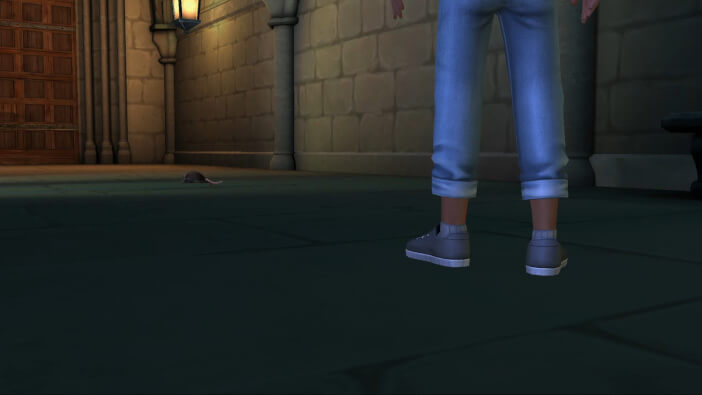
In any case, you’ll be tasked with casting a spell.
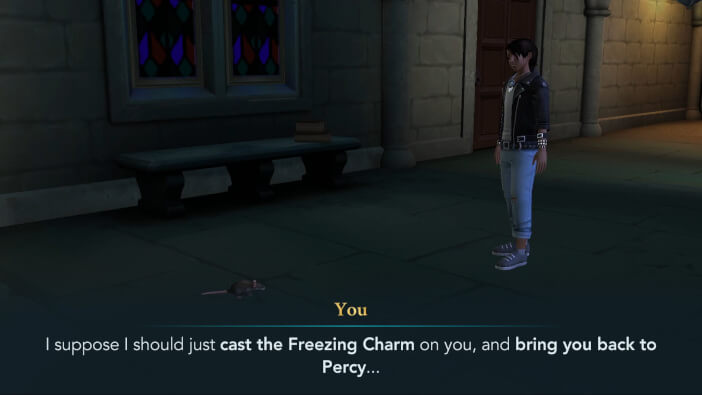
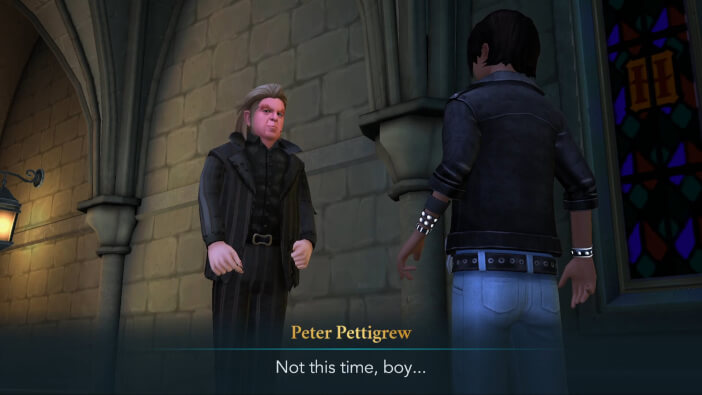
Immediately after, Scabbers will appear right in front of you.

However, before you have the chance to take him back to Percy, he’ll transform into a human.
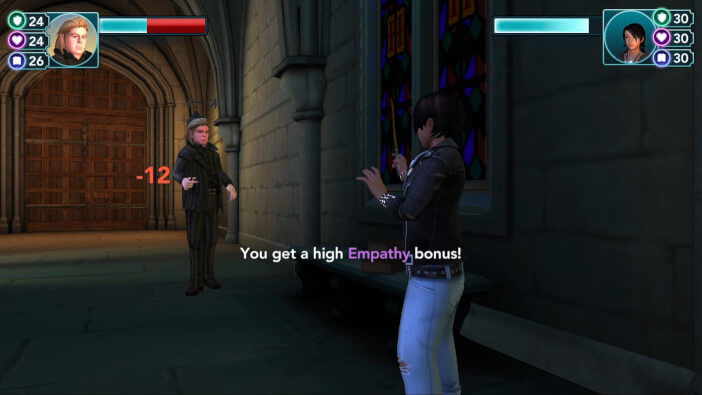
You’ll then have to duel him. The task window will display the recommended attribute levels and the cost of each attempt.
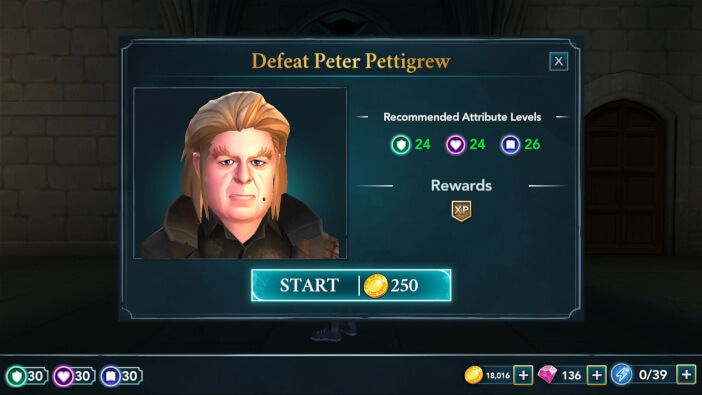
This duel is a bit tricky since most of his attacks have a chance to stun you, and it can be a bit annoying. However, given that the attribute requirement is fairly low, it should tip the scales in your favor. One relatively easy way to win involves going Aggressive or Sneaky and using Depulso or Flipendo on every turn.
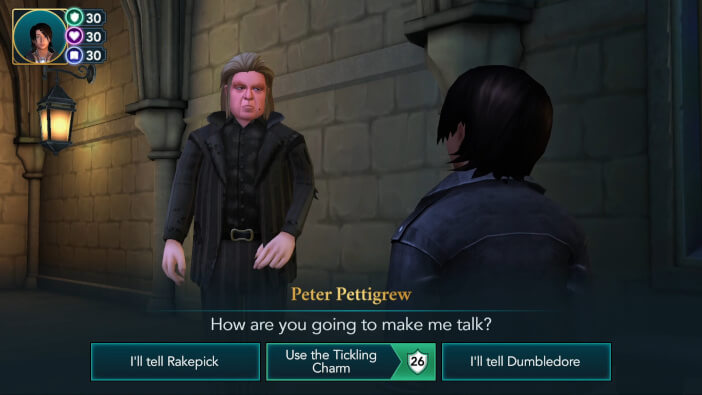
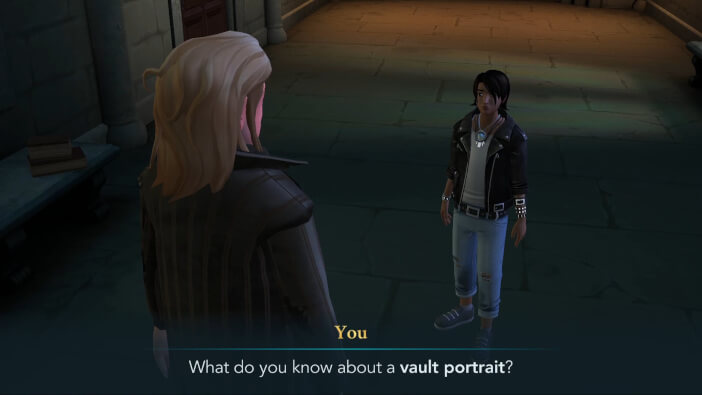
Once you win, he’ll refuse to answer any of your questions. You have three ways to make him talk. Each of these will lead to the same outcome, so feel free to pick any of them.
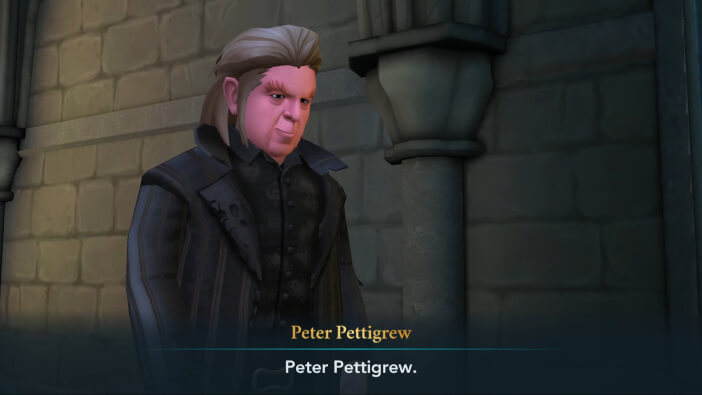
The man will then introduce himself as Peter Pettigrew.
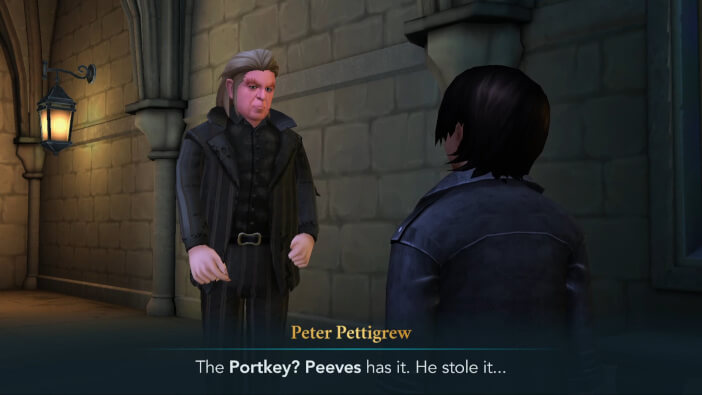
And he’ll reveal some very important information to you.
However, before you get the chance to find out more, he’ll cast the Memory Charm and make you forget the encounter with him.
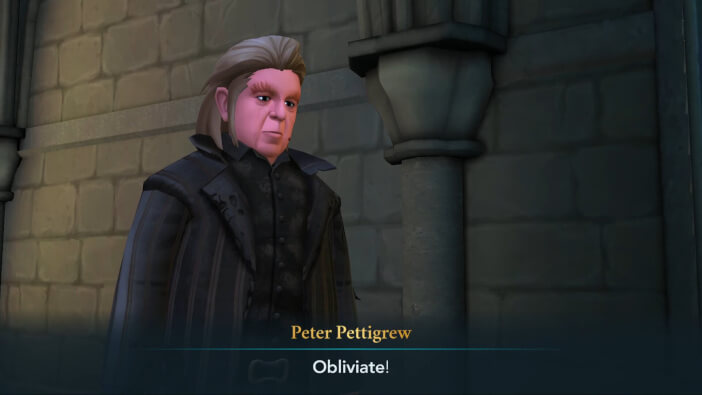
He’ll then turn back into a rat and run away while you’re still under the effect of his spell.
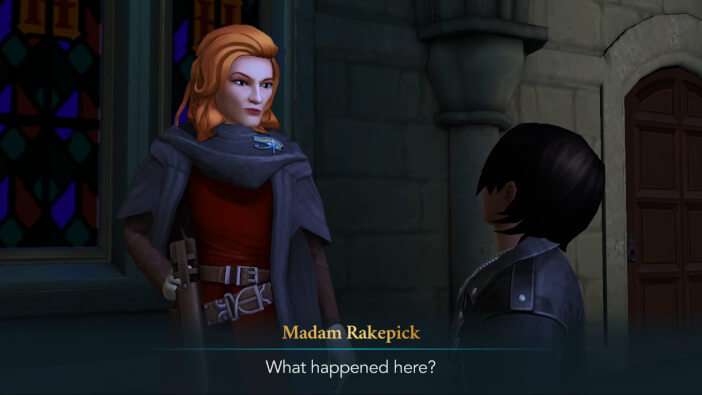
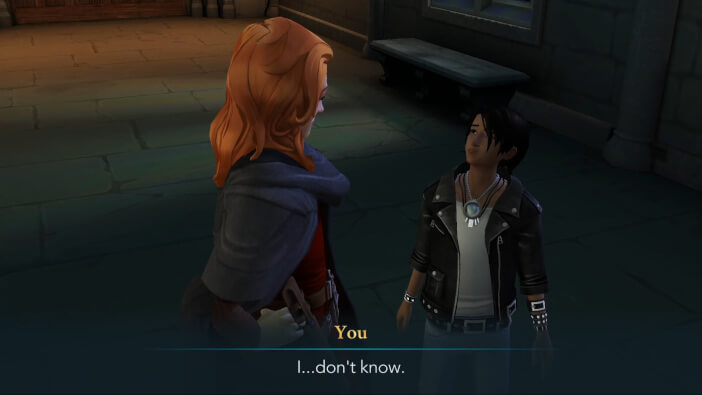
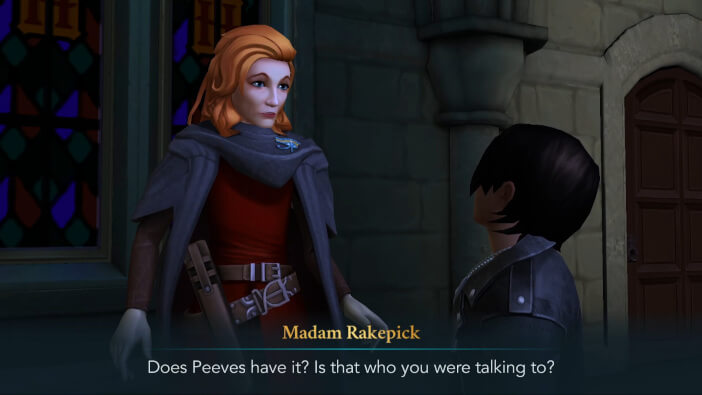
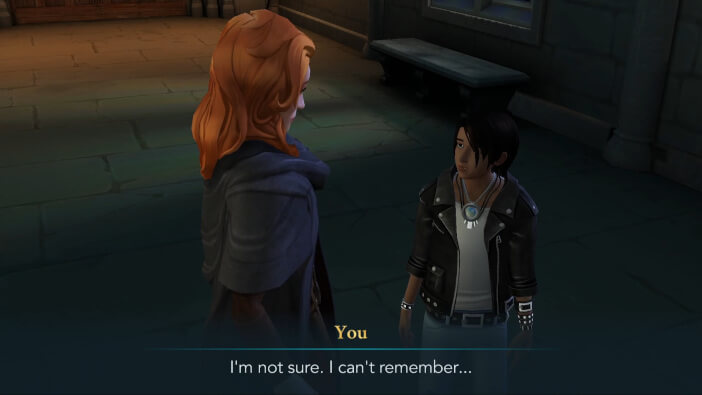
Madam Rakepick will arrive and ask you what happened. Sadly, you won’t be able to remember anything.
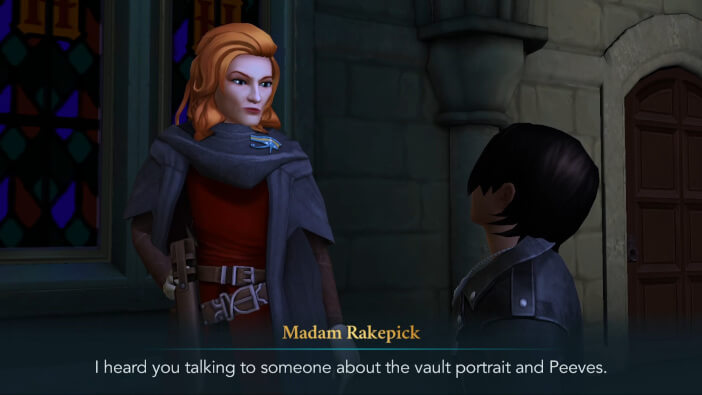
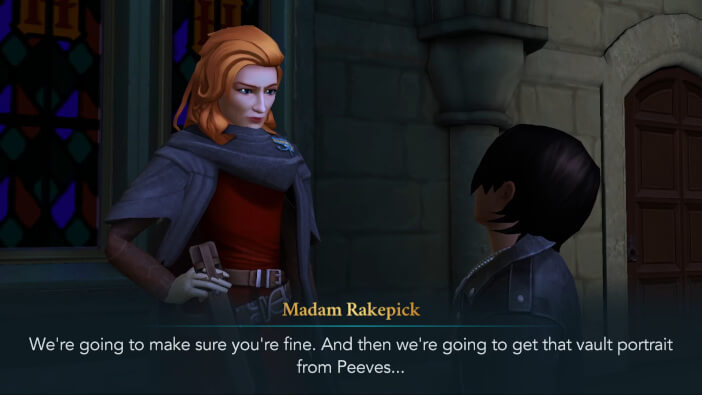
Thankfully, she overheard some parts of your conversation with Peter Pettigrew.
Not long after that, the two of you will leave the corridor.
This will mark the end of Chapter 20 of Year 5. Hit the Collect button to claim your rewards.
That was a shocking turn of events. Will your character suffer any lasting consequences from that Memory Charm? And will you be able to find Peeves and get the vault portrait from him? Find out in the next chapter of Harry Potter Hogwarts Mystery!
Thank you for reading.
Previous Chapter Next Chapter