Chapter 1 – Year Six Begins
Introduction
Hello everyone, welcome to our Walkthrough for Chapter One of Year Six of Harry Potter Hogwarts Mystery. Last time, you attended the End-of-Term feast during which you had a chance to celebrate with your friends and have a nice time together before Year 5 of your Hogwarts studies officially came to an end.
Summary
Chapter Summary:
- Lesson 1: Drought Charm
- Location: Charms Classroom
- Unlock: 9 Charms Stars
- Requirements: 3 hours – 5/5 stars
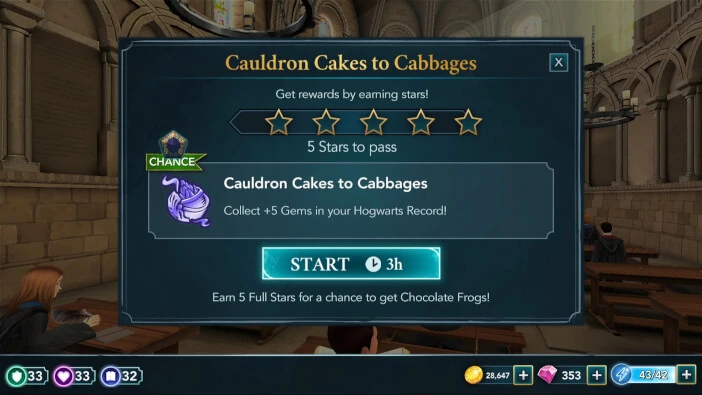
- Lesson 2: Cauldron Cakes to Cabbages
- Location: Transfiguration Classroom
- Unlock: 9 Transfiguration Stars
- Requirements: 3 hours – 5/5 stars
- Task 1: Gather in the Great Hall
- Location: The Great Hall
- Requirements: 8 hours – 1/5 stars
- Choice: Tell Rowan what was on your mind during the summer
- Rakepick: +5 Courage
- My brother: +5 Empathy
- My friends: +5 Empathy
- Task 2: Meet Mad-Eye Mood
- Waiting Time: 1 hour
- Location: Hog’s Head Inn
- Requirements: 1 hour – 1/5 stars
- Choice: Decide on what you’ll ask Mad-Eye Moody
- Do you like your nickname?: +5 Empathy
- Can we order some Butterbeer?: +5 Empathy
- What do we have in common?: +5 Knowledge
- Task 3: Find Ben
- Waiting Time: 3 hours
- Location: Artefact Room
- Requirements: 3 hours – 1/5 stars
- Choice 1: Respond to Ben
- Yes, I’d stop you (31 Courage): +10 Courage
- No, I wouldn’t stop you: +5 Empathy
- Choice 2: Tell Ben if you like his change of himself
- I like ‘New Ben’: +5 Empathy
- I don’t like ‘New Ben’: +5 Courage
- Task 4: Find Merula
- Location: Training Grounds
- Requirements: 3 hours – 1/5 stars
- Choice: Tell Merula what you desire from her
- I want to help you (28 Knowledge): +10 Knowledge
- I’ve missed you (31 Empathy): +10 Empathy
- I want nothing from you: +5 Courage
- Chapter Rewards: 250 Coins and 2000 Experience Points
Walkthrough
Now that your summer holidays are over, you’ll find yourself once again attending the Start-of-Term ceremony in the Great Hall. You’ll immediately notice the speech bubbles above some of the characters, so feel free to tap on those if you want to see what they have to say. Tonks and Charlie will be very happy to see you again.
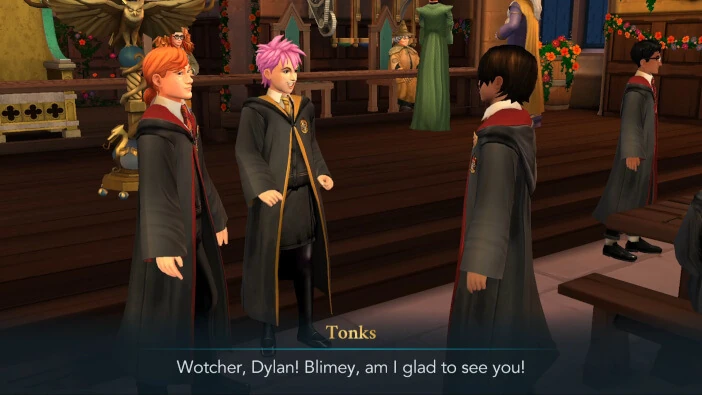
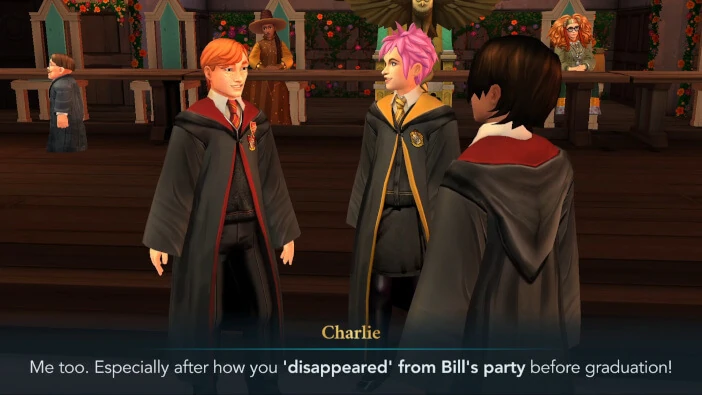
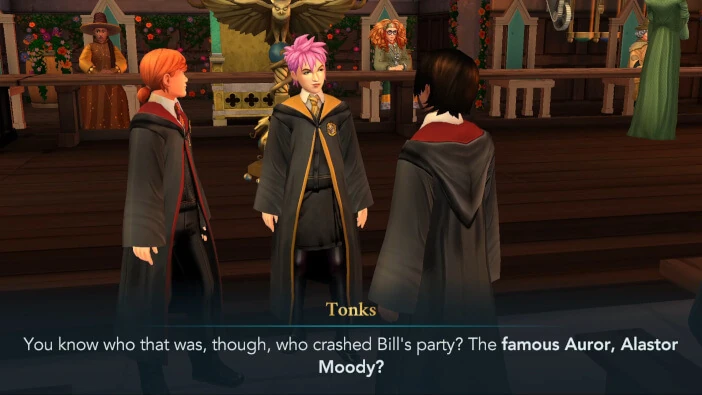
You will be glad to see them too. Apparently, both of them already know who Mad-Eye Moody is.
Charlie added that his father told him that people call him Mad-Eye Moody.

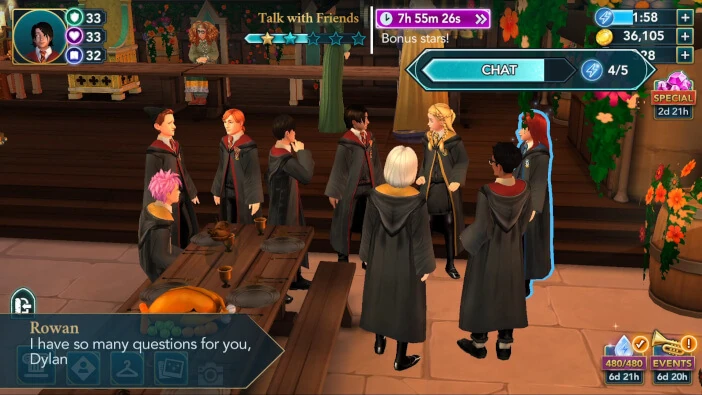
Moments later, Rowan will arrive and greet everyone. He’ll ask what was on your mind during the summer. You have three options to reply with. This choice won’t have any significant impact on the story, so feel free to go with the option you prefer.

Not long after that, you’ll get to talk to your friends and see how everyone’s doing. You need to earn five stars within eight hours to complete this task. One star is required to pass.
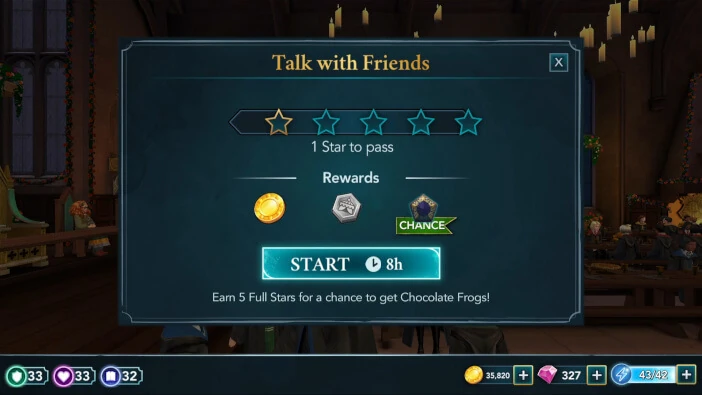
There are reward actions tied to Liz, Tulip, and your character. Focus on those actions to save energy.
After finishing, you’ll notice that a few of your friends are absent from the Great Hall. Your worry will grow as you realize that Ben, Merula, and Beatrice are nowhere to be found. Shortly after, the Headmaster will ask for your attention.
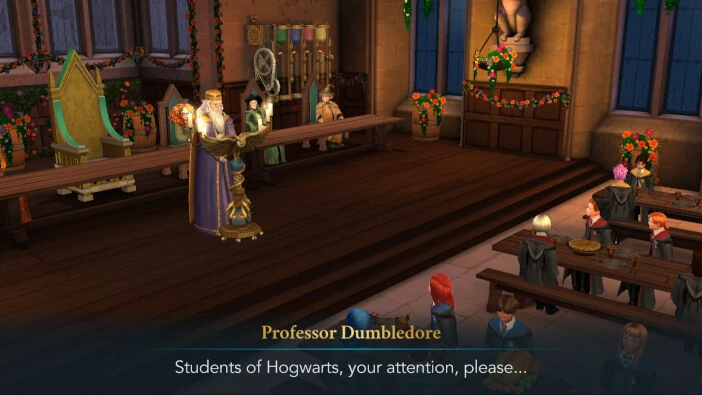
You’ll notice Professor Sinistra and Professor Trelawney sitting at the high table.
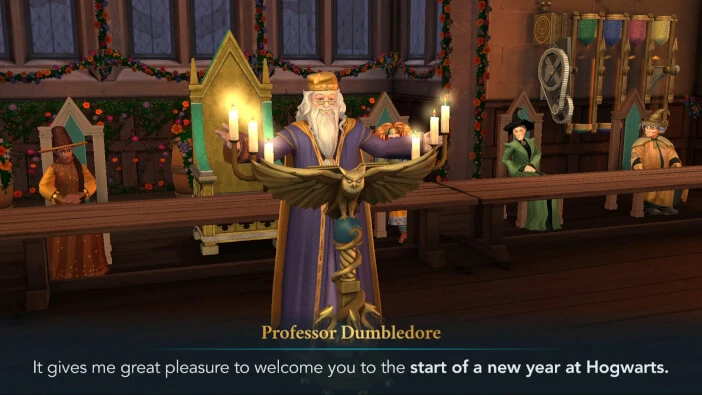
During his speech, Professor Dumbledore will mention that Madam Rakepick will no longer teach Defence Against the Dark Arts.

Shortly after, the Start-of-Term Feast will begin.
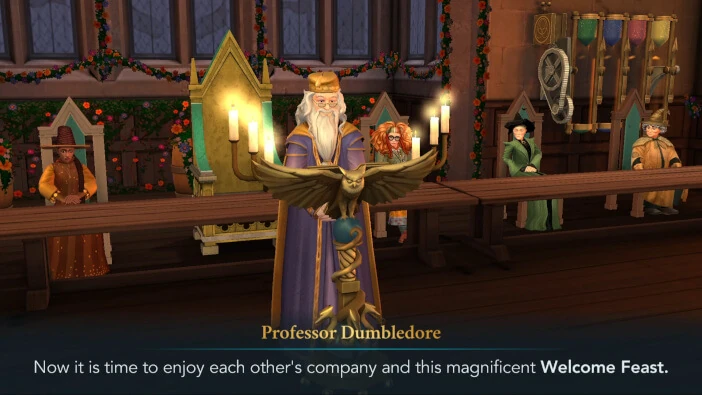
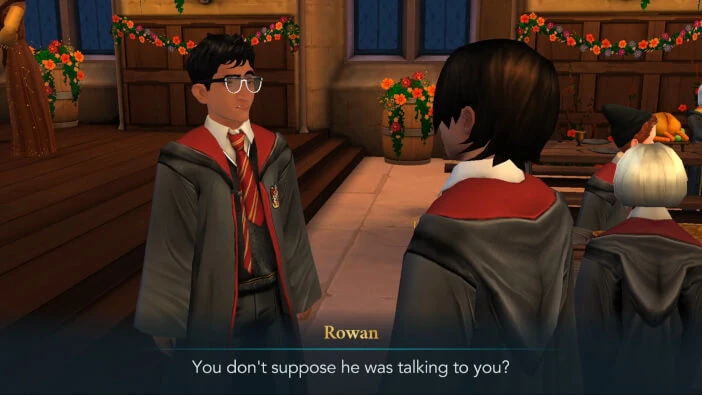
There’s still a question of who will teach Defence Against the Dark Arts this year. Both Rowan and you will be curious to find out. Rowan will also wonder if Dumbledore was talking to you while he was mentioning Madam Rakepick and the Cursed Vaults.
After all, you’re the one who has investigated every single Cursed Vault so far, and not just that, there is a high possibility that the Headmaster already knows about what happened between you and Mad-Eye Moody. Before heading out, you’ll tell Rowan that you’re supposed to meet Mad-Eye Moody soon. However, there’s a waiting period of one hour before you can do so.
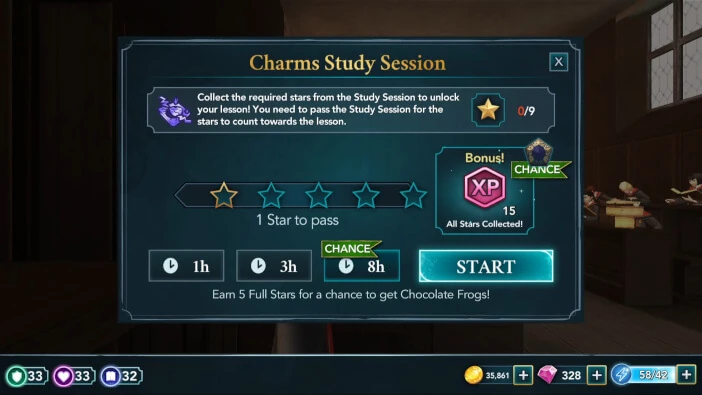
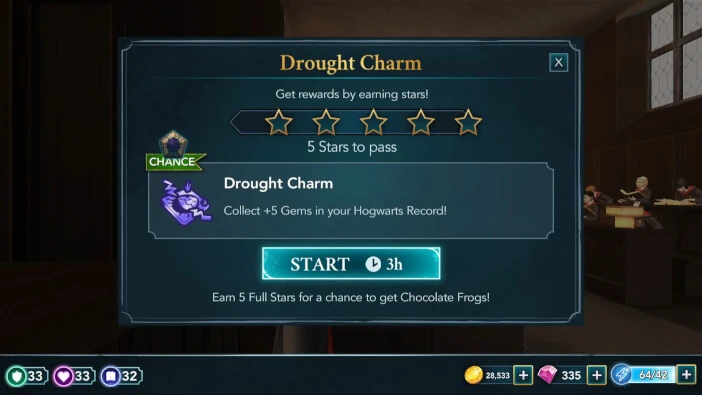
In any case, you can attend the lessons now that the Start-of-Term Ceremony is over. Proceed to the Charms classroom when you are ready. In order to unlock the Drought Charm lesson, you need to earn a total of nine stars from Charms classes. Pick the class duration suitable to your liking and hit Start to begin.
As always, prioritize reward actions to save energy.
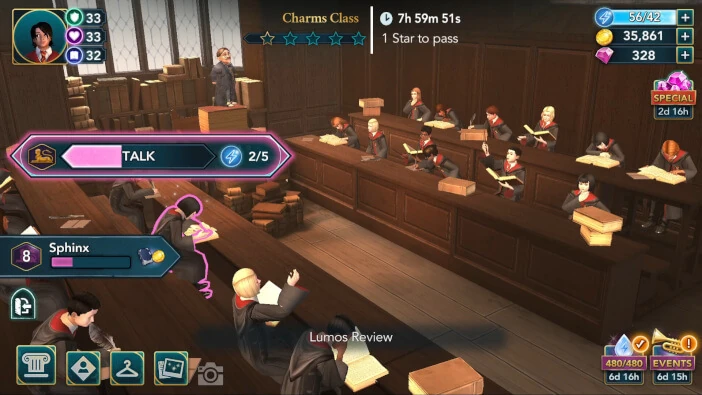
Try completing all of the mini-tasks successfully to earn some additional Empathy points.

Return to the classroom after you obtain enough stars to unlock the lesson. To learn the Drought Charm, you need to earn five stars within three hours. All five stars are required to pass.
One noticeable difference in Year 6 is that most of the classes, lessons, and tasks now require more energy to complete. On average, you’ll need somewhere around 60-65 energy for a five-star task with a duration of three hours, which is about 5 energy more than the previous year. Keep this in mind when planning your lessons and tasks.

Once you obtain all five stars, you’ll be tasked with casting Drought Charm. Trace the wand movement on the screen to do so.
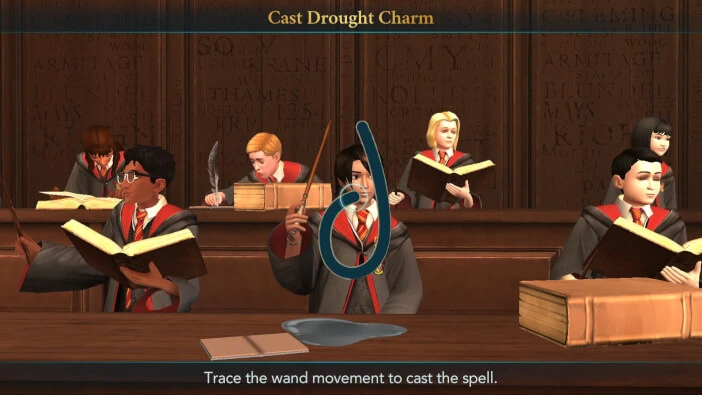
Hit the Collect button to claim your rewards. You will receive an additional reward for completing the lesson. You can claim it in the Charms section of your Hogwarts Record.

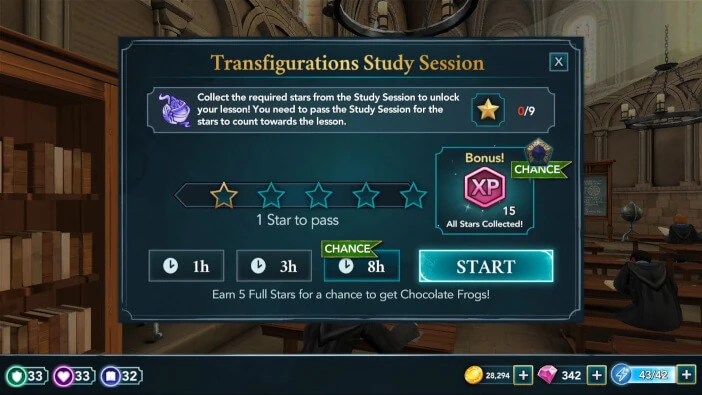
Head to the Transfiguration classroom to attend the second lesson of this chapter. To unlock the Cauldron Cakes to Cabbages lesson, you’ll need to earn nine stars from Transfiguration classes. Like before, pick the class duration you prefer and hit Start to begin.
As always, prioritize bonus actions if you are looking to save some energy.
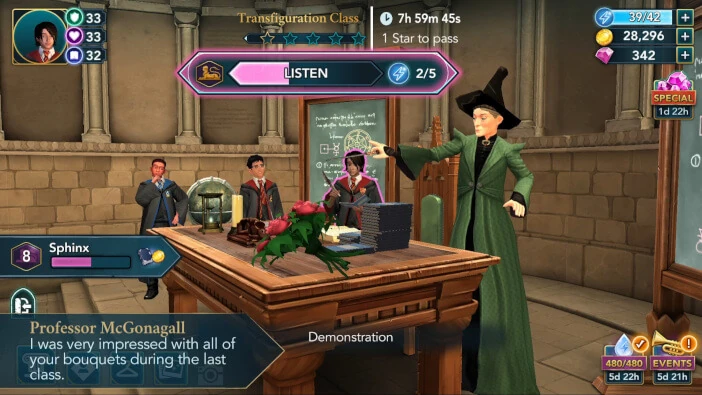
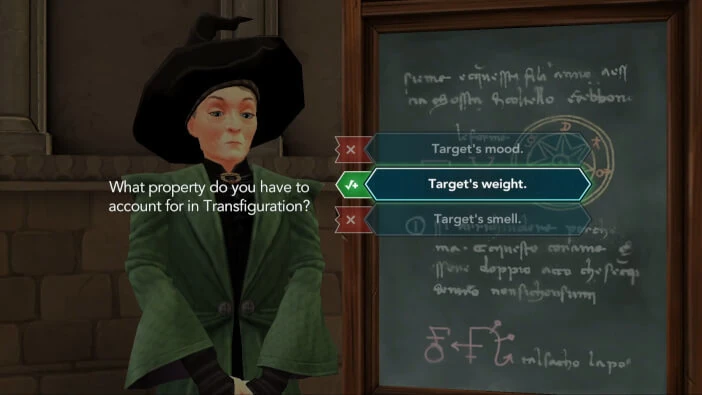
Also, be sure to complete as many mini-tasks as possible to gain some extra knowledge points.

Head back to the classroom once you unlock the lesson. Learning to transfigure Cauldron Cakes to Cabbages requires obtaining five stars within three hours. All five stars are required to pass, so avoid starting this lesson if your energy is low.
Simply do this lesson like any of the regular classes and you shouldn’t have any problem completing it in time.

Upon obtaining the fifth star, you’ll be tasked with casting the spell. Trace the wand movement on the screen to do that.

Once you are done, hit the Collect button to claim your rewards. You’ll earn an additional reward for completing the lesson. Collect it in the Transfiguration section of your Hogwarts Record.

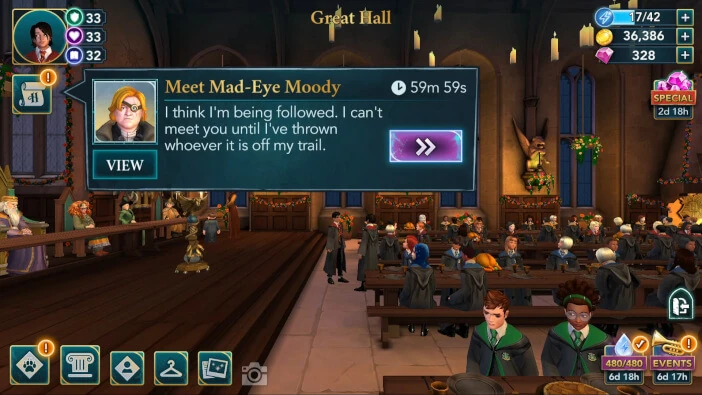
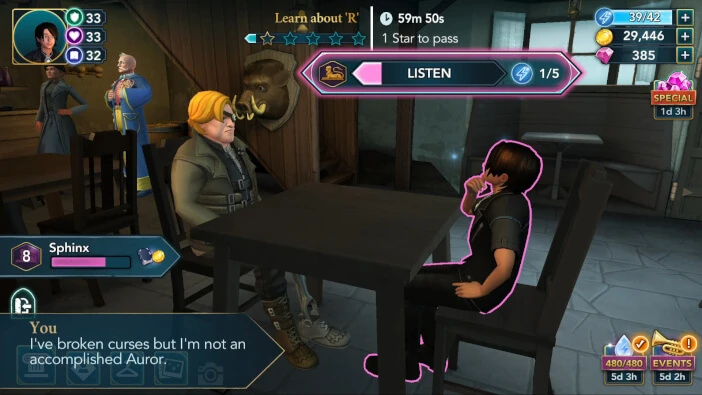
Now that you’re done with both lessons, you can proceed to Hog’s Head Inn to meet Mad-Eye Moody. Once you arrive, you’ll be able to interact with some of the characters by tapping on their speech bubbles. Mad-Eye Moody will be curious to know if you told anyone you’re meeting him.
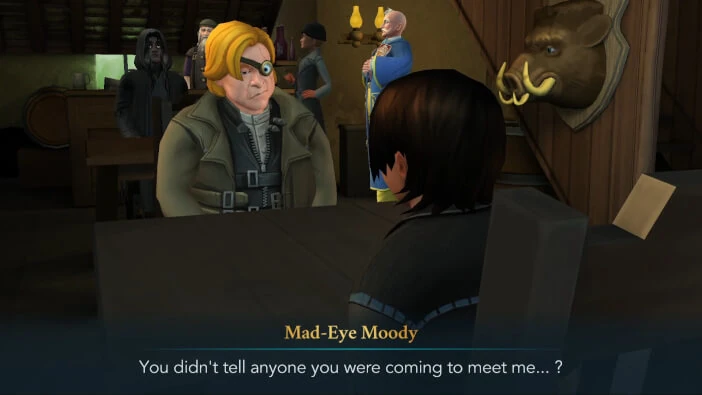
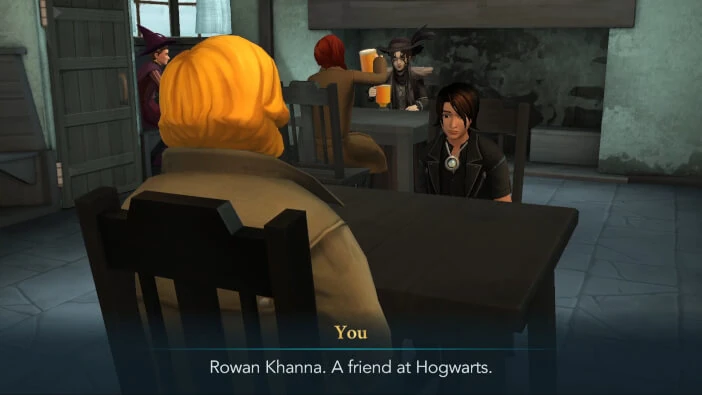
He will be genuinely surprised when you inform him that you told Rowan, and he’ll then inquire about Rowan’s identity.
Afterward, he’ll let you ask him one question. This choice won’t impact the story in any meaningful way, so feel free to take your pick.

He’ll then decide to talk to you about ‘R’. To learn about ‘R’, you need to acquire five stars within an hour. Only one star is required to pass.

There is a waiting period of three hours after this task, which is why it’s recommended to fully complete it. If you start this task with full energy, you should easily be able to finish it in one go.
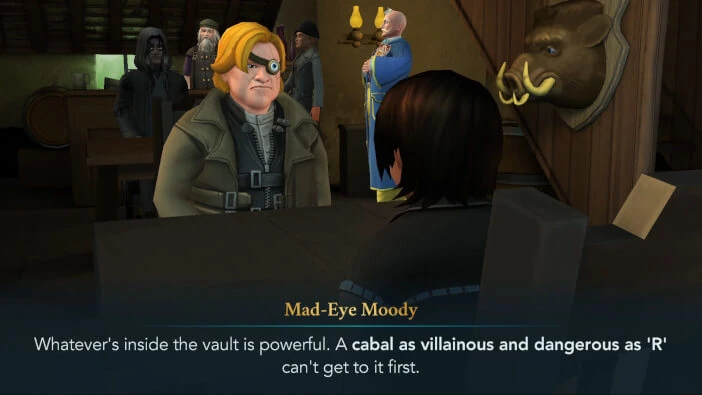
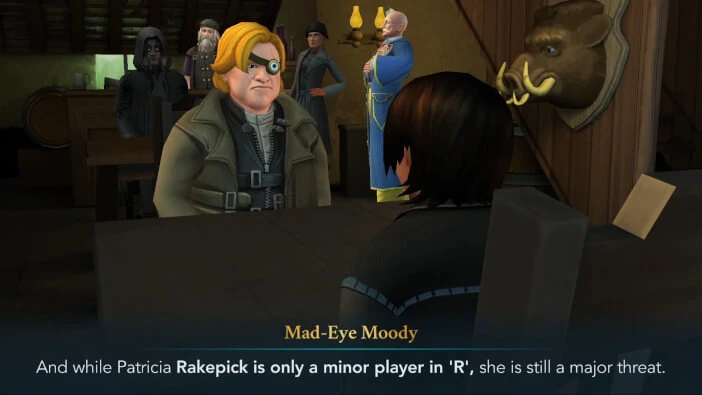
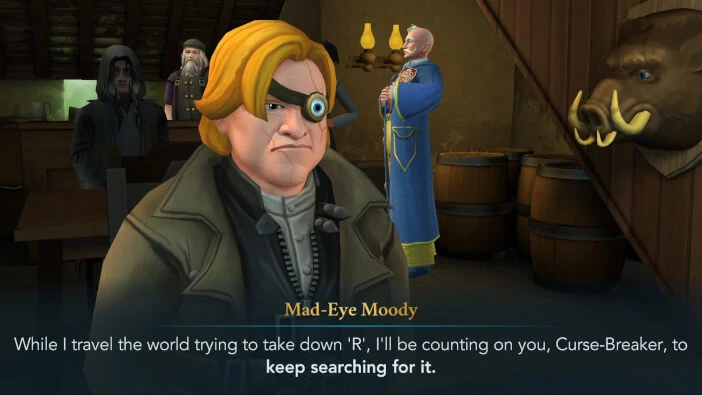
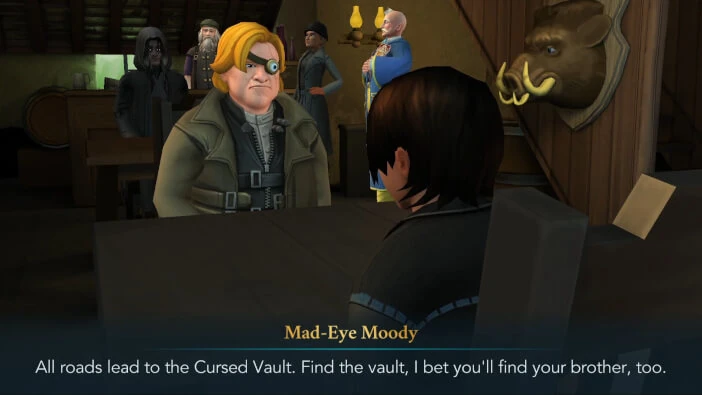
Once you are done, Mad-Eye Moody will sum things up.
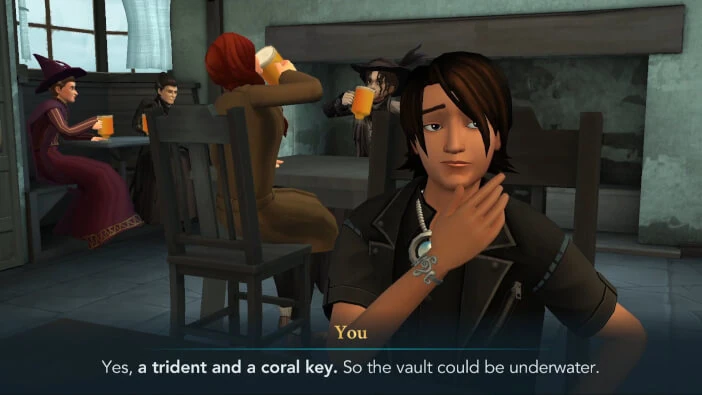
He’ll then ask you about the clues you uncovered during the previous year.
He’ll give you some final words of advice before you part ways.
You’ll then decide to look for Ben and Merula and see if they are all right. Sadly, there is a waiting period of three hours before you can proceed.
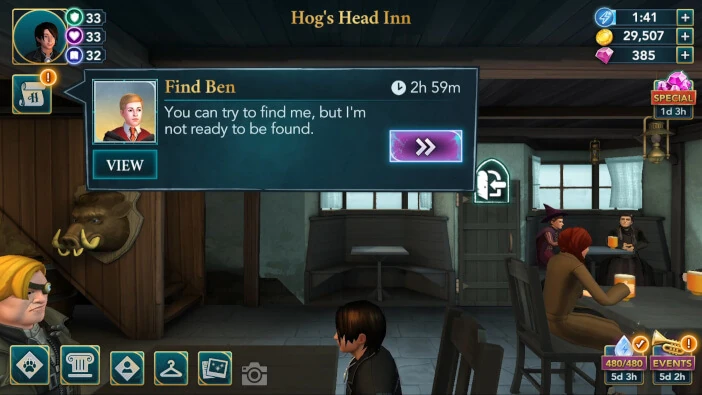
Once the waiting time is over, head to the Artefact Room to meet Ben. Upon arriving, you’ll notice your friend holding a skull in his hand.
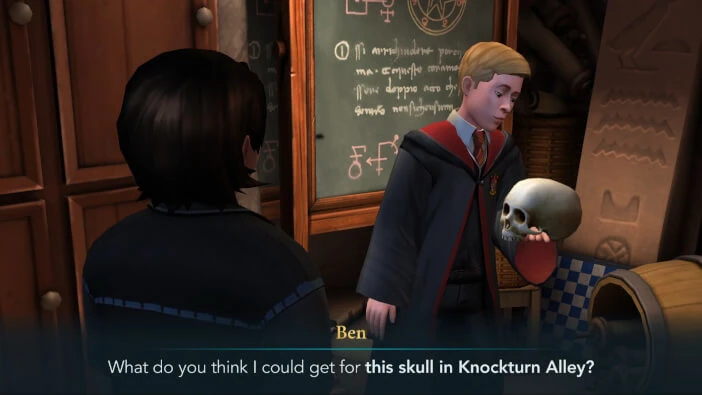
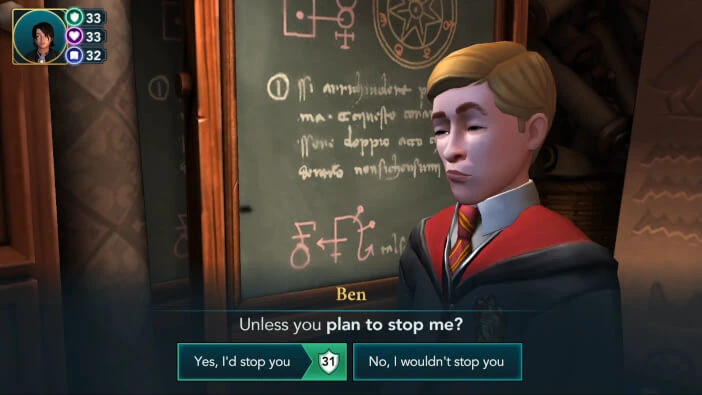
You’ll find it strange that he’s interested in trading a skull, and you’ll point out that he can’t simply take items from the Artefact Room. He will disagree with you and ask if you want to stop him. You have two options to respond with, but neither of those will significantly impact the story, so pick whichever one you prefer.
He’ll also remind you that he vowed to make himself a new person.
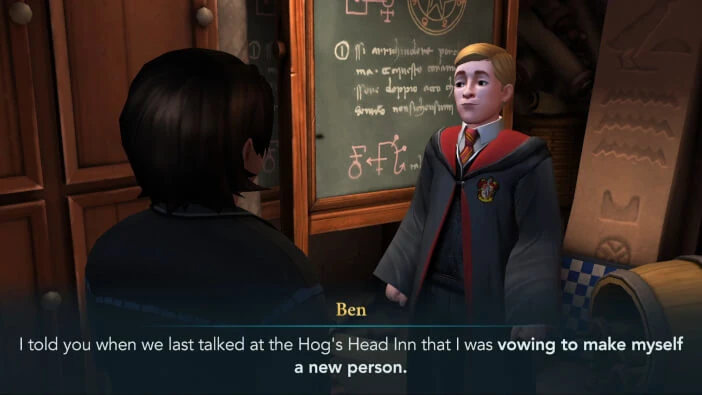
You have two response options. If you like Ben, it is recommended to pick the first option.

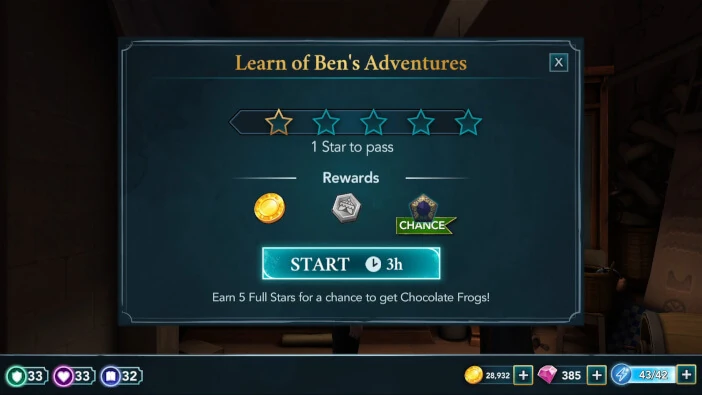
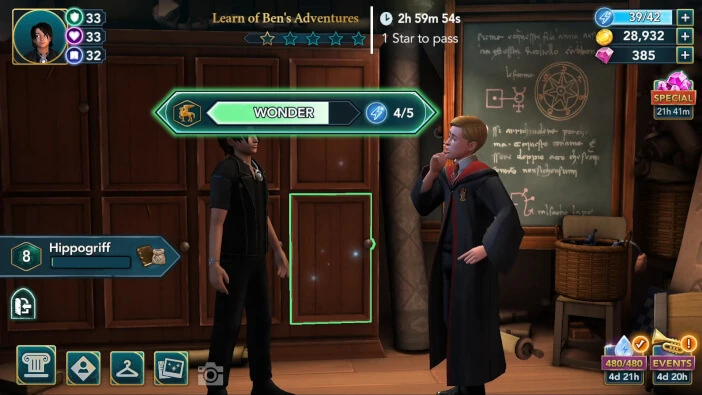
Shortly after, you’ll get to learn about Ben’s summer adventures. To do that, you need to obtain at least one out of five stars within three hours.
There are reward actions tied to Ben and the cabinet. Prioritize those actions to save energy.
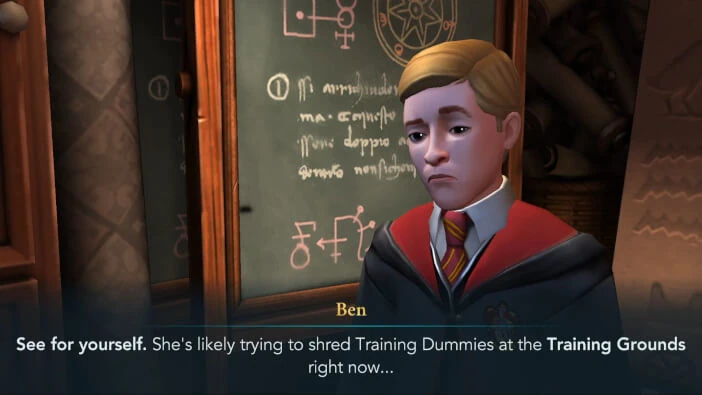
When you are done, you’ll learn that Ben wants to protect his friends, which is why he decided to change. Shortly after, he’ll mention that you’ll likely find Merula practicing at the Training Grounds.
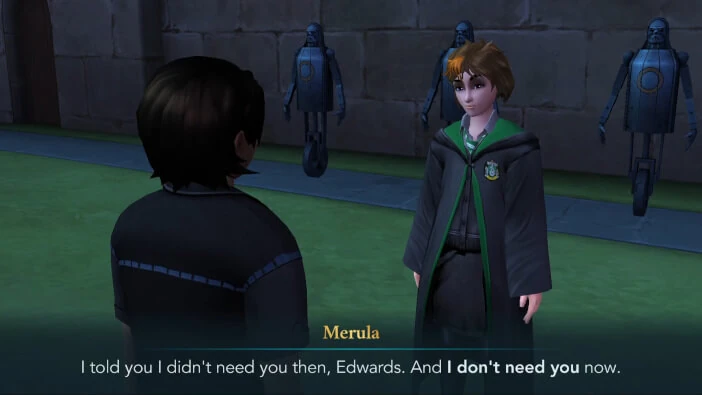
Proceed there when you are ready. After greeting her, she’ll directly ask why you’re here to meet her. You have three options to respond with. While none of these will significantly impact the story, if you care about Merula, it is recommended to pick the first or the second option.

Apparently, Merula is back to her old self.
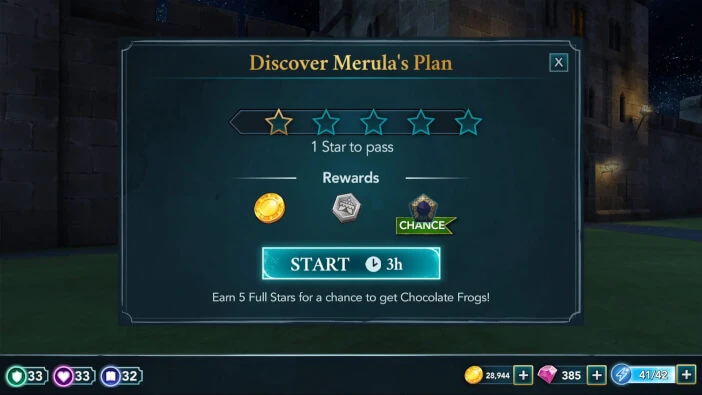
You’ll then get to talk to her about her plan. This requires earning five stars within three hours. One star is needed to pass.
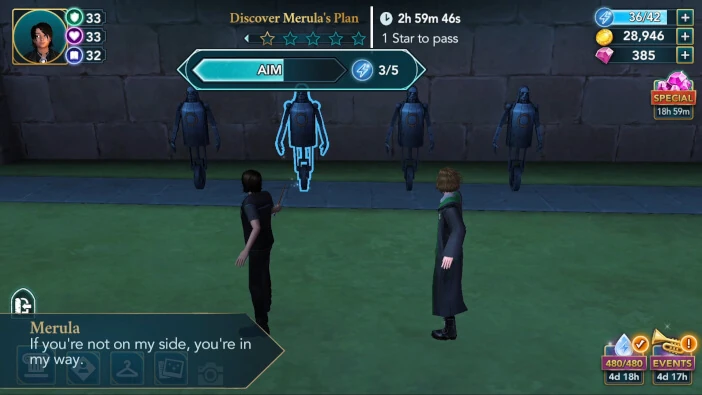
There should be at least three bonus actions available here (check Merula, your character, and the left training dummy), so prioritize those to save some energy.
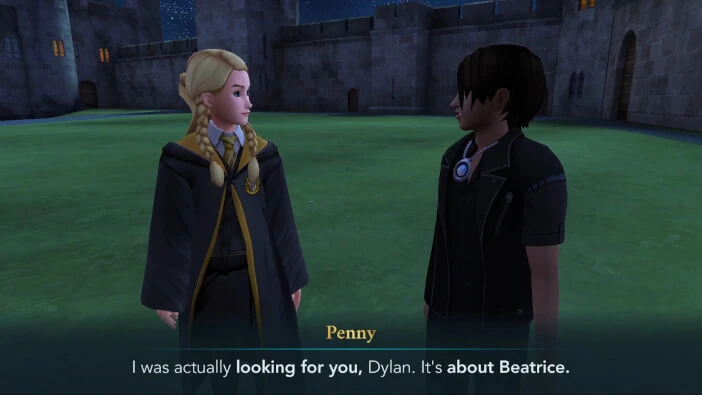
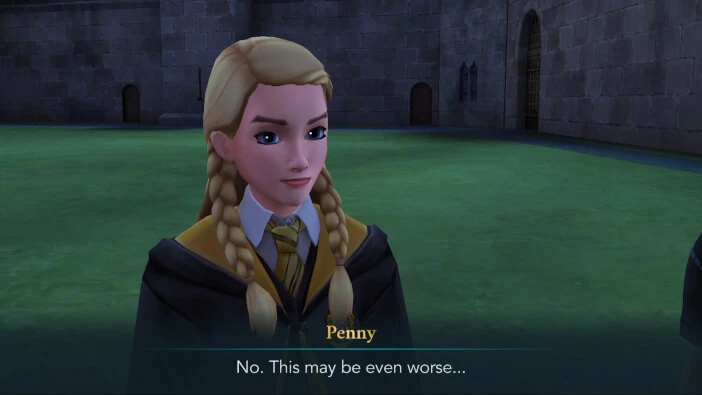
As it turns out, Merula is planning to kill Madam Rakepick the next time she sees her. You’ll say that she’s behaving just like in the first year and by the looks of it, she’ll take that as a compliment. Not long after that, Penny will arrive to tell you that she needs your help. Apparently, it’s something related to her sister.

That will conclude Chapter 1 of Year 6. Hit the Collect button to claim your rewards. You will receive 250 Coins and 2000 Experience Points.
What happened to Beatrice? Is she in danger once again? Could it be that some new curse got unleashed upon Hogwarts? Find out in the next chapter of Harry Potter Hogwarts Mystery.
Thank you for reading.