Year 6 Chapter 5
Harry Potter Hogwarts Mystery
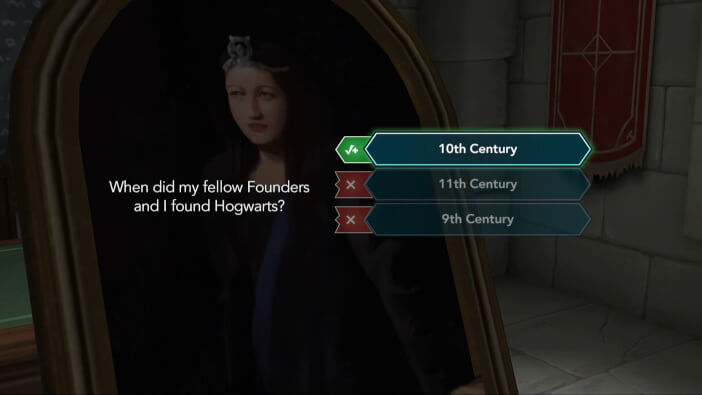
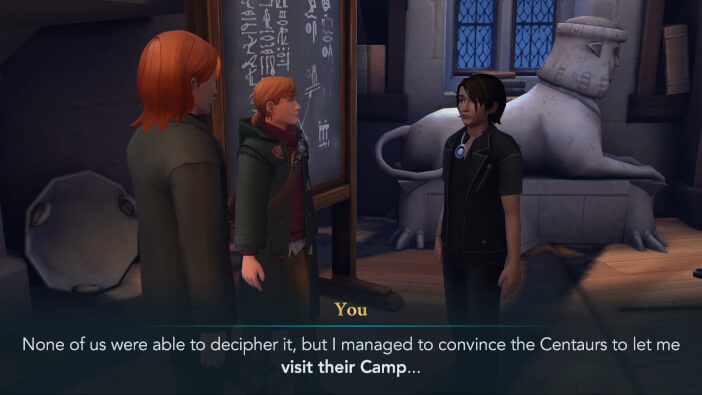
Hello everyone, welcome to our Walkthrough for Chapter Five of Year Six of Harry Potter Hogwarts Mystery. In the previous chapter, you presented your offerings in the Centaur Camp, and you were judged by Firenze, one of the members of their herd. Thankfully, he found your gifts acceptable, and you were allowed to visit the Centaur Camp as an honored guest. But that’s not all, he also promised to study Trelawney’s prophecy, so hopefully, he’ll be able to decipher it soon.
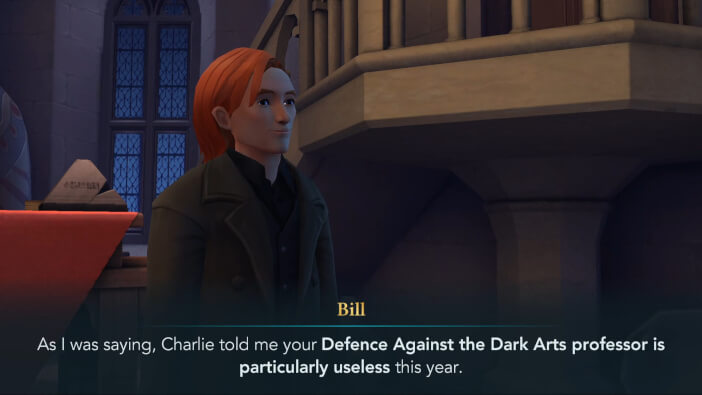
Other than that, you tried to sort out the situation with the Haywood sisters, but sadly, you had no success with it. You also learned that Ben is trying to find clues about Rakepick by interrogating various Dark wizards in the Knockturn Alley. However, not everything was bad. Charlie told you that Bill is coming to Hogwarts soon, and you’ll finally get the chance to reconnect with him and see how he’s been doing these past months.
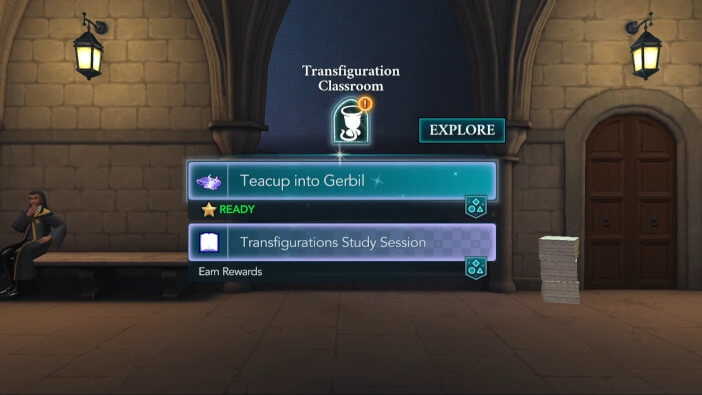
But before that, you can complete the lessons, so head to the Transfiguration classroom when you are ready.
[Disclaimer: Walkthrough for this chapter has been updated in August 2022.]
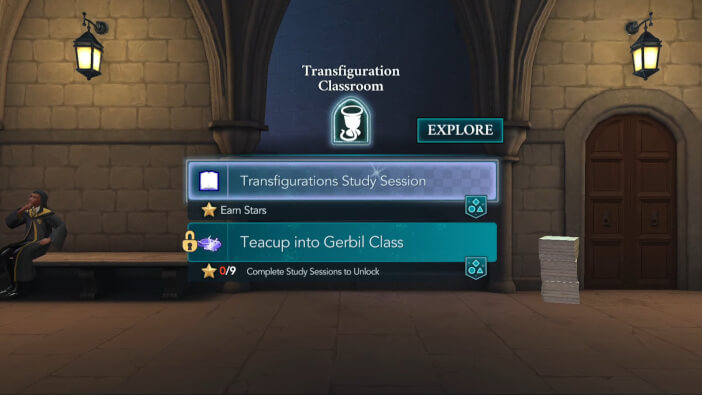
To unlock Teacup into Gerbil lesson, you need to obtain nine stars from Transfiguration classes. Pick the class duration you prefer and hit the Start button to begin.
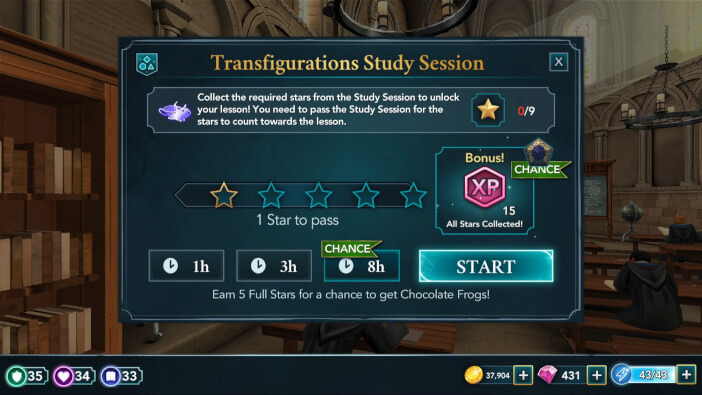
Focus on the 5-cost actions whenever they are available in order to save some energy.
And try completing all of the mini-tasks to earn some bonus Knowledge points.
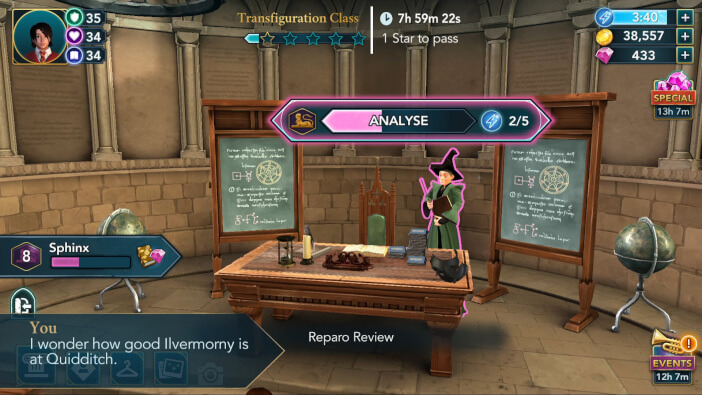
Once you earn all of the stars needed to unlock the lesson, return to the classroom to attend it.
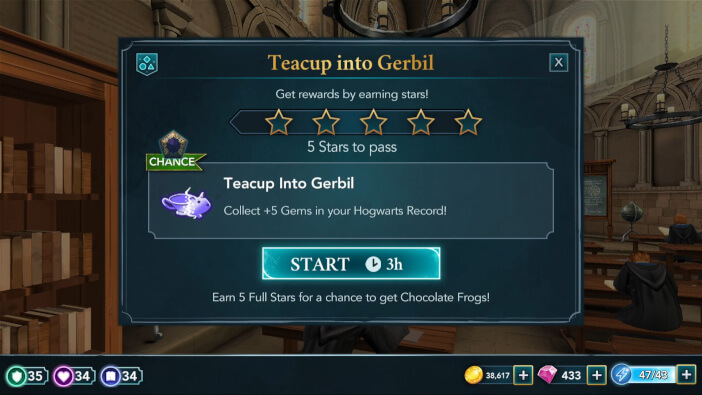
Learning Teacup into Gerbil transfiguration requires obtaining five stars within three hours. Since all of the stars are needed to pass, avoid starting this lesson if your energy is low.
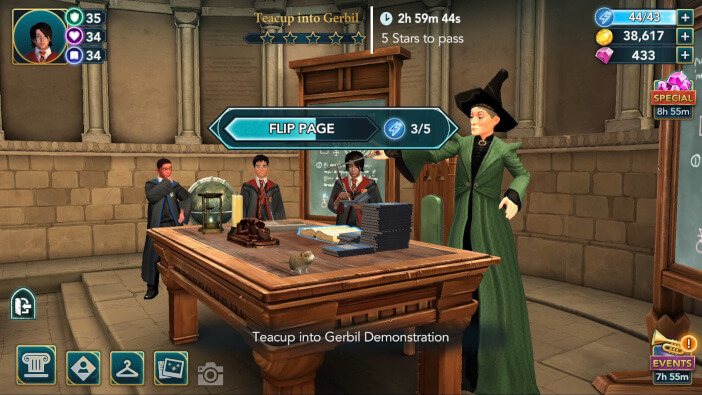
Treat this lesson like the classes you took beforehand and you’ll be done before you know it.
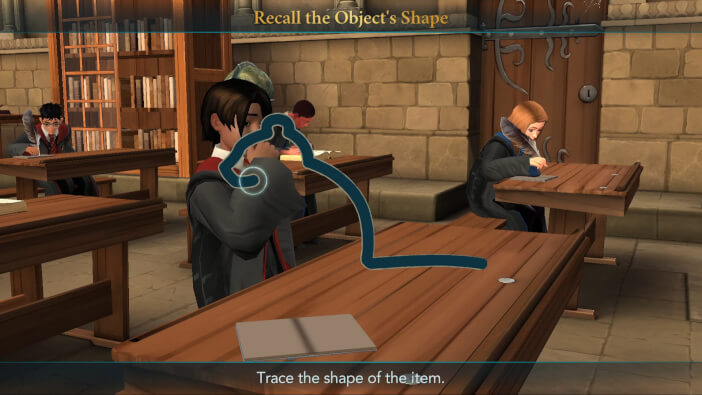
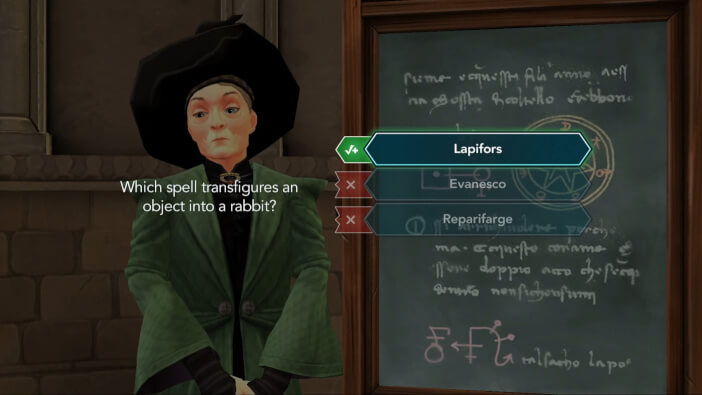
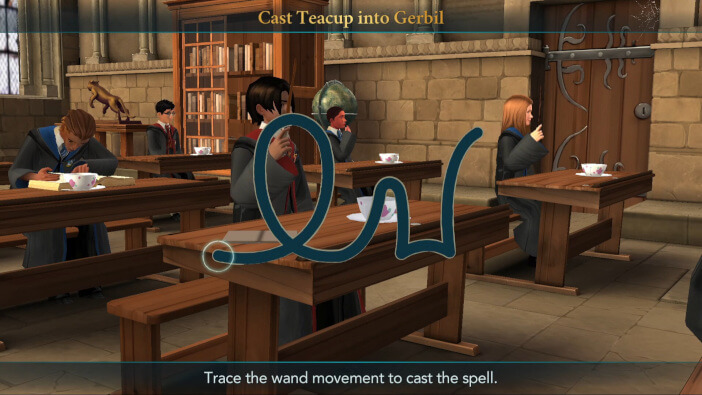
After earning four stars, you’ll be tasked with casting the transfiguration. Trace the wand movement on the screen to do so.
Once you’re done with the lesson, hit the Collect button to claim your rewards.
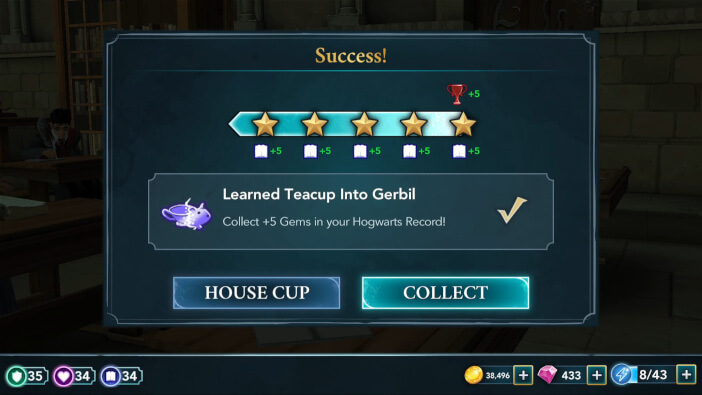
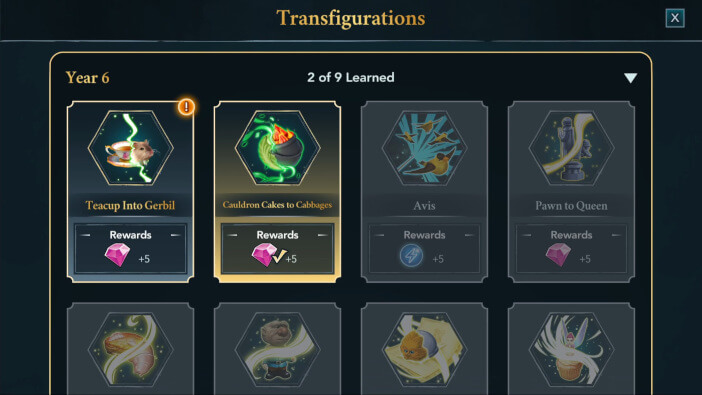
You’ll earn an additional reward for completing the lesson. You can claim it in the Transfiguration section of your Hogwarts Record.
When you are ready, proceed to the History of Magic classroom for your second lesson of the chapter.
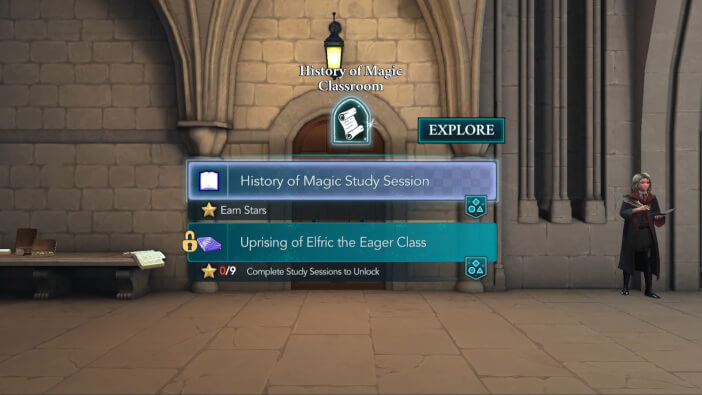
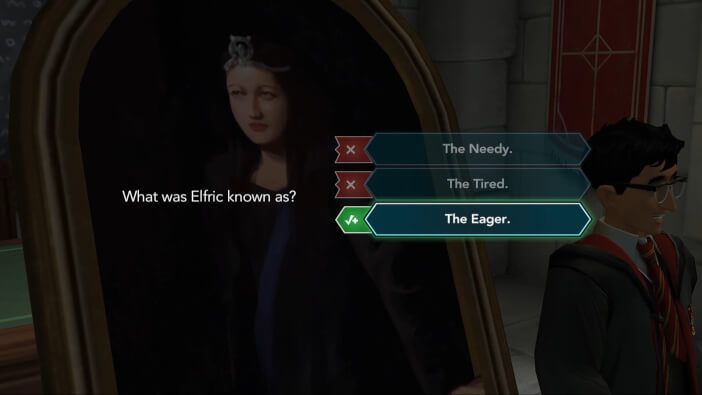
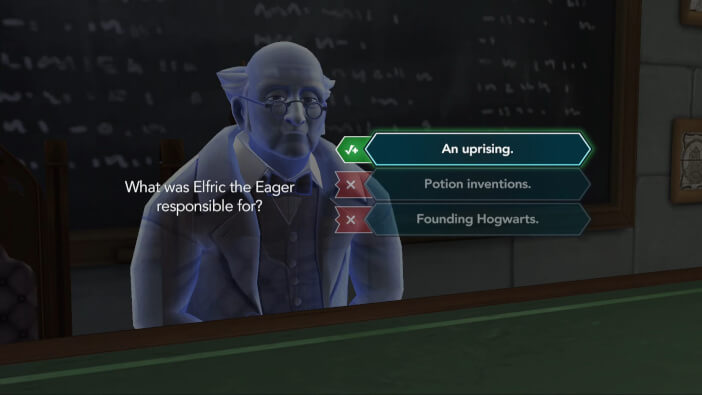
To unlock the Uprising of Elfric the Eager lesson, you need to acquire nine stars from History of Magic classes. Like before, pick the class duration that suits you and hit Start to begin.
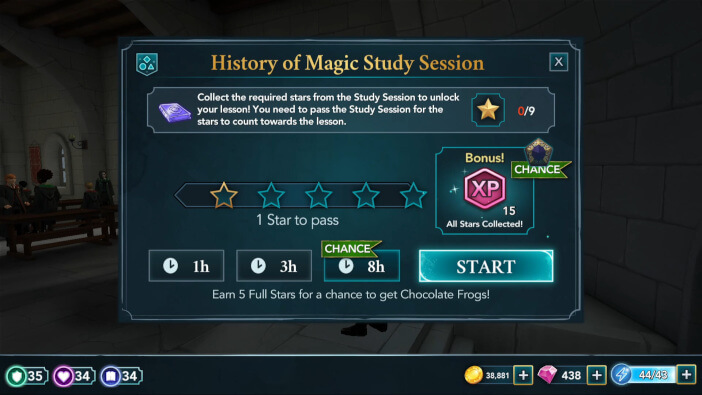
Prioritize the 5-cost actions to save energy and complete the classes faster.

Also, give it your best to complete all of the mini-tasks successfully to gain some extra Knowledge points.
Return to the classroom once you acquire enough stars to unlock the lesson.

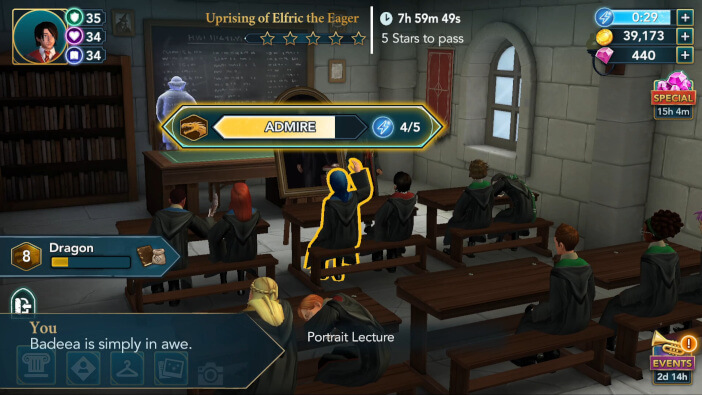
Completing the Uprising of Elfric the Eager lesson requires obtaining five stars within eight hours. All of the stars are needed to pass.
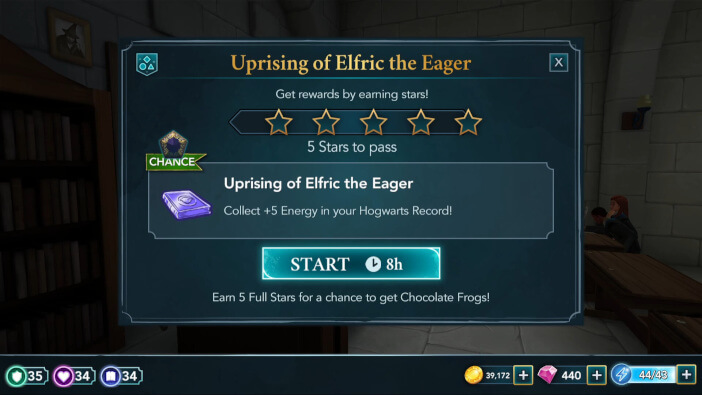
Other than some of the mini-tasks, this lesson is quite similar to regular classes, so simply treat it as such.
Once you’re done, hit the Collect button to claim your rewards.
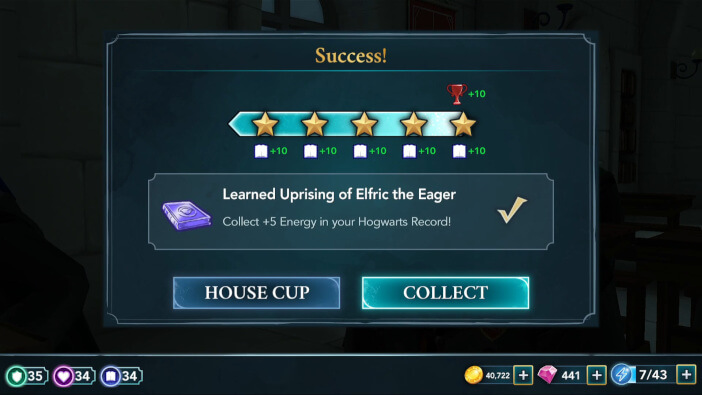
You can claim an additional reward in the History of Magic section of your Hogwarts Record.
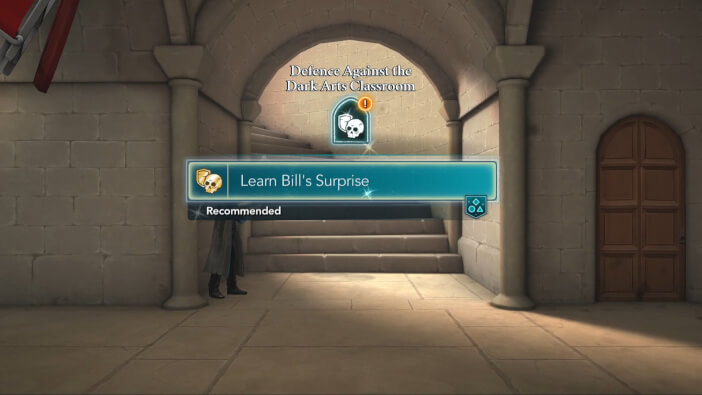
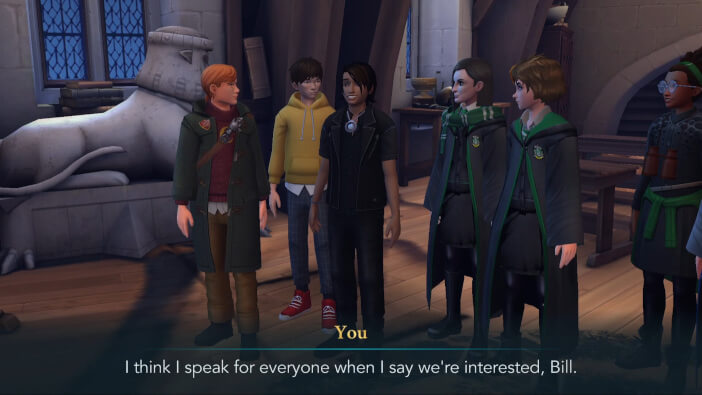
Now that the lessons are out of the way, proceed to the Defence Against the Dark Arts classroom to meet Bill.
Upon arriving, you’ll be able to interact with some of your friends.
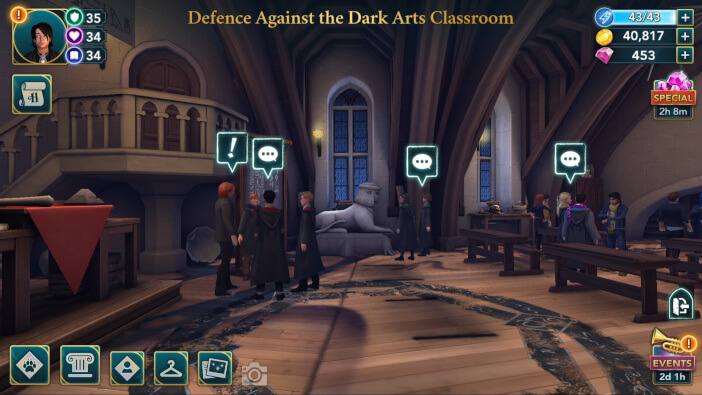
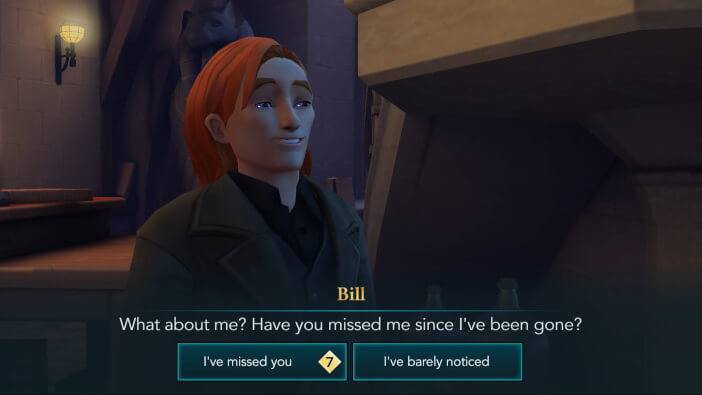
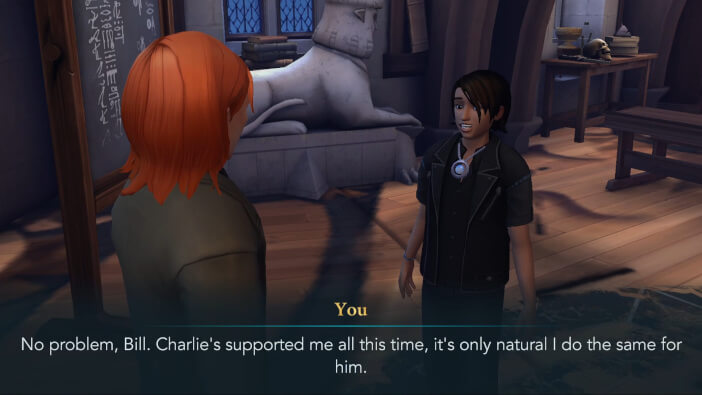
Bill will ask if you missed him since he’s been gone. You have two options to respond with. While both options will lead to a similar outcome, it is recommended to pick the first one, especially if you like Bill.
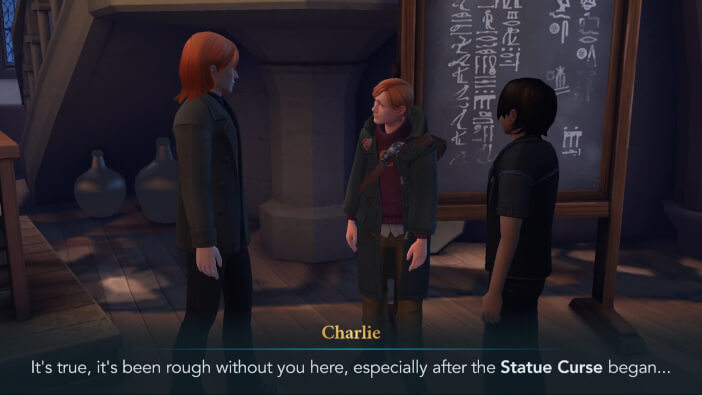
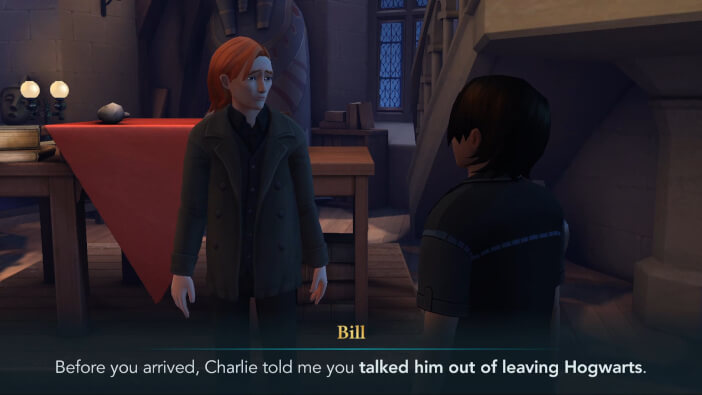
Charlie will inform his brother about the Statue Curse.
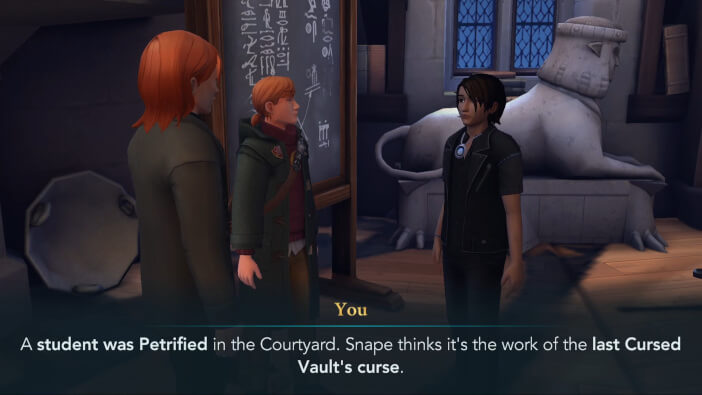
And you’ll give him a bit more detailed explanation.
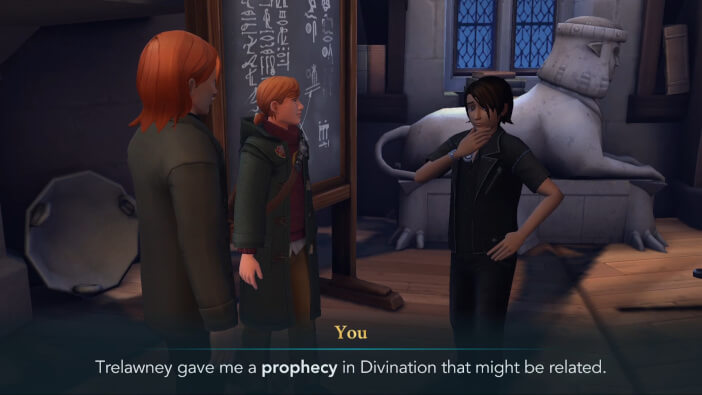
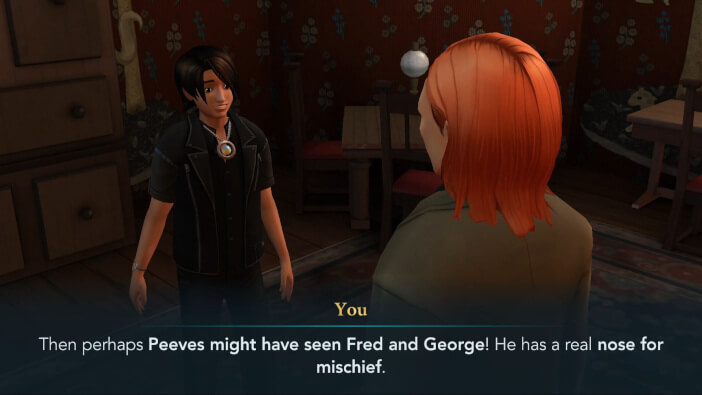
You’ll also mention Trelawney’s prophecy and the Centaurs.

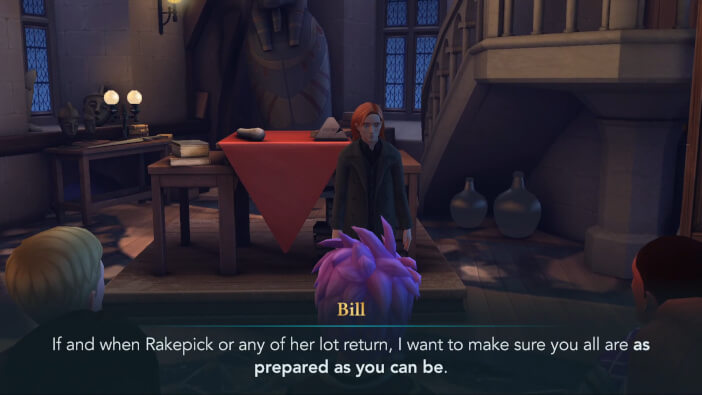
Bill will then gather everyone.
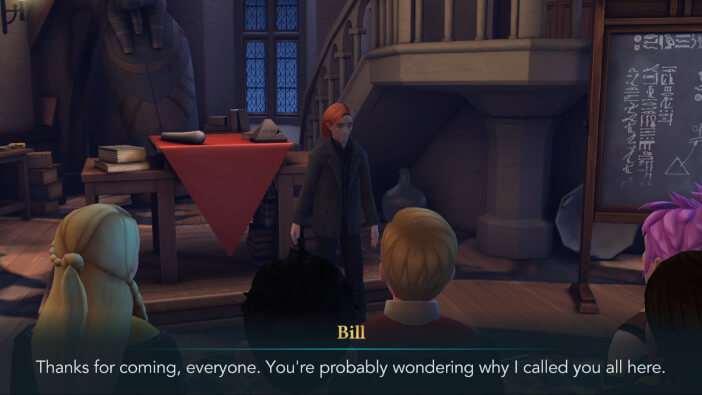
And he’ll start explaining why he’s back.
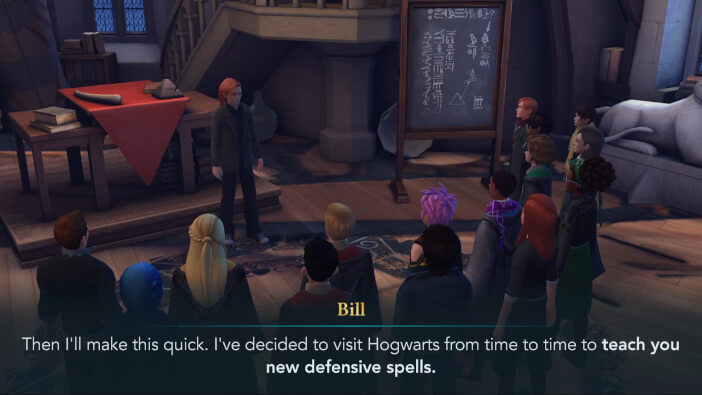
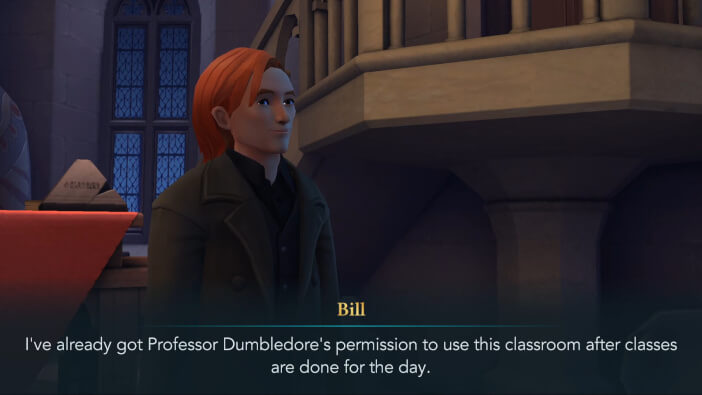
Apparently, Professor Dumbledore gave him permission to use the classroom.
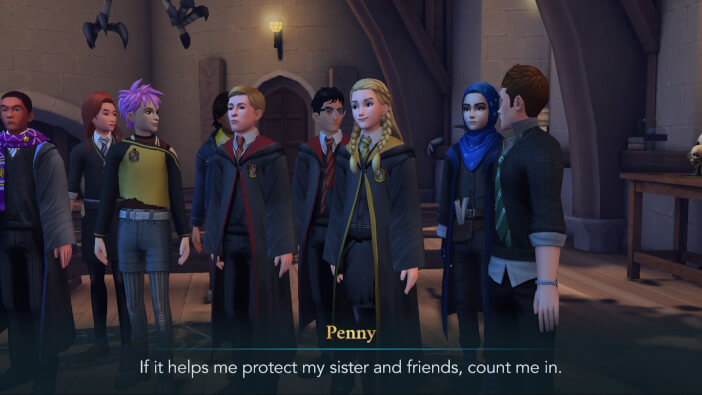
Pretty much all of your friends will be happy to have Bill tutoring them.
So it’s settled. The first spell Bill will be teaching is the Cursed Barrier. To learn it, you need to obtain at least one of five stars within eight hours.
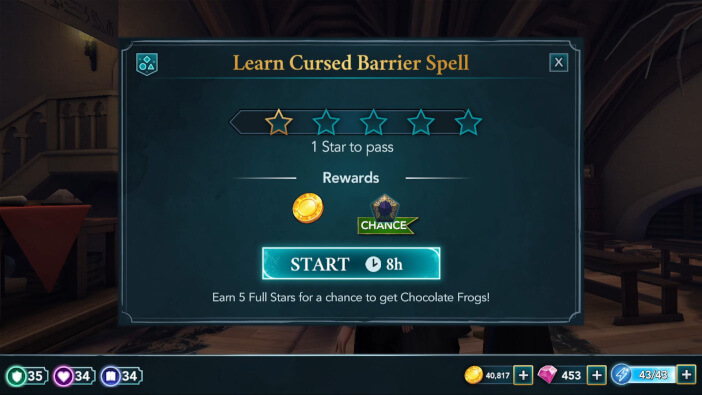
There are 5-cost actions tied to Barnaby, Tonks, and Liz, so prioritize those to save some energy.

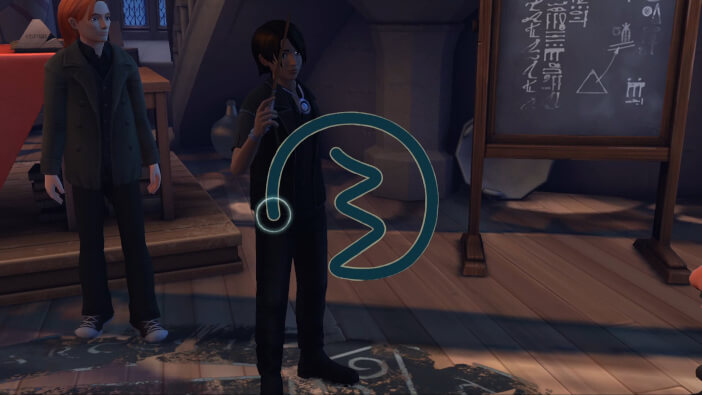
You’ll then be tasked with performing the spell. Trace the wand movement on the screen to do that.
Shortly after, Bill will dismiss the class and he’ll thank you for looking after Charlie.
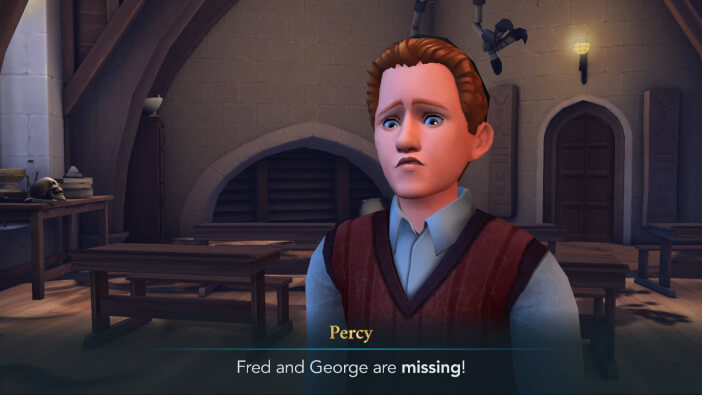
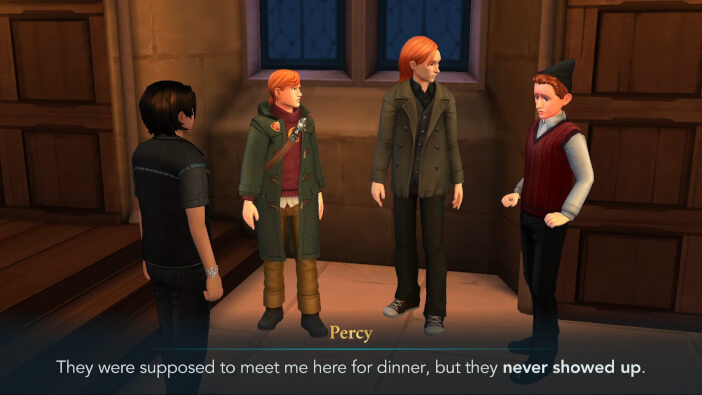
Moments later, Percy will arrive, urging you to come to the Great Hall.
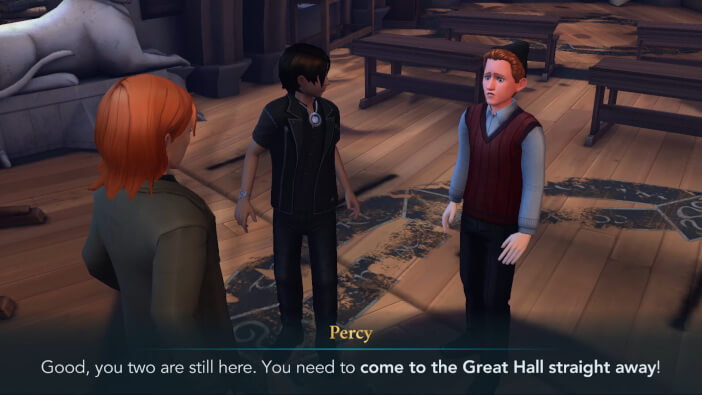
Apparently, the Weasley twins are missing.
Unfortunately, there’s a waiting period of three hours before you can proceed. It is recommended to simply wait until this timer runs out and let your energy recharge while you’re waiting.
Once you’re able to continue, head to the Great Hall to see if you can find out where the twins went.
Once you get there, you can check out what some of your friends have to say by tapping on their speech bubbles.
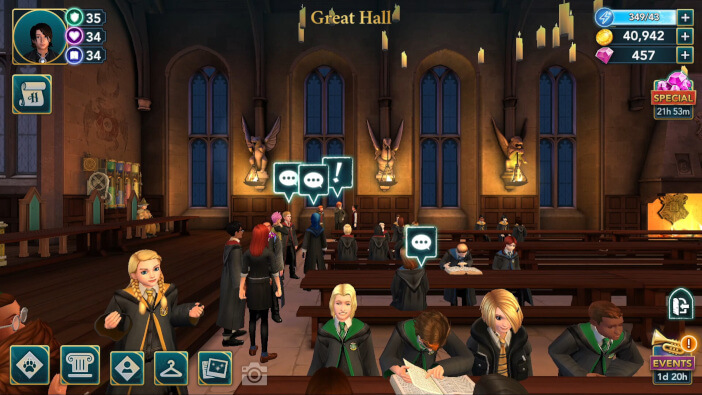
As it turns out, Fred and George are nowhere to be found.
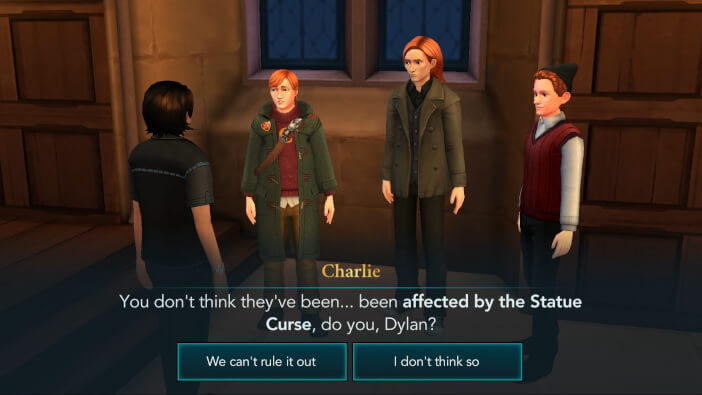
Charlie will ask if you think they might be affected by the Statue Curse. There are two options to respond with, but none of these will have any major effect on the story, so feel free to pick either one.
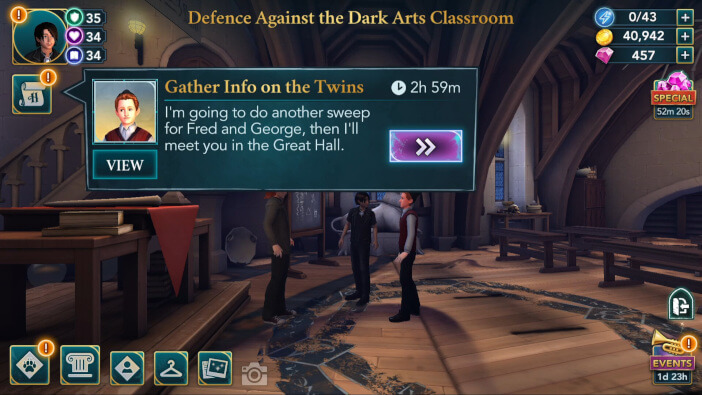
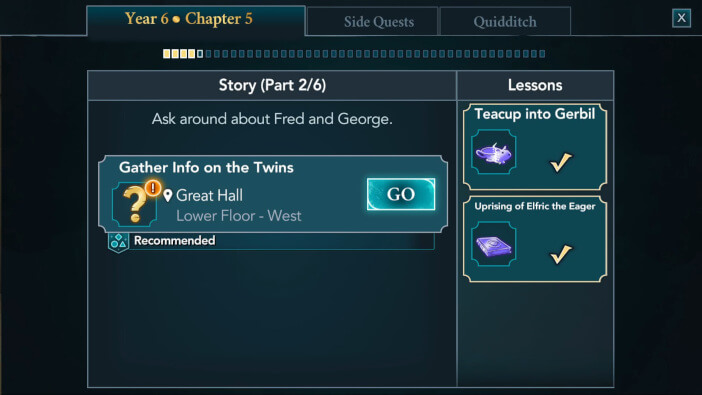
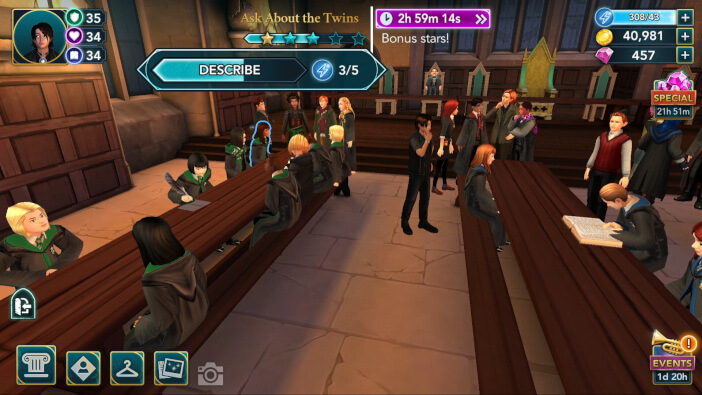
Soon after, you’ll get to ask around and see if you can gather any info on the twins. Doing that requires earning at least one out of five stars within three hours.
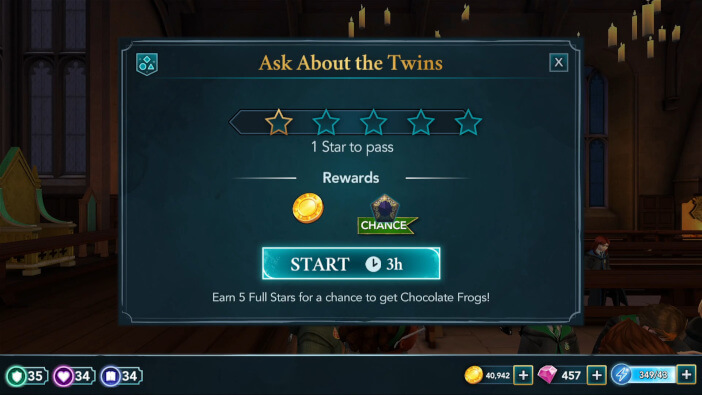
There are two 5-cost actions here. One is tied to your character, while the other one is tied to a third-year Slytherin student sitting next to Ismelda. Prioritize these if you want to save some energy.
Once you’re done, you’ll sum up your findings.
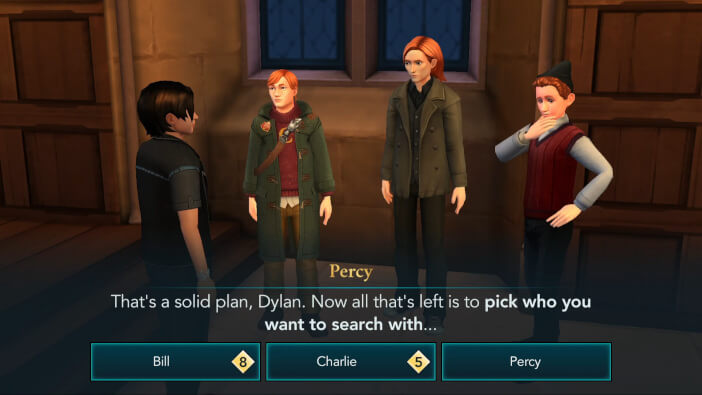
In the end, you’ll suggest splitting up to cover more ground.
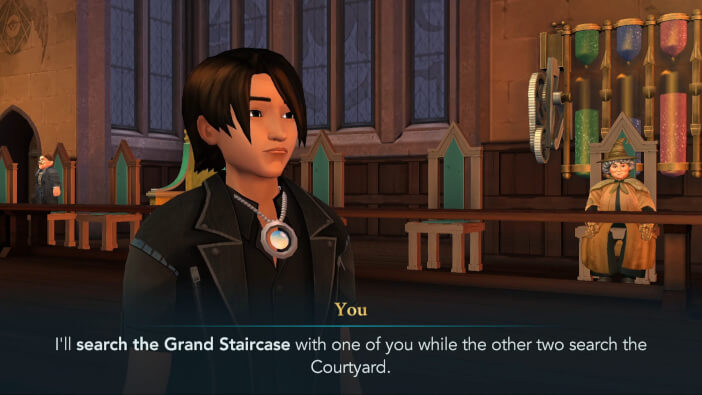
You’ll be able to pick one of the Weasleys to accompany you. This choice will impact the rest of the chapter, and many of the dialogues will be different. Still, the outcome of the chapter will remain the same. In any case, pick the one you prefer to go with. The rest of the Walkthrough will feature the protagonist picking Bill, but keep in mind that each choice has quite similar tasks, so for the most part, the major difference is in the dialogues.
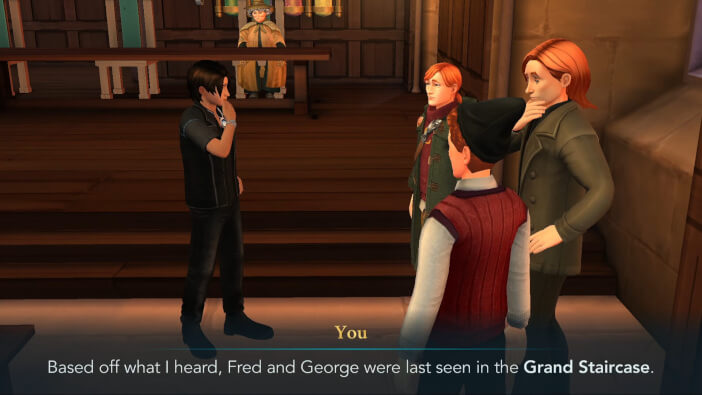
Once you’ve made up your mind, proceed to the Grand Staircase.
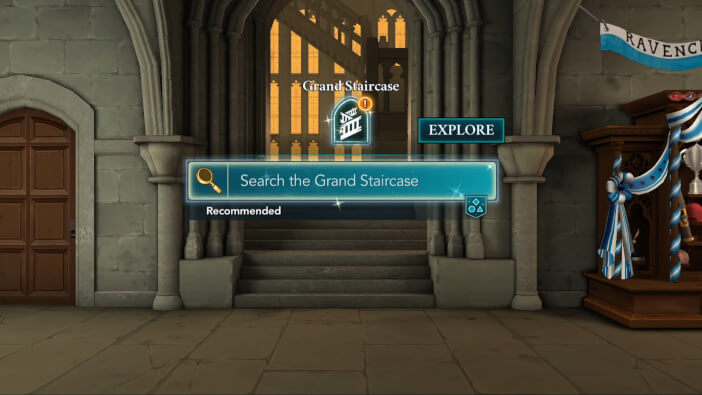
Apparently, Sir Cadogan might’ve seen the twins.
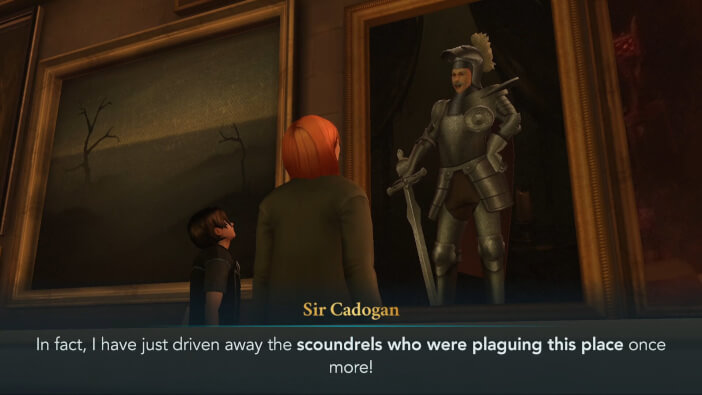
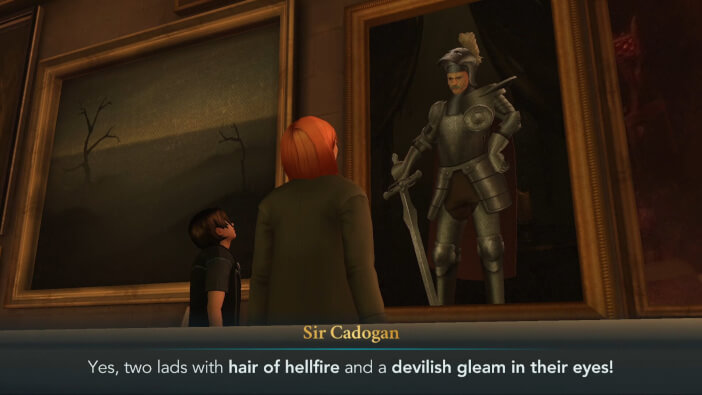
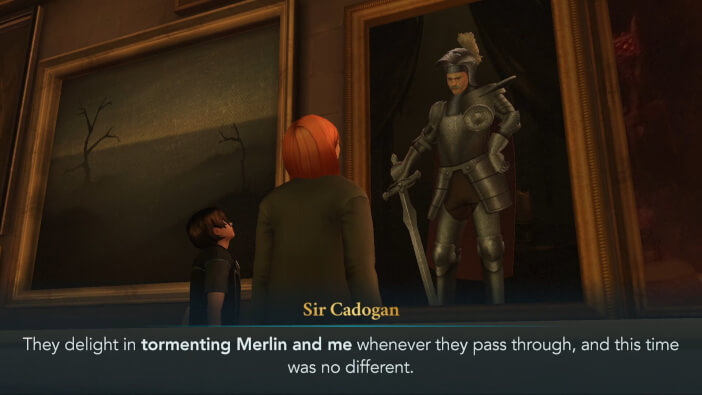
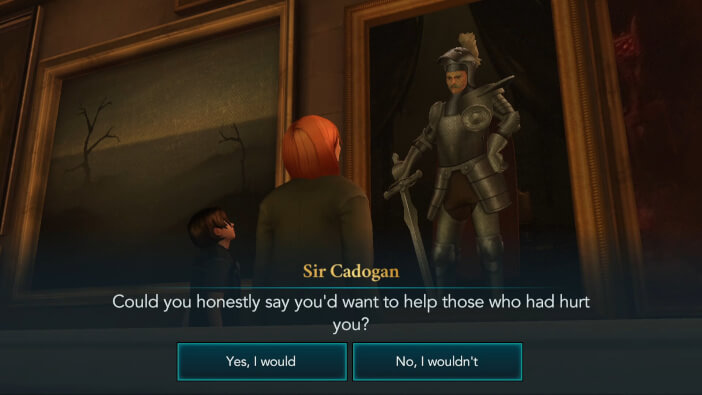
After asking him to help you find them, he’ll ask you a rather interesting question. Both of the response options will lead to a similar outcome, with some dialogue differences. In general, Sir Cadogan will react better if you pick the first option.
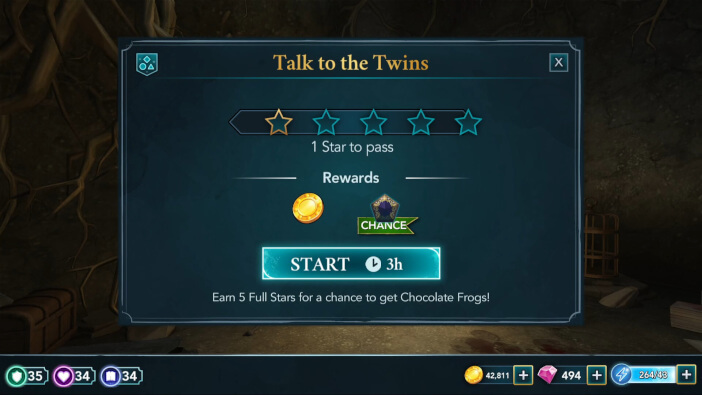
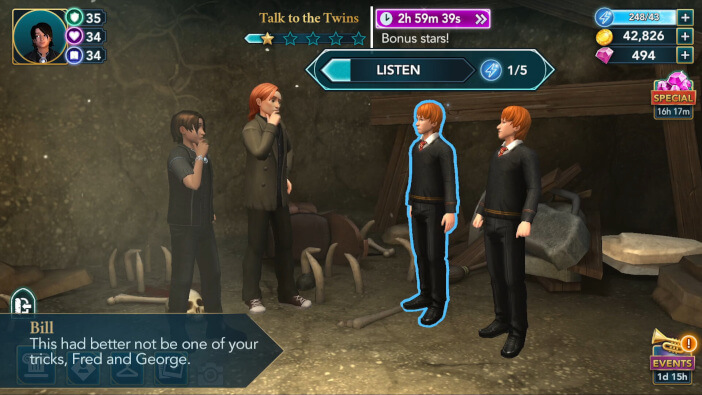
Shortly after, Sir Cadogan will agree to help you. Listening to him requires earning five stars within three hours. One star is needed to pass.
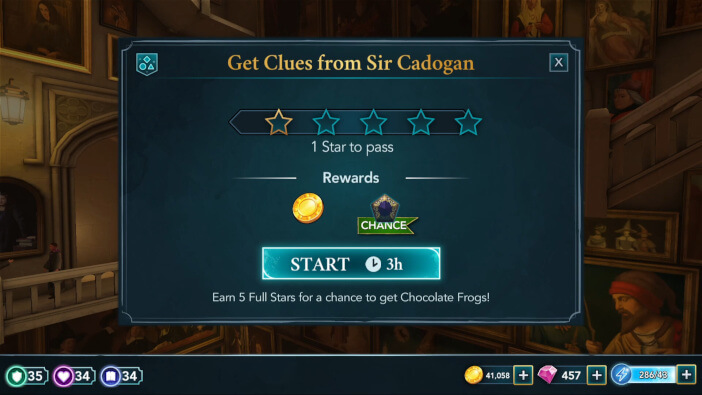
The only 5-cost action here is tied to your character, so focus on that one if you’re looking to save some energy.
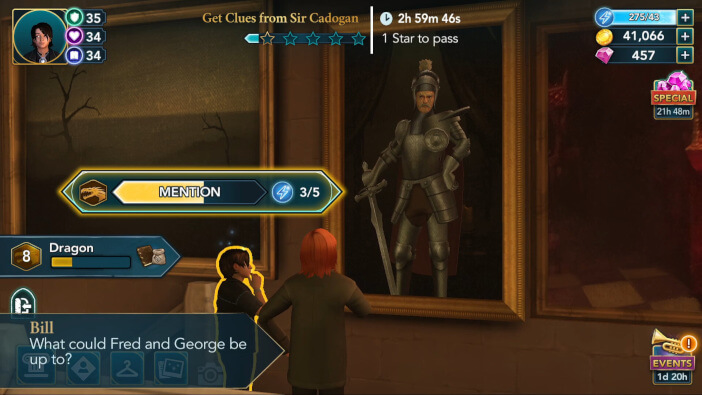
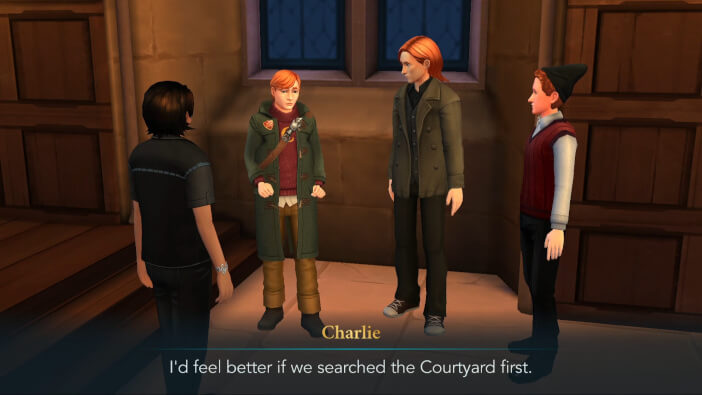
You will learn that the twins went to their Common Room.
That’s where you should be headed next, but first, there’s a waiting period of three hours. Once again, simply wait for this one to expire, and regenerate your energy while you’re waiting.
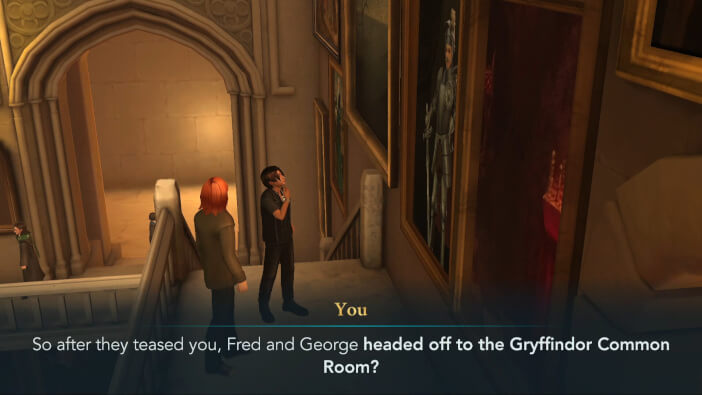
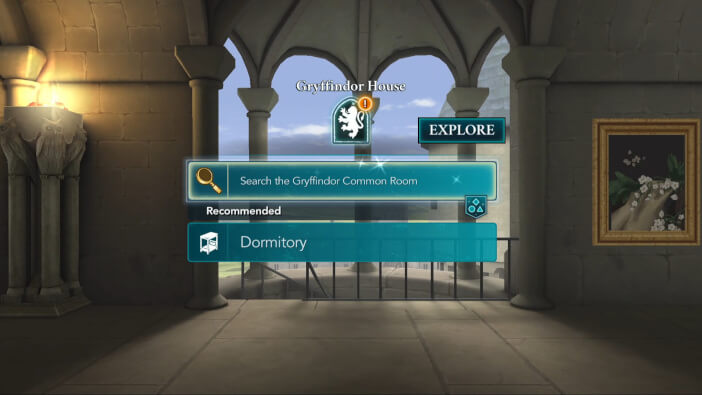
Head to the Gryffindor Common Room once you’re able to continue.
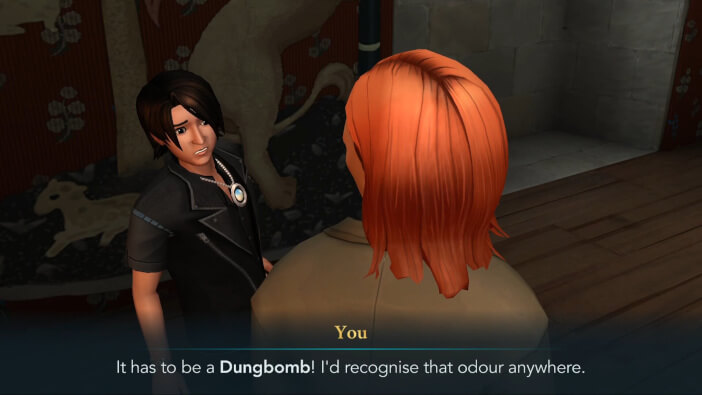
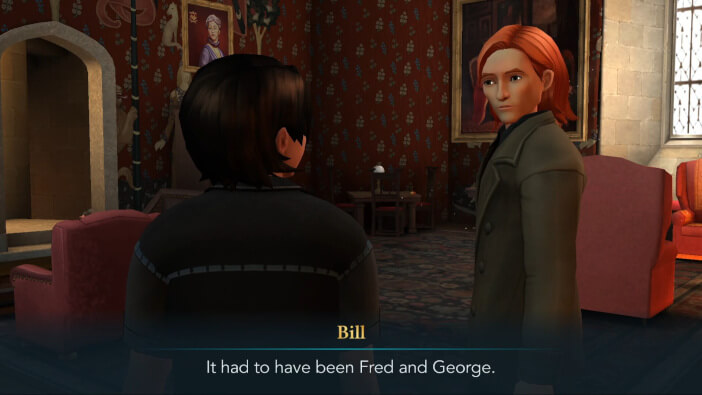
When you arrive, your Weasley friend will notice some foul smell.
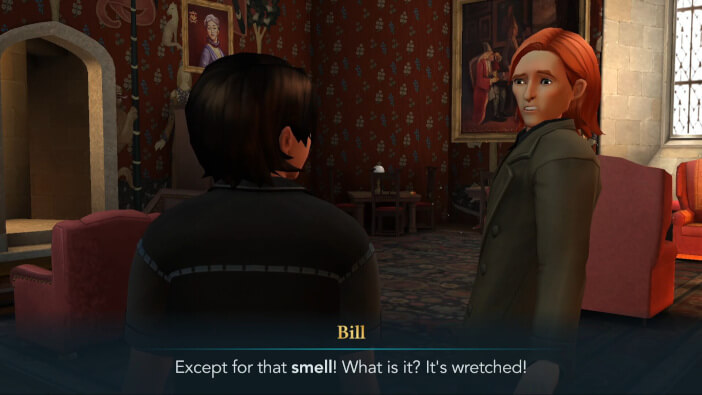
It looks like someone’s been playing with Dungbombs.
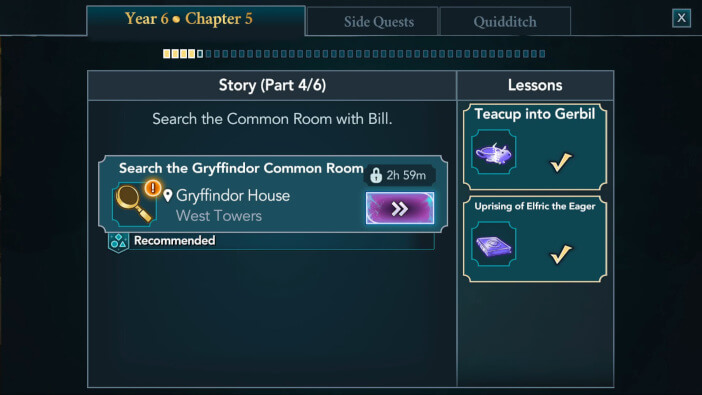
You’ll then get to search the Common Room for clues. To do that, you need to obtain at least one out of five stars within three hours.
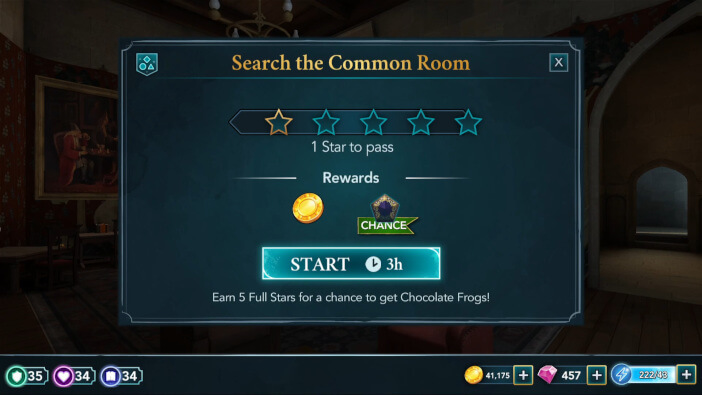
There is a 5-cost action tied to the cabinet on the left side, so prioritize it to save some energy.
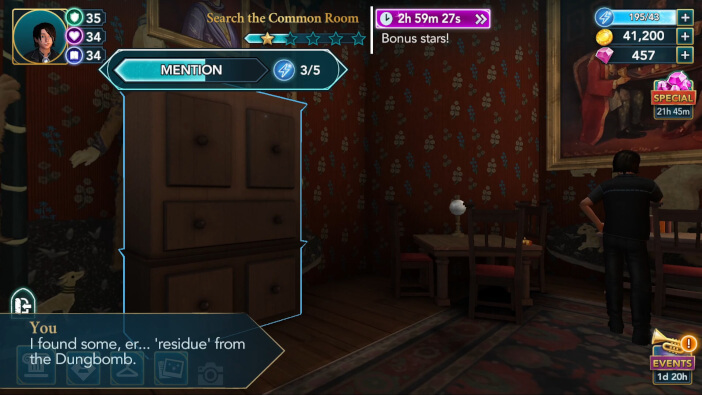
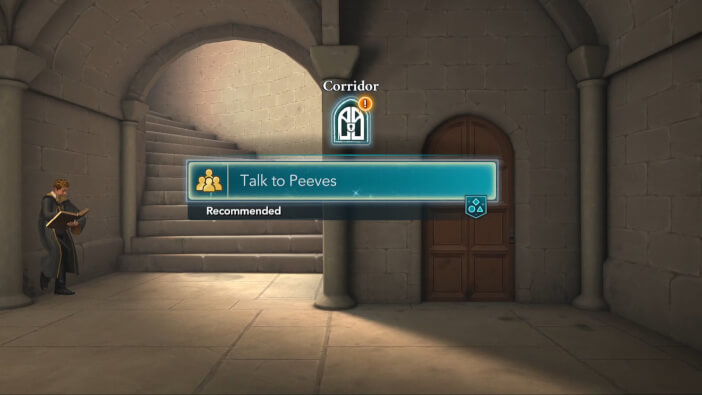
When you are done, you’ll suggest checking out if Peeves maybe knows where the twins went.
Latest Story:
Everything Wrong with Harry Potter and the Sorcerer’s Stone movie Vol. 1
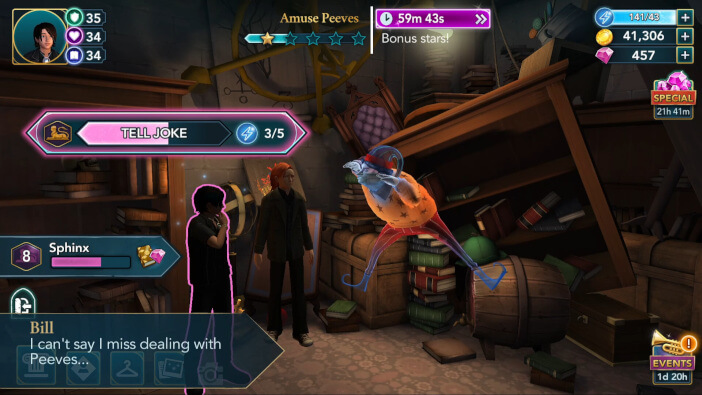
Proceed to Peeves’ room when you are ready.
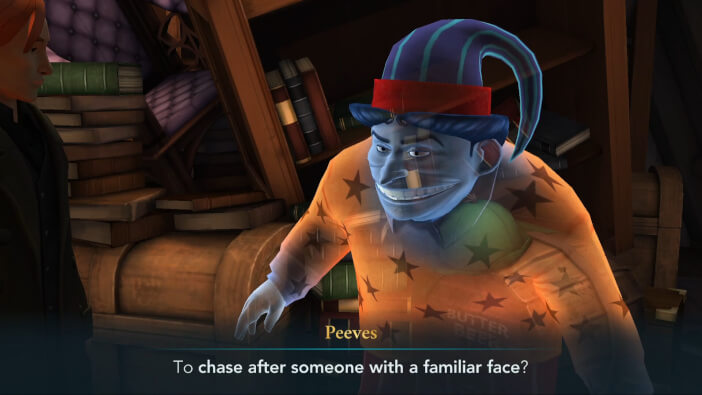
The Poltergeist will greet you and your friend.
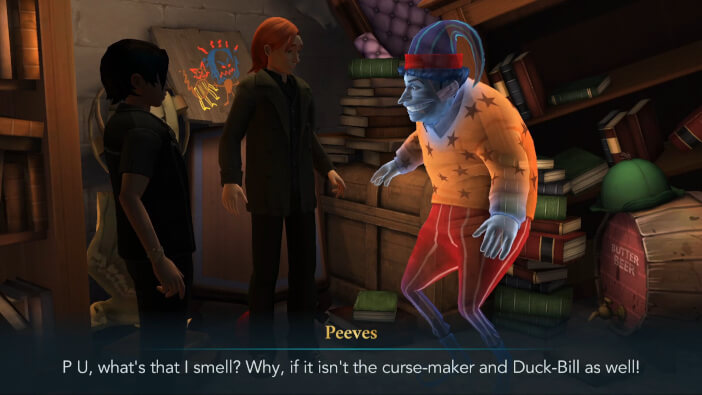
Apparently, he saw Fred and George using the Dungbomb.


However, before he tells you more, you need to amuse him.

To do that, you need to earn at least one out of five stars within an hour.
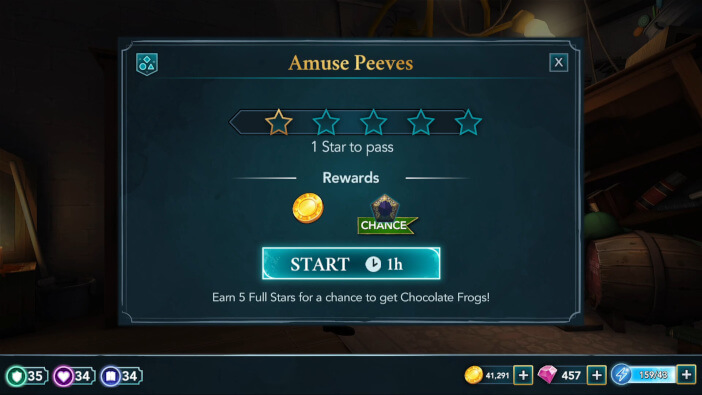
It is recommended to fully complete this task since there’s a waiting period afterward. Also, there is 5-cost action tied to your character, so focus on it if you want to save a bit of energy.
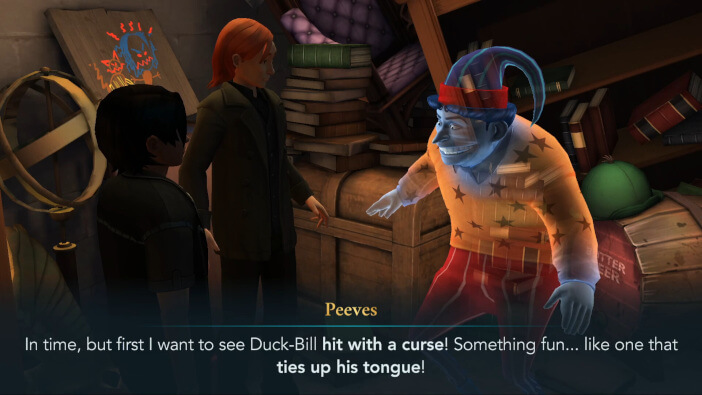
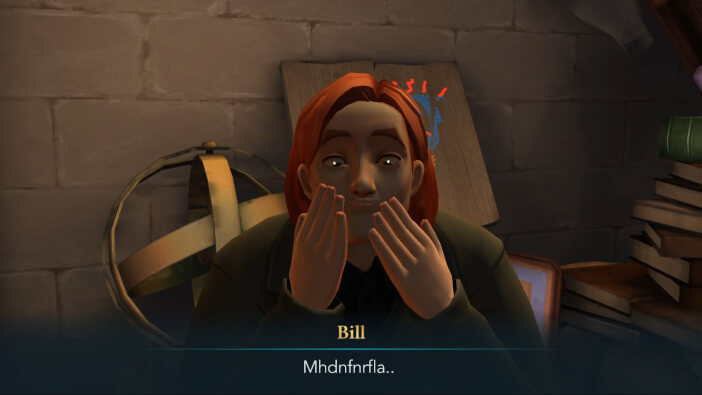
Once you’re done, Peeves will ask you to cast the Tongue-Tying Curse on your friend.
Trace the wand movement on the screen to do that.
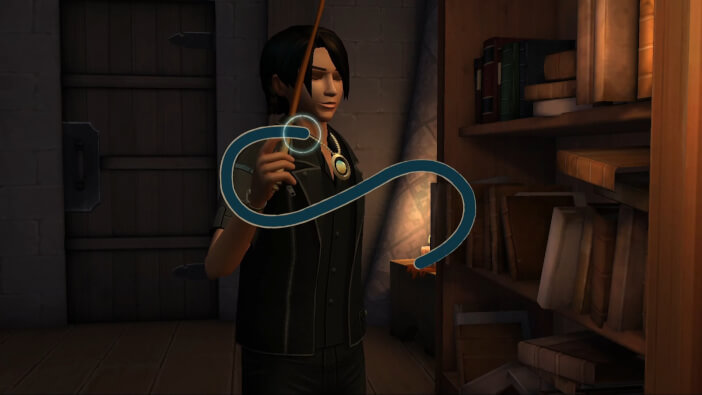
The spell will work, and Peeves will seem pretty satisfied with the results.
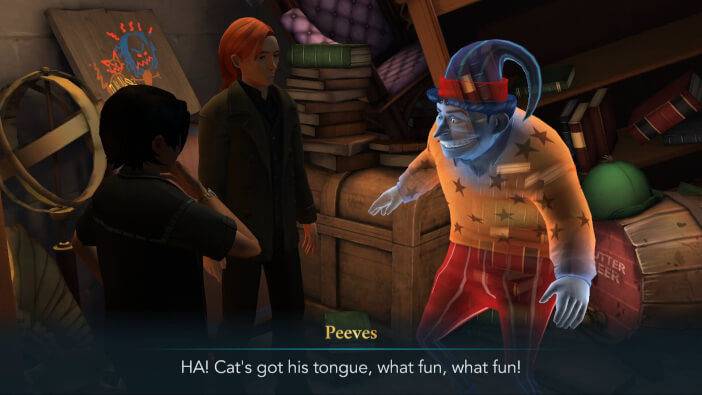
Also, it looks like he doesn’t want to tell you where the twins went, so you’ll be able to try and convince him to do so. Sadly, none of the options will work, so you can feel free to pick whichever one you want.

Moments later, you’ll get to use Finite Incantatem to free your friend from the effects of the Tongue-Tying Curse.
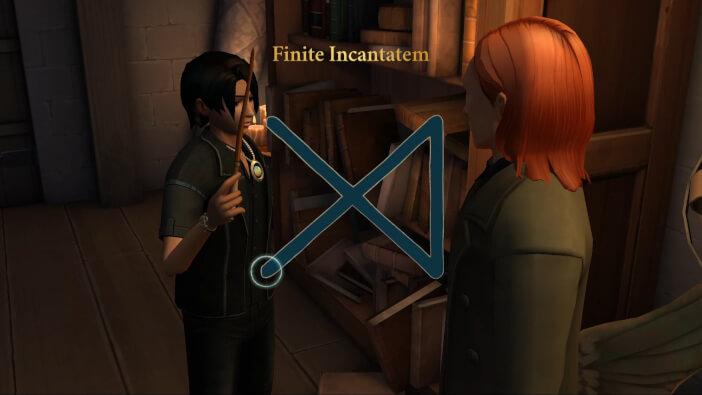
After doing that, you and your friend will trick Peeves into saying where the twins went.
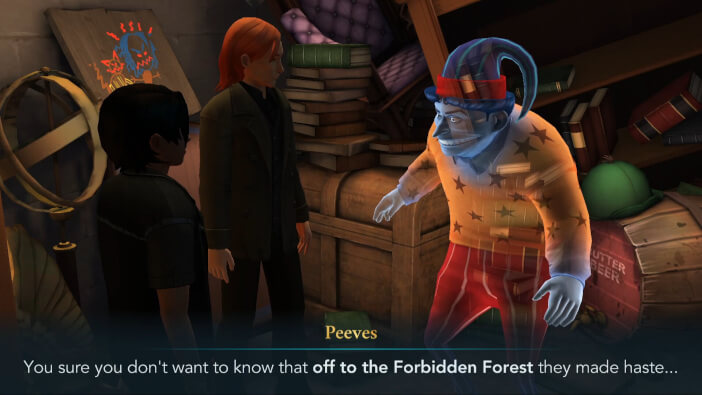
So, they went to the Forbidden Forest. As mentioned before, you’ll have to wait four hours before you’re able to proceed. It is recommended to simply wait and let this timer expire while your energy is regenerating.
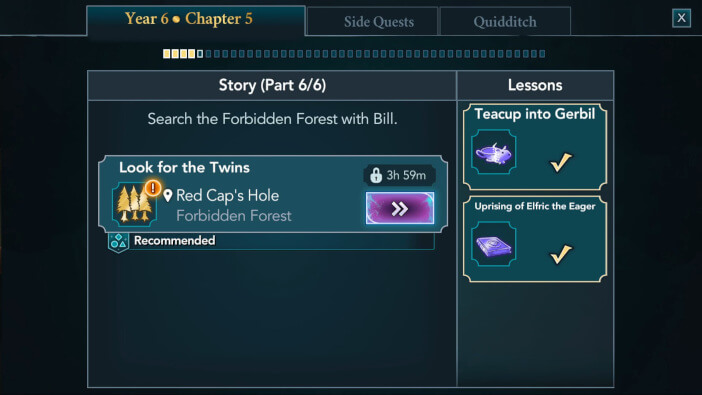
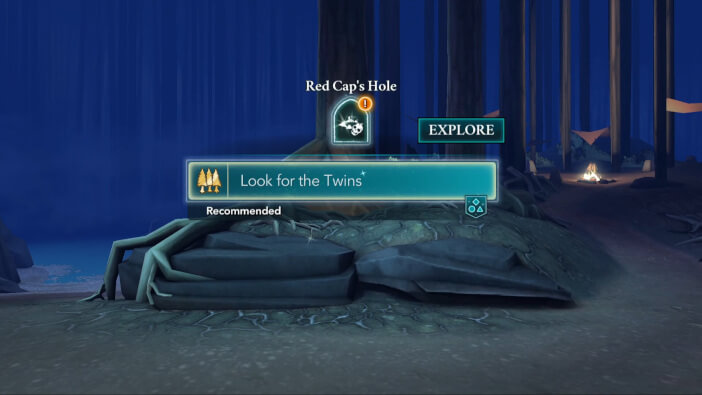
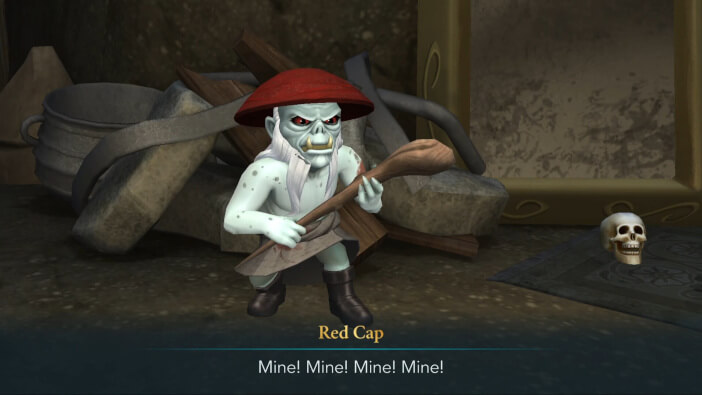
Once the waiting time is over, go to the Red Cap’s Hole to look for the twins.
Surprisingly, you’ll find both of them completely fine and unharmed.
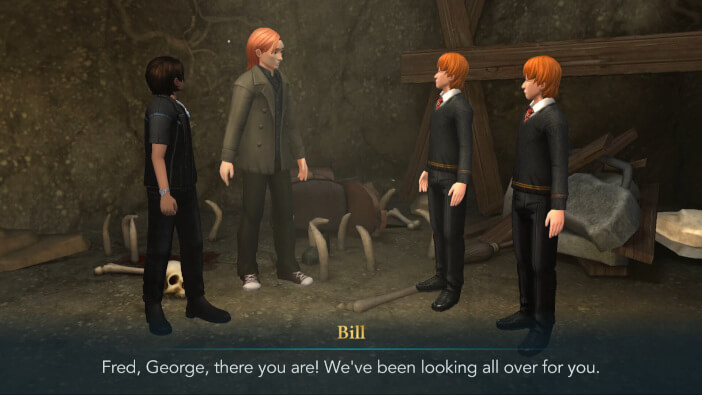
Apparently, there’s a reason they went into the forest.
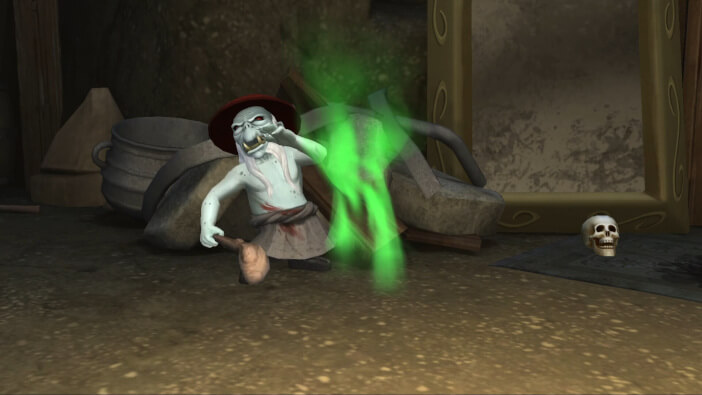
But before they could tell you more, the Red Cap will show up. He won’t seem happy to see you and the Weasleys.
Thankfully, Fred will be quick to react and throw a dungbomb at Red Cap.

This will force the creature to run away.
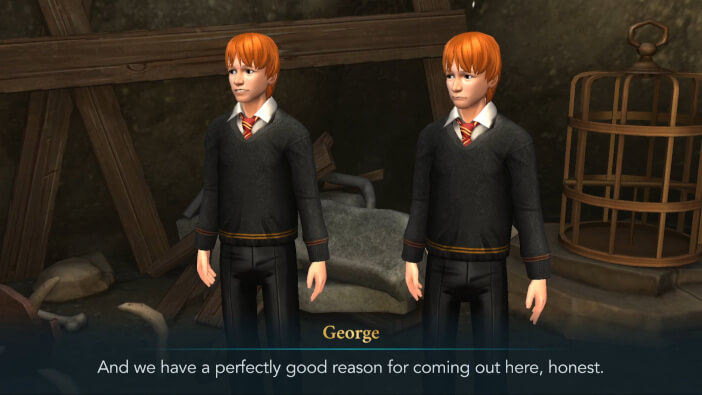
The twins will then insist on telling you why they went into the Forbidden Forest.
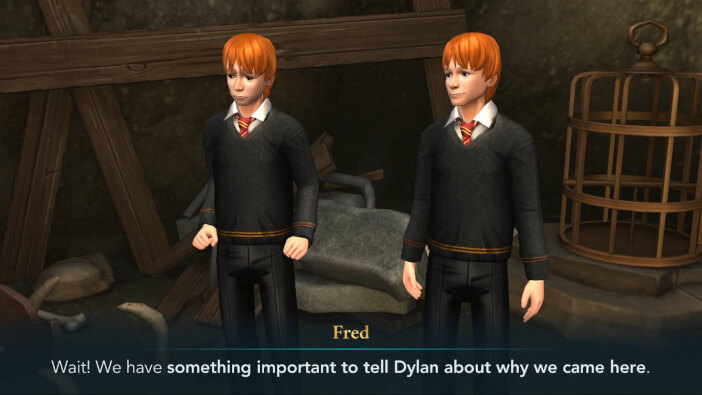
Listening to their story requires earning five stars within three hours. Only one star is needed to pass.
There is a 5-cost action tied to Fred, so prioritize it if you are looking to save some energy.
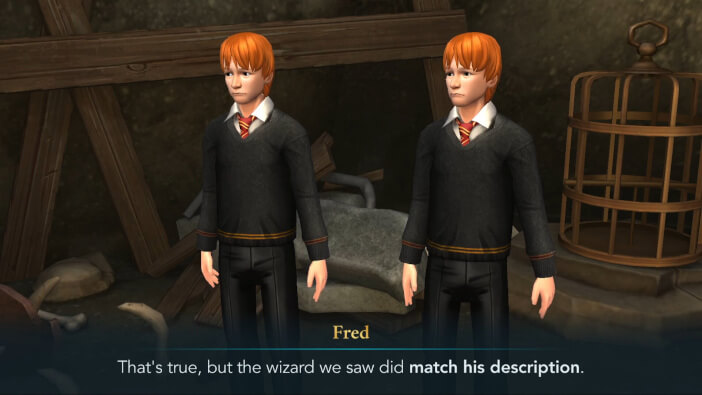
When you are done, you’ll learn that the twins were following Jacob.
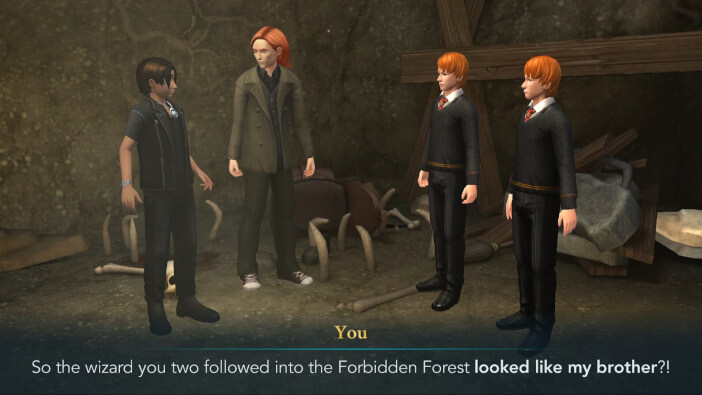
And they’re quite sure it was him.
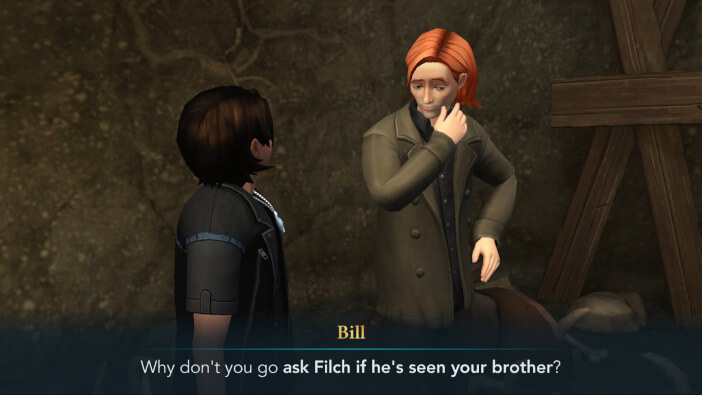
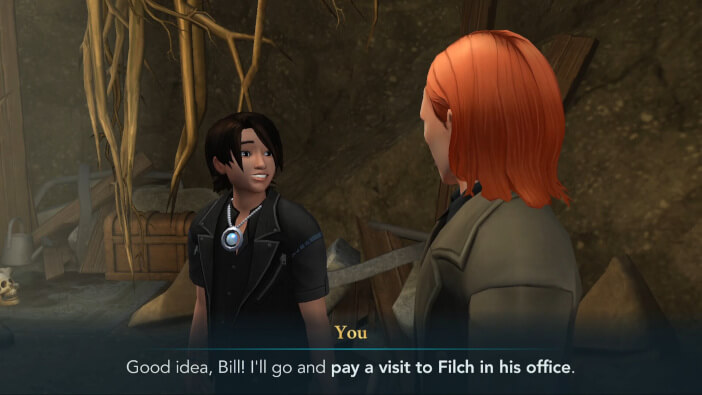
Your friend will suggest talking to FIlch.
This will conclude Chapter 5 of Year 6. Hit the Collect button to claim your rewards.
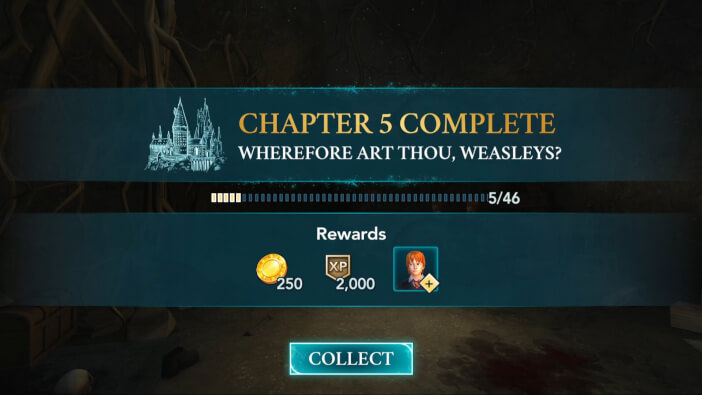
Does Filch really know where Jacob is? And will you finally get to see your brother again? Find out in the next chapter of Harry Potter Hogwarts Mystery!
Thank you for reading.
Previous Chapter Next Chapter