Chapter 8 – Owl Prowl
Introduction
Hello everyone, welcome to our Walkthrough for Chapter Eight of Year Six of Harry Potter Hogwarts Mystery. Last time, Penny introduced you to Cedric Diggory, an immensely popular first-year Hufflepuff student. That’s when you noticed Sickleworth carrying a white quill. You immediately realized that following Madam Rakepick’s Niffler could lead you straight to her, so you went after him.
It took you a while to find Sickleworth, given how elusive Nifflers can be, but eventually, you found him in Jacob’s room, and much to your surprise, your brother was also there. After discussing things with him, you found out that the white quill was in fact, a message for you from ‘R’. Apparently, they still want to kill one of your friends, which was quite alarming news. You also learned that the White quill likely belonged to one of the owls, so you decided to locate it and see if you could learn more.
Summary
Chapter Summary:
- Lesson 1: Cheese-Based Potions
- Location: Potions Classroom
- Unlock: 9 Potions Stars
- Requirements: 3 hours – 5/5 stars
- Lesson 2: Diricawl
- Location: Care of Magical Creatures Classroom
- Unlock: 9 Care of Magical Creatures stars
- Requirements: 3 hours – 5/5 stars
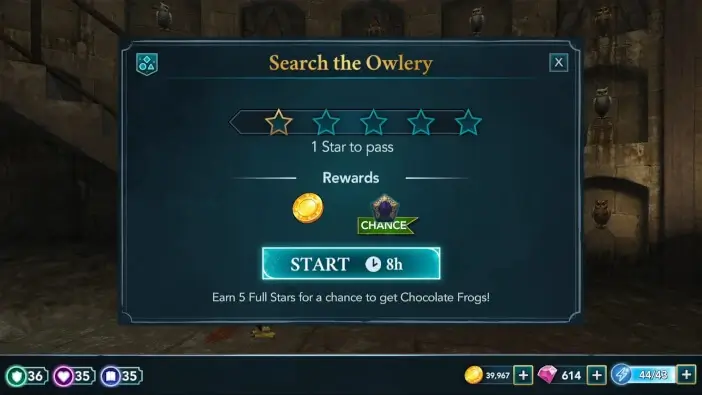
- Task 1: Search the Owlery
- Location: Owlery
- Requirements: 8 hours – 1/5 star
- Choice: Tell Talbott what you think about him spending time around Owlery
- It’s a little bit odd (28 Knowledge): +10 Knowledge
- I understand why you do: +5 Empathy
- Task 2: Search the Forbidden Forest
- Location: Forest Grove
- Requirements: 1 hour – 1/5 stars
- Choice: Answer Lizz Do you think Rakepick threatened you
- It has to be: +5 Knowledge
- I don’t think so: +5 Knowledge
- Task 3: Look for the White Owl
- Waiting Time: 3 hours
- Location: Hogsmeade Train Station
- Requirements: 3 hours – 1/5 stars
- Choice 1: Answer Tonks are you afraid of the Statue Curse
- I’m afraid: +5 Empathy
- I’m not afraid: +5 Empathy
- Choice 2: Answer Tonks if she could be a potential target
- It’s possible (Tonks level 7): +10 Knowledge
- I wouldn’t worry: +5 Empathy
- Task 4: Visit Zonko’s
- Location: Zonko’s Joke Shop
- Requirements: 3 hours – 1/5 stars
- Task 5: Talk to Aberforth
- Waiting Time: 4 hours
- Location: Hog’s Head Inn
- Requirements: 1 hour – 1/5 stars
- Choice: Ask Aberforth for information calmly or threaten him
- Threaten Aberforth for info (38 Courage): +10 Courage
- Appeal to Aberfoth for info: +5 Empathy
- Chapter Rewards: 250 Coins and 2000 Experience Points
walkthrough
But before that, you can get the lessons out of the way. Proceed to the Potions classroom when you are ready. To unlock the Cheese-Based Potions lesson, you need to earn nine stars from Potions classes. Pick whichever class duration you prefer and hit Start to begin.

As usual, prioritize the reward actions to save energy.

As for the mini-tasks, each of those will grant you 10 Knowledge points upon successful completion, which is a nice bonus.
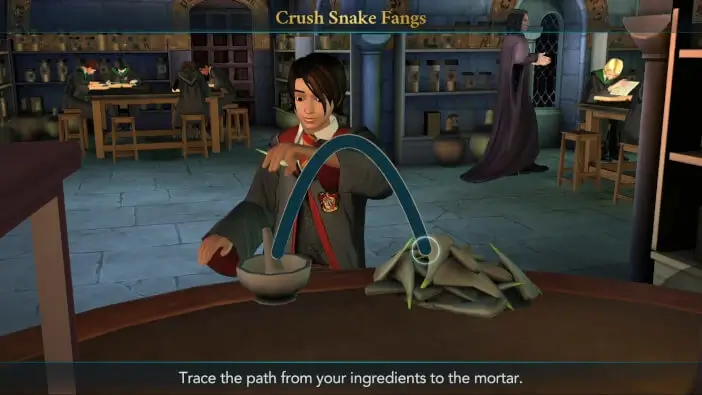
Head back to the Potions classroom once you unlock the lesson. Learning to brew Cheese-Based potions requires earning five stars within three hours. As with most of the lessons, all five stars are needed to pass.

Do this just like the previous classes, and you should have no problem completing it in time.


Upon earning the fifth star, you’ll be tasked with waving your wand over the cauldron.

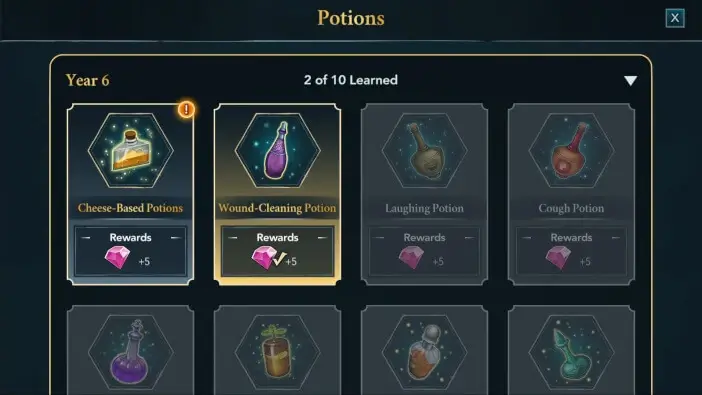
Hit the Collect button to claim your rewards. You’ll earn an additional reward for completing the lesson. You can claim it in the Potions section of your Hogwarts Record.
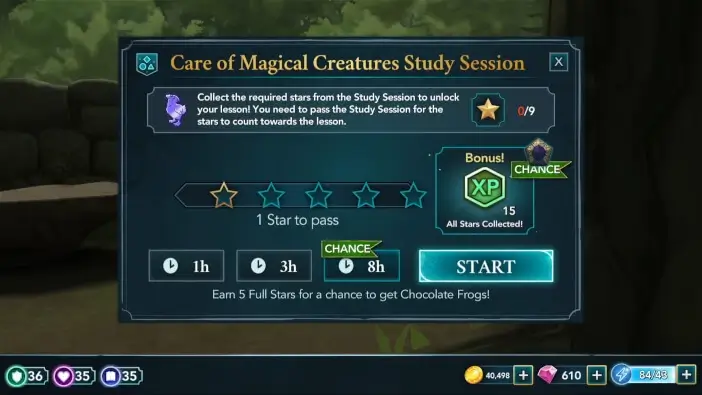
When you are ready, proceed to the Care of Magical Creatures for the second lesson of the chapter. To unlock the Diricawl lesson, you need to obtain a total of nine stars from the Care of Magical Creatures classes. Like before, pick the class duration suitable to your liking and hit Start to begin.
As always, focus on the bonus actions to save energy.

Try your best to complete as many mini-tasks as possible to earn some extra Courage points.

Head back to Care of Magical Creatures to attend the lesson after you unlock it. To complete the Diricawl lesson, you need to earn five stars within three hours. Since all of the stars are needed to pass, it is not recommended to start this lesson if your energy is low.

Other than the Puffskein, this is likely one of the cutest Magical Creatures you’ve encountered so far.


When you are done, hit the Collect button to claim your rewards. You can collect an additional reward in the Care of Magical Creatures section of your Hogwarts Record.

Now that you’ve completed the lessons, you can proceed to the Owlery to see if you can find any clues about the white owl. This will be your first visit to Owlery, and your character will be very impressed by it.

However, locating a particular white owl could be a challenge. Shortly after, you’ll notice you have company. You’ll say hello to Talbot and mention that you didn’t expect to find him here.

If you completed the Flying Solo adventure and unlocked Talbott as a friend, you’ll get some additional lines of dialogue.
He’ll ask if you find it odd that he likes hanging around Owlery. There are two options to respond with. This choice won’t influence the story in any significant way, so feel free to take your pick.

Shortly after, you’ll explain why you came to Owlery. You will tell Talbott that the white quill came from a white owl and that you are looking for it to lead you to whoever is responsible for the note.

Sadly, Talbott doesn’t know of any student having a white owl, but he’ll offer to help you search the place. If you completed Become an Animagus adventure, you’ll suggest using your Animagus abilities to search.

Both of you will then turn into your animal forms, and the search may start.

Searching the Owlery requires earning at least one out of five stars within eight hours.
There are bonus actions tied to your character and Talbott, so focus on those if you want to save some energy.

Sadly, you won’t find the white owl inside the Owlery. However, Talbott will recall seeing one in the Forbidden Forest.

That seems like a promising spot to resume your search, and you’ll thank Talbott for his assistance. Proceed to Forest Grove when you are ready. When you get there, you’ll see Liz, Chiara, and Borf, and the white owl will be sitting on Liz’s arm.

Sadly, your presence will startle the owl, and it will fly away.

Apparently, the owl’s name is Artemis, and Liz has been taking care of it for a while.


You’ll explain to them why you are looking for the white owl.

Liz will ask if you think that Rakepick’s the one who threatened you. This choice won’t affect the story in any major way, so feel free to choose the option you prefer.

She’ll then offer to tell you more about Artemis. Discussing the white owl requires earning one out of five stars within an hour.

Both Borf and your character have reward actions tied to them, which should save you some energy. Also, it is recommended to fully complete this task since there’s a waiting period afterward.

According to Liz, the white owl was frequently at Hogsmeade Station.

Considering the situation, Chiara will offer to go with you there. You’ll thank her for being kind to offer help, but you’ll ask her to stay close to the castle and inform you if she sees Artemis again. Liz will advise you against going to the Hogsmeade Train Station alone, but fortunately, there may be someone available to accompany you.

As mentioned before, there is a waiting period of three hours before you can proceed. It is recommended simply to wait until this timer runs out and let your energy regenerate in the meantime.

Once the waiting time is over, head to the Hogsmeade Train Station to look for Artemis. Upon arriving, you’ll be able to interact with some of the characters before continuing. After greeting each other, you’ll apologize to Tonks for not having time to catch up with her.

Thankfully, being cheerful as she is, Tonks won’t hold it against you. she’ll ask if you’re afraid of the Statue Curse. This choice will affect the following dialogue, but it won’t influence the story in any meaningful way, so feel free to take your pick.

You’ll then tell her what you’re looking for.


Tonks will be quite shocked to hear that. Especially the part about ‘R’ threatening to kill one of your friends. She’ll ask if she could be the potential target. While this choice won’t affect the story that much, it is recommended to be honest with Tonks and pick the first option.

In any case, Tonks will be happy to help you with your search. Searching the Hogsmeade Station requires earning at least one out of five stars within three hours.

There are bonus actions tied to the bench and one of the trunks. Prioritize these actions if you want to save some energy.

Unfortunately, the white owl is currently untraceable, leading Tonks to suggest a break and a visit to Zonko’s to lift your spirits, a proposition to which you happily agree. After all, you deserve to have some fun.

When you’re ready, head over to Zonko’s Joke Shop, and upon arrival, you’ll notice that Bilton is pretty preoccupied with something.

This time, he purposefully released the Fanged Frisbees.

Tonks will apologize as her initial distraction plan didn’t go as expected. However, it appears that Bilton possesses information about the white owl you’re searching for, leading you to ask if he has seen her.

You’ll gladly decide to help him in exchange for the information about the White Owl. He’ll suggest studying them before blasting them away. This requires earning five stars within three hours. One star is needed to pass.

One of the frisbees and Bilton have reward actions tied to them, so prioritize those to save some energy.

When you are done, you’ll be tasked with casting Bombarda, so trace the wand movement to perform this spell.

Shortly after, Bilton will advise you to look for the White Owl at the Hog’s Head Inn.

As it appears, Tonks is quite determined to go there with you. Still, there’s a waiting period of four hours before you can continue. Like before, it is recommended to wait until this timer expires and let your energy replenish in the meantime.

In any case, once the waiting time is over, proceed to the Hog’s Head Inn. Upon arriving, you’ll be able to interact with some of the characters before continuing. It looks like Aberforth knows about your meetings with Mad-Eye Moody.

Tonks will be surprised because the owner of this place knows more about your meeting with Mad-Eye than her.

However, that’s not the reason why you came, so you’ll ask him about the white owl. Unsurprisingly, he did see one. Despite this, he will be quite hesitant to reveal that information to you. You have two options to try and convince him. Neither of these will change the outcome of the story, so feel free to pick the option you want.

Eventually, he’ll agree to tell you more about the white owl and its owner. Talking to Aberforth requires earning at least one out of five stars within an hour.

Your character and Aberforth have bonus actions tied to them, which should save you some energy.

When you are done, you’ll learn that the white owl belongs to Rakepick.

Aberforth will say that she notified the Auror office where she was headed, Apparently, she went towards Knockturn Alley.


This will conclude Chapter 8 of Year 6. Hit the Collect button to claim your rewards. You will receive 250 Coins and 2000 Experience Points.
What will happen when you go to Knockturn Alley? Will you find Rakepick there? Find out in the next chapter of Harry Potter Hogwarts Mystery.
Thank you for reading.