
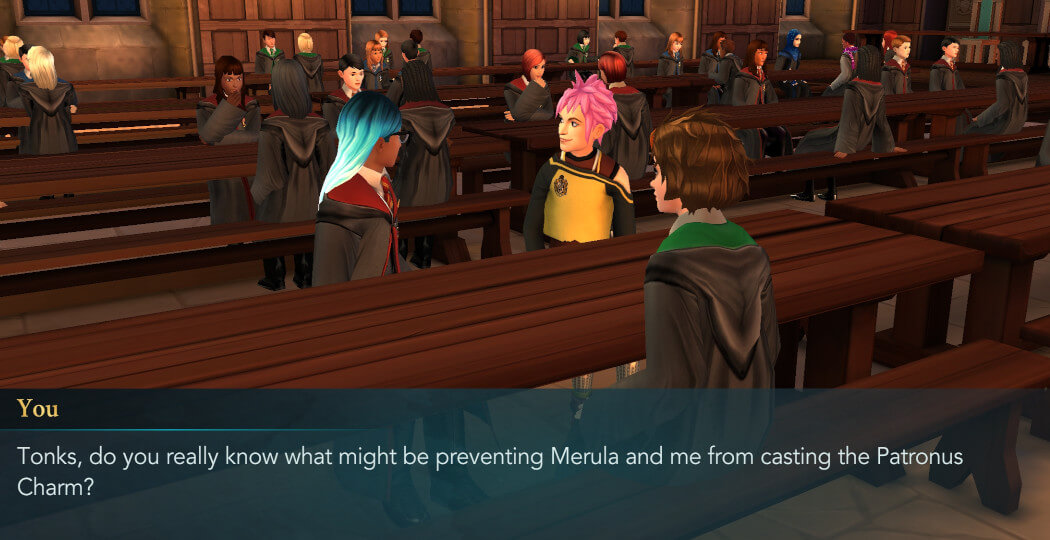
Part 4 of our Walkthrough for Unleash Your Patronus Adventure for Hogwarts Mystery is out! During this part, you’ll meet with Tonks and Merula in the Great Hall. Apparently, Tonks thinks that your fears are preventing you from casting the Patronus Charm. In order to successfully conjure it, both Merula and you need to overcome your fears, otherwise, you won’t be able to master this spell. She’ll suggest talking about your fears, and perhaps, this will help you regain your focus.
Later on, you’ll learn that the Headmaster wants to have a word with you in his office. As it turns out, he is completely aware of what you’ve been doing recently, and he wants to talk with you about the recent events.

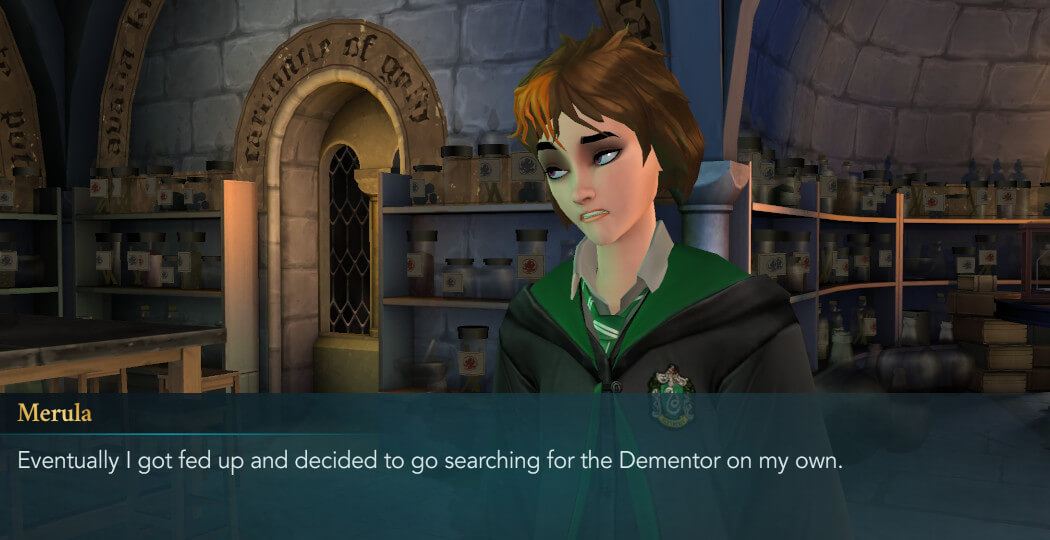
Afterward, you’ll learn that Merula has been searching for the Dementor on her own. She heard some rumors saying it was spotted inside the Potions Classroom and she decided to check out if it’s true. It seems that she is desperate to face it for some reason, but getting her to open up about it, might prove quite difficult.
Will you overcome your fears and gather enough focus and courage to face the Dementor? And what will happen when you do? Will you finally be able to conjure a Patronus? Find out in our Walkthrough for Part 4 of Unleash Your Patronus Adventure for Harry Potter: Hogwarts Mystery!