Chapter 1-1 The Disappeared Shadow
Complete Walkthrough
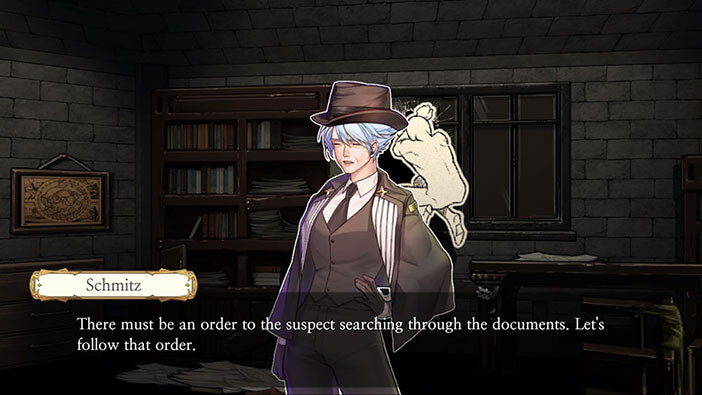
Hello everyone, and welcome to our Walkthrough for the First Stage of Chapter 1 for the Frankenstein Room ESC adventure game.
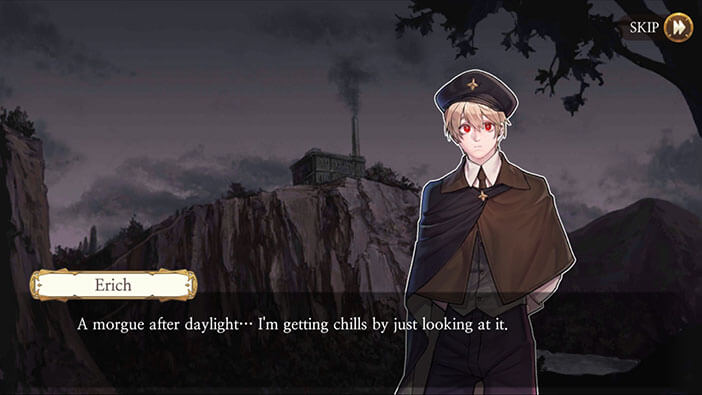
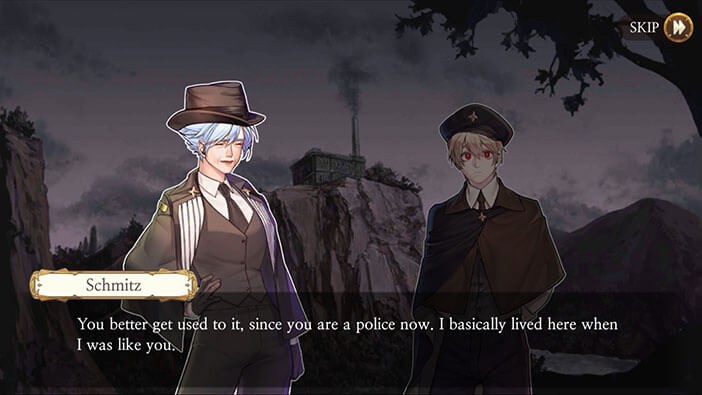
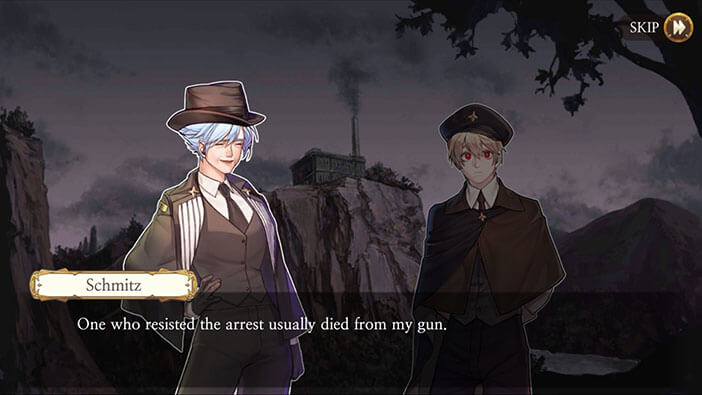
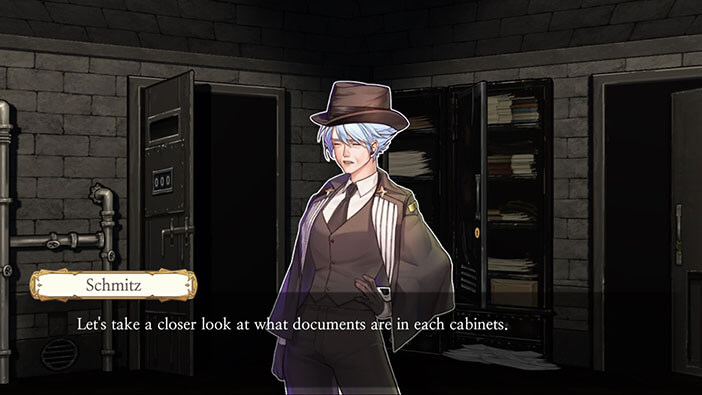
In this chapter, we will be taking on the role of Schmitz, the Chief Inspector. She and Erich, her deputy, are going to the morgue to investigate a crime scene. However, Erich feels a little uncomfortable, since they will be visiting the morgue at night. He also finds out that the Schmitz often visited this place because she had to use her weapon and kill violent criminals on several occasions.

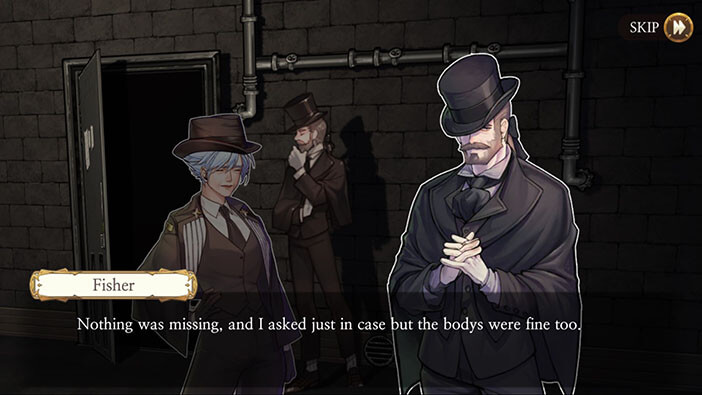
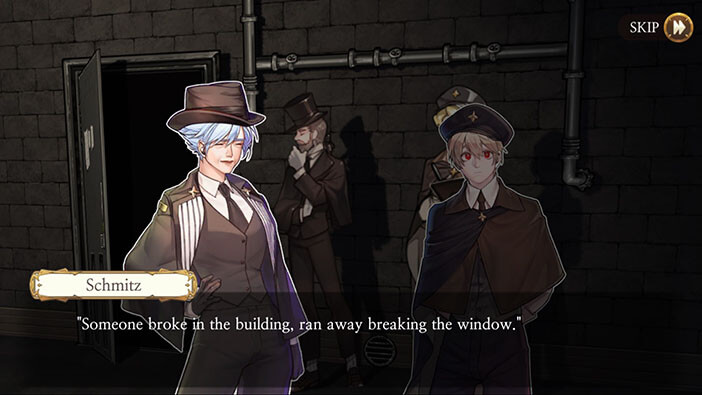
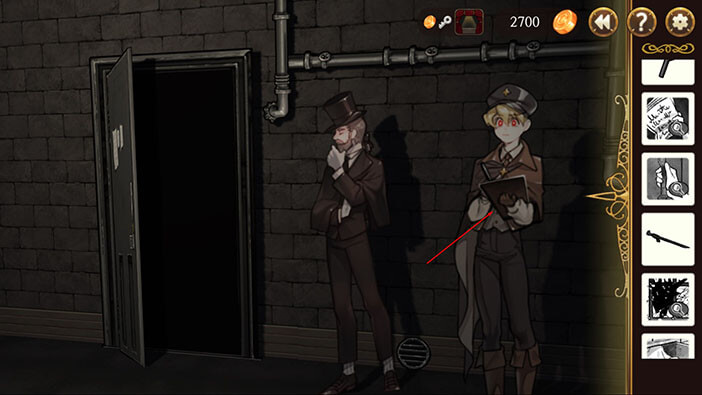
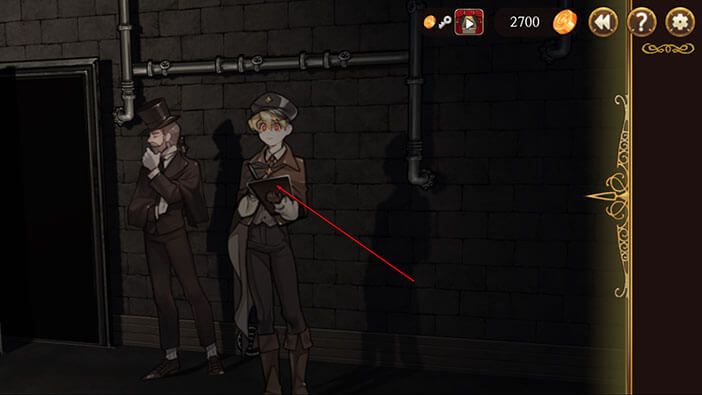
Upon arriving at the scene, sweep to the left until you find Fisher (the man with the cylinder hat) and tap on him to initiate the conversation. This is how our detective story begins… But, I am really wondering what happened to Victor? Well, we will probably find out in the next chapter…
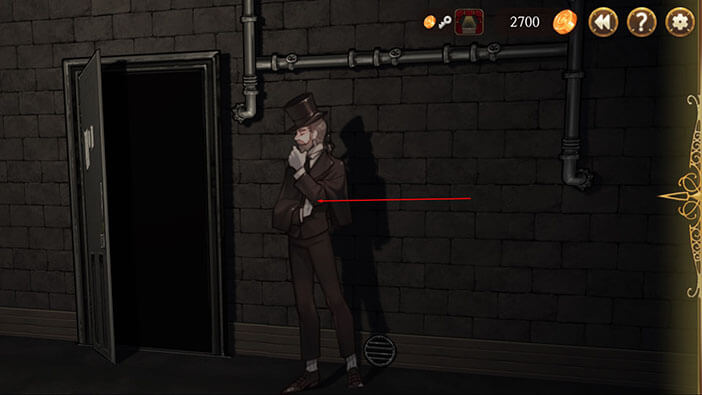
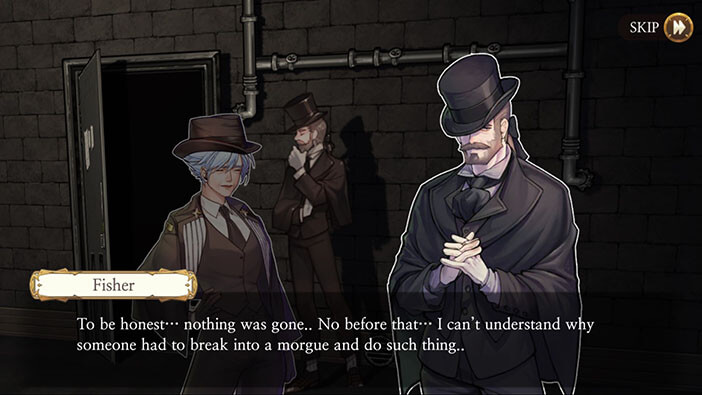
The Fisher will inform you (you will be playing as Chief Inspector Schmitz) that there was a break-in into a morgue, but nothing was stolen. Let’s start our investigation.
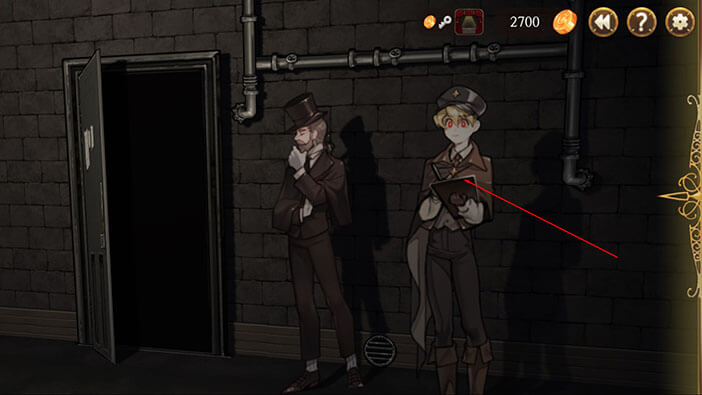
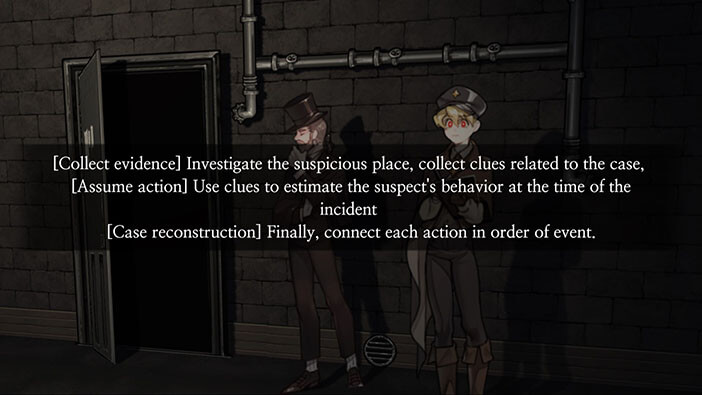
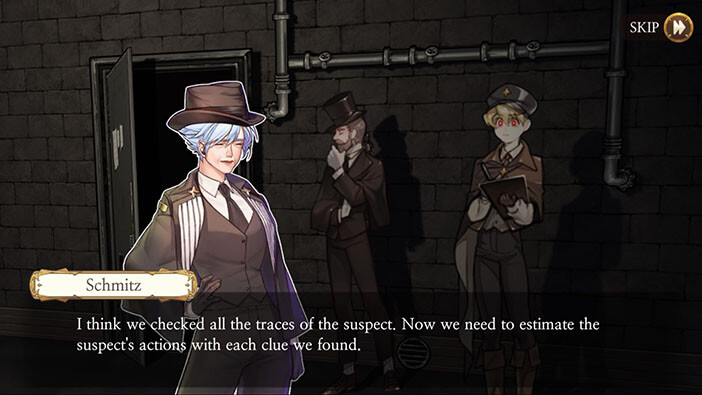
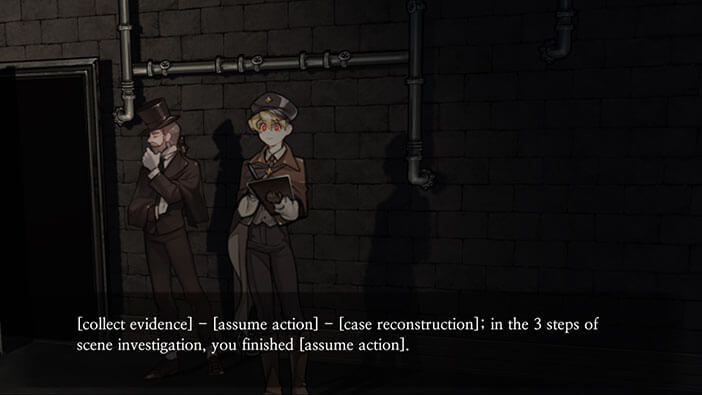
Tap on Erich to initiate the dialogue. The Schmitz will explain that there are three stages of the investigation, as you can see in the image below.
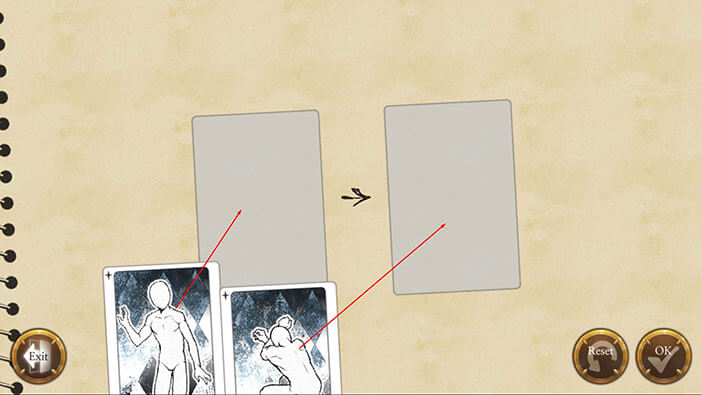
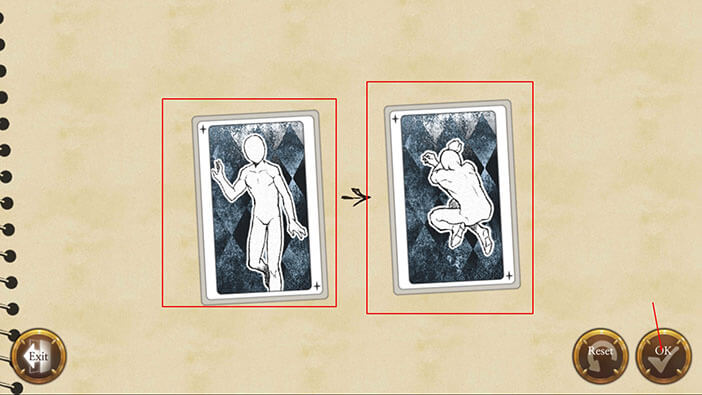
Moving on with the dialogue, your first task will be to reconstruct what is known about this break-in by placing two cards into appropriate slots. We know that the suspect broke into the morgue and escaped by breaking a window. So, place the card with a figure walking into the left slot, and one with a figure that looks like it’s jumping through the closed window in the right slot. Tap OK to confirm. This was a very easy first task.

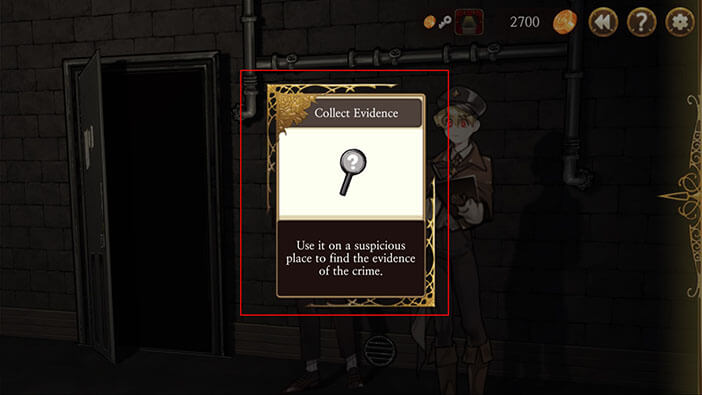
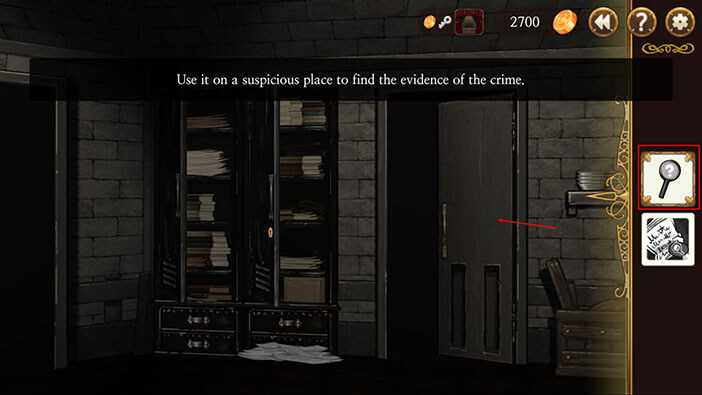
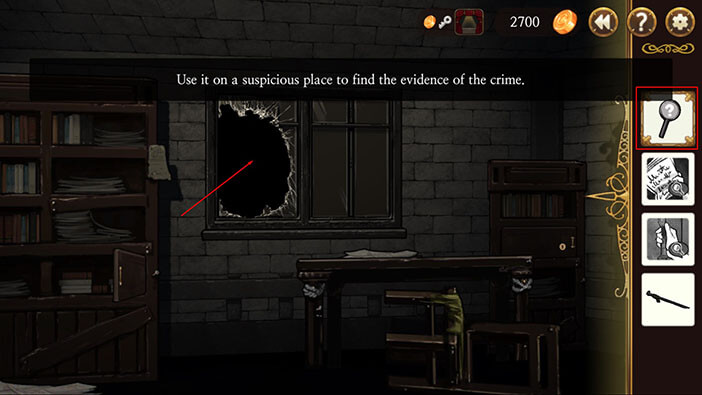
Our next task is to gather the evidence and the Magnifying Glass has been added to our inventory, to help us do that. It can be used to interact with the suspicious object and will help us reveal additional clues about this very strange crime.
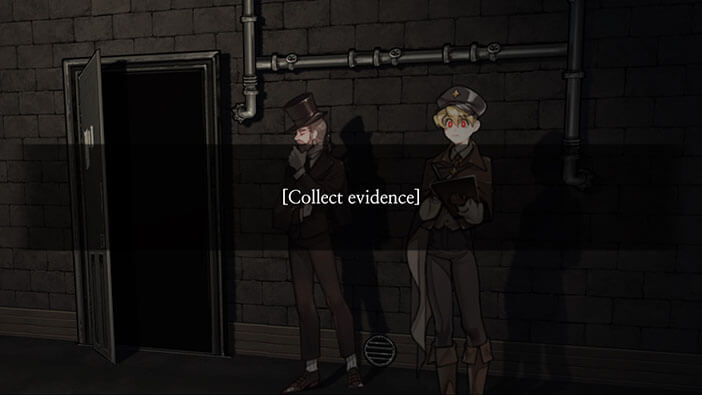
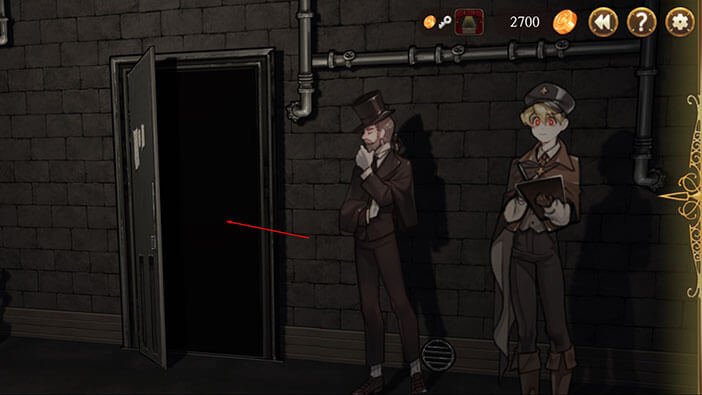
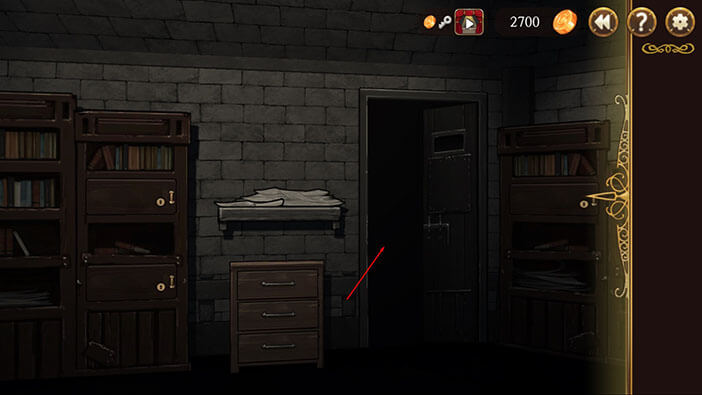
Now, let’s tap on the already opened door to enter into the next room.
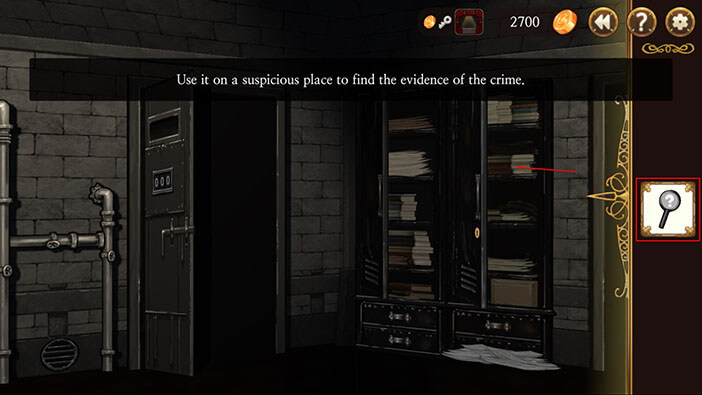
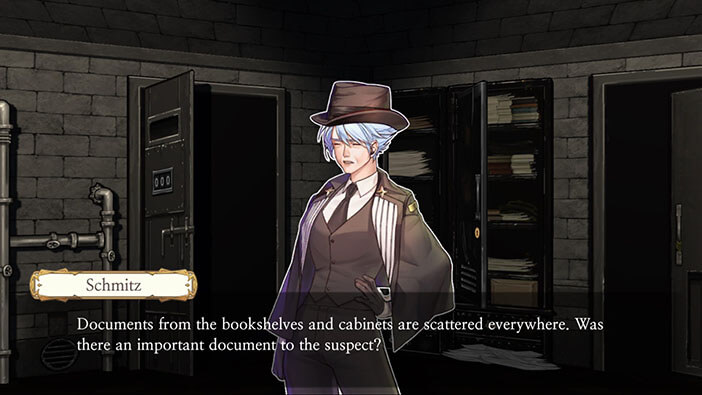
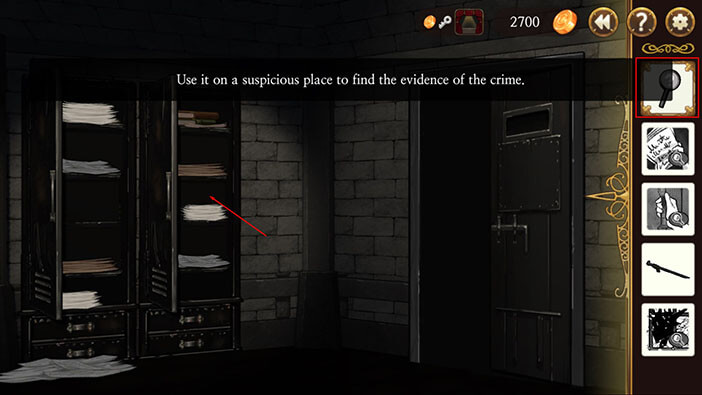
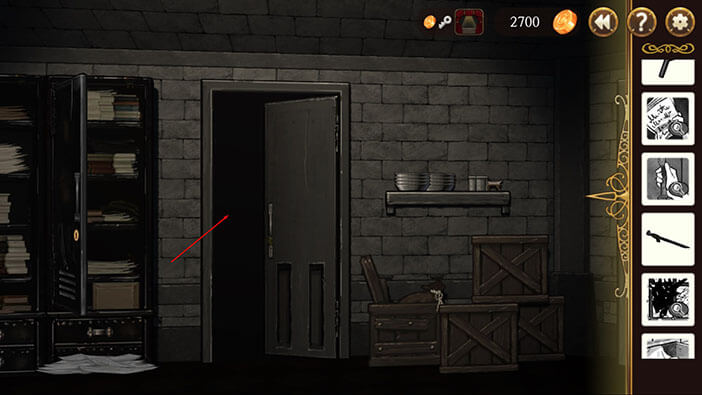
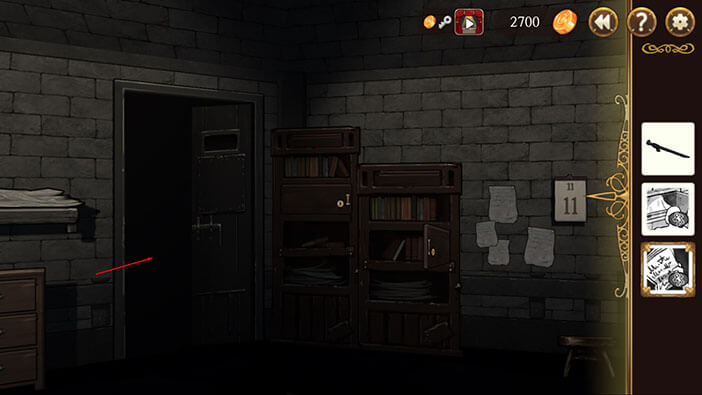
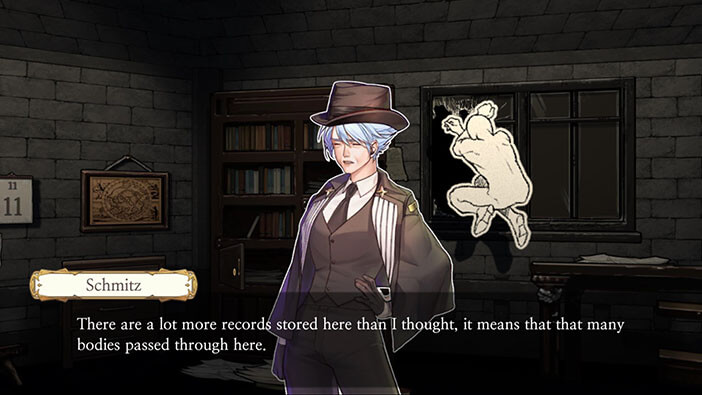
In this room look for a large metal cabinet filled with documents. Tap on it (while the magnifying glass is selected), and you will find out that the suspects were looking for some particular document. Also, the first piece of evidence will be added to your inventory. Later, we will have to find out for which document was the suspect searching for, but for now, let’s move on with the investigation and see what other evidence we can collect.
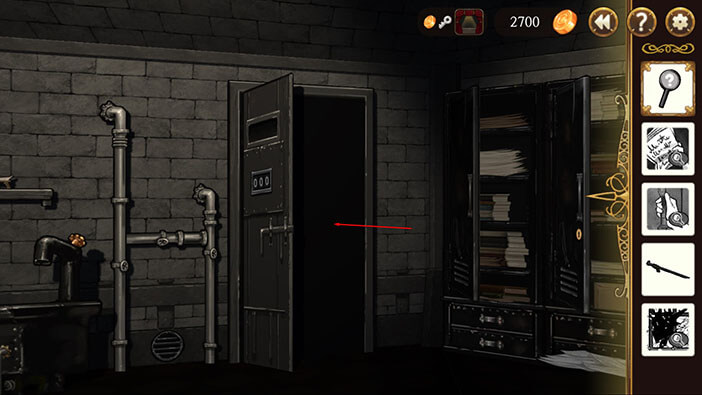
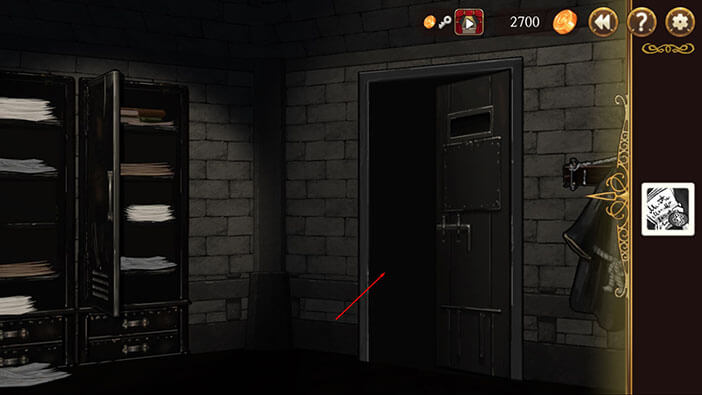
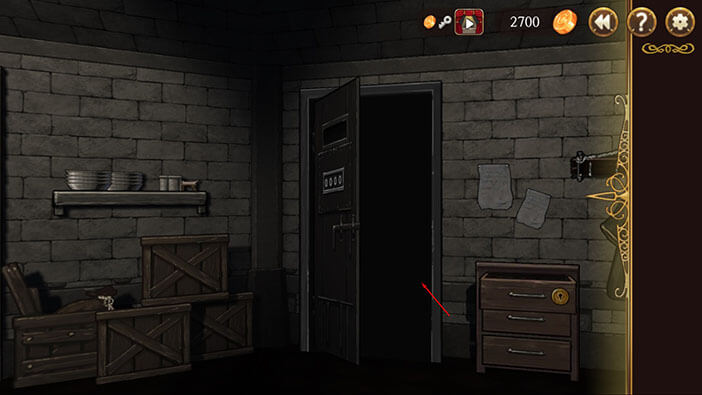
Besides the door through which we entered, there are two other doors that lead to the other rooms.
The door marked with three zeroes (000) leads into the morgue.
And the other marked with four zeroes (0000) leads into the office.
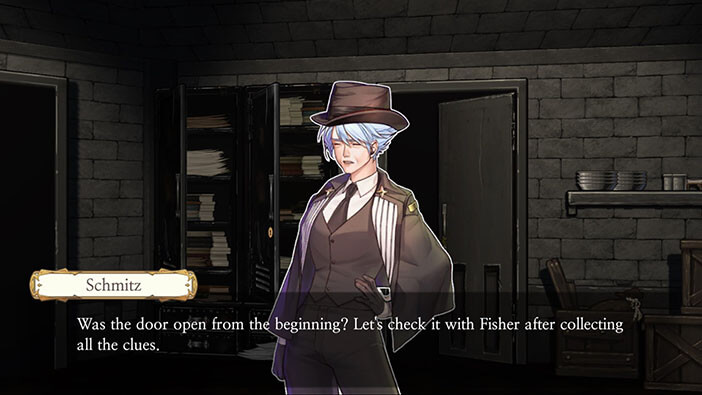
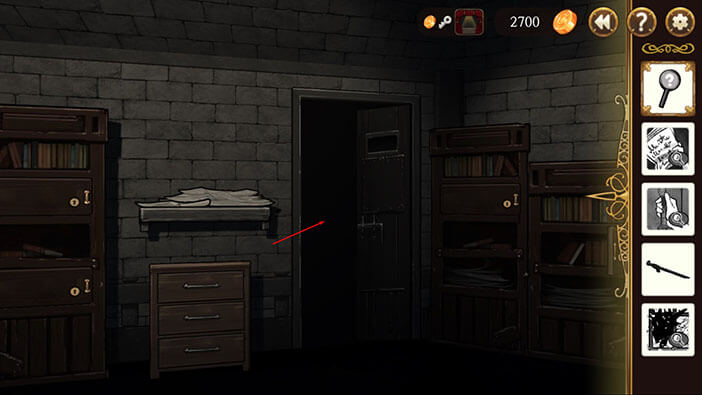
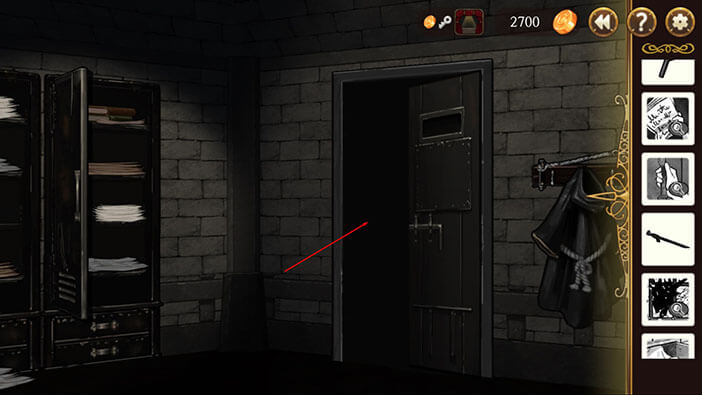
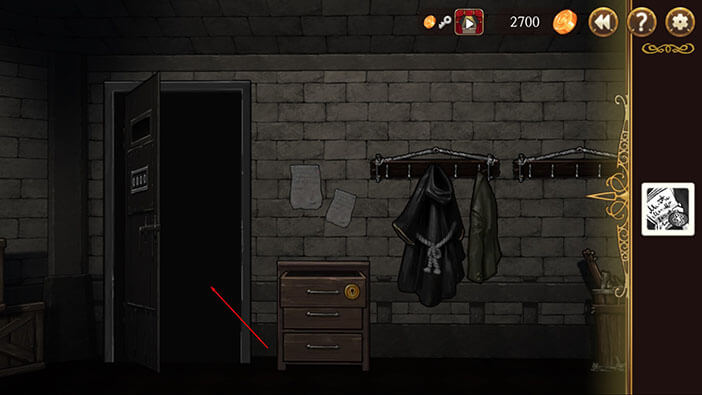
Before we leave this room, select the Magnifying Glass and tap on the door through which we just entered – the door without zeroes on it.
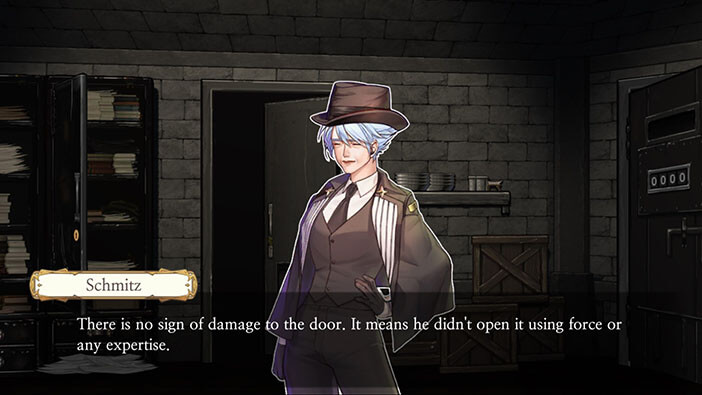
You will notice that there is no damage on the doorknob, so Schmidt concludes this probably wasn’t a forceful entry. So, either the door was unlocked or our burglar had the key/ lock picked the lock. Hmmm, interesting. We will have to ask Fisher what he knows about it.

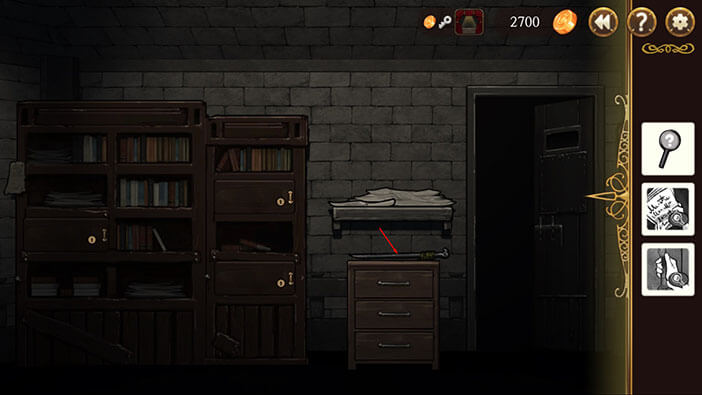
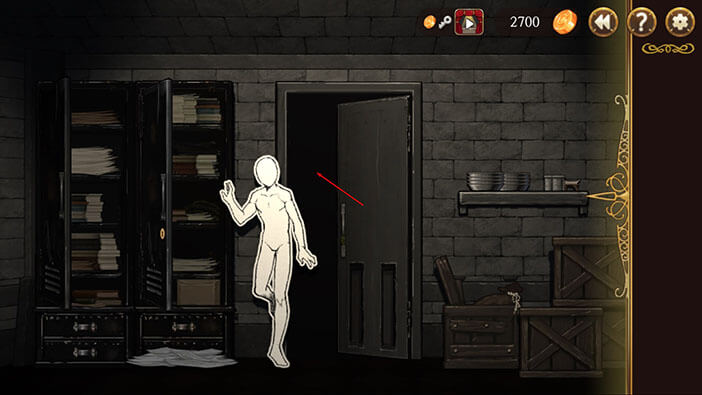
After gathering the first two pieces of evidence, let’s go to the office (0000 door) and see what we can find.

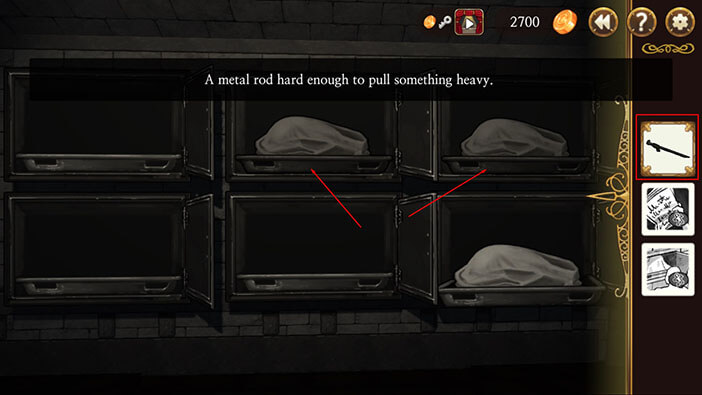
As you step into this room, you’ll notice a crowbar sitting on top of the wooden cabinet. Tap on it to pick it up, we will need it later.
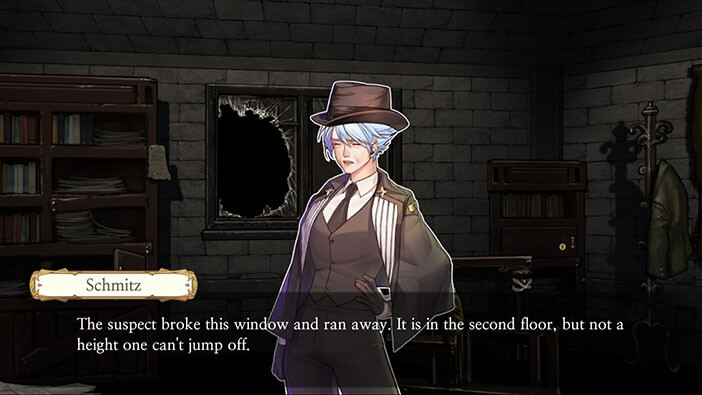
In this room, you will also see a broken window that our suspect used to escape. Select the Magnifying Glass from the inventory and tap on it. Schmitz concludes that the window is quite high above the ground since it’s located on the second floor, but also says that it isn’t too high for somebody to jump off and use it as an escape route. Wow, the characters in our story are very athletic, for me, jumping through a window on the second floor would be very risky, and would probably end up in several broken bones. Anyway, after examining the window we will collect the third piece of evidence. Besides the cabinet file to the left of the window (which might be important later), there is nothing else relevant for our investigation in this room, so we should now visit the morgue.
First, tap on the door to exit from the office.
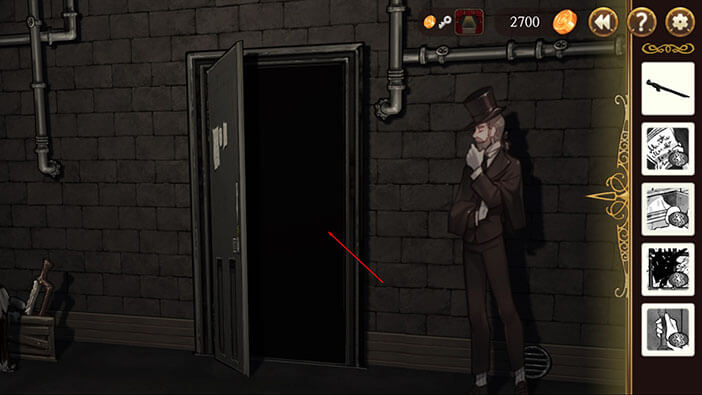
Now, look for the door, marked with “000” and tap on it to enter the morgue.
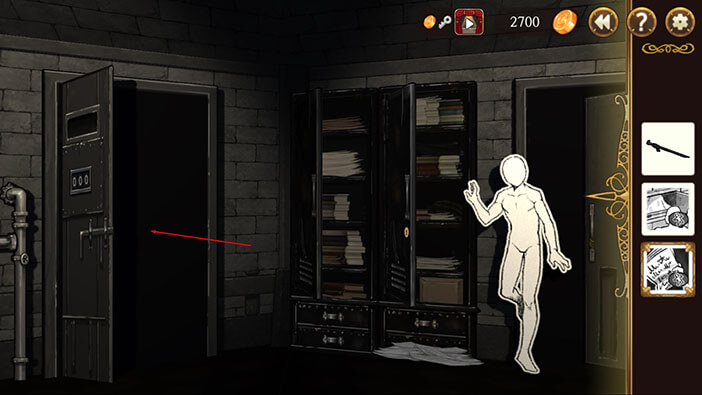
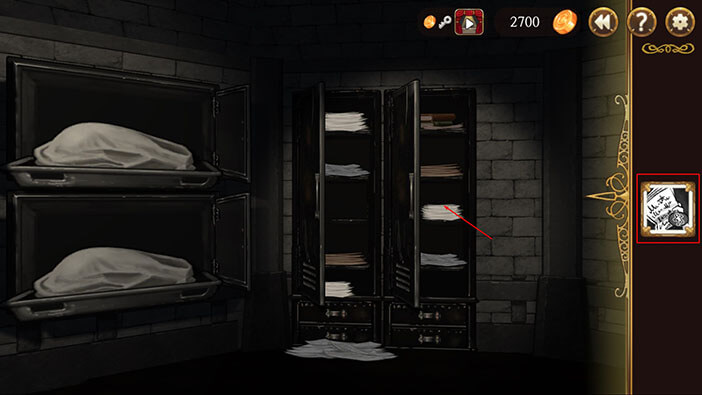
As you enter the room you will notice another cabinet file to your left. Tapping on it (while Magnifying Glass is selected) will reveal that it is filled with important documents, and it seems somebody was searching for one (or more) of those documents – just like with cabinet file in the office. For now, just memorize the location of this cabinet, because we will probably need it later.
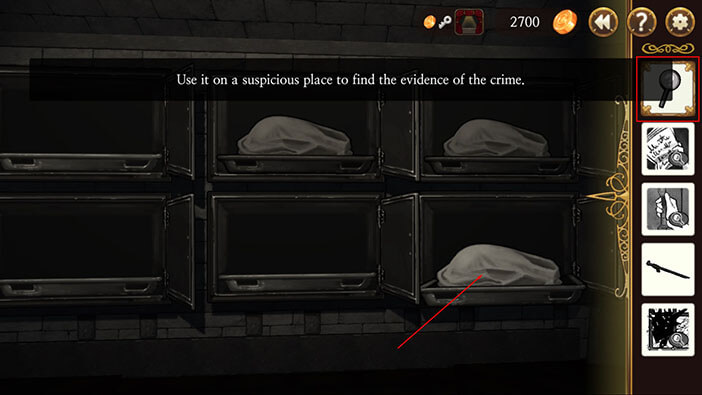
Now look to your left and you’ll notice a lot of body cabinets. Select the Magnifying Glass from the inventory and tap on one of the cabinets. This will initiate the cut scene in which Schmitz concludes that all body cabinets are open, so the burglar must have been looking for something. After the dialogue, the fourth piece of evidence will be added to your inventory. You can use the crowbar from the inventory to pull out or push bodies back into the cabinet, but there’s no other interaction available, at this point – might be useful later.

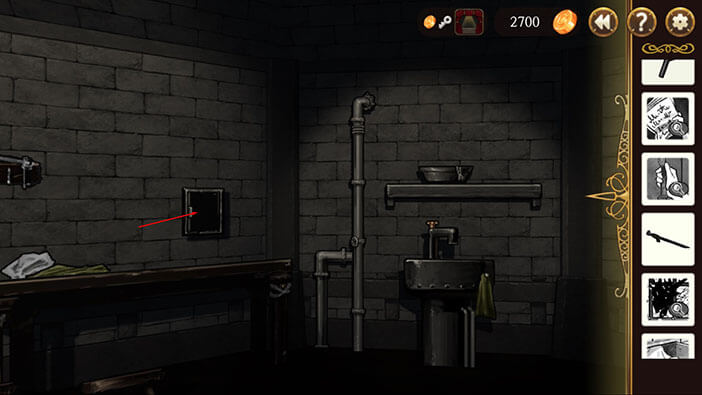
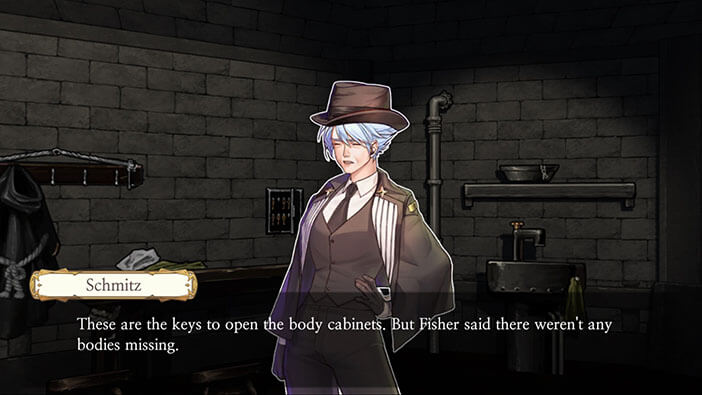
In this room, there’s also a small cabinet filled with keys, located on the wall to the right of the door. Apparently, the keys are used to open the cabinets. Ok, this might come in handy later on.
Let’s now go back to Erich, and tell him what we found out. The young detective will gain valuable experience listening to Schmidt while she explains all of the steps of conducting the investigation, and how she discovered the first four pieces of evidence. Tap on the door to exit the morgue.
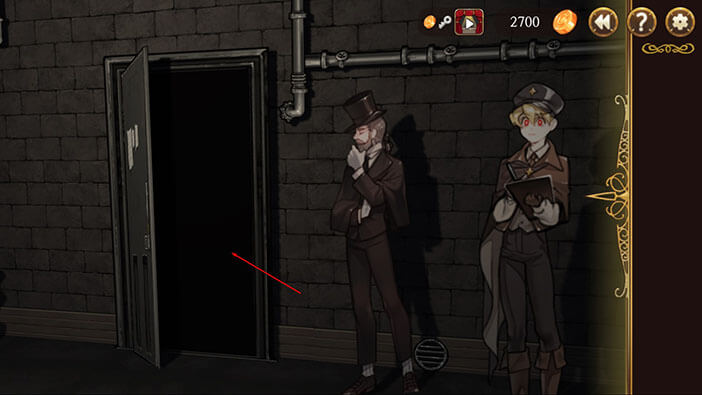
We are now in the first room and there are three doors in here. Tap on the one that isn’t marked with zeroes to exit into the hallway.
Tap on Erich to initiate the dialogue.
We have now completed the first out of three stages of the investigation – Collecting Evidence. It’s now time to examine the actions of our suspect. To do that, we will have to talk to Fisher about the evidence that we have gathered so far.
To conduct the Second Stage of the investigation, we have to select the evidence from the inventory and tap on Fisher. Let’s start with the first part of the evidence, and see what Fisher can tell us about the description of the suspect. Select the first evidence (Fisher’s testimony) and tap on Fisher.
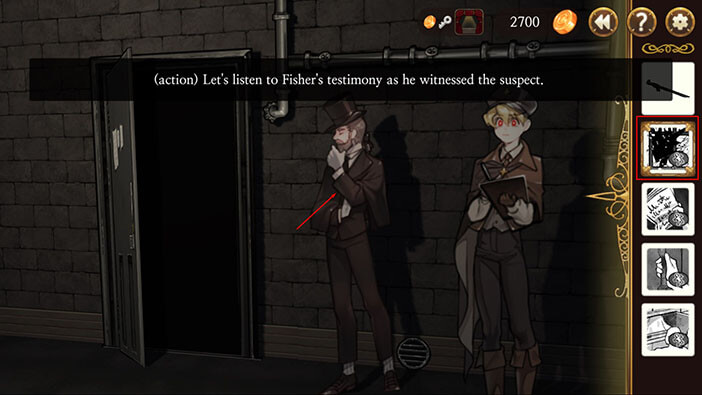
Unfortunately, Fisher didn’t see the burglar’s face, because he broke through the window and ran off. Well, this doesn’t really help with our investigation, since we already know that the suspect escaped through the window… After finishing the dialogue we will get our first action card “Ran off”. We will use the action cards to reconstruct the crime scene in the third stage of the investigation. For now, let’s continue with the second stage.


Now, let’s move on to the second piece of evidence – the document that the suspect was looking for. Select it from the inventory and tap on Fisher to hear his testimony.
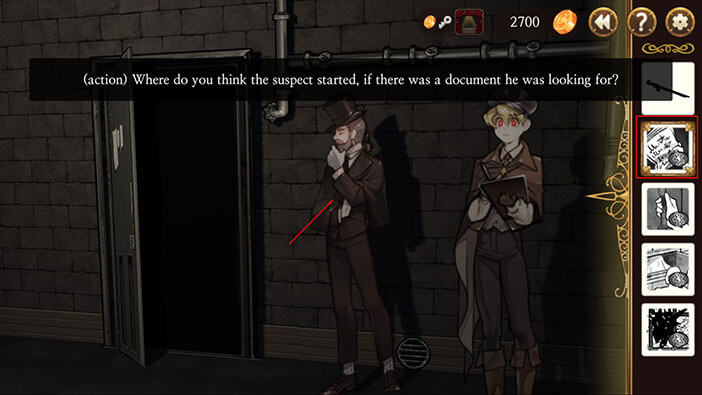
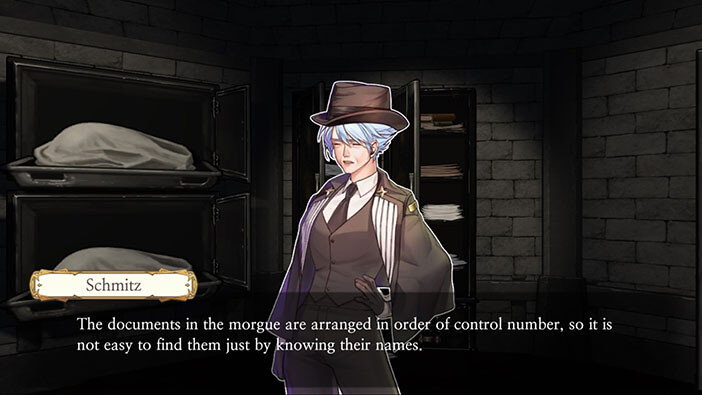
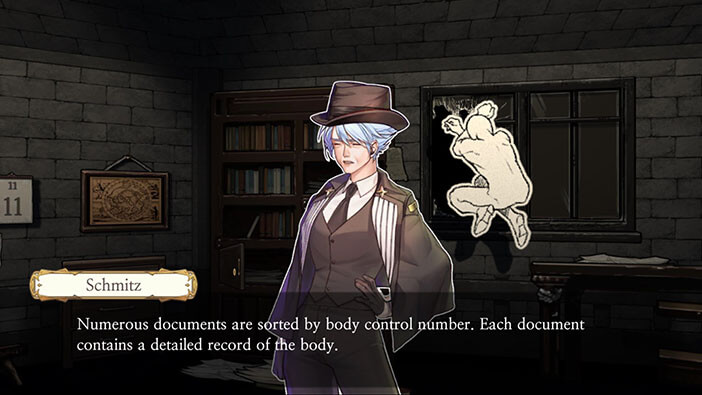
Fisher will inform you that documents are records of bodies admitted to the morgue. We should probably check the other cabinets with documents, once we hear what Fisher has to say about other evidence.


Let’s ask Fisher about the third evidence. Select the “how they manage the door” evidence from the inventory and tap on Fisher.
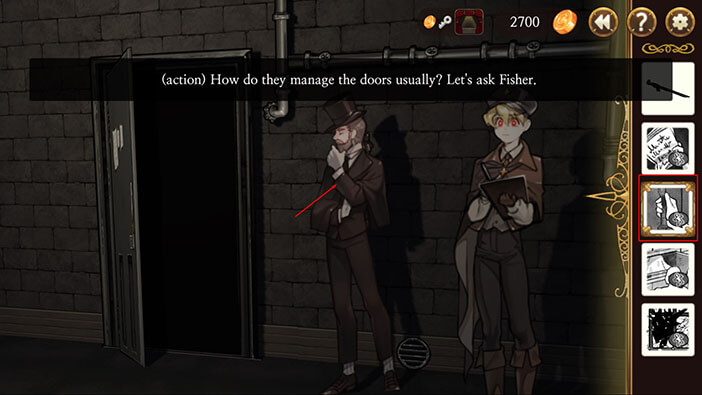
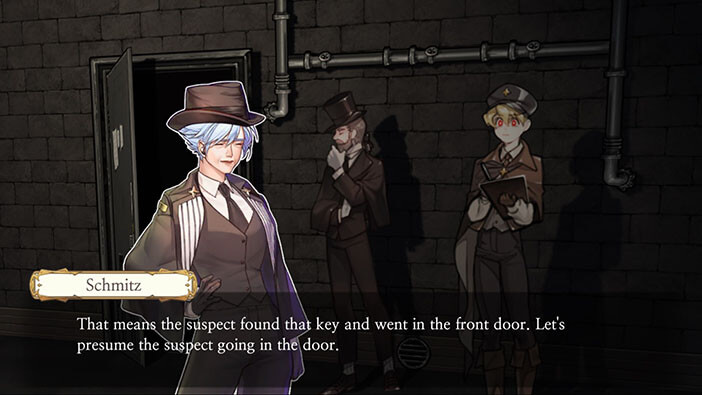
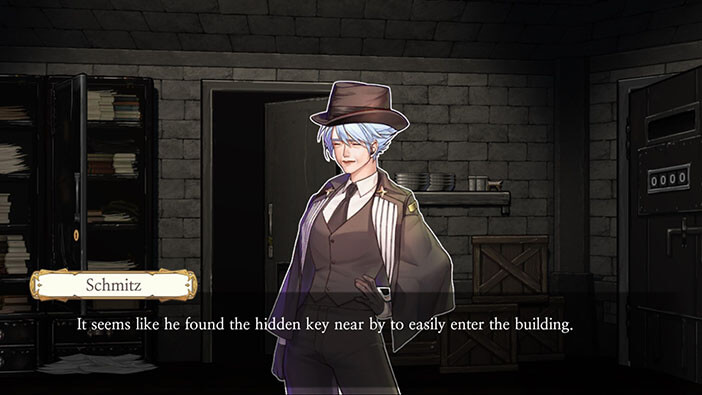
Fisher says that he doesn’t always lock the door because he can’t provide enough keys for all employees. Instead, he chose to hide one key in front of the building, our suspect found it, unlocked the door, and entered – at least that’s the theory. After this you will get the “Break in action” – our second Action card for reconstructing the crime scene.


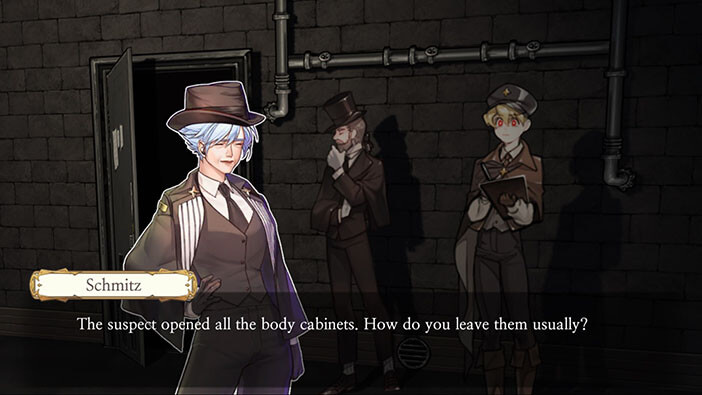
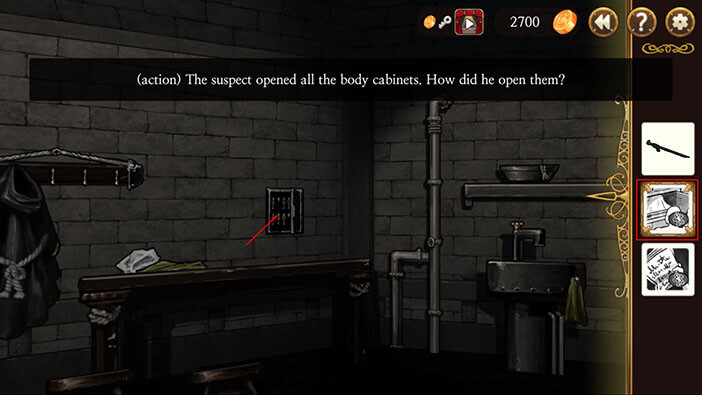
Now, let’s select our fourth and final piece of evidence, and tap on the Fisher, to find out how did are suspect manage to open all the body cabinets.
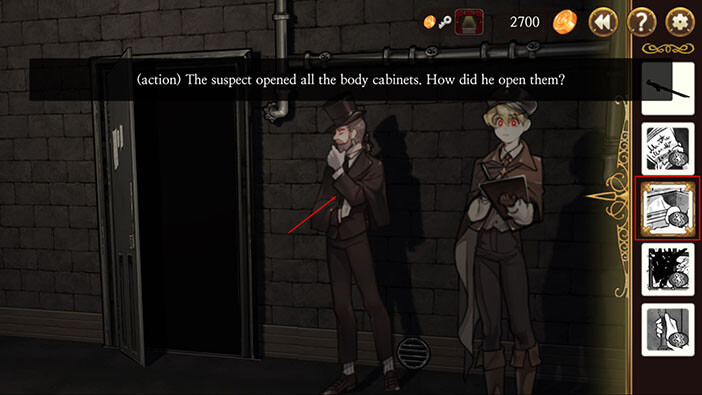
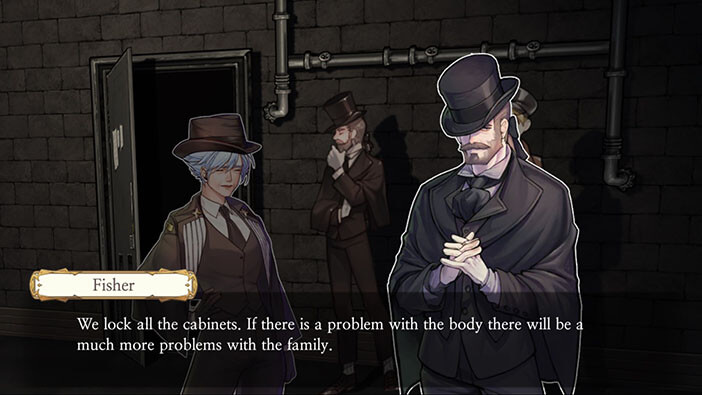
The Fisher informed us that they lock the body cabinets, but all the keys are always in the key box – in the same room as the bodies. We should check the key box later, and try to find some more clues/evidence.

With all that said, let’s start reconstructing the crime scene, and gathering evidence along the way for the two missing Action cards – document shelves and key box are the objects that we should check. For now, tap on the door to enter into the first room.
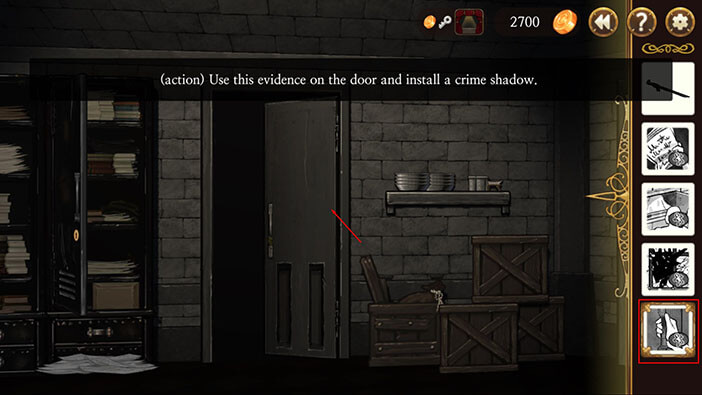
After entering the room, select the “Break in” action card from the inventory and tap on the door to install the first part of the crime scene reconstruction. The suspect found a key and entered the building.
Select the Documents from the inventory and tap on the documents locker. Unfortunately, these are not the documents our suspect was looking for, let’s try one of the other document lockers.
Next, we should go to the office with a broken window. Turn to the right and tap on the door marked with “0000”.
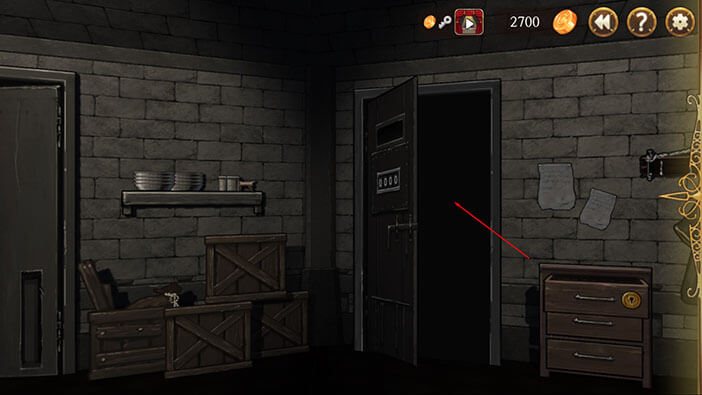
Once inside turn around until you find the broken window. Now, select the “Broken window” action card from the inventory and tap on the window to install a second part of the crime scene.
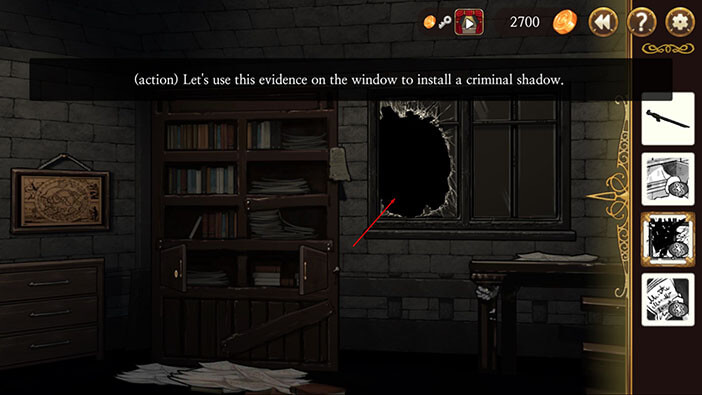
Since we’re here check the shelf with a lot of documents. Select the “documents” action card and tap on the shelf. No luck. But we do know suspect took actions in the certain order, so bookshelf close to the broken window was probably the last one he checked.
With that done, let’s exit this room and head for the morgue. Tap on the door to exit.
Now, turn around and tap on the morgue door (the one marked with “000”) to enter.
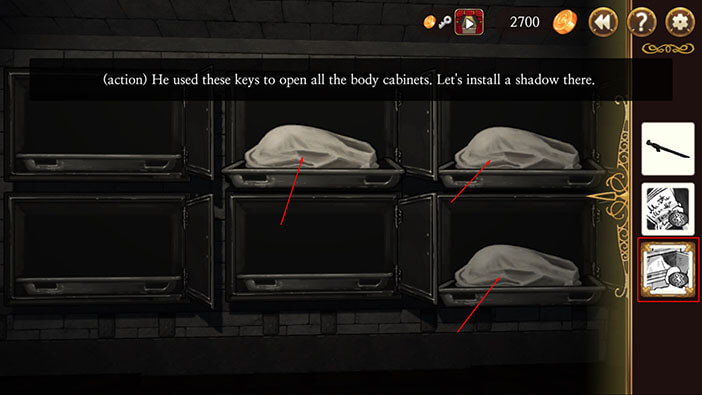
Let’s first check out the key box. Select “the body cabinet” card from the inventory and tap on the key box.
Well, we have found out that the suspect opened the key box, found the keys for the body cabinets, and opened all of them. What was he looking for? No bodies are missing. Strange… Whatever the case, we know that he was looking for something, and we just got a third card for crime scene reconstruction.
Before we reconstruct the crime scene, we have to first examine the bodies – the two on the upper shelves. To do that, select the crowbar from the inventory (I knew it will come in handy), and use it to pull out both bodies.
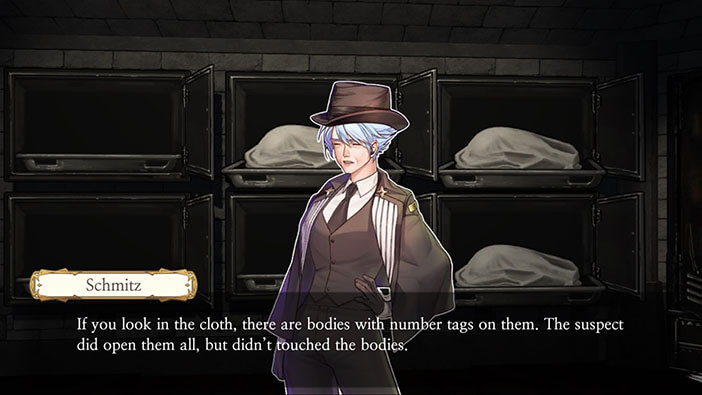
Now, select the “body cabinet” card and tap on each body to examine it.
After the close examination, Schmitz concludes that the bodies are missing the identification tag, so we should probably check the documentation lockers for more clues. After examining the bodies, the Schmitz installed the third part of our crime reconstruction. There’s now only one more part left to reconstruct.

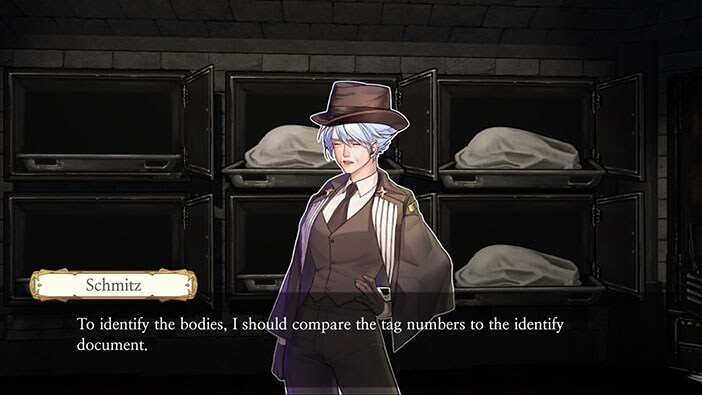
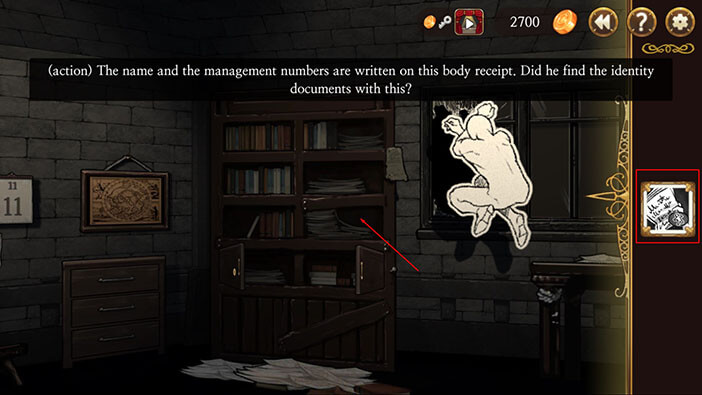
The next step is to check the locker to the right of the body cabinets. Select the “documents” action card and tap on the locker. We will find out that the suspect was going through the files, trying to find out the identity of the bodies, based on its tag number. However, he couldn’t find the identification documents here, so we should check (again, ugh) the other documentation cabinets…


Let’s go to the office straight away, because I think that’s where the identification documents should be kept. To get there, first tap on the door to exit the morgue. Upon entering the “middle” room, look for the door marked with “0000” and tap on it to get to the office.
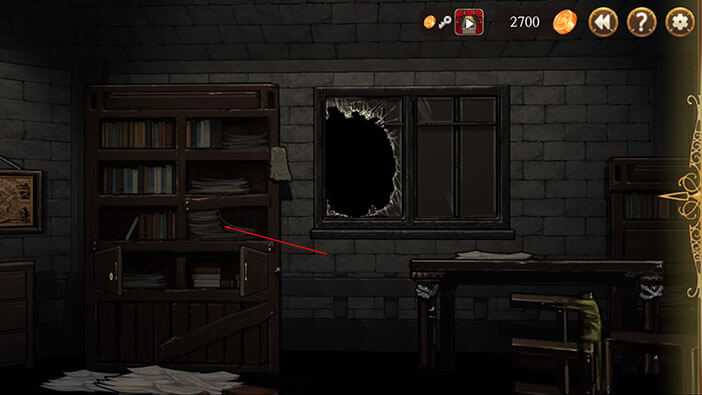
Once in the office, select the “document” card from the inventory and tap on the shelf with documents (left of the broken window).
It looks like our suspect was looking for the identity of the bodies, and he actually found out, most likely, what he wanted to know, since on this bookshelf are all the identification documents, and he just had to find the ones that match the numbers from the tags. We just completed the fourth step in our crime scene investigation, and have successfully installed the fourth “shadow” in our crime scene investigation. Let’s get back to Erich.
To get back to Erich, tap on the door to exit the office. In the next room, look for the unmarked doors (the one without zeroes), and tap on them to get into the hallway.
Once you get there tap on the Erich to initiate conversation. He will proclaim that we have finished the first two parts of the investigation.
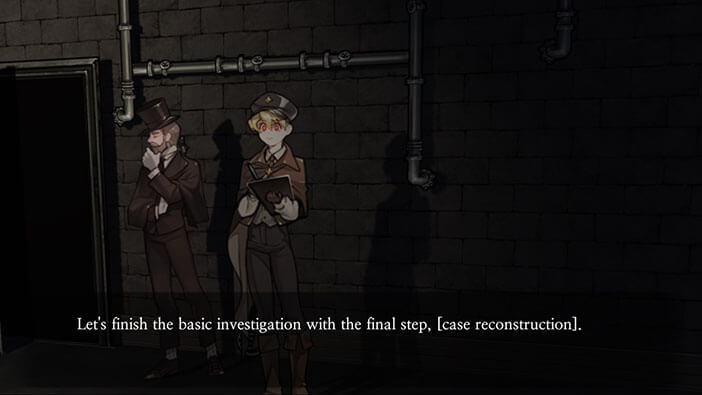
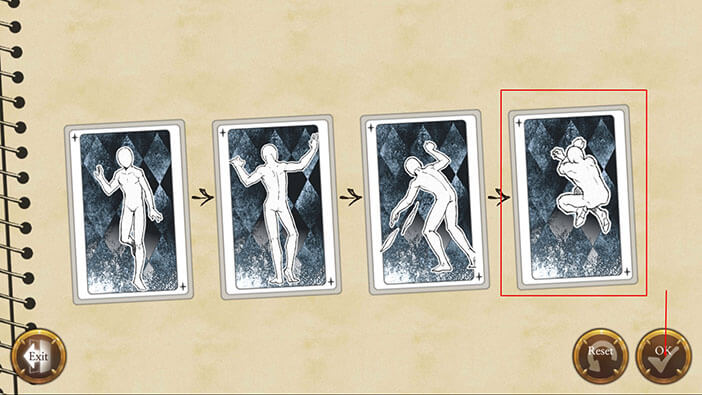
Now comes the third step – Case Reconstruction. In this step, you have to place the “figure cards” (which represent the actions taken by the burglar) in chronological order.
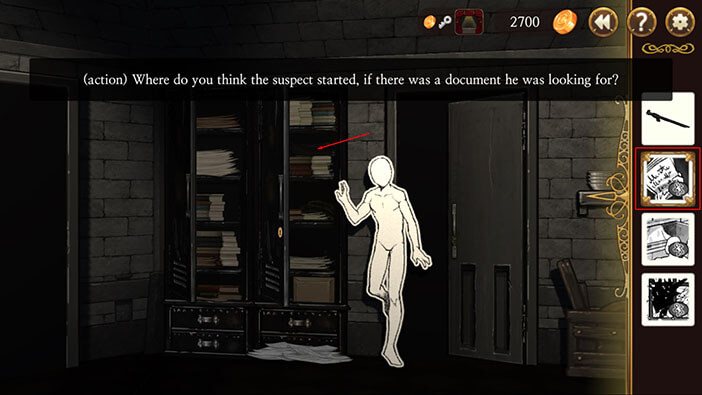
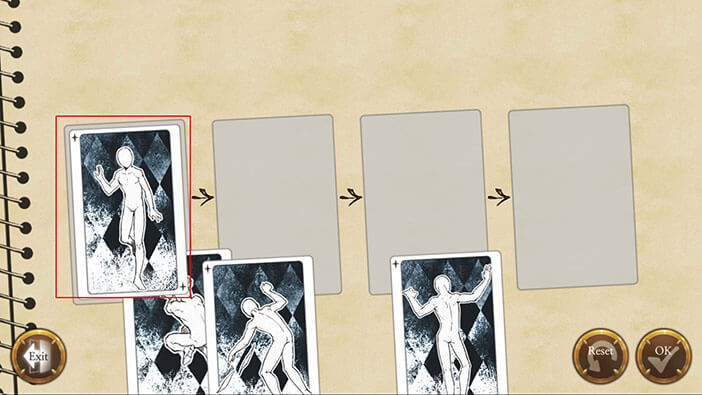
First, he used a hidden key to unlock the front door and enter the building. So, the first action card should be figure walking. The second action of our suspect was to open the body cabinets, so our next figure is the one with raised arms that looks like it’s pulling something out.
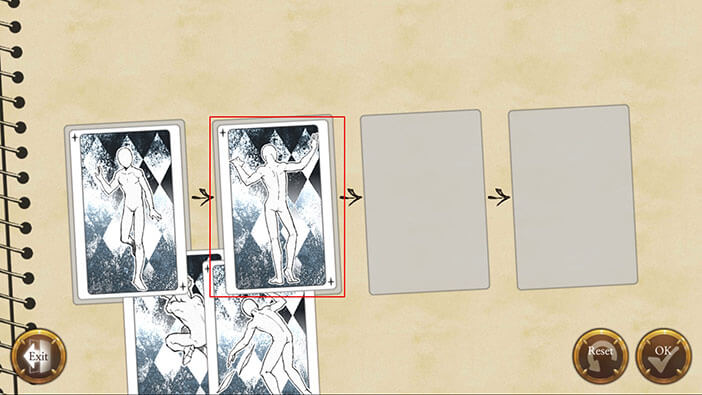
The third thing the burglar did was to go to the office and search through the records. He was trying to find out the identity of one of the bodies, by matching the tag number with the number on the identification record. So, our third card is the figure that is searching through the papers.
Finally, the suspect realized that somebody was coming (Fisher), and jumped through the broken window, and escaped. So, our fourth and final card is the one with a figure that looks like it’s jumping through a closed window, shielding the face with arms crossed in front of it. You can see the order of “figure cards” in the image below. Once you’re done, tap on OK to finish reconstructing the crime scene.
With everything that we have discovered so far, Schmitz concludes that the suspect found the documents he was looking for, and escaped. So, if we can discover what document(s) he stole, we might be one step closer to determining the motive for this crime.
So, the next logical step would be to go to the office and check if any of the identification files are missing. To get to the office, tap on the door to enter into the next room, and from there tap on the door marked with “0000” to enter into the office.
Once you get there tap on the shelf filled with documents to start the interaction.
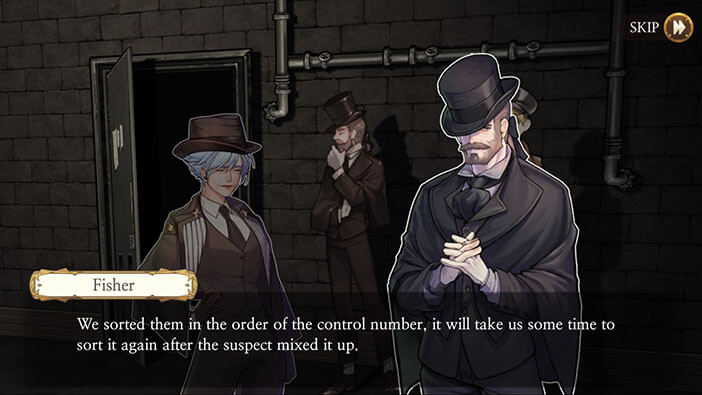
We now have another assignment in front of us, and that is to orderly arrange all the identity documents that have been mixed up by the burglar. Ok, let’s get right on it.
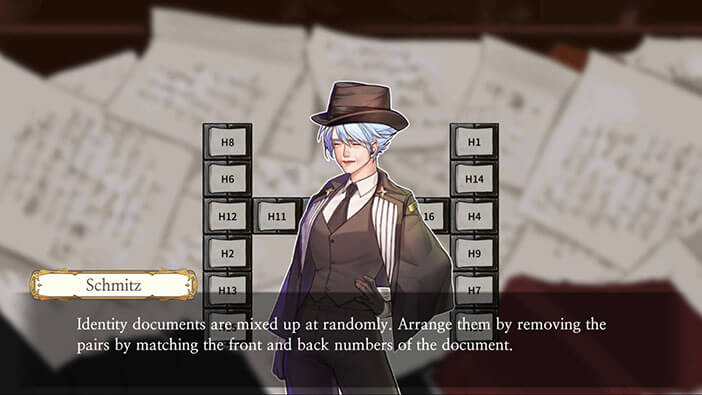
Step 1: Tap on the H5 and H6 to connect them
Step 2: H11 and H12
Step 3: H11 and H10
Step 4: H12 and H13
Step 5: H9 and H10
Step 6: H9 and H8
Step 7: H7 and H6
Step 8: H1 and H2
Step 9: H2 and H3
Step 10: H3 and H4
Step 11: H4 and H5
Step 12: H7 and H8
Step 13: H13 and H14
Step 14: H14 and H15
Step 15: H15 and H16
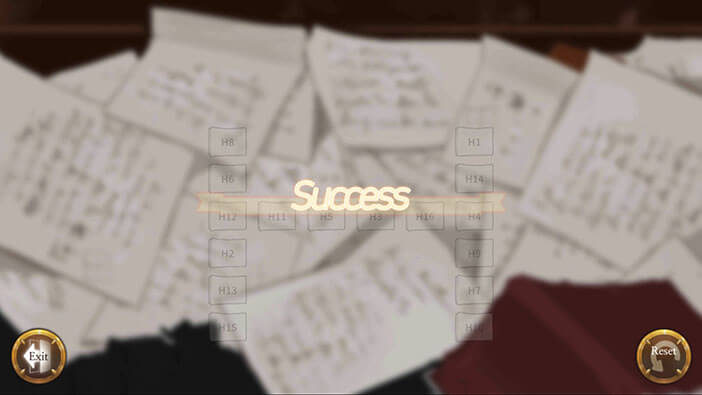
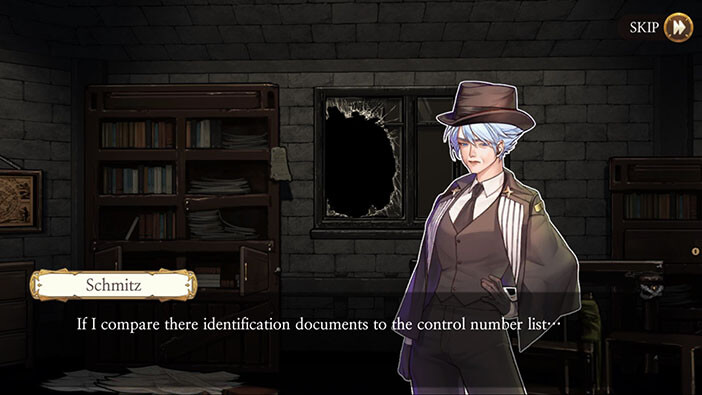
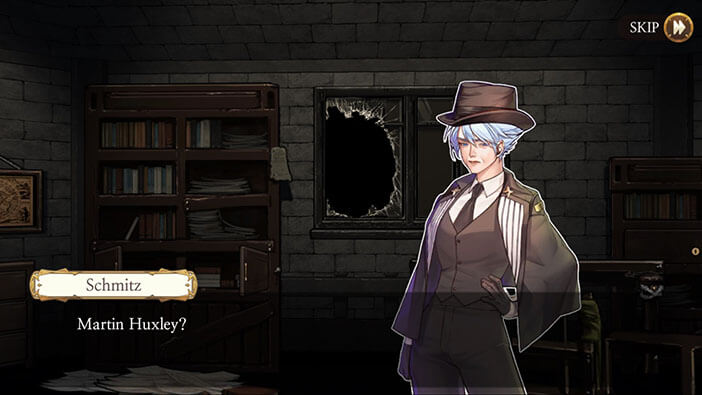
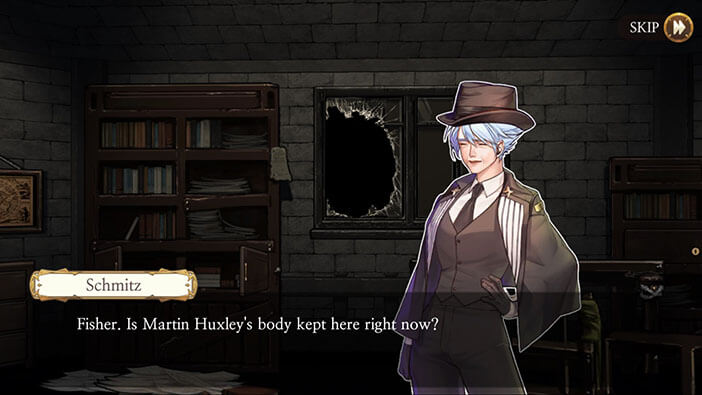
After chronologically rearranging the documents, we can discover that one of the files is missing and that one belonged to the person whose name was Martin Huxley. It seems that this person was involved in some kind of incident at the Lavenza mansion. Anyway, after his death, the body was donated for anatomical experiments. It should be buried by now. Schmitz thinks that something feels fishy here…


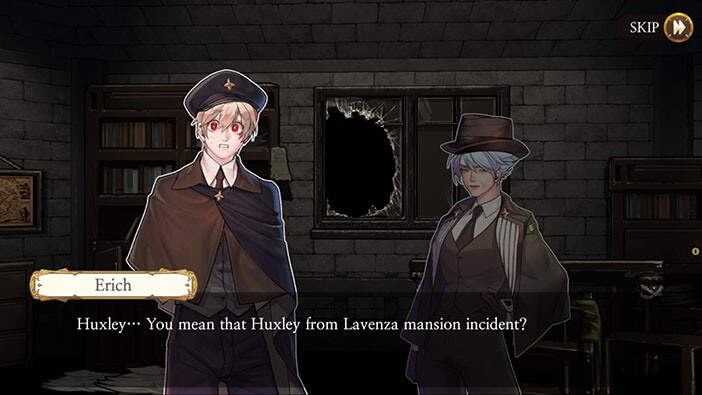


In the next stage we, in the role of detective Schmitz, will go back in time and investigate the Lavenza incident. Join us in the next stage of the Walkthrough for Frankenstein Room ESC, to find out what happened at the Lavenza mansion and how Martin Huxley fits into this story.
Thank you for reading.