Chapter 1-4 Irreversible
Complete Walkthrough
Hello everyone, and welcome to our Walkthrough for the Fourth Stage of Chapter 1 for the Frankenstein Room ESC adventure game. This story begins two weeks ago, taking us back to the Sachsen court, and Huxley’s trial.
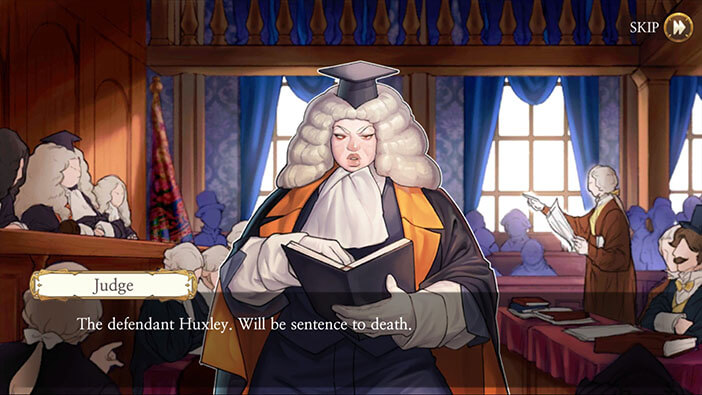
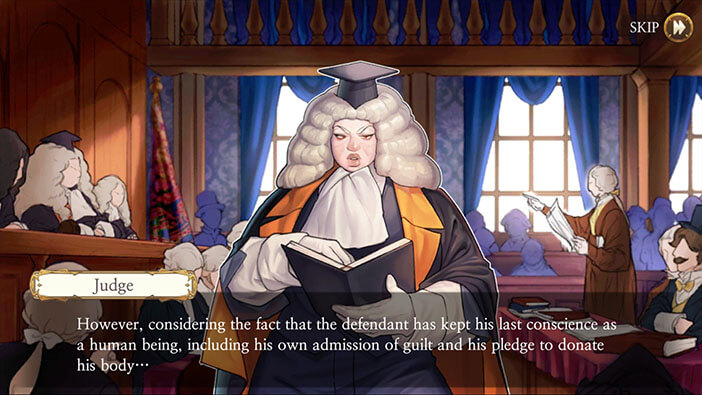
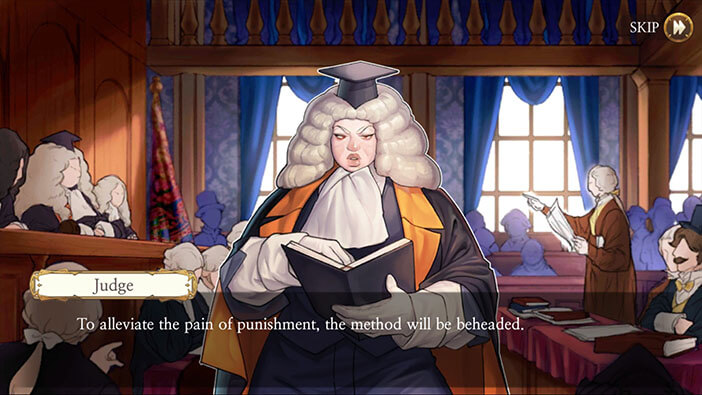
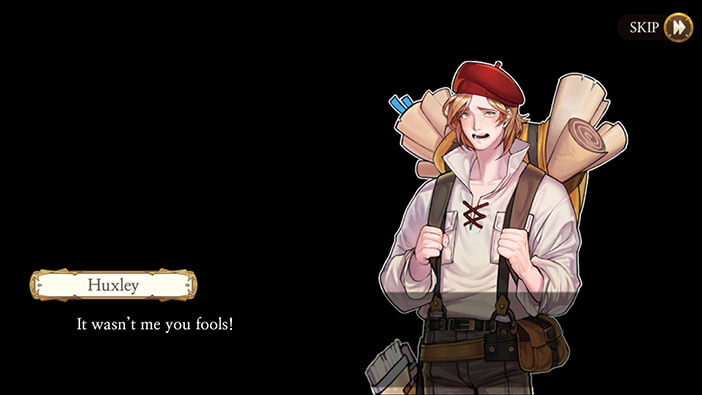
Huxley was sentenced to death, but because he admitted the guilt, the judge sentenced him to a “painless beheading”. He also signed a contract donating his body for medical practices after his death, and that was another reason for his “mild” sentence. I really do wonder what the “lawful” punishment would be if he didn’t confess. Surely, something very dreadful.
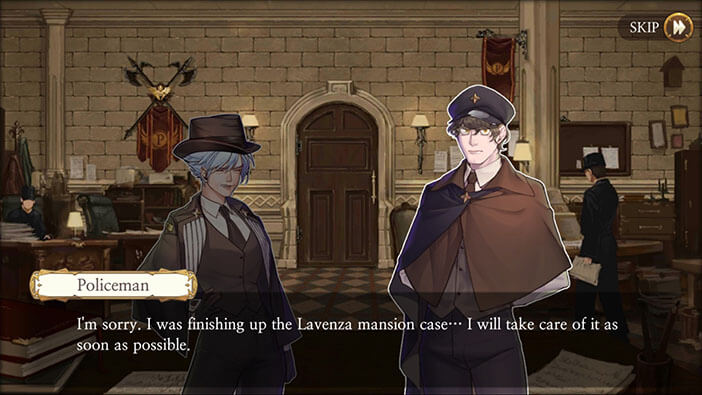
We are still in the past, at the time of the Huxley’s trial, but now we’re moving to the Sachsen Police Station.
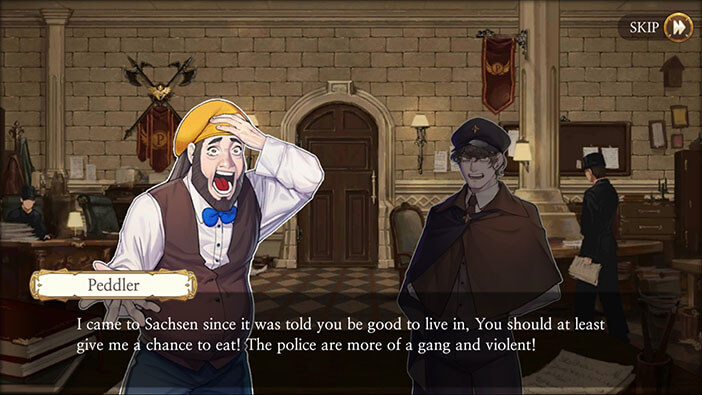
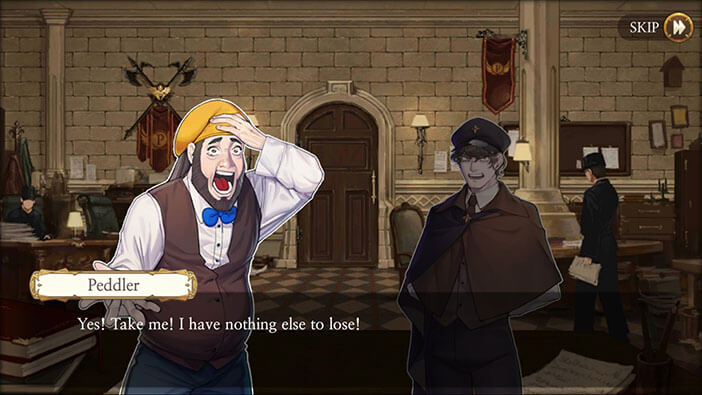
This part of the story begins with the poor peddler, complaining about his entire merchandise being confiscated. He moved to Sachsen to make a better life for himself, after hearing the rumor that Sachsen is a good place to trade and sell his goods. However, he lost everything, and after the police officer threatened to arrest him, he wasn’t frightened at all. This poor soul has no fear of imprisonment, because in jail he would at least have food and bed – something he can no longer afford after all of his goods have been confiscated.
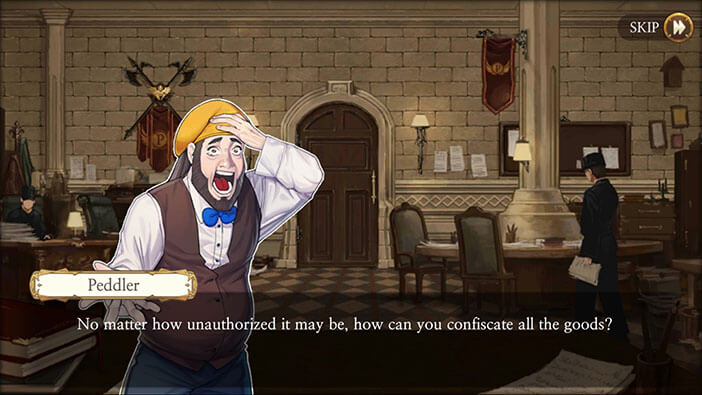

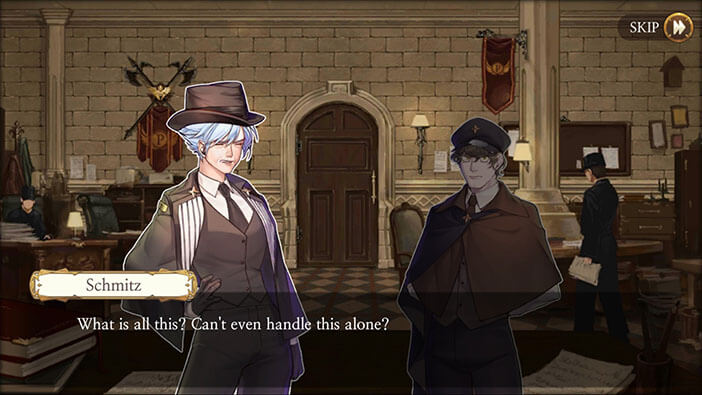
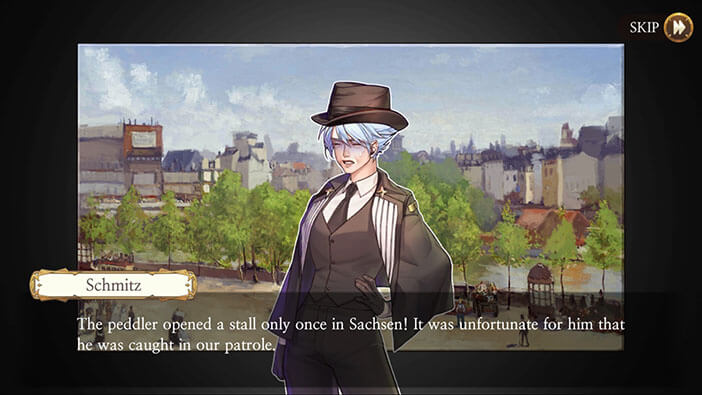
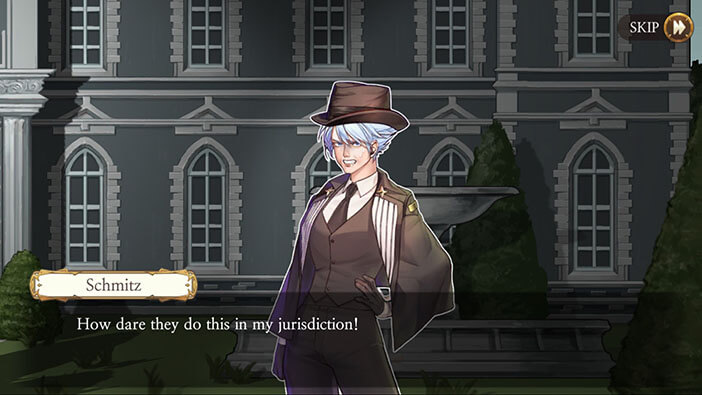
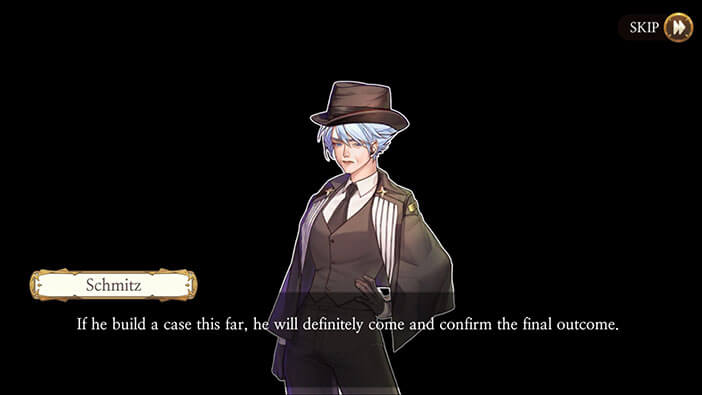
The chief detective Schmitz intervenes. She is informed that the peddler was smuggling Japanese artwork on Daffen street. Schmitz criticizes her subordinates for poorly handling such a minor, in her opinion almost insignificant crime.

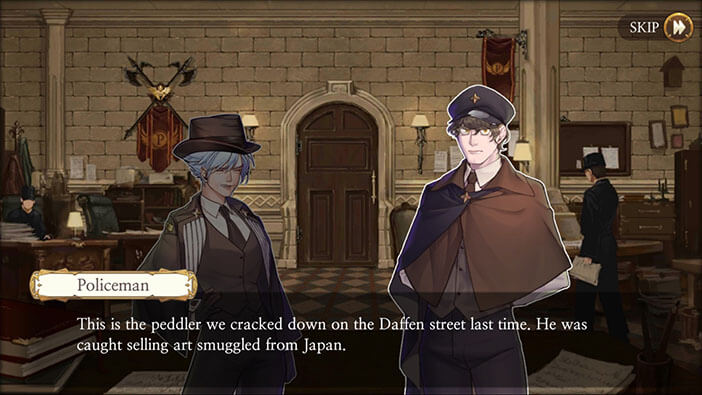
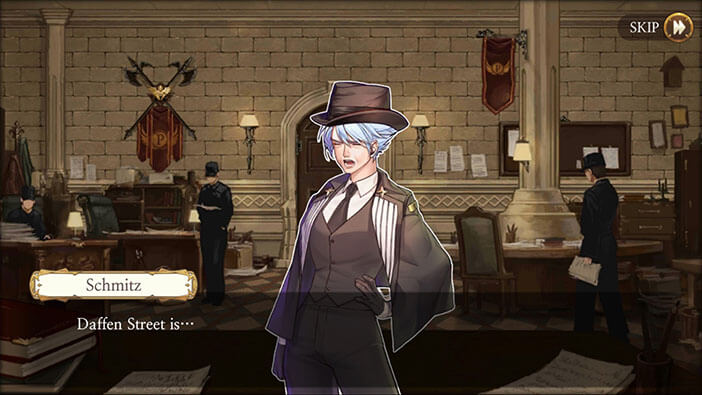
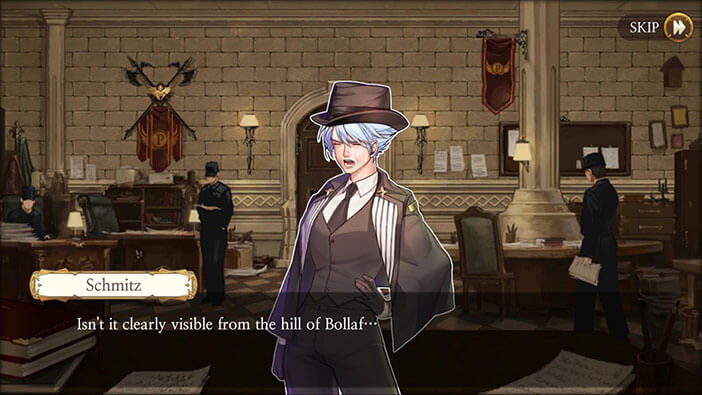
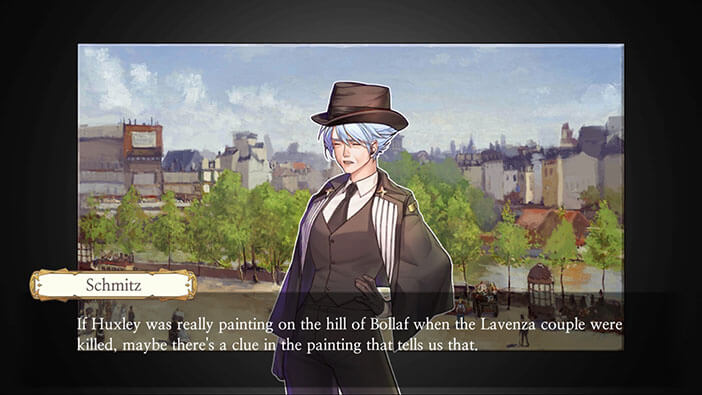
But then, the merchant says that he was selling his goods on Daffen street. Something in the mind of the bright detective clicks, as she suddenly realizes that Daffen street can be clearly seen from Bollaf hill. If you recall the end of the Lavenza case, Huxley, Elizabeth’s fiancé, claimed that he was painting on that hill on the day of the murders. That’s exactly what Schmitz, being an experienced detective, remembered…
The timeline is still the same, two weeks ago, but now we are moving to the Huxley’s house, again in the role of chief investigator Schmitz who is having doubts about the Huxley’s guilt. She wants to double-check his alibi, by examining his paintings, particularly the one that he draw on the day of the murders.
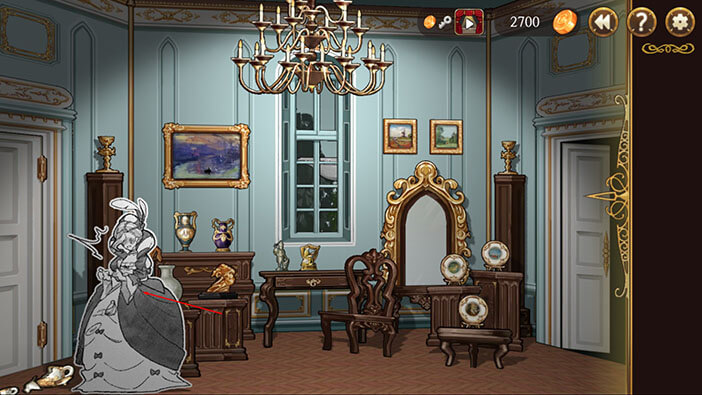
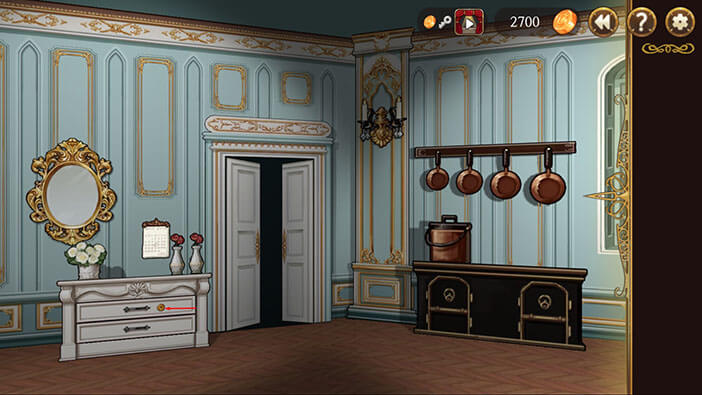
Now, we’re inside the Huxley’s house. From the looks of the interior, you can clearly see that he was a poor man. Let’s see what we can find here.
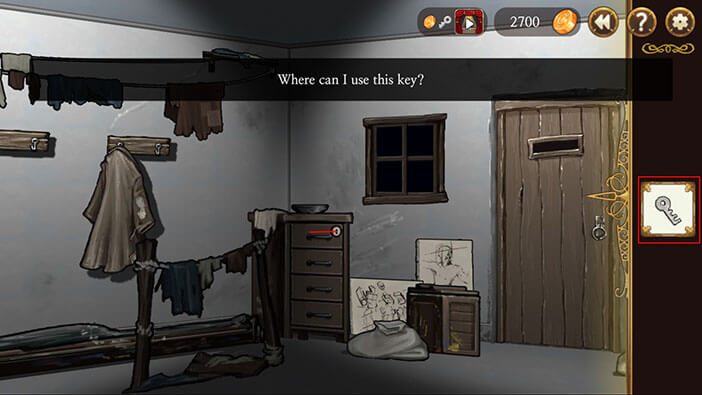
Tap on the drawer with the keyhole. It’s locked. We shouldn’t go around smashing things, so let’s look for a key.
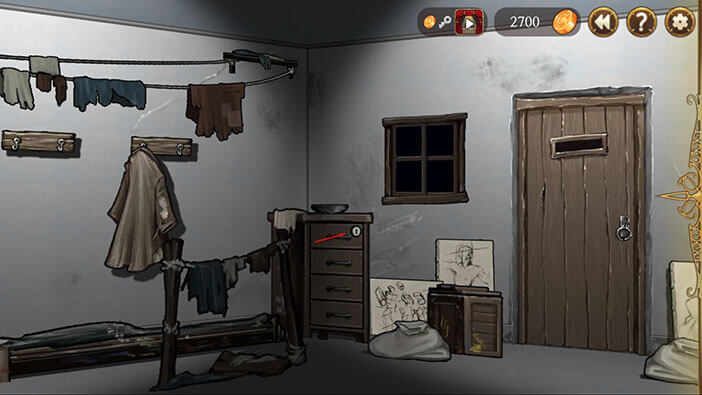
Tap on the ragged coat hanging from the hook, and you will find a small key inside one of the pockets. The description says “Where can I use this key”, but I already have a pretty good idea.

Select the key from the inventory and tap on the locked drawer. And tap again to open it.
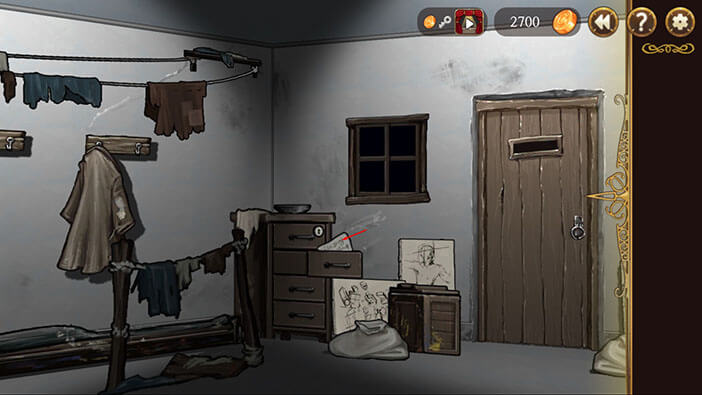
Damn, there’s nothing inside. Close the first drawer, and let’s look into the drawer below, the second one from the top. Tap to open it.
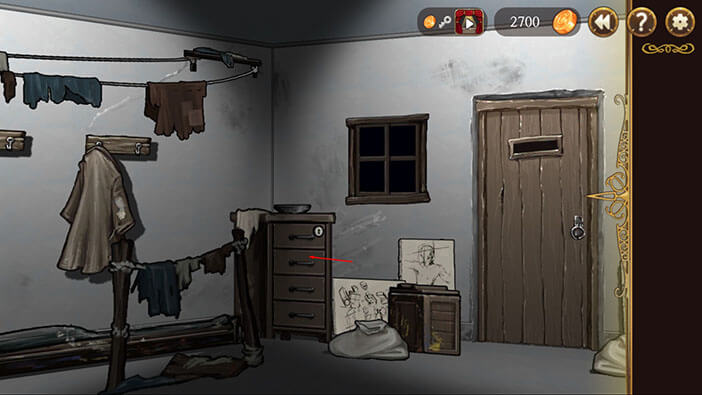
Hmm, looks like some kind of note. Tap on it to read its content.
NOTE: If you don’t close the top drawer you won’t be able to see the content in the drawer below it.
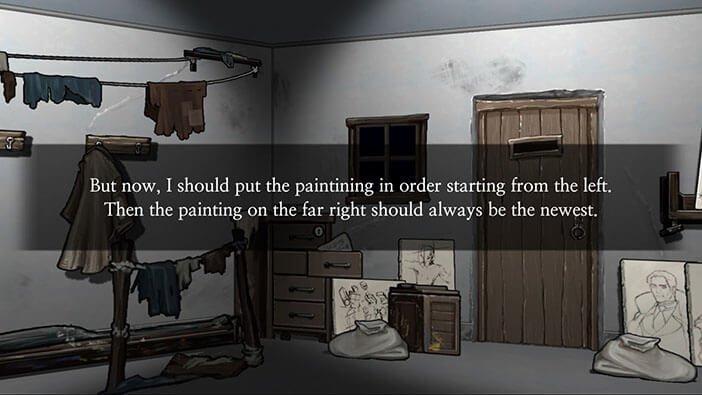
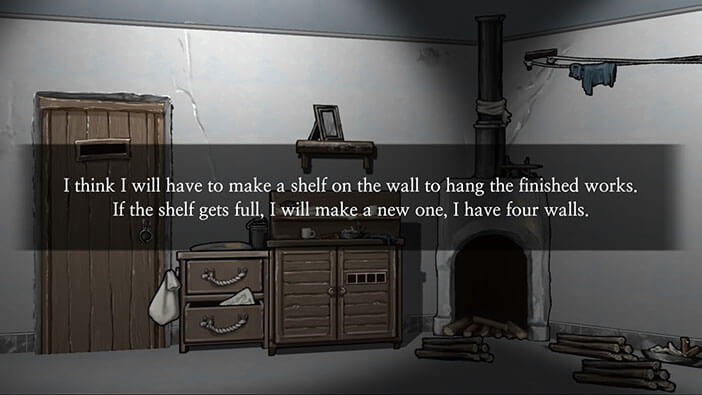
Poor Huxley has a very small home and he is lacking adequate storage space for all of his paintings. Well, if he was selling more paintings both of his problems, the storage capacity, and financial one would go away. But, sadly that’s not the case. Apparently, he will now arrange the paintings from the left (older) to the right (newer paintings).

Now, turn to the left until you see a cabinet with two drawers. Tap on the bottom drawer to open it.

Tap on the note inside the bottom drawer to read it. Well, when he started running out of space for his paintings, Huxley decided to build a shelf and store all his paintings inside it.

We should now look for that shelf. Turn around and face the front door. Now, tap on the paintings stored on the shelf, to the right of the door.
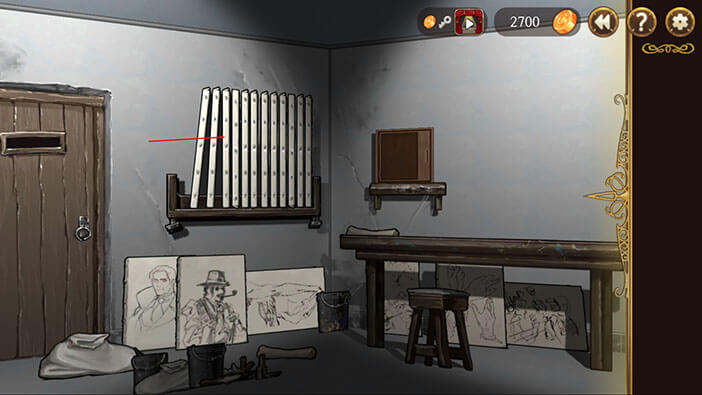
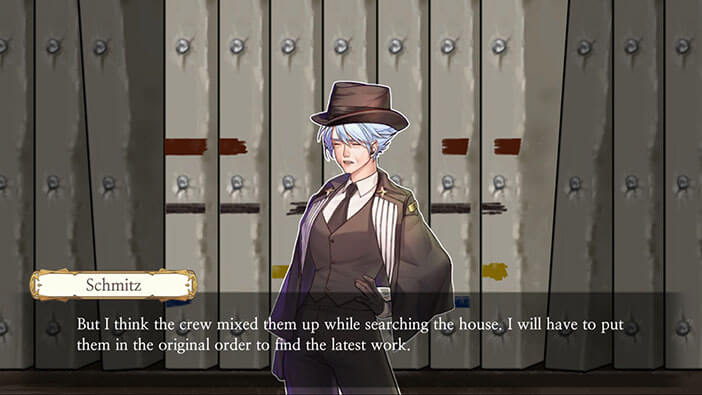
Apparently, the policemen that were searching the house rearranged the order of the paintings. Our task is to arrange them in chronological order from the oldest one that should be on the far left, to the newest one that should be on the far right.

Let’s begin. The painting marked with the full blue line on the bottom, and half the black line above it (the fifth painting) should come first. So, drag it into the first slot, looking from left to right.
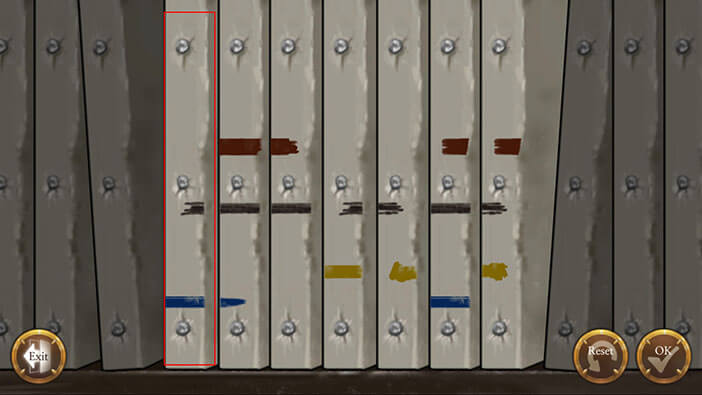
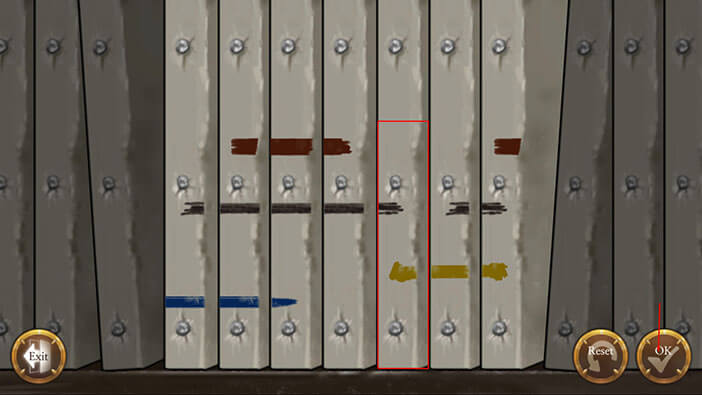
Now, take the other painting with the full blue line and the full black line (the sixth painting) and place it into the second slot. After we do this, the painting with the “pointy” blue line will automatically move to the third place, right where it’s supposed to be, forming a blue line. The fourth one is also in the correct place and forms black and red lines.
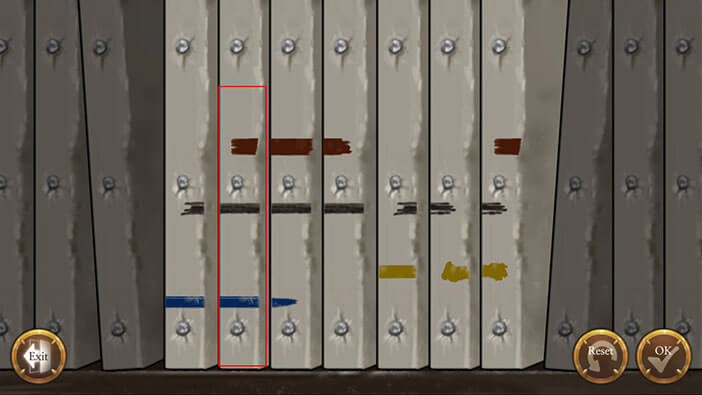
Take the painting with half of the yellow line painted on its right side and half of the black line on its left side (the sixth one, counting from left to right). Place it into the fifth slot. Now, it forms a yellow line and with it, we have the correct order. Tap “OK” to continue.
Tap on “Exit” button.
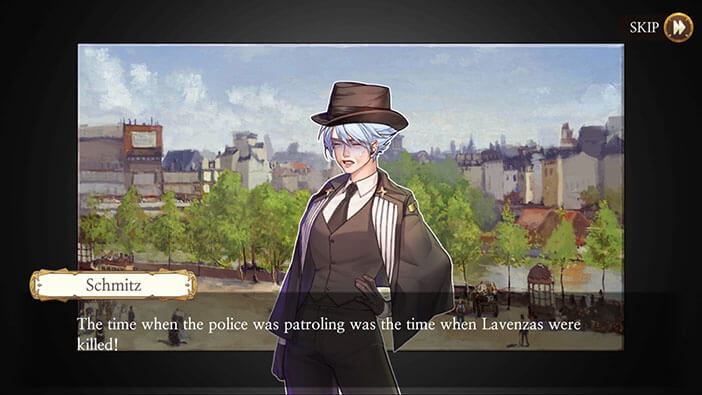
We can now see the last of Huxley’s paintings. If you don’t recall the reason why we came here, it is because the peddler set up shop only once in Sachsen, on the street right below the Bolaff hill, and he was selling his goods during just one day, the day of the murderer (his goods were confiscated later that day).
So, we should look for a peddler in Huskley’s picture. Do you see a wagon overloaded with the merchandise in the bottom right corner of the image? Tap on the man in blue pants, wearing a yellow hat, located in front of the wagon.

Yup, that’s the peddler. This proves the picture has been painted at the time of the Lavenzas murders and proves that Huskley was not the one who committed the crime, since he was on Bolaff hill, painting. Oh boy. We suspected this all along. Schmitz is furious, and will certainly try to undo this unfortunate mistake.

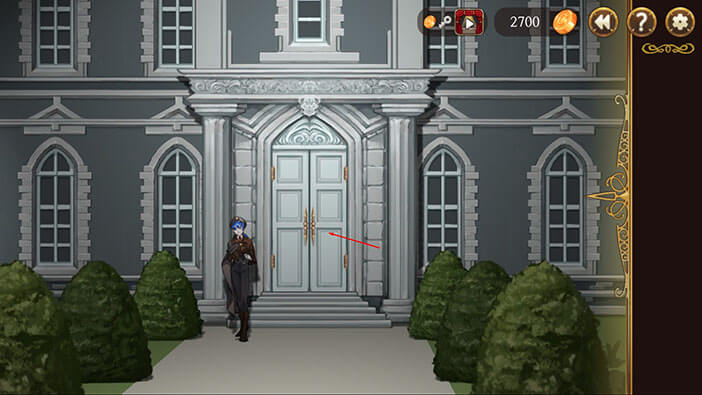
In the following scene, we, as Schmitz, come back to the Lavenza family mansion. Our protagonist is greeted by the policeman, and the detective informs him that she wants to take another look at the crime scene before they shut it down.
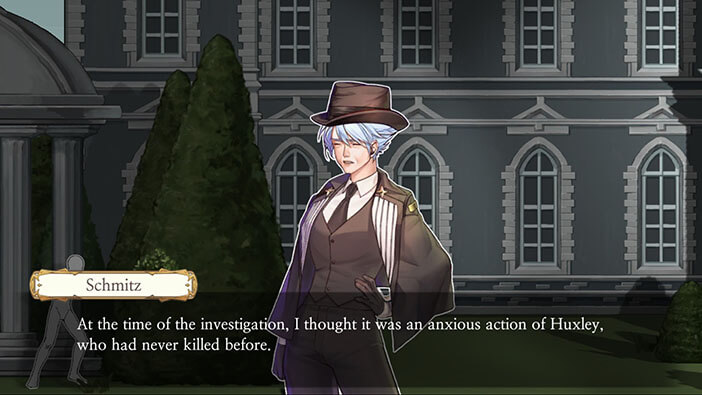
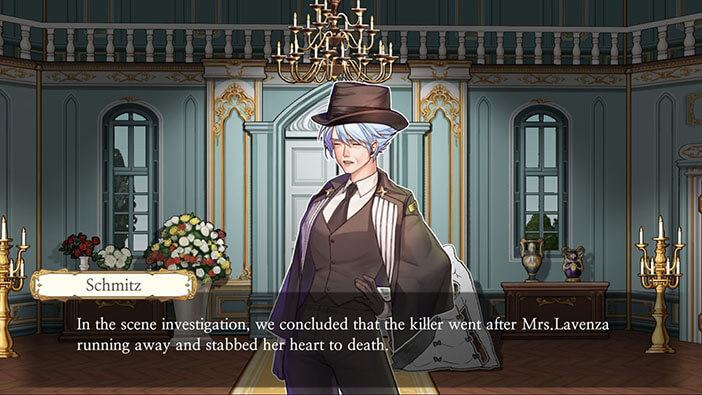
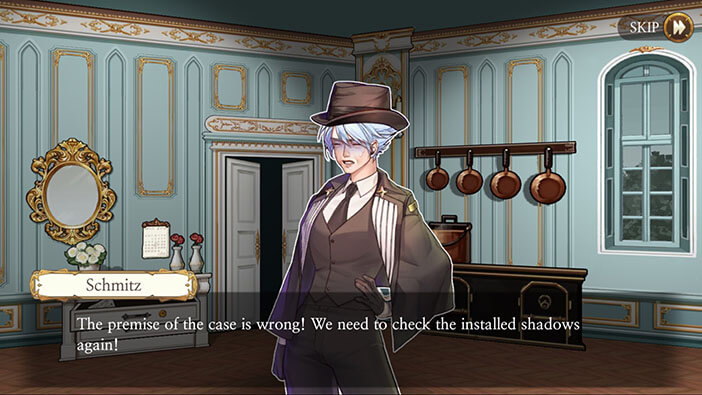
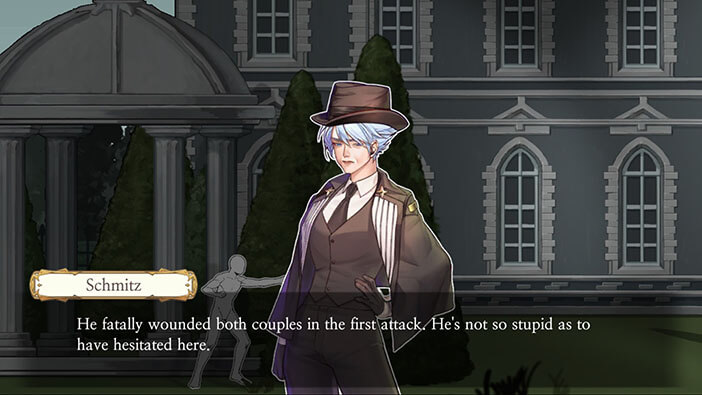
With obvious motive, and the art knife as the murder weapon, Schmitz quickly concluded that Huxley was a killer. She is now doubting this conclusion because she thinks that Huxley didn’t have enough time to kill both Mr. and Mrs. Lavenza. The detective thinks that Mrs. Lavenza would have enough time to run away. 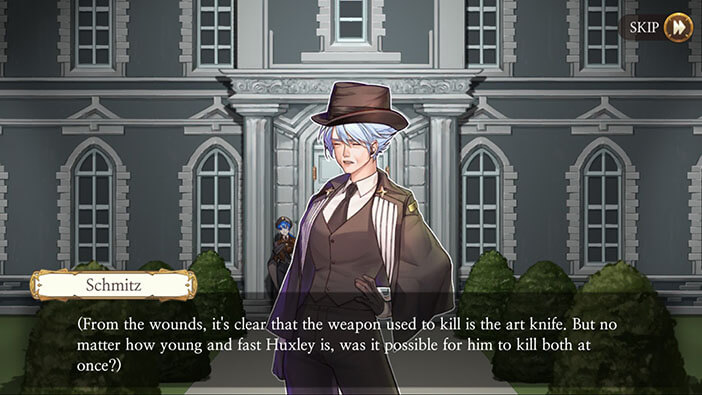
However, I noted when we first played this stage that there are other, more important inconsistencies. For example, what kind of an idiot would use an easily recognizable knife, from his own art set, to commit the murders and then leave it at the crime scene? Also, Killing Mr. Lavenza from behind, and later chasing Mrs. Lavenza, catching up to her and killing her doesn’t seem unlikely, as she was an elderly woman wearing a large gown (that would restrict her movement), and certainly couldn’t run very fast. I don’t know, the Schmitz’s reasoning looks a bit strange to me.
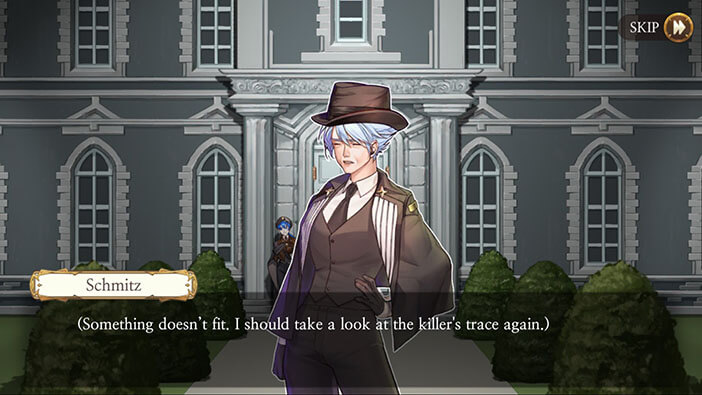
Be it as it may, she decided to take another look at the crime scene and go over all the evidence and the crime reconstruction. So, thumbs up for the decision, and let’s do it.
Sweep to the left and tap on the shadow that is stabbing at the tree. 
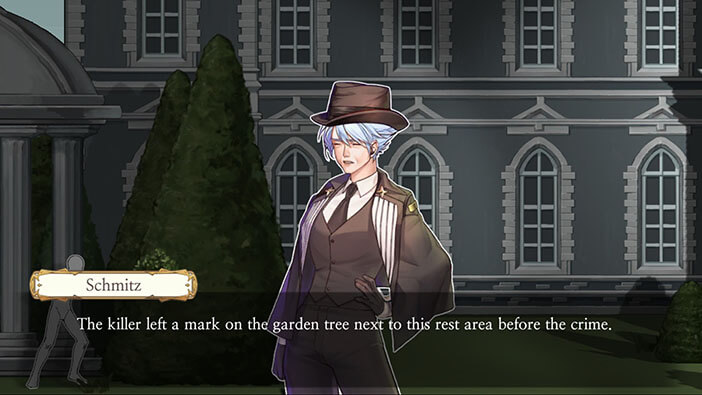
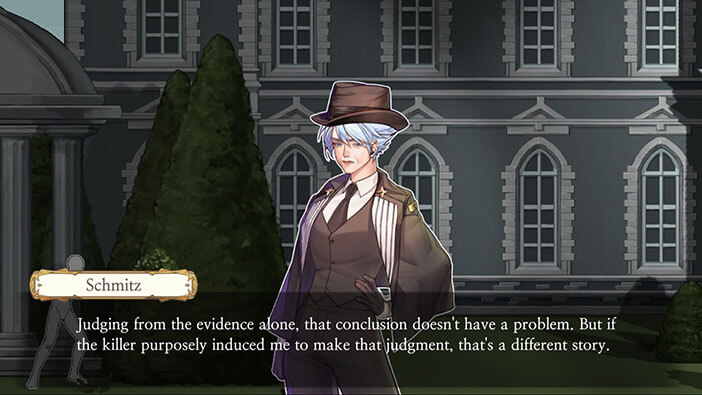
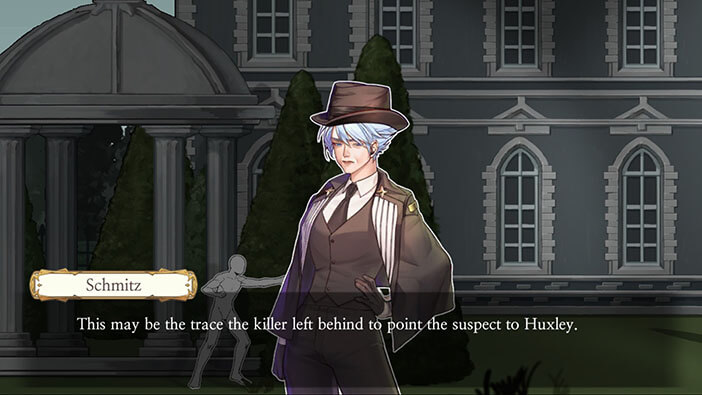
The first conclusion, that Huxley was nervous, inexperienced in knife-wielding, and for that reason chose to practice stabbing and slashing at the tree is perfectly logical. However, the detective thinks that somebody could have damaged the tree in order to mislead the investigation toward Huxley (who obviously wasn’t an experienced killer).
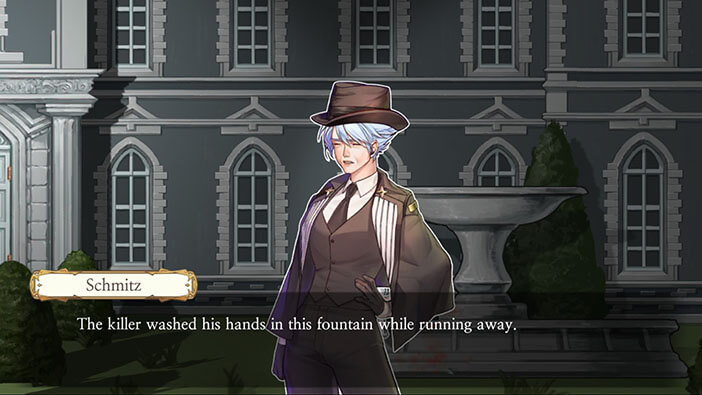
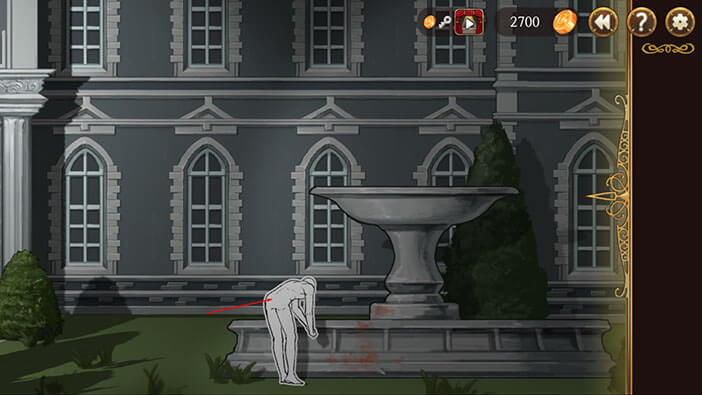
Now, turn all the way to the right and tap on the figure washing the hands at the fountain.

After he got out of the house, the killer was calm enough to get to the fountain and wash his hands, leaving the bloodstains on it. Somebody who’s inexperienced would panic, and try to run as far away from the crime scene as possible, before thinking about washing his hands. Also, the killer was calm enough to stop by the fountain to wash his hands, but wasn’t calm enough to get rid of the (very recognizable) murder weapon later, somewhere far away from the crime scene? Instead, he left the knife inside the bloodstained fountain, where it would be certainly found by the police. Well, I don’t buy this theory, and I was suspicious of it the first time we conducted the investigation. Now, the Schmitz doesn’t buy it, either. Great! We’re finally on the same page.

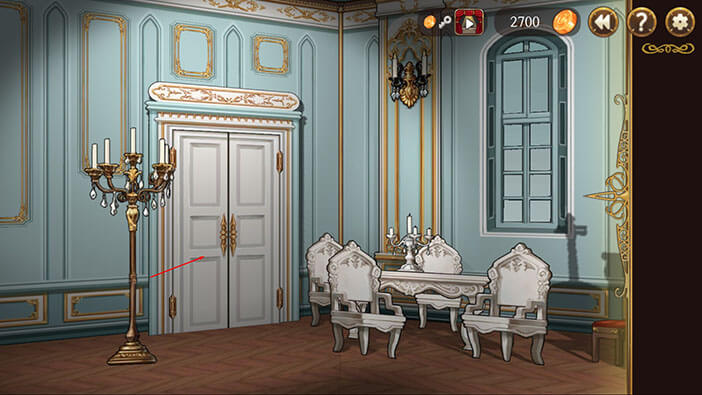
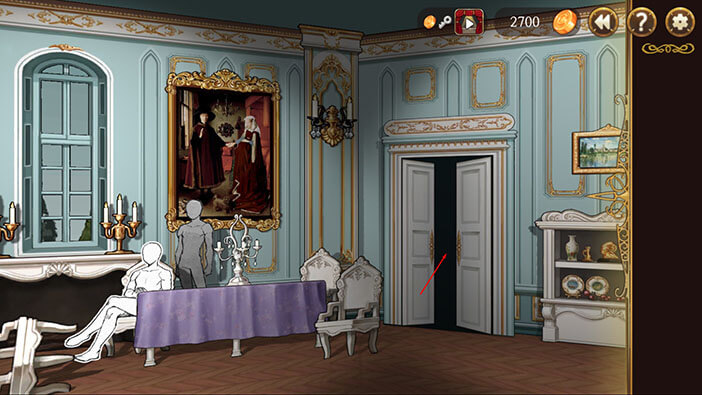
Let’s get inside the mansion and check out other reconstruction shadows to see if there are some more inconsistencies about this case. Tap on the front door to open them, and tap again to enter.
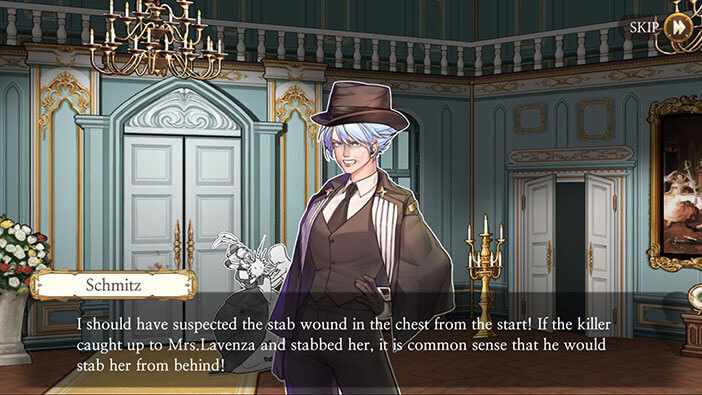
Tap on the shadow that is stabbing Mrs. Lavenza. Chief investigator Schmitz is suspicious, and so am I. If the killer chased after Mrs. Lavenza it would be more logical to stab her in the back, but instead she was stabbed in the heart. I completely missed this point when we investigated this case for the first time. We should now also check other shadows. Let’s go to the reception room.

Sweep to the left and tap twice on the door, to open them and enter.

You know the drill, tap twice on the door to the left to go into the next room.
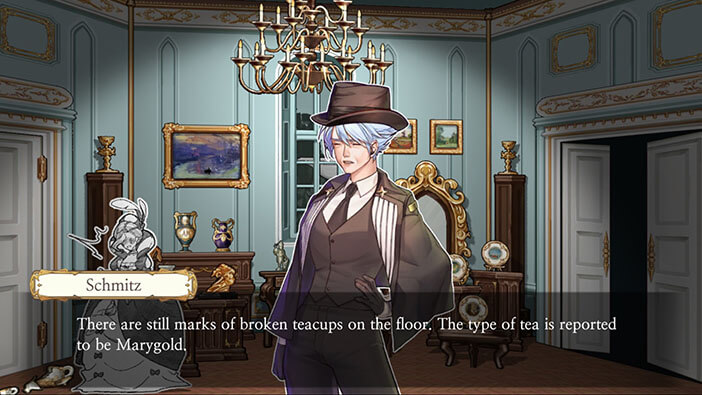
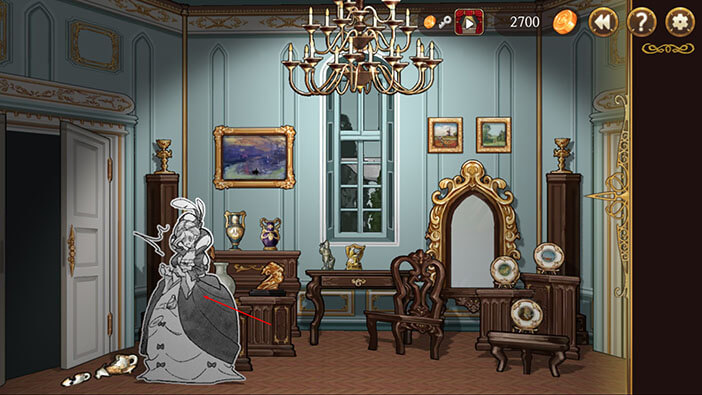
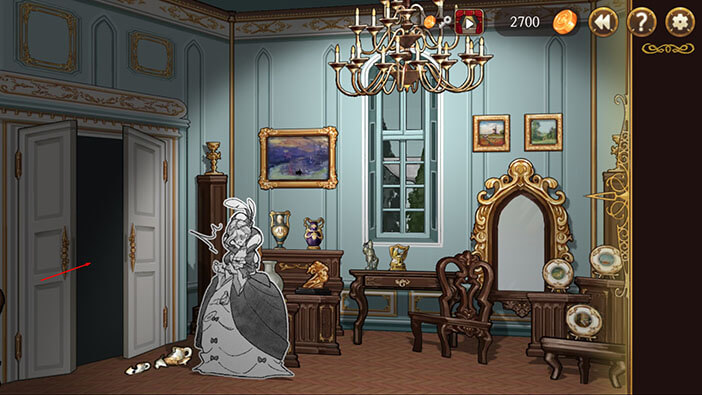
Tap on Mrs. Lavenza’s shadow that is looking at the broken teacups. Well, we only found out that she was bringing in Marygold tea. Hmmm, this information isn’t very useful right now, but it might be important further down the line.
Double-tap on the door next to Mrs. Lavenza to enter into the reception room.
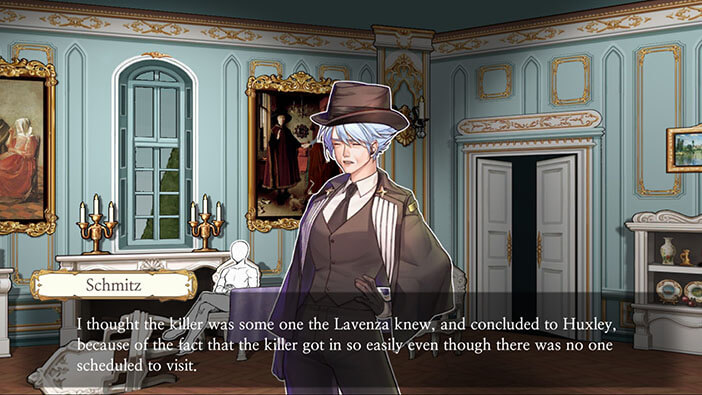
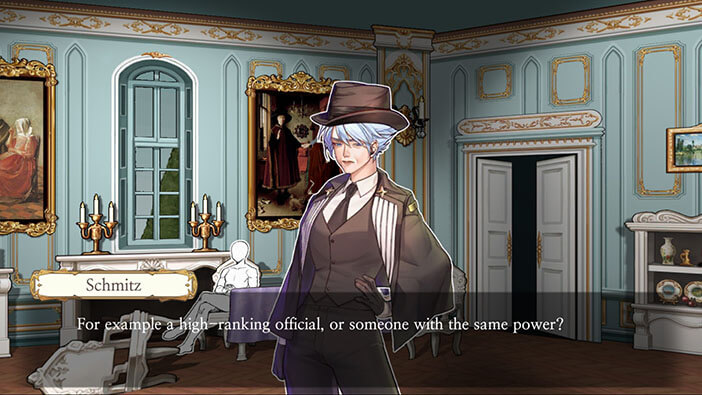
Tap on the sitting figure. Well, both me and Schmitz concluded that the visitor must have been someone that the family knew. I suspected that it might be one of Mr. Lavenza’s business partners, but as Schmitz points out it could be also some person in power, like one of the official government representatives, or the leader of some other influential organization.

Let’s check the other shadow. Tap on the figure that is stabbing Mr. Lavenza.

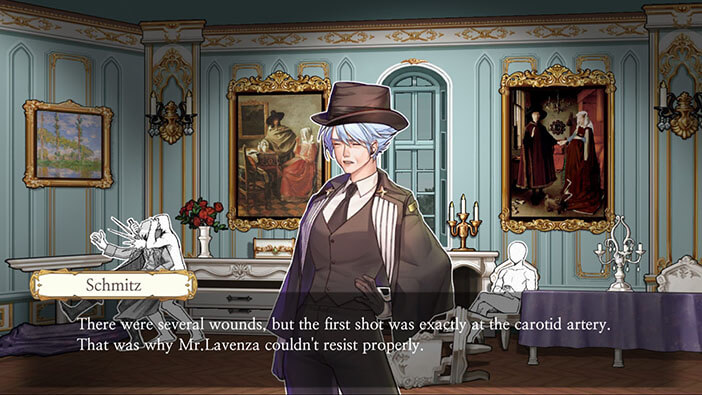
As we already know, the first strike was done with surgical precision, hitting the carotid artery, so the victim couldn’t offer any resistance. The other stab wounds would either inflicted in a blind rage, or cover up the killer’s proficiency, and knowledge of anatomy demonstrated in the first strike. Schmitz now suspects that the latter option is more likely. Also, Mr. Lavenza was going over some of his documents at the time of the attack, and that’s what leads me to believe that he was having a meeting with one of his business partners.


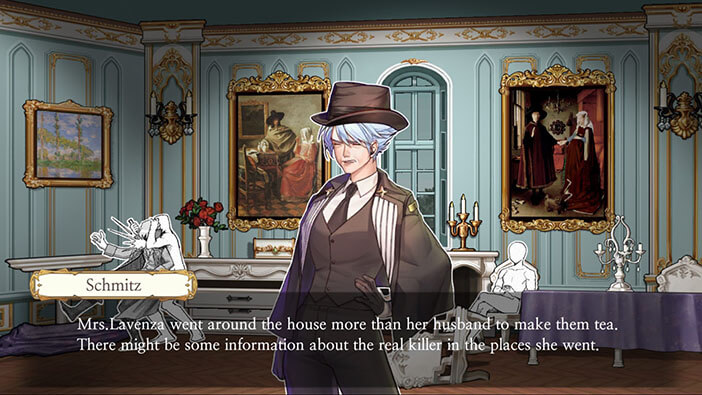
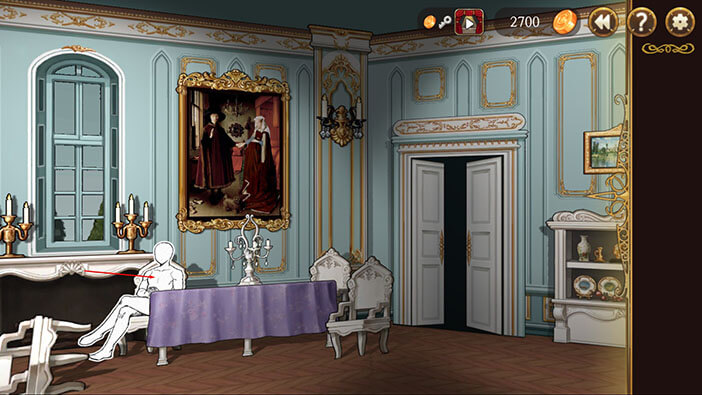
Schmitz now wants to trackback the steps of Mrs. Lavenza as she was making the tea for their guest(s). Also, our protagonist thinks that there might be more than one suspect, as she clearly said “them” in one of the sentences. Interesting theory. Let’s check out the kitchen, and see if Mrs. Lavenza left us some evidence there, that we might have overlooked previously.

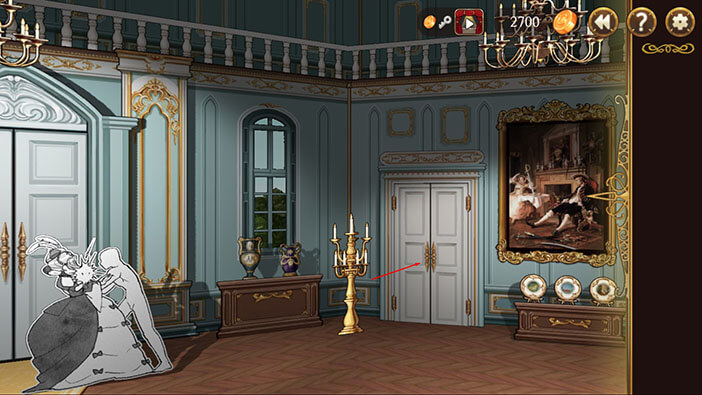
Tap on the door on the right to exit, and keeping going through the doors on your right until you reach the main hall.

Now, turn to the right and double tap on the door to enter. Keep going through the doors on the right until you reach the kitchen.
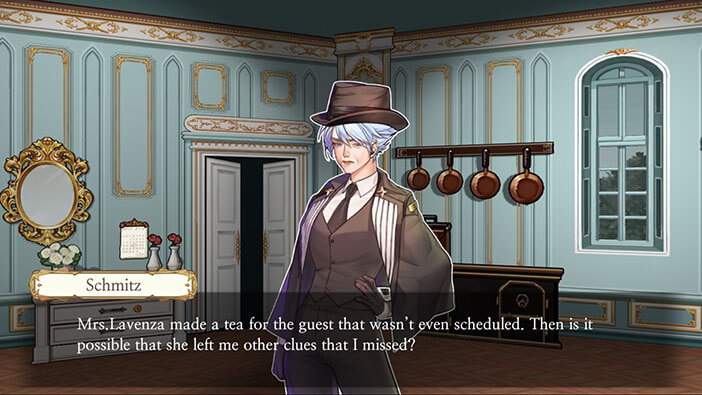
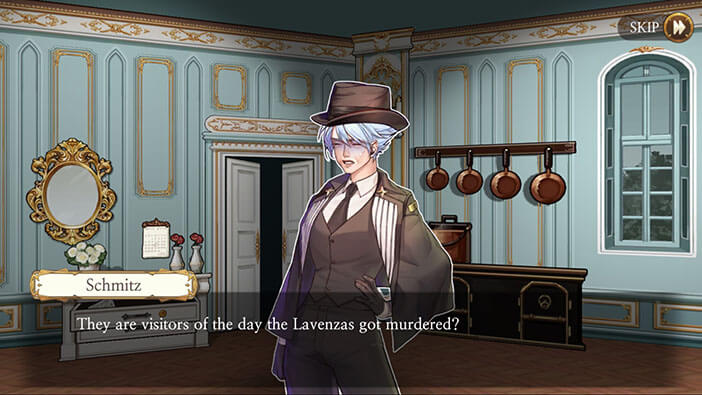
Once you get inside the kitchen, tap on the calendar next to the vases. As we already know, there were no scheduled visits that day. However, Mrs. Lavenza made tea for her guests, and Schmitz suspects that she might left some useful clues. So, let’s search through the kitchen again and see what else we can find.
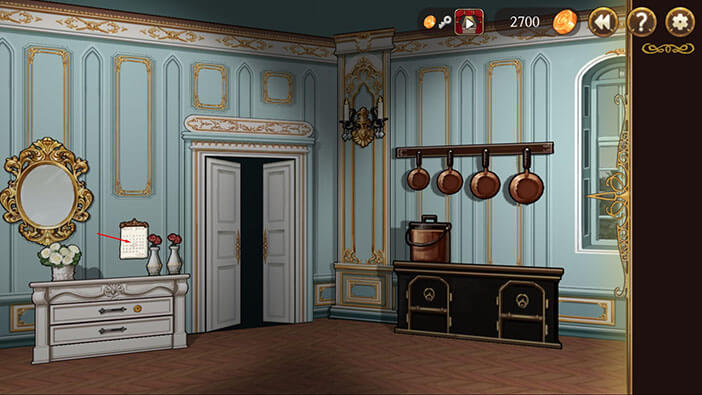
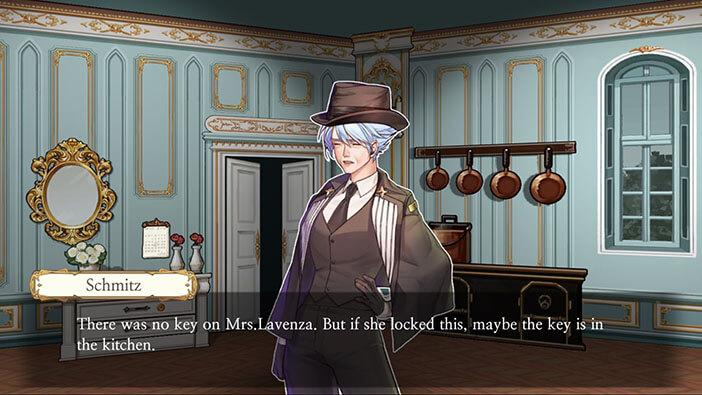
Tap on the drawer with the keyhole. The drawer is locked, but since there was no key on Mrs. Lavenza’s body, Schmitz suspects that she might left it here, in the kitchen. Most objects in the kitchen can be moved by tapping on them.
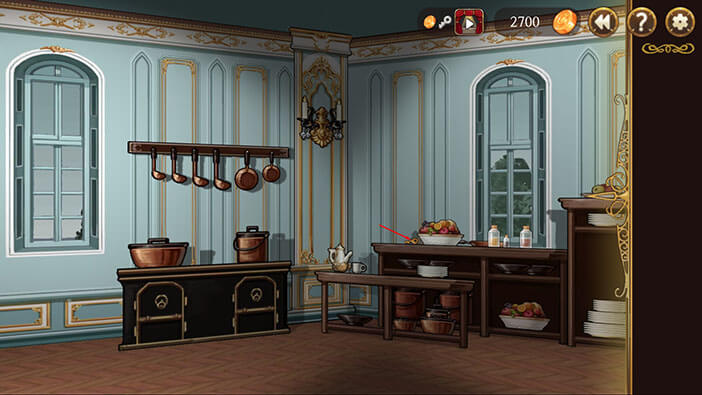
Turn around and tap on the fruit bowl. Behind it, you’ll see a key.
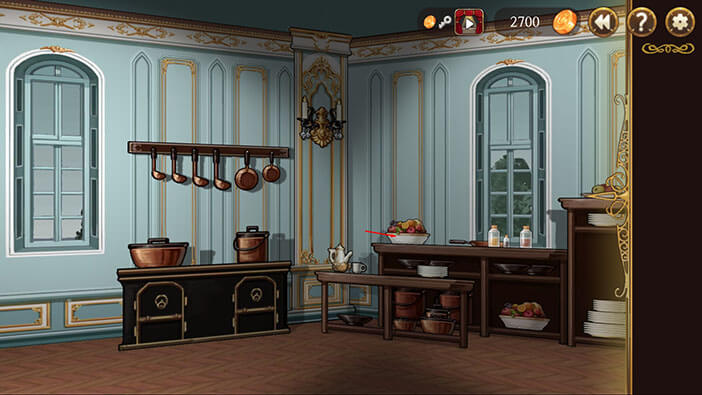
Tap on the key to pick it up. It looks like our victim dropped the key while she was preparing the tea. Well, this also might be the place where they usually keep the key, but that’s irrelevant for the case.
Turn around, select the key from the inventory, and tap on the locked drawer.

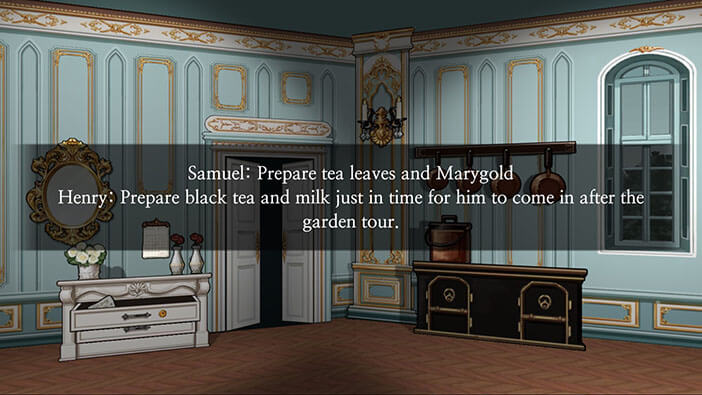
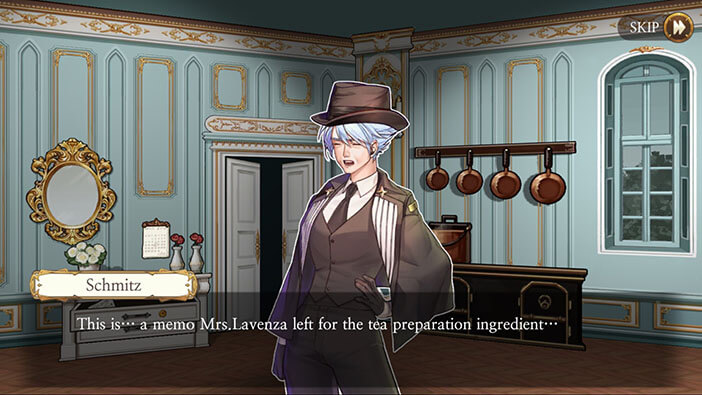
Some document is sticking out from the drawer, tap on it to pick it up.

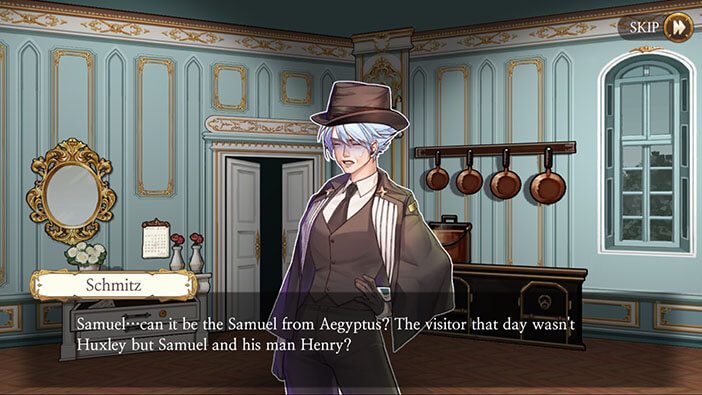
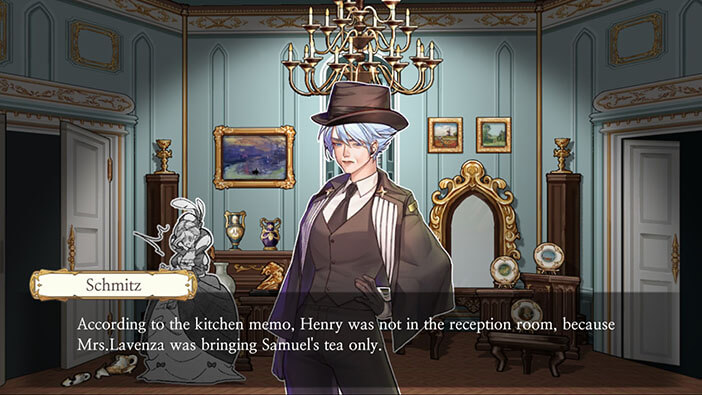
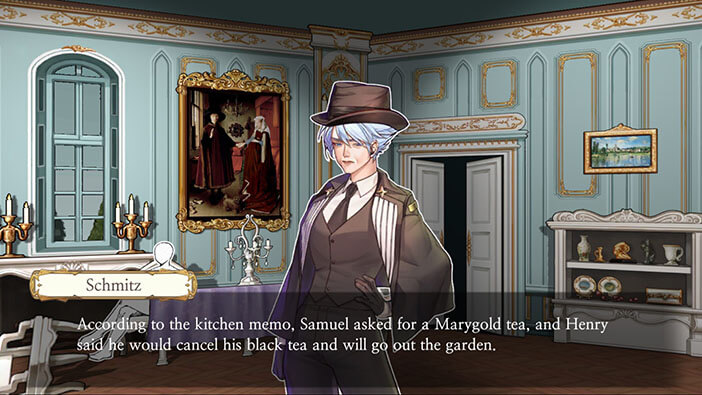
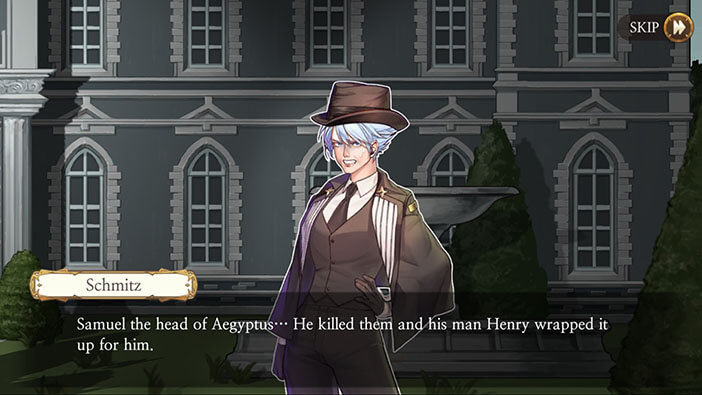
It looks like there were two visitors that day, so Schmitz’s suspicion was correct. Samuel, that would like to have a Marygold tea, and Henry that would like to have a black tea with milk, after he finishes looking around the garden.
You probably remember from the previous stage that these two characters (Samuel and Henry) are the ones that bribed the lawyer. This investigation happened two weeks before that event, so this is how our protagonist realized, for the first time, that Aegyptus is involved in the murders. At this point she also realized that Huxley probably wasn’t responsible for the murders.
Since we now know that Huxley wasn’t the one who visited the mansion, Schmitz wants to go over all reconstruction shadows, once again, because the first reconstruction of the case is obviously wrong.

Tap on the kitchen door to exit, and keep going through the doors on your left, until you reach the main hall.

Once there, tap on the figure that is stabbing Mrs. Lavenza.
Well, as we already said, Mrs. Lavenza was chased, but the killer didn’t stab her in the back once he caught up with her. Instead, she was stabbed from the front, right through the heart.
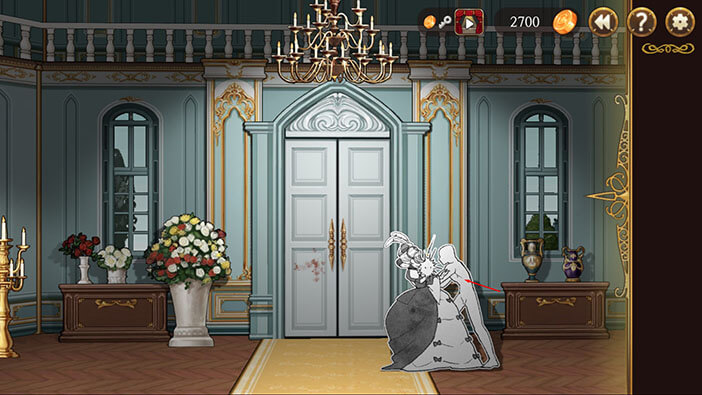
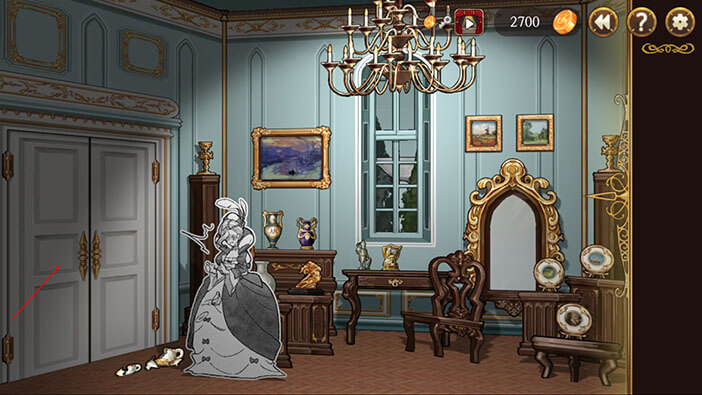
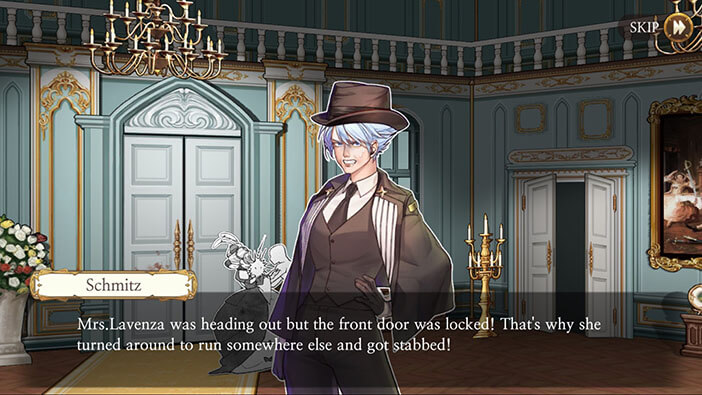
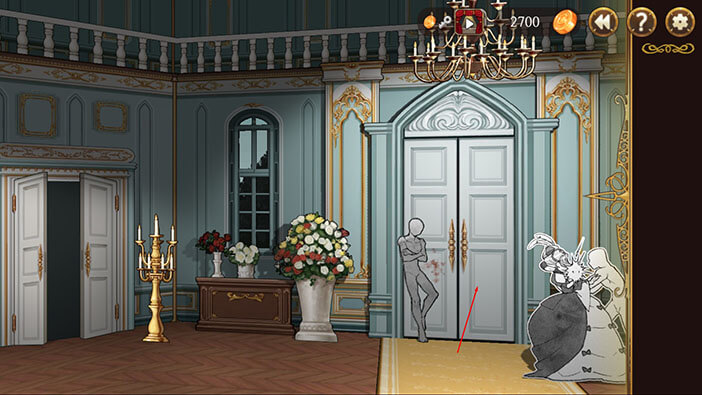
Schmitz thinks the front door was locked and, because of that, Mrs. Lavenza was forced to turn around and search for another exit from the mansion. So, it looks like Henry locked the front door, and was blocking them from the outside. While Mrs. Lavenza was trying to open the door, Samuel caught up with her. She saw him, turned around, wanting to find an alternative escape route, but he stabbed her through the heart at that very moment. Well, this makes much more sense. After this conclusion, a new, dark reconstruction shadow will be installed next to the front door. Strangely enough, this shadow is standing inside the mansion, rather than outside of it. I guess this was done so the player can immediately see what was Henry doing. If the shadow appeared outside (as it should), we couldn’t see it until we exit from the mansion.


Let’s proceed toward the reception. Tap on the door on your left. Once you get into the next room, tap again on the door on your left and enter the room with broken teacups.

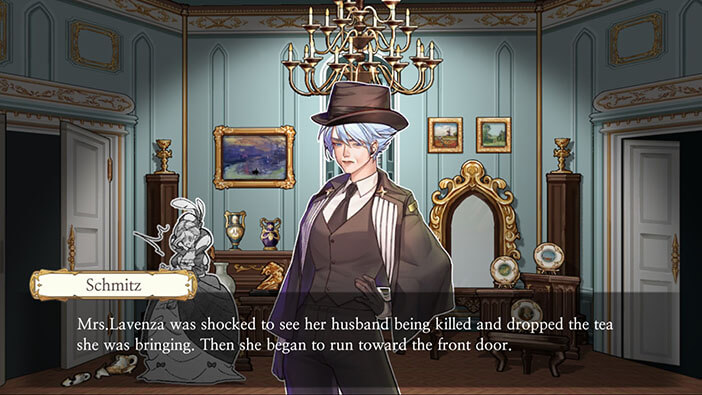
Now, sweep to the left and tap on Mrs. Lavenza shadow, to examine it with the new insight. Not much new here. She saw her husband’s murder, drop the tea, and started running for the front door. However, Schmitz is now certain that Henry was outside, meaning that Mr. Lavenza was alone in the room with Samuel.
Tap on the door on your left to get into the reception room.
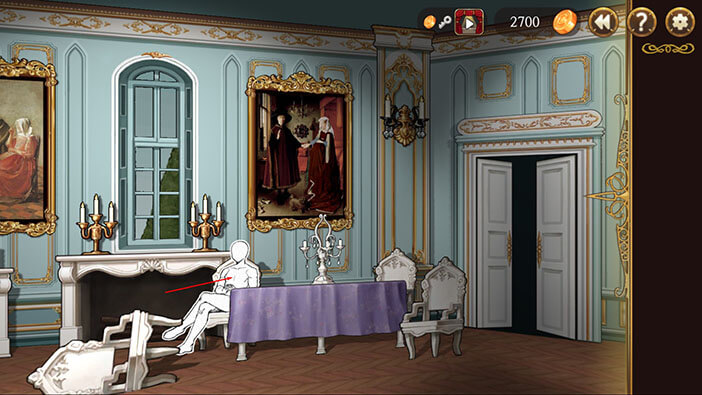
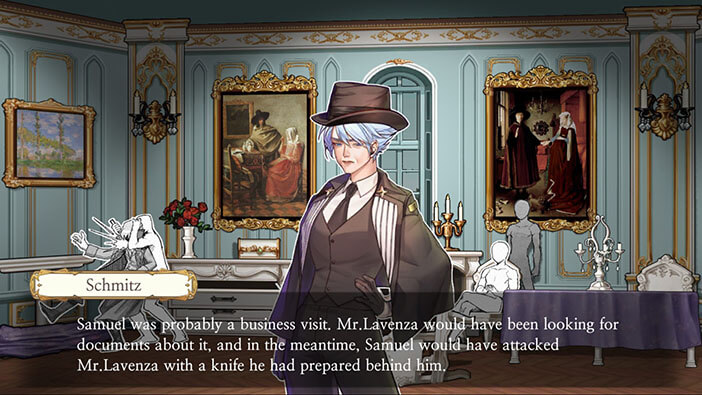
Tap on the faceless figure, that is sitting at the table.
Samuel is an influential person, and Mr. Lavenza would let him into his home, even though he came unannounced. Presumably, both of them were wealthy people, and Samuel might have come to propose some kind of business arrangement – we suspected that Mr. Lavenza was meeting with one of his business partners from the start. Also, Schmitz is now certain that Samuel and Mr. Lavenza were alone in the reception room since Henry said he changed his mind about the tea and went to the garden instead. Samuel stayed in the room, patiently waiting for the Marygold tea, and the time to strike. With this new evidence revealed, another dark figure (representing Samuel) will be installed next to the sitting one.

Tap on the figure stabbing Mr. Lavenza.
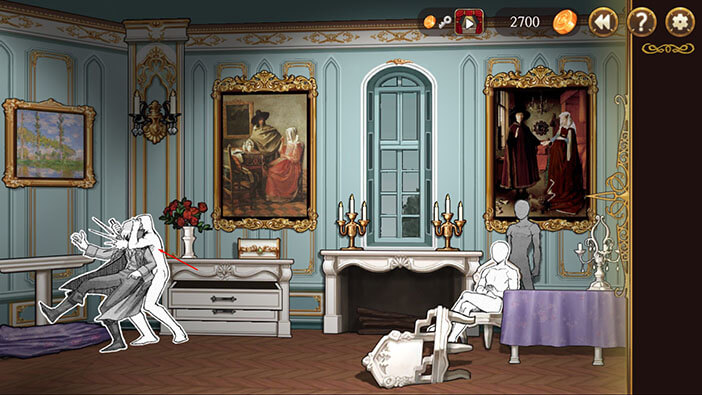
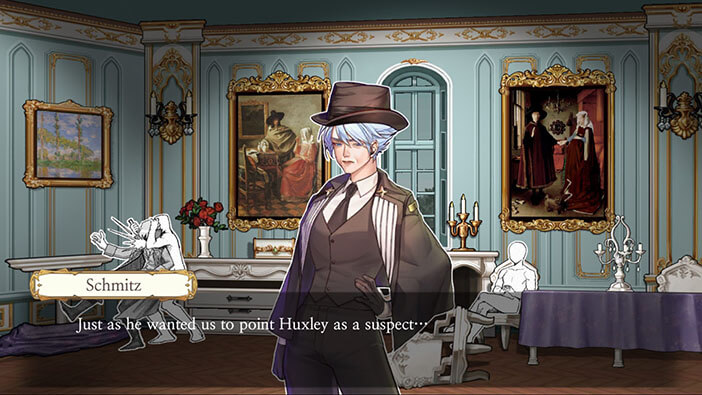
So, the new conclusion is the following. After hearing Samuel’s business proposition, our victim was intrigued and went to the drawer looking for some of the business documents that he wanted to present to Samuel. While he was distracted shuffling through the heaps of documents, Samuel sneaked up on him and stabbed him from behind right in the carotid artery. Even though the victim was helpless and unable to resist at this point, Samuel stabbed him several more times, in order to cover up the surgical precision of his first strike that could only be executed by a very experienced killer, and not by the common person, like Huxley. At this point in time, Mrs. Lavenza opened the door and, well you know the rest of the story.
I still don’t get something here. What was the motive for the murders? Was the end goal to set up Huxley? I don’t think so. Even if Huxley knew something that could endanger Aegyptus, this organization could quickly dispatch him. Murdering a poor artist would draw much less attention than murdering a very prominent family. It looks like Huxley was just a convenient “dummy” that could be easily set up to take the blame for the murders. But why kill Lavenzas in the first place? Hmmm, I guess we will find out the answer to this question later. My guess is that removing Mr. Lavenza would probably enable Aegyptus to take over one of his businesses, or remove competition. Something along those lines.
Our job here is done. Let’s head back to the main hall. Tap on the door on the right to exit, and keep going through the doors on your right until you reach the main hall.
Now, tap on the front door to open them, and tap again to exit into the front yard.
Once you get to the front yard, sweep to the left and tap on the figure that is stabbing the tree. Stabbing the tree was another trick that the suspect pulled off to stir our investigation towards someone inexperienced in wielding the knife, Huxley that is. Well, this is not really the brightest idea, since it’s a bit difficult to believe that someone who can instantly hit the carotid artery on the first victim, and the heart on the next one, was just a minute ago practicing stabbing at the tree. On the other hand, Samuel did manage to mislead the Schmitz at first with this little trick. So, I guess even stupid ideas can occasionally work. After examination, the old shadow will be removed, and a new, dark shadow installed.

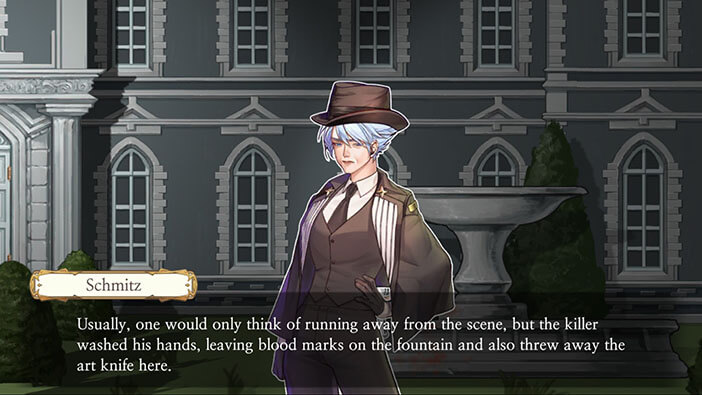
Let’s now check out the last remaining shadow. Sweep to the right and tap on the figure that is washing hands at the fountain. This one was obvious to us from the beginning. It is clear that the murderer intentionally left the bloodstains at the fountain in order to draw the attention of the officers to that very spot. He then tossed the murder weapon into the fountain, knowing that the police will certainly find it there. Hmmm, I didn’t mention it earlier, but it’s clear that someone stole Huxley’s knife before the murders, so that Samuel can use it later to set him up. All in all, this was a very well organized crime, brewed up by the criminal mastermind Samuel.
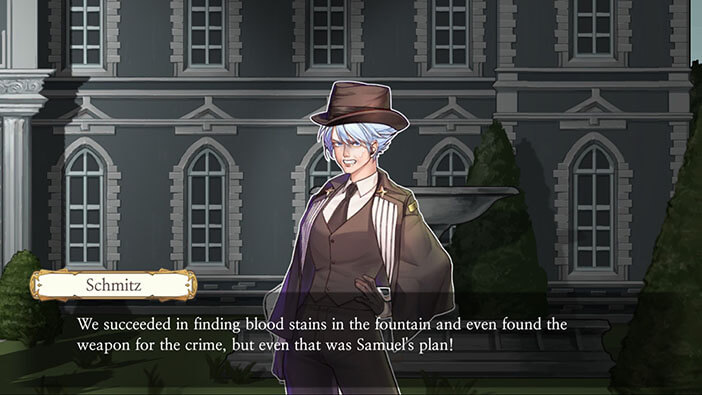
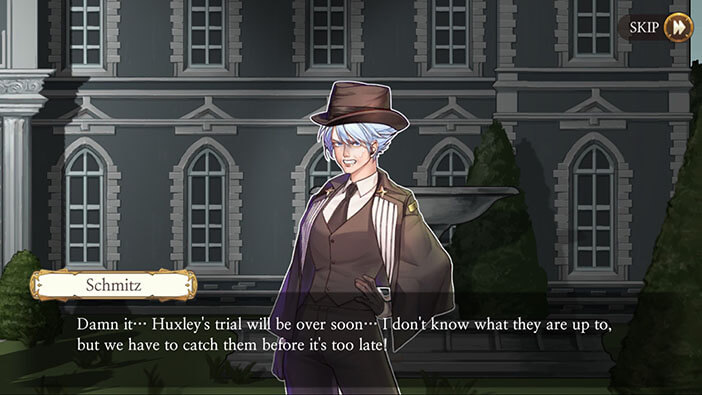
Schmitz is furious! She is now certain that Samuel committed the murders, with Henry’s help (he locked and guarded the front door). The detective realizes that she has to move quickly since Huskley’s trial is over and his execution is scheduled for this afternoon. If she doesn’t hurry up the innocent man will die. Well, this whole investigation is going on in the past, and we already know that she won’t save poor Huskley. However, I do wonder what happened? Was she too late to stop the execution? Hmm, probably, I guess we will find out soon enough.
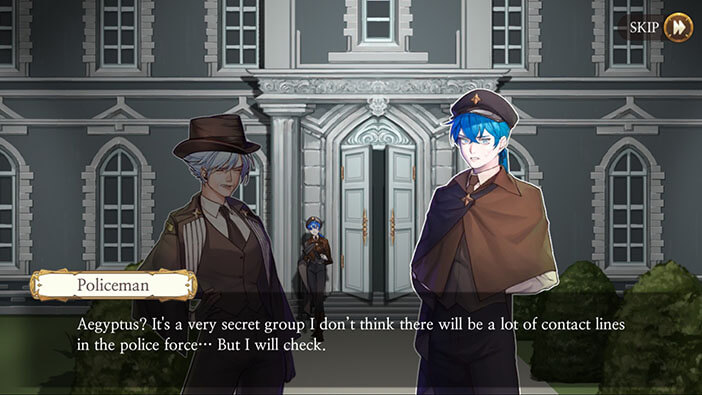
Tap on the policewoman standing at the front door. Schmitz will try to find out more about Aegyptus through the undercover police officers and informants. However, it seems that finding out anything about this organization will be very difficult, and time is running out.
Our story continues one week later at Sachsen square. Martin Huxley is about to be executed, and the crowd is cheering in excitement. Nobody listens to the poor man’s claims that he is innocent. Well, I guess he shouldn’t have confessed his guilt at the court, but his lawyer was probably the one that talked him into doing that. Now it’s too late… Or is it? Schmitz is certain that the judge won’t stop the execution without the new evidence.
The good detective thinks that Samuel is surely hiding somewhere, but suspects that Henry might be somewhere in the crowd.

And that brings us to our next task. We have to find Henry in the crowd based on only three pieces of information that can be used to identify him, gathered by our informants.
Those three clues are the appearance of his hat, ponytail hairstyle, and his hat ribbon. Once we identify all three pieces on the spinning image, we should tap on it. Hopefully, we will be able to find Henry in time and prevent the execution of the innocent man. Time is short so let’s start.
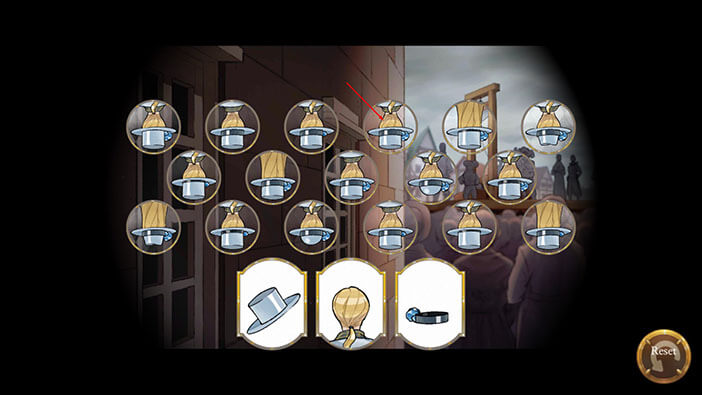
The image on the far right contains the same items as our three combined. Tap on it. That’s the first part done, but now it gets more confusing as there are more images spinning on the screen – they represent the dense crowd that has gathered to watch the execution. Finding Henry won’t be easy. 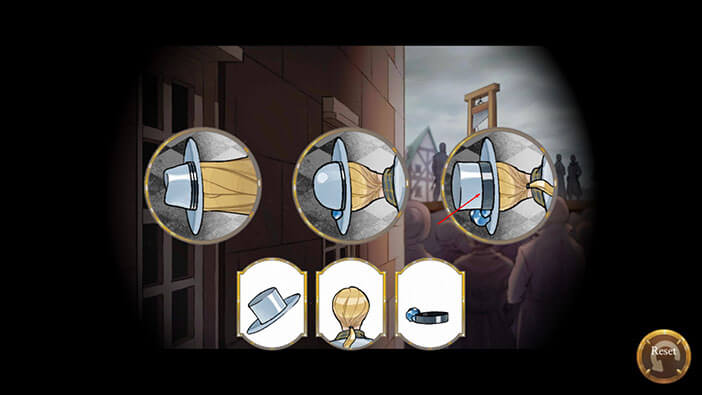
The image on the far left in the upper row, is the one we’re looking for, tap on it. The second part of the identification done, one to go. But now it gets really confusing with all those spinning images.

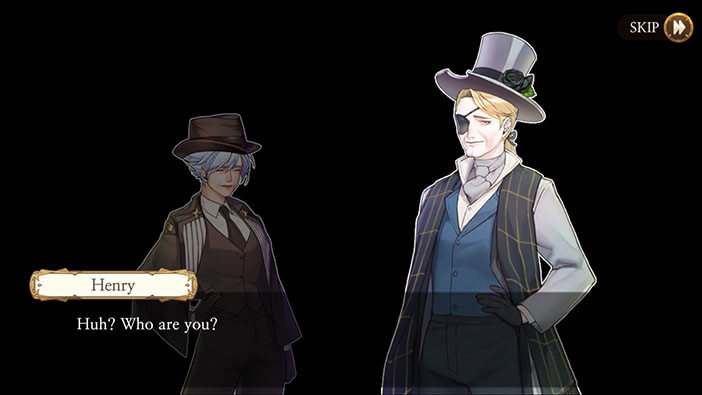
The fourth image in the top row is the one we’re looking for. Tap on it. Yep, that’s it. Looks like we managed to find Henry.
Tap anywhere on the screen (except the “Reset” button) to continue.
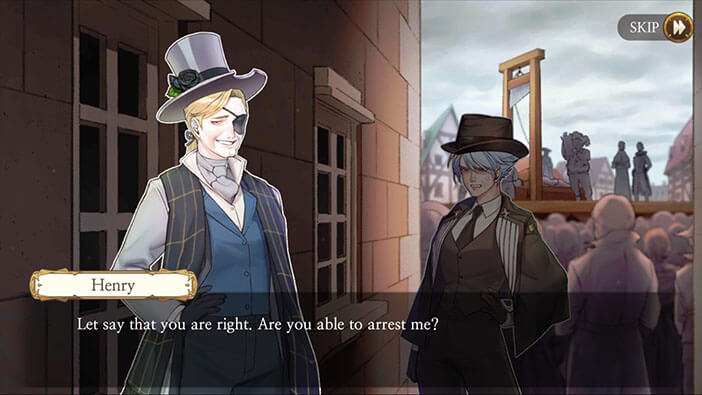
Hahaha! The Schmitz is a badass! She called out Henry’s name, and as soon as he turned around and responded she punched him in the face… Several times. Nice introduction 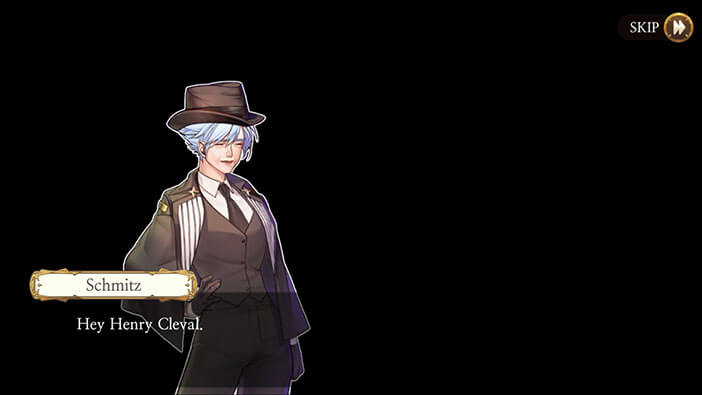
She proceeds by telling him to men up and get up from the street. I really like her approach. She accuses him of murdering the Lavenza couple and threatens to pop his other eye out. However, she seems more worried about Henry fooling her and the rest of the police force, than him participating in murders (Henry is an accomplice, not the killer), and setting up Huxley – which is about to be executed any moment now. So, maybe Schmitz should stop talking and try to save the poor fellow instead?
Henry laughs at our protagonist, claiming she won’t do anything about it and daring her to arrest him. He also claims that with this case, quickly and brilliantly solved, Schmitz is going to be promoted. But, if she admits that she made a mistake, that could really damage her reputation in the eyes of the king and other government officials.


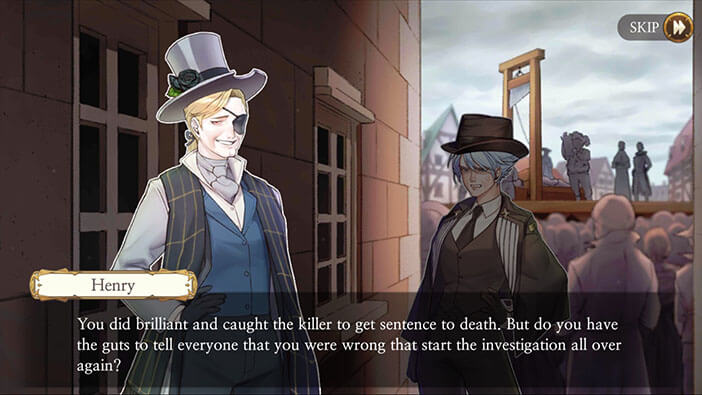
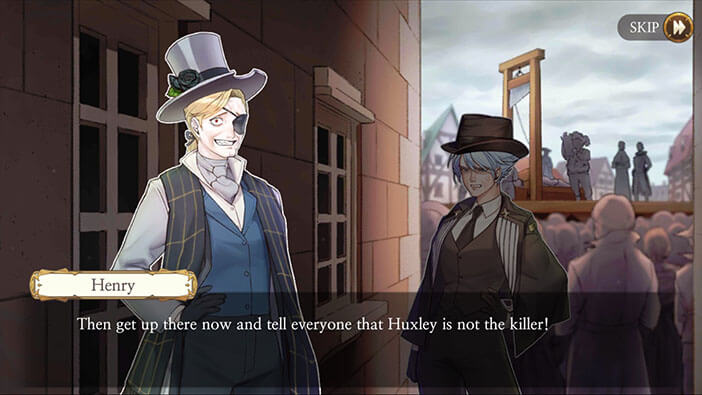
Henry now taunts her to go up at the execution stand, and even offers to go up with her. He seems certain that the detective won’t do it since that would jeopardize her promotion in the police force.

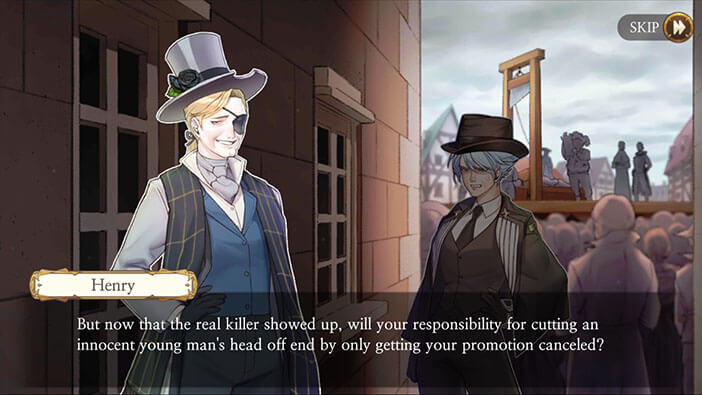

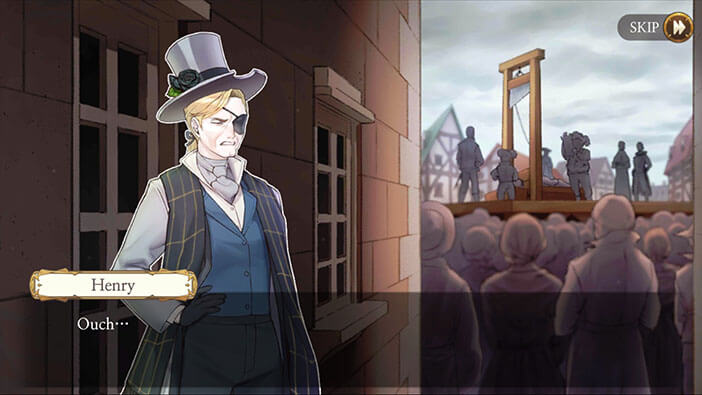
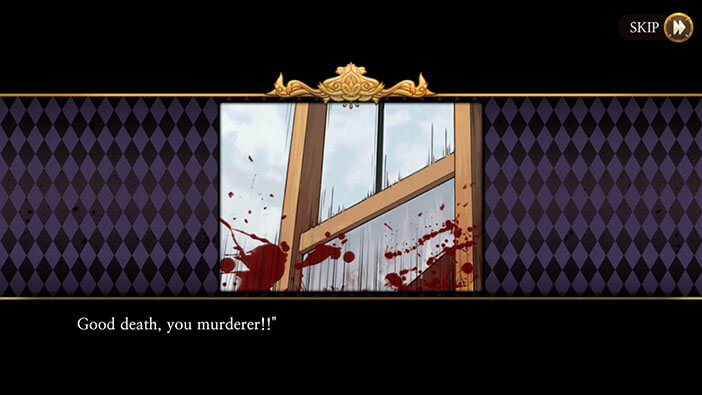
And, at the next moment, the execution is done. The crowd cheers in excitement. Huxley lost his head, literally, because our protagonist valued her own reputation and the promotion over the young man’s life. I don’t like her as a character anymore. She clearly made the wrong choice here.
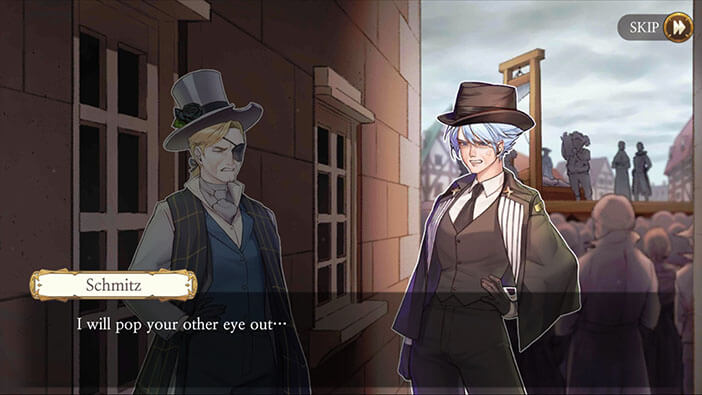
Well, Henry taunts her one more time, and that earns him another punch in the face, but that won’t bring back the poor Huskley. She promises Henry that she will kill him and Samuel if she ever sees them again. But Henry casually laughs off these threats and goes away… So, now we know why Schmitz hates Henry that much, and why she taught she should have killed him. I think that accusing him of murders and saving Huskley would be a much better course of action.


Her final decision, to let him go and never tell anyone that Samuel and Henry were the ones responsible for the murders, is just terrible. If she chooses to speak up, even after Huxley’s demise, at least these two would be brought to justice and the Elizabeth would know that her beloved fiancé didn’t murder her parents.
In the next chapter we will be playing as Schmitz, once more, who will try to keep her dark secret hidden by any means necessary… Join us in the next stage of the Walkthrough for Frankenstein Room ESC, to find out what is Schmitz going to do next.
Thank you for reading.