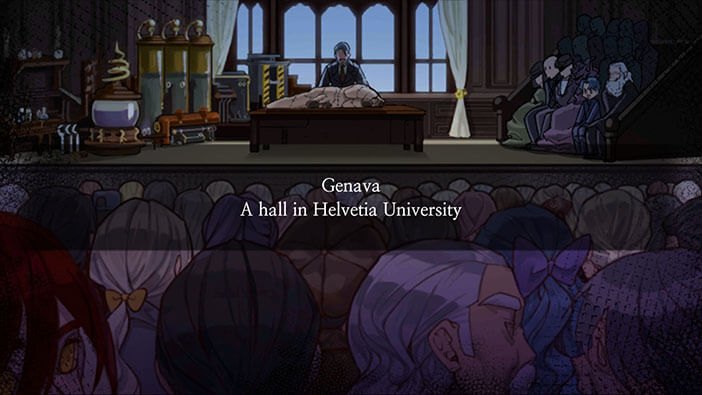
Chapter 0-1 The Public Demonstration
Complete Walkthrough
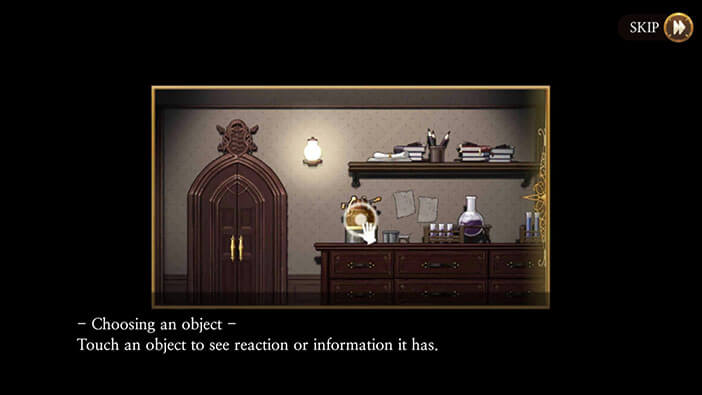
Hello everyone, and welcome to our Walkthrough for the First Stage of Chapter 0 for the Frankenstein Room ESC adventure game.
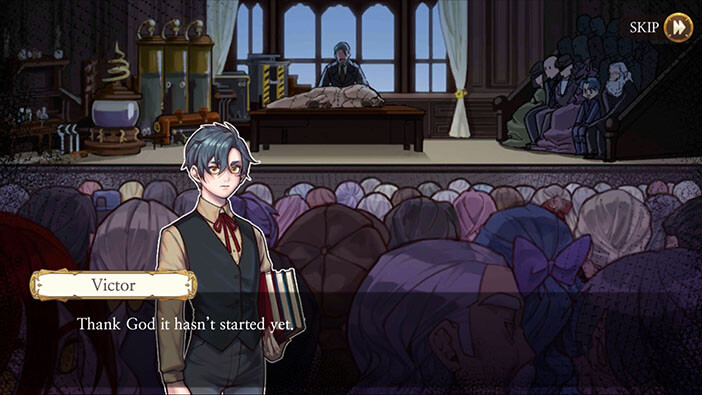
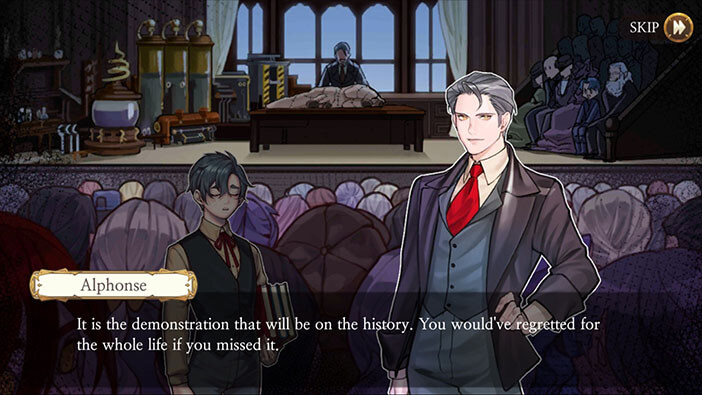
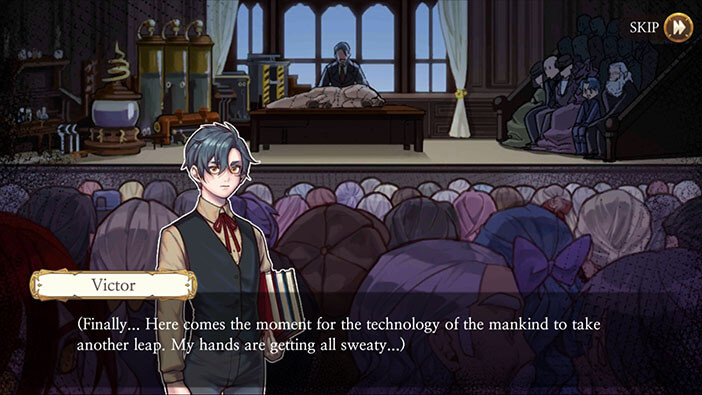
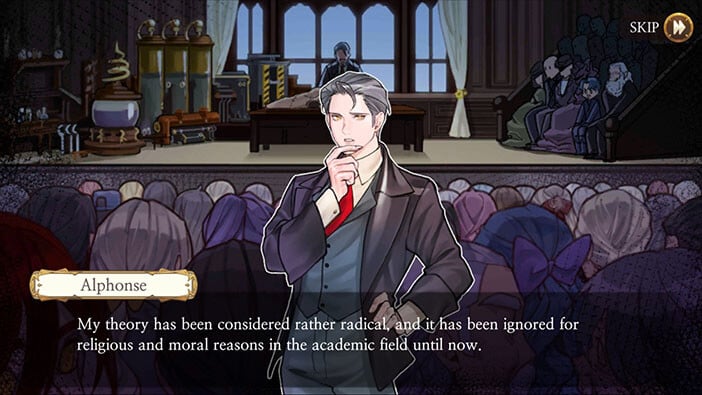
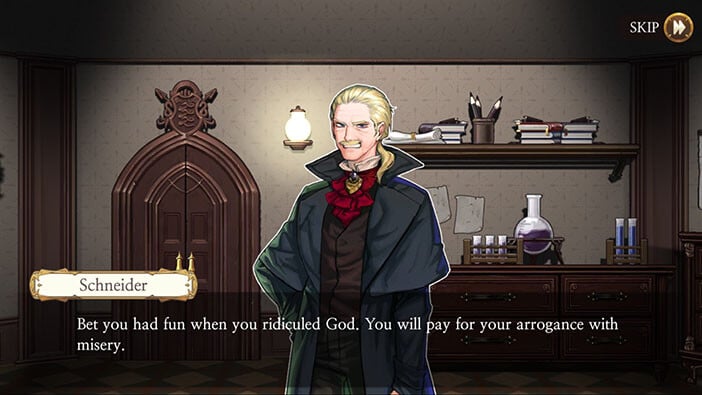
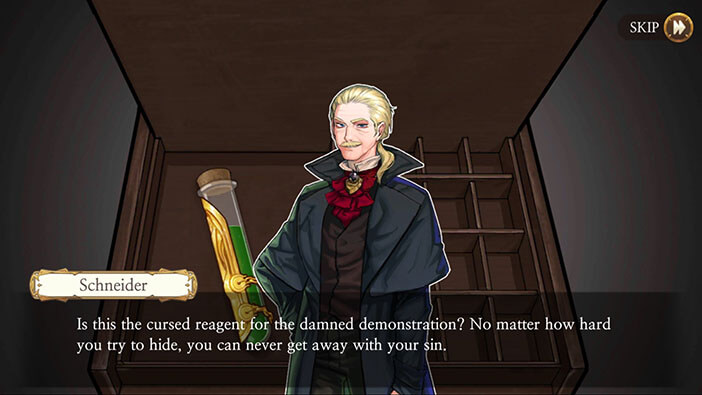
The story begins with Victor, son of Alphonse Frankenstein, arriving to witness his father’s most important experiment. He will try to bring the dead animal back to life. He was ignored, ridiculed, called a blasphemer, and the agent of Devil for claiming that such a thing is possible.


Now, we go back in time, to the previous night, where we will find out what transpired in Alphonse’s lab, prior to his experiment.
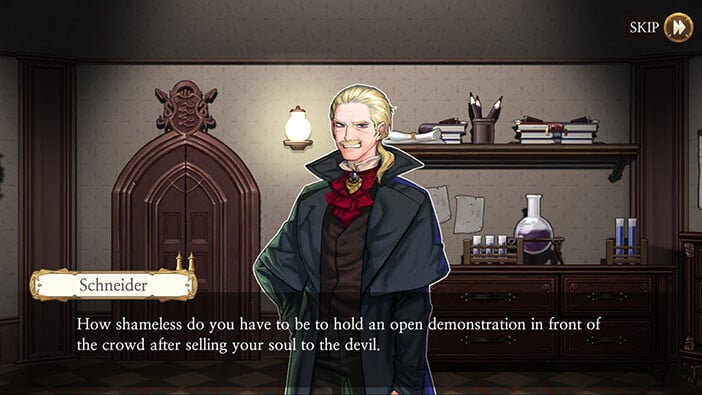
We will be playing as Schneider, a villain that believes he is the direct hand of God, with the mission to sabotage Alphonse’s experiment. Unfortunately, we will have to help him do it. Before that, let’s go over some basic controls presented during the Tutorial.

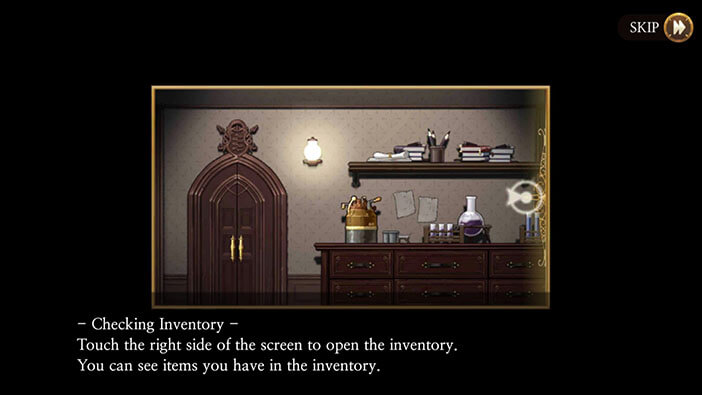
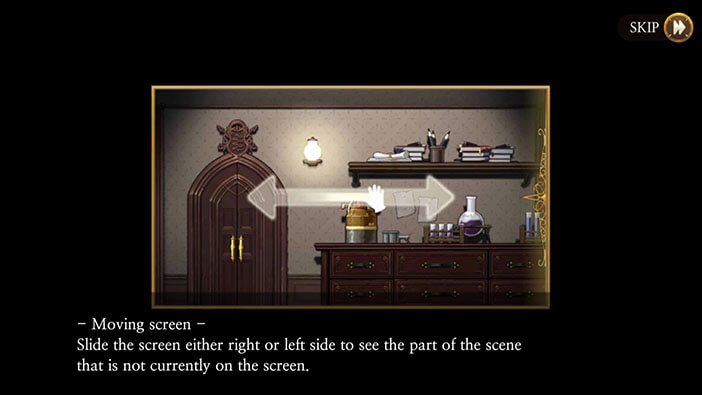
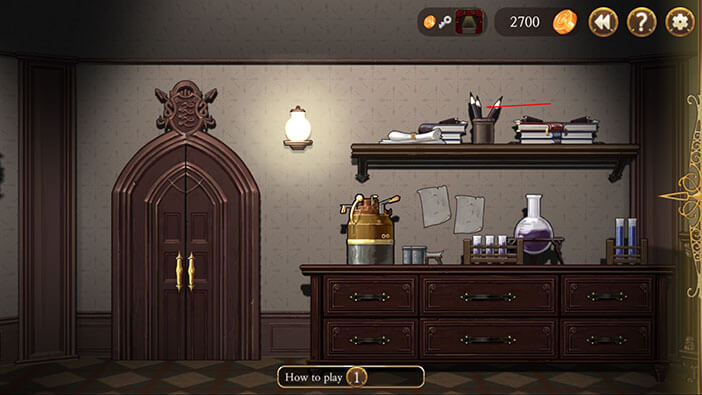
The controls in Frankenstein are simple enough, and will be introduced to the player during the introduction (Chapter 0) – you can manually access the tutorial by tapping the “How to play” option that is located in the bottom – middle part of the screen. The tutorial will inform you that you can access the inventory by tapping the lower right corner of the screen and that you can rotate the view full 360 degrees by sweeping the screen left or right.
The second part of the tutorial explains how to interact with objects and it can be accessed in the same manner as the first part. Simply, tap the object to interact with it. You can also try to use/insert an object from the inventory and this will be required in order to solve most puzzles. To do that, open the inventory as previously explained, select the item from the inventory by tapping on it, and then tap on the ambient object to use the inventory item. To cancel interaction with the ambient object and go back to the previous screen, tap on the “Exit” button in the lower-left corner.
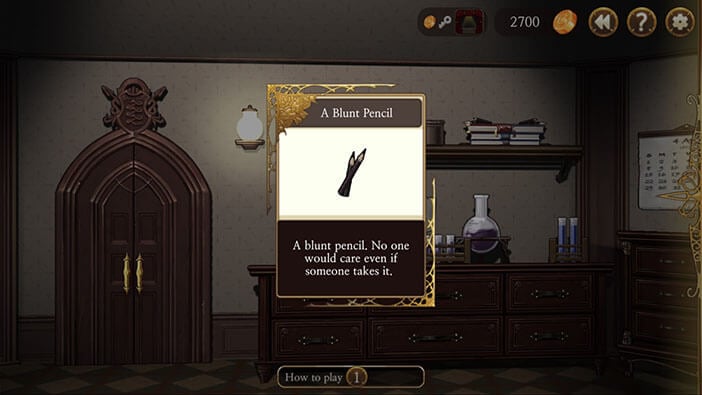
You can find the blunt pencil on the top shelf, tap on it to pick it up, it will be used later.
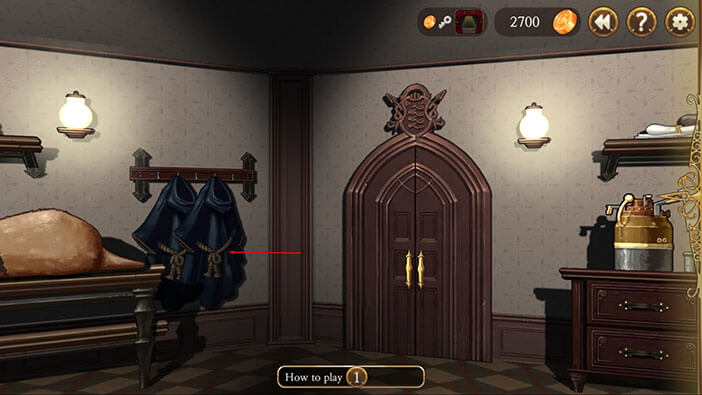
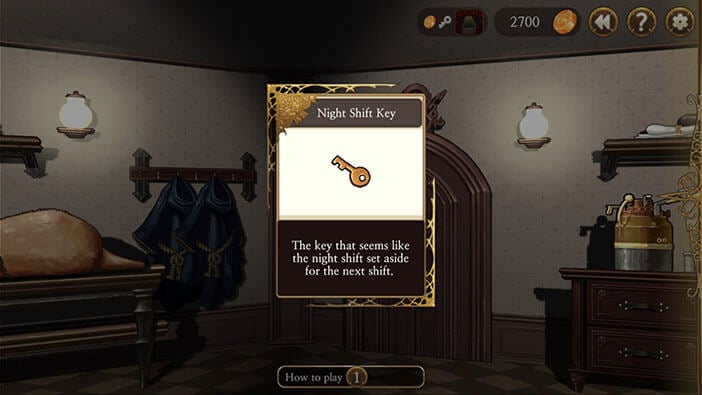
Now, look around the room for the dark blue robe that is located to the left of the door. Inside one of the pockets, you will find the first key (tap on the robe). This key was left by the night shift, and it’s sitting there waiting for the next shift – but you’ll grab it before they come.
Also, by tapping on the door you’ll find out that night duty is not present at the moment (probably having a break), but he should get back soon, and the hint implies that you should move quickly and do what you have to do before he comes back. Do not be alarmed, there’s actually no time limit for this mission, and you can examine the room at your own pace. In other words, you won’t be penalized if you go very slowly and read a detailed description of every item – that’s kind of a point of the game, after all.

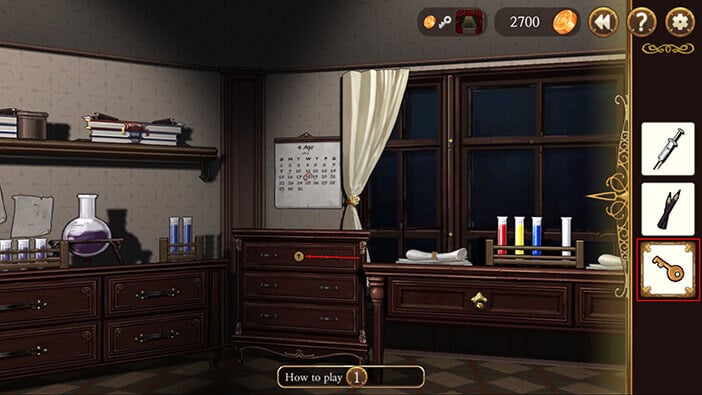
Use the Nightshift key to unlock the locked drawer that is located below the calendar (tap on the bottom left corner of the screen to open inventory -> select the key by tapping on it -> tap on the drawer).
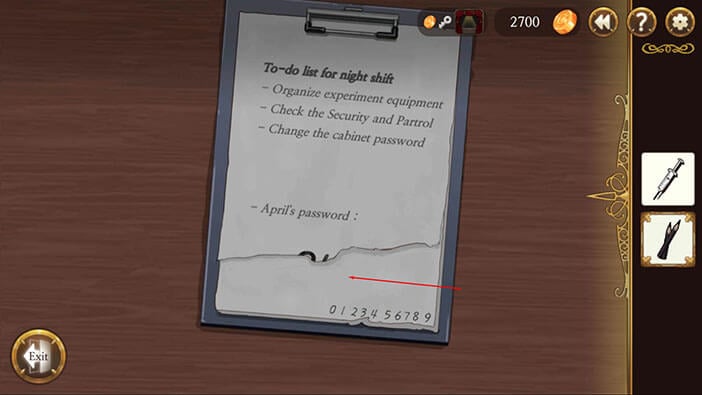
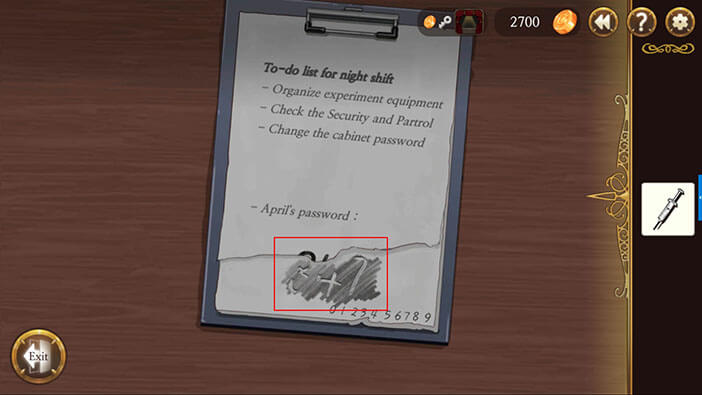
Inside the drawer, you’ll find a “to-do list” for the night shift as well as April’s password, however, somebody has torn out the bottom part of the note where the password was written, which is very unfortunate for our character.

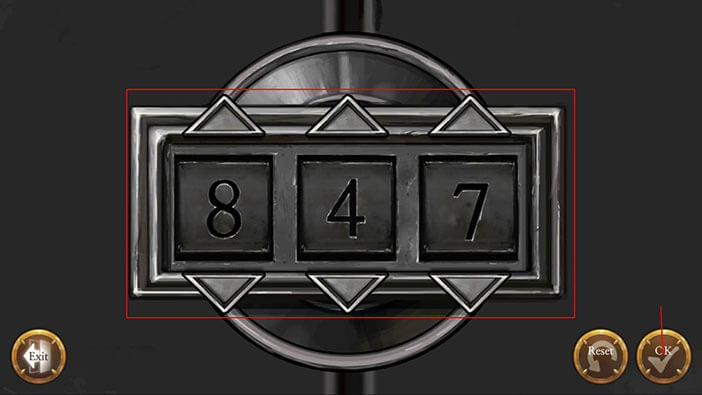
Use the blunt pencil from the inventory to shade the paper and find out the code. After doing this you can recognize that the code numbers are: 847.
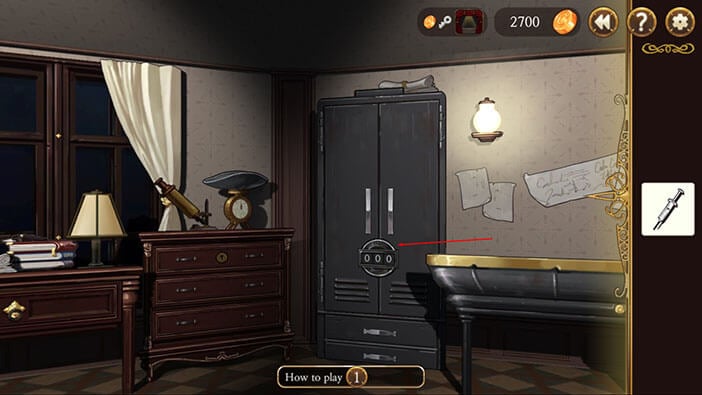
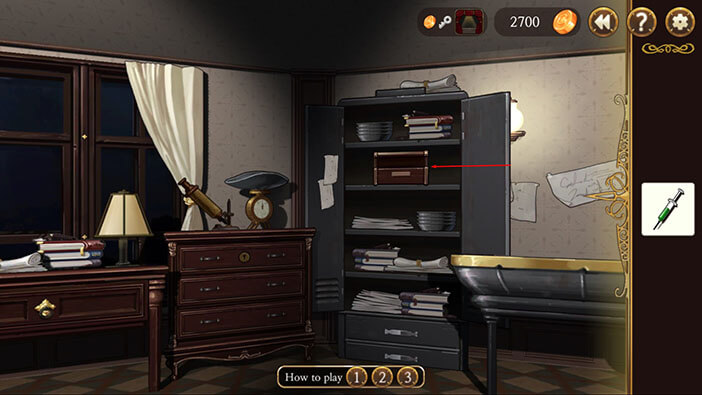
Go back to the huge metal locker with a numeric lock and enter the 847 (the code that you found in the drawer unlocked by the nightshift key) by tapping on the arrows below or above the numerical pad. Tap the “OK” button in the lower right corner once you enter the code and you will unlock the locker.
Hints – you can press the question mark button in the top right corner in order to see hints for the current mission. You can also press the << button right next to it to see the previous dialogue.
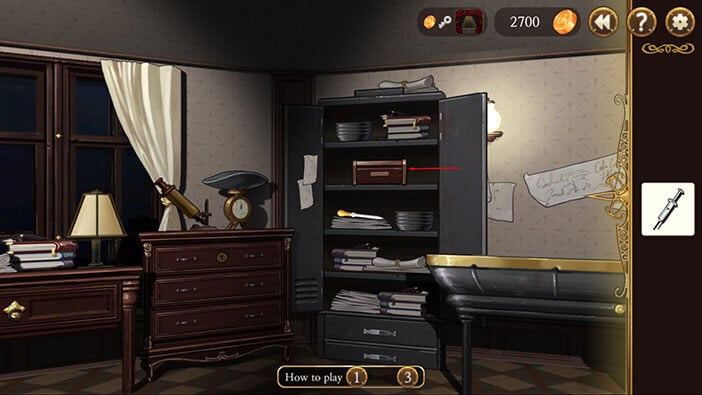
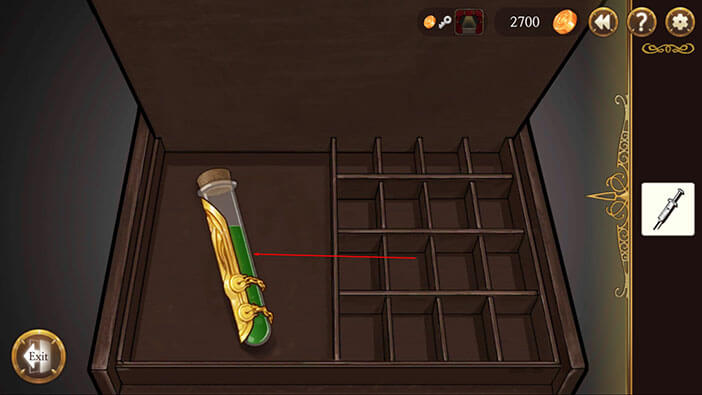
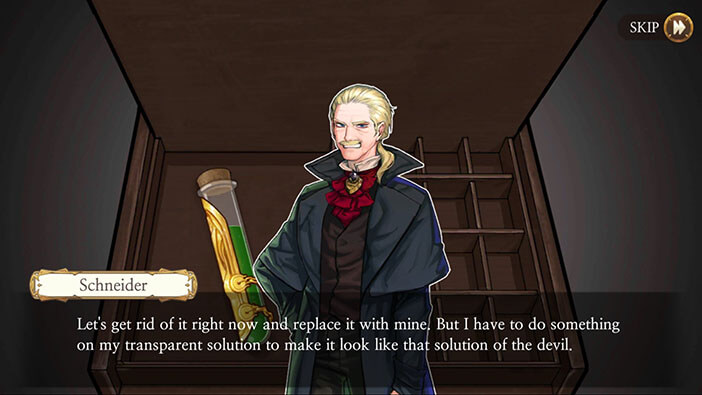
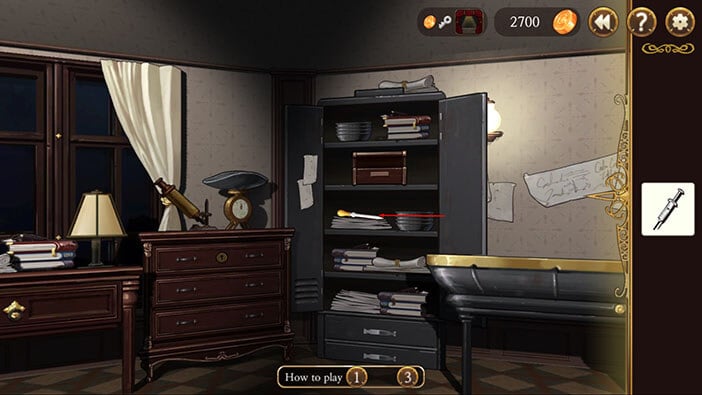
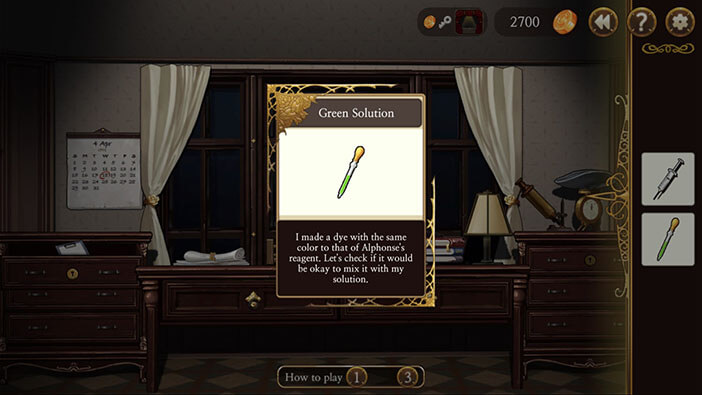
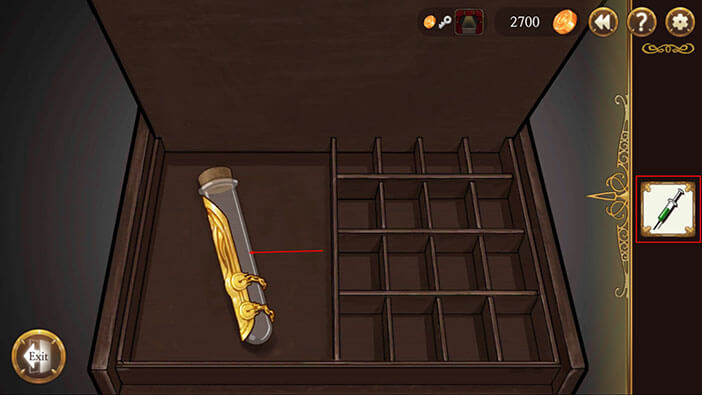
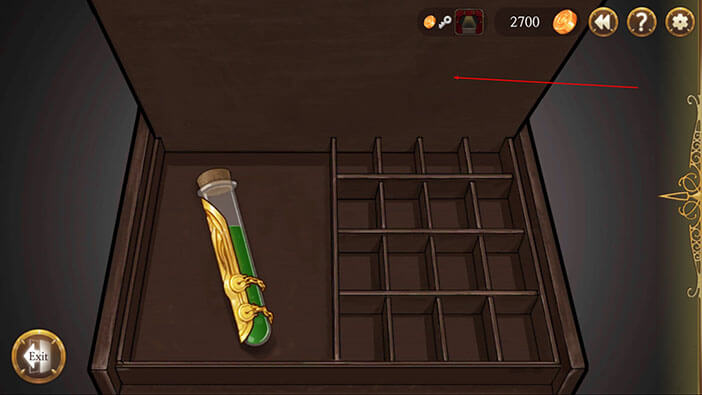
Well, logically, you should open the locker after unlocking it and search for useful items/clues. On the third shelf, you will notice a large wooden box. Open it and take a test tube filled with green fluid – it’s the reagent our character has been looking for. He will pour it down the sink and the next order of business is replacing the spilled “devil’s reagent” with your own fake one. Note that the fake liquid has to be of the same color (green), otherwise Alphonse will notice the difference.


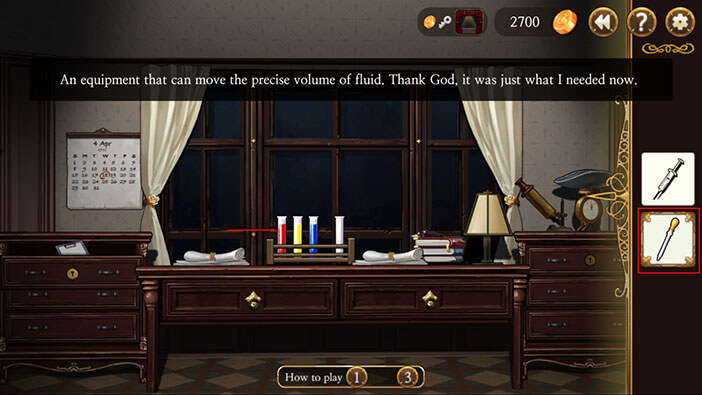
On the second shelf of the metal locker, you will find a pipette which can be used to extract the fluid in the precise dosage – exactly what our character needs.
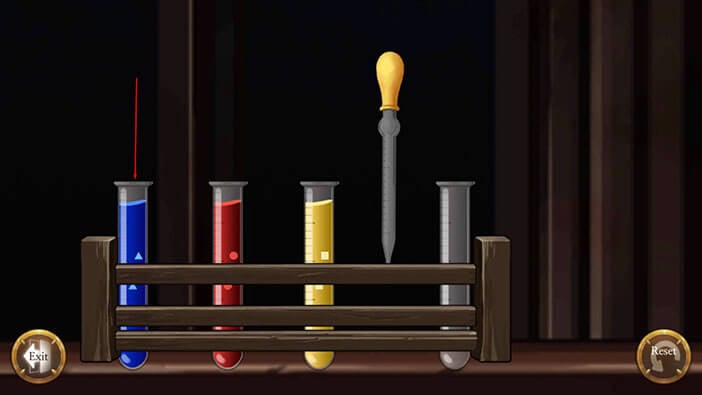
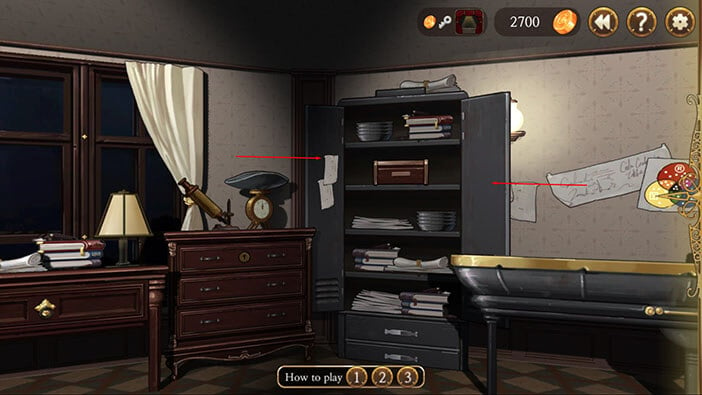
HINT: You can see what color you would get by mixing red, blue, and yellow colors by looking at the paper located to the right of the large, metal locker. There are three circles on it (blue, yellow, and green) and their intersections represent the color that you would get by mixing these three colors. This little clue with circles is a very nice detail and can be easily overlooked if you already know how to get the green color.
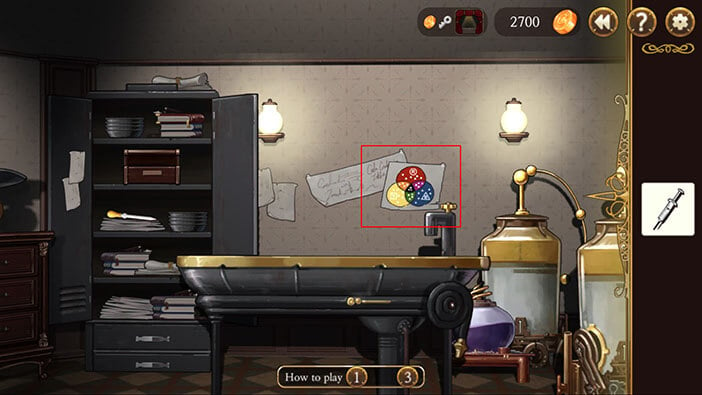
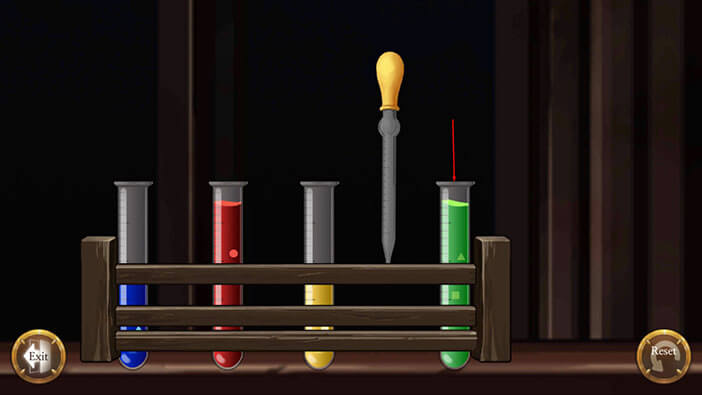
Look around the room for the small shelf containing three test tubes filled with colored fluid (red, yellow, and blue), and one empty test tube. Here, you should use the pipette to mix the correct colors in order to get the green.
Tap on the pipette to select it, and tap on the test tube stand after that – this will open up the interaction with the lab equipment.
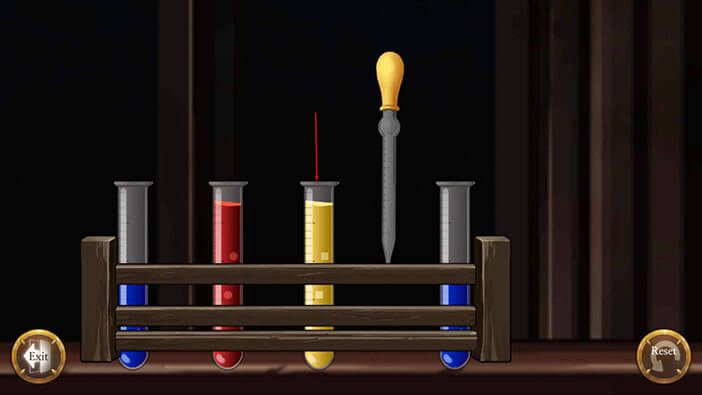
After mixing the colors, use the pipette to extract the green fluid. Once filled up, your character will name it the “Green Solution” and it will be added to your inventory.
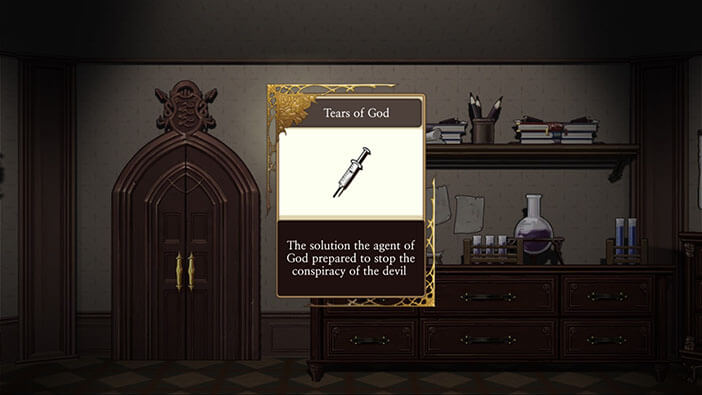
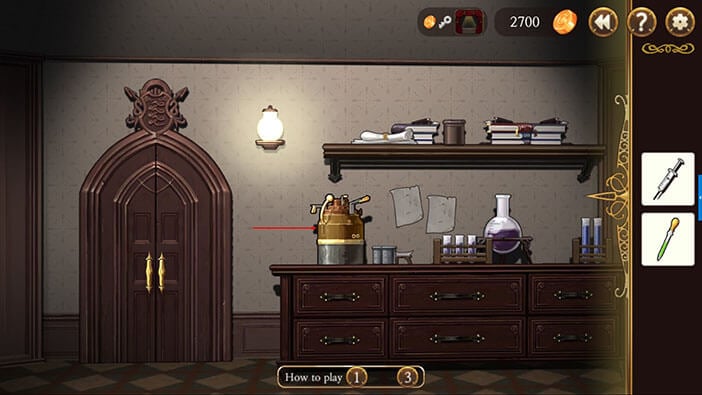
Next, go to the device located to the right of the door to test if the Green Solution and agent of God will mix properly. Tap on the device, select the agent of God from the inventory and spill one drop of fluid on the glass, and do the same thing with the Green Solution.
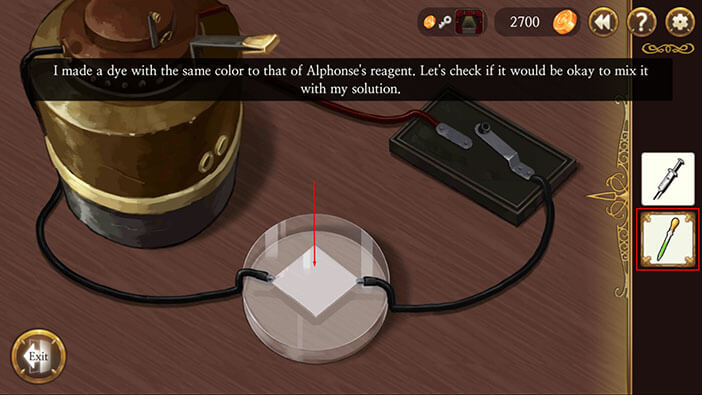

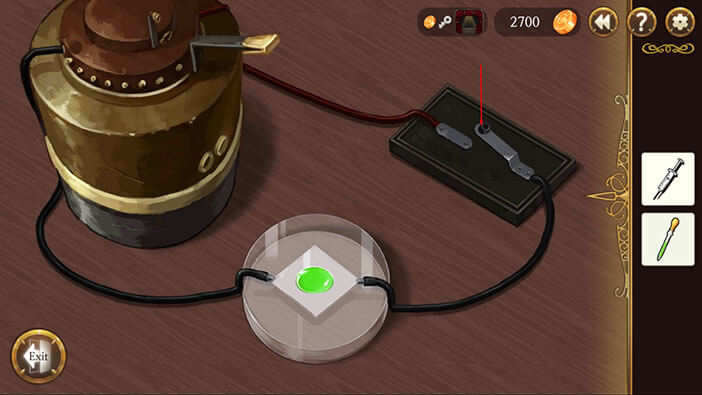
After that, test the mixture by turning the device on using the electric switch. With all this done you will get Synthesized Solution (added to the inventory), which can be used to replace the reagent of the devil, and the two liquids used for the mixture will be removed from the inventory.

Look around for the previously used large wooden box inside the metal locker. Inside it, is now an empty bottle for reagent. Use the Synthesized Solution from your inventory and fill up the empty bottle.
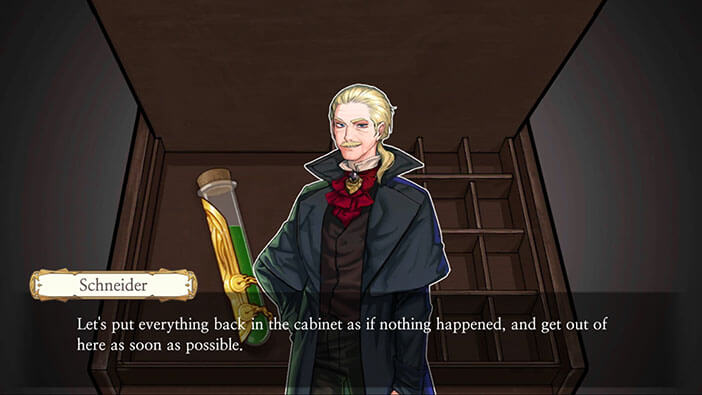
After replacing the original reagent with the fake one, your mission is over and the only thing left to do now is to get out of the room and escape. However, first, close the wooden box and the metal locker before leaving the room otherwise the Alphonse will know that someone was messing around with his reagent…

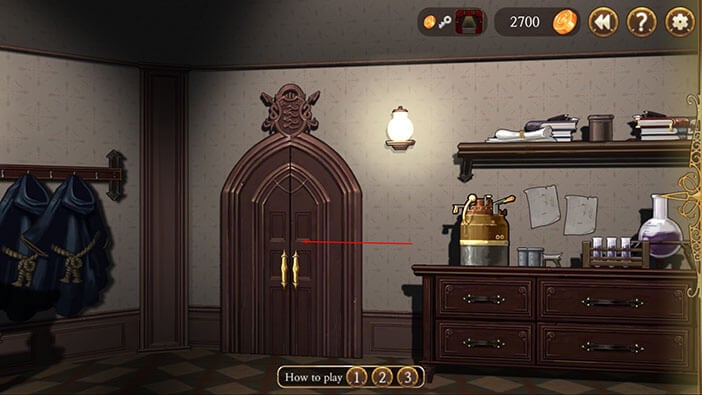
Tap on the door to exit.
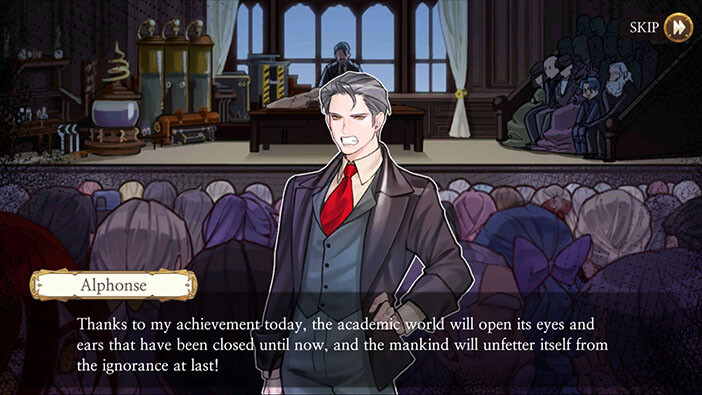
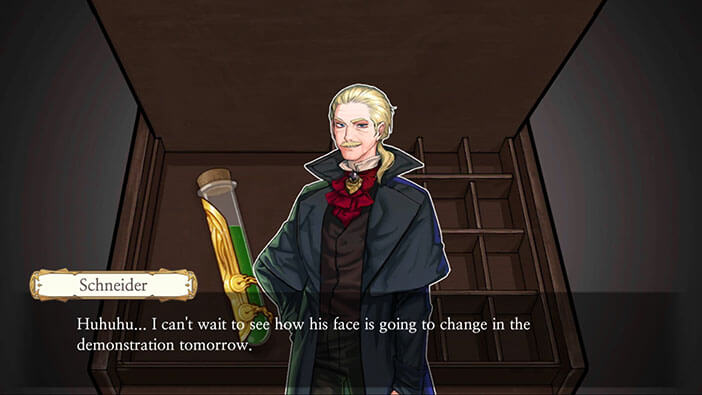
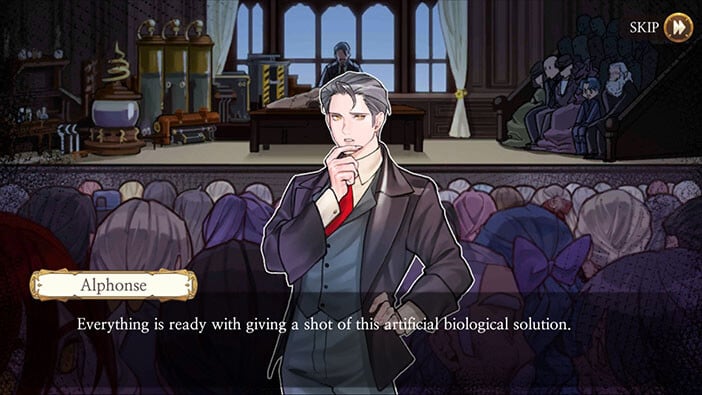
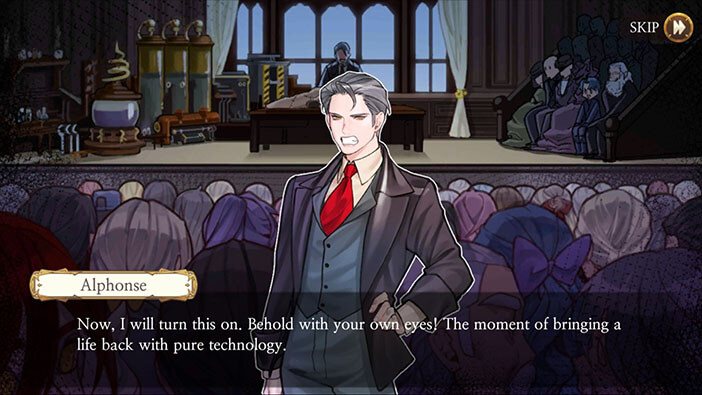
Alphonse’s attempt to revive the dead animal in the demonstration tomorrow will certainly fail…
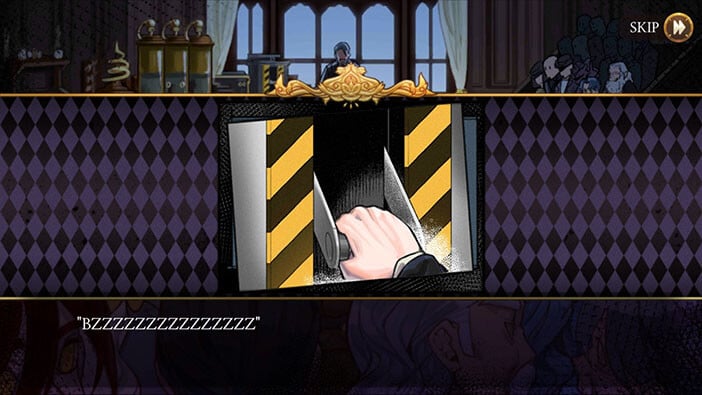
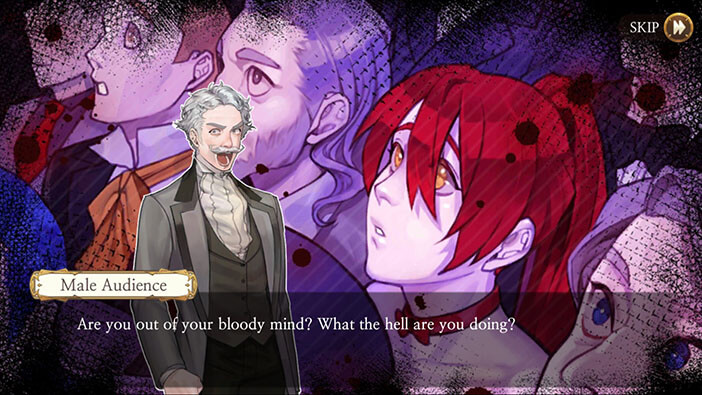
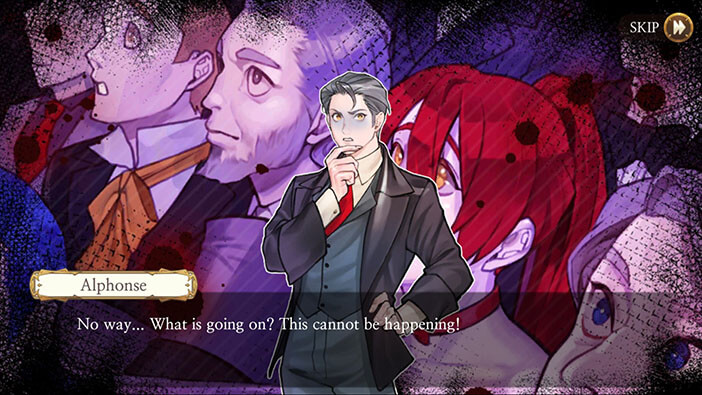
Now we go back to the present time, and see Alphonse injecting the (fake) reagent into the dead animal. He then proclaims that he is going to bring it back to life, and excitedly pulls the lever, which releases the electrical energy. But… He immediately realizes that something went wrong.
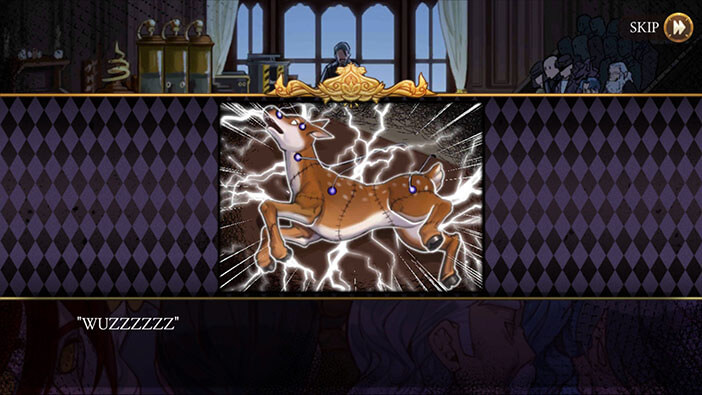
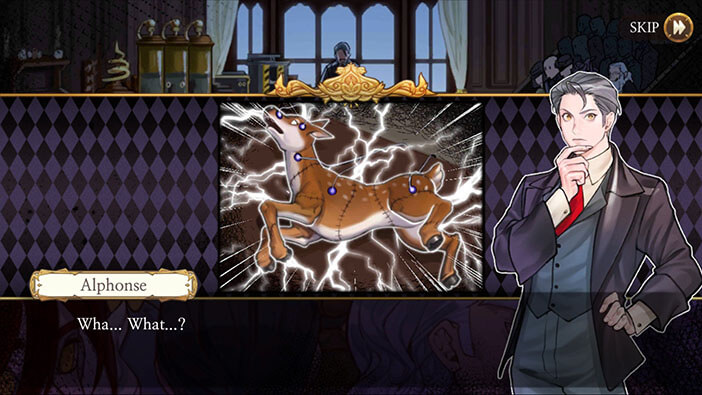

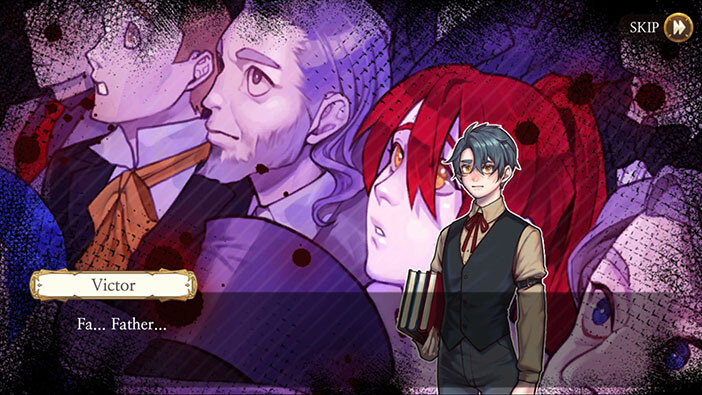
And it was, with the animal exploding and splattering everyone in the audience with blood. I have to admit that I felt guilty for sabotaging Alphonse’s experiment, and him being publicly humiliated. The audience is horrified, Alphonse’s life work ruined, and Victor is staring with mouth wide open, in complete disbelief and shock…

In the next stage, we will take on the role of Victor, which struggles with the consequences of the failed experiment. Join us in the next stage of the Walkthrough for Frankenstein Room ESC.
Thank you for reading.