Chapter 0-4 The Last Experiment
Complete Walkthrough
Hello everyone, and welcome to our Walkthrough for the Fourth Stage of Chapter 0 for the Frankenstein Room ESC adventure game. In this stage, Victor has to finish the experiment, using the previously gathered components, but he has to do it fast, while the heart is still fresh.
Victor has no choice. He has to do the experiment now, there can be no more delays. He is out of both time (after experimenting for 10 years) and money and will have to use the rotten corpse – which is far from the most optimal component for this experiment. If this fails the future for our main protagonist looks very grim… Fingers crossed, and let’s do this!


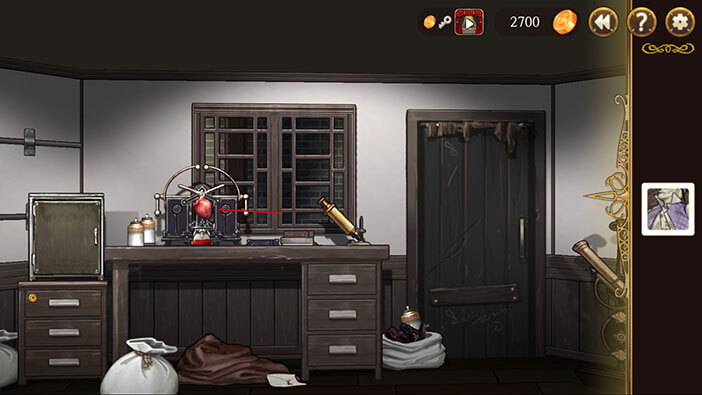
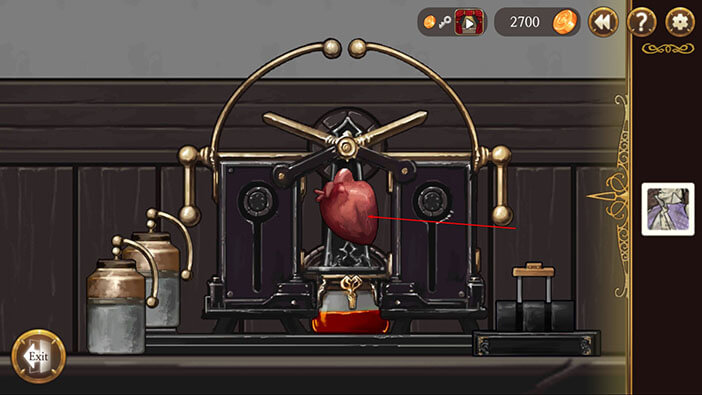
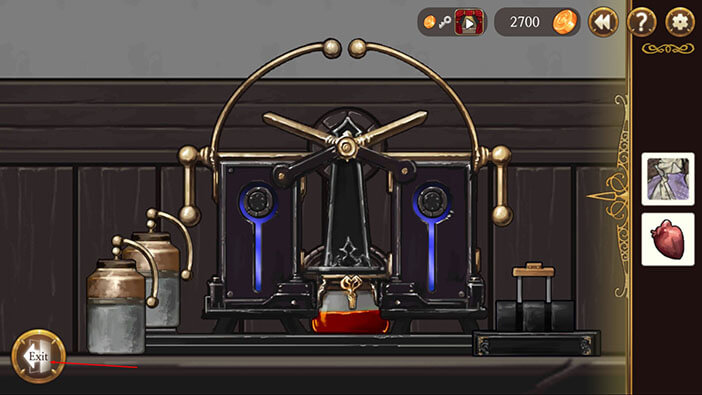
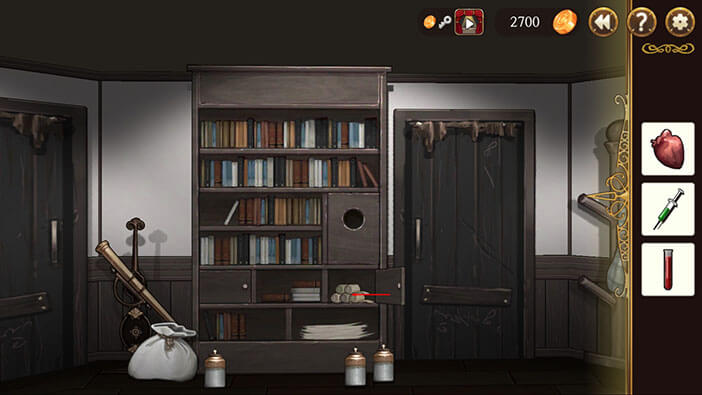
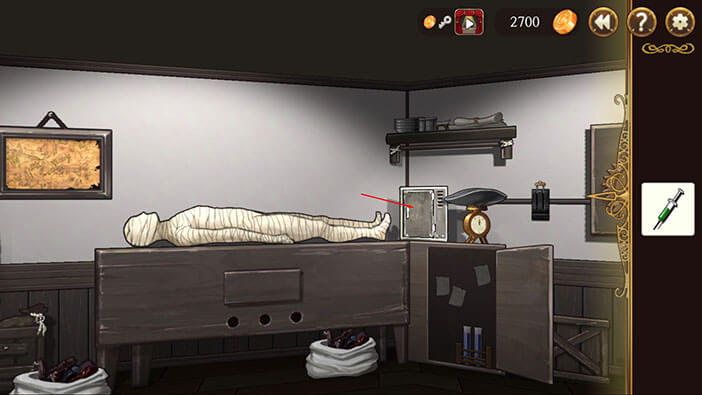
Before we do anything else, let’s go to the machine and pick up the heart that we used in our previous experiment.
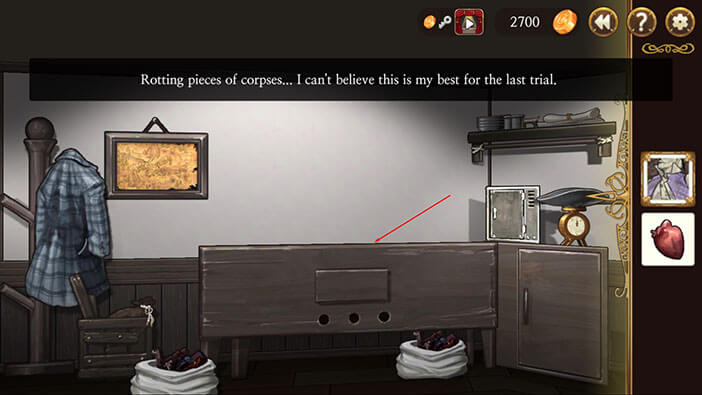
With a heart now safely in our inventory, it is now time to assemble the body from all the remains that we gathered in the graveyard. To do that, turn around until you find a ‘surgery’ table, select the rotting pieces of corpses from the inventory, and tap on the table to start the interaction.
Now, let’s try to assemble the corpse. In order to assemble the body, we will need to connect the head and arms to the torso, legs on the pelvis, and finally, connect the pelvis and the torso. We will start by connecting the legs to the pelvis.

To do that tap three times on the second column (we need a different connection from the default in order to connect the entire body).
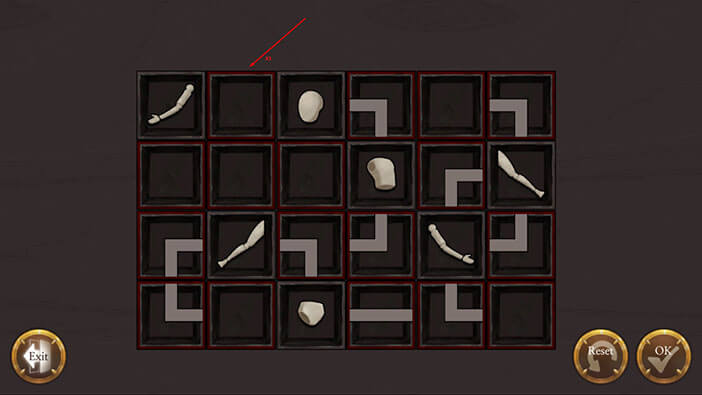
Now, let’s attach the other leg to the pelvis. To do that tap once on the fifth column – this will create a line that connects the three squares of the fourth fifth and sixth column in the bottom row.

After that, tap twice on the sixth column, and that will connect the other leg to the pelvis.

Now let’s attach the arm in the upper left corner to the body. To attach it, we will first need to tap twice on the first column.
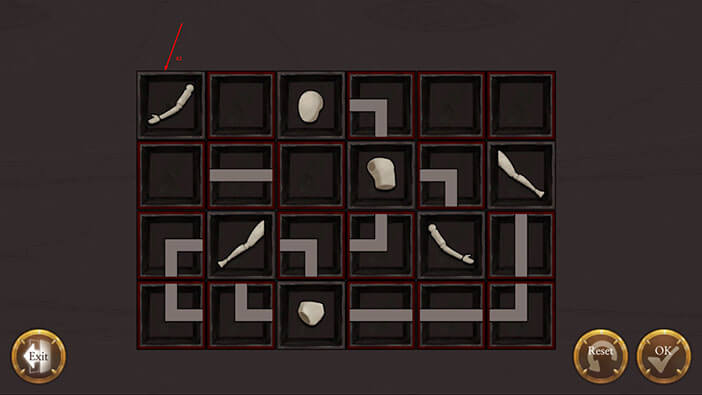
We already have everything set up in the second column (that’s why we had to “override” the default connection between the leg and the pelvis). Now, tap four times on the third column.
After attaching the arm, we managed to connect all body parts – everything just fell into place. The only column that we didn’t have to change was the fourth column – the default setting is what we needed there.
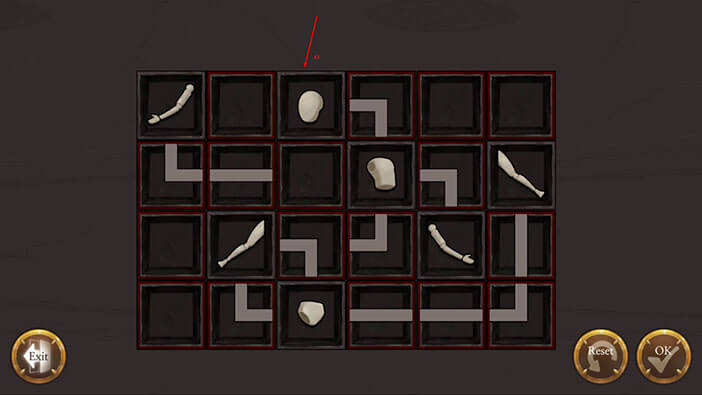
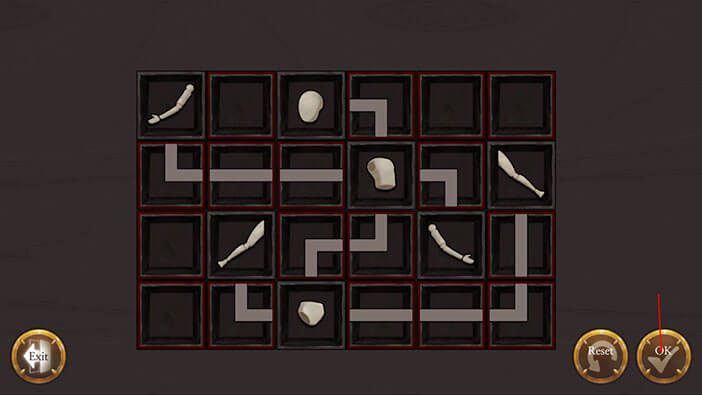
If you followed all the steps, you should get a result like the one in the image below. If that’s the case, tap OK to assemble the corpse. If not, tap on reset and follow the steps described above.
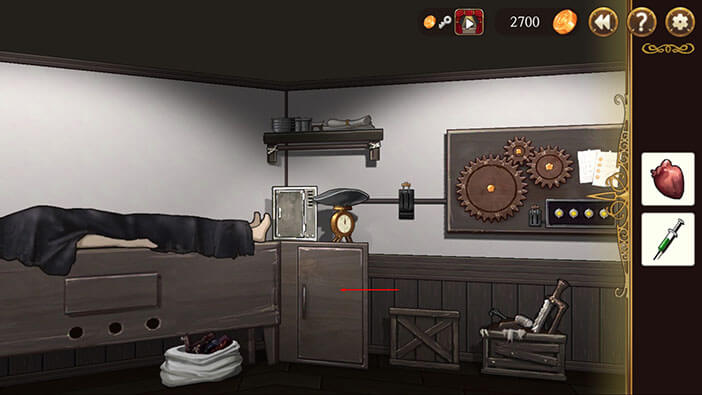
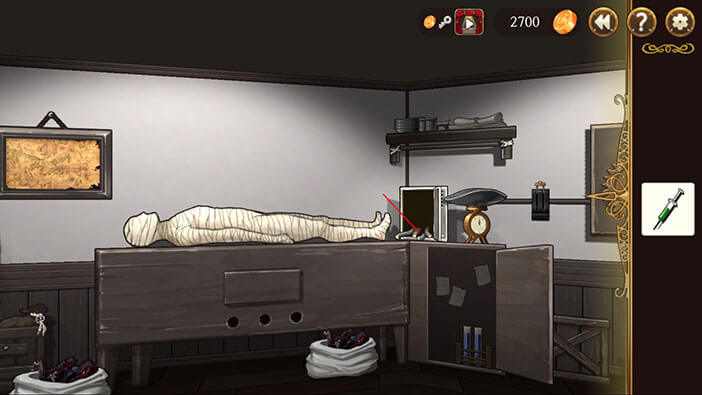
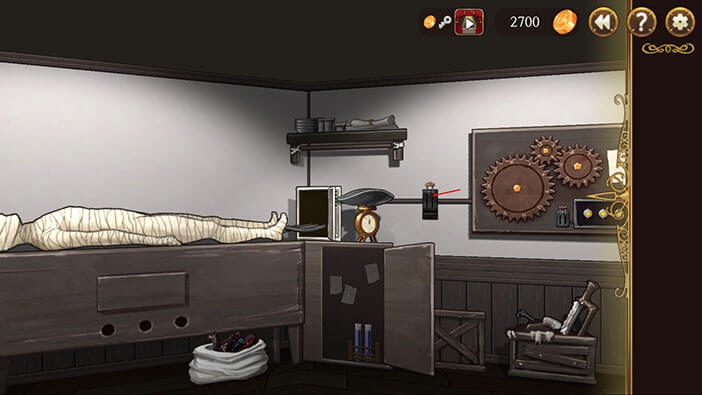
In order to continue on with our experiment, we will have to find a way to prevent the electricity from mixing with the air while it surges through the body. Before we do that, let’s try to unlock the metal cabinet located above the drawer with the keyhole.

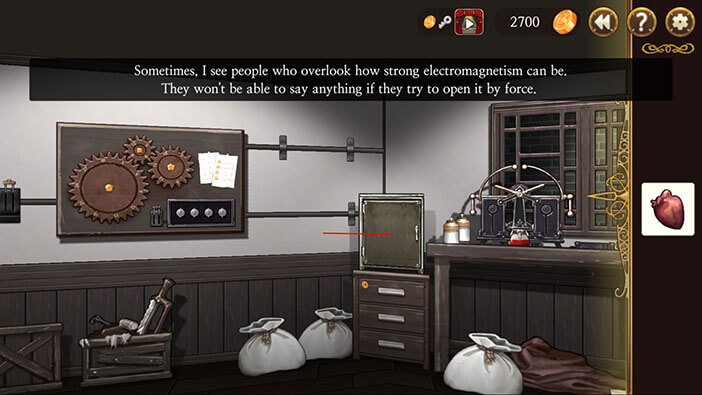
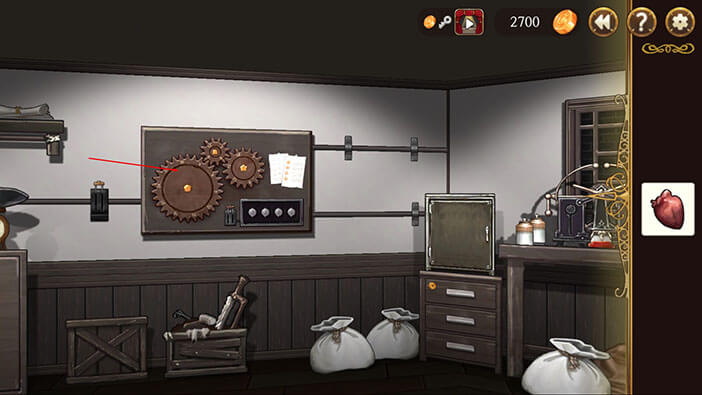
To unlock the cabinet tap to interact with the gears on the wall to the left of it.
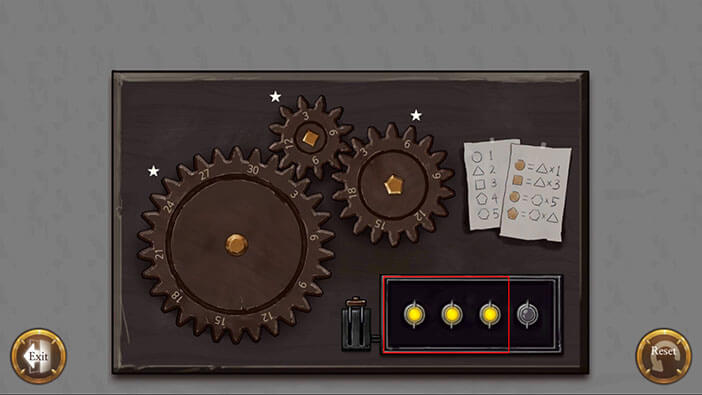
Unlocking the gears can seem very complicated and confusing at first, but it’s actually quite easy. In order to understand what’s going on here, we will first take a look at the notes to the right of the gears. Here, you’ll notice five symbols with the numbers beside them. Circle = 1, Triangle = 2, Square = 3, Pentagon = 4, and hexagon = 5.
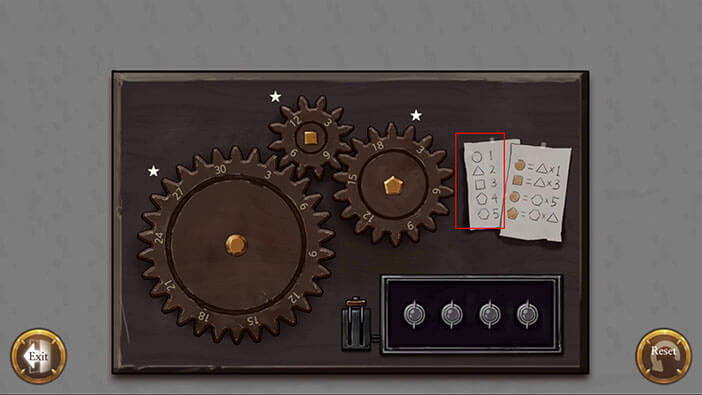
The note on the right has three colored shapes circle, square, and pentagon. Each shape represents one of the gears to the left of the note.
Circle = The gear on the left side (the largest one)
Square = The gear in the middle (the smallest one)
Pentagon = The gear on the right (the middle-sized one)

The note on the right also represents the mathematical puzzle that will tell us at which position we should place the gear tooth before pulling the lever. Here, we should exchange the symbol with the numerical value that it represents (found on the left note) before multiplying. Let’s start solving the first part of the riddle. Everything will be much clearer after we are done.
First, we will need to interact with the left gear, because its symbol (circle) is the first one on the right note. Here, we will first calculate the position at which the gear should be placed.
Circle = (Triangle) 2 x 1 = 2
Circle = 2
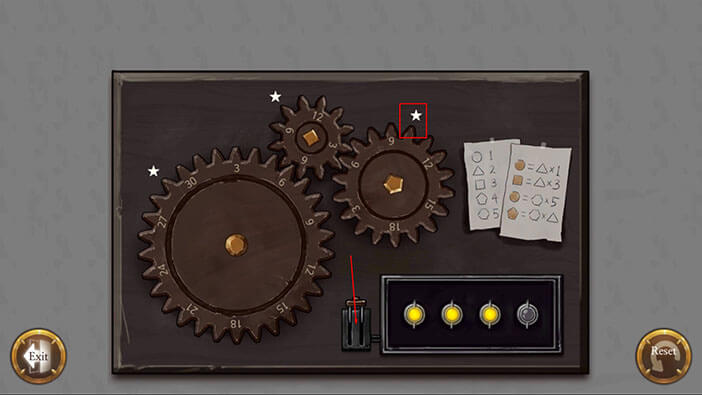
So, turn the left gear so that its 2nd tooth points in the direction of the white star (like in the image below) and pull the lever. The first of the four lights will light up, meaning that we have successfully completed the first out of four parts of this riddle. So far so good. Let’s continue.
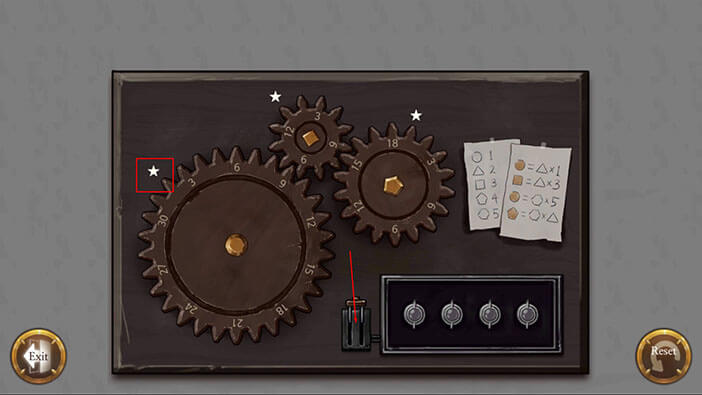
NOTE: The white star marks the position at which we should place the appropriate gear tooth.
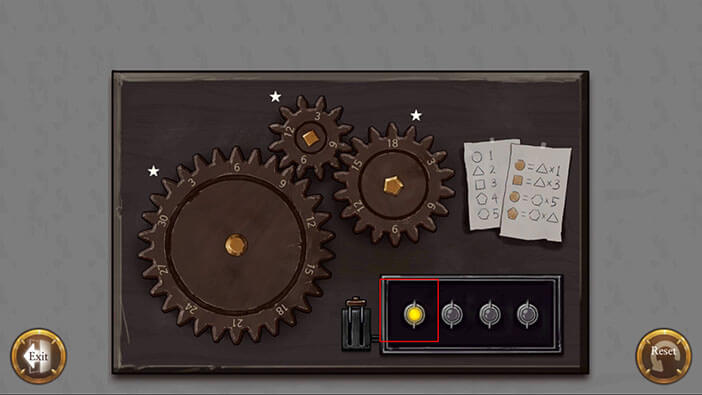
The next on the right note is the square symbol, so we should now turn the middle gear because it also has the square symbol. Let’s calculate the position first.
Square = (Triangle) 2 x 3
Square = 6
We will now turn the middle gear until its 6th tooth points in the direction of the white star. Pull the lever when ready and the second light should go up. Halfway through.
NOTE: Only the left gear can be turned, and by turning it you will also cause the turning of the other two gears.
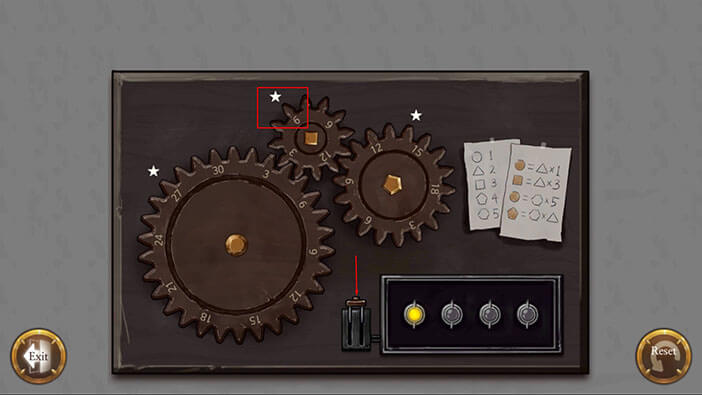

Next is the circle again, so let’s quickly calculate the position.
Circle = (hexagon) 5 x 5
Circle = 25
We should now turn the left gear until its 25th tooth points in the direction of the white star. Pull the lever and the third light will go up. Three down, one to go!
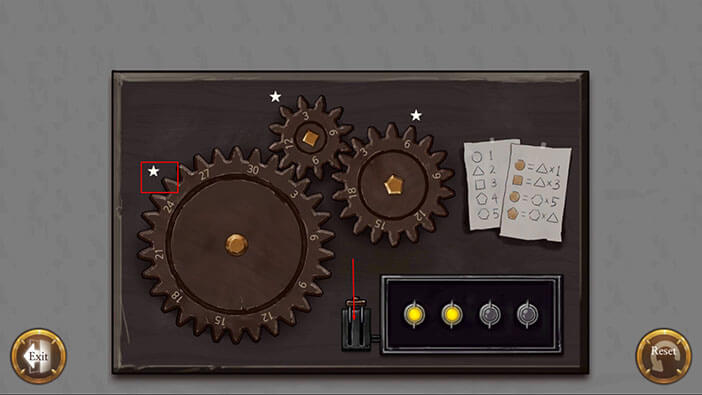
Finally, we get to the last part. The last mathematical problem on the left is represented with the pentagon, so we should turn the right gear, but first, let’s calculate.
Pentagon = (Hexagon) 5 x 2 (Triangle)
Pentagon = 10
We should now turn the right gear until its 10th tooth points in the direction of the white star. Pull the lever and the fourth light will go up unlocking the metal box.
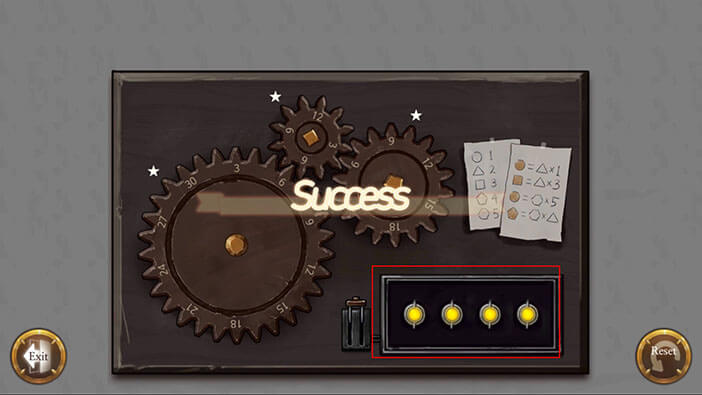
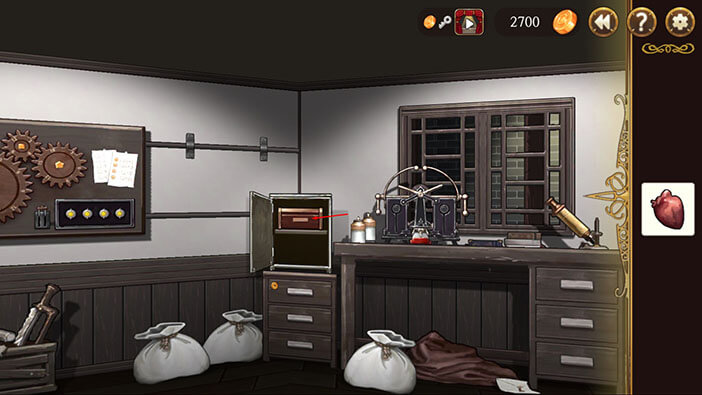
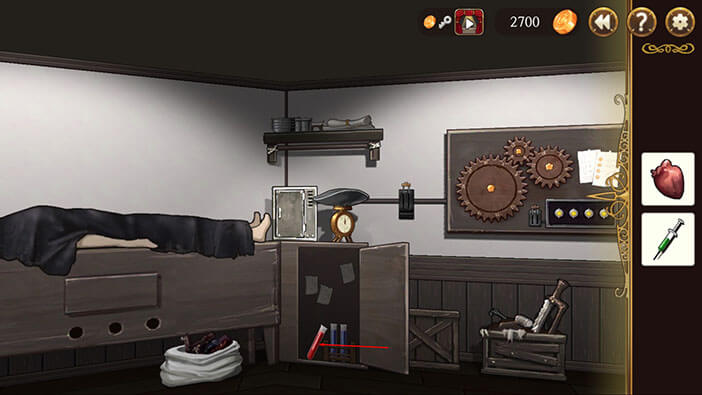
We have unlocked the metal cabinet located above the drawer with the keyhole and can now open it.
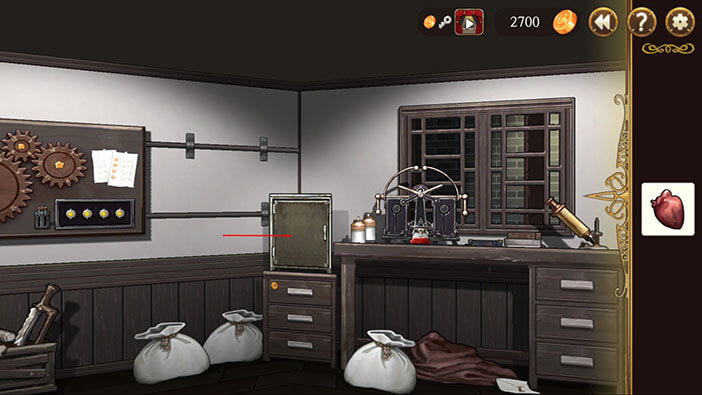
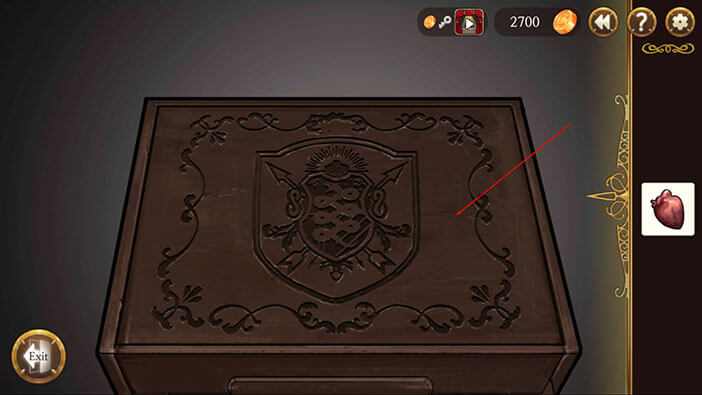
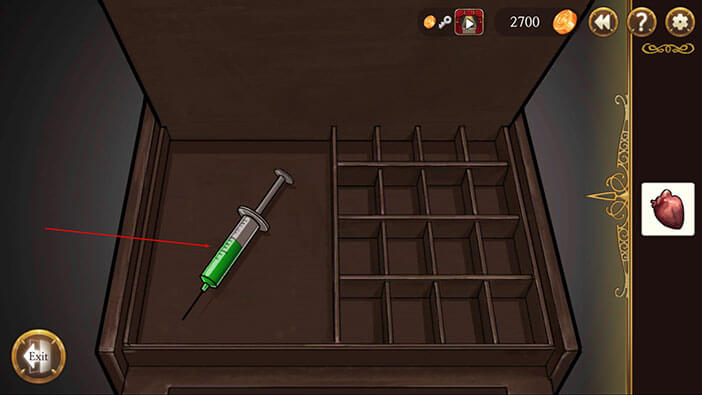
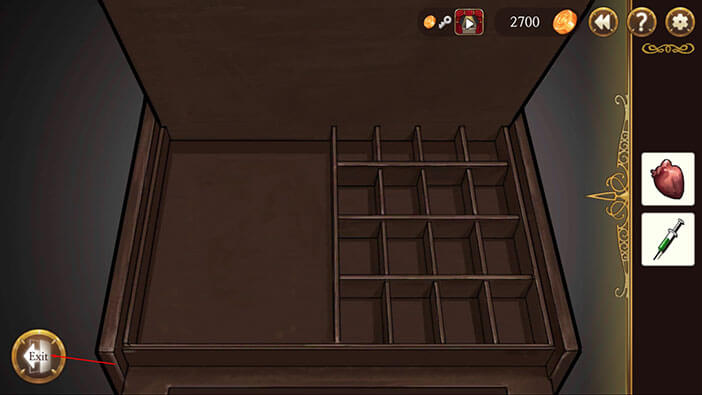
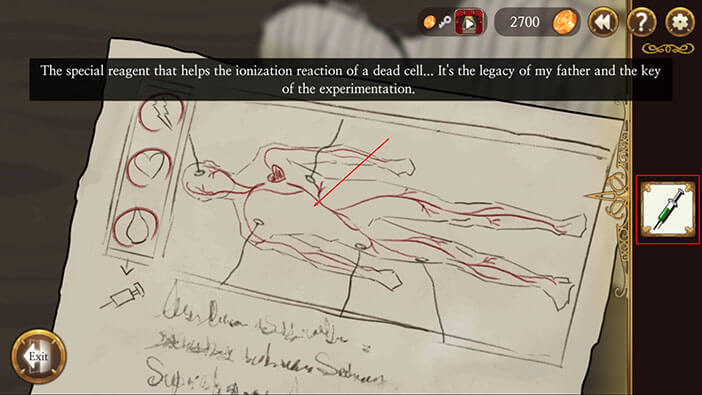
Open the wooden box and take the Special Reagent inside it. After that, we are going to search the room and pick up a few more items.
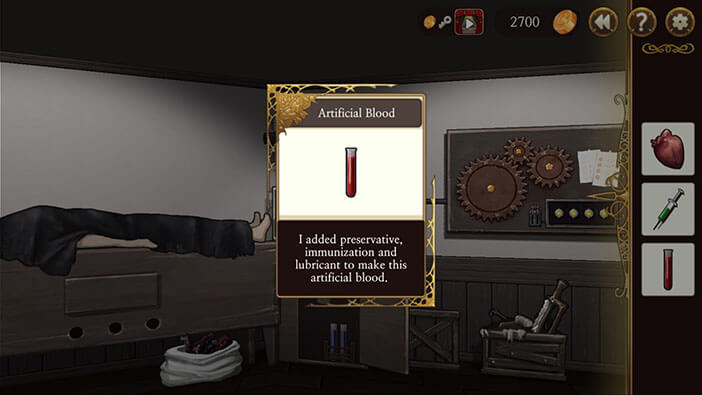
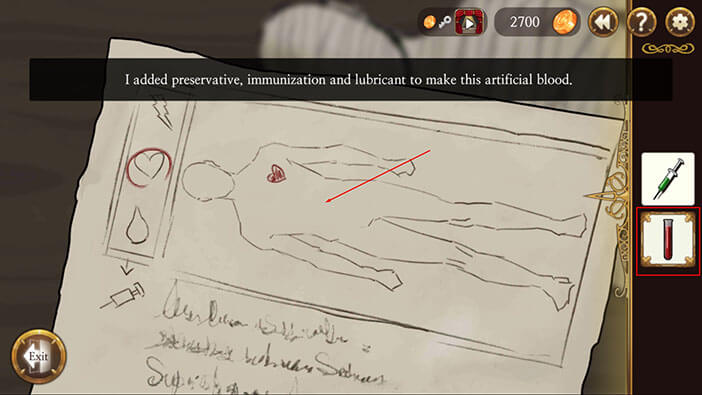
Open the metal shelf to the right of the body and pick up Artificial Blood.
The description says that Victor added preservative, immunization, and lubricant to make this artificial blood. Well, using words like preservative and lubricant in the same sentence is not a very good idea, since it will often trigger a different line of thought from the intended one… Anyway, let’s move on.
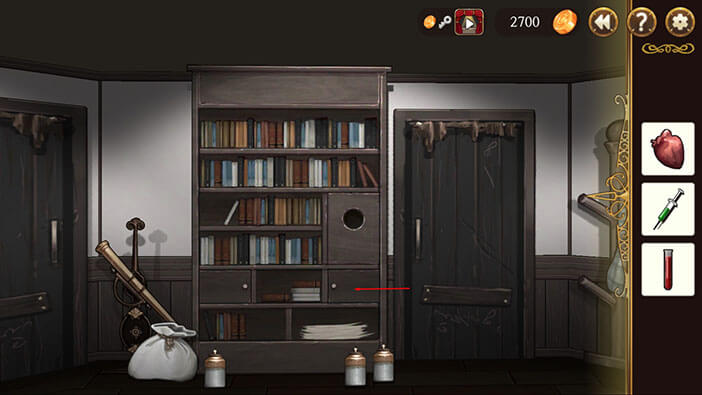
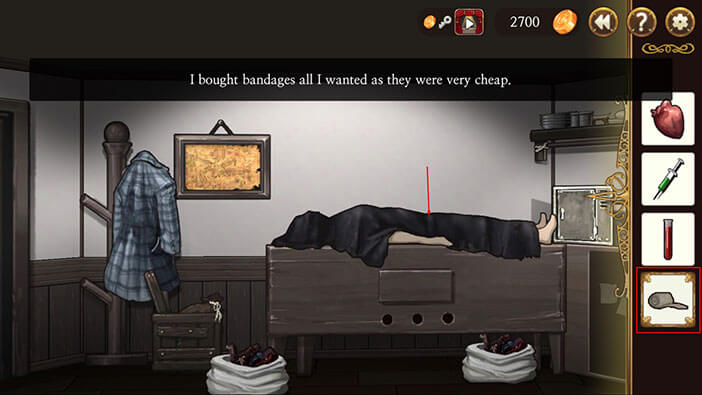
Next, go to the bookshelf, open the right compartment, and pick up bandages.
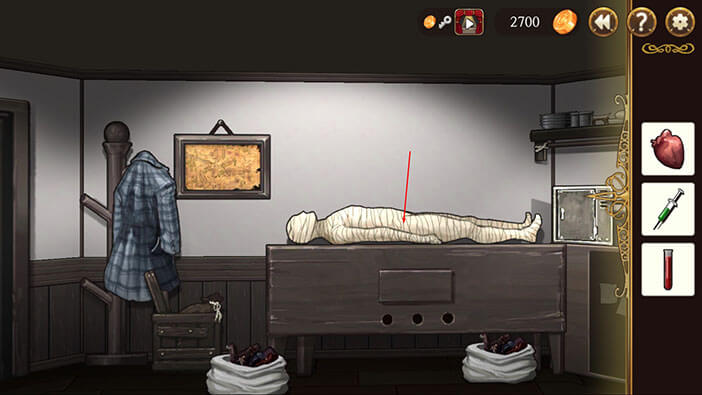
Now we should go back to the corpse on the table. Select the bandages from your inventory and tap on the corpse to wrap it up.
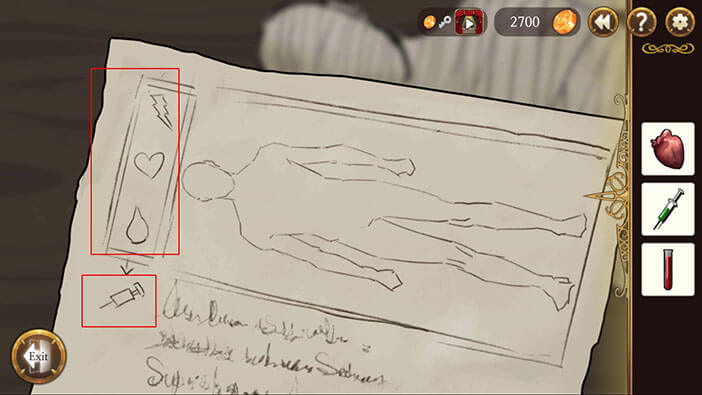
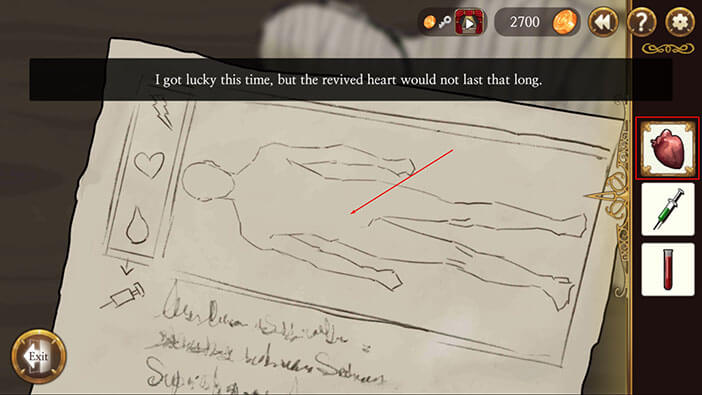
Let us tap on the corpse to see what else we need to reanimate it.
Well, we can see that we need to complete four steps in order to reanimate the corpse.
- Electricity
- Heart
- Blood
- Special Reagent (can be applied only after completing the previous 3 steps)
Select the heart from your inventory and tap on the body to “insert” it.
Step three is blood, so select it from the inventory and tap on the corpse to apply it.
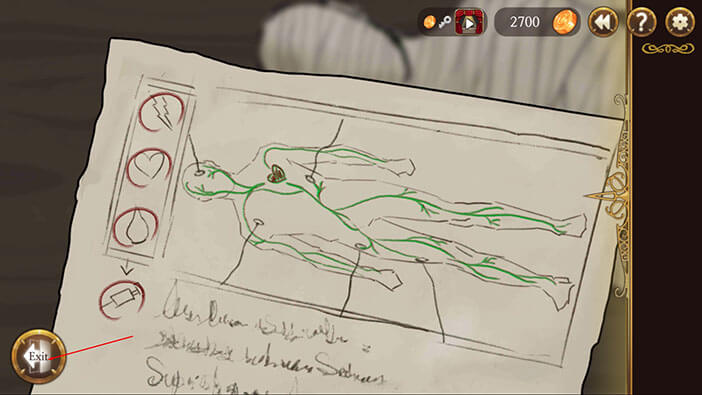
We are still lacking electricity and that’s the problem we will have to solve before moving on with the experiment. Exit the body interaction menu.
Step 3 Electricity – to turn on the electricity tap on the box with disconnected cables, located to the right of the body.
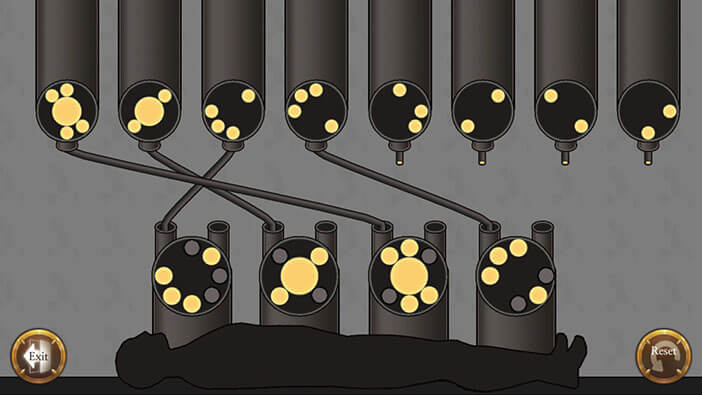
Here, we will have to connect the upper cables with the appropriate slots at the bottom, matching them by the shape of the dots. I will name the cables 1,2,3, etc. counting them from left to right, and the same goes for slots. Note that you don’t have to insert the cable in the specific hole, you just have to insert it into the correct slot (either left or right hole). So you can connect cables a bit differently from what I did and still get the same result. Let’s get started.
Cable 1 – insert it into the left hole of the third slot
Cable 2 – insert it into the left hole of the second slot
Cable 3 – insert it into the left hole of the first slot
Cable 4 – insert it into the left hole of the fourth slot
Cable 5 – insert it into the right hole of the first slot
Cable 6 – insert it into the right hole of the third slot
Cable 7 – insert it into the right hole of the second slot
Cable 8 – insert it into the right hole of the fourth slot
This is how it should look halfway through (4 out of 8 steps).
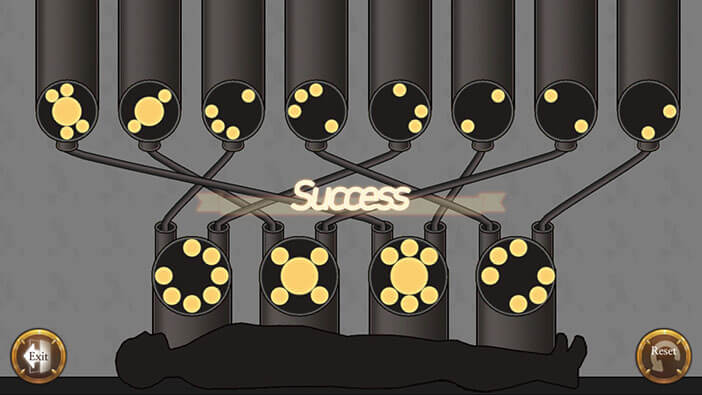
All 8 steps done, image below.
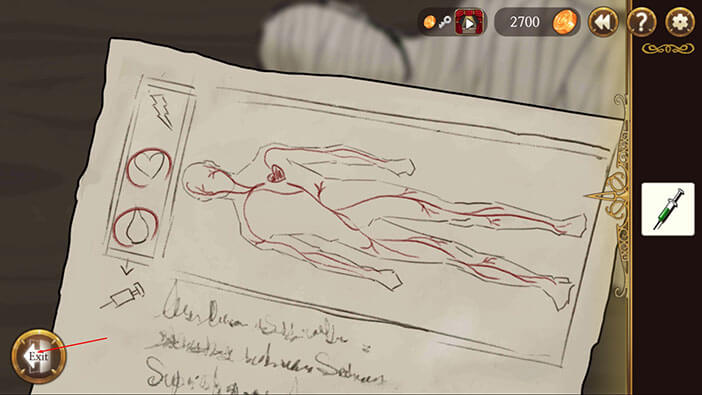
Step 4 – Special Reagent. With the previous three steps completed, we should now get back to the corpse.
Select the special reagent and tap on the scheme to apply it. Now, we have everything set up, and the only thing left to do is turn on the electricity and hope for the best. Fingers crossed.
This is the moment of truth. Exit from the experiment scheme and pull the lever (located on the wall, between the cabinet and gears) thereby activating the electricity supply and starting our experiment. Fingers crossed.
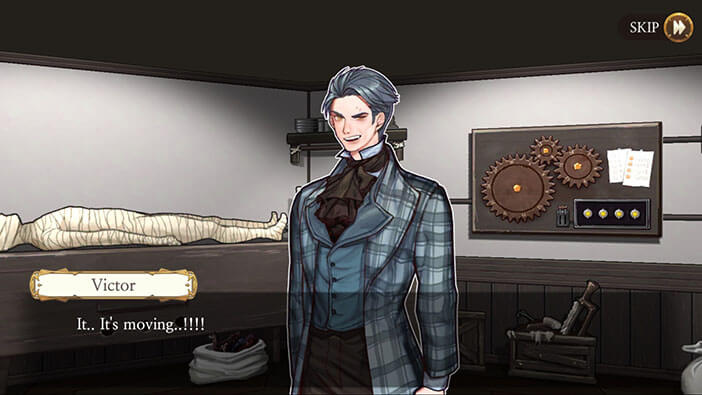
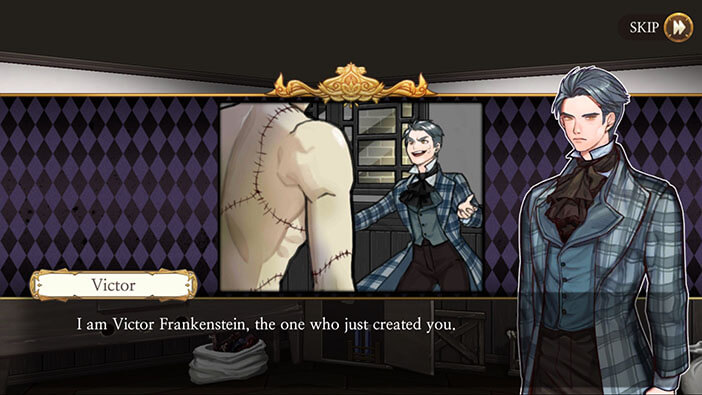
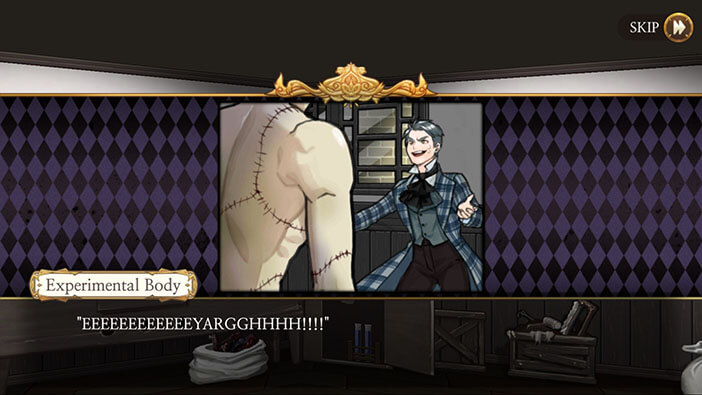
At first, it seemed that everything was working as intended. The heart started pumping, and the corpse opened its eyes. It even got up and walked several steps, making incomprehensible sounds along the way. Victor was overjoyed, but when he tried to command his creation, it let out a very angry sound (or perhaps it was in pain?), before exploding into million pieces!

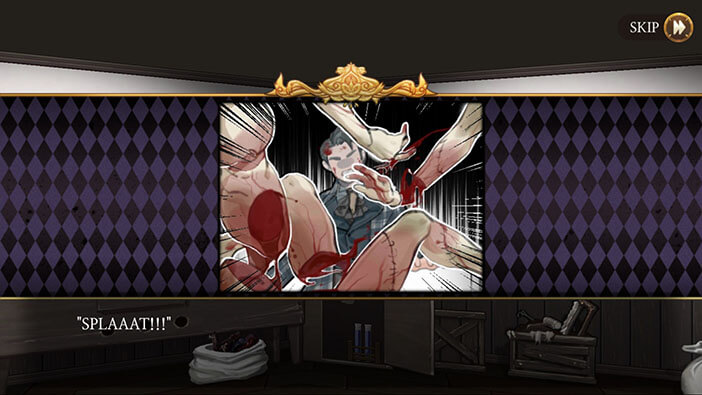
Victor was crushed and furious at the same time. What went wrong? Everything seemed fine at first. Hmm, I suspect that the corpse was in the advanced stages of decay and that’s the only reason why the experiment failed. Well, we will probably find out in the continuation of the story. Surely Victor will find a way to overcome his financial problems and try this again… But right now he is thinking about going back home and spending some time with his mother.


The story continues with Victor reading a letter from his mother, and it seems she’s doing fine, living a comfortable life, with very little stress.


However, upon arriving at their family mansion in Geneva, Victor finds out that his mother has moved away (she probably sold the mansion to buy a smaller house).

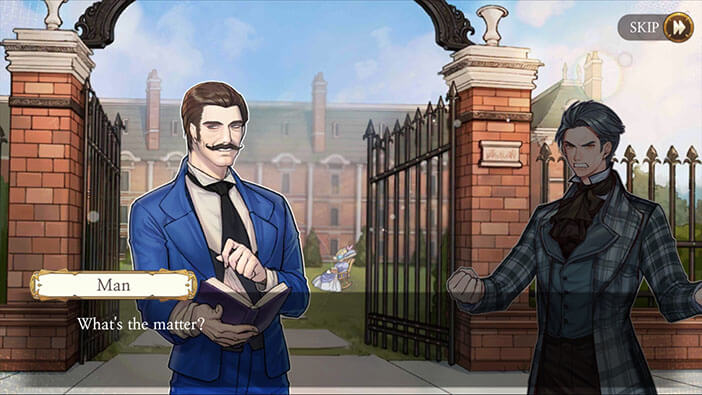


Our story continues with Victor searching for his mother.
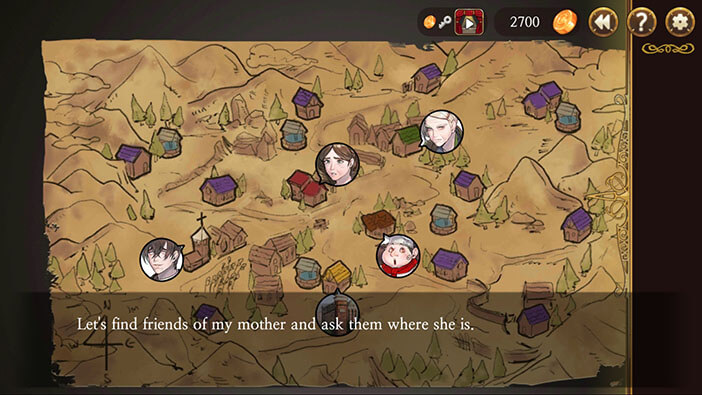
Now, our task is to visit some of her friends and try to find out where she went. So, let’s gather the information.
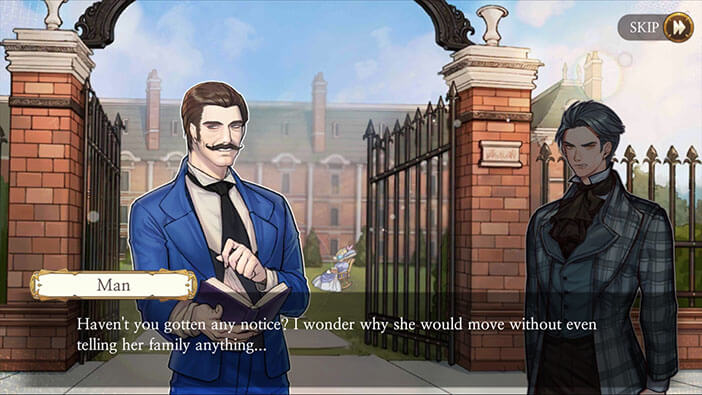
From the man at the mansion, we can find out that she still lives in the neighborhood.

The Priest says that Caroline caught some kind of sickness while traveling every day to the well to get the water. Probably there are no wells close to her new home.


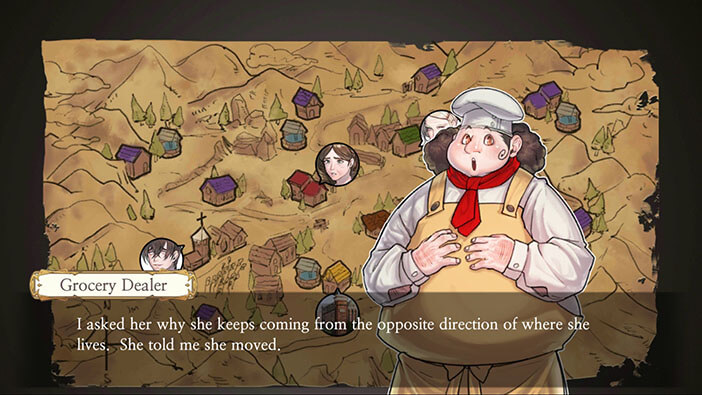
The grocery dealer tells us that she now comes to his store in the opposite direction.

Mother’s friend told us that the mother’s new home is two times further away from her than the family mansion.


The herbalist informed us that Caroline often sells herbs, because her new home is next to the mountain, and she doesn’t have to walk far to get them.


After talking to everyone, 10 houses with question marks will appear on the map, Victor can visit all of them. However, the game will warn you that the time is short and that you shouldn’t just randomly tap on the houses. Apparently, the night will soon fall and Victor wants to find his mother before that. So, you will probably fail this mission if you make several wrong guesses.
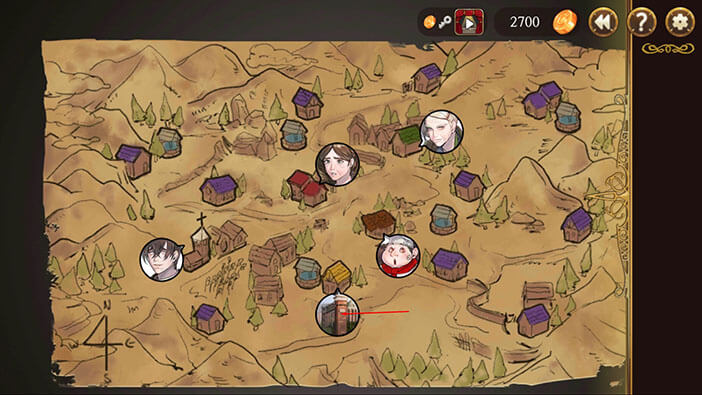
With that in mind let’s summarize what we know.
The mansion was right next to the well, so there’s no well near her new house.
She comes to the Grocery dealer from the opposite direction, so her new home must be somewhere to the North. In my opinion, this is the most important lead!
The new home is further away from Caroline’s friend than the mansion.
She lives close to the mountain.
The only house that fulfills all of the requirements is the one in the upper left corner on the map, and that’s where Victor should go. Tap on it.

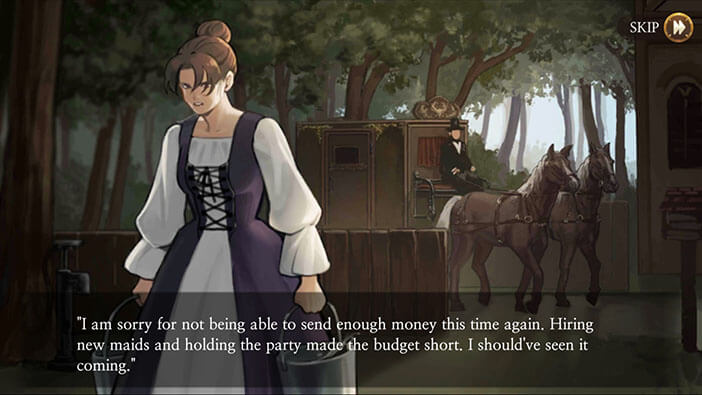
Well, after reaching the home in the horse-drawn carriage, Victor finds out that his mother doesn’t actually leave a nice and comfortable life. She sold the house, as we presumed, to cover the expenses of Victor’s education and experiments, and she now has to work hard just to support herself. That’s why she can’t send more money to her son.


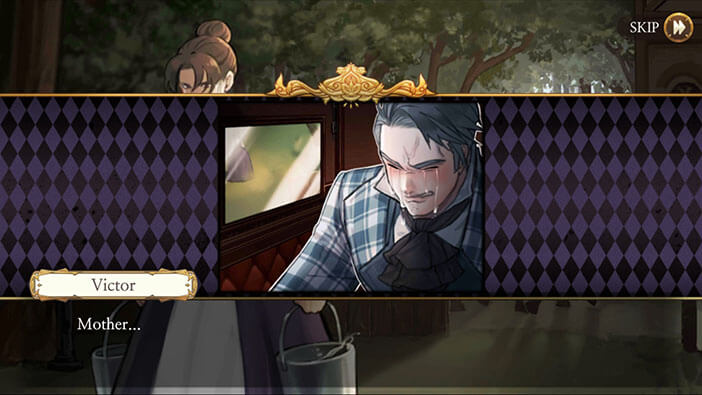
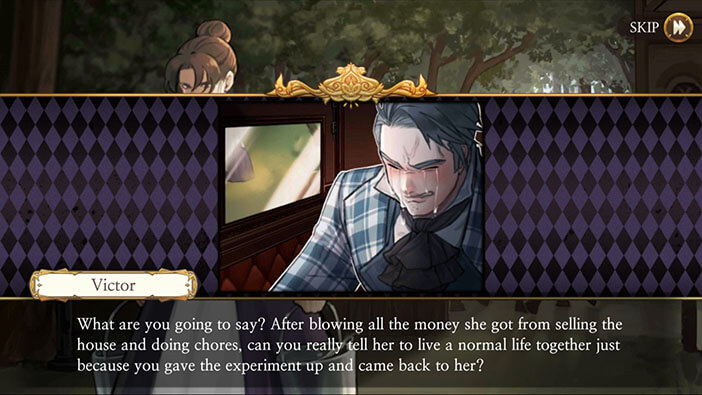
Upon seeing Caroline from the carriage, and suddenly realizing that he wasted the family fortune while pursuing his father’s dream, Victor bursts into tears.

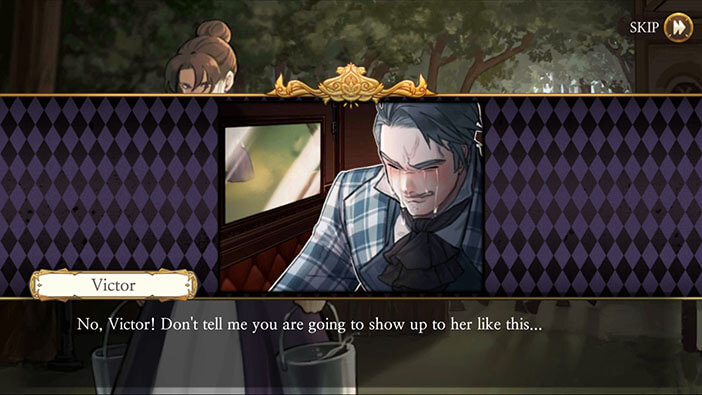
He refuses to get out of the carriage to greet his mother. Our protagonist is a fighter, not some weak-willed spoiled brat. After a few moments, he composes himself and makes new a new plan. Apparently, a local mining company is hiring and Victor plans to get a job there, work during the day, and continue with his research at night, sacrificing some sleep. He is now more determined than ever to finish his father’s experiment and prove to the whole world that his father was one of the most brilliant scientists and not some mad charlatan. Victor just can’t look into his mother’s eyes until he succeeds…


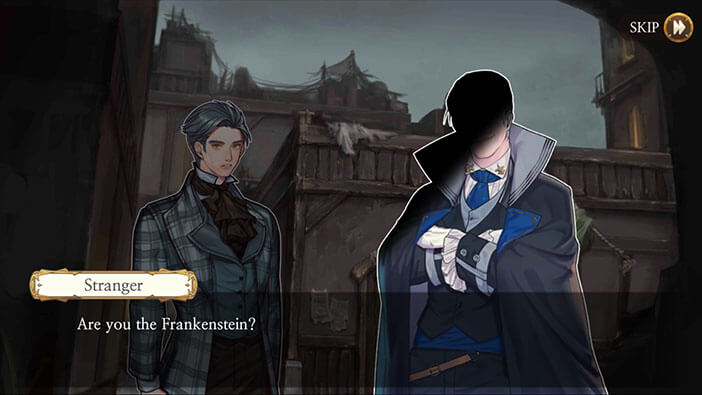
With that in mind, the carriage takes him straight back to Bayern, and in front of his lab, our protagonist meets with a very shady person…
That’s the end of the introduction to the game and its first chapter. I can’t wait to see what will happen next to Victor and his quest to bring back the dead, but something tells me he will succeed at some point.
Unfortunately, in the next chapter, we will be playing as a different character, Schmitz, the chief investigator of Sachsen police, but Victor will certainly come back in the later chapters. Join us in the next stage of the Walkthrough for Frankenstein Room ESC, in which we will tackle several crimes, while playing as Schmitz.
Thank you for reading.