Chapter 6-2 Genius Navigator
Complete Walkthrough
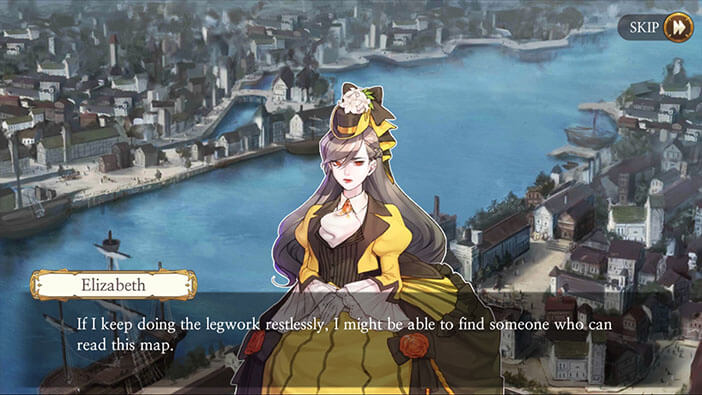
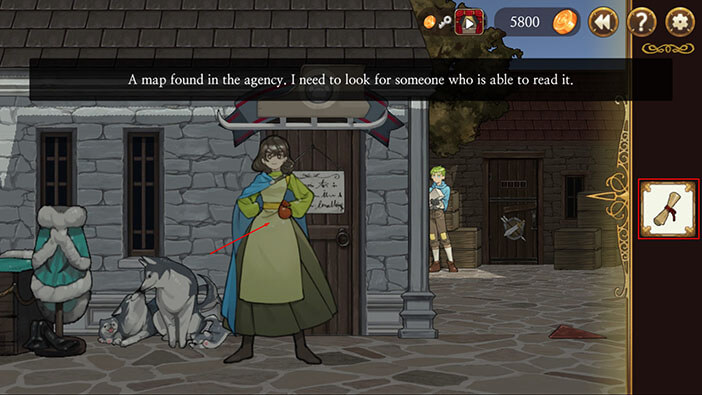
Hello everyone, and welcome to our Walkthrough for the Second Stage of Chapter 6 for the Frankenstein Room ESC adventure game. In this stage, we will be playing as Elizabeth, as she goes around Hamburg and looks for an experienced captain that can recognize the location on the map. After she discovers the location of the Babel, her next task will be to find an appropriate ship for the voyage and to hire a captain and a crew.
Elizabeth realizes that her map only shows some landscape in the middle of the ocean and that it will be very difficult to find someone that can identify it. On the plus side, the port in Hamburg is huge and filled with many sailors, so she concludes that she should be able to find someone that can recognize the location on the map, eventually.
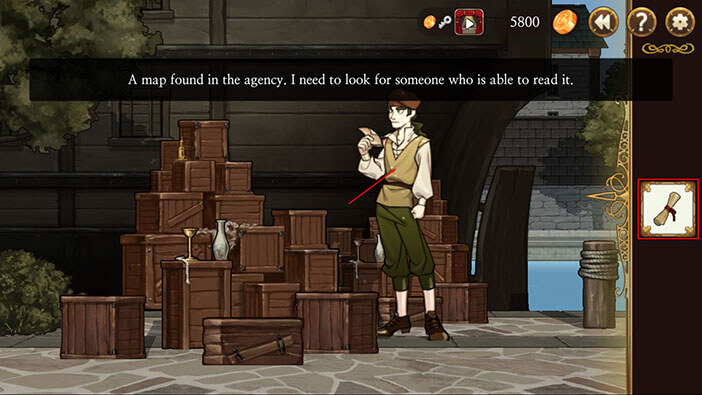
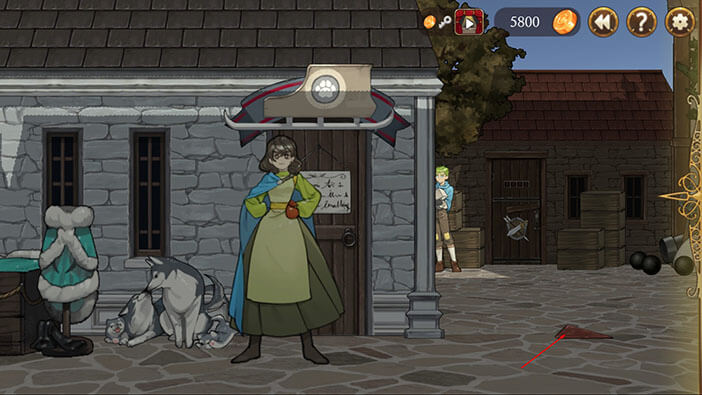
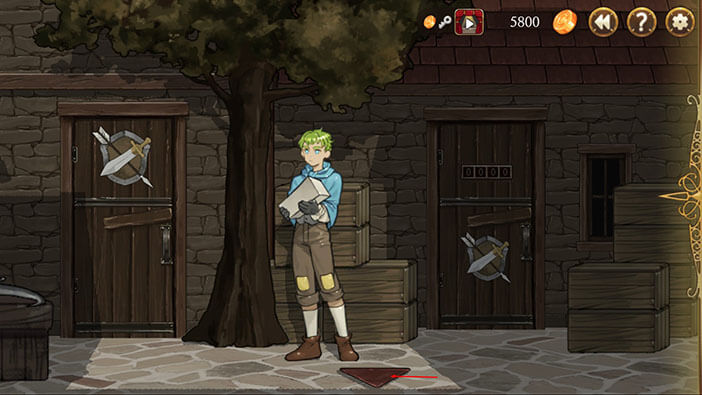
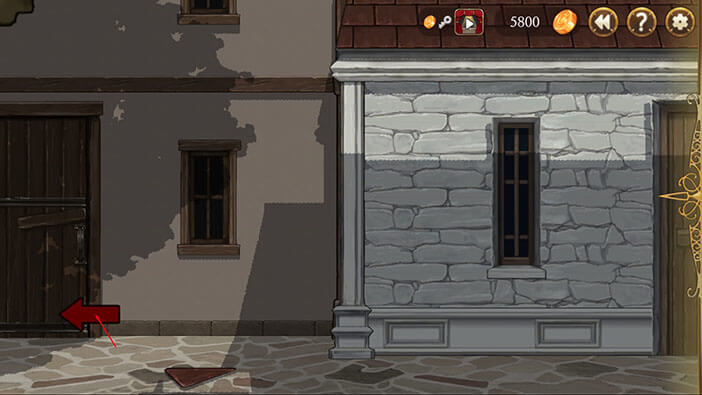
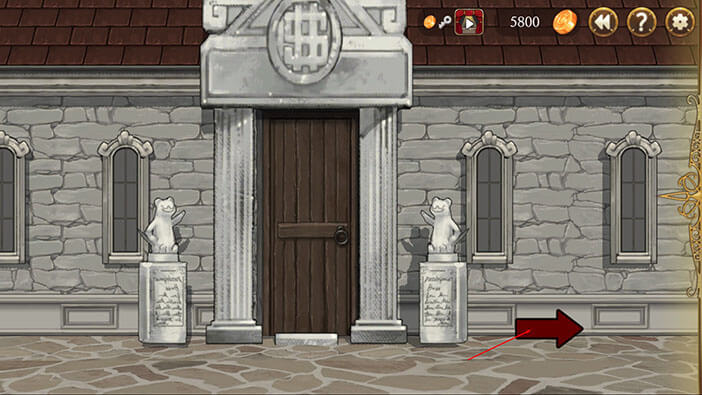
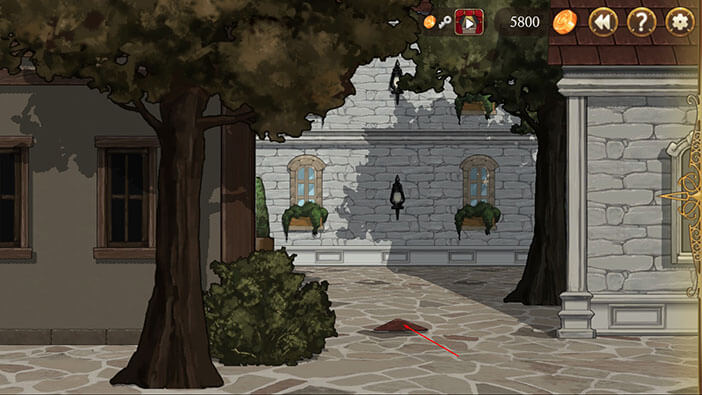
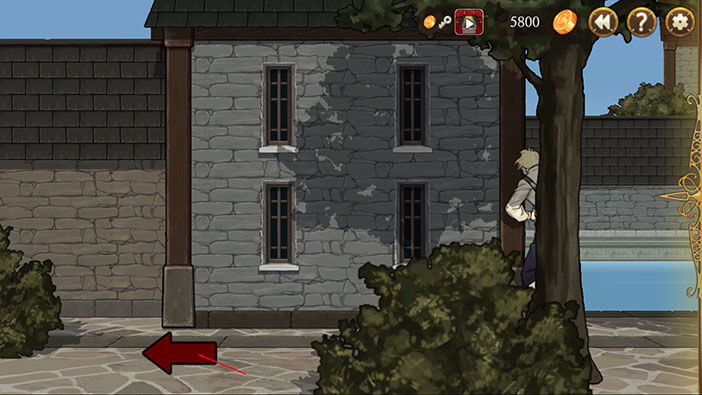
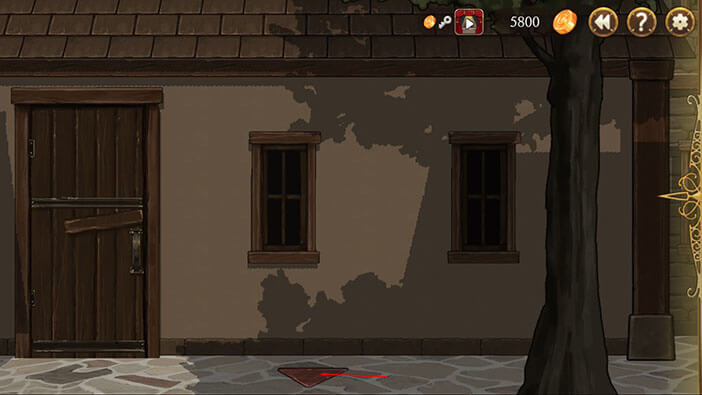
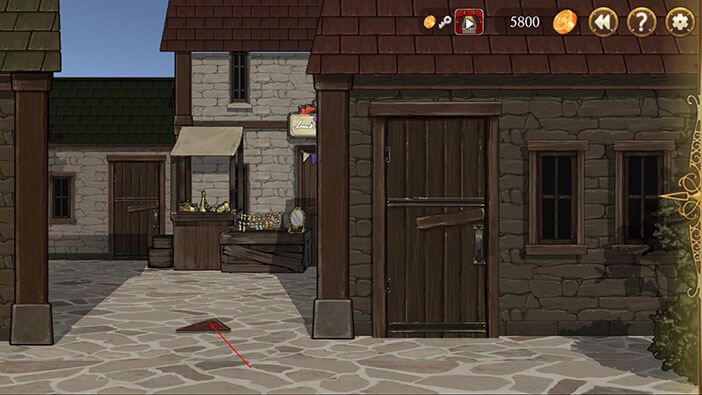
After the introduction scene, the “Map” will be added to your inventory. We will start our search in front of the Aegyptus agency. Move all the way to the left and tap on the red arrow to go to the next area.
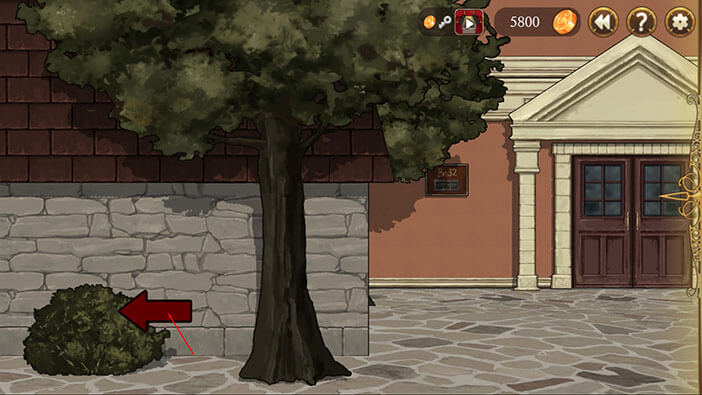
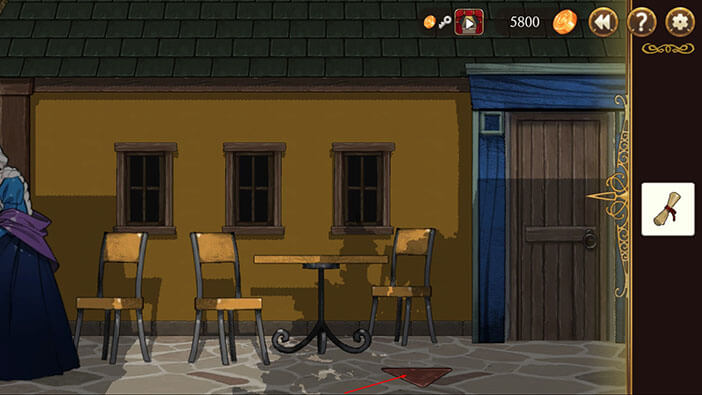
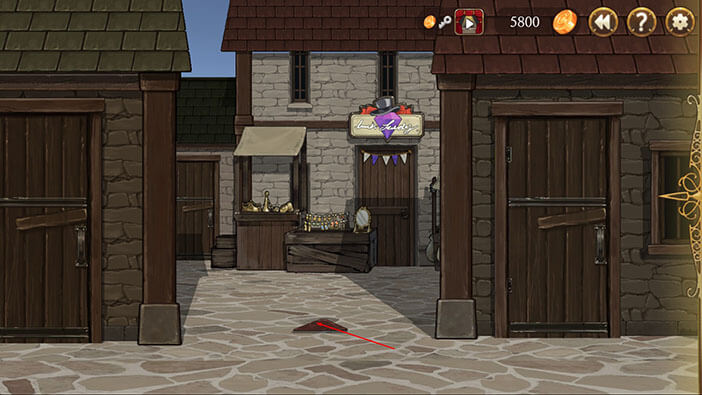
This is the “Jeweler’s Street”. We want to find someone, probably a captain or a sailor, that can read the map, so we should probably head straight for the docks.
Turn to the left and tap on the arrow on the ground. It is located slightly to the left of the jeweler.
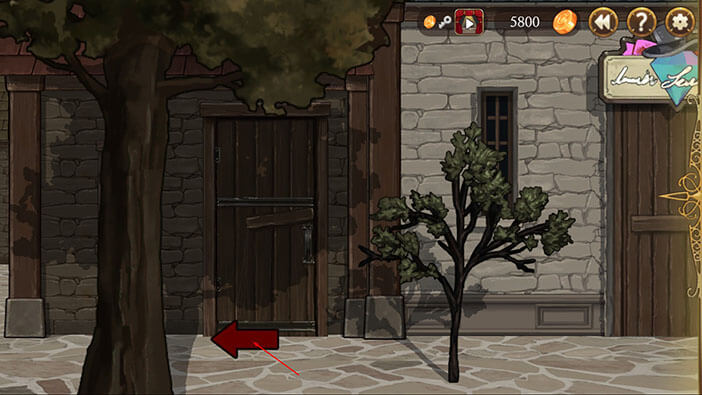
Go all the way to the left and tap on the red arrow to transition into the next area.

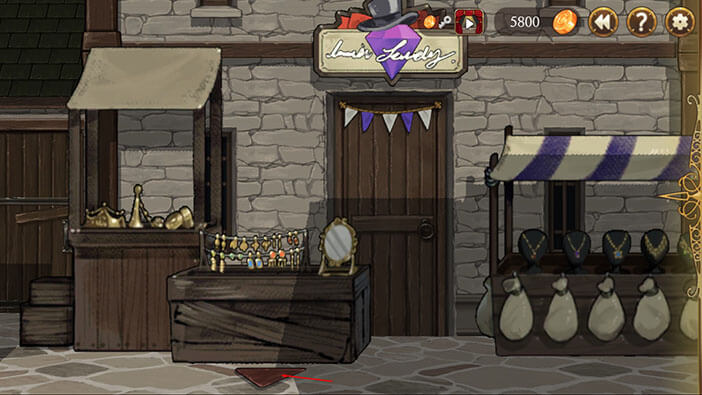
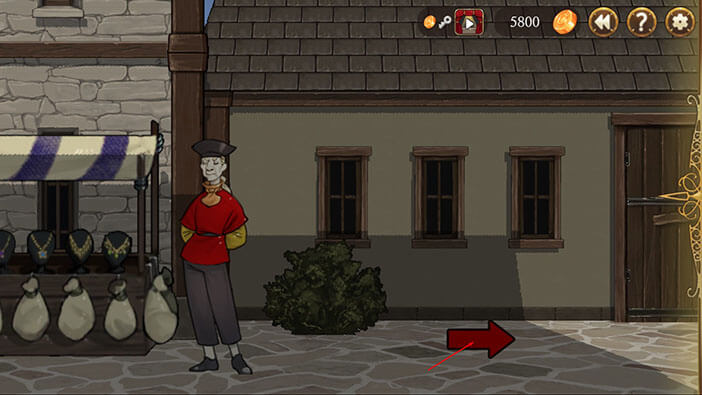
This is the central market. Let’s keep heading west (left) until we reach the docks. Again, move all the way to the left and tap on the red arrow to go to the next area. There are many interesting places in the market, and we will explore them later. Right now we need to find someone who can read the map and tell us the location of the Babel.
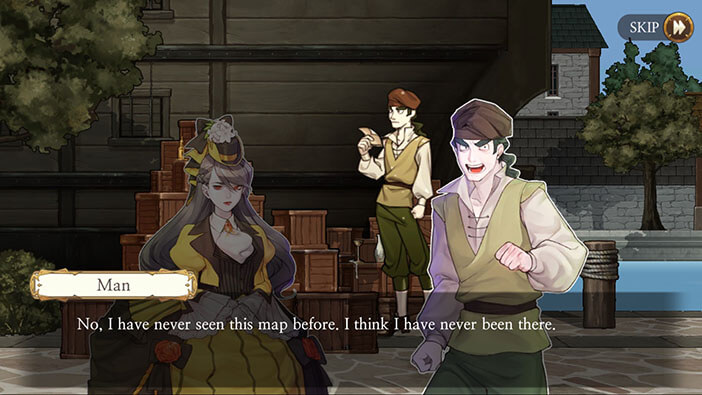
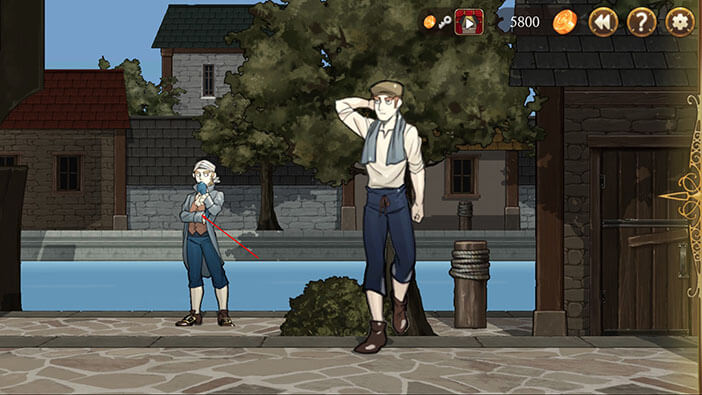
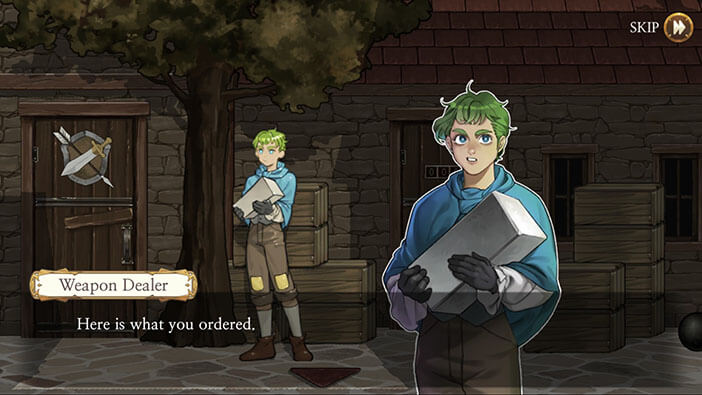
Finally, we reached the “West Dock”. Turn all the way to the left, select the “Map” from the inventory, and tap on the man in green pants to initiate a conversation.
Unfortunately, this man does not recognize the location on the map. However, there is a sled seller in the market that is always bragging about traveling all around the world. So, we should probably head to the market and talk to a sled seller.
Turn all the way to the right, and tap on the red arrow to go back to the “Central Market”.
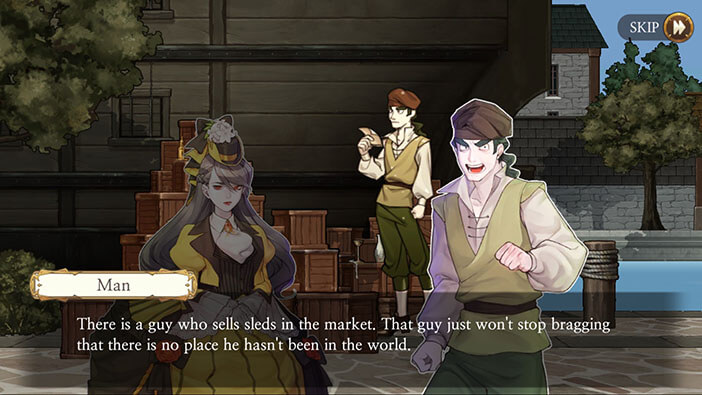
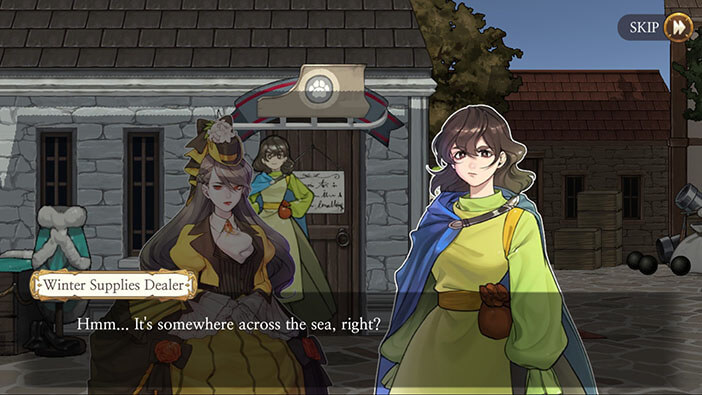
Turn to the right and you’ll see a sled seller. Select the “Map” from the inventory and tap on the sled seller to initiate the conversation.
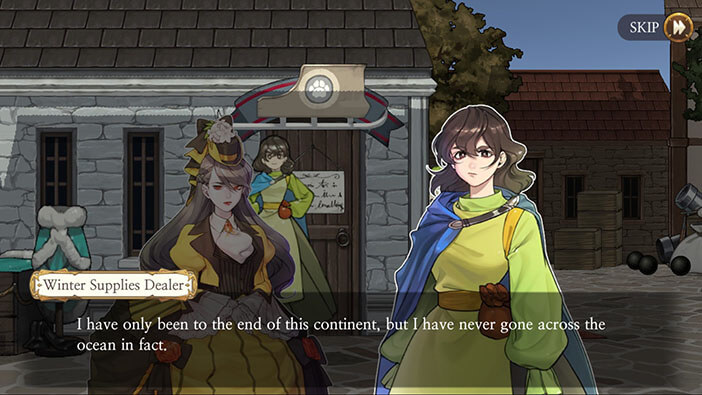
The sled seller quickly realizes that the place on the map is probably somewhere across the ocean. The seller explains how she visited all the places on the mainland, traveling far and wide, but she never traveled across the ocean. With that said, she advises to go and find some sailors, since they will most likely know the location on the map. Elizabeth explains that she already asked around the docks, but the sled seller says that Hamburg is the greatest port in the North Sea and that there has to be someone that can recognize the location on the map, but finding such a person won’t be an easy task since the port is huge.
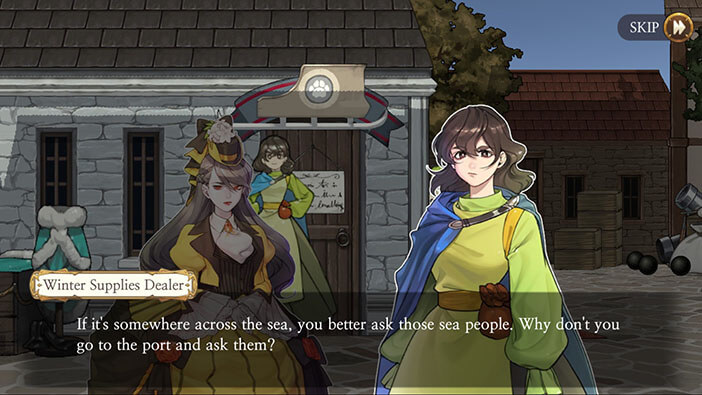
Ok, let’s ask around the “East Dock” since we already visited the west side. Tap on the arrow on the ground located to the right of the sled seller.
Turn all the way to the right and tap on the red arrow to go to the next area.

We have now reached the “East Dock”. Move to the right, select the “Map” from the inventory, and tap on the sailor in blue pants to initiate the conversation.

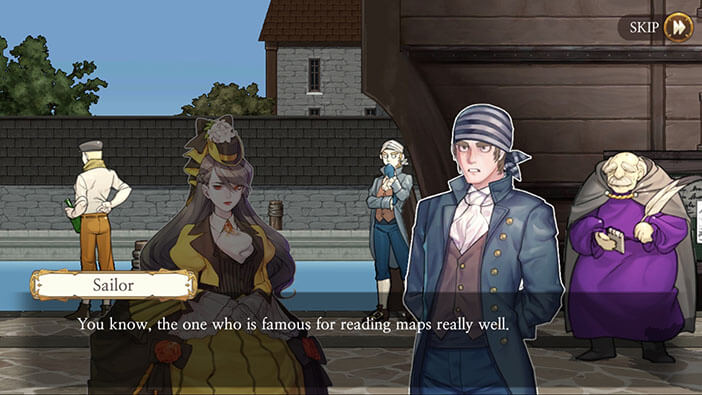
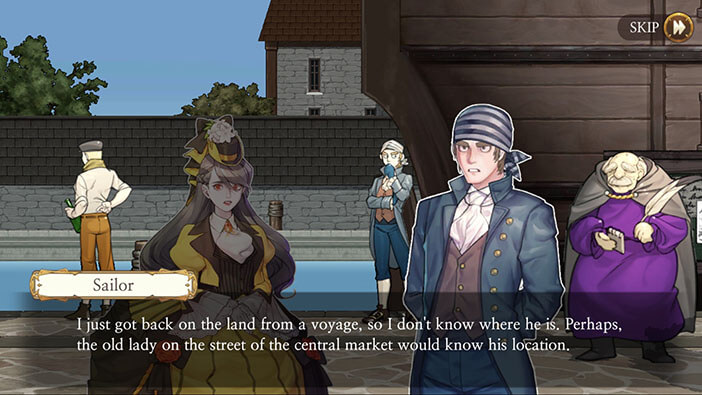
Unfortunately, the sailor doesn’t recognize the location on the map. However, he says that there is a famous map reader in the port of Hamburg. He doesn’t know where this famous map reader might be, since he just returned from his last voyage. On the plus side, he mentioned that there is an old lady in the “Central Market” that might know his location. Ok, let’s find this old lady and see if she can help us. A “Map Reader” note will be added to the inventory after this conversation.
Turn all the way to the left and tap on the red arrow to go back to the “Central Market”.
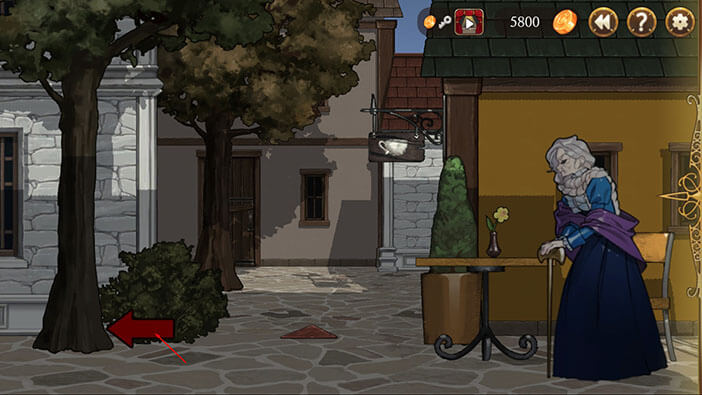
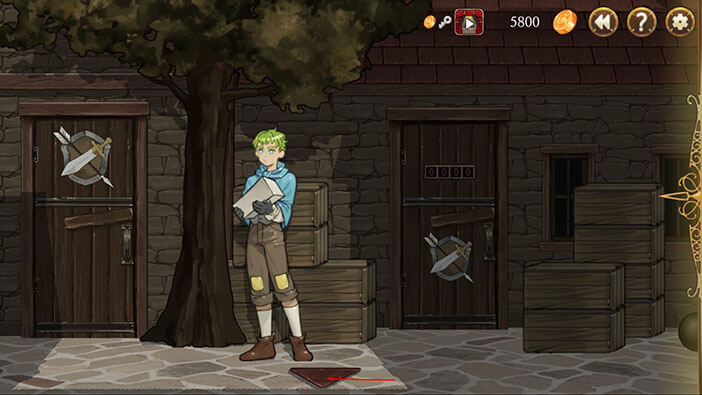
Once there, turn to the left and tap on the arrow on the ground in front of the weapons shop.
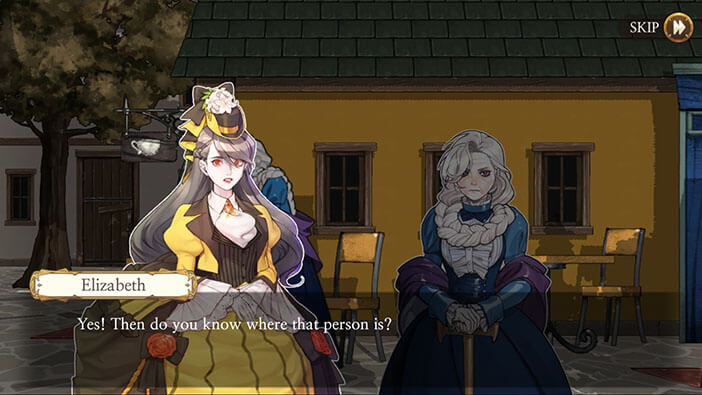
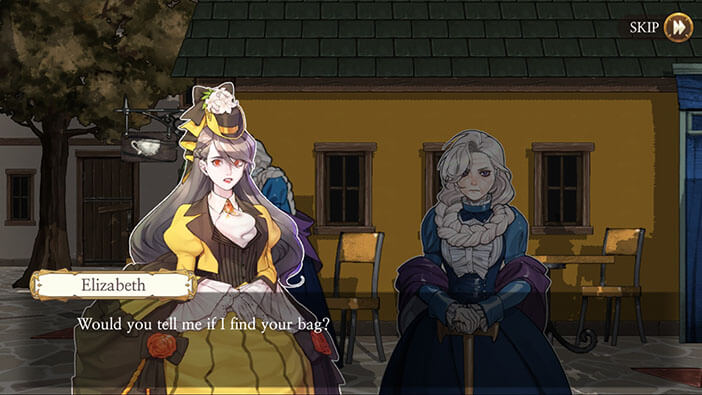
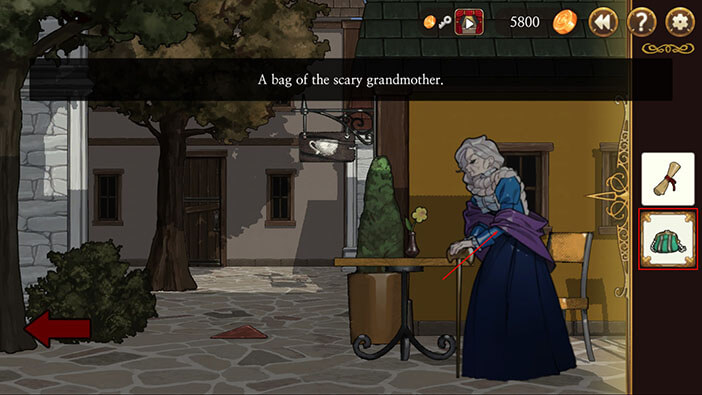
Move all the way to the left and close to the edge of the map you will notice an old lady. Select the “Map Reader” note from the inventory and tap on her to initiate the conversation.
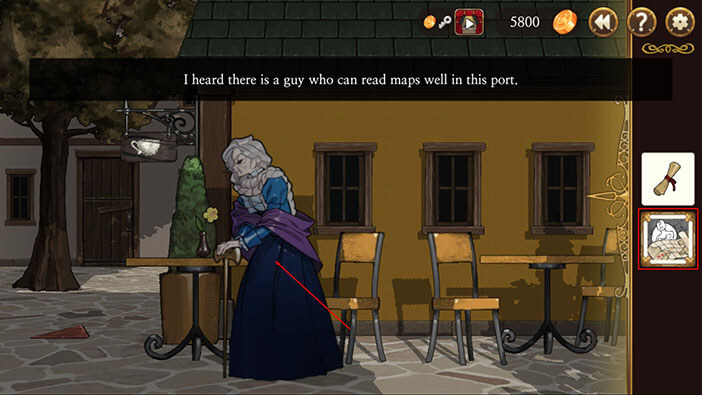
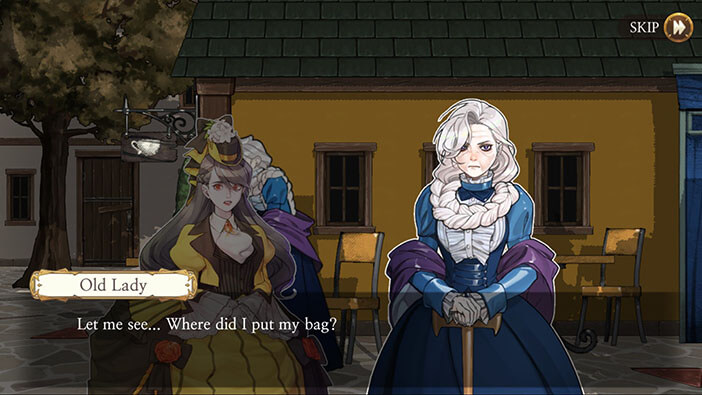
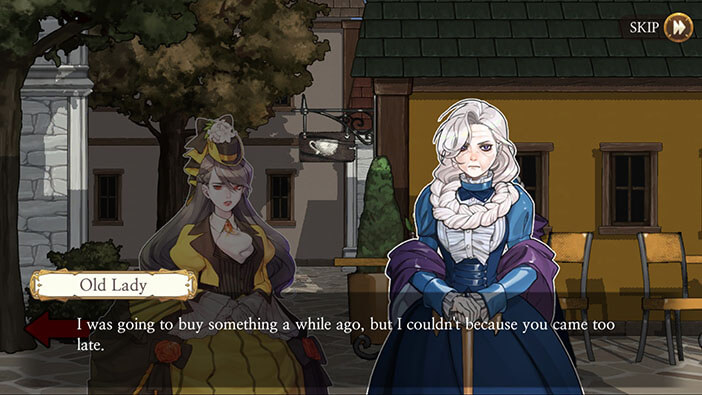
The old lady claims that she knows everyone in the port, but before telling us where we might find this famous map reader, she starts searching for her bag. Elizabeth offers to find the old lady’s bag and bring it back in exchange for the information. Well, the old lady mentioned that she was in the grocery, so let’s head there and look for the bag.
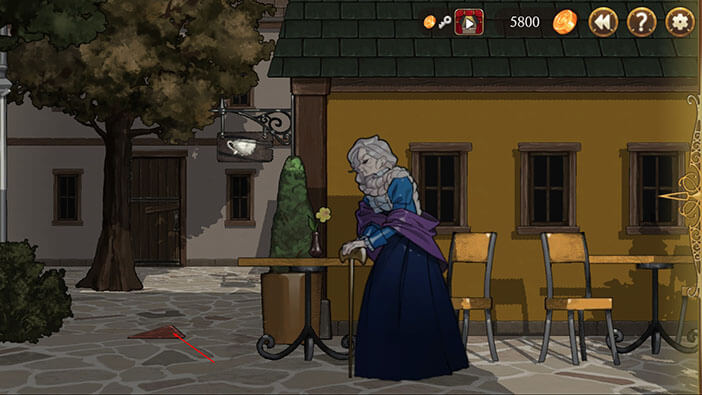
Tap on the arrow on the ground, located to the left of the old lady.
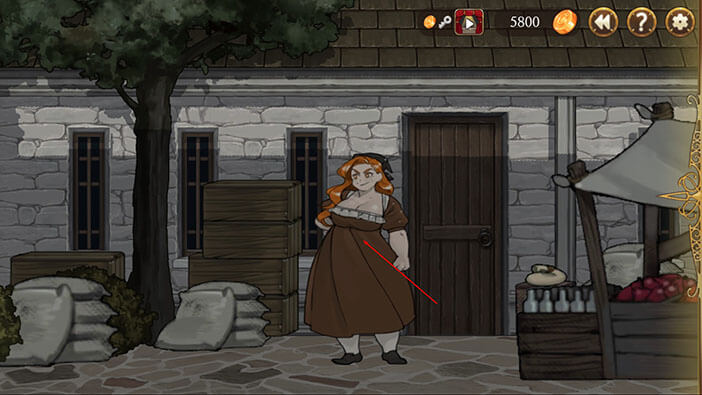
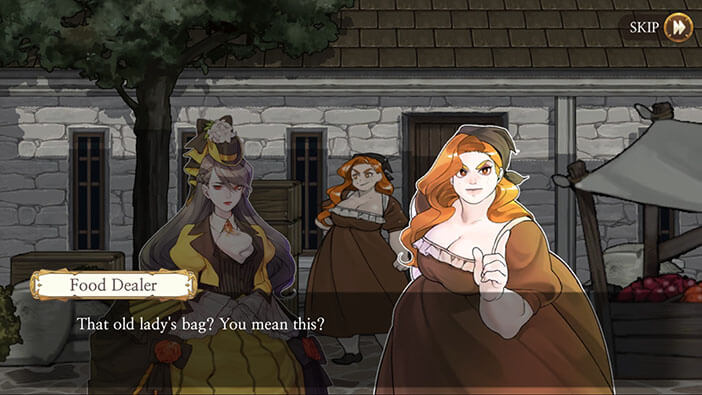
Turn to the right until you see a lady who is selling groceries. Tap on her to initiate the conversation. Luckily the old lady did forget her bag here, and the “Food Dealer” was kind enough to give it back. At the end of the conversation, the “Bag” will be added to the inventory. Now we just have to go back to the old lady.
Turn all the way to the left and tap on the arrow on the ground (not the red arrow).

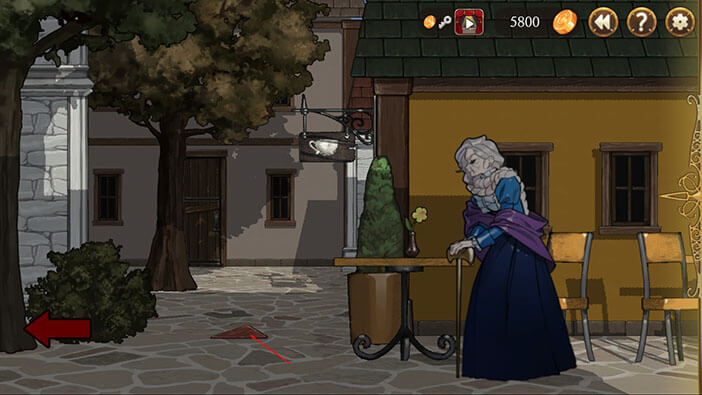
Select the bag from the inventory and tap on the old lady.
After returning the bag, the old lady explains that she wanted to buy something before she lost her bag. Apparently, we will have to go and buy this item for her, and then she will tell us the location of the map reader… Well, this old lady is a bit rude, but we will have to do this errand for her because we really have to find the map reader and quickly.
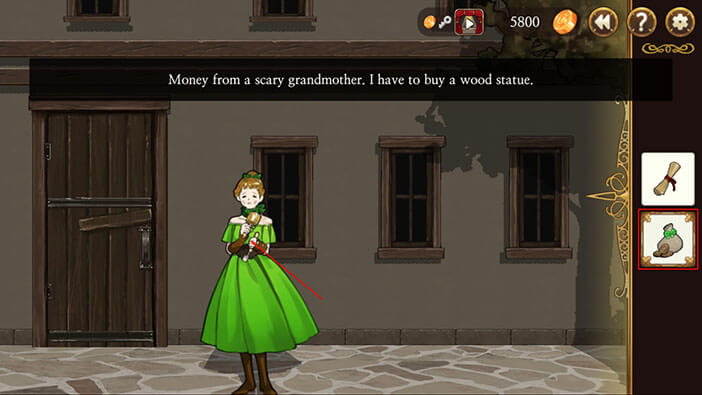
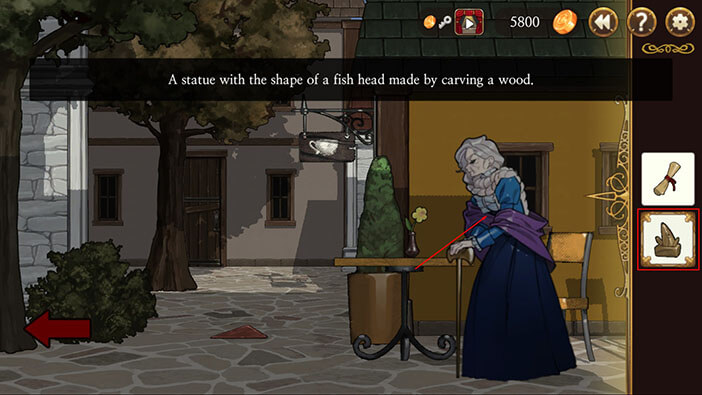
The old lady wants us to buy one of the wooden statues from some girl in the “Central Market”. At the end of the conversation, the “Money” will be added to the inventory. Easy enough, let’s find this girl and buy a statue.
On a side note, it would be really funny if there was some other way to find the map reader, because, in that case, Elizabeth could just leave with the old lady’s money and sail away. 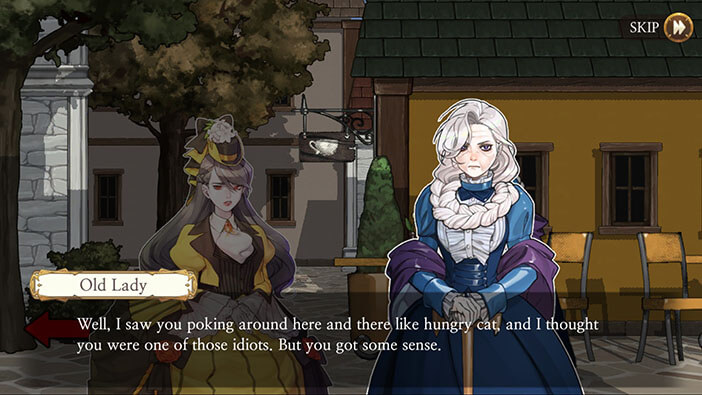

Tap on the arrow on the ground, to the left of the old lady.
Tap on the red arrow on the left to transition into the next area.
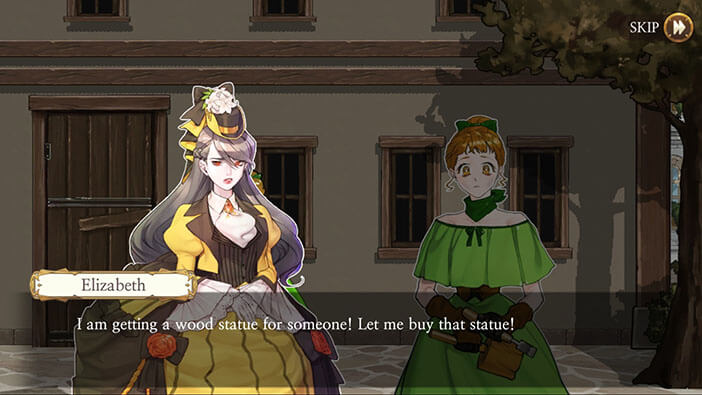
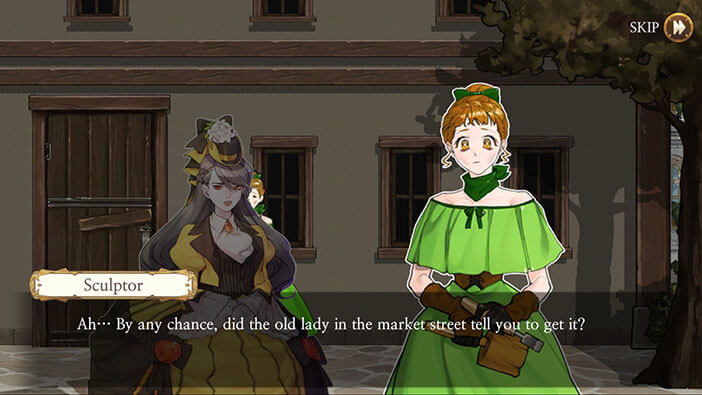
We reached the “Street around the Hotel”. Turn to the left until you see a girl in a green dress. Select the “Money” from the inventory and tap on her to buy the statue.
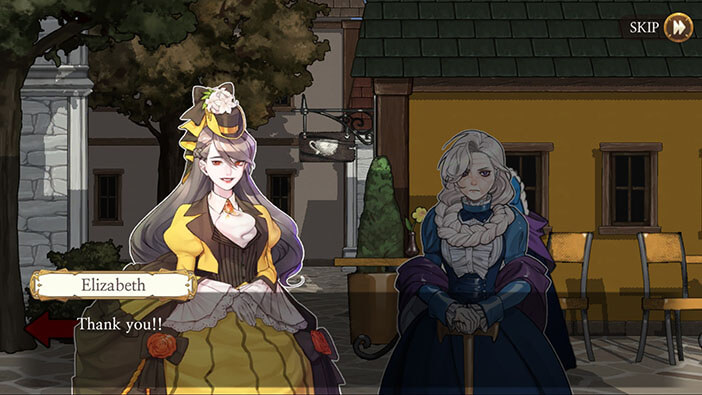
The “Sculptor” says that she is still learning her trade, and asks if the old lady sent us. Elizabeth confirms, saying that it is one very cranky old lady. The “Sculptor” explains that her statues aren’t of the best quality since she is still learning the trade and the old lady is the only one that wants to buy them. She is very grateful for the old lady, because she would starve without her, and wants us to say “thanks” in her name. At the end of the conversation the “Wood Statue” will be added to the inventory. Ok, let’s get back to the old lady.


Turn all the way to the right and tap on the red arrow to go back to the “Central Market”.
Once there, tap on the arrow on the ground.

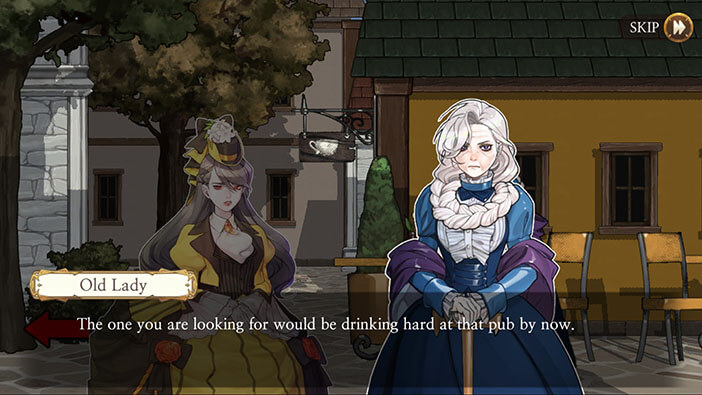
Select the “Wood Statue” from the inventory and tap on the old lady to hand it over. The old lady explains that the “Sculptor” made even worse statues in the beginning, but the quality of her work seems to be improving, although it still isn’t good enough compared to the other sculptors. Finally, she says that the famous “Map Reader” should be probably in the pub. Besides everything that happened previously, Elizabeth is grateful for the old lady’s assistance and immediately heads to the pub.

Turn to the right and tap on the arrow on the ground, located to the right of the old lady.
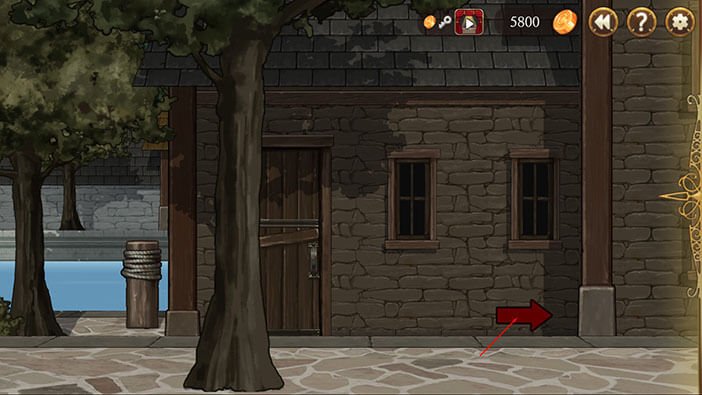
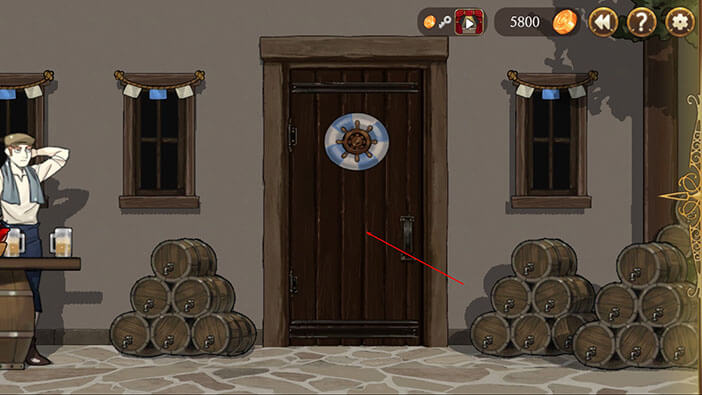
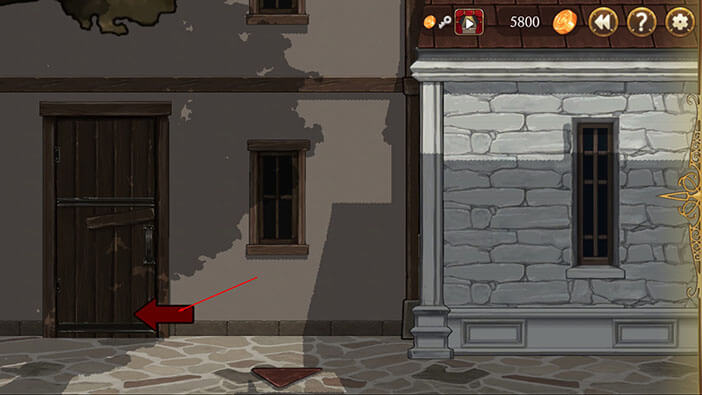
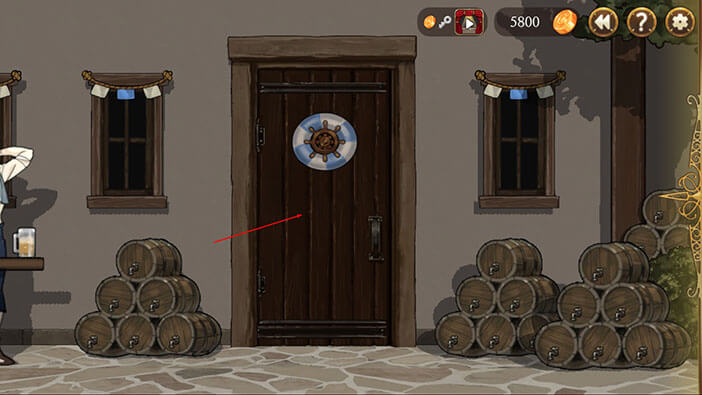
Turn to the right and you will see a door with the ship’s helm painted on it. Tap on the door to open it and tap once more to enter the pub.
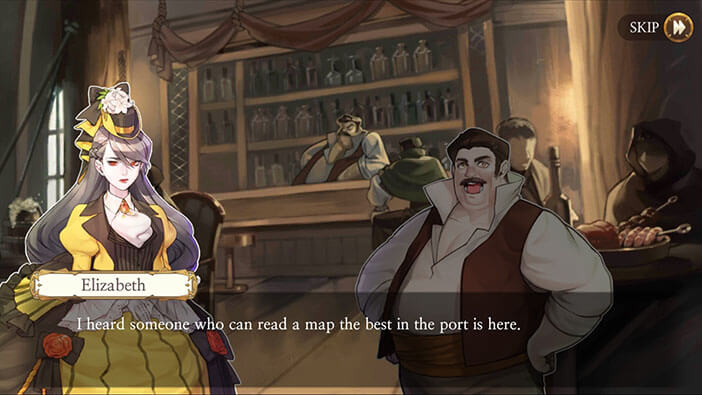
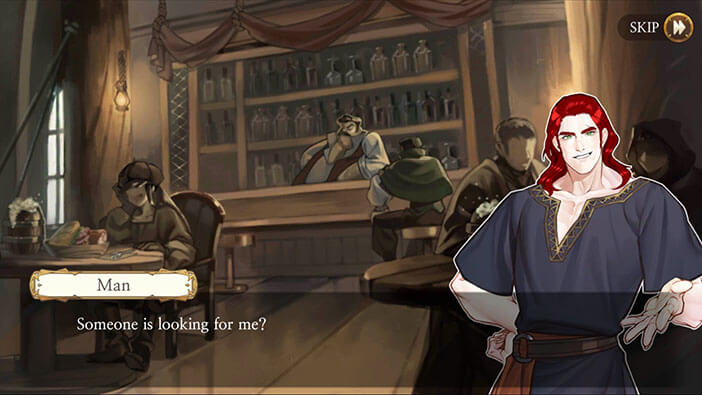
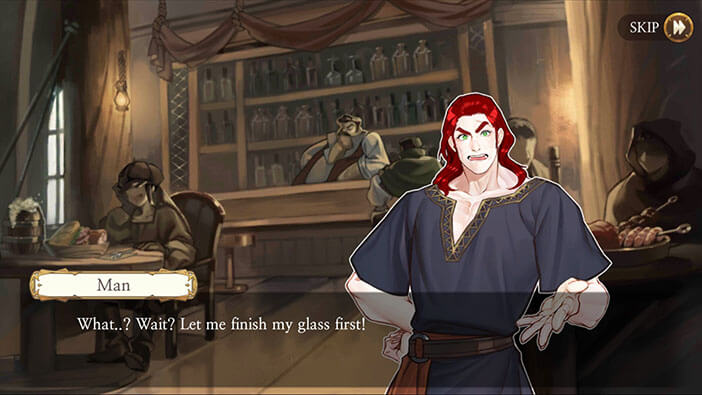
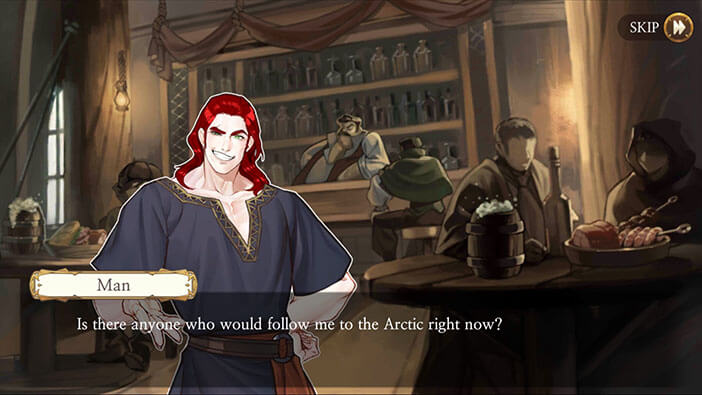
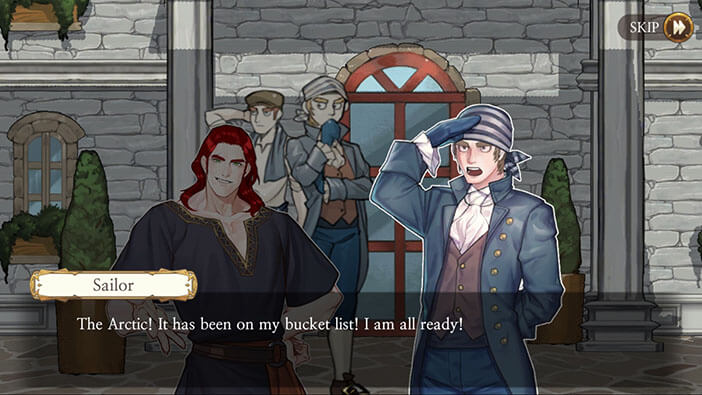
As we enter, we can witness a conversation between a “Man” and the “Pub Owner”, who doesn’t want to serve him another drink, because the man already owes him a large sum of money. The “Man” claims that he will get rich after he finds Captain Cook’s treasure, but the bartender ignores him.
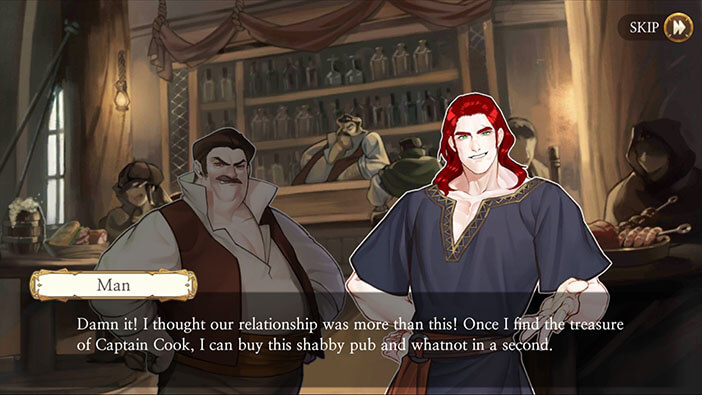
After this short scene, the “Pub Owner” greets Elizabeth. She quickly explains that she’s looking for the “Map Reader”. Apparently, this is the same “Man” that couldn’t afford to pay for another drink.
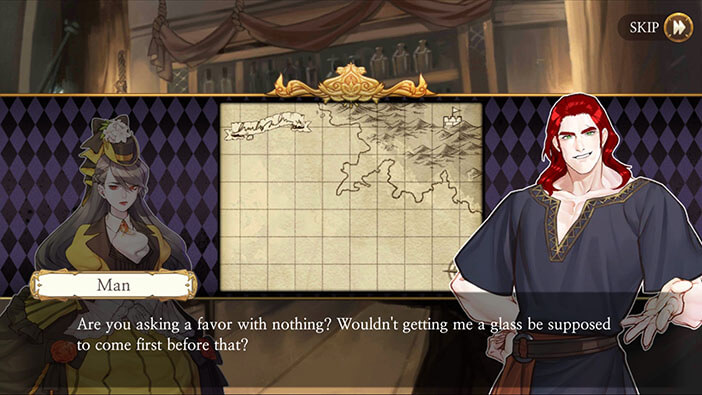
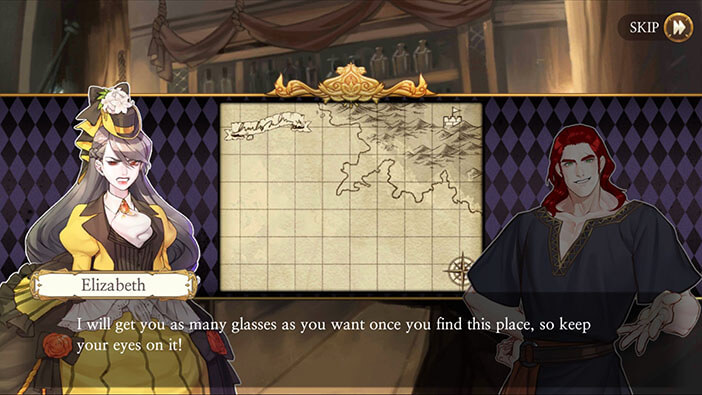
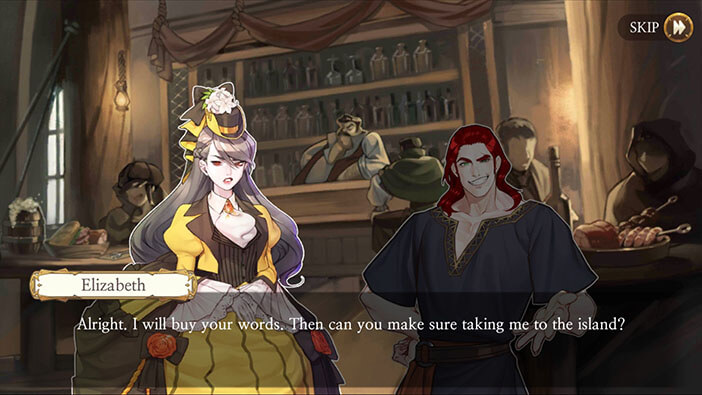
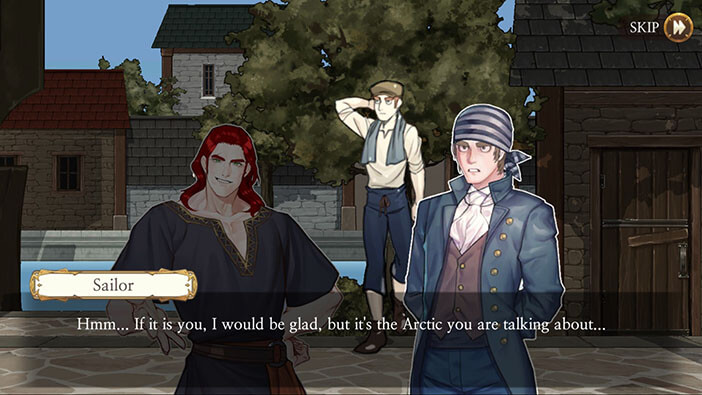
Elizabeth gets straight to the point and shows him the map. As we could expect, the “Man” wants us to buy him a drink before he takes a look at the map. Elizabeth promises to buy him all the drinks he wants, but only after he looks at the map.
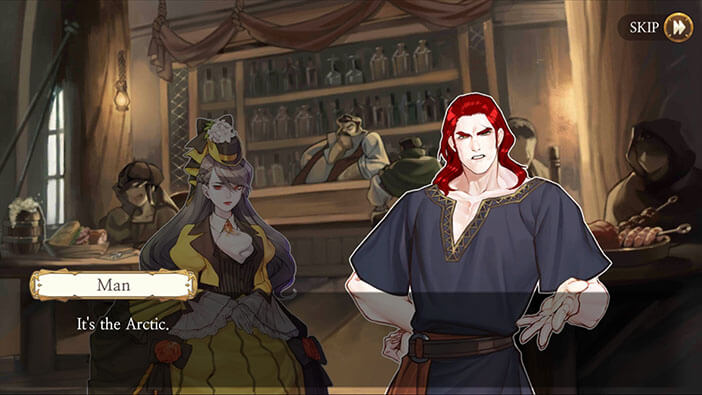
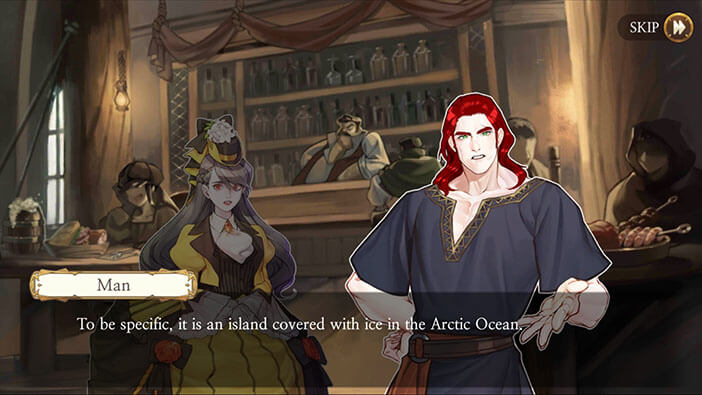
After a few moments, the “Man” recognized the place and says that only a person with a deathwish would go there. He explains that the place on the map is in the Arctic Ocean. Oh, we did know that the Babel was built in some secluded place, away from the prying eyes, but I never thought it would be in the freezing Arctic Ocean. Of course, Elizabeth is also very surprised. The “Man” is sure that he passed by this island while traveling on the whaler, some time ago.

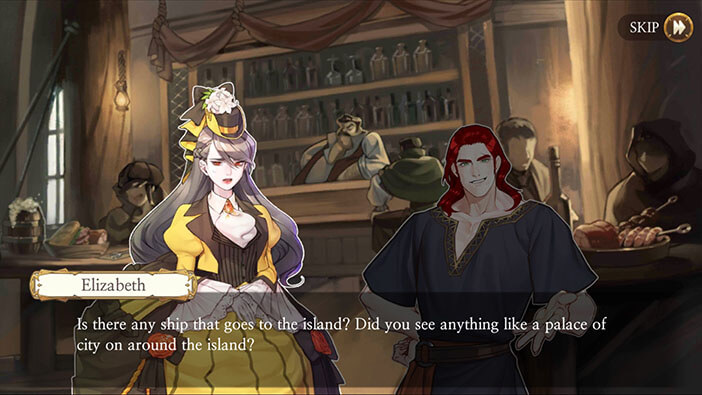
Elizabeth gets straight to the point and asks the “Man” if there’s a ship that travels to this island and if he saw a palace while passing by it. The “Man” explains that there is nothing on the island – no people nor buildings. It’s basically the frozen wasteland. Hmm, either the “Man” passed by the island before the construction on the palace began, or maybe Samuel built his palace below the ice or inside one of the huge icebergs?
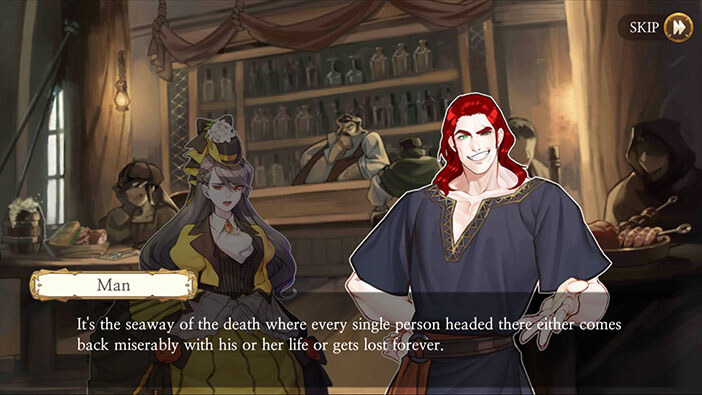
He goes, explaining that many ships together with their crews were lost while traveling so far to the North. With that in mind, it will be very hard to find the navigator for that voyage, regardless of the money. Besides that, even if Elizabeth finds an experienced navigator, that kind of journey will still be very risky.

At this point, Elizabeth is starting to lose hope, and thinks that it was all for nothing and that she won’t be able to reach Babel…
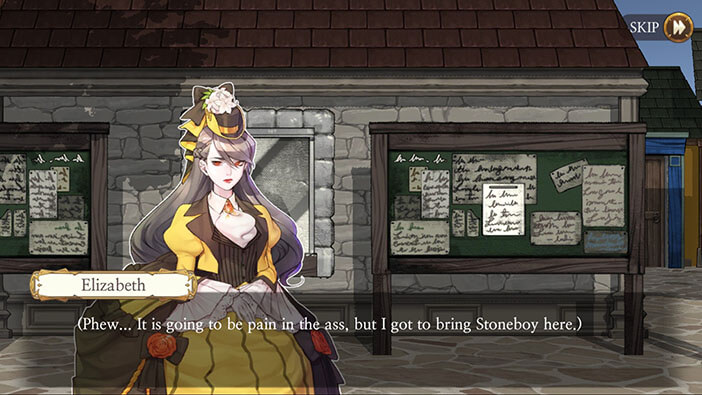
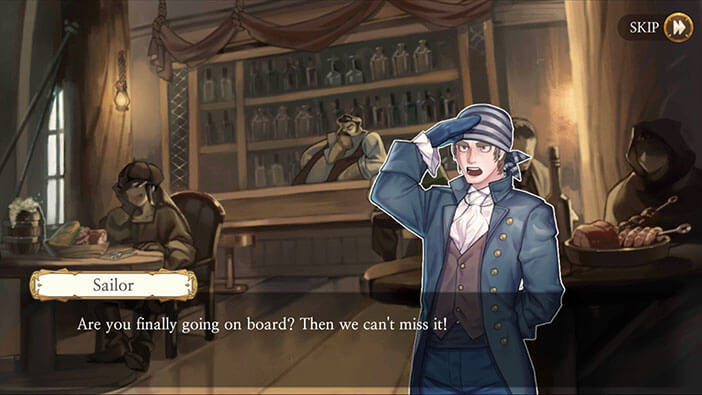
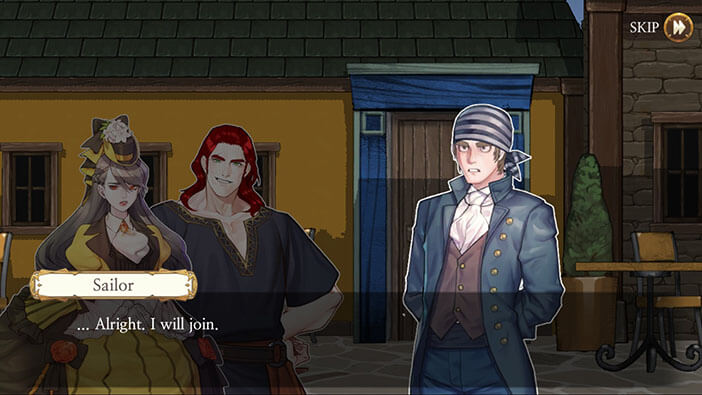
Luckily, the “Man” just remember that “Stoneboy” is a famous navigator that might be able to reach this place. When Elizabeth asked where she can find this “Stoneboy” the “Man” proclaimed that he is right in front of her. On a side note, this guy doesn’t seem like a very confident captain (or navigator), and even less so after I found out that he calls himself a “Stoneboy”… 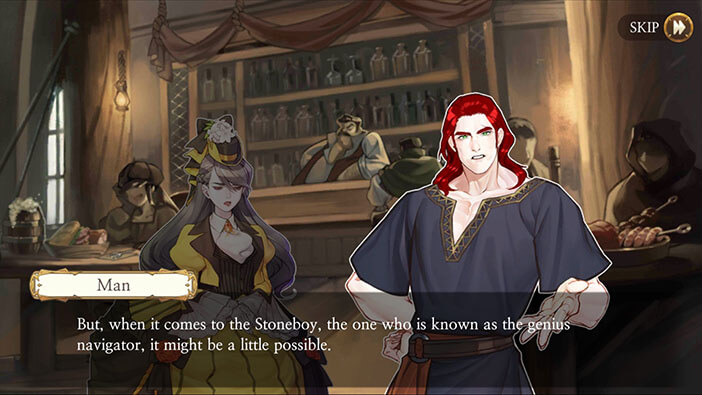


Elizabeth is speechless, but she has no other options and has to believe Stoneboy’s words. She asks him if he can take her to this island. After she doesn’t get a straight answer, Elizabeth becomes a bit annoyed, but the Stoneboy finally explains the situation. In short, he doesn’t own a ship, but he is a captain.
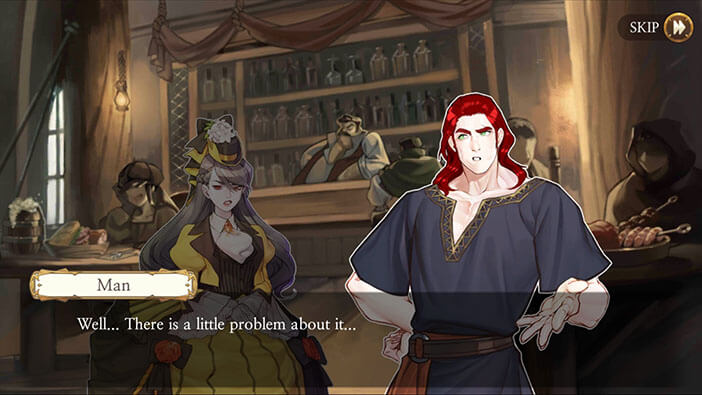

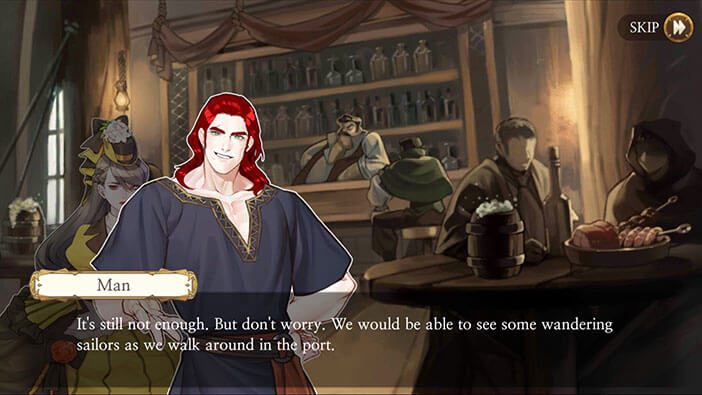
Finally, he starts explaining what they will need for the voyage.
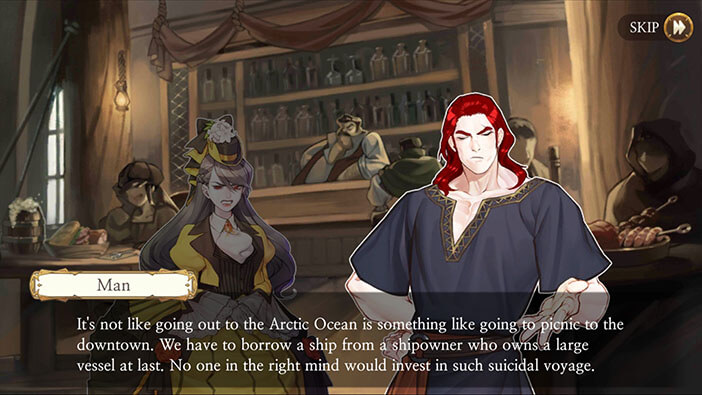
Firstly, they will have to borrow (rent?) a very large vessel that is capable of an oceanic voyage, and I presume that this ship also has to be an icebreaker. Stoneboy goes on, explaining how acquiring the ship is always the biggest problem, but Elizabeth is determined to succeed and has a solution.
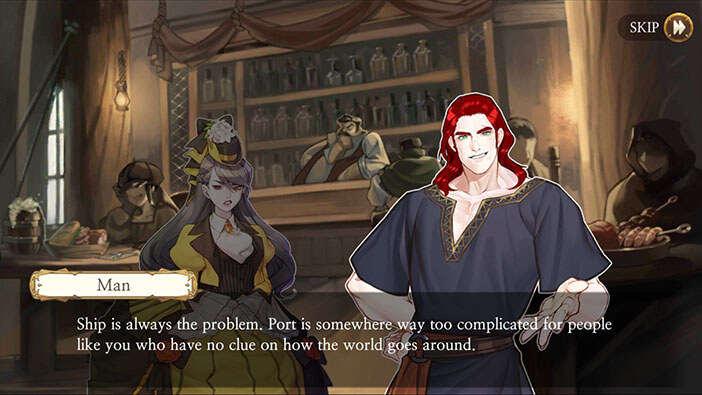
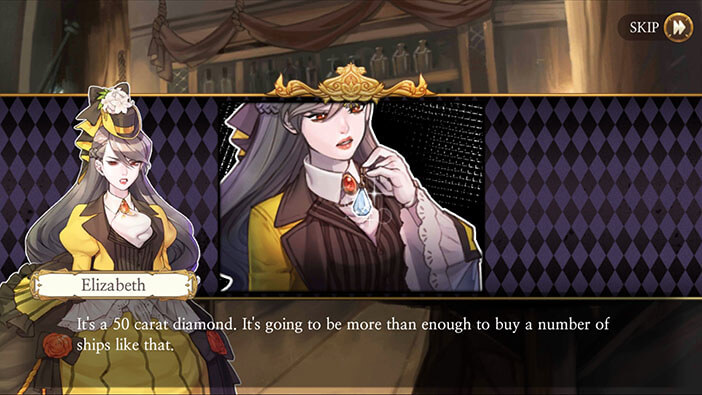
She presents a 50-carat diamond (probably a family heirloom), and she’s certain that should be more than enough to cover the cost of the ship. Of course, Stoneboy can’t believe that Elizabeth owns such a valuable diamond…
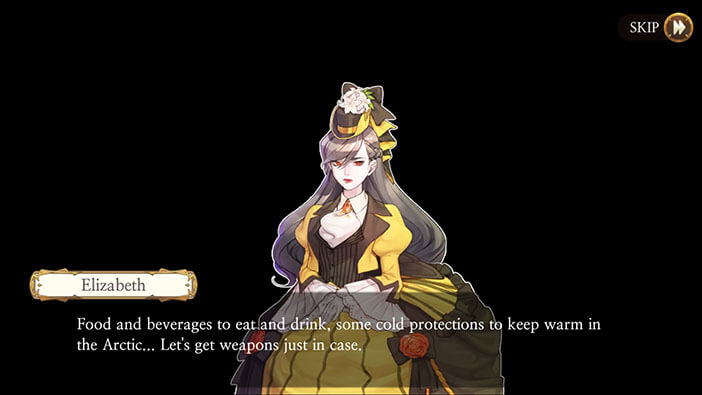
Our story continues the following day. Elizabeth has already found the captain, Stoneboy, but now she has to sell the diamond and use the money to buy a ship. Besides the ship, she will need a few more things to complete the oceanic voyage. Let’s make a list of everything that she has to acquire.
- Ship
- Food and beverage
- Warm clothing
- Weapons (just in case something unpredictable happens)
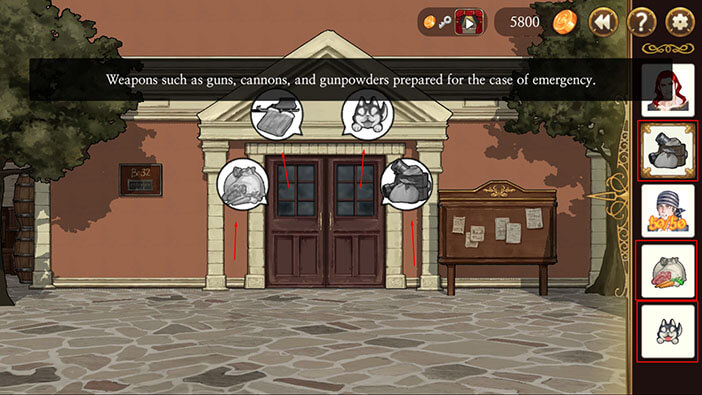
She decides to use Aegyptus’ agency as her storage place since it’s currently deserted. As a side note, that’s exactly what Samuel did.
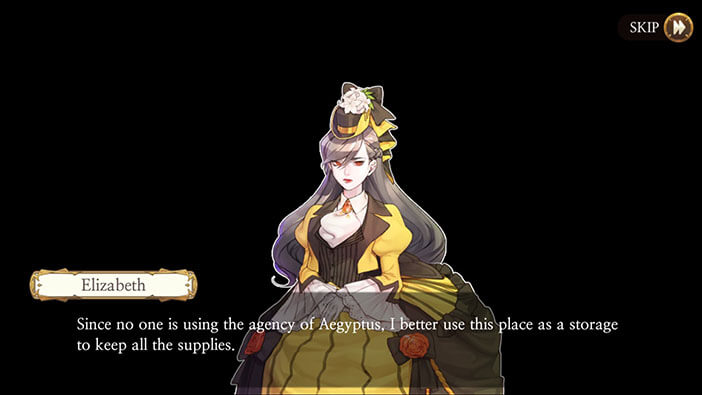
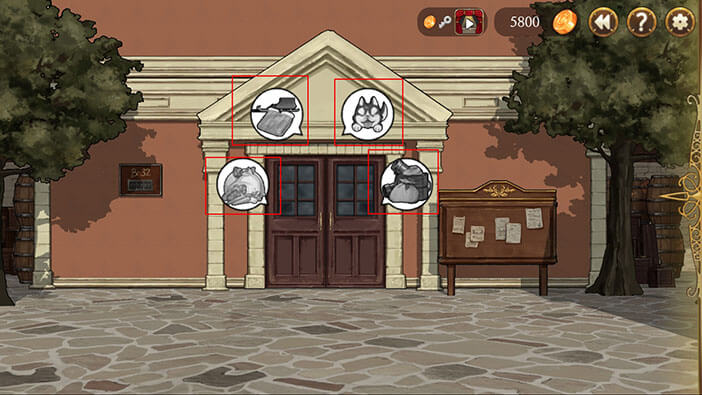
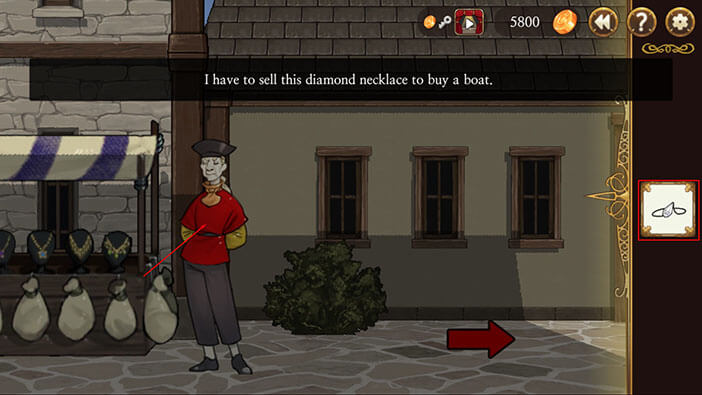
At the start of the day, the “Jewel Necklace” will be added to the inventory, and our first task is to sell it for a large amount of money. You can also see the icons for the four different types of supplies, above the front door of the agency.
- Sleds and warm clothes
- Dogs (to pull the sleds)
- Weapons and ammunition
- Food and beverage
Ok, let’s find someone willing to buy the diamond. Turn all the way to the left and tap on the red arrow.

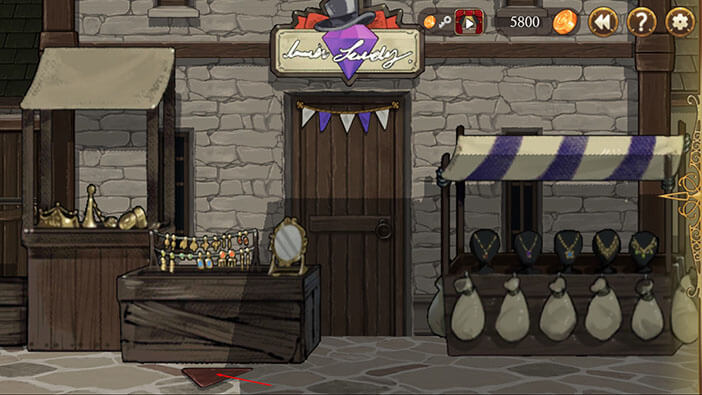
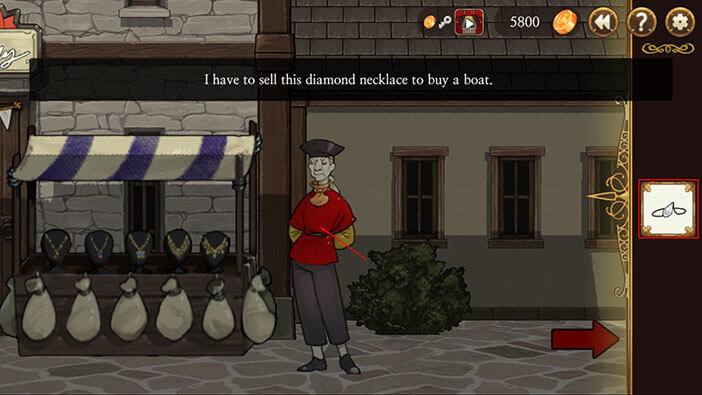
We are now in the “Jeweler’s Street”, and this is probably the right place to sell the diamond. Select the “Jewel Necklace” from the inventory and tap on the man in the red shirt.
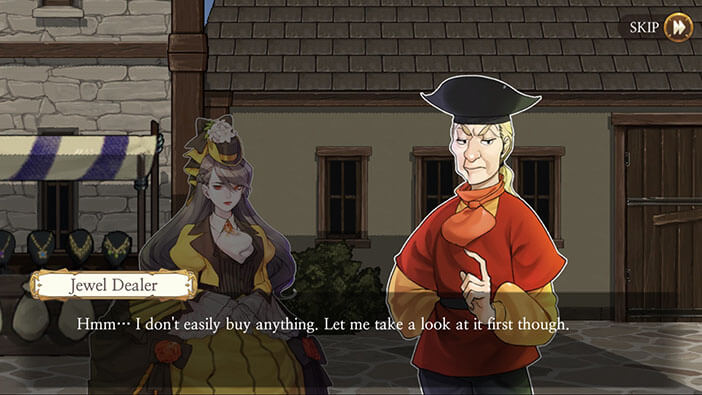
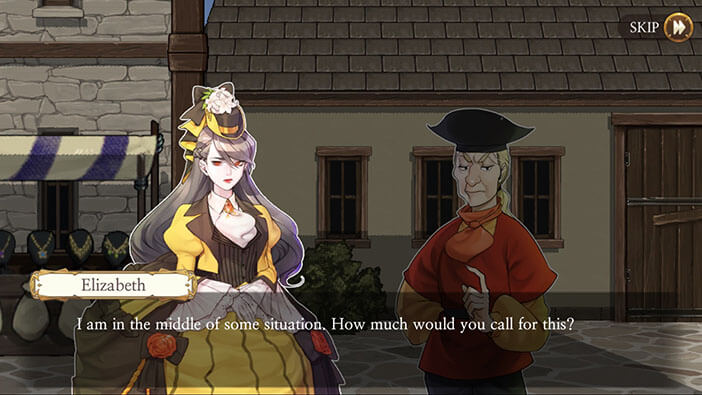
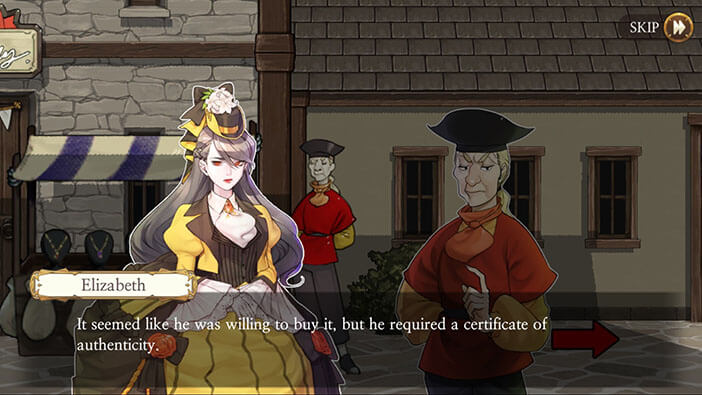
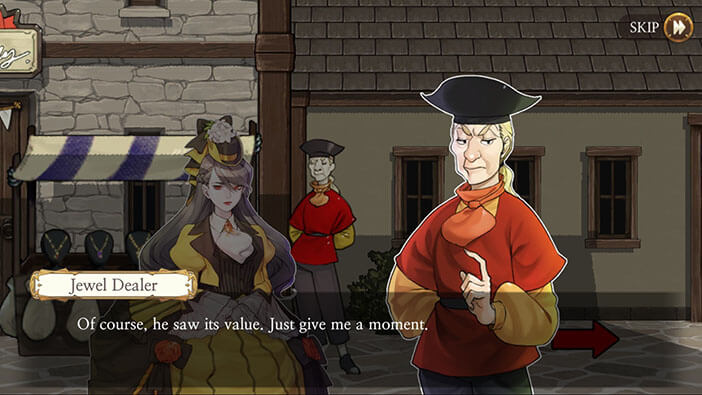
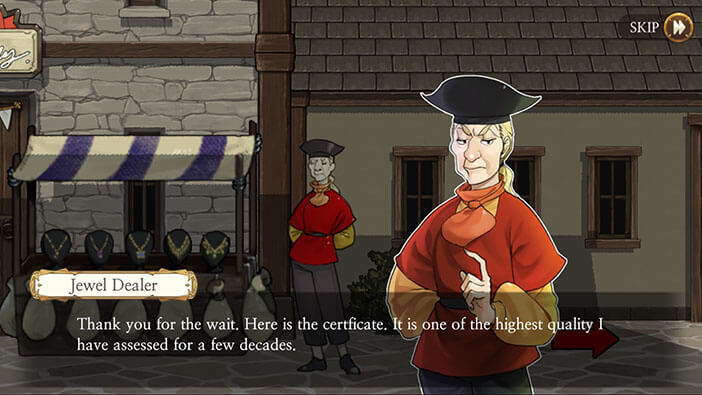
The Jewel Dealer would like to appraise the value of the necklace before buying it. After examining it for a few moments, he is amazed and realizes that the gem is almost priceless. Elizabeth asks how much she can get for it, but the Jewel Dealer replies that he can’t afford to buy the carat diamond since it’s worth more than his entire shop. He advises Elizabeth to go to the bank and try to sell her family heirloom there. Apparently, the bank should be very interested in such an extraordinary item.


Ok, let’s go to the bank. Turn slightly to the left and tap on the arrow on the ground.
Move all the way to the left and tap on the red arrow.
We are now in the “Central Market” and we previously saw a bank in the “Street around the Hotel” (where we met the “Sculptor”), so let’s go there.
Move all the way to the left and tap on the arrow on the ground.

Tap on the red arrow on your left.
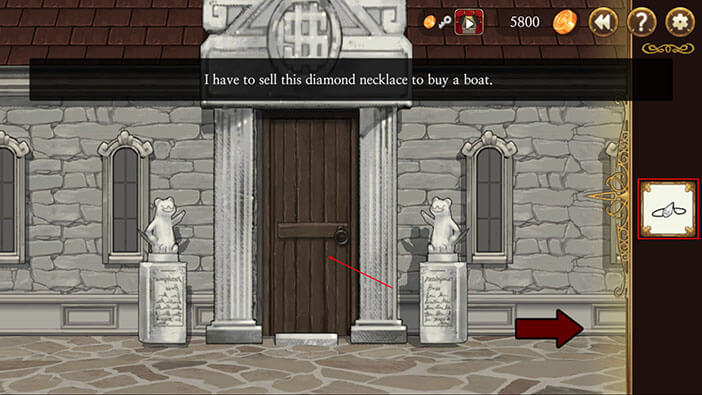
We finally reached the bank. Select the “Jewel Necklace” from the inventory and tap on the bank door.
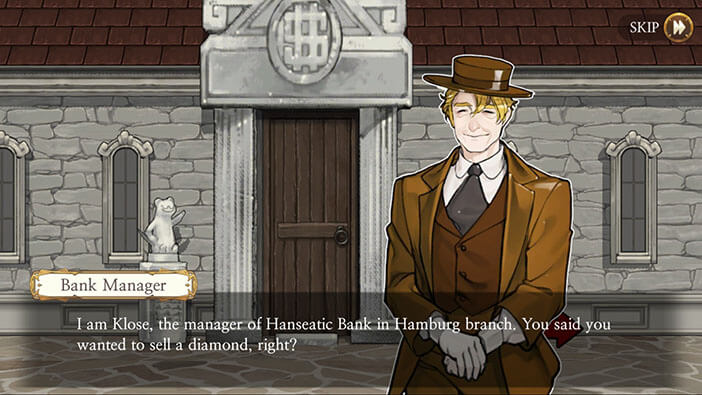
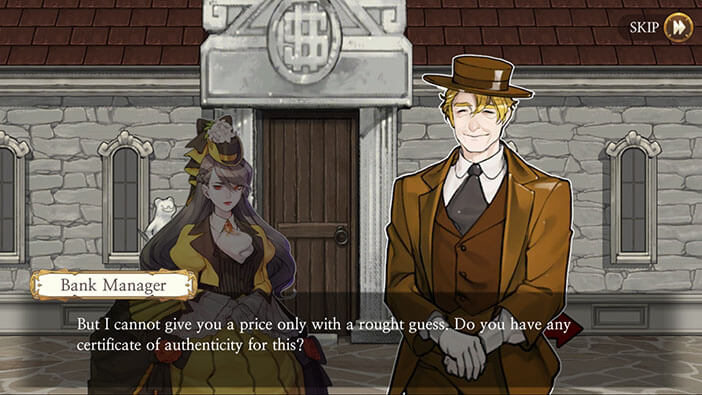
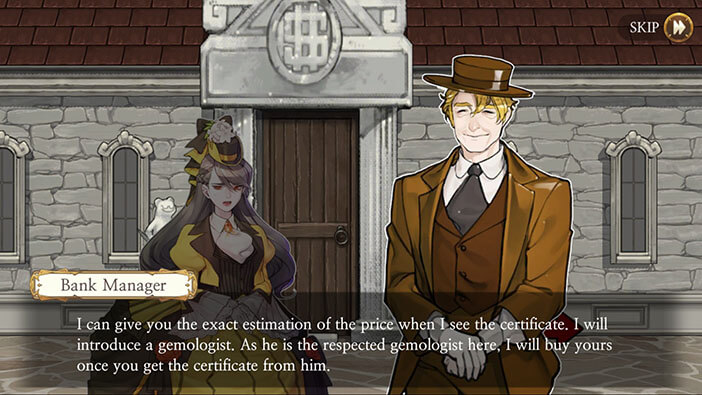
The bank manager, Klose, will greet us, and he immediately sees that the diamond is huge, and of very high quality. With that said, he can’t offer us a price without the certificate of authenticity. So, we will have to go back to the “Jeweler’s Street”, to get the certificate from Jewel Dealer and then come back to the bank to sell the diamond…

Going back and forth can be a bit boring but we have to do it. Let’s go. Tap on the red arrow to go back to the “Central Market”.

Once there, tap on the arrow on the ground.
Turn all the way to the right and tap on the red arrow to get to the “Jeweler’s Street”.
Once there, turn slightly to the right and tap on the second arrow (left to right) on the ground.
Turn slightly to the right and you will see the Jewel Dealer that we met earlier. Select the “Jewel Necklace” from the inventory and tap on the Jewel Dealer.
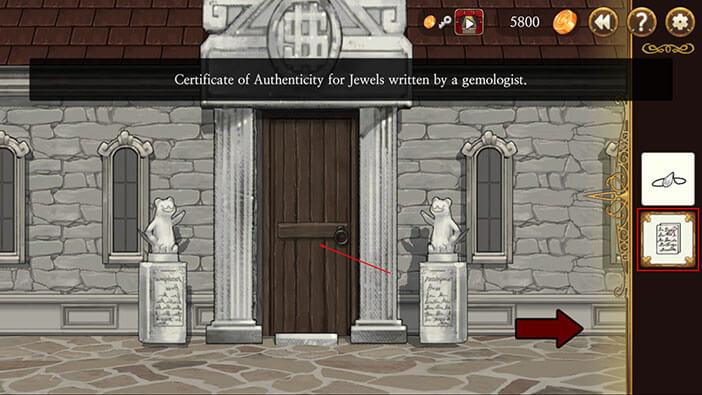
Elizabeth explains that she needs a certificate of authenticity. After a few moments, the Jewel Dealer returns with the certificate, saying that this diamond is one of the most valuable items he ever saw. After the conversation “Certificate of Authenticity for Jewels” will be added to the inventory.
Ok, let’s go back to the bank. Turn slightly to the left and tap on the arrow on the ground.
Move all the way to the left and tap on the red arrow to go to the “Central Market”.

Move all the way to the left and tap on the arrow on the ground.
Tap on the red arrow on the left side.

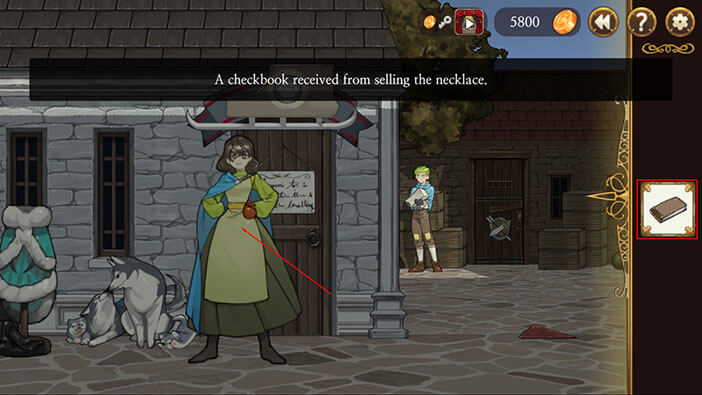
We finally got back to the bank. Let’s sell the diamond. Select the “Certificate of Authenticity for Jewels” from the inventory and tap on the bank door.
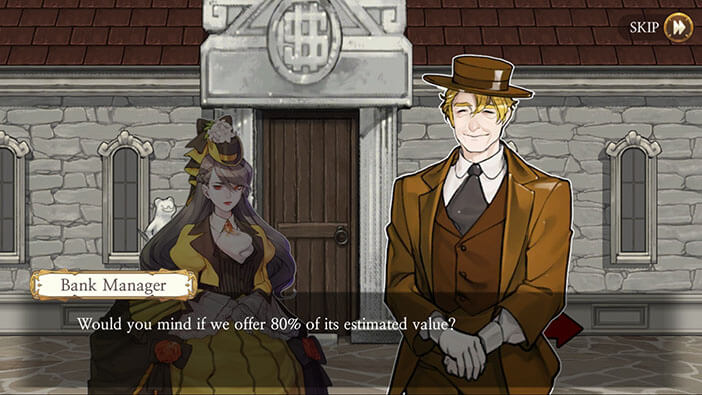
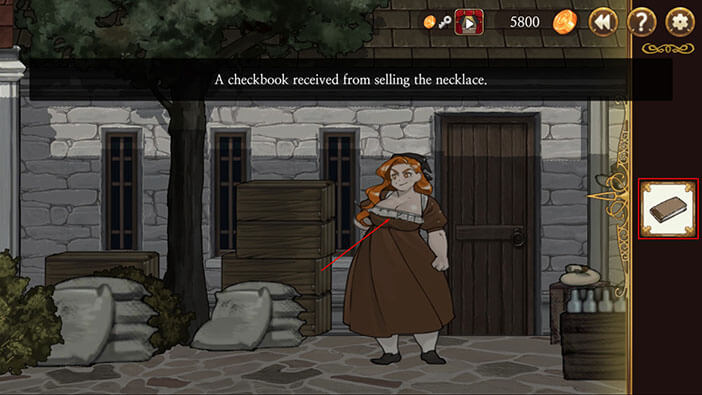
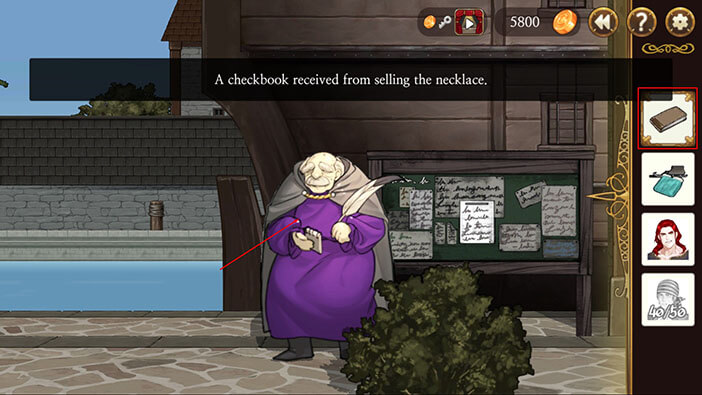
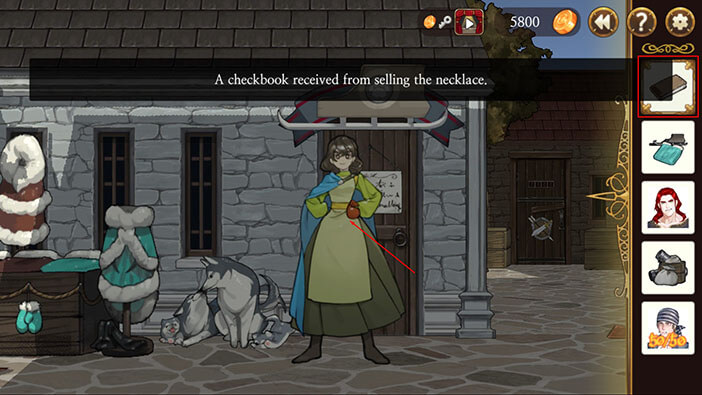
The bank manager says that everything is in order, and offers Elizabeth a price equal to 80% of the estimated value of the diamond. Elizabeth gladly accepts, and the bank manager pays the agreed price. The “Checkbook” will be added to your inventory after this conversation.

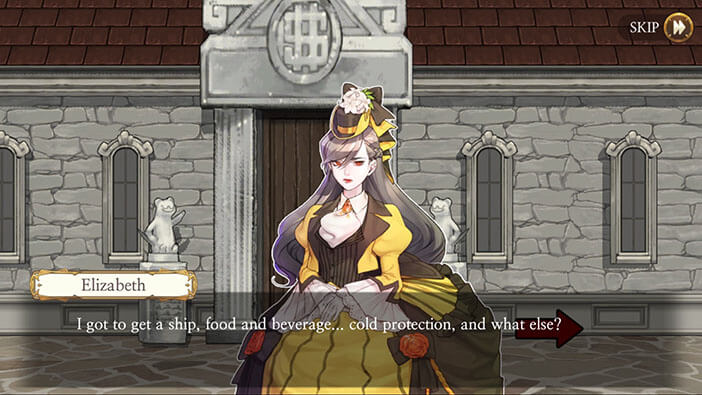
Elizabeth is trying to remember everything that she should buy for the voyage.
- Ship
- Food and beverage
- Warm Clothes (and sleds)
- Weapons and ammunition
She will have to quickly buy all of these items and store them in the agency. Ok, let’s begin the shopping spree – Elizabeth, like every other girl, is probably going to enjoy this part.
Tap on the red arrow to go back to the “Central Market”.

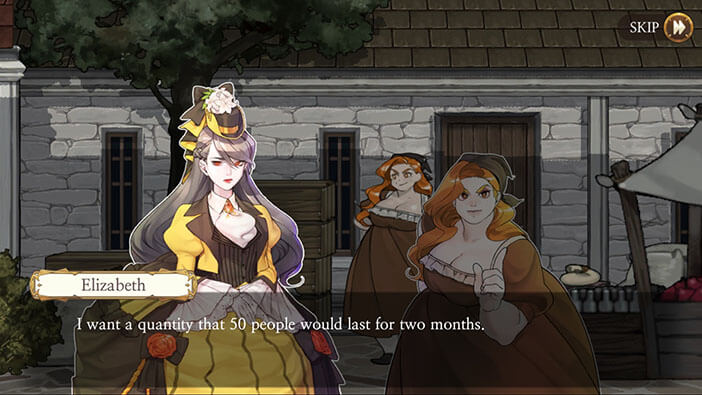
Let’s first buy some food and beverage for the voyage, since the grocery shop is nearby. Turn to the right, select the “Checkbook” from the inventory, and tap on the lady that is selling groceries.
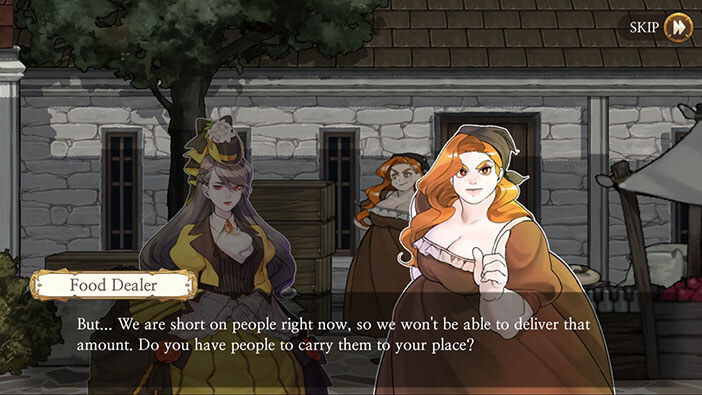
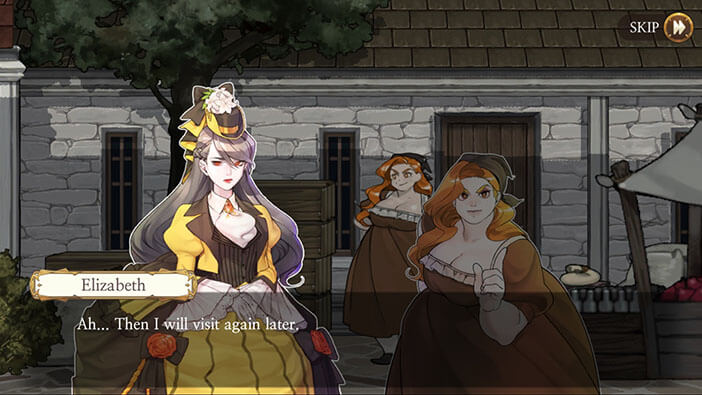
After Elizabeth says that she needs enough rations food and beverage to last 50 people for two months, the seller informs her that she has the groceries in the storage but she can’t transport such a large amount of supplies.
So, Elizabeth will first have to gather the ship crew, and then come back for the groceries.
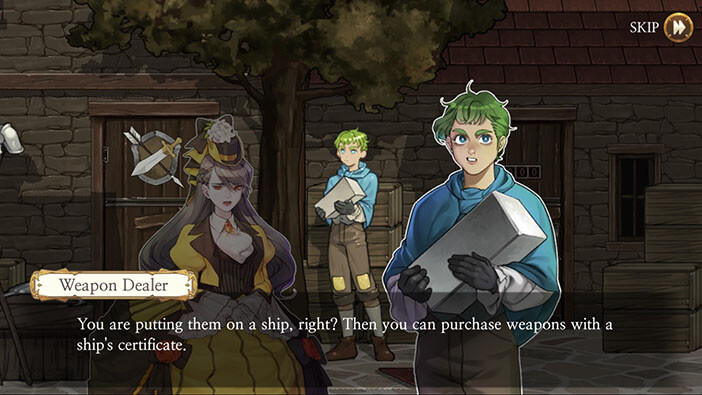
Ok, let’s buy some weapons since the weapons dealer is also nearby. Turn to the right, select the “Checkbook” from the inventory, and tap on the arms dealer.
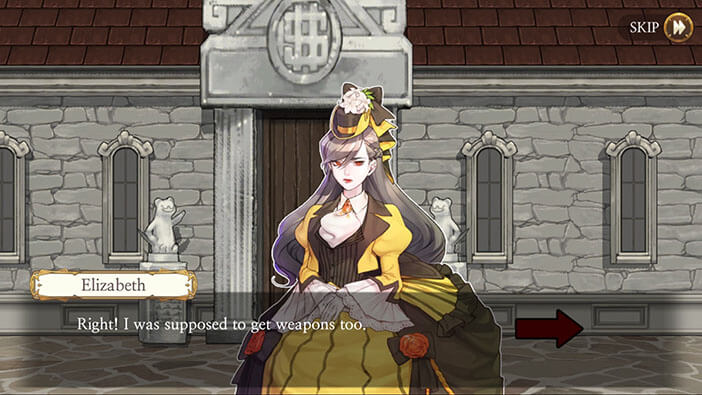
Elizabeth wants to buy some rifles, ammunition, and cannonballs, but she doesn’t have a firearms license, only a license for swords. However, the weapons dealer informs her that she can purchase weapons and ammunition with the ship’s certificate. So, getting the ship’s certificate and gathering the crew should be our next tasks.
Tap on the red arrow on the ground.
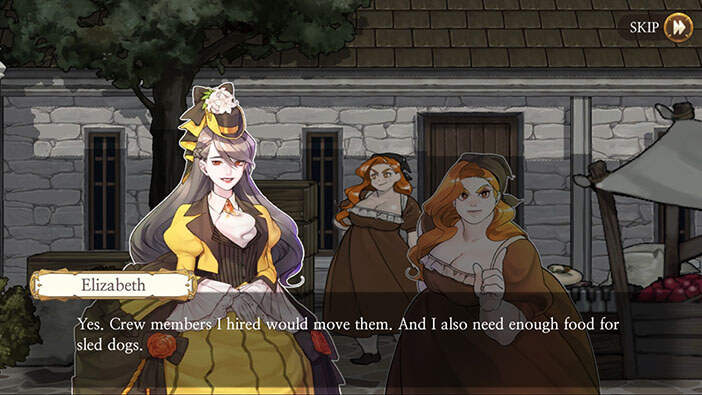
Turn slightly to the left, select the “Checkbook” from the inventory, and tap on the sled seller to initiate the conversation.
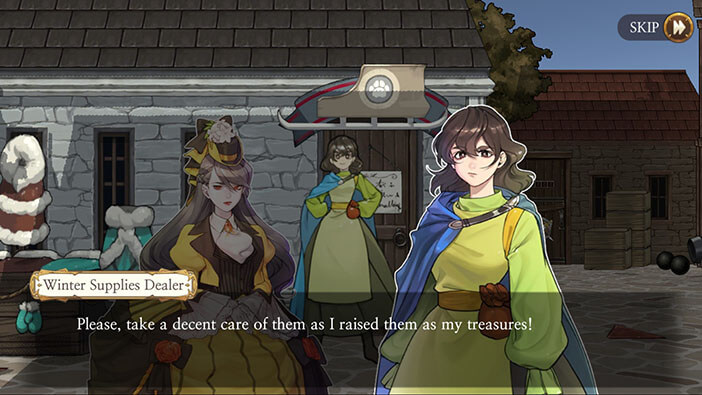
Elizabeth says that she wants to buy everything that is necessary for the journey to the Arctic. The seller informs her that she’ll need warm clothing, sleds, and the dogs to pull them. The seller agrees to sell the clothing and sleds right away but says that she will only sell the dogs once Elizabeth buys enough food to feed them. The seller wants to make sure that her dogs will be in good hands, understandably.


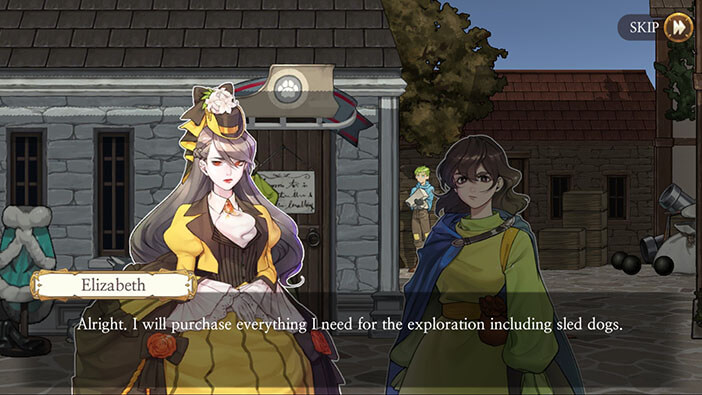

After the dialog “Coldproof clothing and sleds” will be added to the inventory. Let’s first buy all of the necessary supplies before storing them in the agency. This way we won’t have to go back and forth several times.
Ok, let’s gather the crew. Turn to the left and tap on the arrow on the ground, located in front of the winter clothing stand.
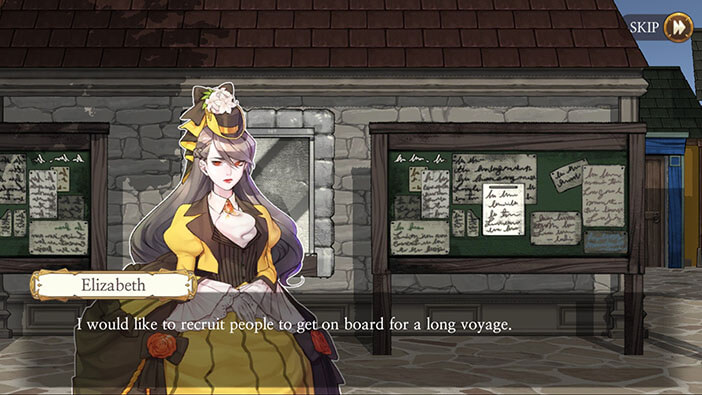
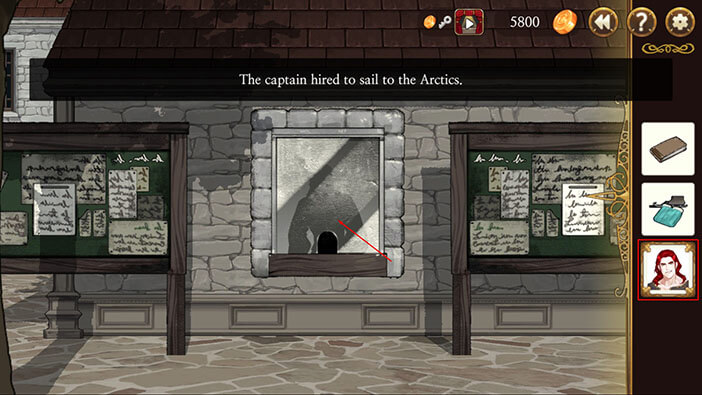
Move to the left, select the “Checkbook” from the inventory, and tap on the “employment agency” to initiate the conversation.
In order to hire a crew, we will first have to register a captain (and buy a ship, I guess?). So, we will have to find a Stoneboy, and bring him to the agency.

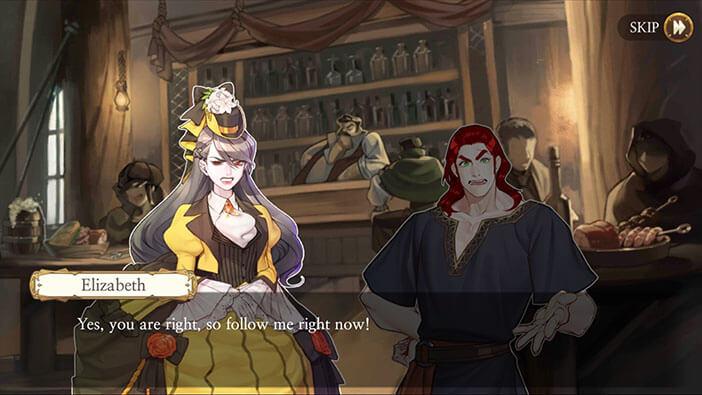
Well, he is probably at the pub, so let’s head there. Turn to the right and tap on the pub door to open it, and tap once more to enter.
Elizabeth walks into the bar and orders Stoneboy to follow her. Grudgingly, he gets up and goes after her. The “Stoneboy” card will be added to the inventory after the conversation.
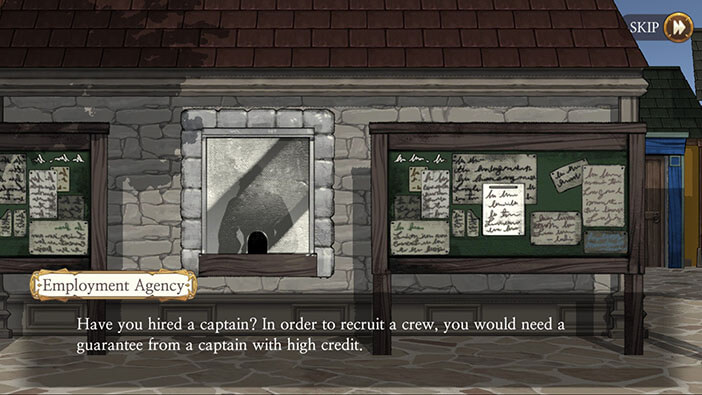
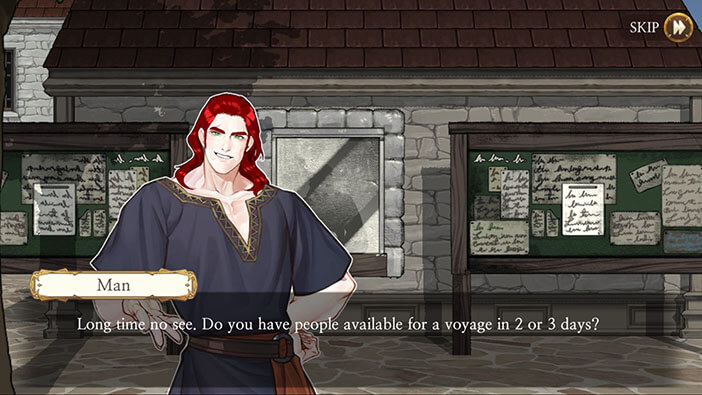
Turn to the left, select the “Stoneboy” card from the inventory, and tap on the “employment agency”.
Stoneboy shows his license and asks if there are any sailors available for hire. He explains that he will need a crew of 50 sailors since he is planning to sail to the Arctic within two or days. However, there are only 10 sailors available for hire at such short notice.

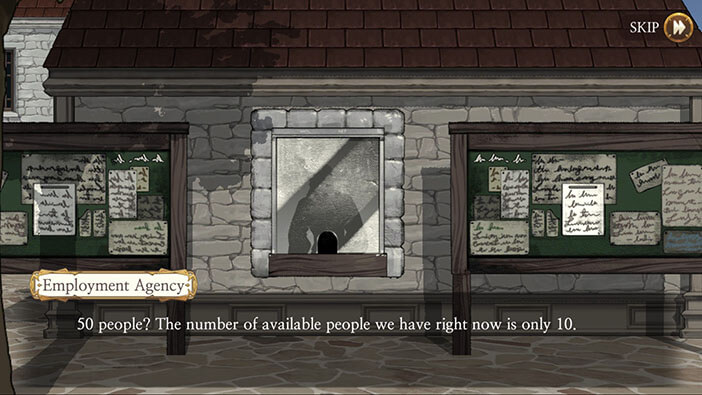
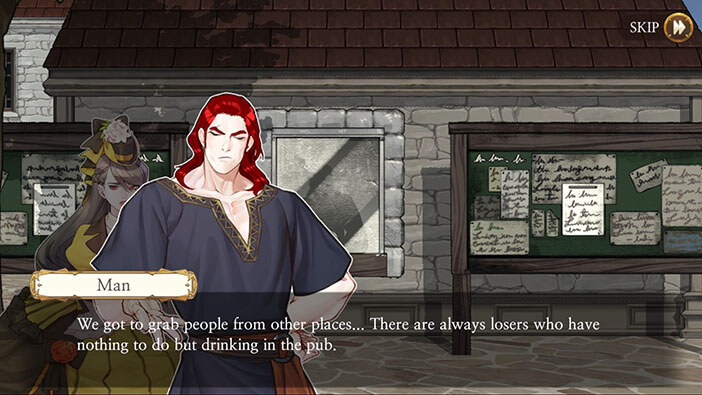
So, Elizabeth and Stoneboy will have to find the rest of the crew. Stoneboy suggests visiting the bar and trying to hire some sailors there. A good idea.
At the end of the conversation, 10 Sailors (out of 50) will be added to the inventory.
All right, let’s go back to the pub and gather the crew. Turn to the right and tap on the pub door. Fortunately, it seems that Stoneboy is a popular captain and some sailors immediately join the crew, even though they will have to endure the unpleasant and risky experience of traveling to the Arctic – one of the most undesirable destinations.

On the downside, our characters were able to hire only 10 sailors from the pub, so they are still 30 men short. Stoneboy is feeling optimistic, saying that they will surely gather the crew if they go to the docks and look for free sailors.
An excellent idea. Let’s go to the west docks first. Turn slightly to the left and tap on the first arrow on the ground.
Turn all the way to the left and tap on the red arrow to go to the “West Dock”.

Once there, turn to the left and tap on the sailor (the guy with head bandana) to initiate the conversation.
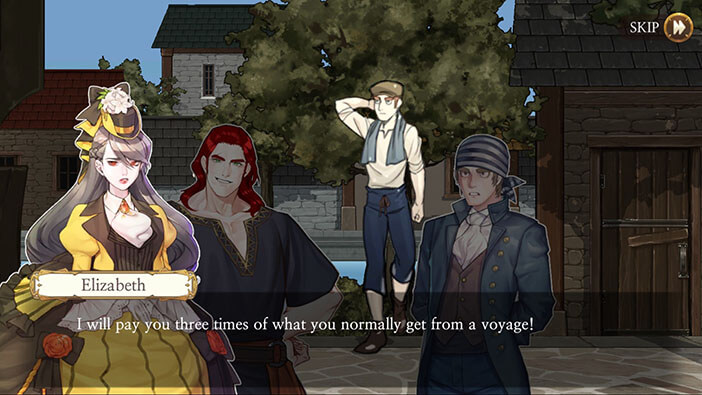
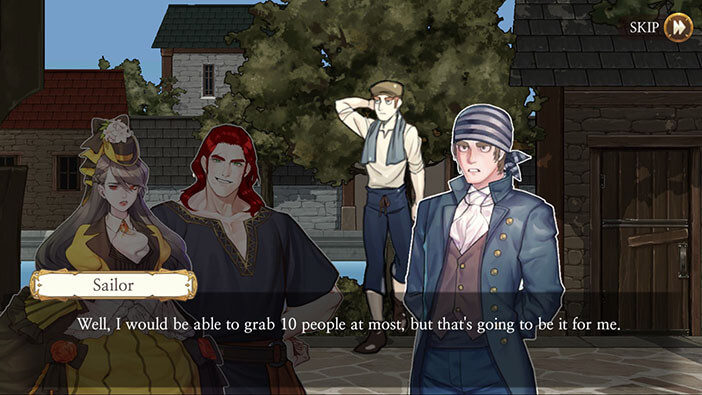
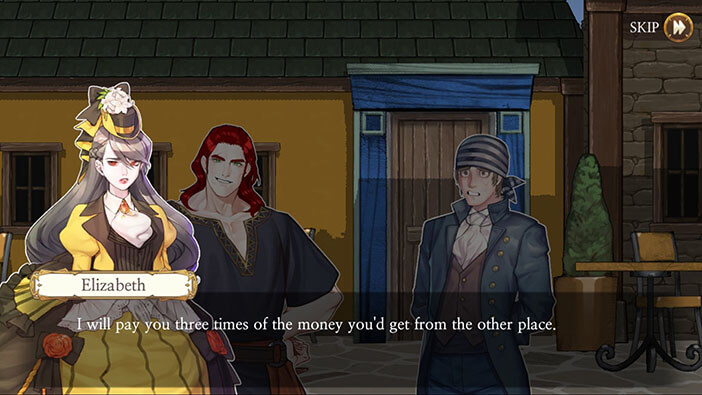
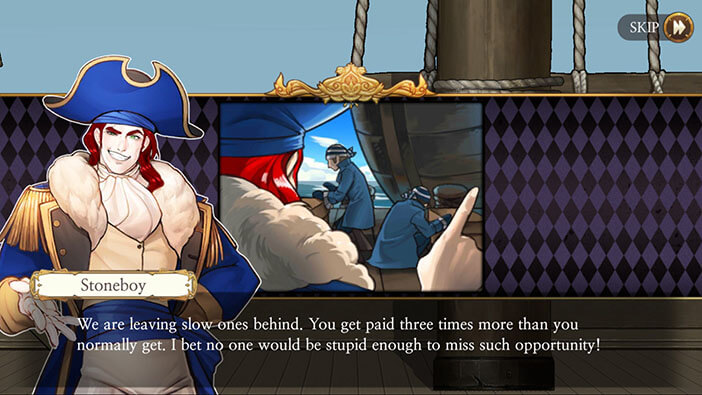
The man would like to join the Stoneboy, but he is a bit reluctant since it’s the unpleasant voyage to the Arctic that they’re talking about. Elizabeth solves the problem by offering three times the normal wage, and the man agrees. He will be able to gather up to 10 men, in total.
After the conversation, 10 more sailors will join, and we now have 30 out of 50. We’re slowly getting there.
Ok, that’s it for the “West Dock”. Turn to the right and tap on the red arrow to go back to the “Central Market”.

Once there, tap on the arrow on the ground.

Tap on the red arrow on your left.

Turn to the left and tap on the arrow on the ground (between the Bank and the house).
Turn to the left and you will see another sailor. Tap on him to initiate the conversation.

This sailor is very enthusiastic about traveling to the Arctic, and his entire team joins our crew.
Ten more sailors will be added, and we now have 40/50. We’re almost there.
Ok, our next stop should be the “East Dock”.
Turn to the right and tap on the arrow on the ground.
Turn all the way to the right and tap on the red arrow to go back to the “Central Market”.

Turn all the way to the right and tap on the red arrow to go to the “East Dock”.
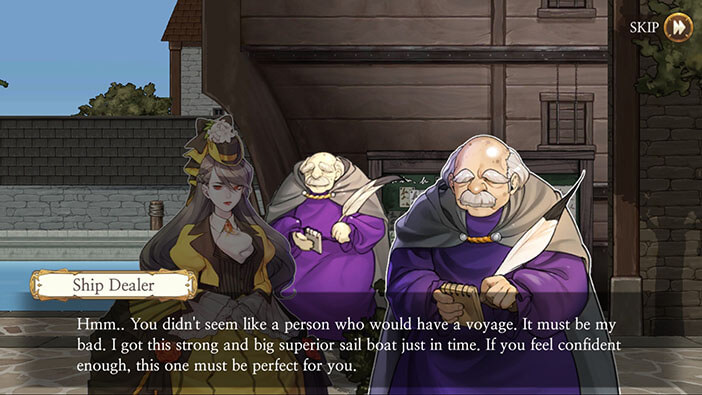
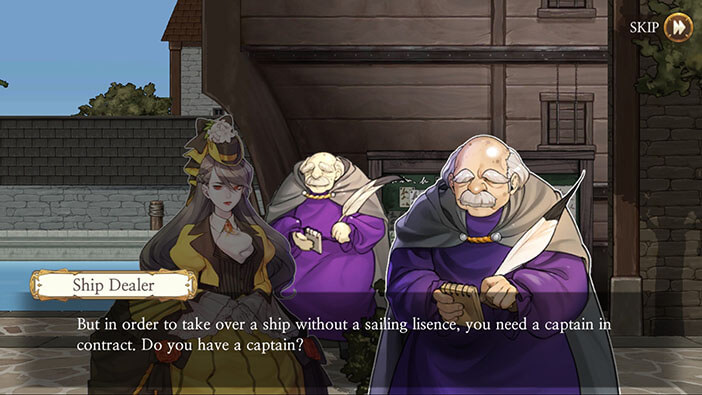
Turn to the right, select the “Checkbook” from the inventory, and tap on the men in purple (the “Ship Dealer”). The Ship Dealer informs Elizabeth that he has a large ship available for sale, and it would be perfect for the voyage to the Arctic. However, before she can buy the ship, Elizabeth has to bring the captain, Stoneboy, since he is the only one with the sailing license.

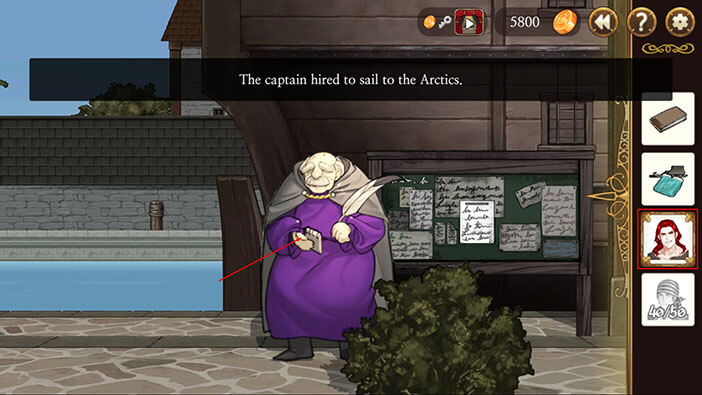
After the conversation, select the “Stoneboy” card from the inventory and tap on the Ship Dealer.
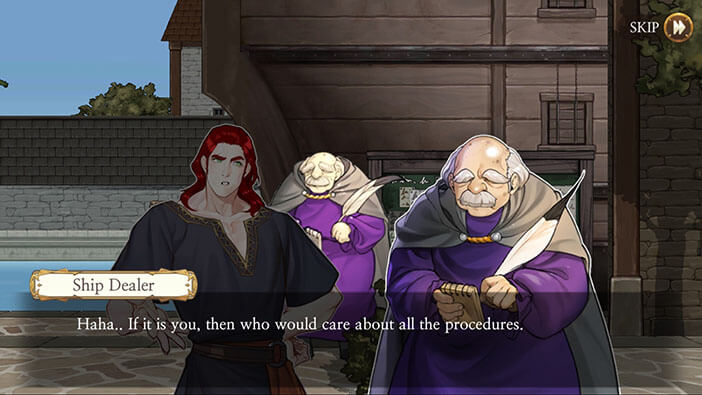
The Ship Dealer immediately recognizes the Stoneboy and comments how he didn’t see him for quite some time. It seems Stoneboy is a really influential person and the Ship Dealer decides to skip some of the procedures and sells the ship right away.

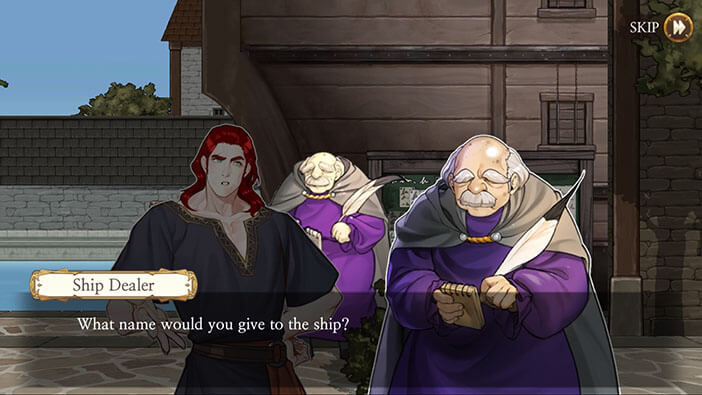
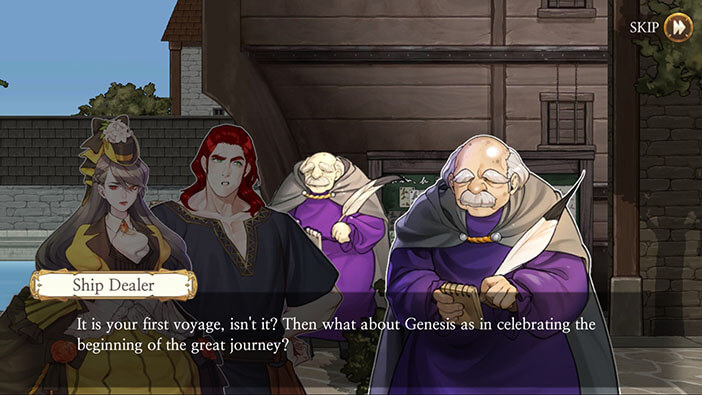
The next task is to name the ship, and the Ship Dealer recommends the name “Genesis” (so that’s why the name of this chapter is “Genesis”). Elizabeth agrees, and with that, we have bought the ship. So at least that part is done.
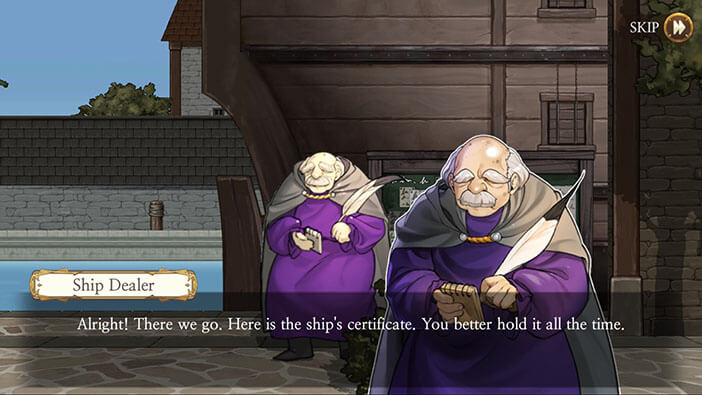
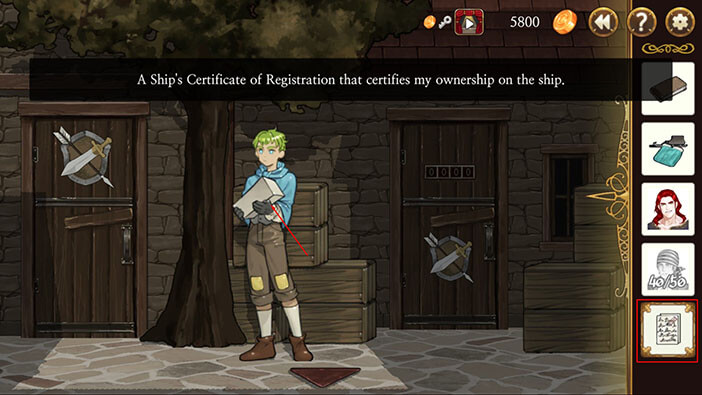
Also, after the conversation, the “Ship’s Certificate of Registration” will be added to the inventory, and now we can purchase weapons from the weapons dealer.
Turn to the left and tap on the red arrow to go back to the “Central Market”.
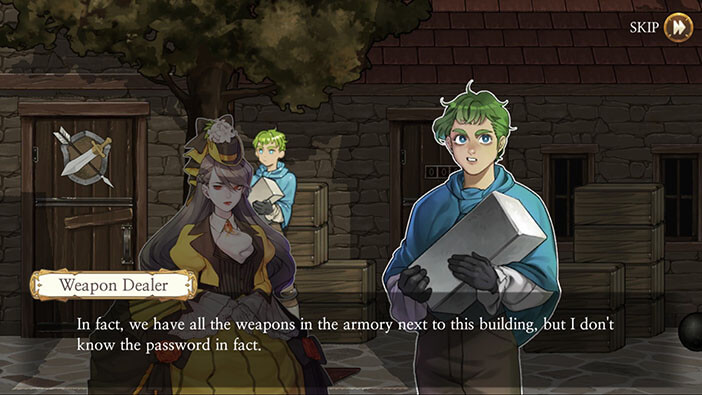
Turn to the left, select the “Ship’s Certificate of Registration” and tap on the Weapons Dealer.
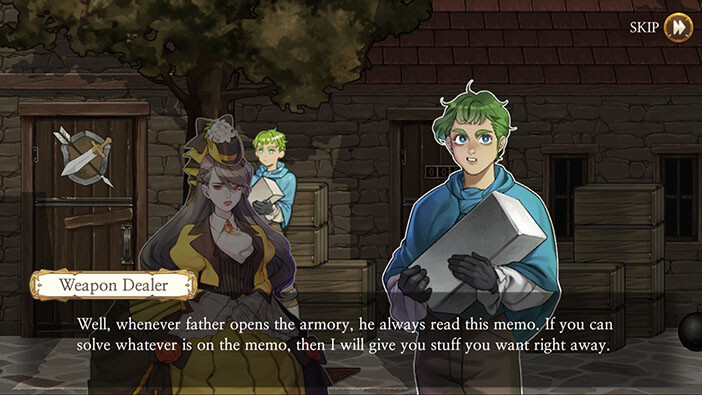
The Weapons Dealer has all the weapons and ammunition that Elizabeth needs, but he can’t open the armory, since he doesn’t know the password. His father is the only person that can open the armory, by looking at the puzzle in the memo. However, he is currently away, and the Weapons Dealer has no idea when he will come back. He suggests Elizabeth to take a look at the memo and try to solve the puzzle. And this is our next task.

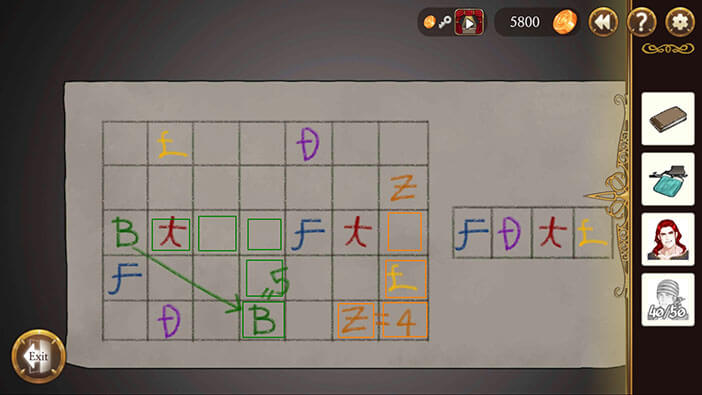
Let’s take a look at the puzzle. We have a 5 by 7 grid, with symbols of different colors in some of the fields. To the right, there are four symbols (blue, purple, red, and yellow), and we have to discover the numerical value for each of these symbols in order to solve the puzzle.
We already have two examples (Green letter B, and an orange symbol similar to the letter Z) that already have numerical values. Green = 5, Orange = 4.
So, how does this work, you might be wondering? Well, it’s actually quite simple. Let’s start with the Green “B”. If we count the empty fields from one “B” to the other “B” we can see that there are five fields in total, as you can see in the image below.
The same is true for the orange symbol.
NOTE: Use only vertical or horizontal movement to count the empty fields from one symbol to the other. This puzzle can’t be solved if you count the fields diagonally.
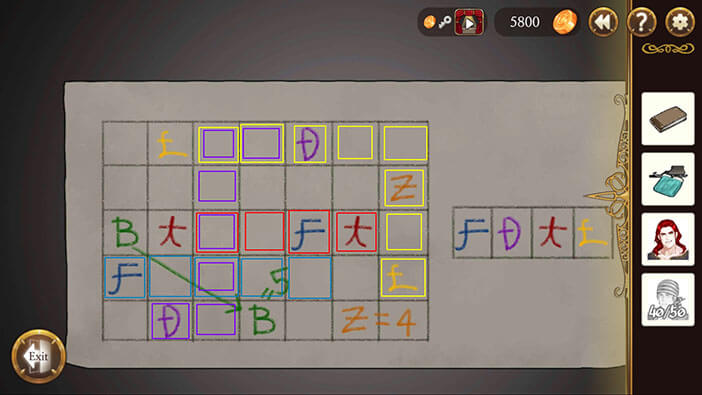
Ok, now that we know the logic behind this puzzle, we can easily solve it by counting the number of fields between symbols of the same color and replacing the symbol with the number.
Let’s start.
Blue Symbol = 5
Purple Symbol = 7
Red Symbol = 4
Yellow Symbol = 8
When we put it all together, we get the code “5748”.
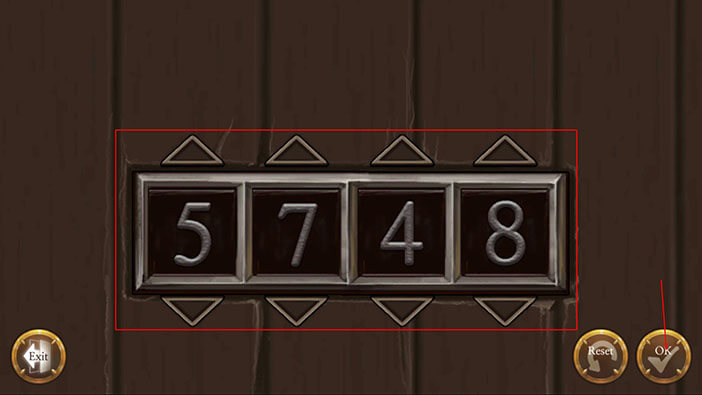
Memorize it, and tap on the “Exit” button.
Tap on the numerical lock on the Armory door.

Enter the code “5748” and tap on the “OK” button.
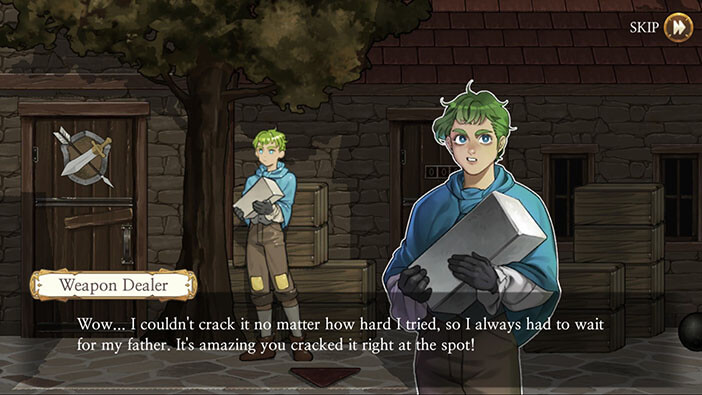
The Weapons Dealer is impressed with Elizabeth’s quick wits, and ability to solve the puzzle that he couldn’t figure in years. With that said, he sold us the weapons and ammunition that we required, and we can now focus on solving other tasks. The “Weapons” card will be added to the inventory after the conversation.
Ok, let’s assemble the rest of the crew since we’re only missing 10 more men. Tap on the arrow on the ground (in front of the Weapons Dealer).
Move to the left until you see a yellow building with a blue frame around the entrance.
NOTE: THIS PART OF THE GAME IS BUGGY.
Select the “Stoneboy” card from the inventory and tap on the spot on the wall just left of the door (between the door and the first chair on the left), and another 10 sailors will join your crew. Well, after complaining about the risks of the voyage to the Arctic, they agreed to join your crew for three times the normal wage.
I suppose that the developer forgot to add the image of the sailor here, and this was honestly one of the most annoying parts of the game, at least for me.

Now that we have 50/50 sailors, we have enough men to buy and transport supplies from the grocery shop, so let’s head there.
Turn to the right and tap on the first arrow on the ground that is pointing forward (just to the left of the Winter Clothing stand).
Turn to the left and tap on the Food Dealer.
Elizabeth will explain that she has enough men to carry the two months of rations for 50 men. She also bought the food for the dogs. The “Food” card will be added to the inventory after the conversation.

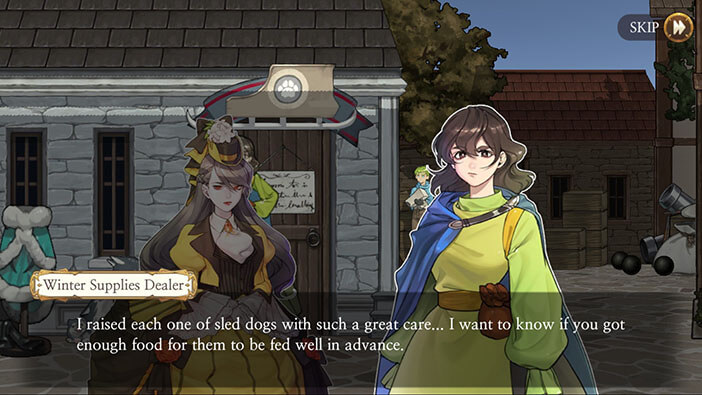
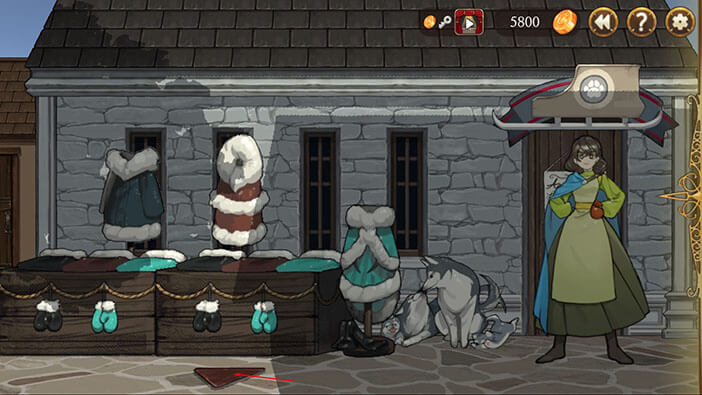
We should now head to the “Winter Supplies Dealer” and buy the dogs since we provided enough food for them. Turn to the right and tap on the arrow on the ground.
Turn to the right, select the “Checkbook” from the inventory, and tap on the “Winter Supplies Dealer”. The dealer is willing to sell the dogs now that we have enough food for them. The “Sled Dogs” card will be added to the inventory after the conversation.
Ok, now we have bought the ship, gathered the crew, and purchased all the supplies necessary for the voyage. The only thing left to do now is to go back to the agency and store the supplies.
Turn all the way to the right and tap on the red arrow.
We are now in “Jeweler’s Street”. Turn to the left and tap on the arrow on the ground.
Turn all the way to the right and tap on the red arrow to go back to the agency.
Select the “Sleds”, “Food”, “Weapons and Ammunition”, and “Sled Dogs” cards from the inventory and tap just BELOW the matching icons to store them in the front yard.
After storing all the items, the Captain, Stoneboy, says that we have gathered enough supplies for the voyage, and we could set sail the following day…
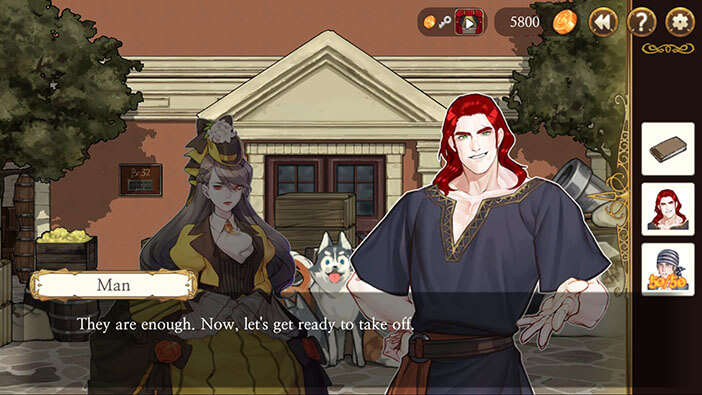
Our story continues the next day with Captain Stoneboy gathering and organizing the crew for the long voyage.
In the meantime, Huxley is hiding in one of the cabins, since Elizabeth thinks that the crew might be too scared of him, and abandon them if they saw him now. However, once they get to the open sea, Huxley can freely walk on to the deck, because the sailors will have to put with him, whether they like it or not. It’s true that they won’t be able to abandon ship as Elizabeth points out, but she forgot that a mutiny is also an option if they become too scared…

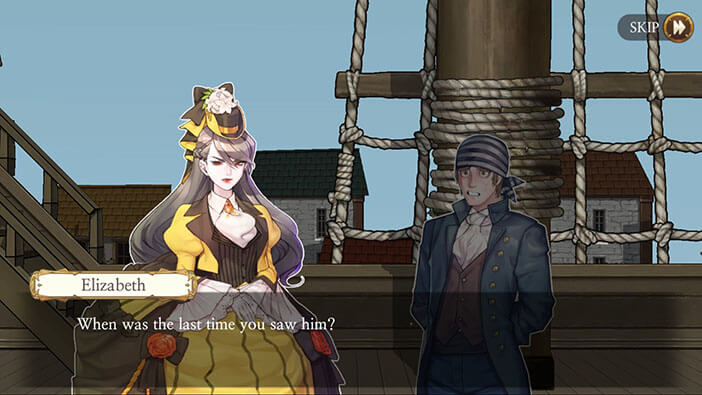
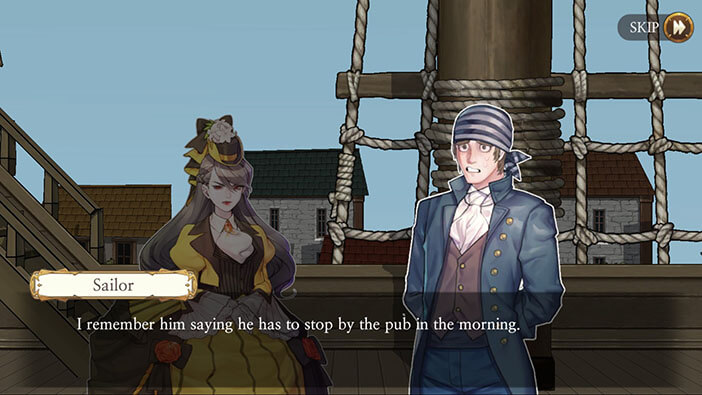
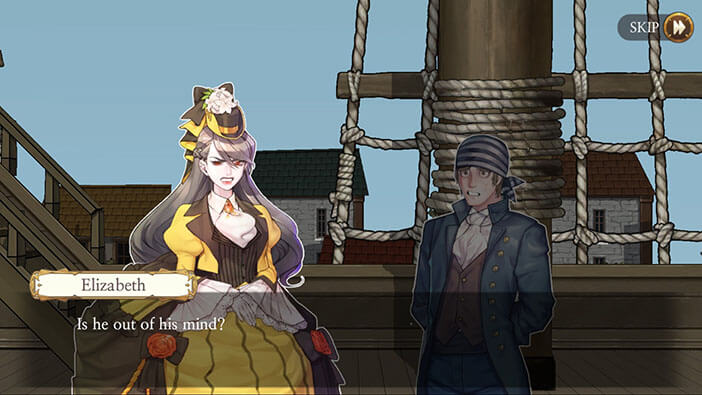
After the conversation with Huxley, Elizabeth goes to the main deck where she finds out that the captain has left the ship – and he was the one rushing the crew to get aboard. Apparently, he mentioned that he has to stop by a pub. Naturally, Elizabeth is furious after hearing this and thinks that Stoneboy was pretending to be a competent captain.
As a side note, I don’t think he is a bad captain or imposter, since he was well known in the harbor, and some of the sailors immediately chose to follow him. On the other hand, he might have a serious drinking problem…
In the next stage, we will be playing as Elizabeth once more, this time as she is looking for a Stoneboy, a competent but very irresponsible captain. Join us in the next stage of the Walkthrough for Frankenstein Room ESC, so we can discover together how the search for Stoneboy will end, and will Elizabeth and Huxley finally start their Arctic voyage.
Thank you for reading.