Chapter 6-3 The Savior
Complete Walkthrough
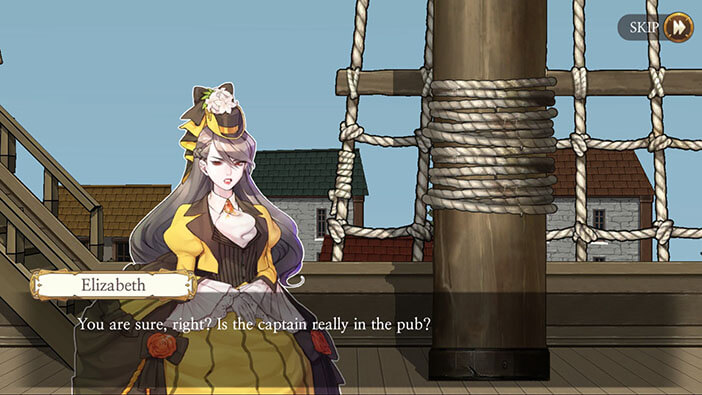
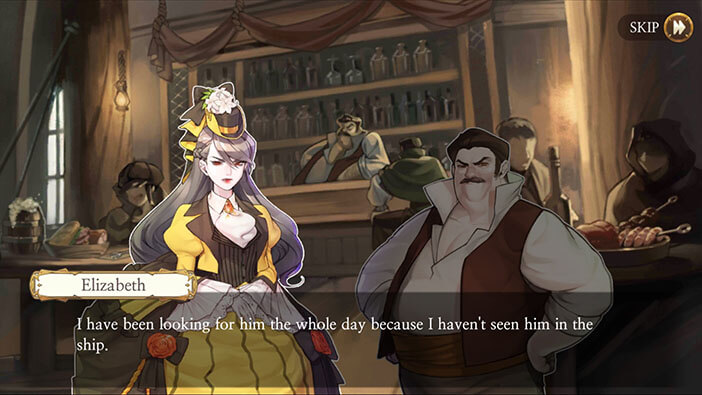
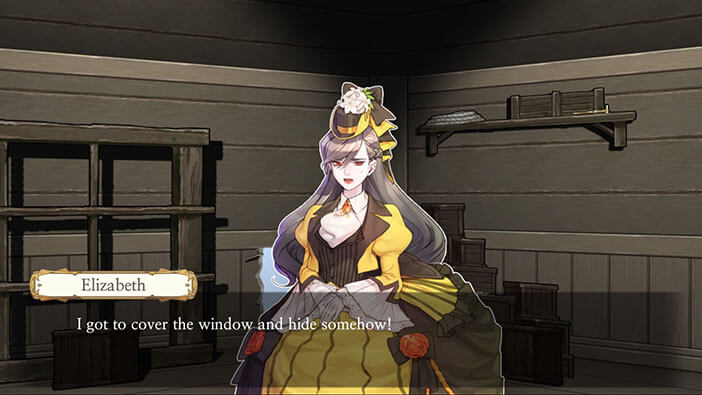
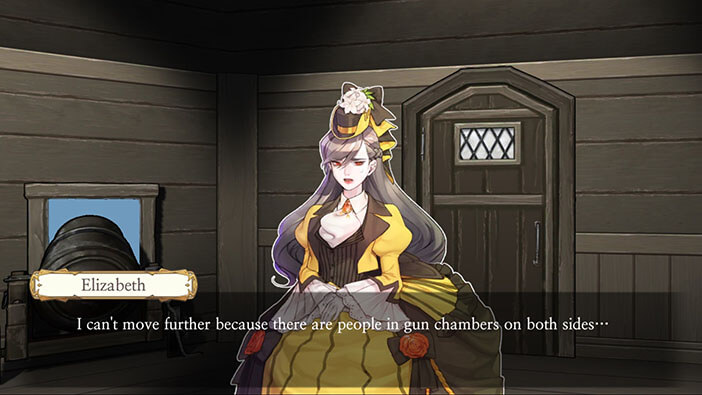
Hello everyone, and welcome to our Walkthrough for the Third Stage of Chapter 6 for the Frankenstein Room ESC adventure game. In this stage, we will be playing as Elizabeth, as she goes around Hamburg, searching for her missing captain, Stoneboy.
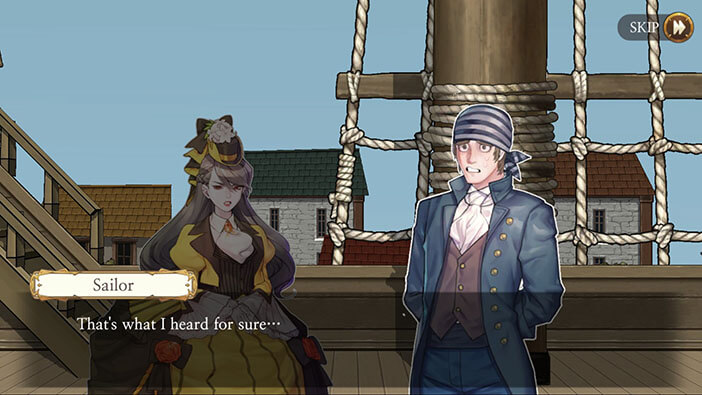
The sailor confirms that the Captain went to the pub, so Elizabeth decides to immediately go after him and bring him back to the ship. Her ship has to sail out as soon as possible in order to reach the Babel in time. We already know that pub is located in “Central Market”, so let’s head there.
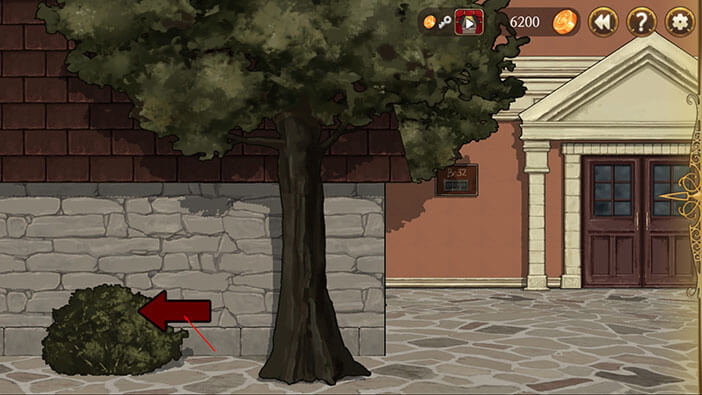
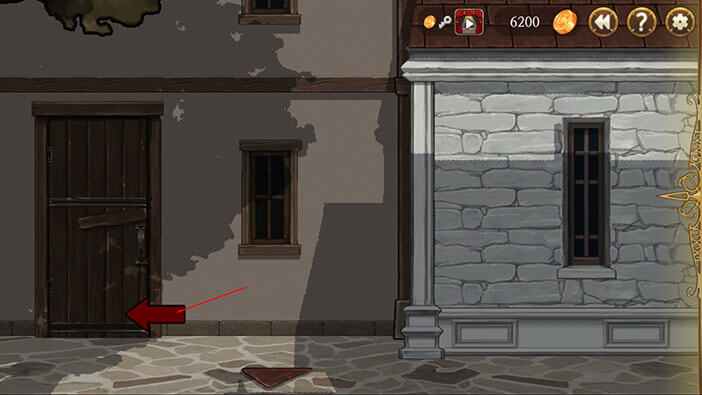
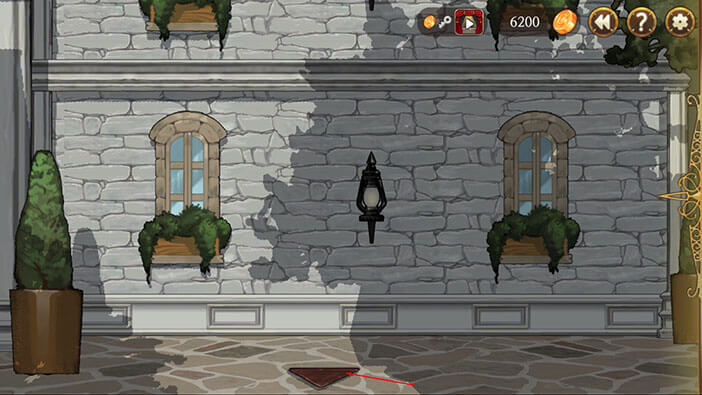
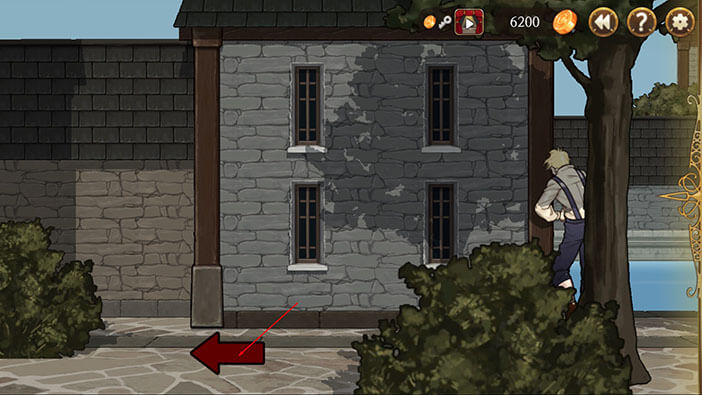
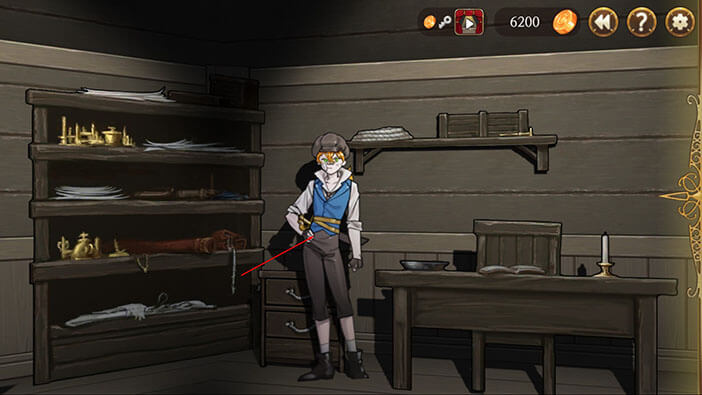
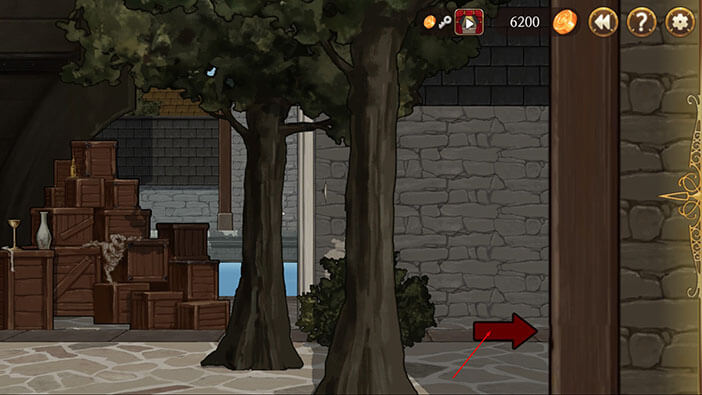
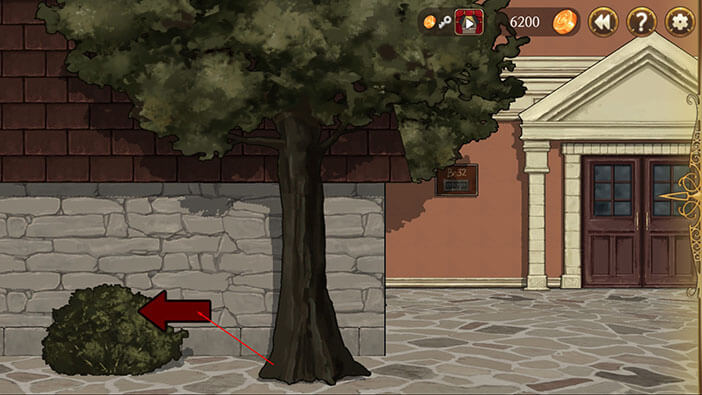
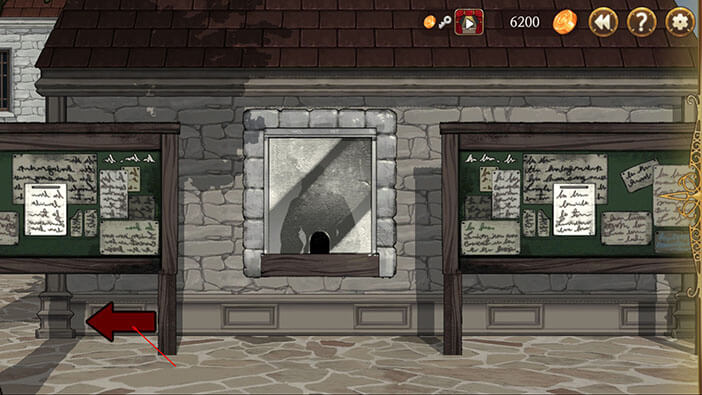
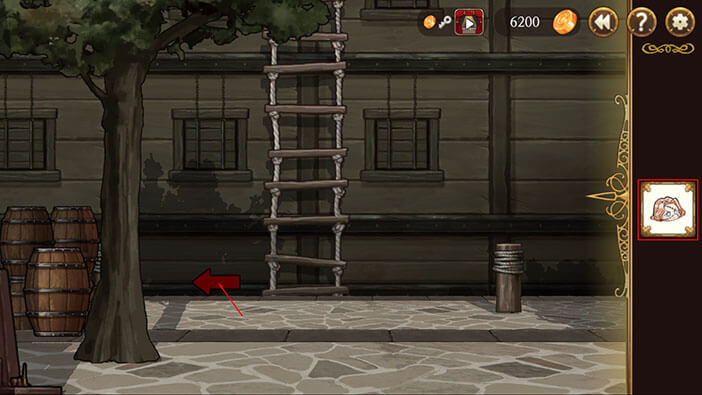
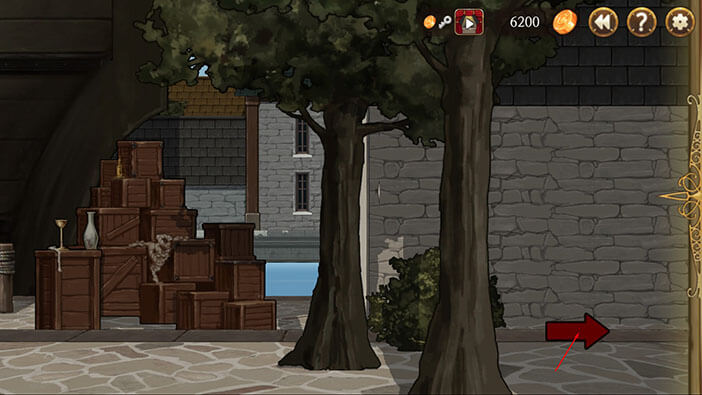
Turn all the way to the left and tap on the red arrow.
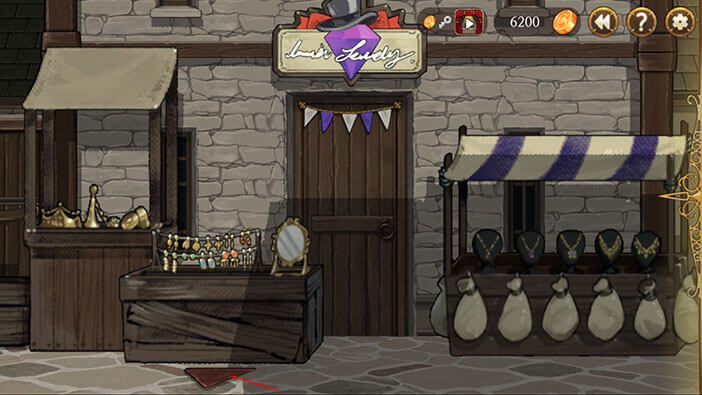
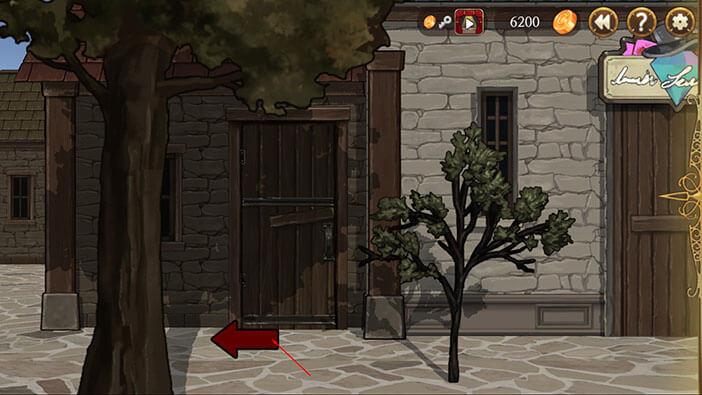
We are now in front of the agency. Turn all the way to the left and tap on the red arrow to go to the “Jeweler’s Street”.
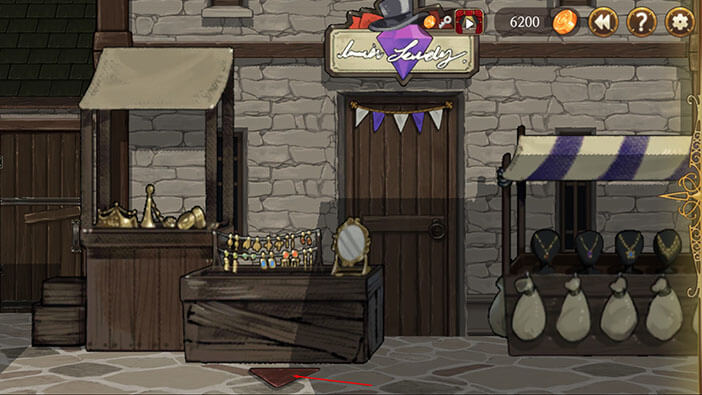
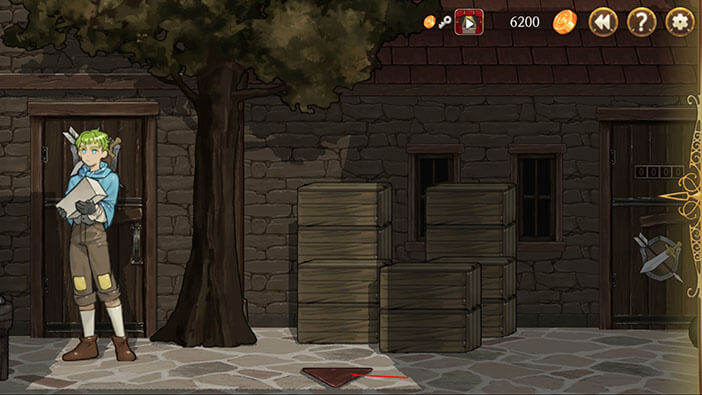
Once there, turn a bit to the left and tap on the arrow on the ground, located in front of the jewelry stand.
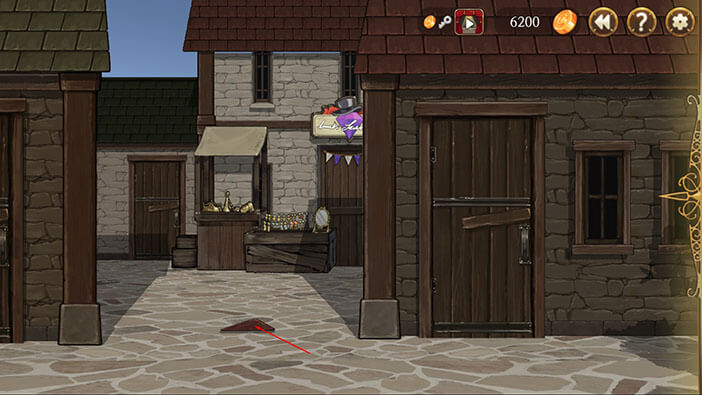
Turn all the way to the left and tap on the red arrow to go to the “Central Market”.

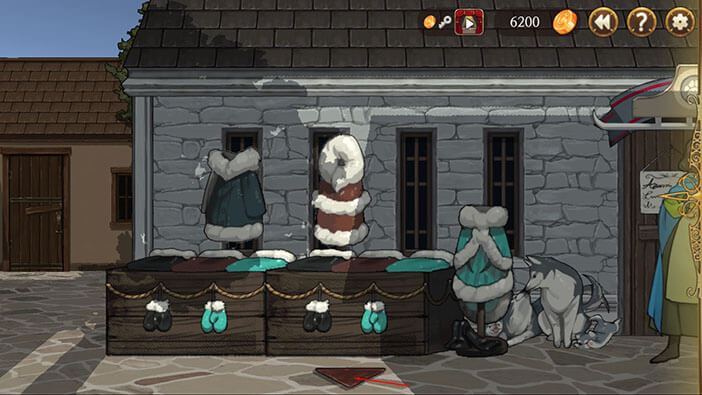
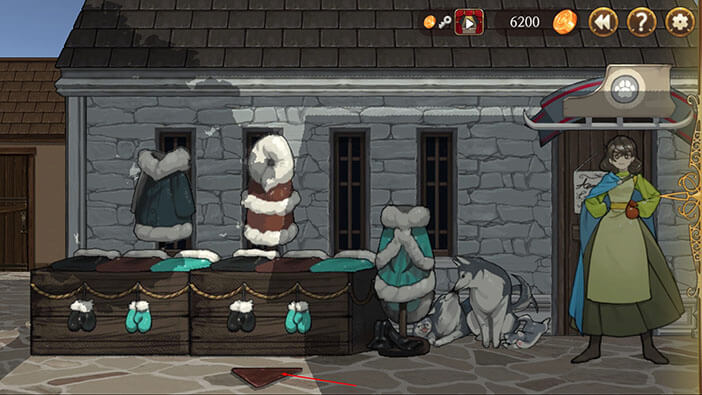
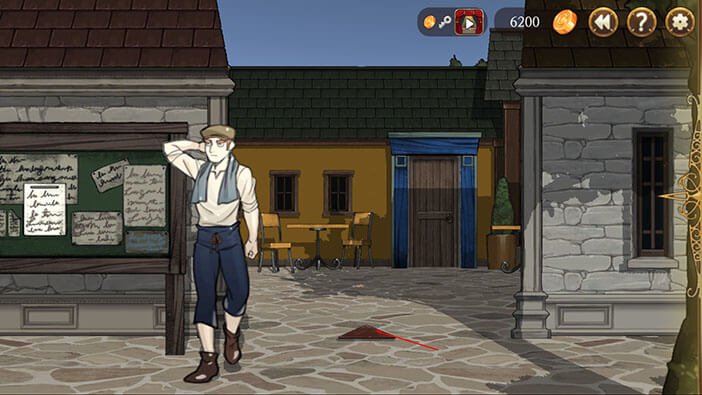
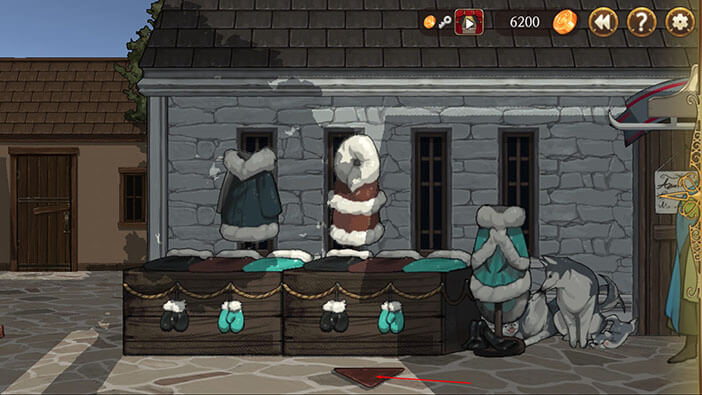
Once there, turn to the left and tap on the second arrow on the ground, located in front of the winter clothing stand.
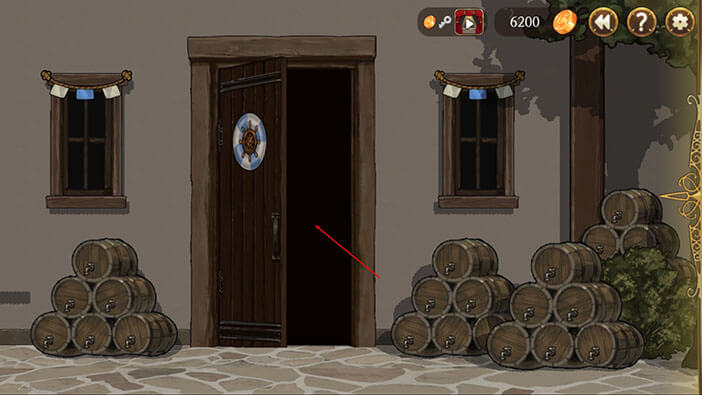
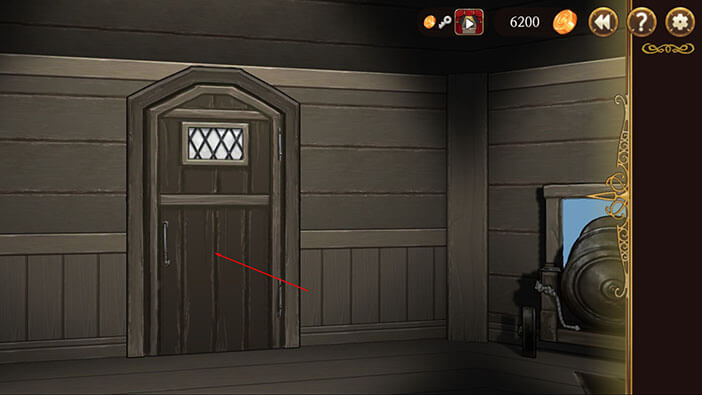
Turn to the right and tap on the pub door to enter. Hopefully, Stoneboy won’t be too drunk and we will be able to leave sail out as soon as we get him back to the ship.
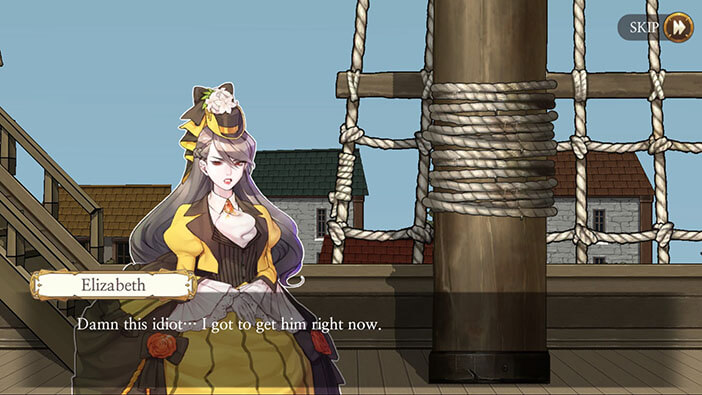
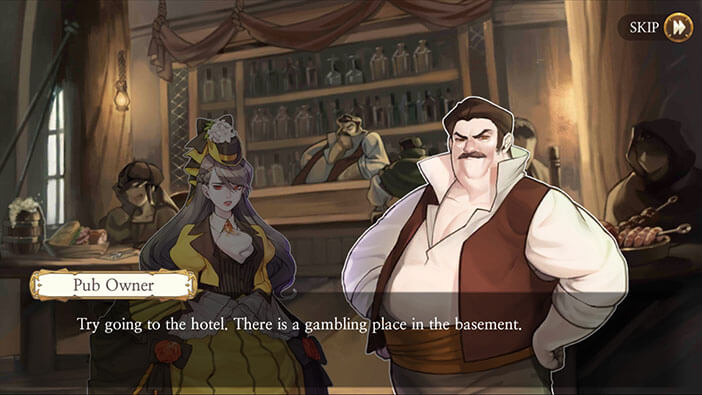
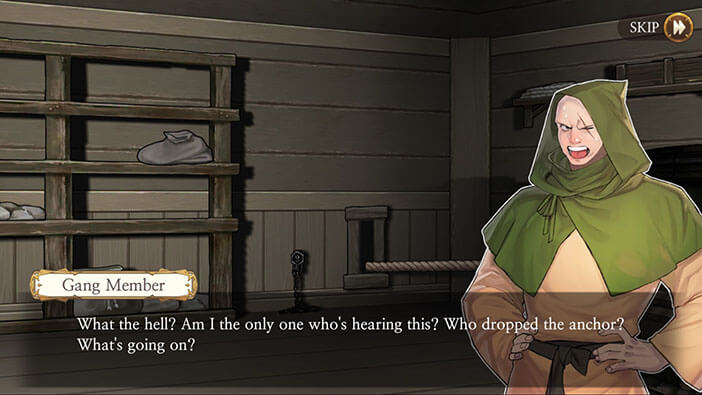
The “Pub Owner” informs Elizabeth that Stoneboy was in the pub earlier this morning, but he left hours ago. Elizabeth says that the Captain didn’t come back to the ship. Upon hearing that, the “Pub Owner” suggests checking out the basement of the hotel. Apparently, Stoneboy likes to gamble there, occasionally. Oh boy, besides the drinking problem, it looks like Stoneboy also has a gambling problem. I guess everything will work out once we bring him back to the ship.
With that in mind, Elizabeth decides to go to the hotel, but the “Pub Owner” warns her that she won’t be able to get in that easily.


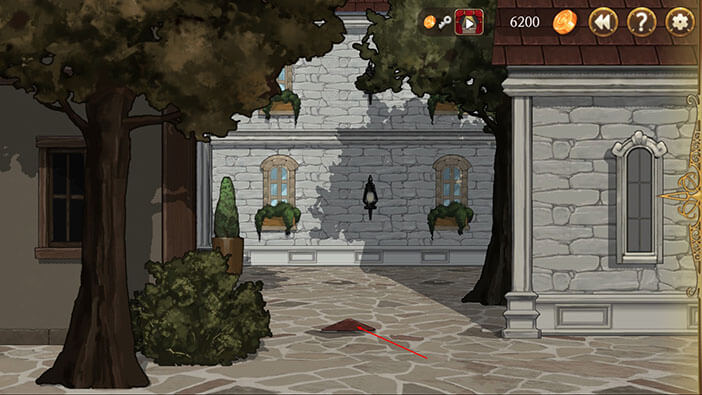
Ok, let’s go to the hotel. Turn to the left and tap on the arrow on the ground.
Turn all the way to the left and tap on the arrow on the ground (not the red arrow).
Tap on the red arrow on the left.
We are now in front of the bank. Turn to the left and tap on the arrow on the ground.
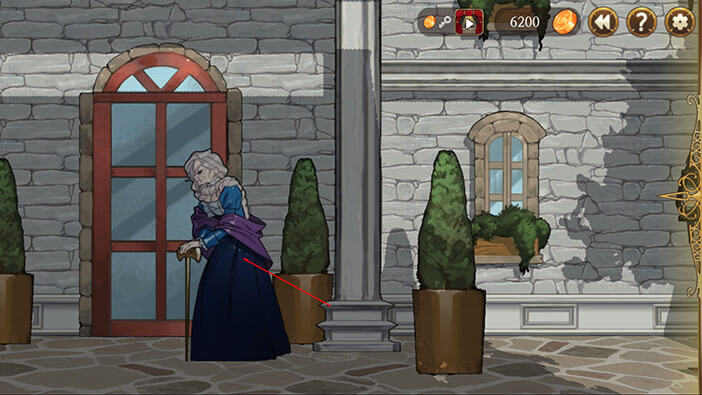
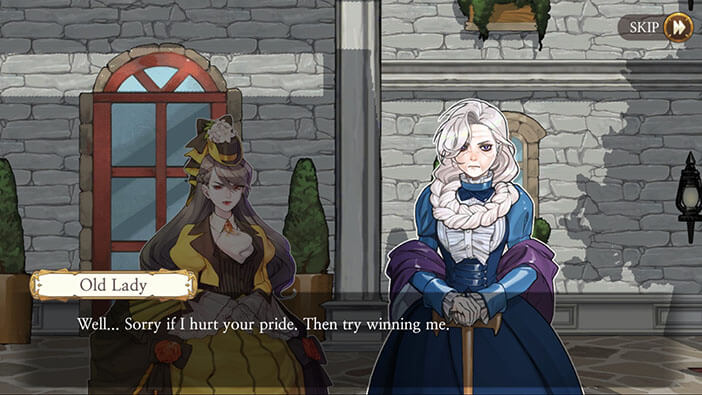
Turn to left and tap on the “Old Lady” to initiate the conversation.
The Old Lady explains that she is the owner of this hotel. Oh, no. I guess she will again demand several favors from Elizabeth before she lets her in. The Old Lady says that Elizabeth doesn’t look like a gambler, and refuses to let her in even though Elizabeth has the money. The Old lady wants to first test Elizabeth to see if she has any gambling skills, before letting her in because she doesn’t want to see her losing all the money at the gambling table. Well, the owner of a gambling place worrying about the customer’s interest is not something that you can see very often…

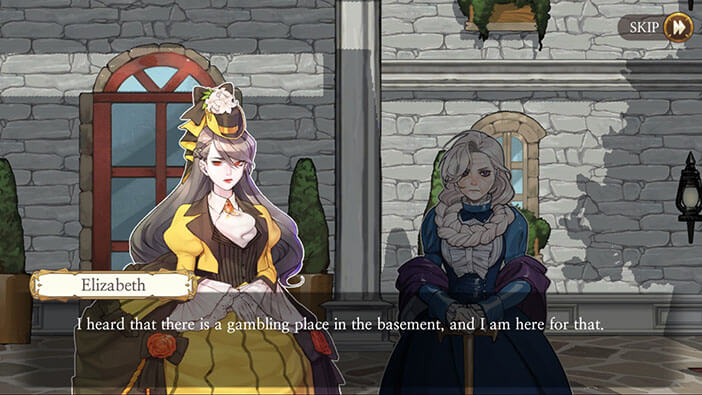

With that said the Old Lady challenges Elizabeth for a quick game. If Elizabeth wins, the Old Lady will let her in.
Ok, this is the first puzzle in this stage. Using the numbers 1,2,3,4, and 5, we have to get a score of 2200 or higher. We also have “+” and “x” mathematical symbols, and we will have to use both of them.
Elizabeth thinks that this will be very easy and I agree with her.
Ok, here it goes.
Multiply 53 by 42 and add 1 (53 x 42 + 1). Tap on the “OK” button. This will get us a total of “2227”. Easy. 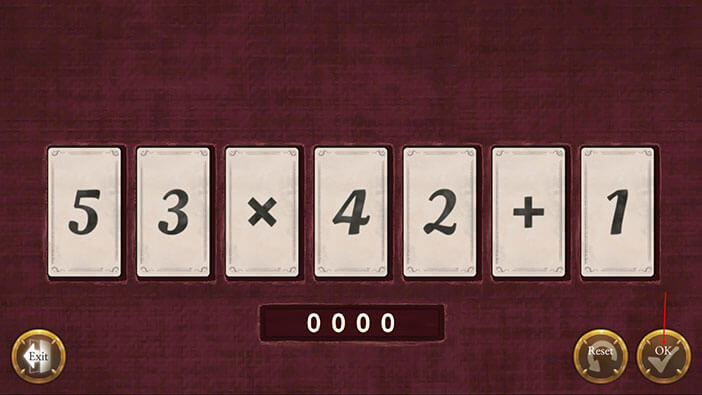
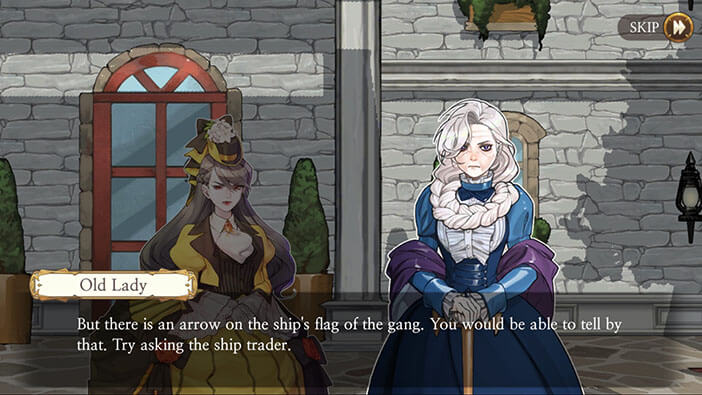
The Old Lady keeps her end of the bargain and allows us to go in. However, Elizabeth mentions that she only wants to go in so she could find Stoneboy and take him back to the ship. The Old Lady explains that Stoneboy is no longer in the hotel. He was kidnapped by the gang some time ago. Apparently, he was taken to the ship, as this “gang” is actually a group of pirates. Oh boy, this doesn’t look good.

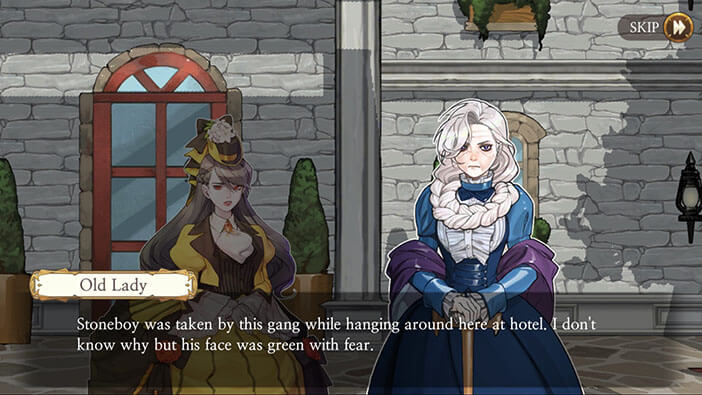

The Old Lady warns Elizabeth not to mess with these people since they are amongst the most dangerous pirates in Hamburg. Elizabeth wants to know the name of the ship, but the Old Lady thinks that Elizabeth is a complete idiot, if she wants to go ahead with her plan and track down these men. 
The Old Lady doesn’t know the name ship, but she remembered that this pirate ship has an arrow drawn on its flag. With that in mind, she suggests asking a ship trader (at the East Docks) if he saw a ship with a similar flag.
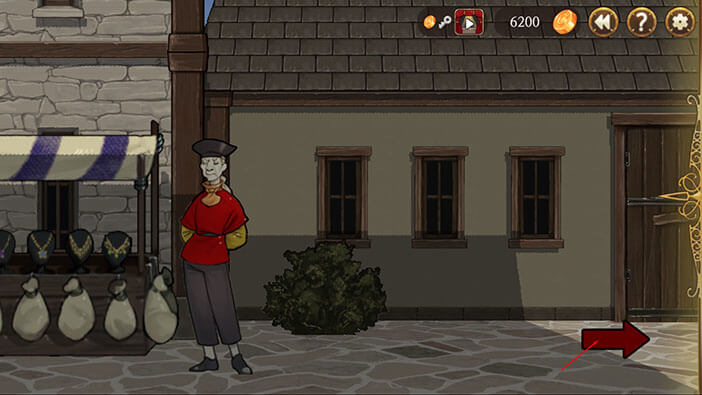
Ok, let’s head to the “East Docks”. Turn to the right and tap on the arrow on the ground.
Turn to the right, again, and tap on the red arrow to go back to the “Central Market”.
Once there, turn all the way to the right and tap on the red arrow to go to the “East Docks”.
Turn to the right and tap on the “Ship Dealer” to initiate the conversation.
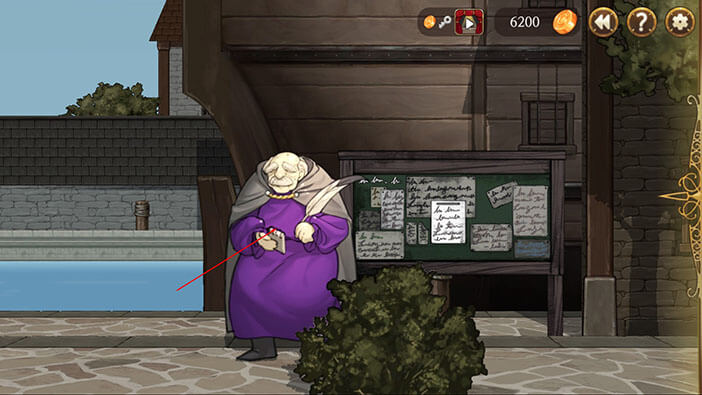
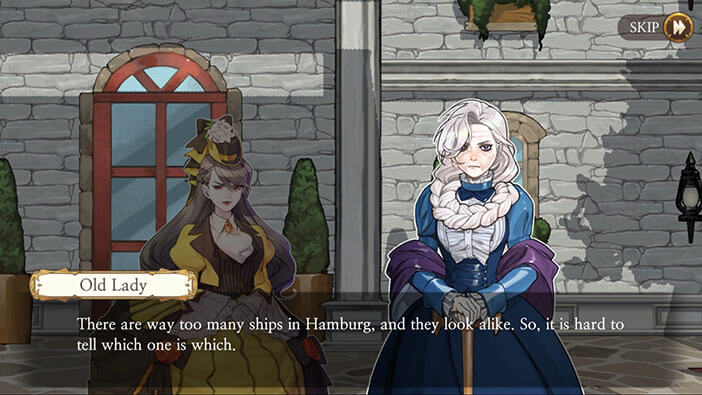
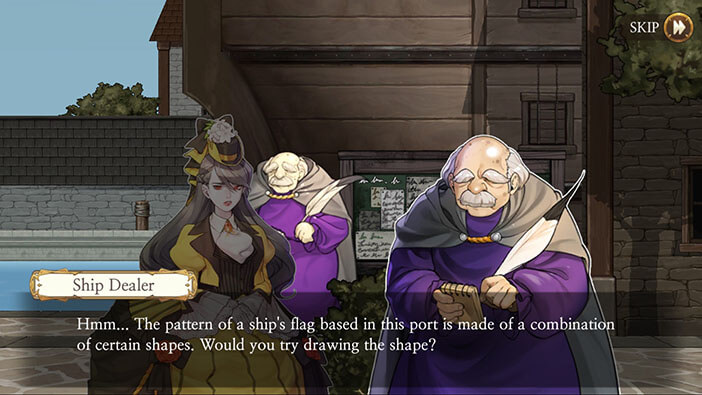
Ship Dealer says that even he would have a hard time locating that ship, because Hamburg is a huge port, and all ships are similar to one another. However, Elizabeth explains that this ship is flying a flag with an arrow. The Ship Dealer explains that all flags are made by combining certain symbols and that he could recognize the flag if we draw it by using the symbols.
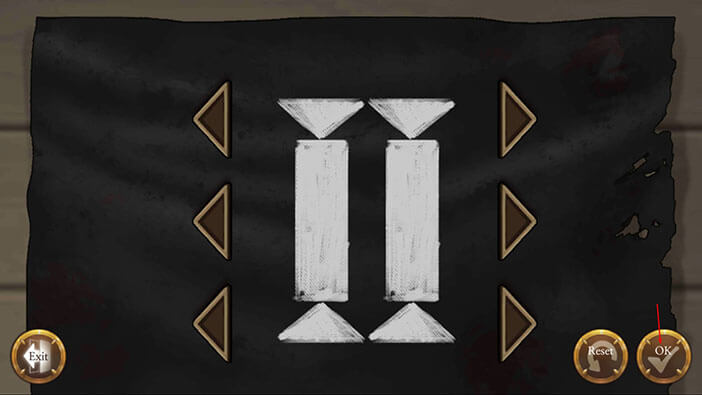
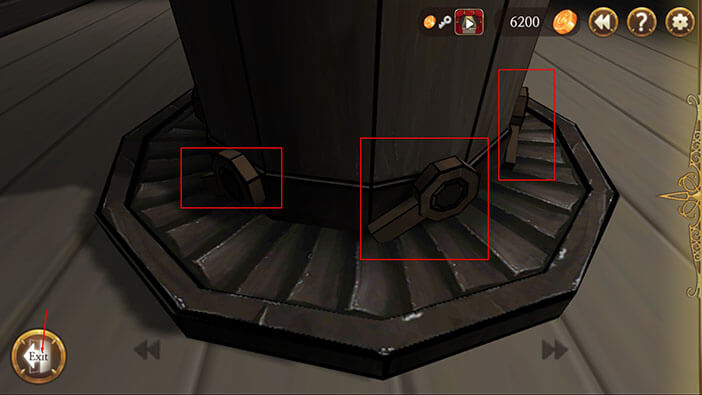
Ok, our next task is to draw the flag with an arrow. You can browse through the various symbols by tapping on the left/right arrows.
You can find the solution in the image below. To me, the object in the image doesn’t really look like an arrow…
Tap on the “OK” button to confirm once you assemble the “arrow”.
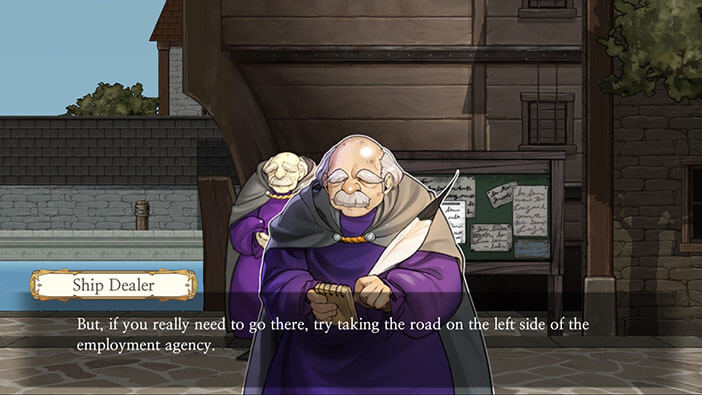
Fortunately, the Ship Dealer immediately recognizes the flag. On the downside, it seems that ship is docked in the area with a high crime rate, that most common people avoid, when possible. The Ship Dealer says that Elizabeth could reach this area by going taking the road to the left of the employment agency. Previously, we didn’t have the option of going left, so I guess now we will “unlock” a new part of town.

Turn to the left and tap on the red arrow to go back to the “Central Market”.
Once there, turn to the left and tap on the arrow on the ground, located next to the Weapons Dealer.
Turn to the left and tap on the arrow on the ground, located in front of the Winter Clothing stand.
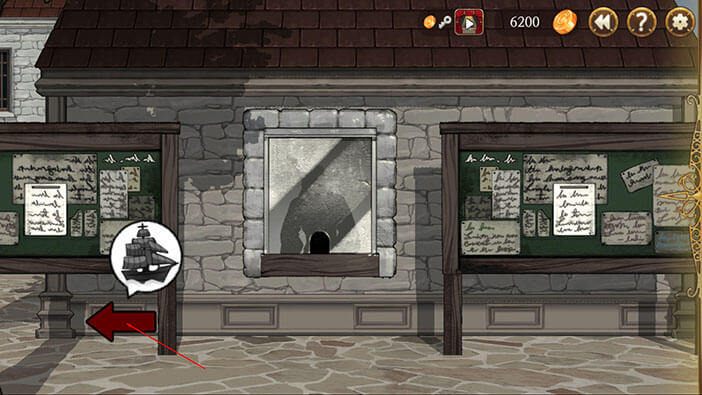
Turn all the way to the left and tap on the red arrow with the icon of a ship above it.
Elizabeth immediately recognized the ship and decides to climb to the main deck and meet the captain.
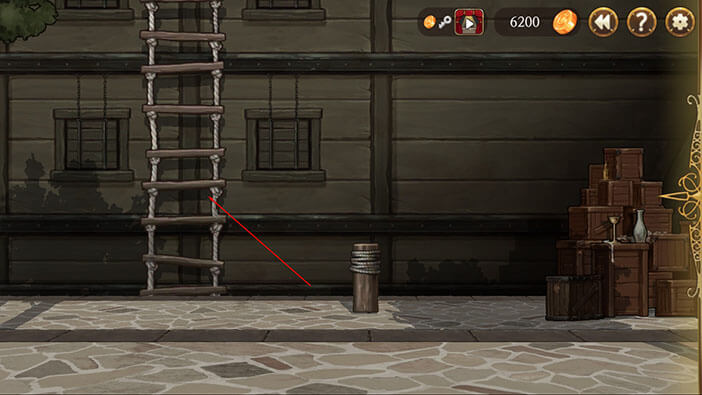
Turn to the left and tap on the rope ladder to board the ship.
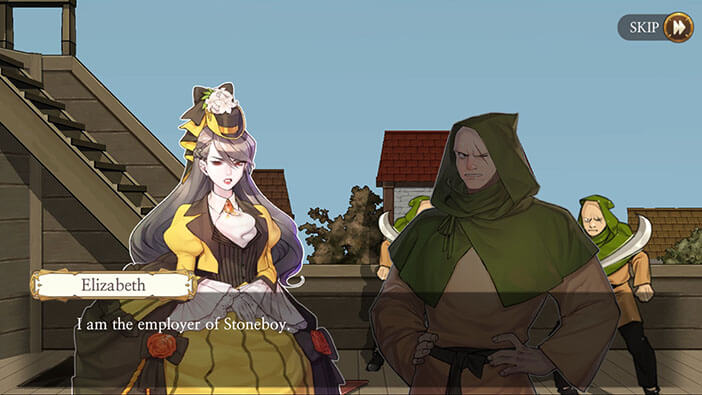
As soon as she climbs the ladder, Elizabeth is “greeted” by two armed men (probably gang members) and they demand to know who is she and why did she come. Elizabeth demands to see their boss, explaining that she employed Stoneboy and that she’s ready to pay a hefty sum for his release. Well, this sounds like a good plan. Criminals, especially pirates, are first and foremost interested in making money.

A few moments later, one of the pirates informs Elizabeth that the “boss” will see her now. His room is the last one on the right, so let’s go and see what he has to say.
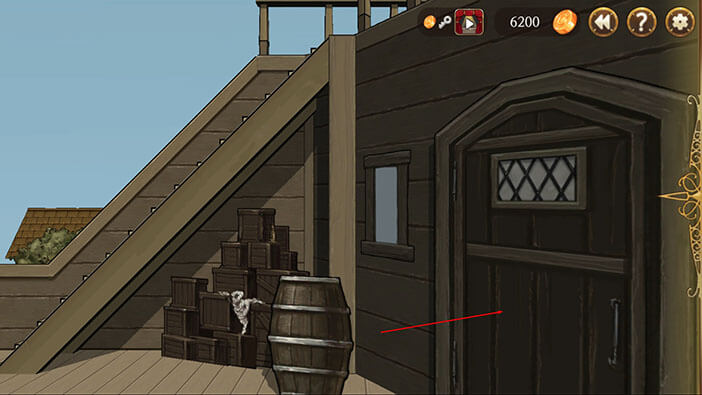
Turn to the right, tap on the cabin door to open it, and tap once more to enter.
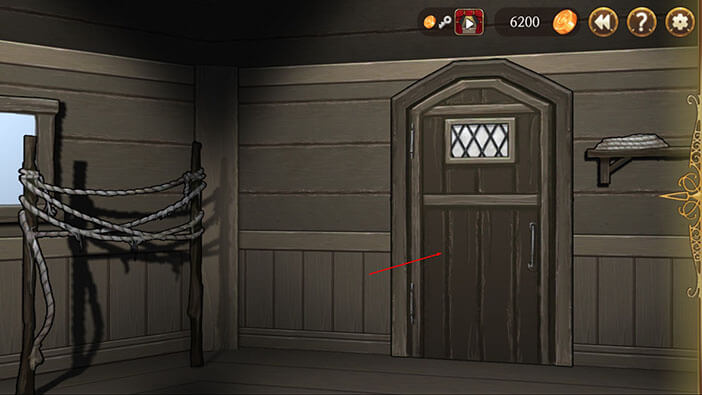
Turn all the way to the right and tap on the door twice to open it and enter.
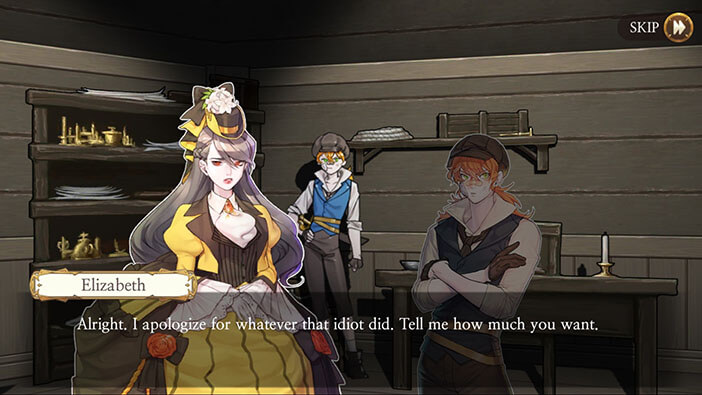
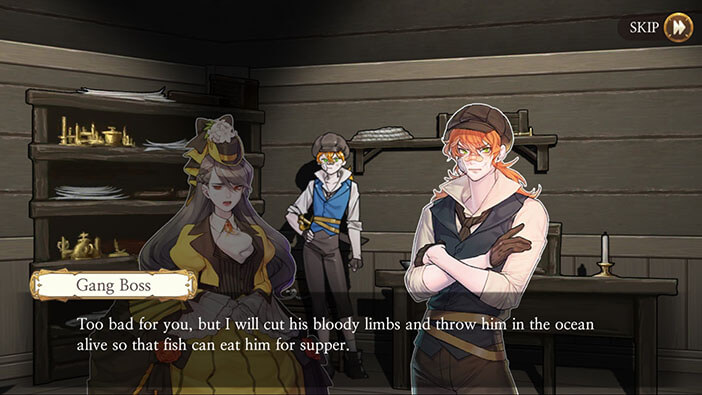
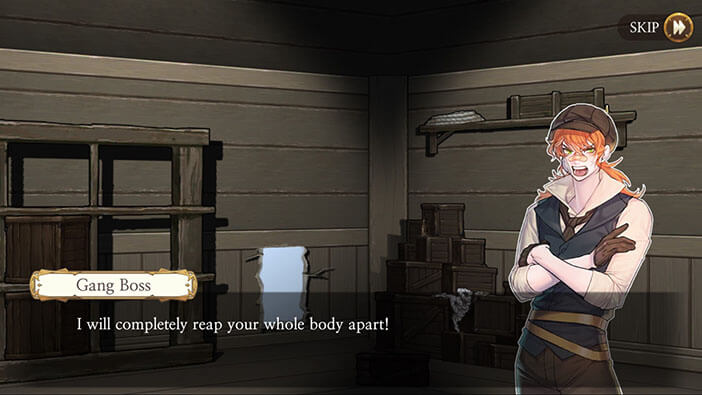
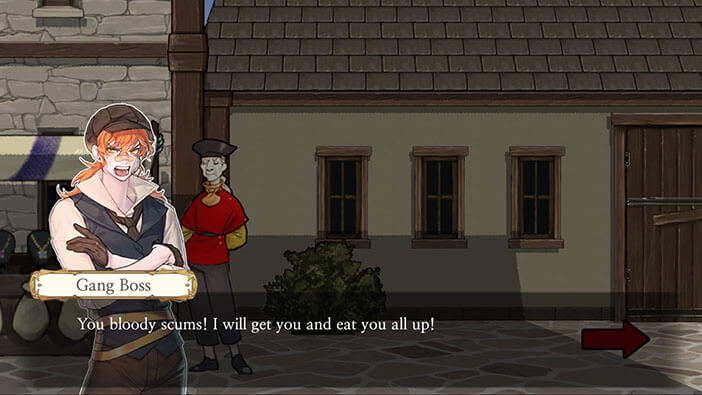
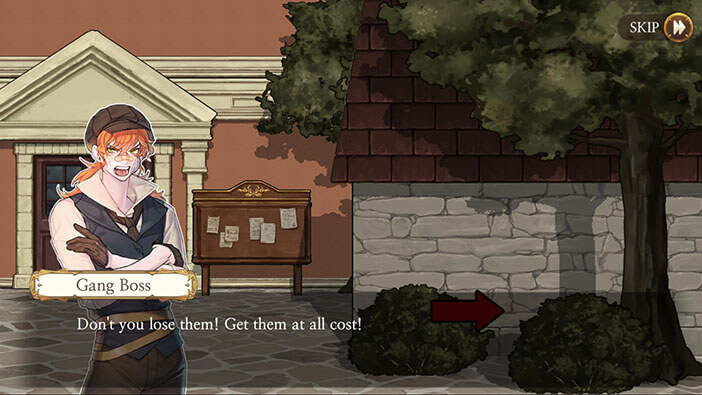
Turn to the right and tap on the “Gang Boss” to start the negotiations.
Elizabeth gets straight to the point. She apologizes for anything that Stoneboy did (referring to him as “the idiot”) and asks “Gang Boss” how much money he wants in return for releasing the Stoneboy.
At this point, the Gang Boss taunts Elizabeth, recognizing that she is one of the nobility. Apparently, he isn’t interested in money, because it couldn’t make up for something that Stoneboy did… Oh, a pirate that isn’t interested in money? Very unusual.
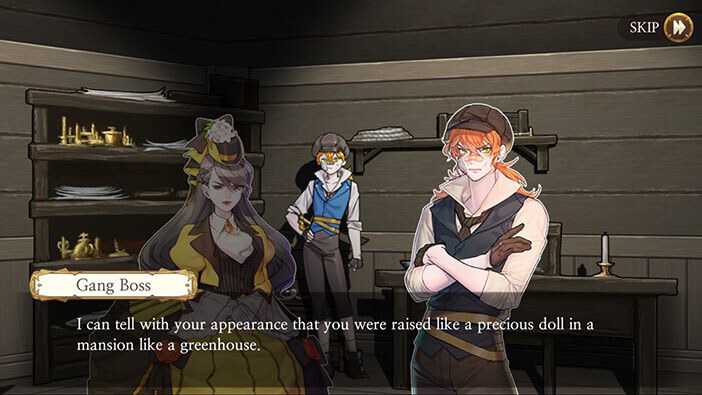
Gang Boss explains that Stoneboy was fooling around with his lover. Ouch! This is bad. Gang Boss wants Stoneboy dead and he is preparing to execute him in a few hours. In the meantime, our captain is chained and guarded inside the ship.
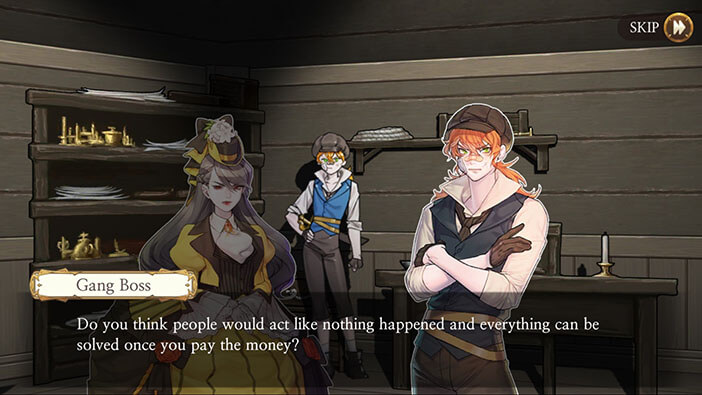
The Gang Boss says that Elizabeth should forget the Stoneboy and find a new captain. Well, it will be almost impossible to find another captain that is as capable as Stoneboy, in a short amount of time. Besides, I kind of like Stoneboy even though he is a bit unreliable… I hope Elizabeth will try to save him.


Well, there isn’t anything else that we can do right now, so let’s get off the ship. Turn around and tap on the door.
Turn all the way to the left and tap on the door.
Turn to the left and tap on the arrow on the ground, located between two pirates, to leave the ship.
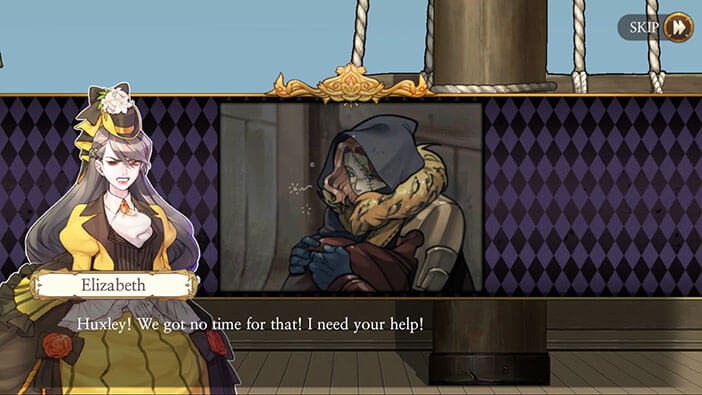
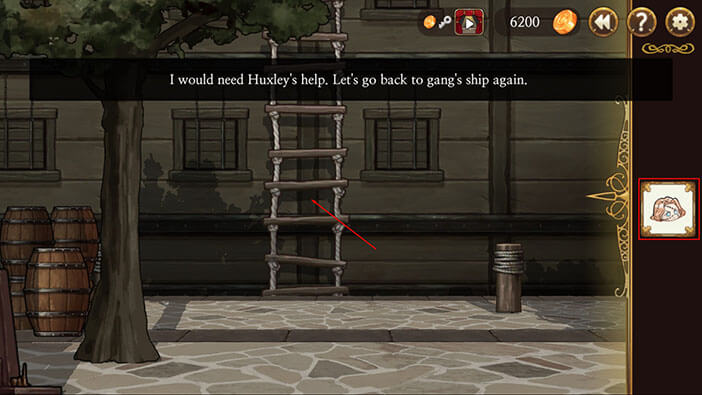
As soon as she gets off the ship Elizabeth starts devising a plan to free Stoneboy – good choice. She decides to come back to the ship with Huxley. Hell yeah! It was about time to use Huxley’s huge muscles. When diplomacy, bribe, stealth, and everything else fails, Elizabeth can always count on brute force in the form of her ex-lover to solve the problems.

Turn to the right and tap on the red arrow to go back to the “Central Market”.
Once there, turn to the right and tap on the arrow on the ground.
Turn all the way to the right and tap on the red arrow to go to the “Jeweler’s Street”.
Once there, turn to the right and tap on the second arrow on the ground.

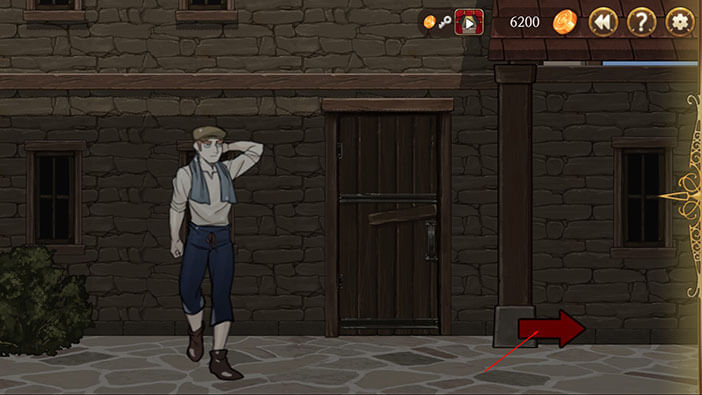
Turn to the right and tap on the red arrow.

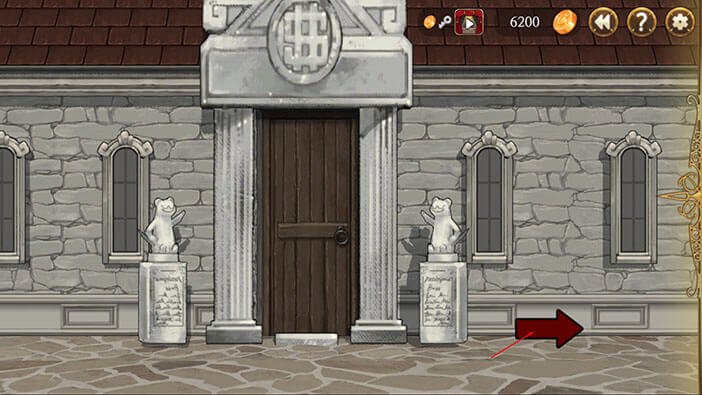
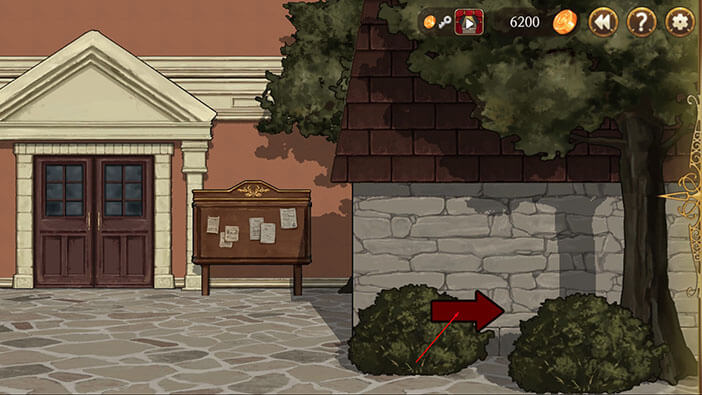
We are now in front of the Aegyptus agency. Turn to the right and tap on the red arrow.

Turn to the right and tap on the rope ladder.

Elizabeth orders the confused Huxley to follow her, without bothering to explain what’s going on. When I think about it, she does have a bit of that “I am above everyone” attitude, which was very common amongst the nobility.
Huxley obliged, and after the conversation, the “Huxley” card will be added to the inventory.
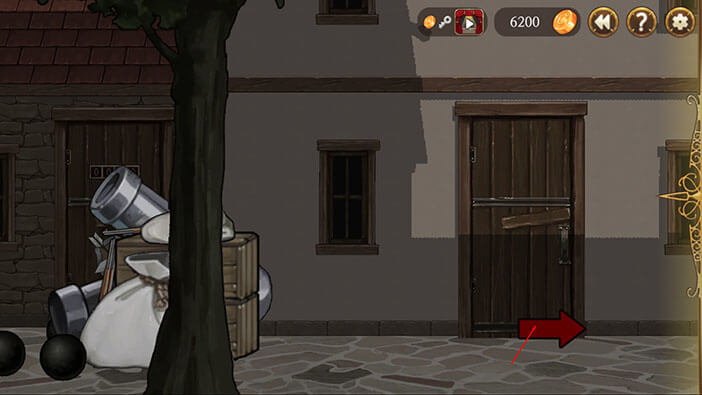
Ok, let’s get back to the pirate ship. Turn to the left and tap on the red arrow.

Again, turn left and tap on the red arrow to go back to “Jeweler’s street”.
Turn to the left and tap on the arrow on the ground, located in front of the jewelry stand.
Turn all the way to the left and tap on the red arrow to go back to the “Central Market”… Honestly, I am getting a bit bored of going back and forth, but what can you do?
Turn to the left and tap on the arrow on the ground, located in front of the winter clothing stand.
Turn all the way to the left and tap on the red arrow to go to the dangerous part of the docks.
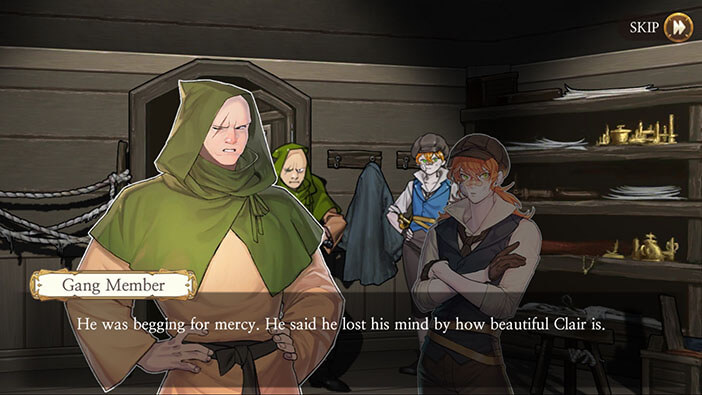
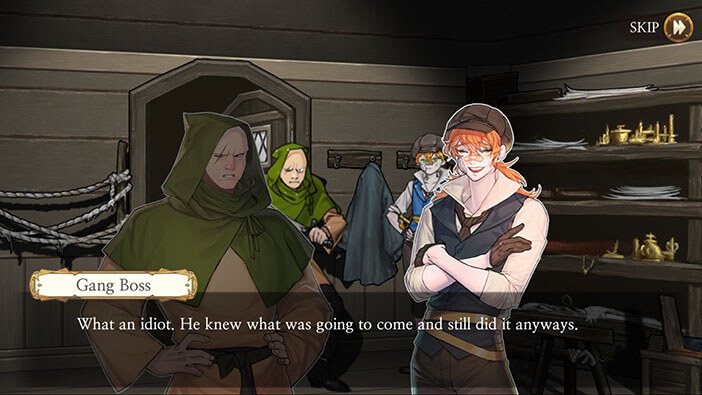
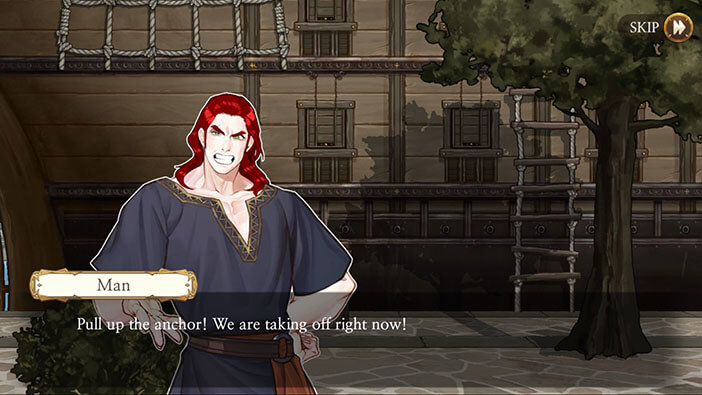
Before we reach the ship, we can see a conversation between the Gang Leader and one of his pirates. The pirate claims that Stoneboy was begging for mercy and that he couldn’t resist the temptation, because Clair (Gang Leader’s lover) is a woman of extraordinary beauty. Gang Leader completely understands him, and even though Stoneboy regrets doing what he did, he is still going to die. With that said, Gang Leader starts heading downstairs, determined to kill Stoneboy…
Ok, let’s try to save our captain before it’s too late. Turn to the left, select the “Huxley” card from the inventory, and tap on the rope ladder.
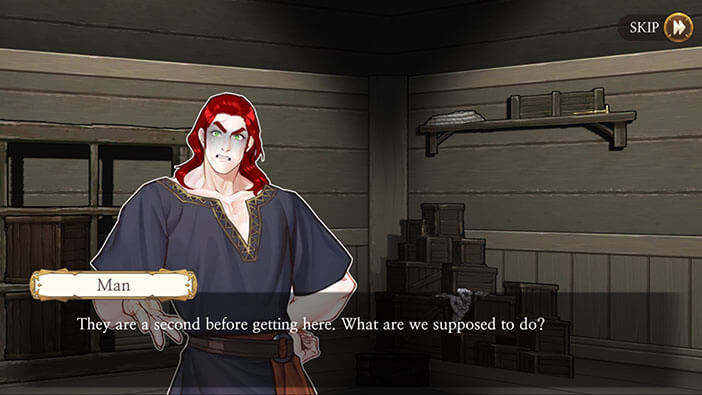
Elizabeth decides that the best course of action would be to find some alternate entrance through which she could sneak onto the ship, and try to rescue Stoneboy. In the meantime, Huxley should charge straight onto the main deck, smashing everyone and everything in his path (Hulk style). Huxley agrees. I bet he’s thinking “Yes, I can finally smash someone” since he was very eager to dispatch border guards on during our journey to Hamburg.
Nice, and simple plan. Let set it into motion. Select the “Huxley” card from the inventory and tap on the red arrow on your left.
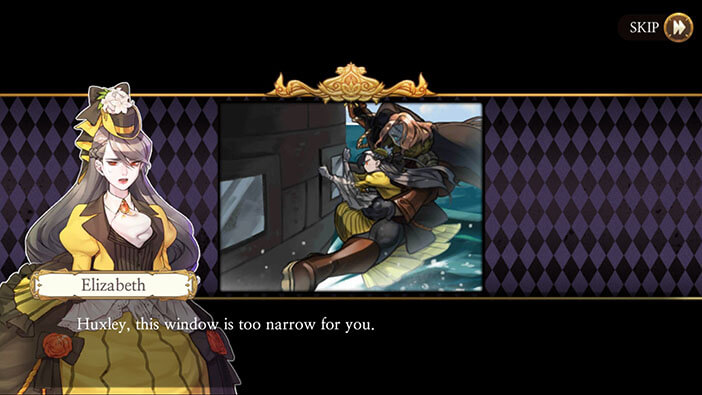
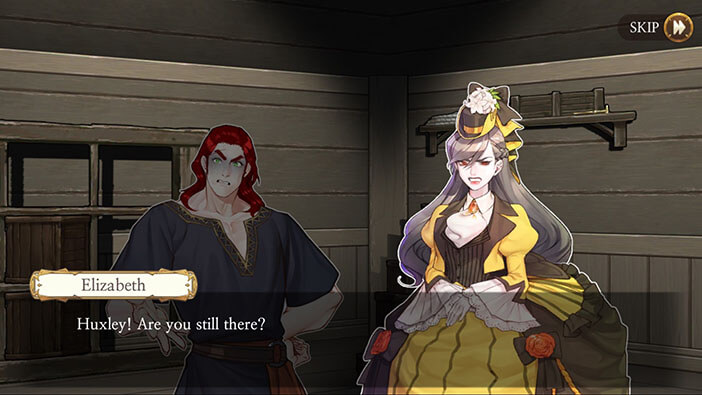
In the next scene, we can see Elizabeth and Huxley using the rope to reach one of the windows, and burst into the ship. Gang Leader and one of his pirates hear the noise, and the pirates decide to investigate.

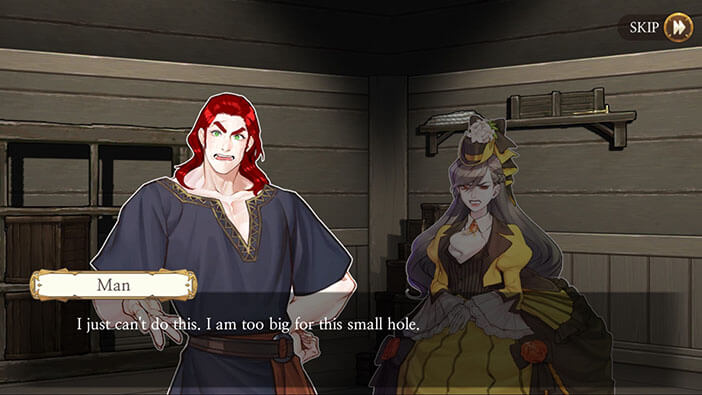
Elizabeth orders Huxley to stay outside since he is too large, and can’t fit through the window.
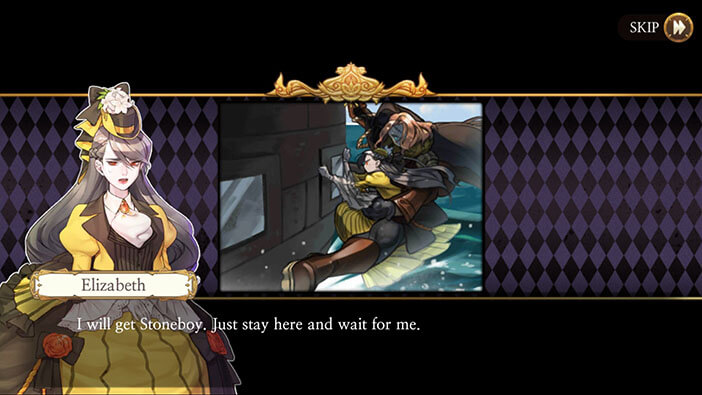
Elizabeth is now inside the ship. It looks like Huxley used the rope to reach one of the cabin windows inside the ship while carrying Elizabeth in his arm, and used the other arm to tear out the window, together with the frame. I guess Huxley will still attack the pirates on the main deck as planned? If Elizabeth goes in alone she won’t stand much of a chance if she has to fight the entire crew of the pirate ship.
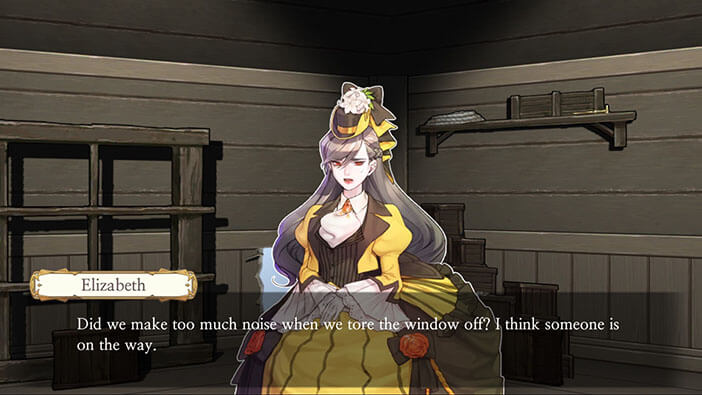
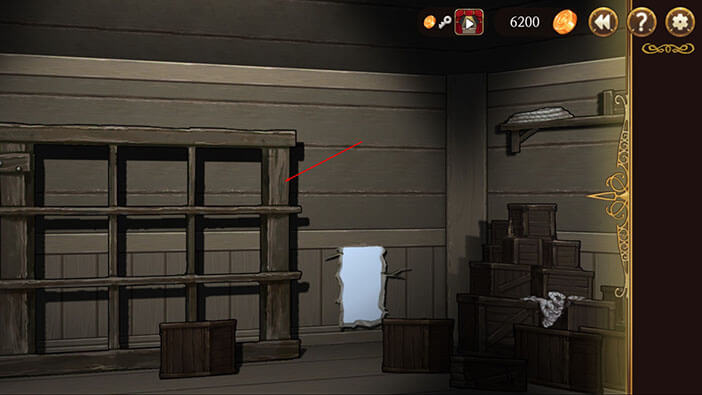
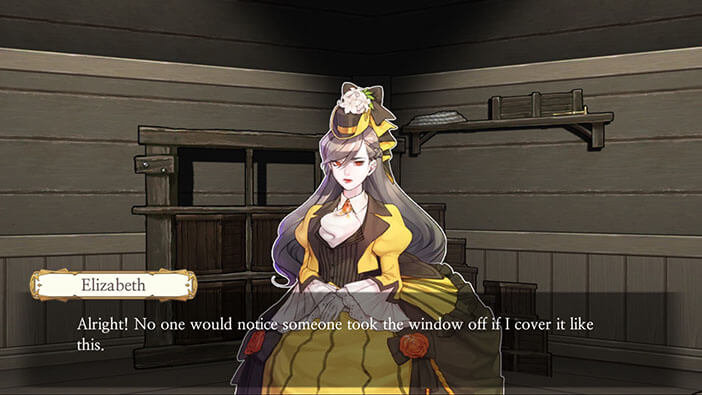
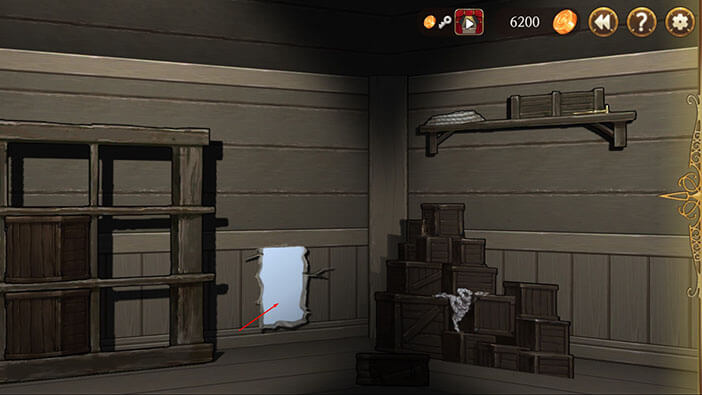
Regardless, our next task is to cover up the hole where the window was a few moments ago before Huxley destroyed it. After that, Elizabeth should find a good hiding place, and try to avoid the pirate(s) investigating the noise.
Turn to the left and tap on the shelf to move it over the hole.
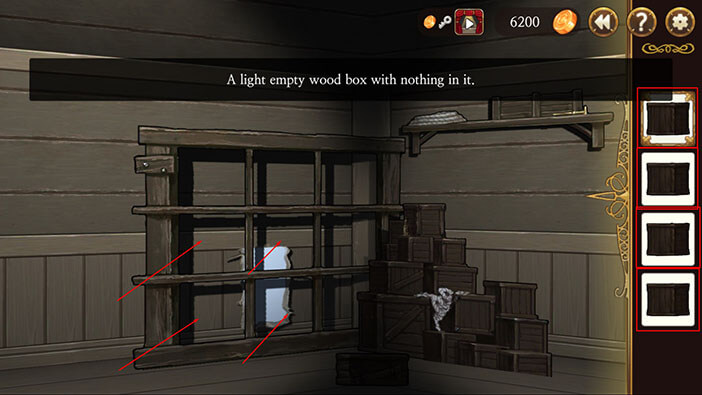
Tap on the four wooden boxes to pick them up.
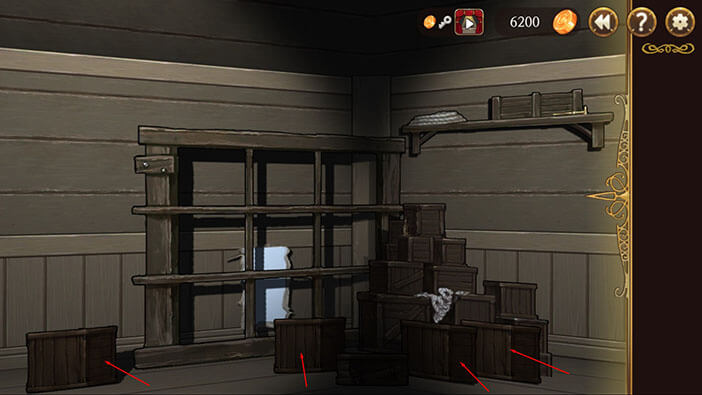
Select the wooden boxes from the inventory, one by one, and tap on the four “slots” in the bottom left corner of the shelf to place them.
With this done, we have successfully covered up the hole, and no one will notice that the window is “missing”. “Elizabeth” card will be added to the inventory.
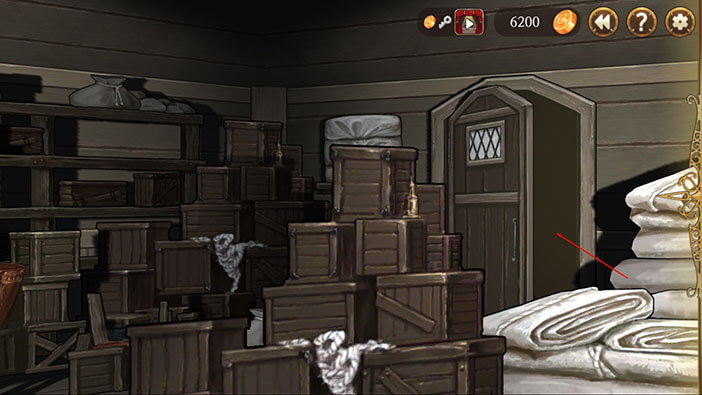
Now, we just have to find a good hiding spot. Select the “Elizabeth” card from the inventory and tap on the pile of boxes. Elizabeth will hide behind them.
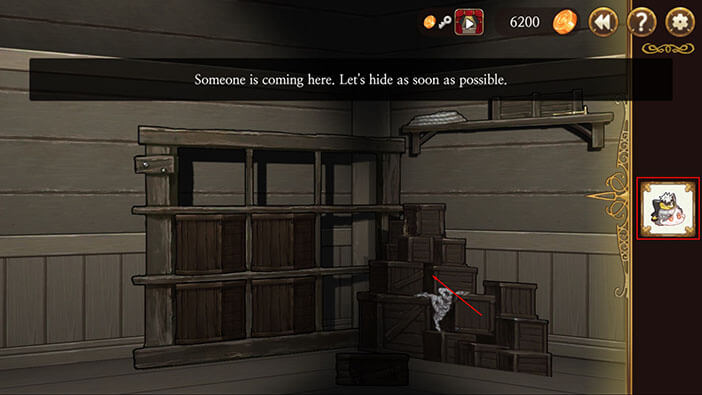
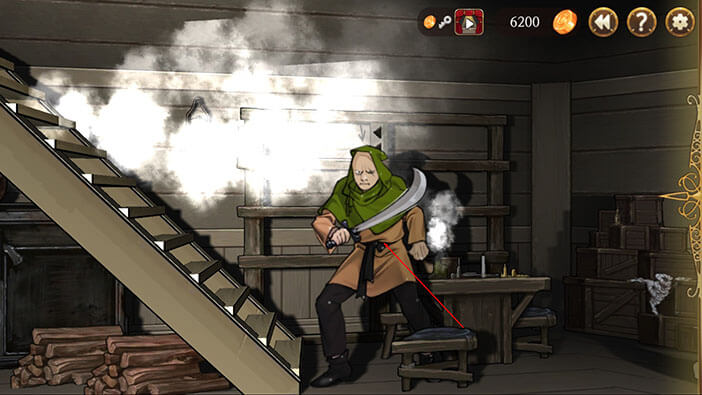
A few moments later one of the pirates will come in to investigate the noise, but after he sees that everything is in order in this room, he decides to check the next room, and leaves…
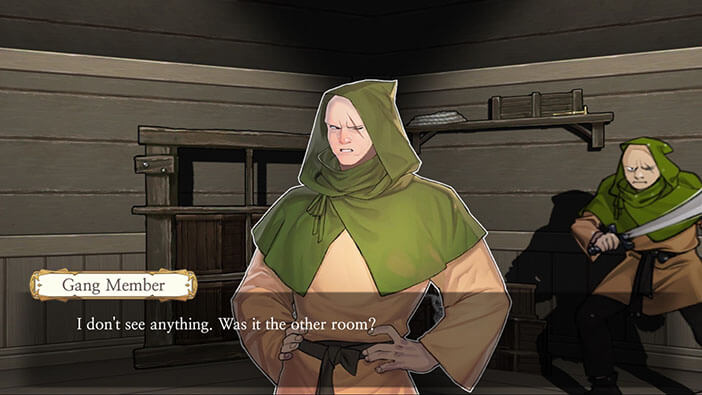
After the pirate left the room, Elizabeth moves out of the hiding places and starts searching for Stoneboy.
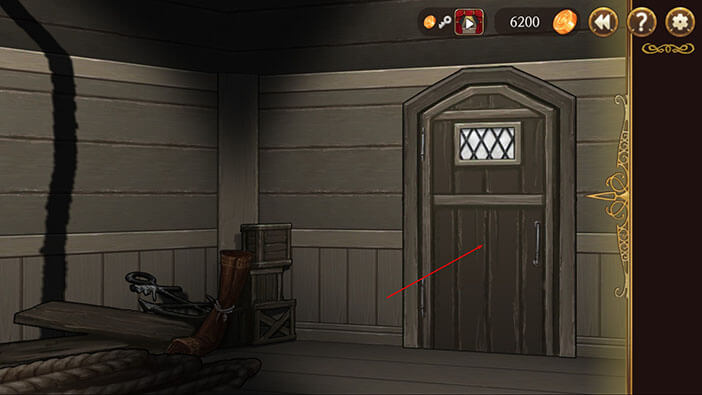
Turn all the way to the right, tap on the door to open it, and tap once more to proceed into the next room.
We will investigate this room a bit later, for now, let’s go upstairs. Tap on the wooden stairs.
Turn to the left and tap on the door.
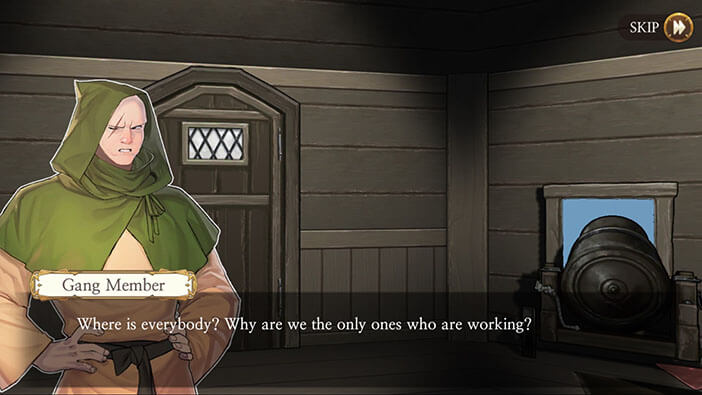
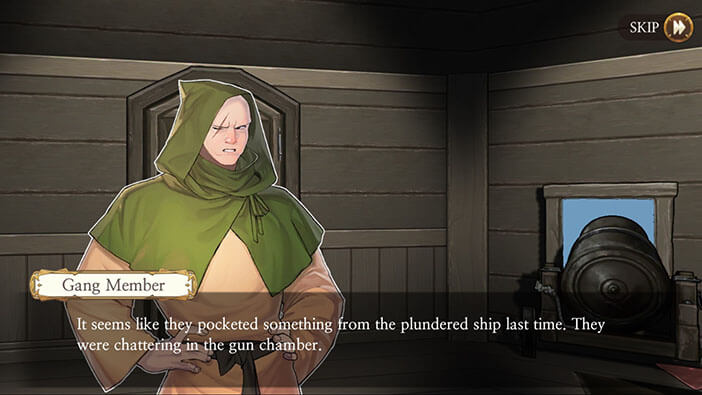
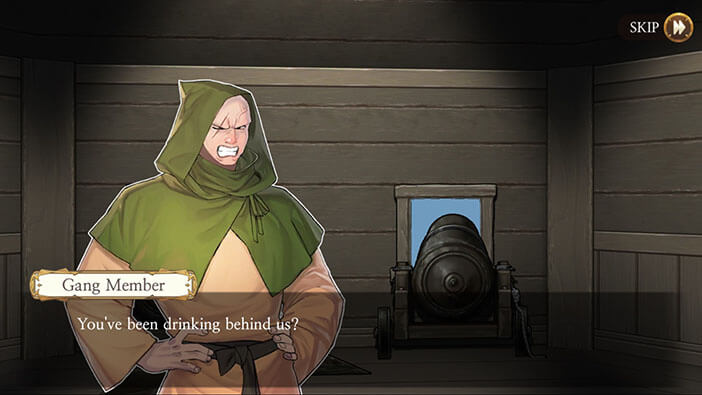
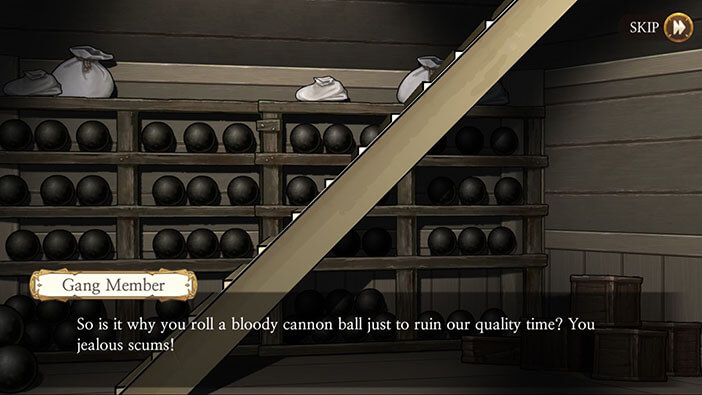
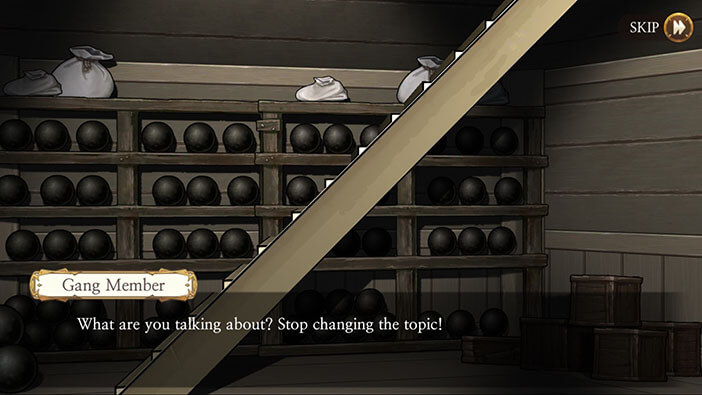
Elizabeth can hear the pirates talking in the room to the left. The men in this room are angry because they are the only ones that are working. Apparently, a few of their comrades hid some of the loot from the previous raid, and are now enjoying it, somewhere on the ship. One of the pirates says that their comrades will be in huge trouble if the Gang Boss finds out that they stole some of the loot.
Let’s see what’s on the other side. Turn to the right and tap on the door.

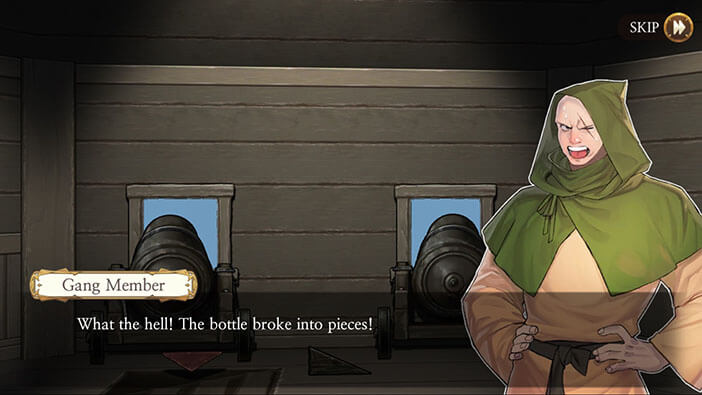
Elizabeth can hear the conversation between pirates on the other side of the door. These guys stashed some Irish whiskey from their previous raid and are now enjoying it in secret, away from the other pirates. These guys really like the whiskey and want to finish the bottle before anyone else sees them.


Elizabeth concludes that she can go neither left nor right since there are pirates in both of these rooms. However, she thinks that if she can cause some kind of a distraction, all the pirates will gather in a single room, enabling her to sneak into the other room, without being seen. On the side note, I guess this confirms that Huxley will just wait outside of the ship while Elizabeth rescues Stoneboy… I was more in favor of the original plan, with Huxley taking on the pirates head-on, while Elizabeth sneaks in and rescues Stoneboy. It just made much more sense. Sending a young girl (from a noble family) alone into the pirate ship seems like a very, very bad idea, no matter how capable she is.

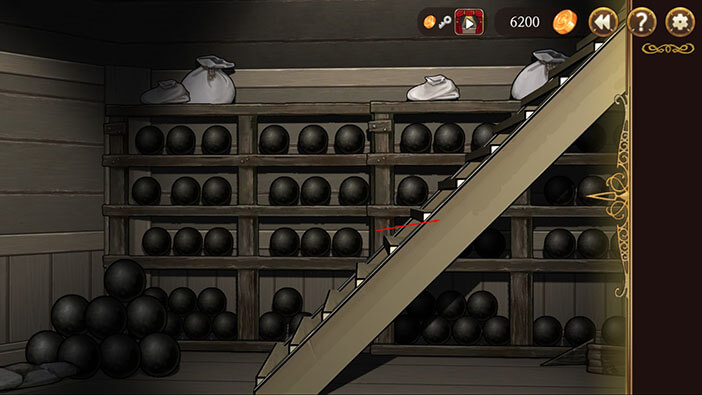
Well, at least she has a decent idea about how she should proceed, so let’s make a distraction. Tap on the small arrow to go downstairs.
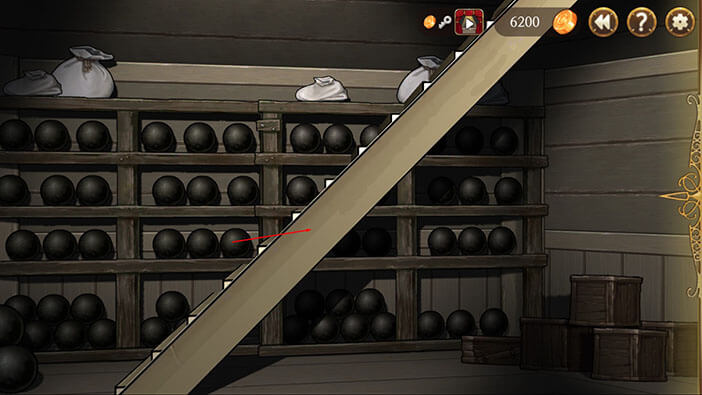
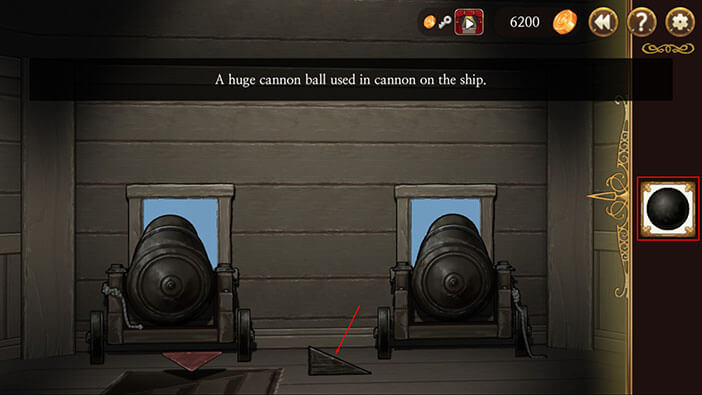
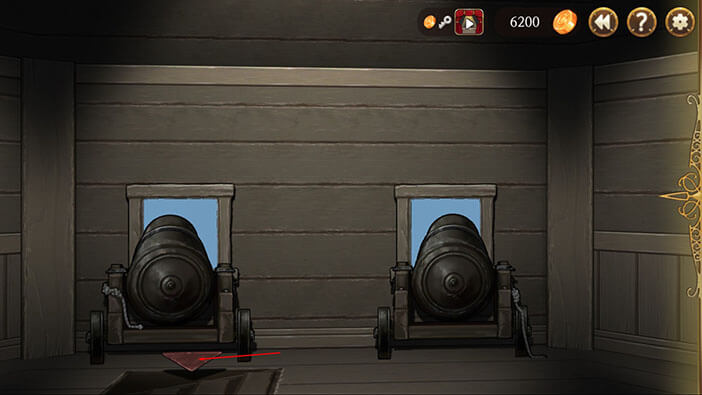
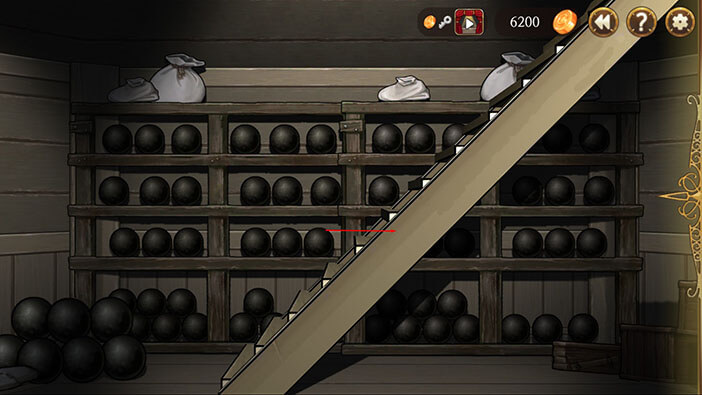
Tap on the pile of cannonballs on the left. A single “Cannon Ball” will be added to the inventory.
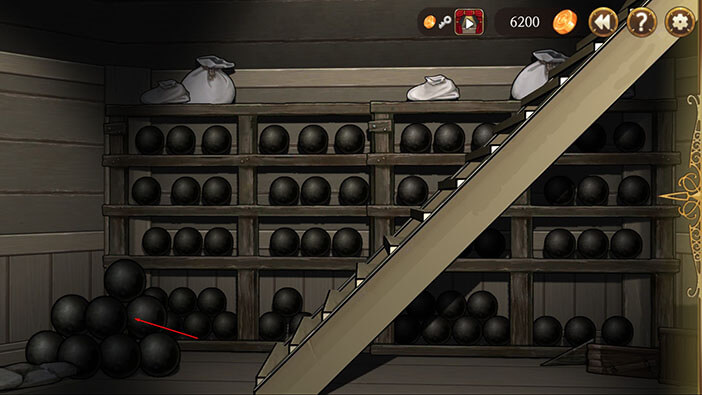
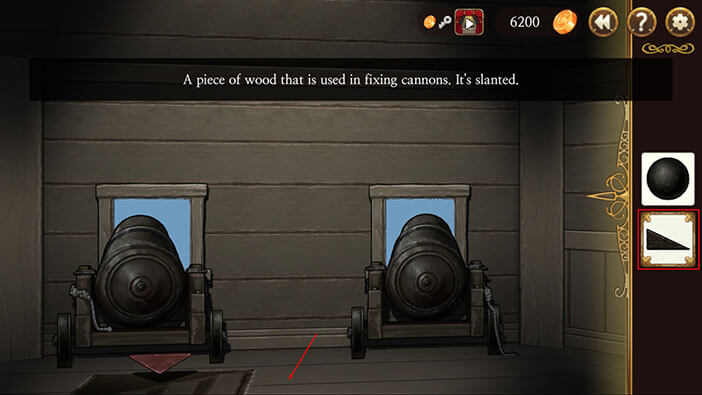
Turn a bit to the right and tap on the “Wooden Piece” to pick it up.
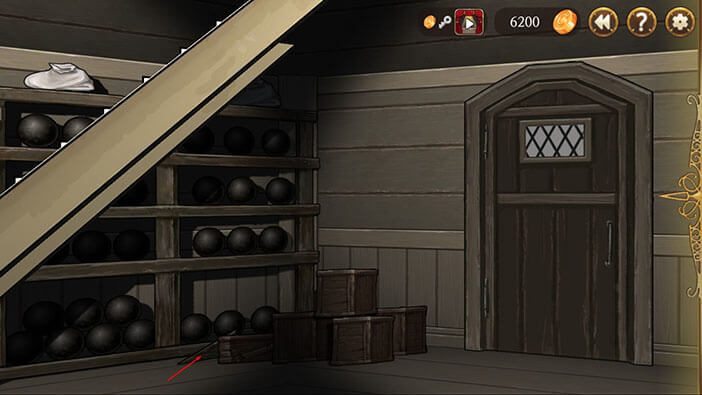
Ok, let’s execute Elizabeth’s plan. Tap on the stairs to go up.
Turn slightly to the right, select the “Wooden Piece” from the inventory, and tap on the ground (just to the right of the stairs) to place it.
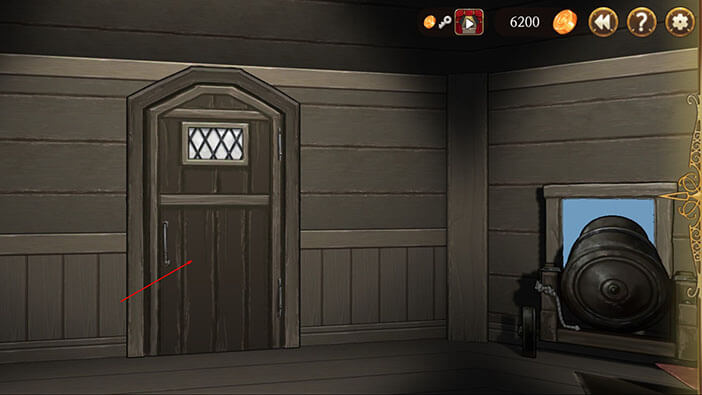
Turn to the right and tap on the door to open it.
Now, face the stairs, select the “Cannonball” from the inventory, and tap on the “Wooden Piece”, to get this show rolling (pun intended).
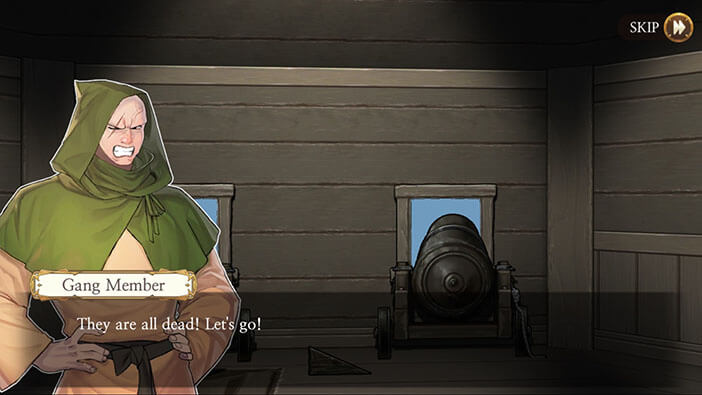
The cannonball will roll out through the open door and crash into the table breaking the bottles of whiskey. The pirates that were enjoying their booze are mad and think that the guys from the other room did this. On the other hand, the guys from the other room are mad because they had to work, while the other group was sitting around and drinking a high-quality whiskey. Naturally, the guys that were working charge through the room and go to the guys that were drinking.
Elizabeth realizes that the group of pirates from the left side will go through her room, and decides to move downstairs to avoid them.
Tap on the arrow to go downstairs.
The group on the left accuses the group on the right of hiding the whiskey and drinking it without them. The group on the left accuses the group on the right, saying they threw the cannonball that destroyed the whiskey. The group on the left is confused for a second, and then the fight breaks out between the two groups.
Elizabeth decides that this is a good moment to go to the room on the left, since all pirates are in the room on the right, arguing and fighting with each other.

Tap on the stairs to go up.
Once there, turn to the left and tap on the door to open it, and tap once more to proceed into the next room.
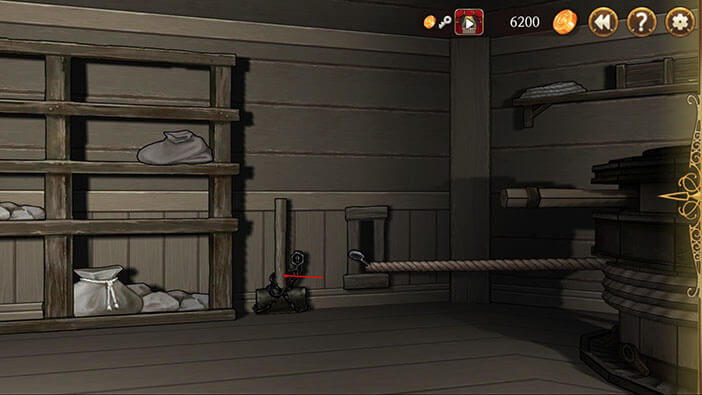
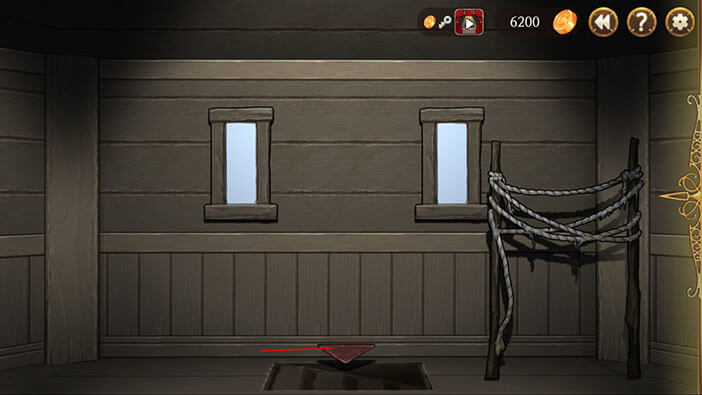
Turn to the left and tap on the metal spike that is holding the rope in place.

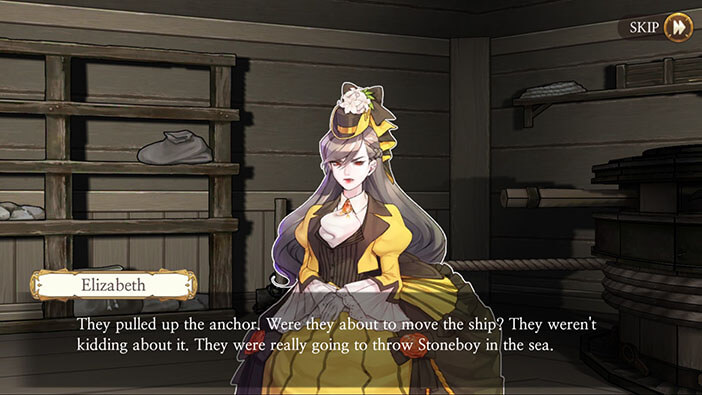
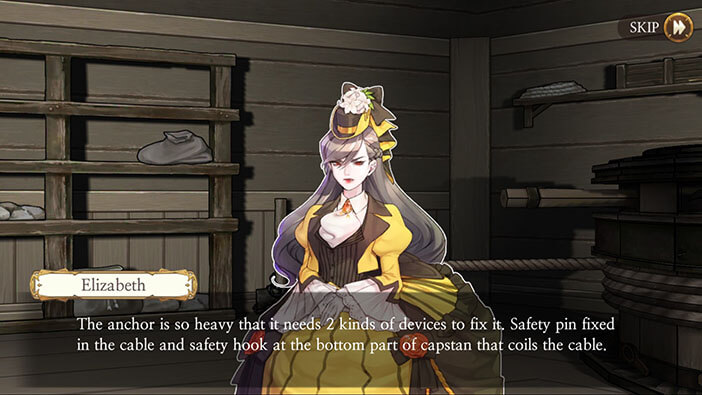
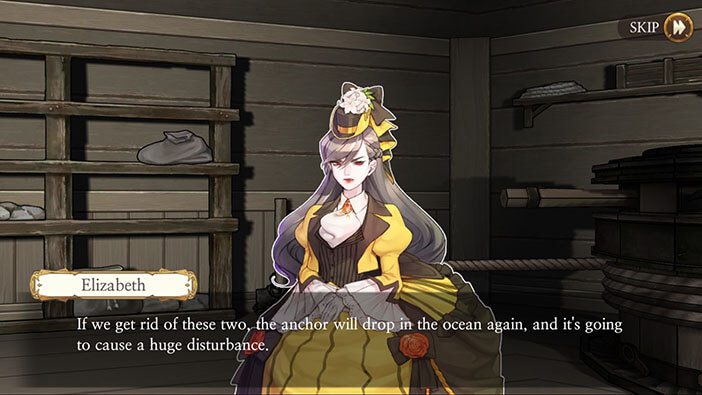
Elizabeth realizes that the pirates raised the anchor, so they were probably going to sail to the open sea and throw Stoneboy overboard. In order to drop the anchor, Elizabeth will have to disable two devices. Firstly the metal spike that is holding the rope, and secondly the metal hooks that are preventing the wheel from turning. Disabling both safety mechanisms will drop the anchor, causing confusion among the crew and preventing the ship from sailing out.
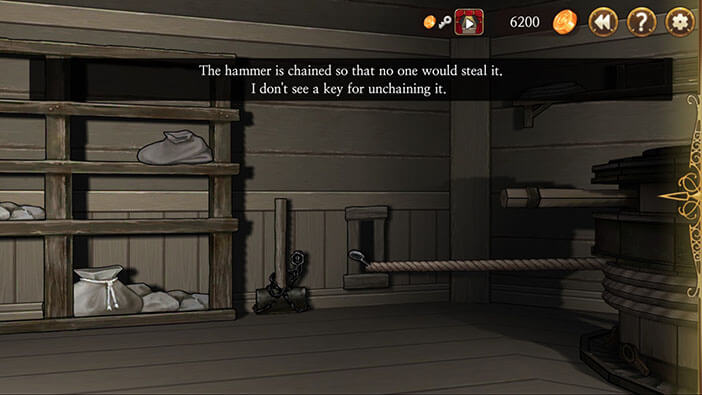
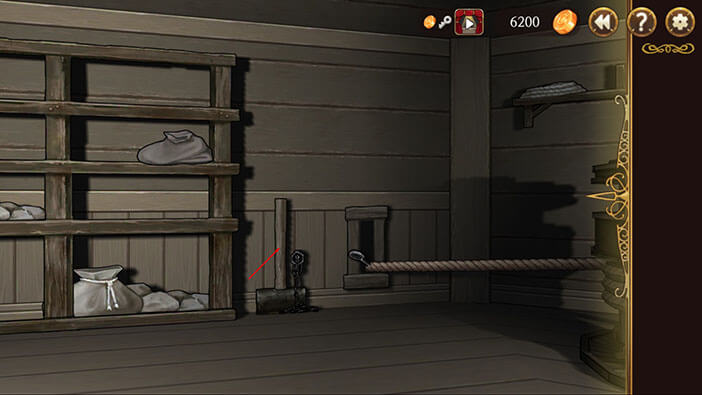
Elizabeth concludes that she can’t remove the metal spike with her bare hands, so let’s try to do that with the hammer on the left. Tap on it.
Well, the hammer is chained and locked with the padlock, so we will first have to find a way to unlock it before we can use it. Since we can’t drop the anchor without the hammer it is pointless to bother with the other safety mechanism, at this point.
Turn to the right and tap on the stairs to go up.
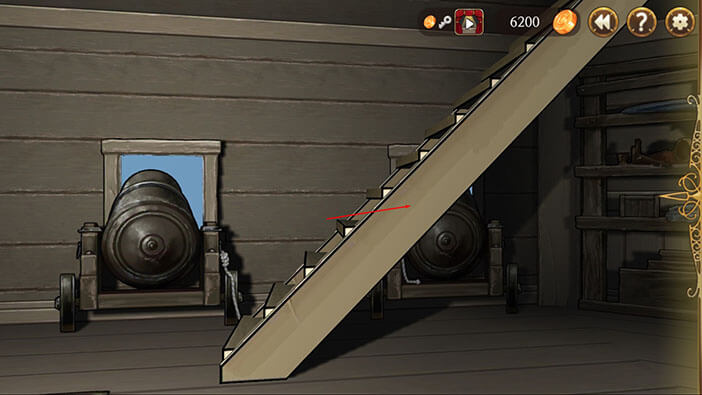
We are now at the main deck. Luckily for us, there is no one around because Elizabeth caused a lot of commotion when she broke the whiskey bottle(s) with the cannonball.
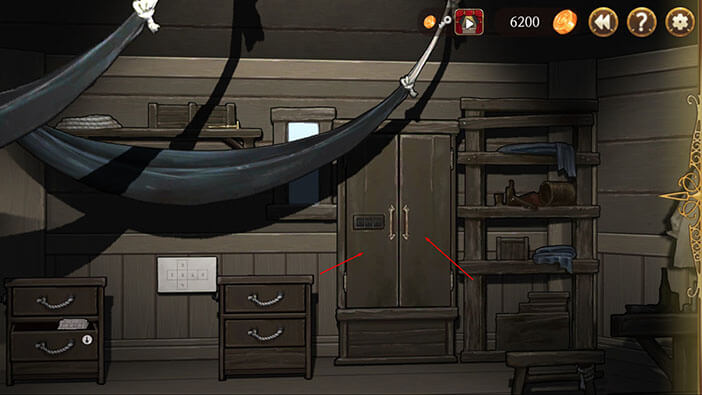
Turn to the left, tap on the cabin door to open it, and tap again to enter.
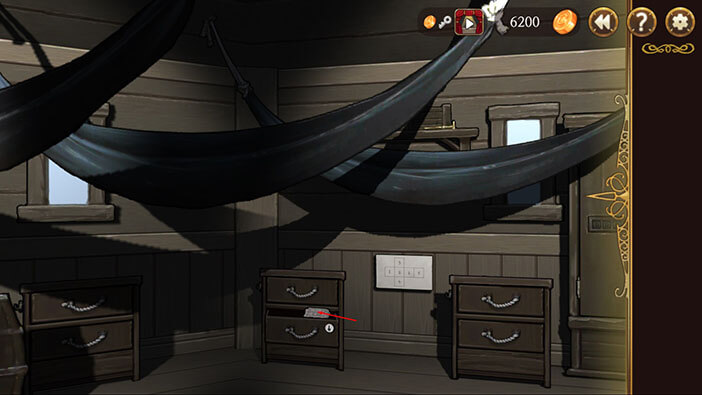
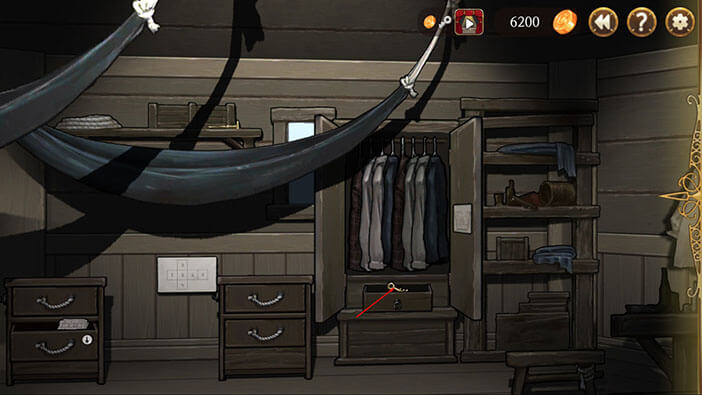
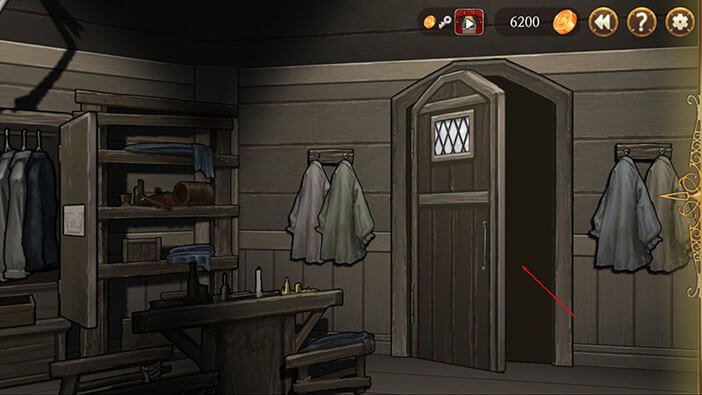
There are two coats on the wall hanger, located to the left of the front door. Tap on the coat on your left to search it and Elizabeth will find a key.

Turn to the left and you will see a locked drawer. Select the “Key” from the inventory and tap on the drawer to unlock it. Tap once more to open it.

Tap on the note inside the drawer to read it.
The note was written by one of the pirates, H. Clark. He and two of his buddies decided to generate a new code for the numerical lock by rolling the dice, but they will count the side that is facing the ground, which is very unusual.
Clark will throw the first dice, Degas second, and Phelps third dice. Memorize or write down the order because we will need it later. Clark throws the first dice so that we will be the first number of the code, etc.
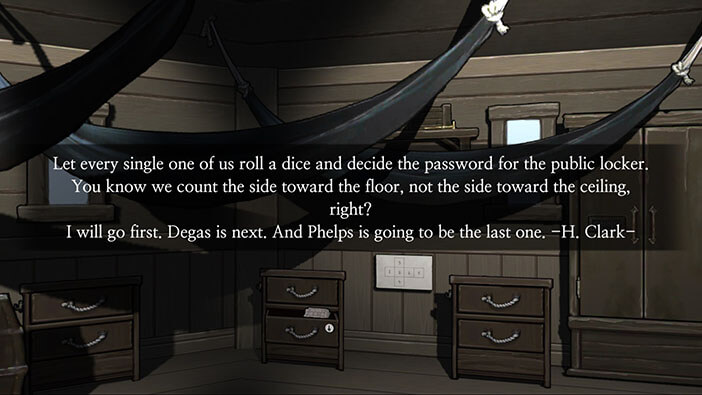
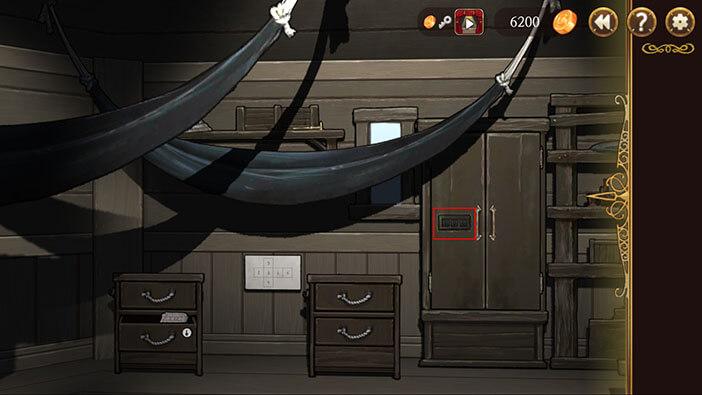
You can see the locker with the numerical lock to the right of the unlocked drawer.
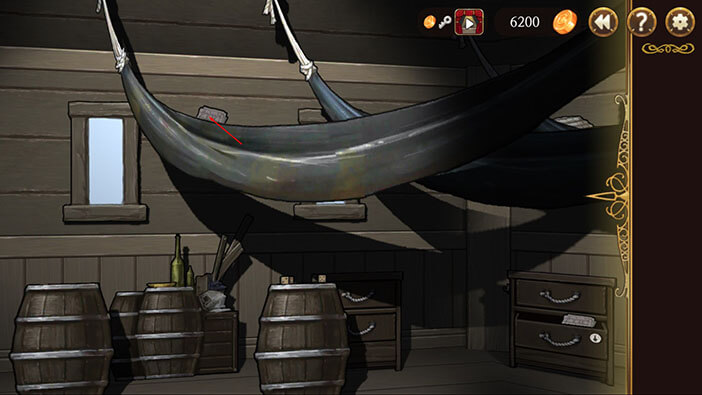
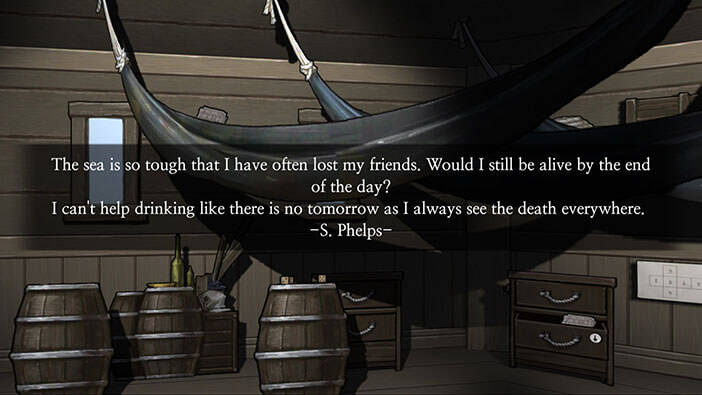
Turn to the left and tap on the note in the hammock to read it.
This not was written by S. Phelps, and he is complaining about the rough life at sea. The important part is his signature, S. Phelps. Memorize or write it down.
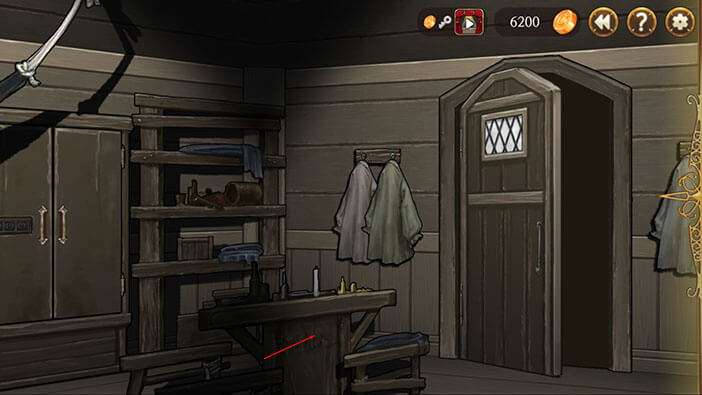
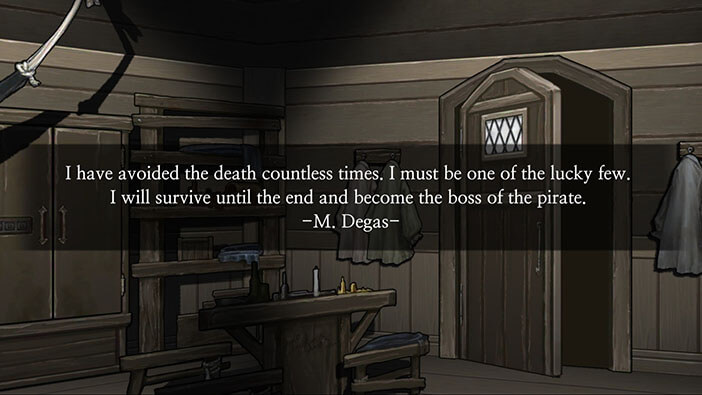
Turn to the right and tap on the table.
Elizabeth found another note, and this one was written by M. Degas. He is a very ambitious guy and thinks he will become the “Pirate Boss” one day. The important part is his signature, M. Degas. Memorize or write it down.
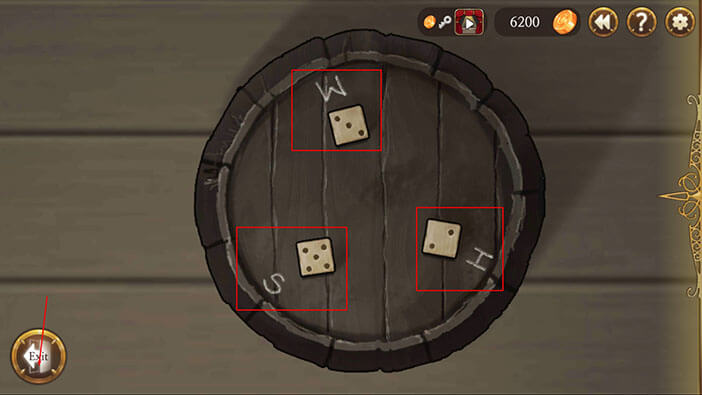
OK, now turn to the left and tap on the barrel with dices on top of it.
We can see three dices with a single letter next to them. The letter represents the first name of the person that threw the dice.
We know that H. Clark threw the first dice. So the dice with the number 2 on top is first.
- Degas threw the second dice, so the dice with “M” close to it (number 3 on top) is second.
- Phelps threw the third dice, so the dice with “S” close to it (number 5 on top) is third.
Memorize or write down these numbers:
First = 2
Second = 3
Third = 5
However, these are not the numbers for the password, because the pirates decided to count the bottom side of the dice. Let’s determine the correct numbers. Tap on the “Exit” button.
Turn to the right and tap on the scheme between the two drawers to examine it.
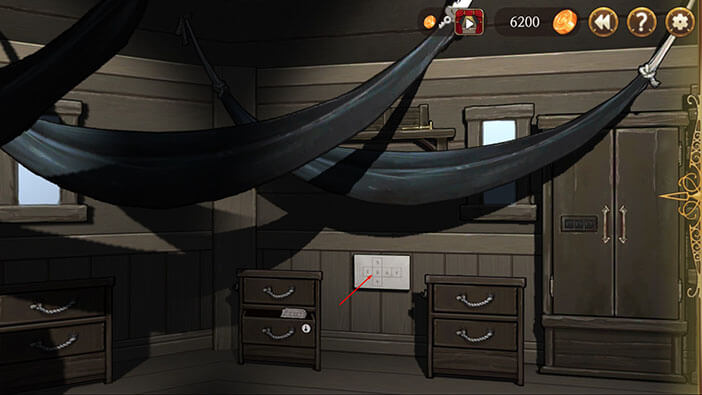
We can see that this the scheme of the dice, and by using it we can determine which number was at the bottom side of the dice.
NOTE: I had a six-sided dice (D6) close by when I was solving this puzzle, and I just used it to determine the bottom number, without bothering with the scheme.
So, let’s write down the correct numbers.
First = 5 (2 at the top)
Second = 4 (3 at the top)
Third = 2 (5 at the top)
Memorize these numbers and tap on the “Exit” button.
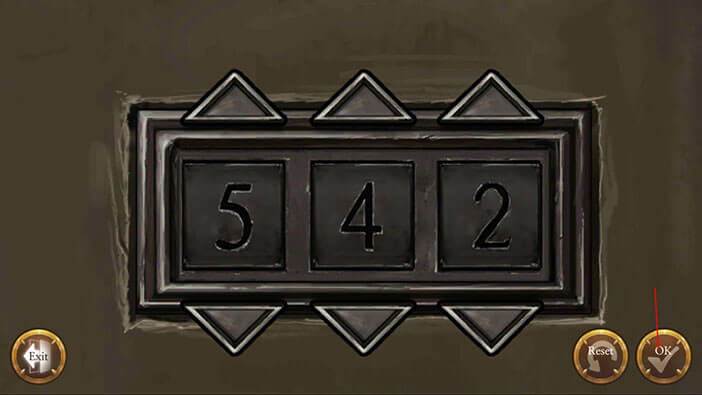
Turn to the right and tap on the numerical lock.

Enter the code “542” and tap on the “OK” button.
Tap on both locker doors.
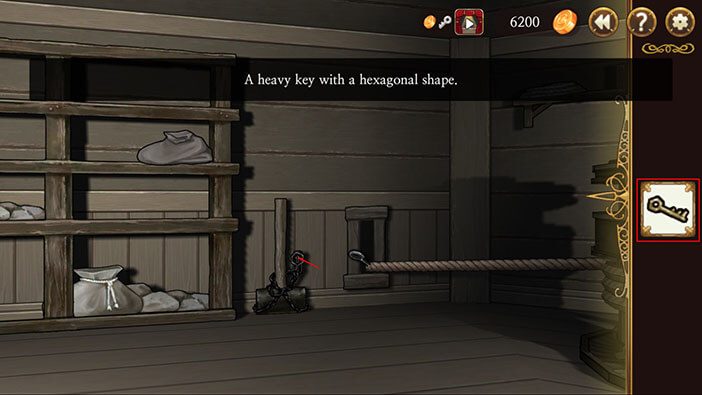
Tap on the drawer inside the locker to open, and tap once more to pick up the key inside it. We can probably use this key to unlock the padlock on the deck below and unchain the hammer.
Tap on the note on the inner side of the right locker door.

The note is actually a blueprint of this ship, and we have to figure out the way to get to the bottom of the ship, and release Stoneboy.
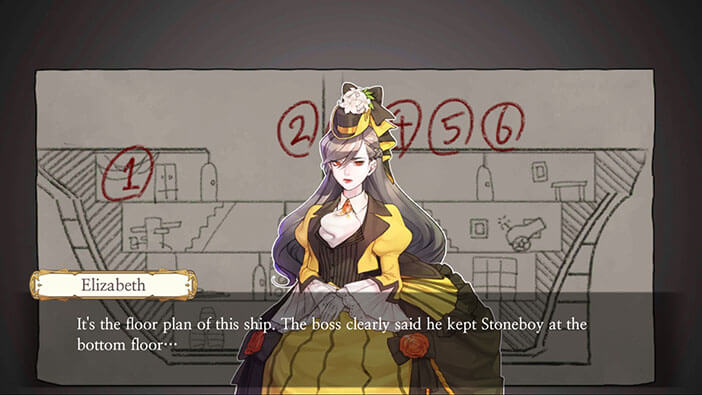
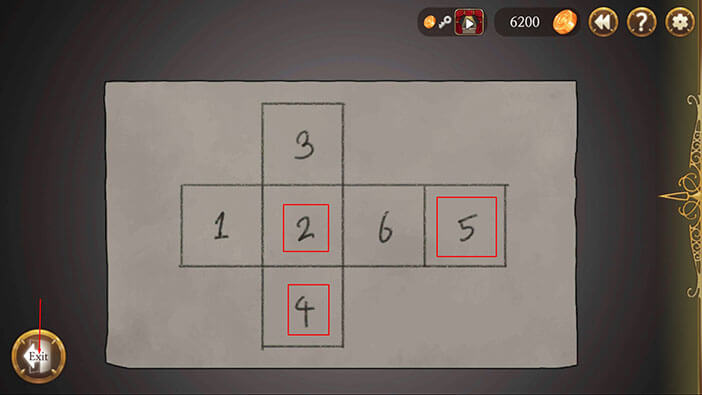
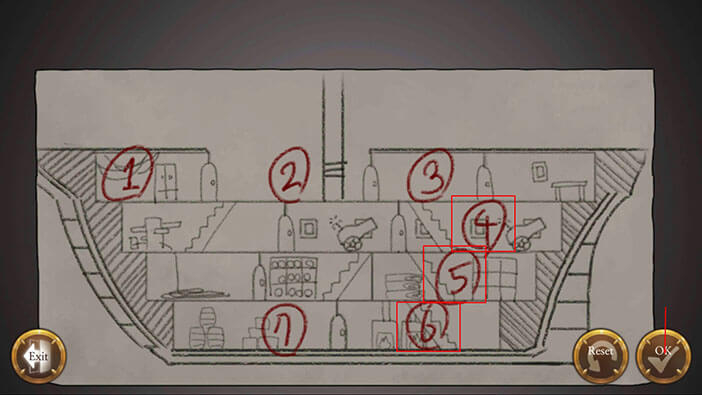
Ok, we can see that the starting position is marked with number 1 and our destination is marked with number 7. These two numbers can’t be moved. By dragging the numbers 2 through 6, we have to find a path to the final destination – number 7.
Step 1
Ok, let’s start by dragging the numbers two and three to the right of the number 1.
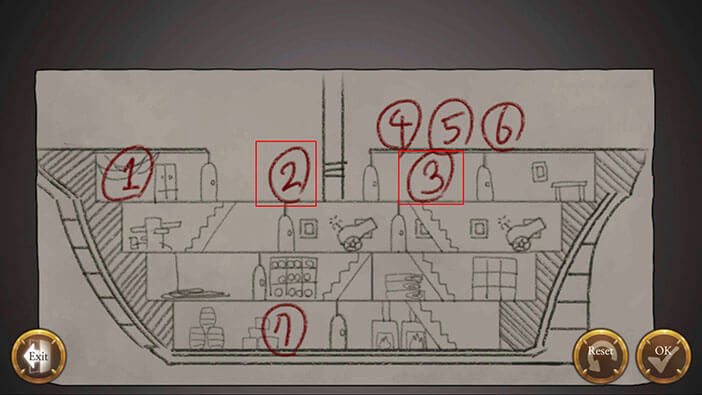
Step 2
Place numbers four, five, and six below the number three. This way Elizabeth could go down the three staircases, all the way to the bottom of the ship, and reach the number 7.
Tap on the “OK” button to continue.
Right now, the two groups of pirates are fighting around the upper staircase, and it will be impossible to sneak by them. However, if we manage to drop the anchor, we should be able to cause enough confusion amongst the pirates and get to the staircase undetected.
Turn to the right and tap on the door to leave the cabin.
Tap on the arrow on the ground to go downstairs.
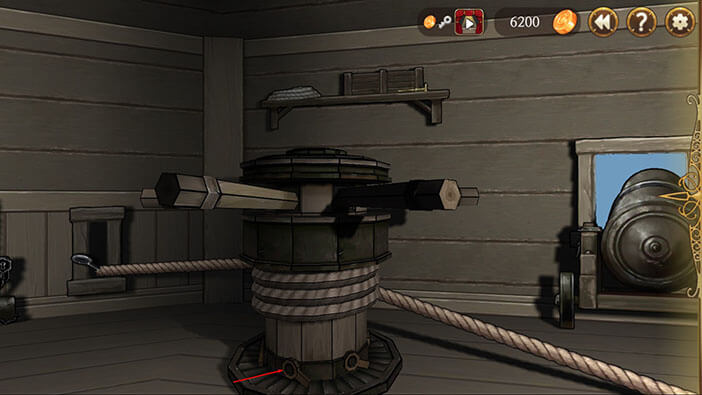
Ok, let’s first release the wheel – right now it’s blocked by pins.
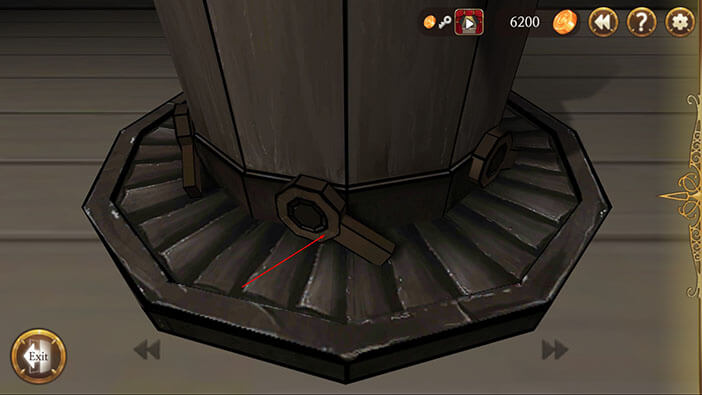
Turn to the left and tap on the pin to start the interaction.
Tap on the pin to turn in to the left – in this position it won’t stop the wheel from turning.
Sweep to the right and tap on each pin to turn it to the left (there are six pins in total).
Once you’re done, tap on the “Exit” button.
Ok, now tap on all handles to remove them – you can tap on the “wheel” to rotate it if there’s at least one handle in place. There are six handles in total.
Turn to the left, select the key from the inventory, and tap on the padlock.
Tap on the hammer to pick it up, and a “Huge Hammer” will be added to the inventory. As a side note, I think that a “Huge Hammer” would be a very appropriate weapon for Huxley.
Ok, time to release the anchor. Select the “Huge Hammer” from inventory and tap on the metal spike to smash it, releasing the rope that is holding the anchor. Well, I said it before and I will say it again, it seems that Elizabeth is much stronger than she looks because using that heavy hammer requires a considerable amount of strength. 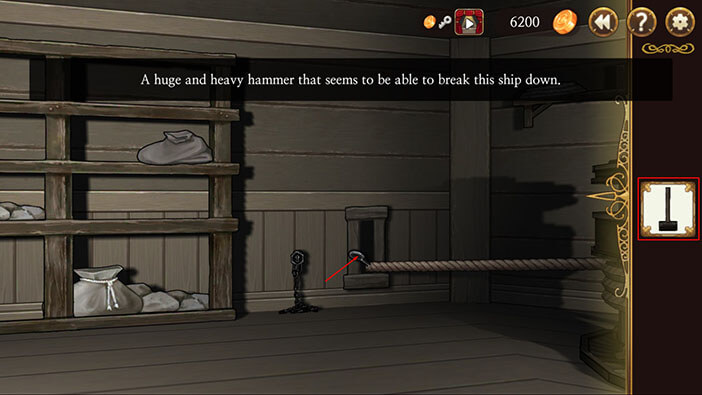
The anchor is released and makes a huge noise as it drops into the water. All pirates on the main deck heard the noise, and are now very confused since they were supposed to sail out in a few minutes. With all that said, they decide to investigate what’s going on, leaving the main deck empty.
They acted exactly as we hoped they would, so let’s quickly move out.
Turn to the right and tap on the stairs to go up.

The pirates have their hands full trying to hold the anchor. It is now or never for Elizabeth. Let’s hurry!

Move all the way to the right, and tap on the door to enter.
Now, we just have to get down to the lower deck. We know that there will be three staircases because we studied the blueprint. Tap on the arrow on the ground to go downstairs.
Same thing in this room. Tap on the arrow on the ground to go downstairs.
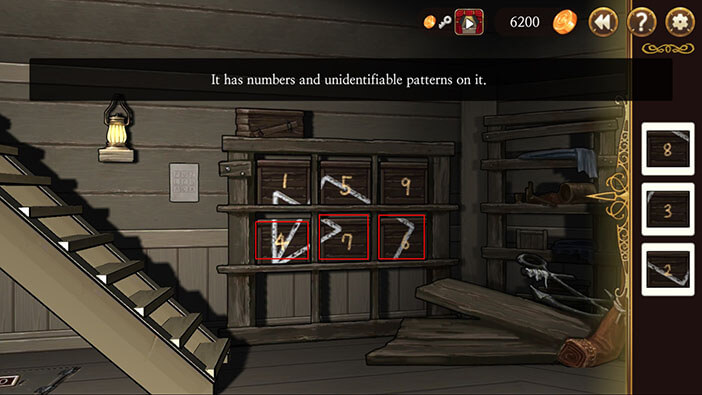
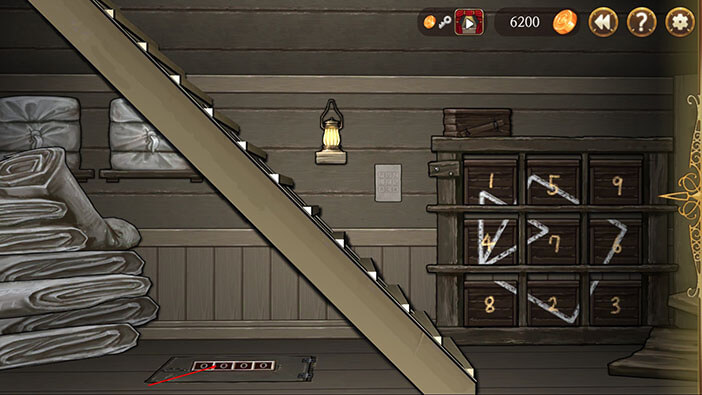
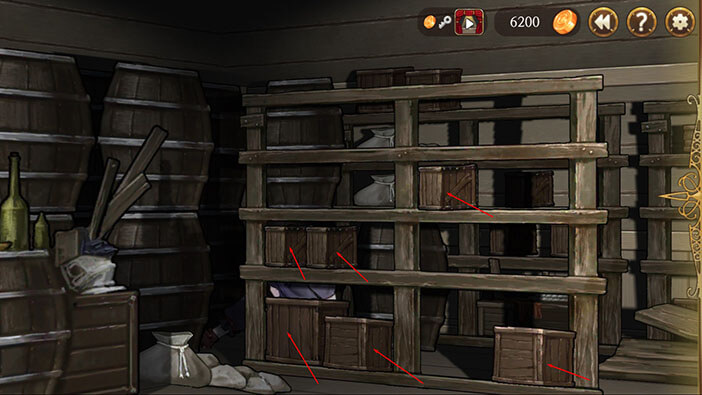
Our way down to the next room is blocked by a four-digit numerical lock and we will have to solve the puzzle in this room in order to unlock it. Let’s start by gathering all wooden boxes marked with numbers 1 through 8 (leave number 9 inside the wooden frame).
Turn all the way to the left and tap on the wooden boxes 5, 7, and 8 to pick them up.
Turn to the right and tap on the wooden boxes 3, 6, and 2 to pick them up.
Finally, turn all the way to the right and tap on the last two wooden boxes, 1 and 4, to pick them up.
Now, our task is to arrange the boxes into the wooden frame, so that they form a meaningful shape. Let’s start.
Step 1
Select box number 1 from the inventory and tap on the first slot (left to right) in the top row to place it.
Select box number 5 from the inventory and tap on the second slot in the top row to place it.
Do not move box number 9.

Step 2
Select box number 4 from the inventory and tap on the first slot in the middle row to place it.
Select box number 7 from the inventory and tap on the second slot in the middle row to place it.
Select box number 6 from the inventory and tap on the third slot in the middle row to place it.
We can see that the drawing of the boxes forms an arrow.
Step 3
Select box number 8 from the inventory and tap on the first slot in the bottom row to place it.
Select box number 2 from the inventory and tap on the second slot in the bottom row to place it.
Select box number 3 from the inventory and tap on the third slot in the bottom row to place it.
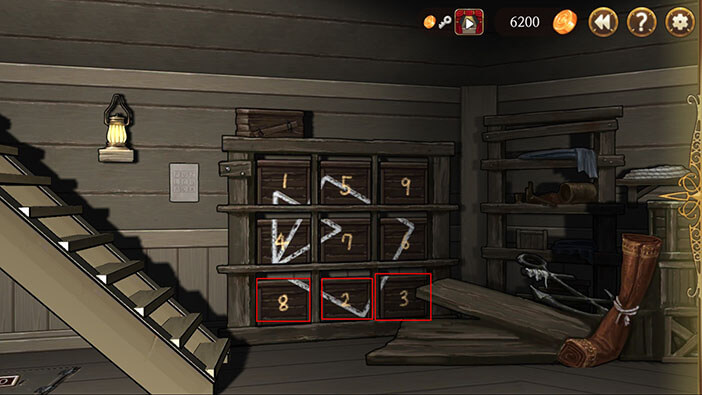
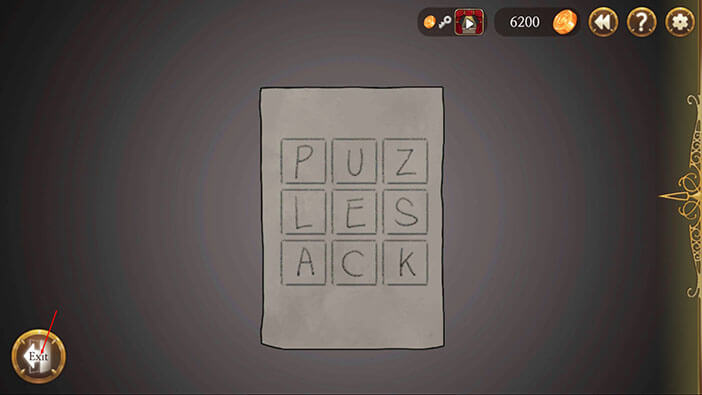
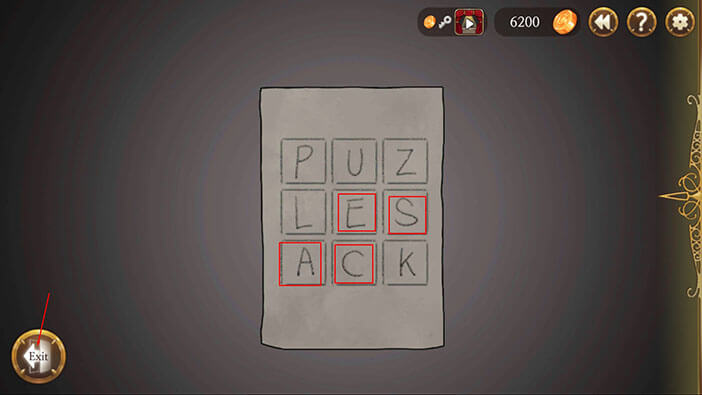
Ok, now tap on the note to the left of the wooden frame to check it out.
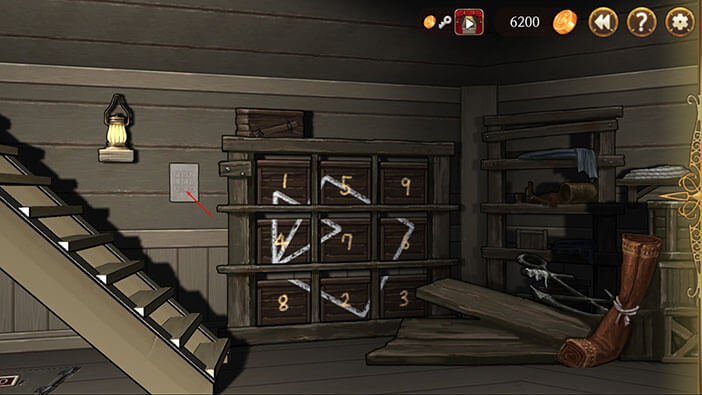
It’s is a three by three grid, just like the wooden frame, but instead of numbers here we have a single letter in each of the nine fields. Tap on the “Exit” button.
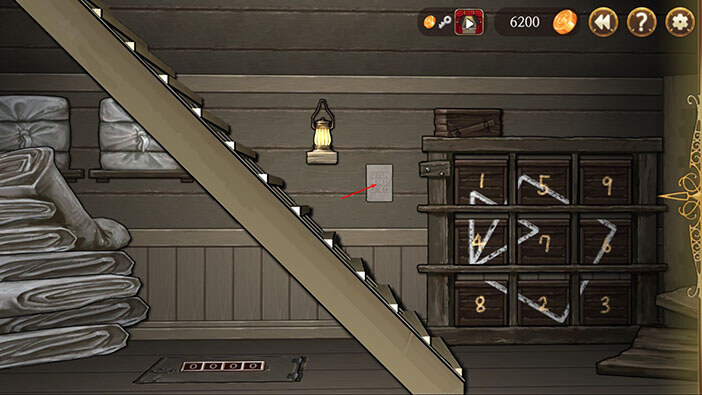
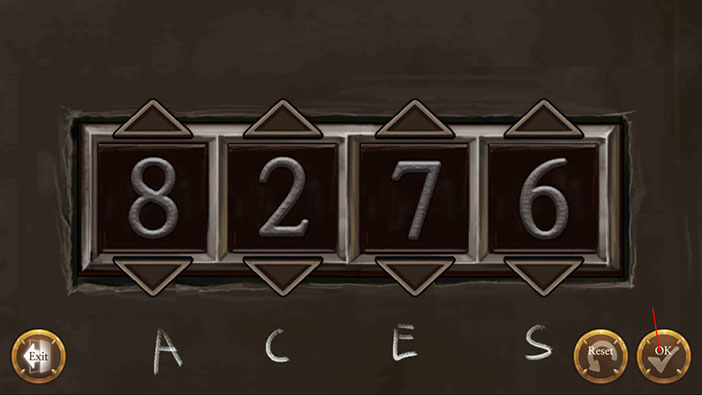
Tap on the numerical lock.
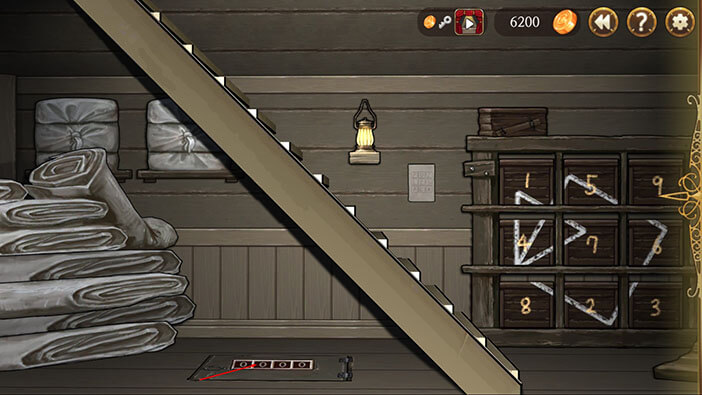
We can see that there’s a single letter below each of the four numbers.
First number = “A”
Second number = “C”
Third number = “E”
Fourth number = “S”
Memorize or write down this information.
Tap on the “Exit” button.
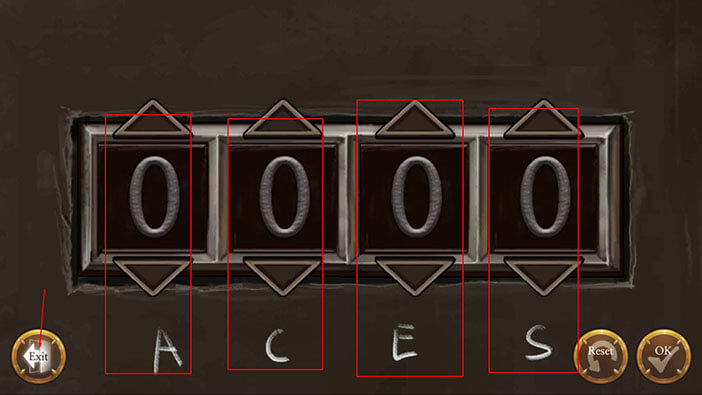
Ok, now let’s tap on the note, located to the left of a wooden frame, to check it out again.
Well, you probably guessed the solution to this puzzle by now. If we replace the letters in the fields on the note with the numbers on the wooden boxes that are in the same position on the 3×3 grid, we will crack the code for the numerical lock.
Let’s do it.
Below the first number on the numerical lock is the letter “A”. We can see that the letter is located in the FIRST FIELD OF THE BOTTOM ROW.
Below the second number on the numerical lock is the letter “C”. We can see that the letter is located in the SECOND FIELD OF THE BOTTOM ROW.
Below the third number on the numerical lock is the letter “E”. We can see that the letter is located in the SECOND FIELD OF THE MIDDLE ROW.
Below the fourth number on the numerical lock is a letter “S”. We can see that the letter is located in the THIRD FIELD OF THE MIDDLE ROW.
Memorize or write down this information and tap on the “Exit” button.
Ok, let’s check out the boxes in the wooden frame, and replace the letters with numbers.
First number = FIRST FIELD OF THE BOTTOM ROW = 8
Second number = SECOND FIELD OF THE BOTTOM ROW = 2
Third number = SECOND FIELD OF THE MIDDLE ROW = 7
Fourth number = THIRD FIELD OF THE MIDDLE ROW = 6
When we put it all together, our code is “8276”. Great!

Turn to the left and tap on the numerical lock to start the interaction.
Enter the code “8276” and tap on the “OK” button.
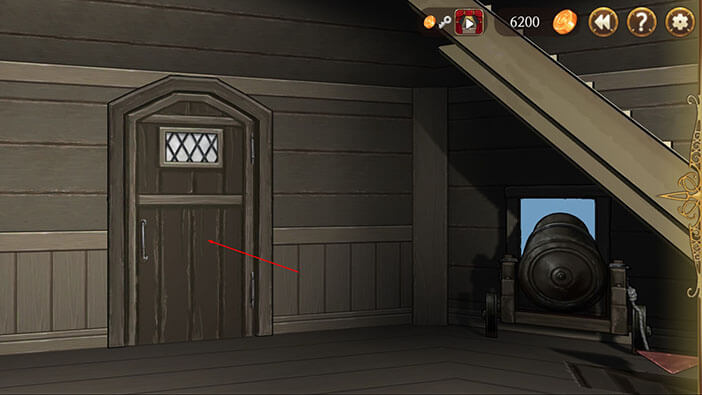
After entering the correct code we unlocked the hatch and we can proceed down the last stairs. Tap on the arrow to go downstairs.
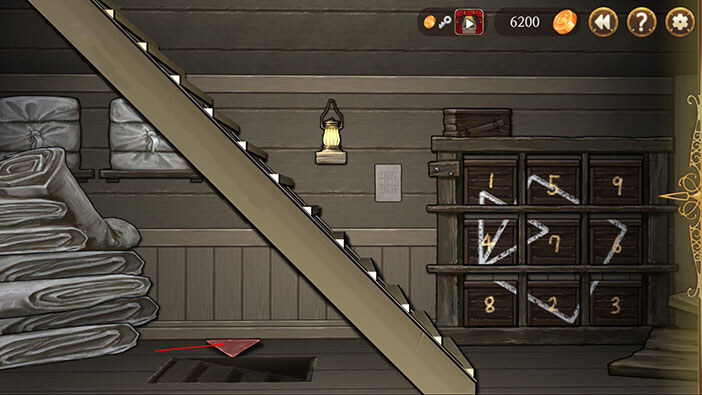
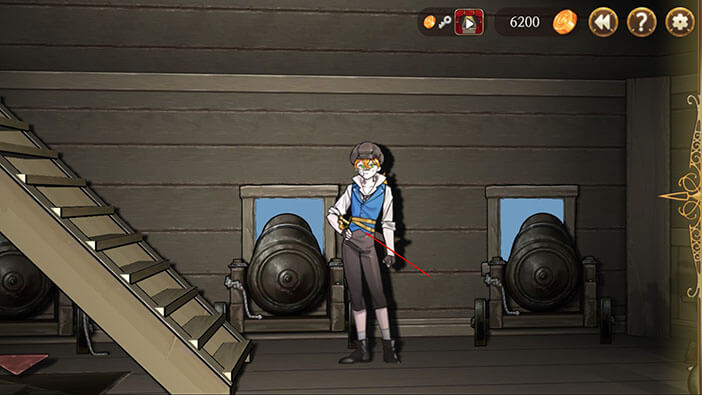
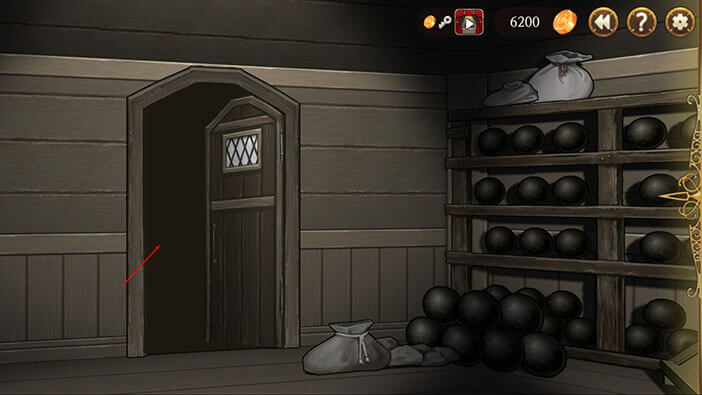
Tap on the pile of firewood in front of you to pick it up.
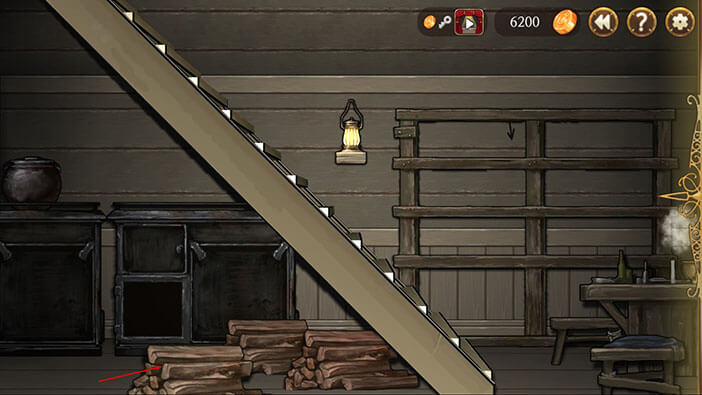
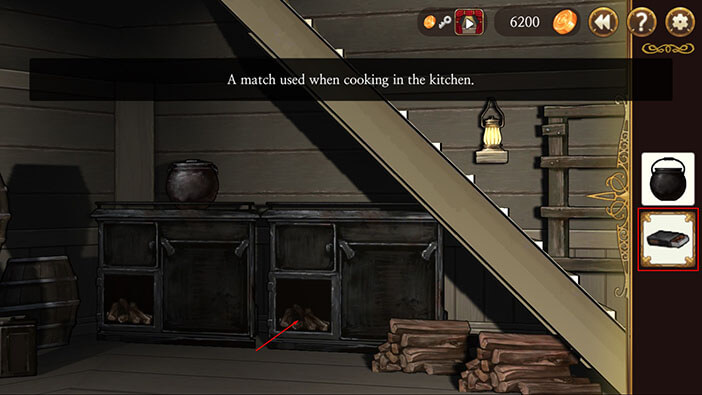
Turn all the way to the right and tap on the “Cauldron” in the corner, and the “Box of Matches” on the small shelf to pick them up.
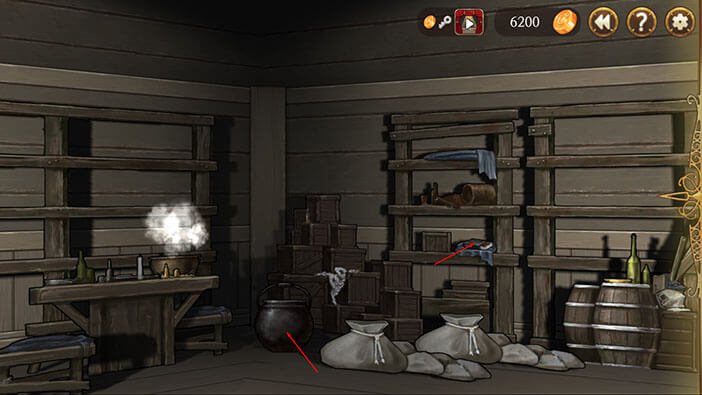
Let’s start a fire. Select the “Firewood” from the inventory and tap on the fireplace to place it.

Now, select the matches from the inventory and tap on the “Firewood” to start a fire.
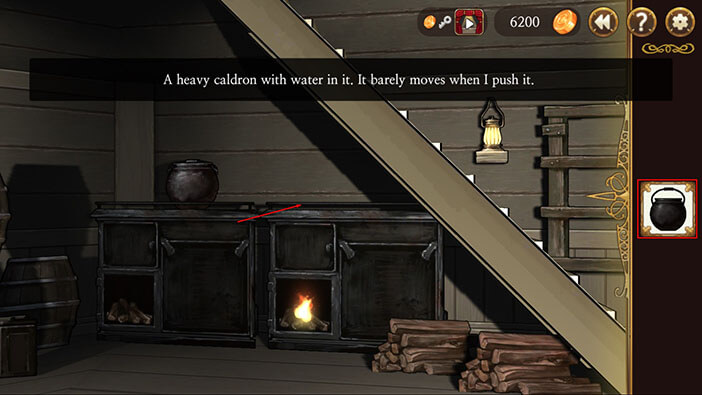
Ok, now select the “Cauldron” from the inventory and place it onto the stove, above the fire.
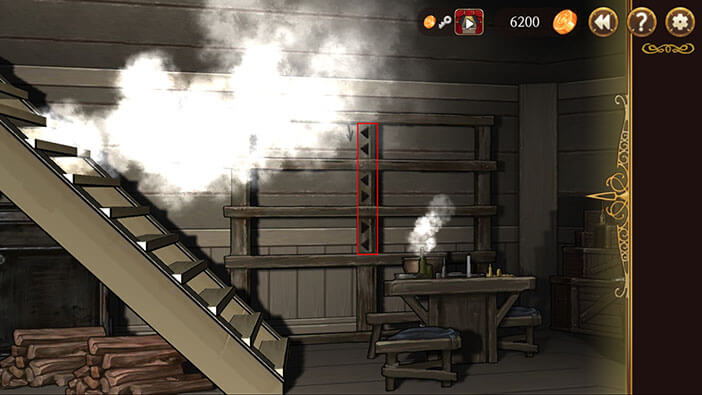
Turn to the right and face the wooden frame. We can see an arrow pointing downward, and down the middle of the frame, there are five arrows pointing left and right. The sixth arrow is missing, for now.
Tap on the bowl on the table in front of the wooden frame to move it to the left.

The steam from the bowl revealed the last arrow. We should now write down or memorize the facing of the six arrows, counting them from top to bottom. Let’s do it.
First Arrow = Left
Second Arrow = Left
Third Arrow = Left
Fourth Arrow = Right
Fifth Arrow = Right
Sixth Arrow = Left
Great!
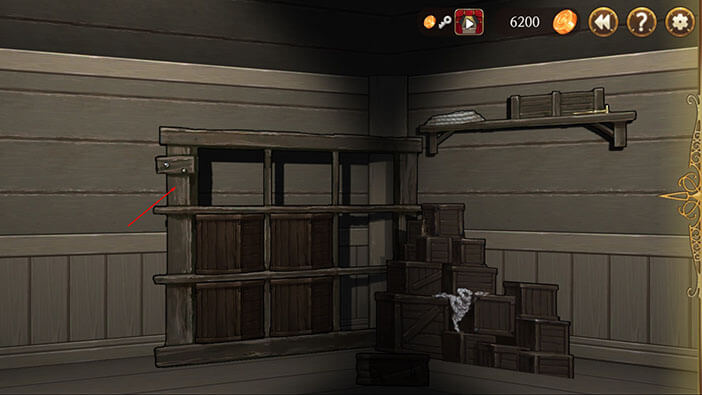
Turn all the way to the left and tap on the small wooden box, located in front of the barrels.

We can see two small cubes, one on the left, and one on the right. Let’s tap on the cubes in the same order as the arrows on the wooden frame are pointing.
Step 1
Tap on the left cube twice.
Step 2
Tap on the left cube.
Tap on the right cube.
Step 3
Tap on the right cube.
Tap on the left cube.
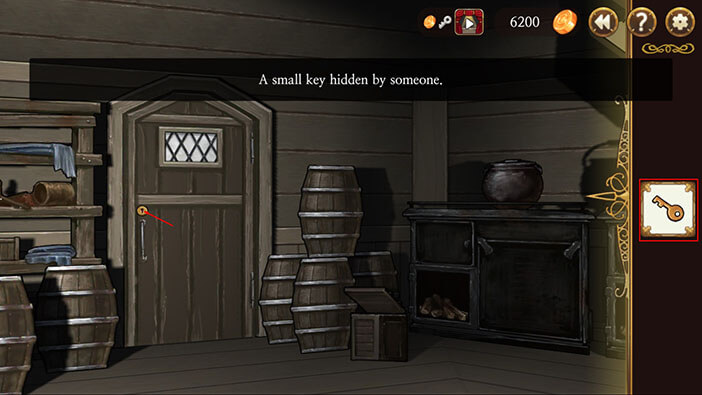
After tapping on the cubes in the correct order the small wooden box will open. Tap on the key inside it to pick it up.
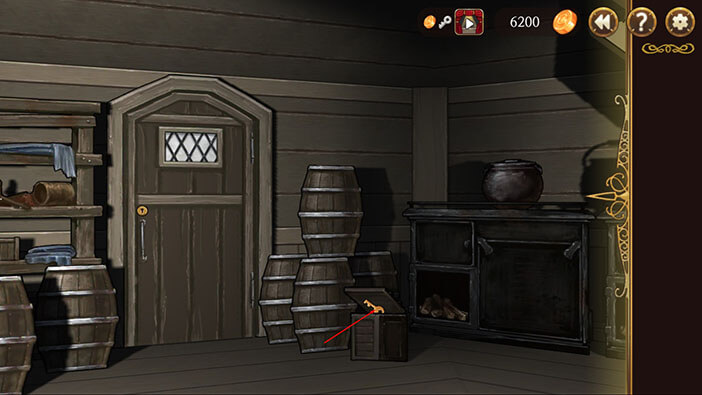
After tapping on the cubes in the correct order the small wooden box will open. Tap on the key inside it to pick it up.
Tap on the door to open it and tap once more to proceed into the next room.

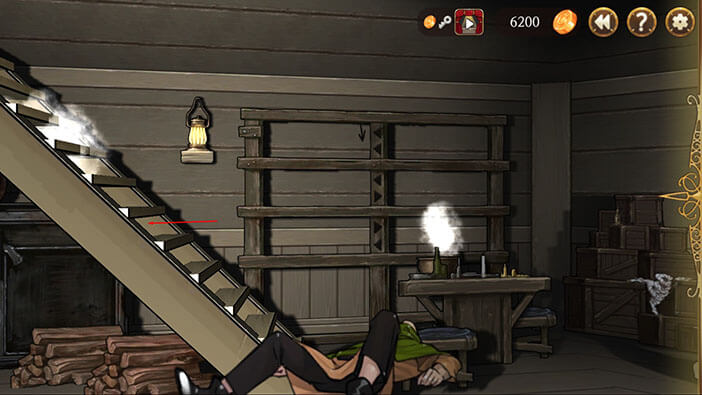
Turn all the way to the left and you will notice that somebody (probably Stoneboy) is hidden behind the wooden shelf. However, it is too heavy to move, because there are a lot of boxes on it. Tap on all the boxes to remove them (6 In total).
Tap on the wooden shelf to move it aside.
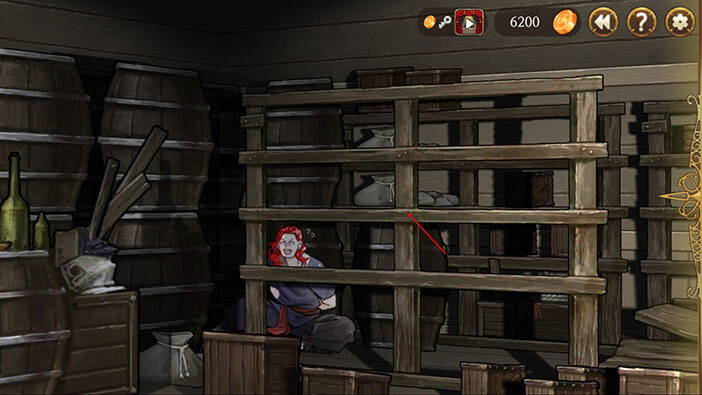
Tap on the Stoneboy to start the conversation.
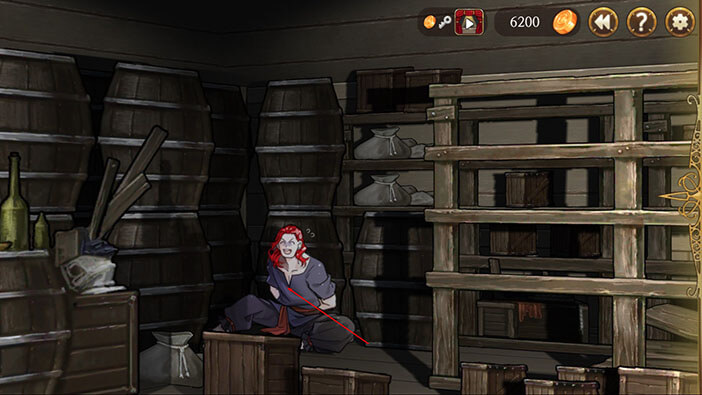
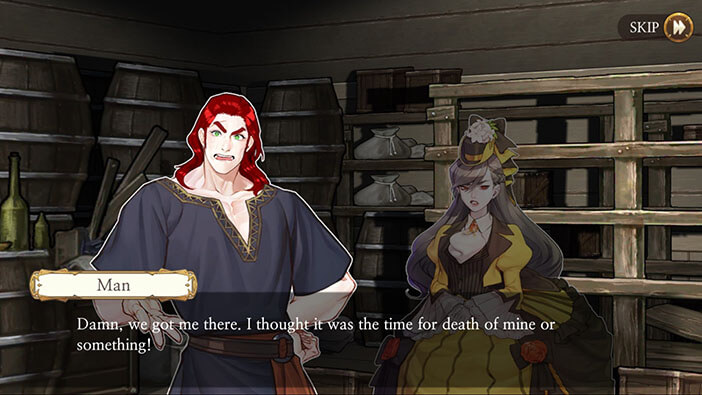
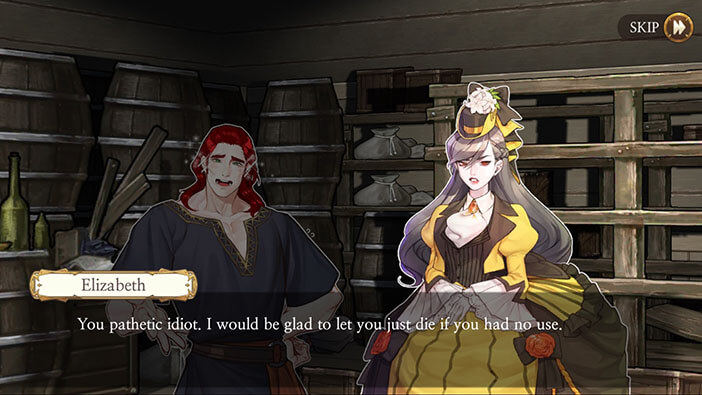
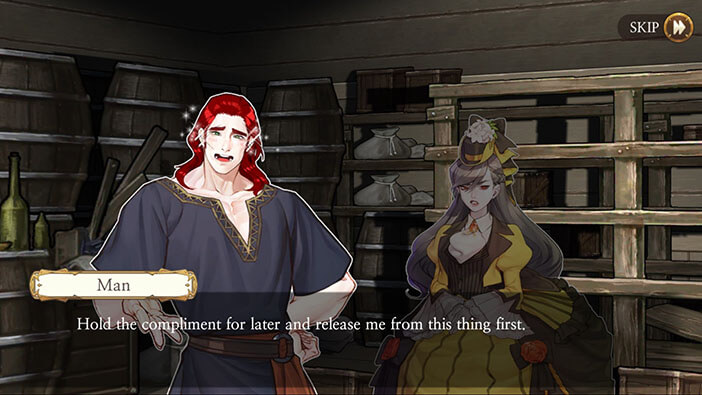
Stoneboy is terrified because he taught the pirates came to kill him. Elizabeth tells him to be quiet, and throws a few insults, saying that the only reason why she came to save him is because she needs him. Stoneboy half-jokingly says that she can save the compliments like an “idiot” for later after she unties him.
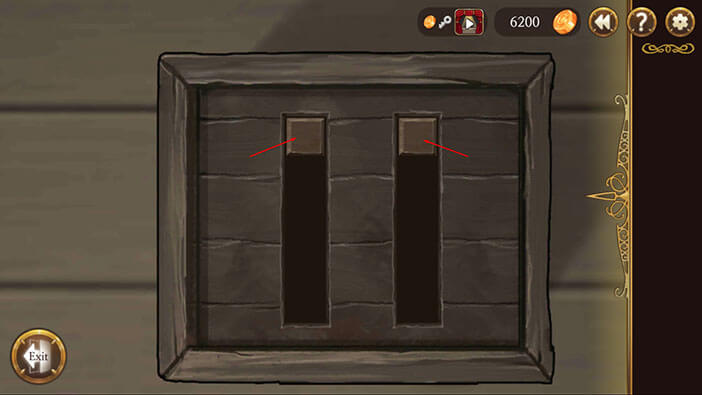
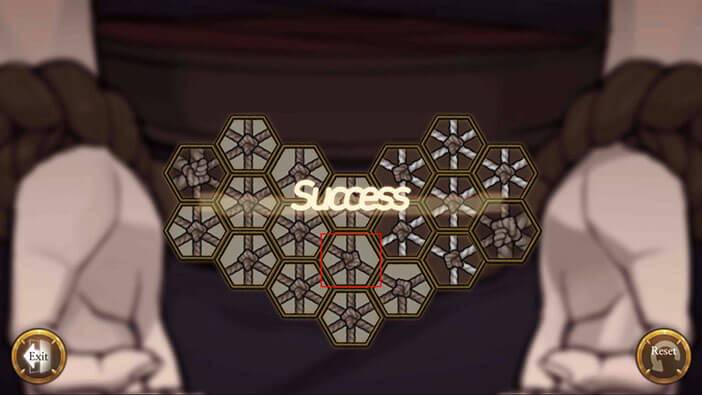
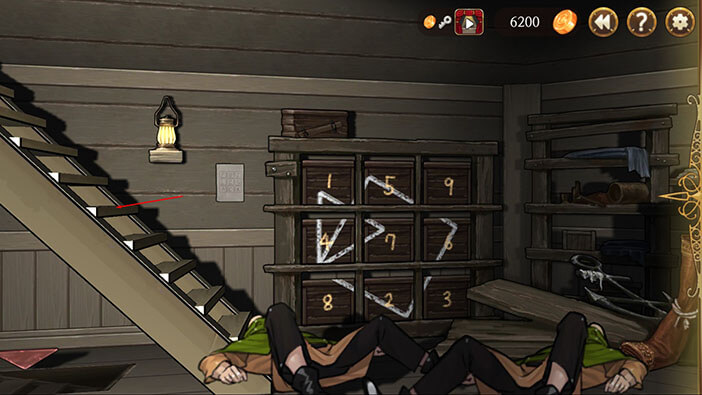
So, our next task is to untie Stoneboy, by turning the knots in the middle and disconnecting the two sides of the rope.
I finished this puzzle by rotating only five knots, and you can see the solution in the images below.
First rotate the four knots marked with the red border, so that their empty sides have the same facing as in the first image.
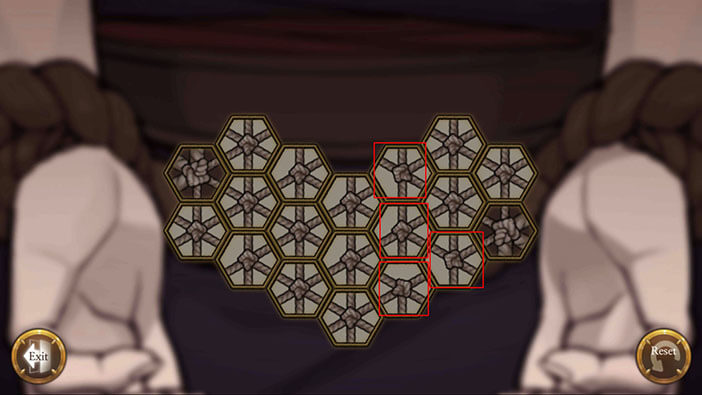
After that, rotate the last “red” knot so that its empty side faces the upper-right, like in the image below, and you will solve this puzzle.
Stoneboy complains about the ruthlessness of the pirates, saying that they almost broke his wrists, and seemed very eager to kill him.
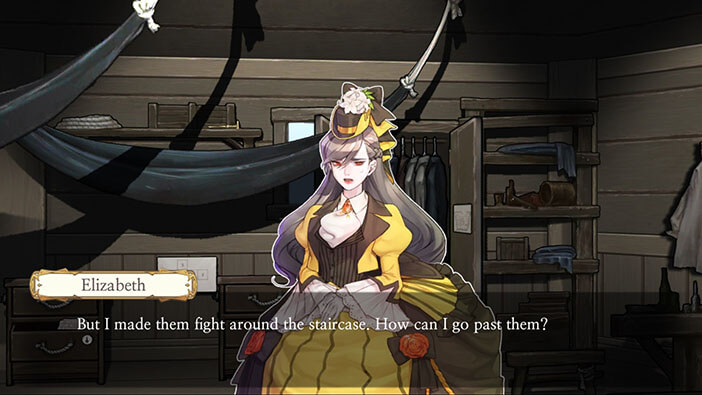
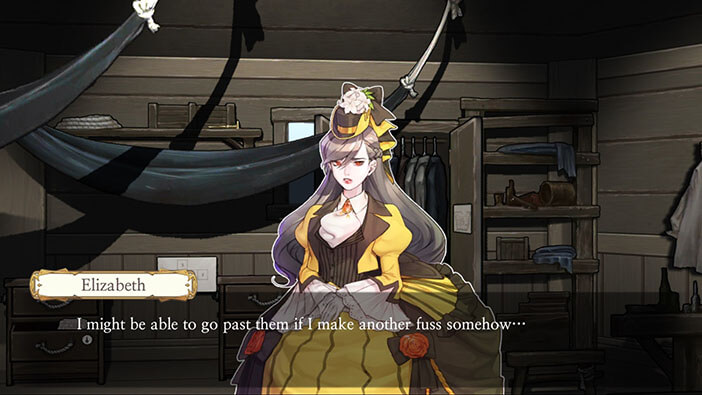
Elizabeth shuts him up, but at this moment, someone enters the storage room, and our characters realize that they will have to fight their way out of the ship. Well, I don’t know about Stoneboy, but Elizabeth is a master swordsman and she should be able to defeat almost any pirate in single combat. However, pirates aren’t known for fighting honorably, and she will be in huge trouble if several pirates gang up on her. 
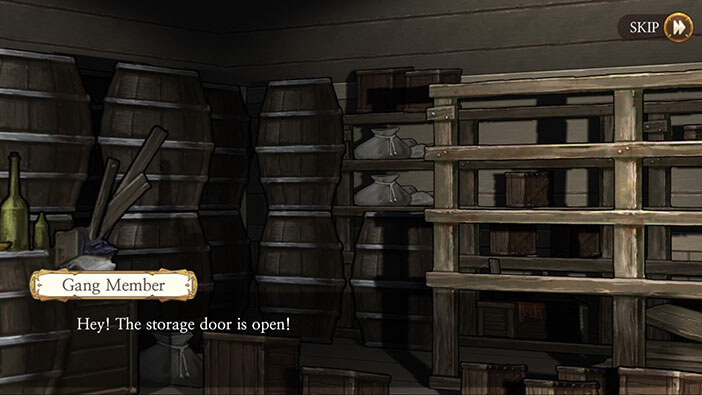
We will have to escape the same through which we came in. Turn all the way to the right and tap on the door to go back to the previous room.
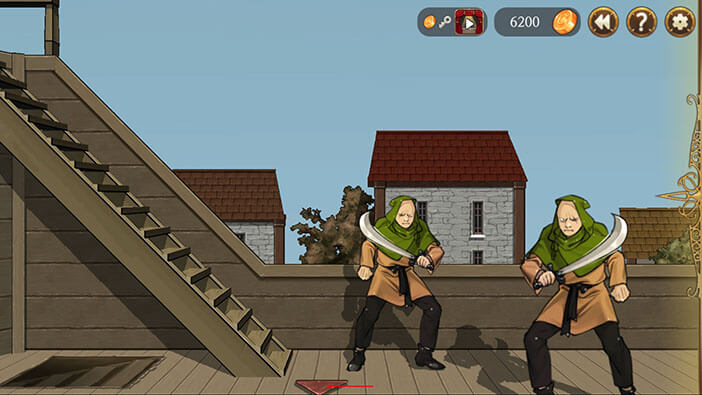
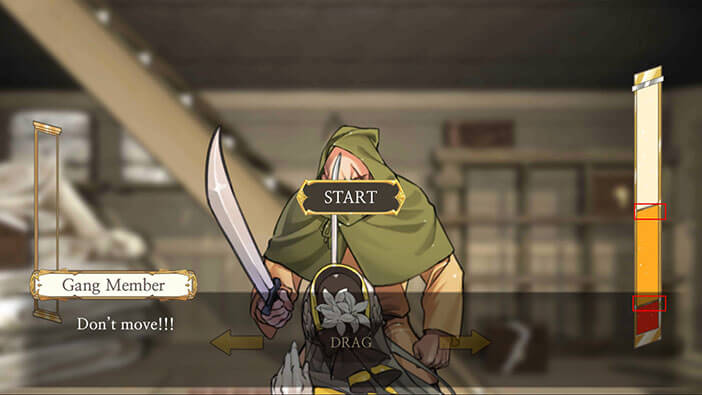
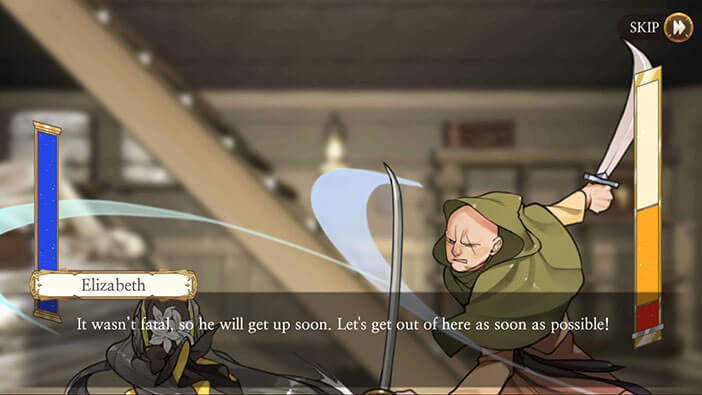
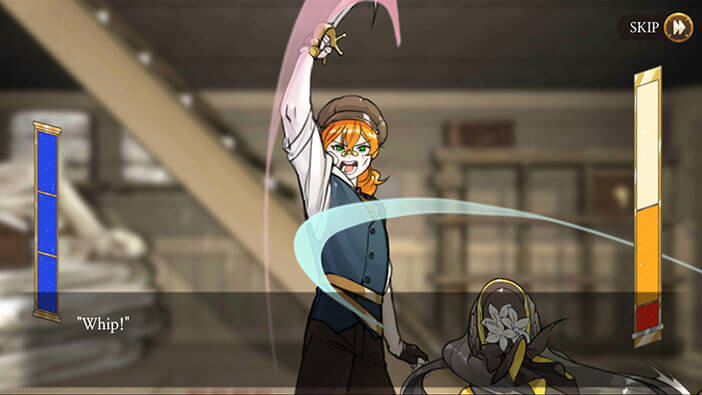
One of the pirates is blocking the staircase, so we will have to fight him. Tap on the pirate to start the duel.
This is the same, real-time minigame, like the ones that we played previously. There is a line going up and down through the bar on the right. When the line reaches the orange area, the pirate will no longer move and he’s preparing to attack. When the line reaches the red portion of the bar the pirate is about to execute the attack. When you see that line has reached the red portion of the bar, just move Elizabeth to the opposite side of the pirate. She will quickly dispatch him by performing a dodge and counter-attack, in one fluid motion.
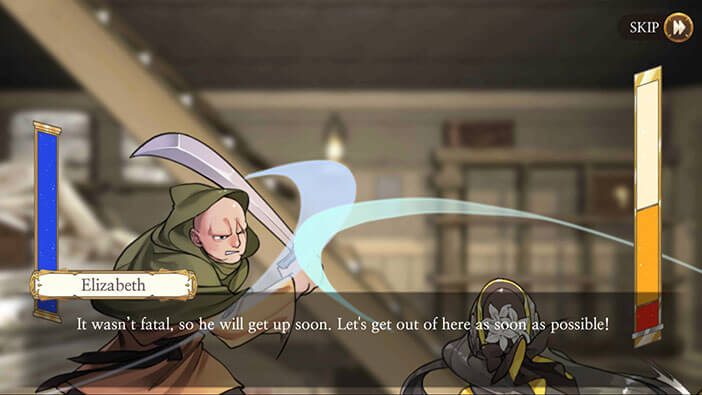
Elizabeth (probably intentionally) only wounded the pirate and temporarily disabled him. With the way up the stairs cleared, tap on the stairs to continue the escape.
There are two pirates in this room. Tap on the one closest to you to start the fight. To win the duel, just repeat the same thing as before, wait for the line to reach the red portion of the bar, and dodge and counter-attack in the opposite direction. Elizabeth will disable both pirates simultaneously, wounding them, just like the previous guy.

With the path cleared, tap on the stairs to go up.
The Gang Boss is waiting for us in this room, so we better prepare for the boss fight. Tap on him to initiate the duel.
Fighting the Gang Boss is the same as fighting the pirates, except that you will have to dodge and counter-attack him three times instead of just once, in order to win the fight…
Elizabeth just disabled and wounded the Gang Boss, but Stoneboy thinks that she should have killed him.
With the Gang Boss on his knees, we can continue with our escape. Turn to the left, tap on the door to open it, and tap again to enter.
When you reach the next room, turn to the left and tap on the arrow to go downstairs.

Turn to the left and tap on the door.
We finally reached the room through which we came into the ship. Turn to the left and tap on the wooden frame to move it aside (oddly enough Elizabeth can now move it without having to remove the boxes first).
Tap on the hole in the wall to escape…
Unfortunately, the hole is too small for Stoneboy. Because of that Elizabeth says that he is useless? I don’t get it.
At this moment, our characters hear the Gang Leader threatening them from the other room, while his pirates are trying to break down the door. They are about to break in…
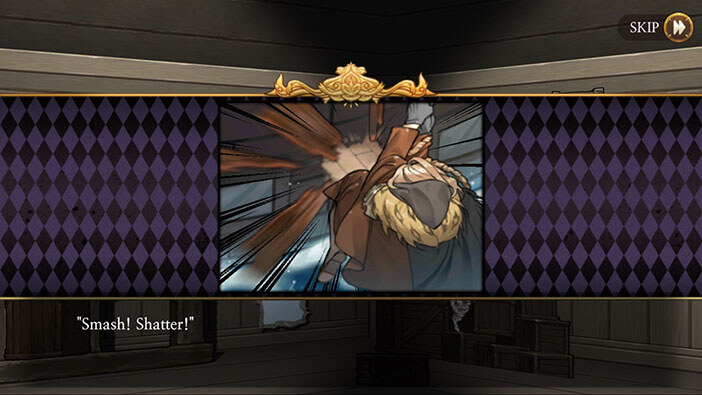
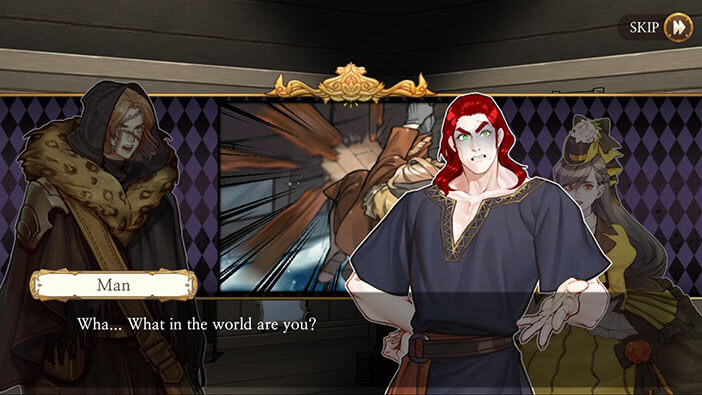
Elizabeth calls for Huxley, and he smashes into the wall, widening the hole.
Before the trio makes their escape, Stoneboy stares at the giant Huxley for a few seconds in disbelief.
Ok, we got off the pirate ship, but now we have to run through the streets and reach our own ship, the “Genesis”.
Tap on the red arrow on the right to go to the “Central Market”. It seems that the pirates will chase after our characters.
Once there, turn to the left and tap on the first arrow on the ground (next to the pub).
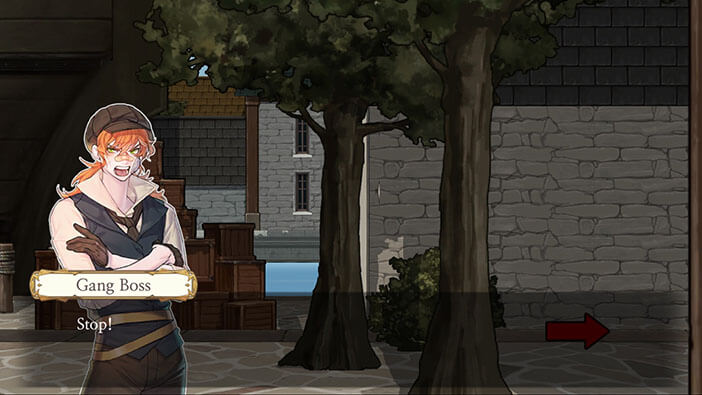
Now, turn all the way to the right and tap on the red arrow to go to the “Jeweler’s Street”. The pirates are still chasing us, and Gang Boss is enraged, yelling that he will kill all of our characters. Well, this is not good, but once we reach the ship we will be safe.

Once there, turn to the left and tap on the first arrow on the ground.
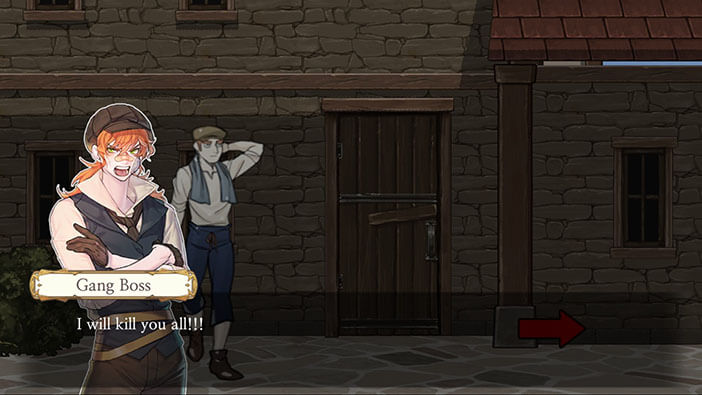
Turn all the way to the right and tap on the red arrow. The Gang Leader and his pirates are still following close behind our characters while yelling threats.
Turn all the way to the right and tap on the red arrow.
We finally reached “Genesis”. Turn to the right and tap on the rope ladder to board the ship.

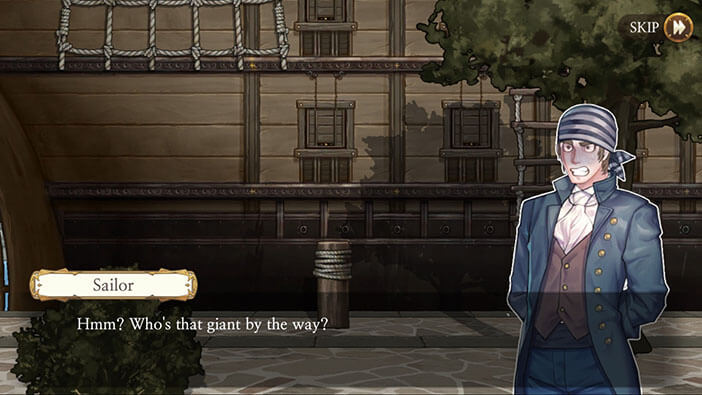
The sailors on the “Genesis” are wondering who is the giant accompanying Elizabeth and Stoneboy? But Stoneboy has no time for explanations and immediately orders the crew to pull up the anchor and set sail.
The Gang Boss and his pirates make a lot of threats as the “Genesis” sails out. It looks like they are going to chase us in their own ship. Ah well, if that’s the case it might have been a better idea to just arm the crew and fight them on the Genesis. They are pirates after all, and they are used to fighting at sea…

In the next stage, we will be playing as Elizabeth once more, as she, Stoneboy, Huxley, and the rest of the crew make their way toward Babel, with the pirates at their heels. Join us in the next stage of the Walkthrough for Frankenstein Room ESC, so we can discover together will our characters be able to evade pirates? If not, they will have to fight them and we can finally see Huxley smashing some pirates. Also, we are now getting closer to the Babel, our final objective…
Thank you for reading.