Chapter 8-2 For Happiness
Complete Walkthrough
Hello everyone, and welcome to our Walkthrough for the Second Stage of Chapter 8 for the Frankenstein Room ESC adventure game. In this stage, we will be playing as Victor Frankenstein, discovering how he met Huxley and Elizabeth. We will also see through his eyes the events that played out at the Lavenza mansion.
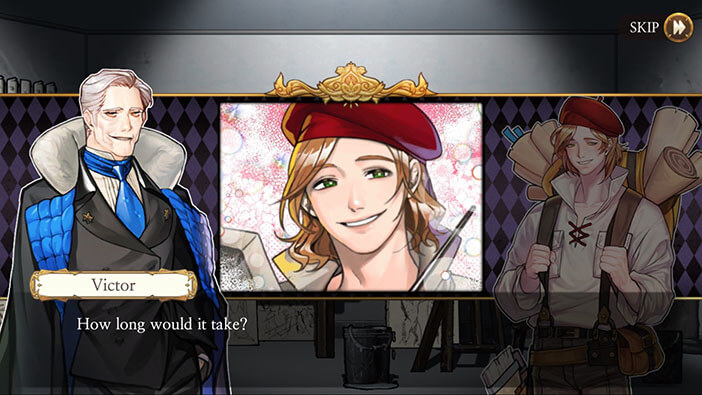
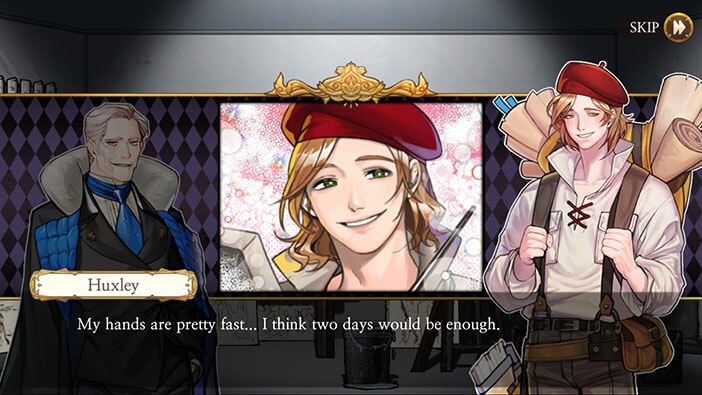
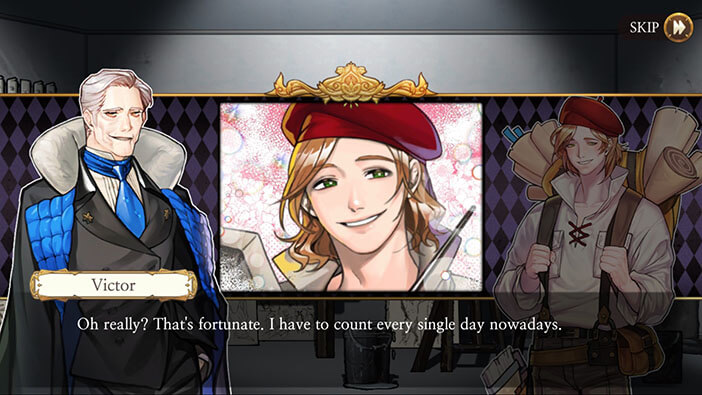
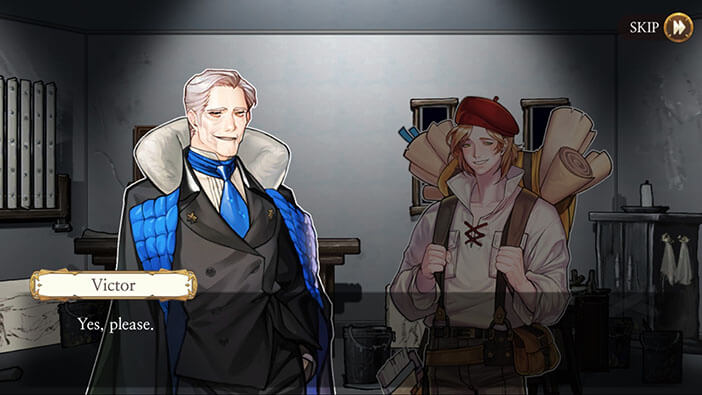
Our story begins with Victor Frankenstein posing for Huxley who is drawing his portrait. Huxley thinks that he should be able to finish the portrait in two days. Victor is pleased to hear this since he has to make every day count and doesn’t want to lose too much time posing. Huxley says he will work as fast as he can, and asks Victor to be still while posing for the portrait.
After some time Huxley calls for a break, and Victor accepts because he would really like to stretch his legs before they continue.

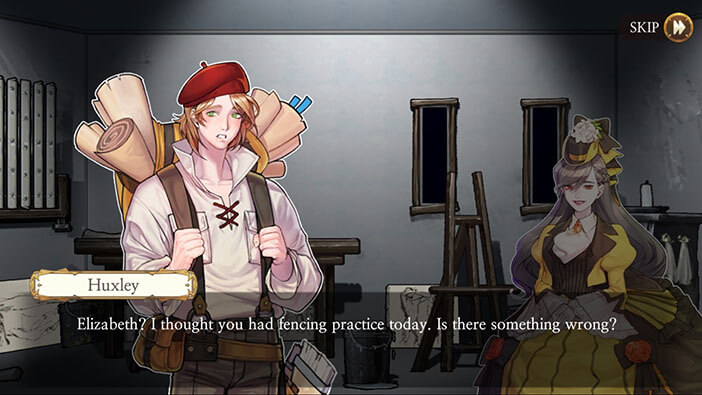
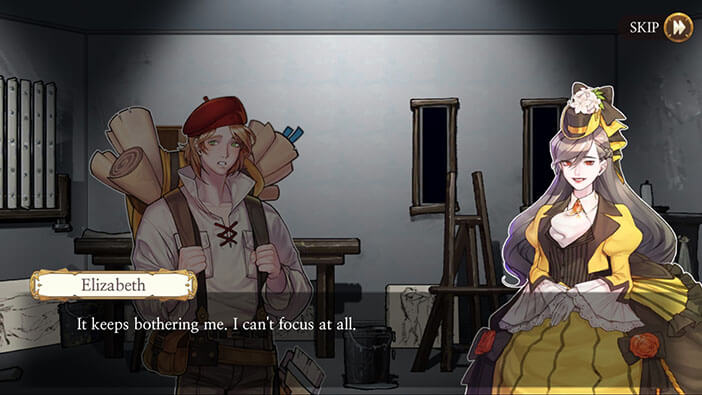
At this moment Elizabeth enters the studio. Huxley is surprised to see her since she should be at her fencing practice. Elizabeth says that something is really bothering her, so she decided to skip the practice.
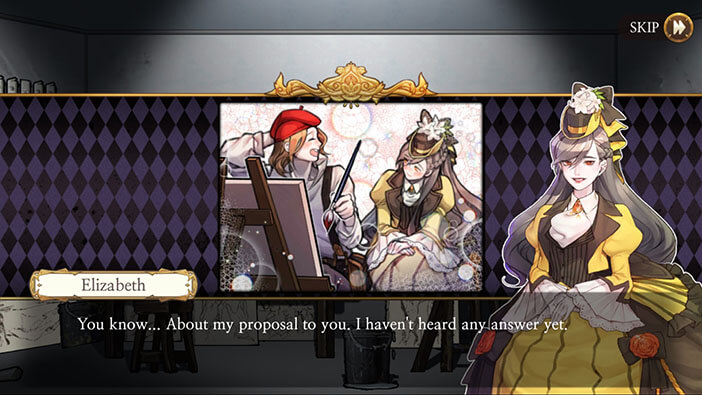
Elizabeth sits down to have a word with Huxley. We can now recognize this image from the memories of Huxley MK II. It was actually Victor Frankenstein’s memory since he got up to stretch his legs from posing and saw the couple talking.
Anyway, Elizabeth says she still didn’t get an answer concerning her proposal. It’s uncommon to hear women making a proposal even now, but back in the 19th century it was almost unheard of, so Elizabeth was definitely a very straightforward person.
Huxley says that he accepts, but is worried about Elizabeth’s parents. Elizabeth straight up says that she doesn’t care about their opinion.
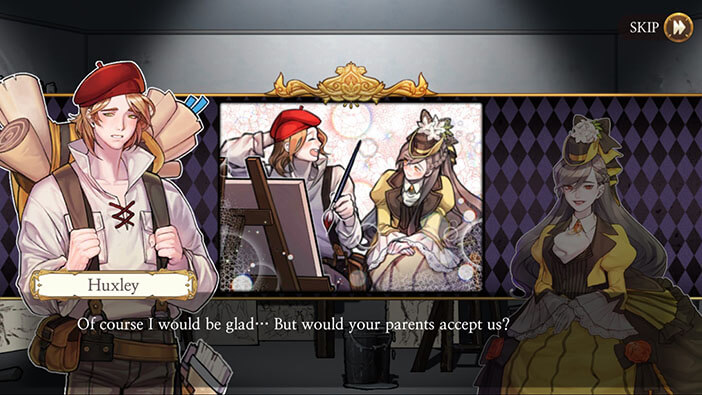
However, Huxley would like to slow things down and try to convince Elizabeth’s parents into excepting their marriage. He is in no rush and is happy to date Elizabeth a bit longer until that happens. She agrees with his idea. 
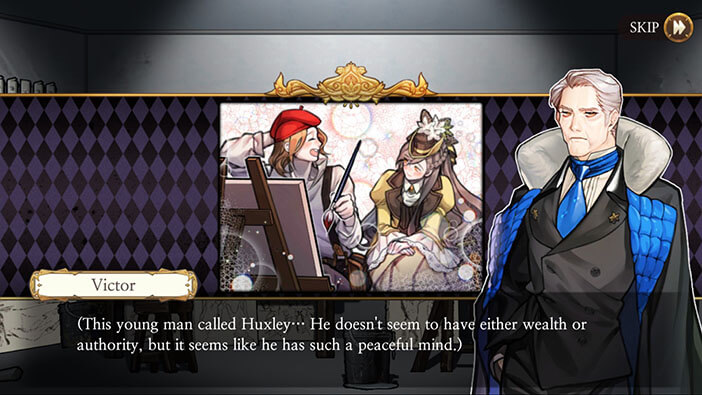
Victor Frankenstein, who was listening in on the conversation, finds this very odd. He sees that Huxley has no money, nor social status. Yet he thinks that Huxley has a very good life since he seems happy and confident. Moreover, the young painter is a good-looking fellow, and he is about to be married to the daughter of one of the wealthiest men in the region. Victor is struggling to understand how someone like Huxley could achieve all this without money or power.

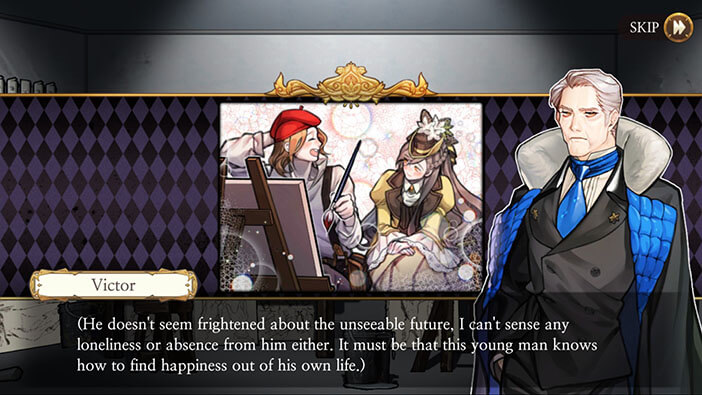
Besides that, Victor thinks that Huxley lives a carefree life, and isn’t concerned at all about the uncertain future ahead of him. He concludes that the man in front of him has found inner peace, and managed to create a really good and happy life for himself, while Victor “wasted” his life on research, trying to complete his father’s experiment, and get revenge on his enemies. All of this, ultimately lead to a life filled with despair and misery…
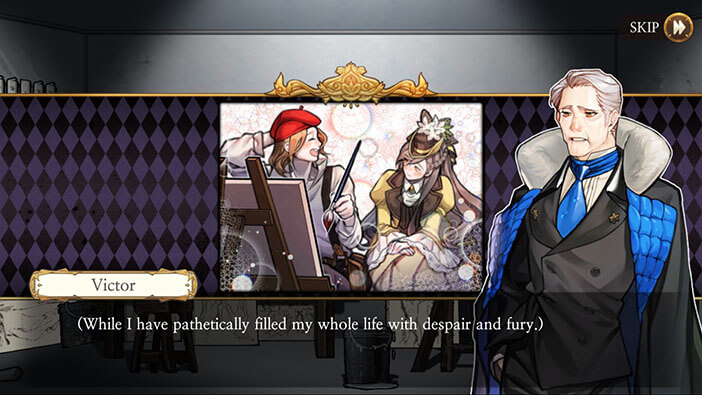
Lost in his thoughts, Victor concludes that his entire life could be described as decades long struggle to get revenge, that ultimately failed… It looks like Victor is jealous after seeing Huxley, who has a life filled with happiness, while Victor denied himself the same, and now he regrets his decision.


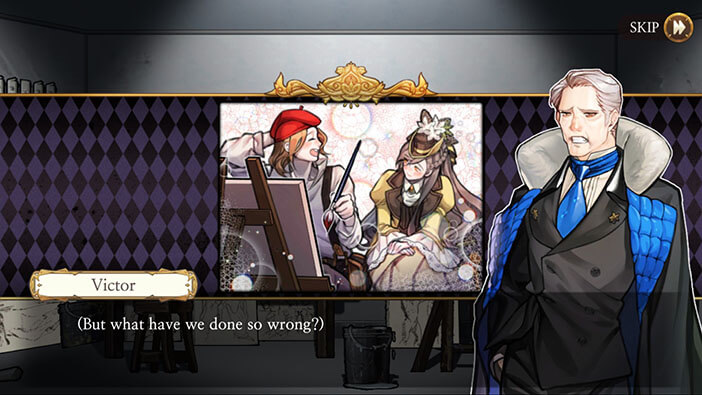
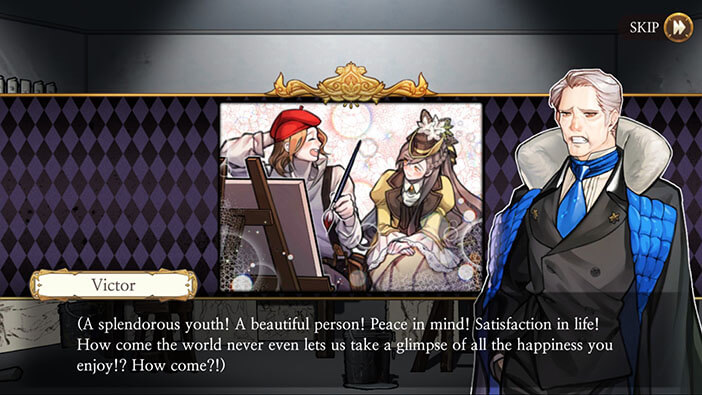
Victor becomes angry at himself saying that he didn’t do anything wrong and that his goal of achieving immortality for entire humankind is one of the noblest things to strive for. He feels like he is being punished for attempting such a thing, and feels that he will die feeling nothing but despair and misery.

Still lost in his own thoughts, Victor becomes openly hostile towards Huxley, asking himself who gave the young man permission to be so happy, and claiming that the world is unfair since he didn’t get to experience even a portion of Huxley’s happiness during his entire life. And he is going to die, soon enough…

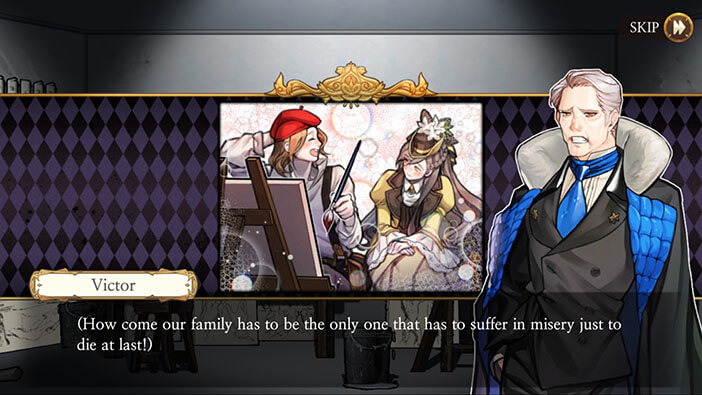
Continuing with the same line of thinking, Victor concludes that the fate of his entire family was to endure death, destruction, pain, and misery.
After this final conclusion, Victor has made up his mind. I guess at this point he decided to ruin Huxley’s life, set him up for the murder of Elizabeth’s parents, and finally reanimate and take over his body. So, here we have the motive. Victor was jealous after he saw Huxley, and that’s why he chose him for the experiment, out of all other people in the world. Well, I guess Victor didn’t get out much, since he would probably be jealous after seeing almost any other young couple. It wasn’t about Huxley. Victor has become an old and bitter man and realized that he wasted his life. Huxley had the misfortune of meeting Victor at the wrong time, and that cost him his life.

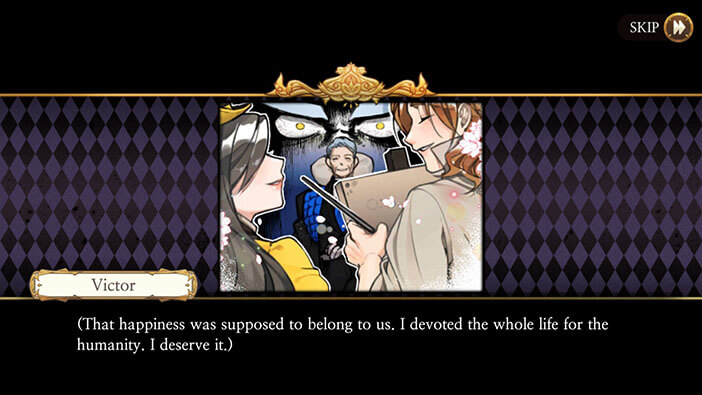
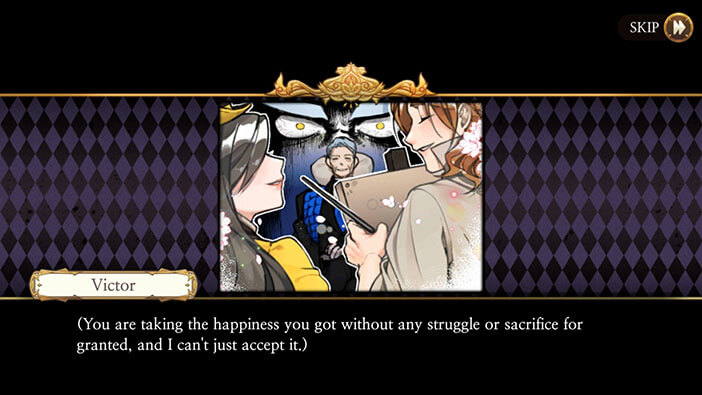
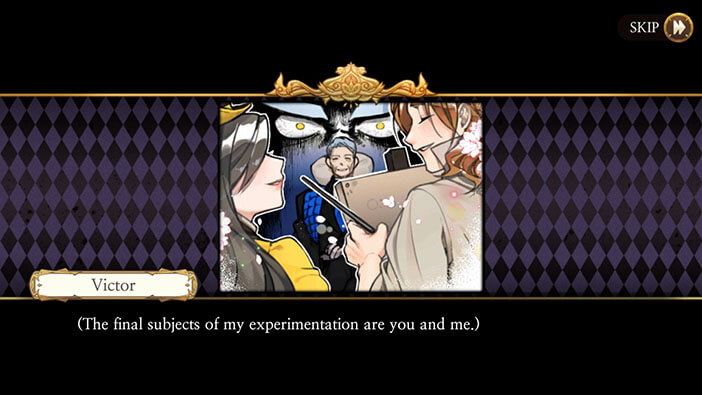
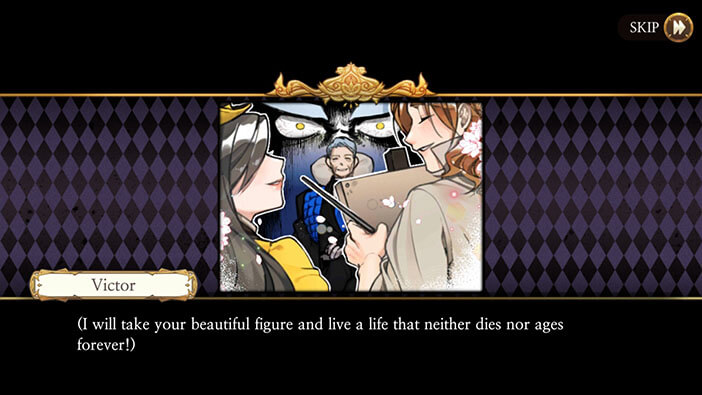
Victor continues to observe the happy couple, saying that he deserves to be as happy as they are, since he devoted his life to the goal of achieving the “eternal life for all mankind”. He can’t accept that Huxley and Elizabeth could be so happy without making any sacrifices.
Finally, Victor says to himself that he will take over the body of the young Huxley, and live an eternity inside the body that can’t age.
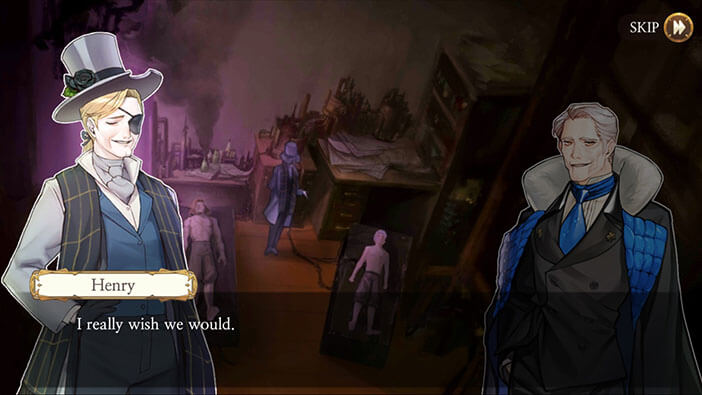
Our story continues at the Aegyptus headquarters with Silvia talking about the brain transplantation that Henry proposed. She thinks that there are a lot of problems with conducting such a procedure. Most notably, the “Sunspot Explosion” won’t happen until late December, and Victor (Samuel) won’t live that long if the doctor’s predictions are true.
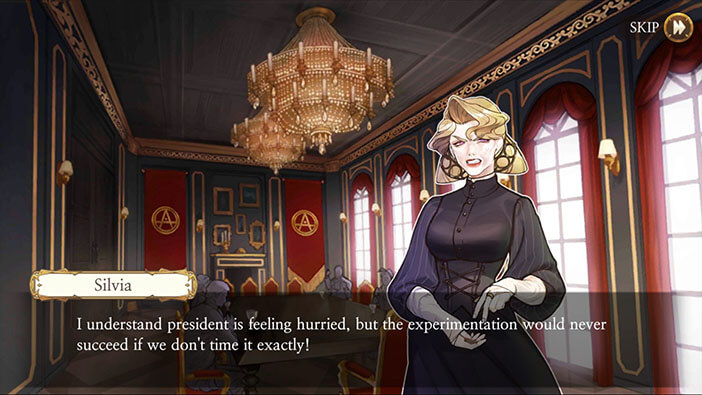

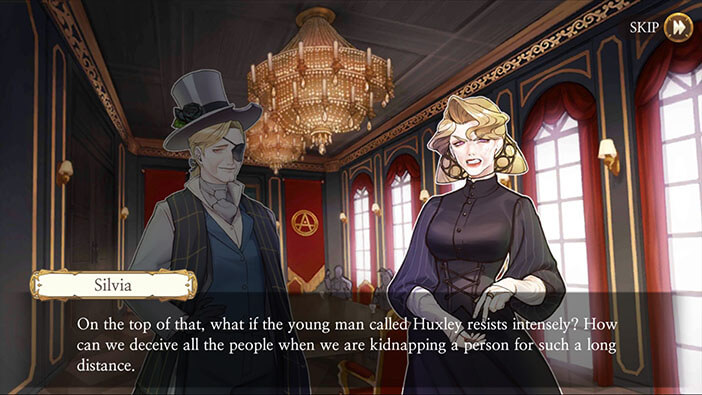
Moreover, she doubts that their president could even reach Babel in his current state, and all equipment needed for the transplantation is also in Babel. Finally, she says that transporting Huxley all the way to the ship in Hamburg could be very difficult if the young man resists since they would have to take him across several borders.

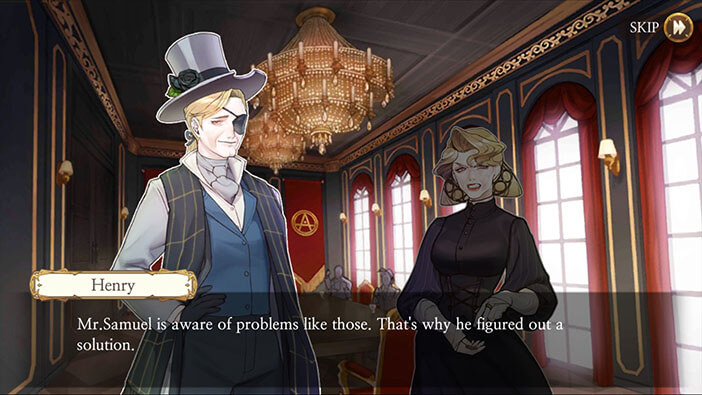
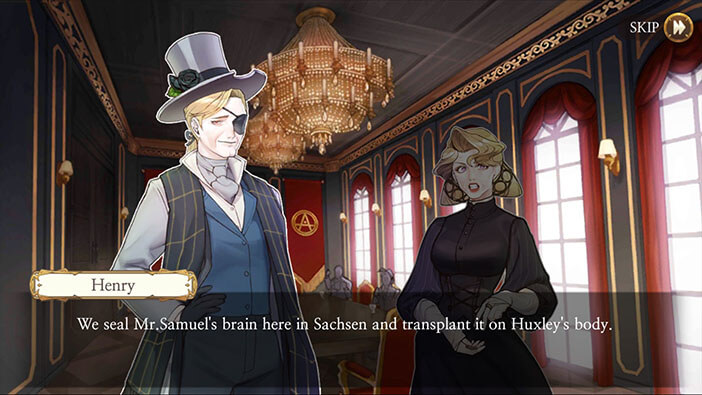
Henry replies that Mr. Samuel (that’s how we will call Victor for the rest of this stage) is aware of all these problems and has come up with a solution. The idea is to seal Samuel’s brain and transplant it into Huxley’s body here, in Sachsen. The idea is to convince the reanimated body (that we know as Huxley MK II) to get to Babel by its own free will by the set date.

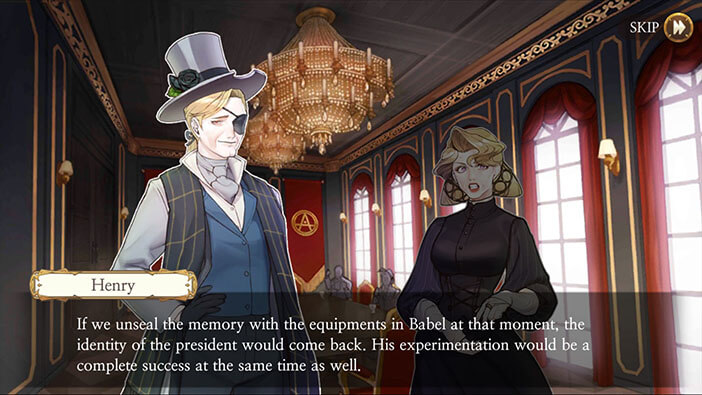
Once it gets there, Henry plans to use the equipment that is already in Babel to unseal Samuel’s brain, restoring his identity. This way, Victor (Samuel) could finally complete his life-long goal. As a side note, I think that Henry was supposed to manage and oversee releasing of Victor’s memory in Babel, but they surely didn’t count on detective Schmitz killing him under the bridge, during her feat of rage.
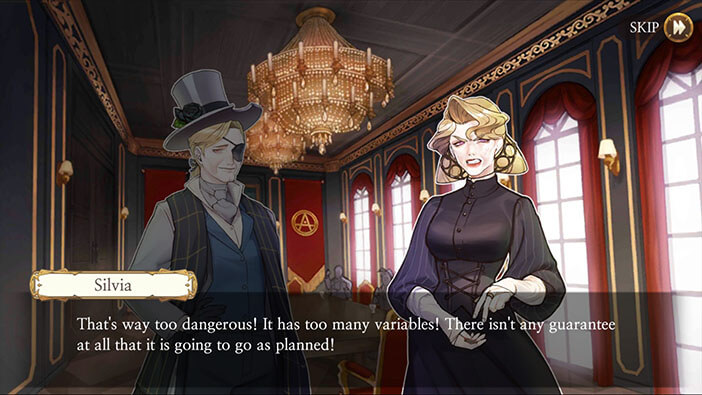
Silvia is outraged, saying that there are just too many things that can go wrong, and that it is impossible to make sure that everything will go according to plan.
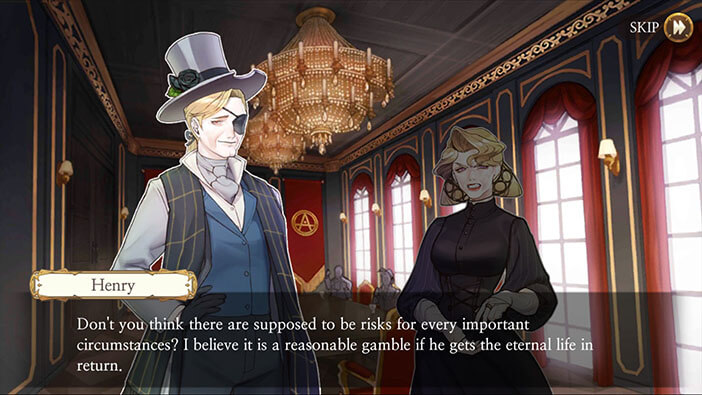
Henry replies that both he and Samuel are well aware of the risks, but they do not have any other option. Besides, if they succeed, Samuel will get eternal life, and achieve his lifetime goal at the same time, and that’s well worth the risk. Well, what else could they do? If they just sit around and do nothing Samuel will die in a few months. So, this plan actually makes some sense, from a logical point of view.
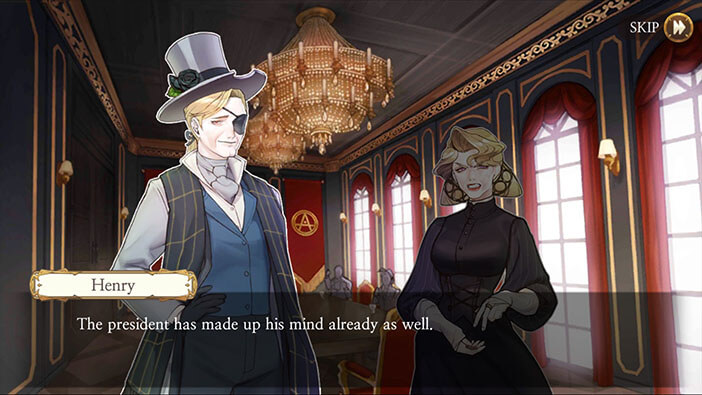
Finally, Henry says that the president (Samuel) has approved this plan, and that’s the end of the debate.
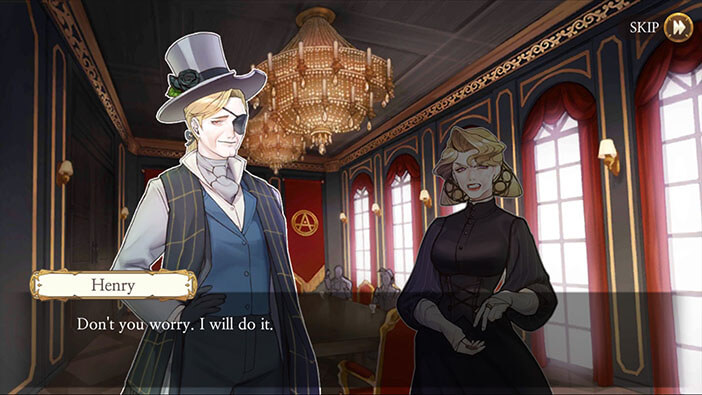
Silvia wants to know who is going to conduct a transplantation surgery on Samuel, but Henry quickly calms her down, saying that he is going to do it. Well, it looks like Samuel has a lot of fate in Henry. I guess he was pretty certain that his right hand won’t betray him. But he couldn’t predict that Henry will be murdered…

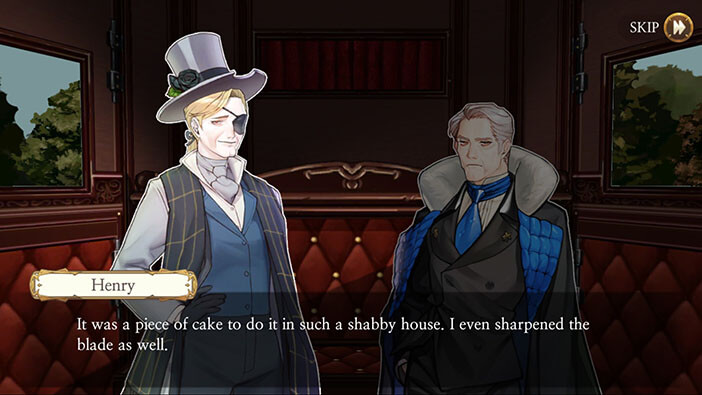
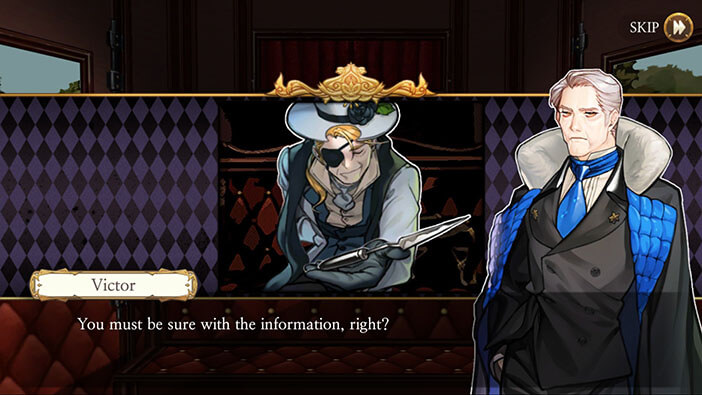
Our story continues in the carriage, with Henry coming to meet with Samuel. Samuel would like to know if Henry managed to get the item that he requested. Henry replies that it was a very easy task, since the lock on the door is simple and cheap, just like the rest of the house. Henry mentions that he even sharpened the blade. I guess he went to Huxley’s house and stole his art knife before he came to meet with Samuel.
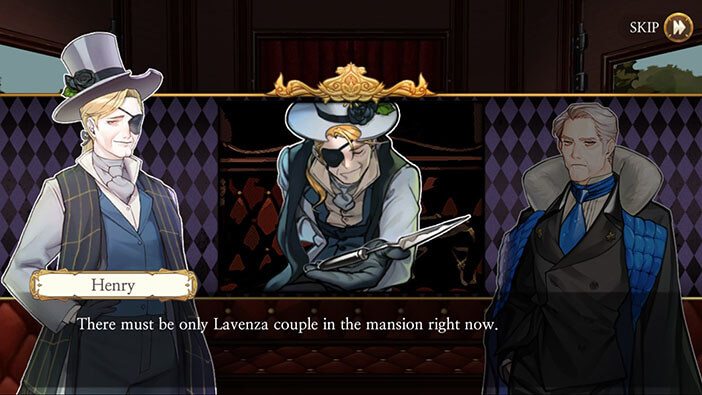
With that said, Henry hands over the blade to Samuel. The leader of the Aegyptus wants to know if the information that they have is correct. Henry confirms with a smile, saying that all the servants are out because they are helping with the party at the royal palace. Henry is sure that only Mr. and Mrs. Lavenza are at the mansion…

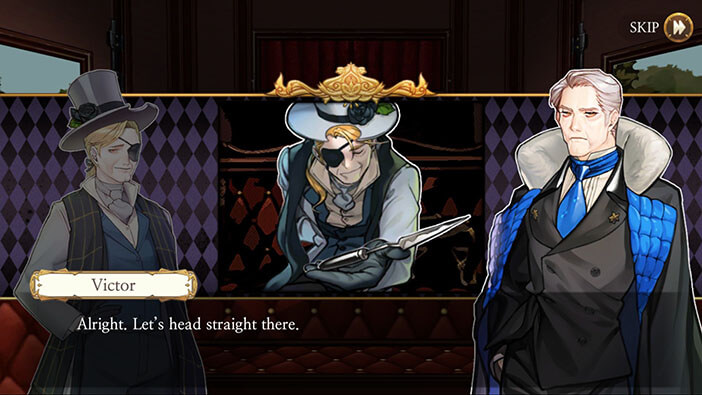
After double-checking the information, and ensuring that everything is going according to plan, Samuel wants to go inside the mansion, right away.
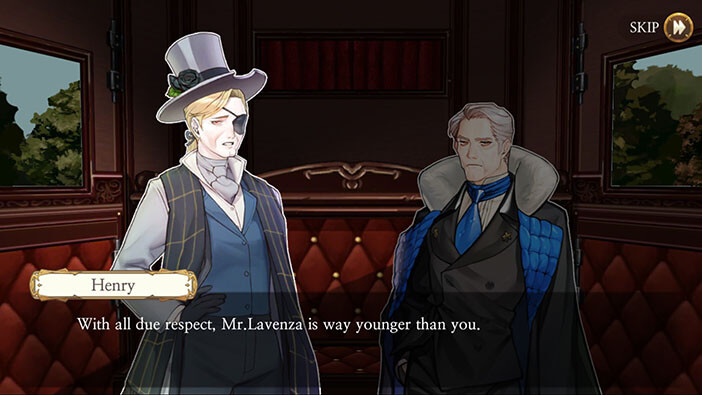
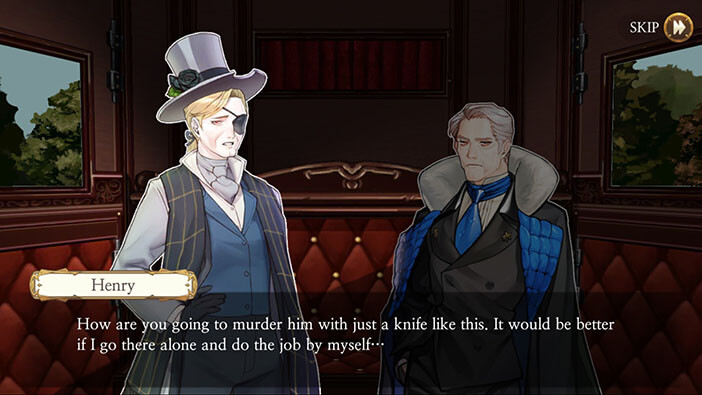
However, before they got out of the carriage, Henry expressed his concern, saying that Mr. Lavenza is much younger than Samuel. Henry believes that it might be a bit too dangerous for a dying Victor to attempt murdering a man in his full strength with just a pocket knife. A valid concern.
With that said, Henry offers to go in alone and do everything by himself, while Samuel waits in the carriage.
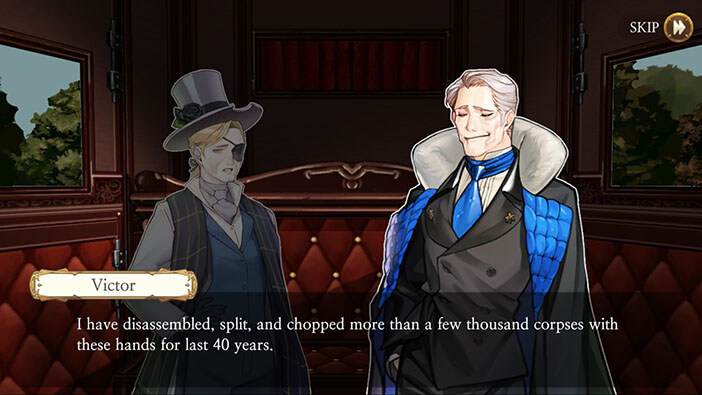
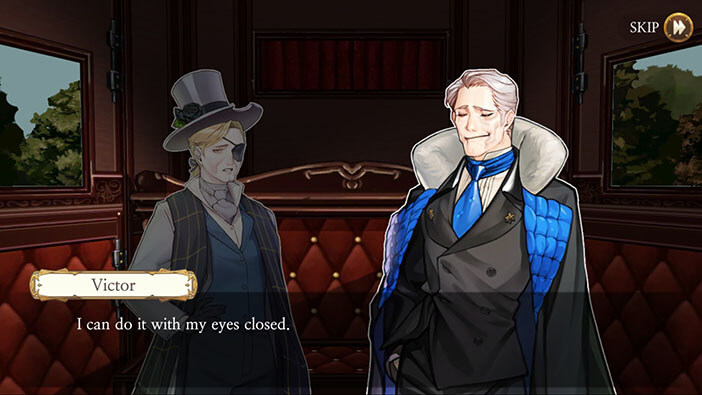
Samuel just smiles saying that he disassembled at least a few thousand corpses during the last 40 years of experimentation, and Henry should know what he’s capable of. He claims that murdering Mr. Lavenza would be a piece of cake, and with that, they got out of the carriage and head toward the mansion.
I guess we will now see what actually happened at the mansion and if we came to some wrong conclusions during the second investigation. So far, everything fits in perfectly.

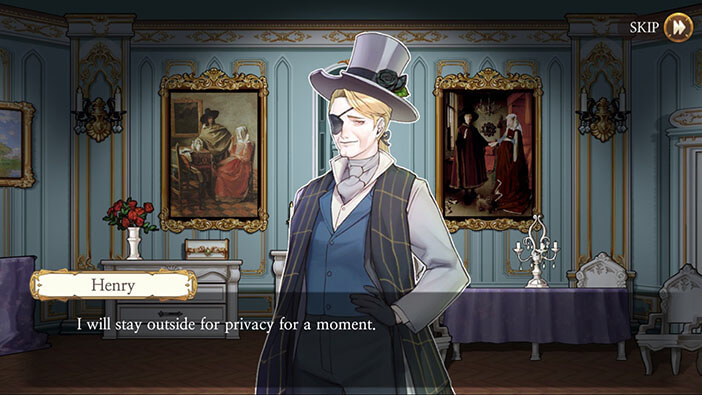
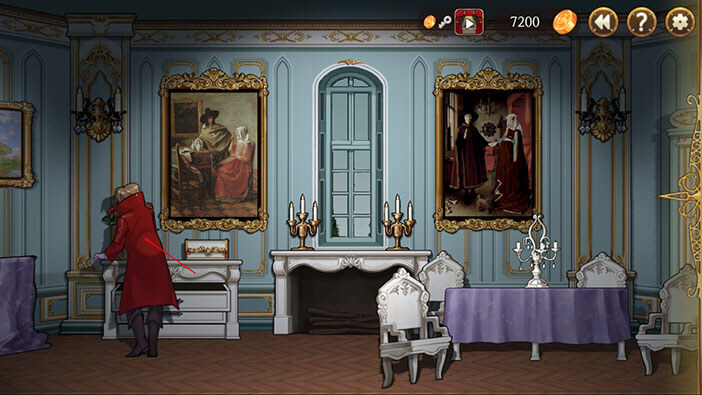
Our story continues at the Lavenza mansion. After Mr. Lavenza (Francis) brought his guests to the reception room. Henry decides to leave the two of them, so they can have a private discussion. (just like we concluded in the investigation).
Francis is honored to have Samuel in his home and is very eager to become a business partner with such an influential man.

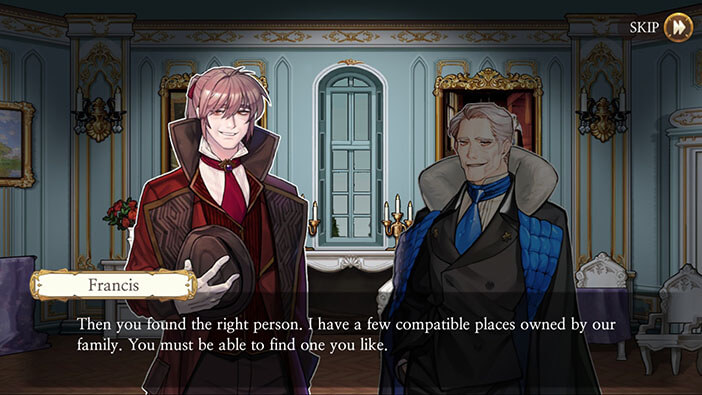
Samuel just replies that he is flattered. The subject of this meeting is, allegedly, a new building that Aegyptus could for their conferences, away from the prying eyes. Francis is happy to lend the organization one of his estates and says that Samuel can choose the one that suits him. Since the building isn’t the property of the Aegyptus, the authorities wouldn’t be able to interfere or find out about the meetings. At least that’s the backstory for this visit.
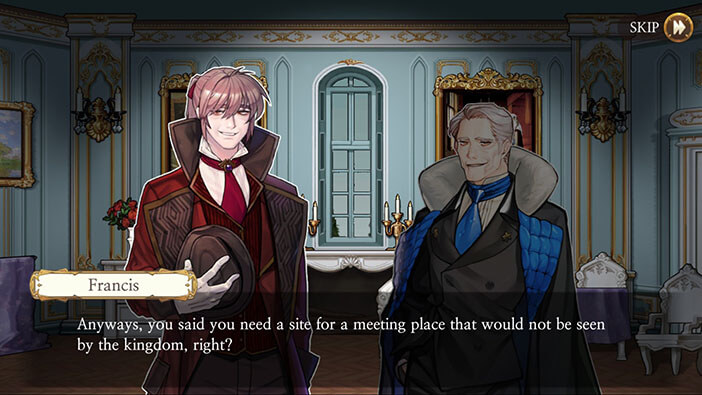
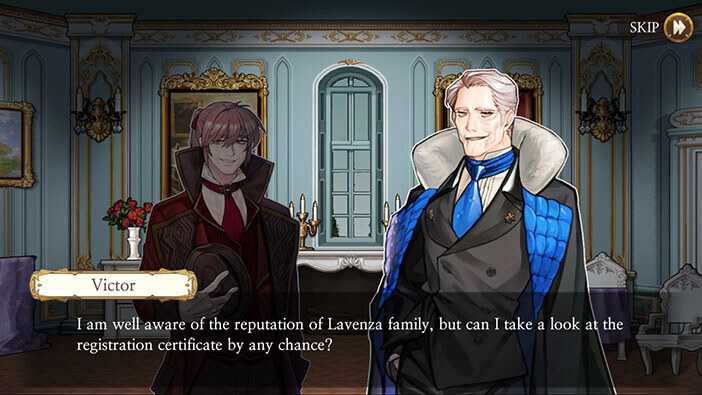
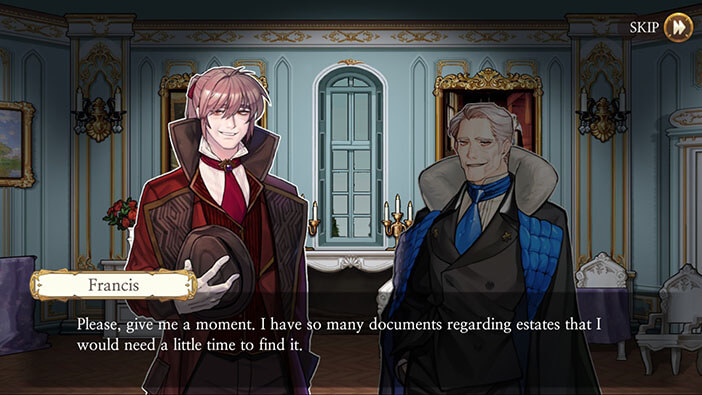
However, before Victor takes a look at the property, he wants to see some documentation that proves that Francis is actually the owner of the properties in question. Francis responds that he completely understands the need to see the documentation before closing the deal, but says that he will need a few moments to find it because he owns several estates. And we know what is going to happen next…
Tap on Francis Lavenza and Samuel will stab him in the neck. As Francis is slowly dying, Samuel explains how this isn’t personal.
He stabs his victim a few more times, advising it to let go. He thinks that Francis already lived a very good life as a member of the nobility and that it would be much easier for him if he just stops struggling and dies.
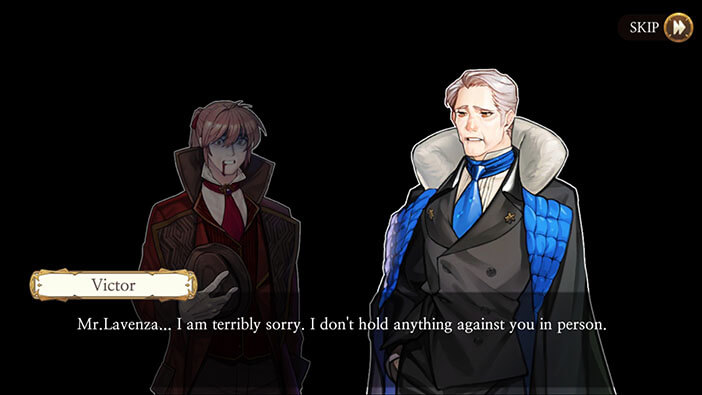


As Francis Lavenza falls dead, his wife, Hanna, enters the room and screams in horror.
Samuel turns to face her, telling her that he will explain everything if she calms down.
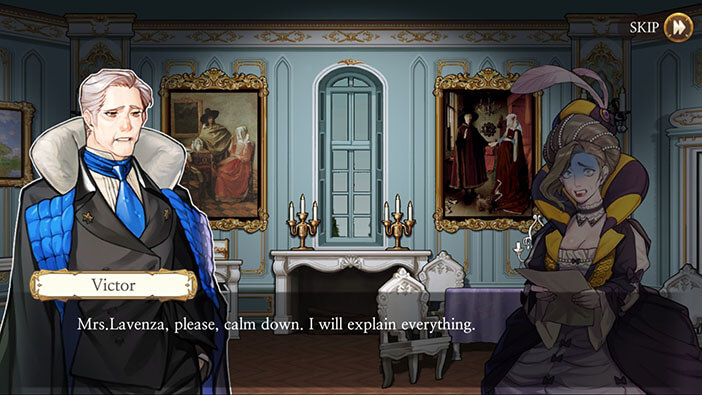
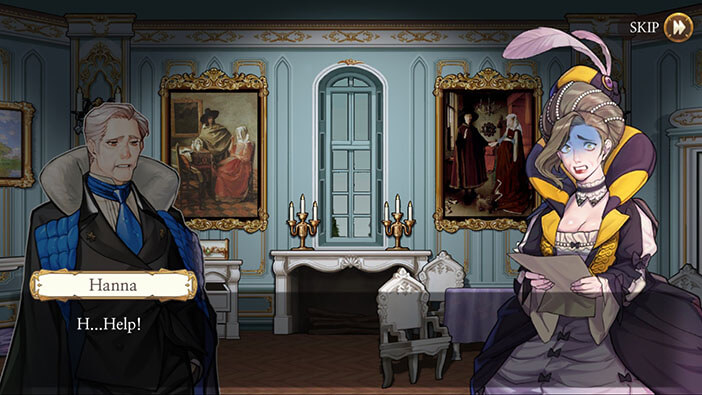
Naturally, Hanna starts running away towards the front door. Samuel seems disappointed, saying that she would die more peacefully if she knew the reason why he is going to kill her. Which doesn’t make much sense to probably anyone, except Samuel.

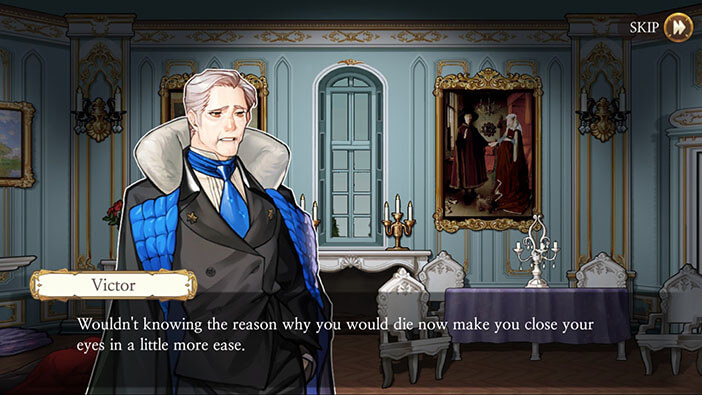
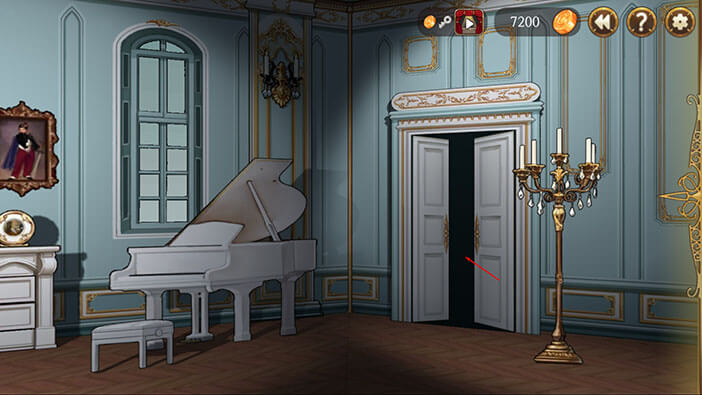
Ok, so far everything happened in exactly the same way as we concluded during the second investigation. Now, Samuel should go after Hanna, so turn to the right and tap on the door.
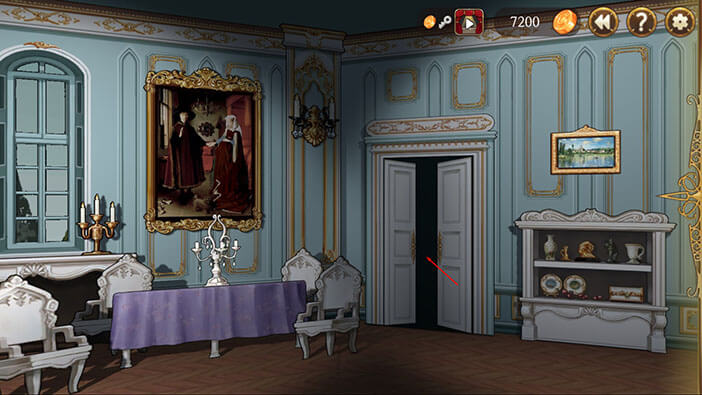
In this room, we can see the broken teacups, which Mrs. Lavenza dropped after seeing her husband being murdered, just like we discovered during the investigation.
Turn all the way to the right and tap on the door.
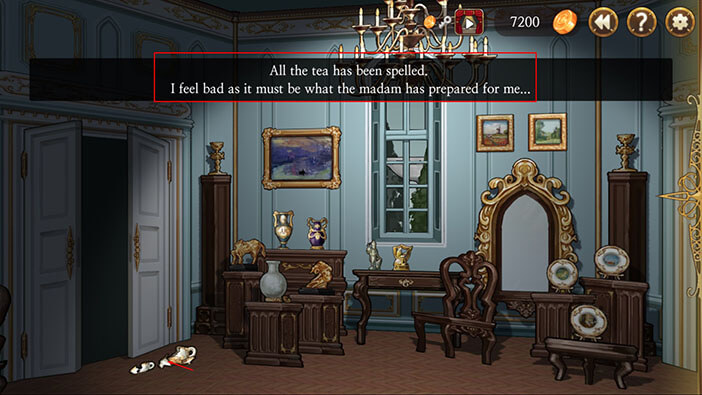
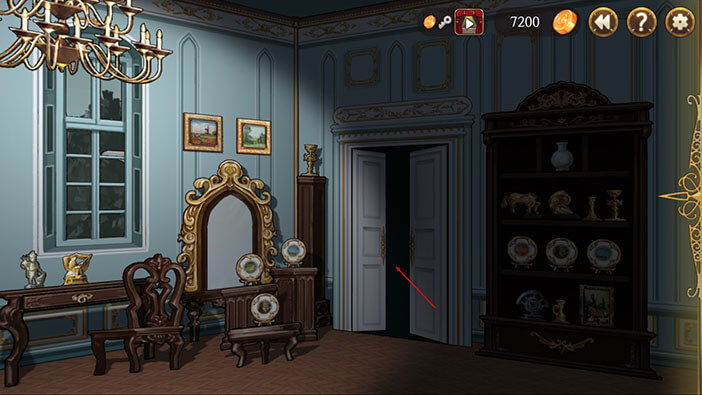
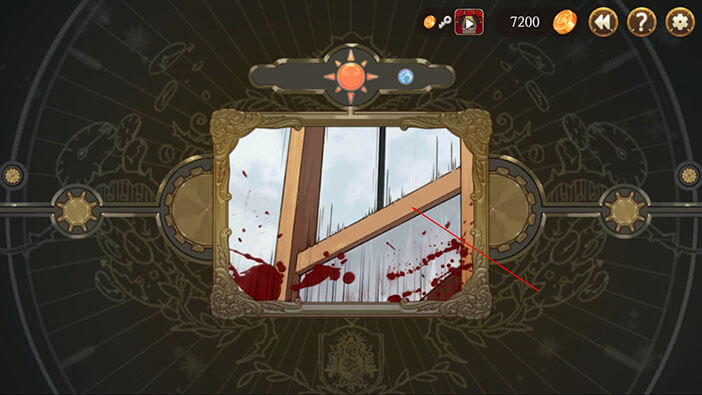
In the next room, turn all the way to the right and tap on the door. After tapping on the door we can see that Samuel turned over a chair and left some bloodstains as he was trying to catch up with Mrs. Lavenza.
We are now in the main hall, so turn to the right (towards the front door) and tap on Hanna.
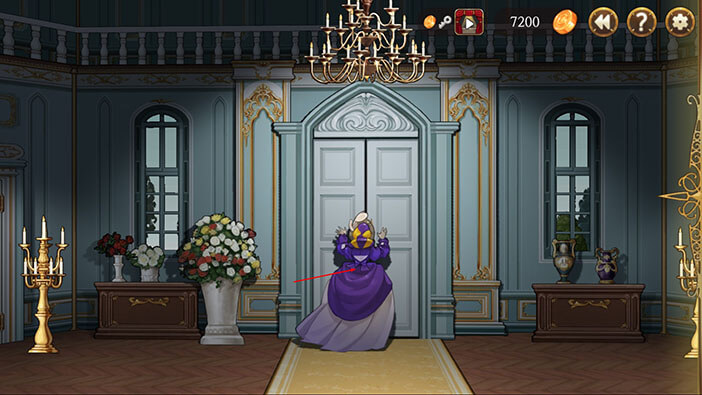
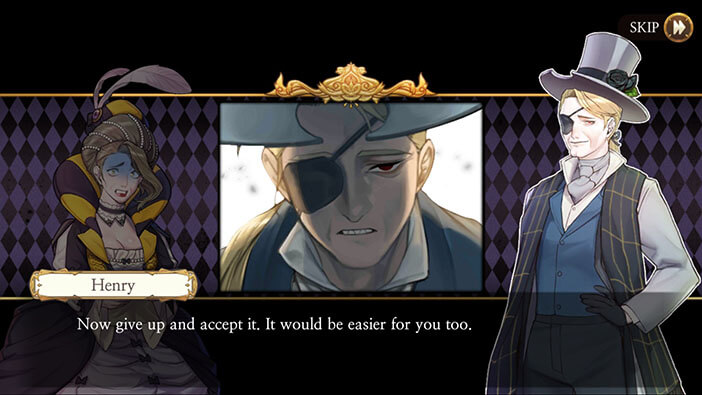
As Hanna tries to run away through the front door, we can see Henry blocking the exit from the other side. A few moments later, Henry finally speaks, advising Hanna to give up and stop trying to run away. After that, he slams the door shut…
Immediately after he closed the door, we can hear Samuel stabbing Hanna, and a “thump” as her lifeless body fell down on the floor…

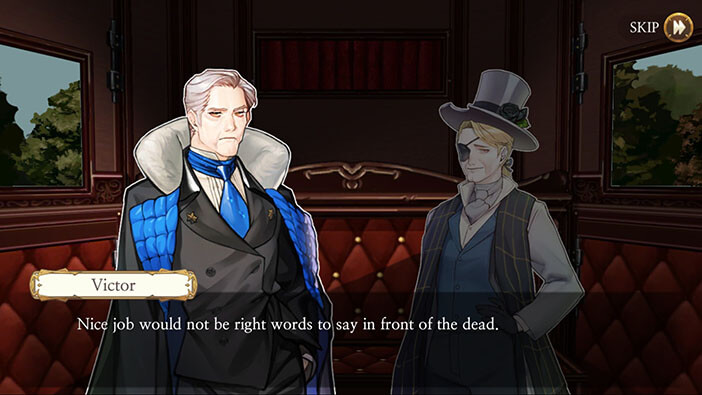
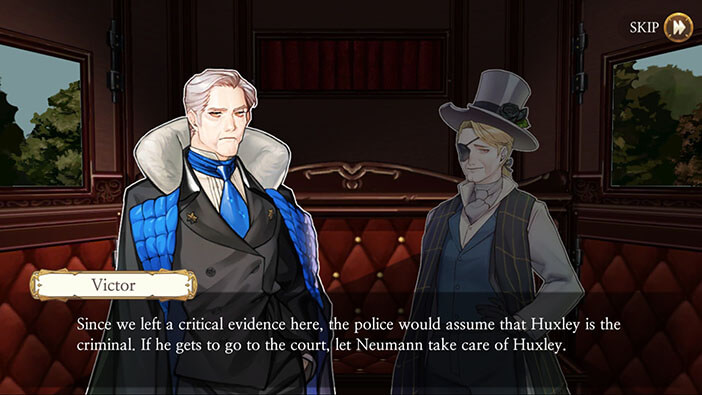
In the next scene, we can see Samuel and Henry boarding the carriage, and Henry congratulating Samuel on the job well down. Samuel replies that it isn’t polite to say such things in front of the dead. I am pretty sure that he was being ironic.
Samuel explains that he left the evidence (most importantly a Huxley’s knife) for police to find it, and says that Neumann will take over Huxley’s case once the trial begins. Henry asks if Neumann should deliberately lose the case?
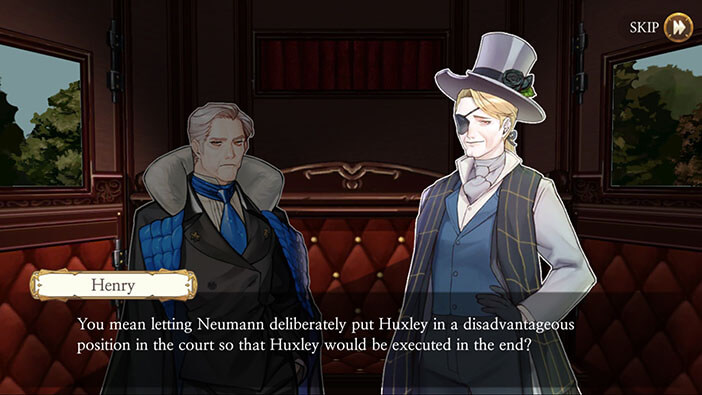
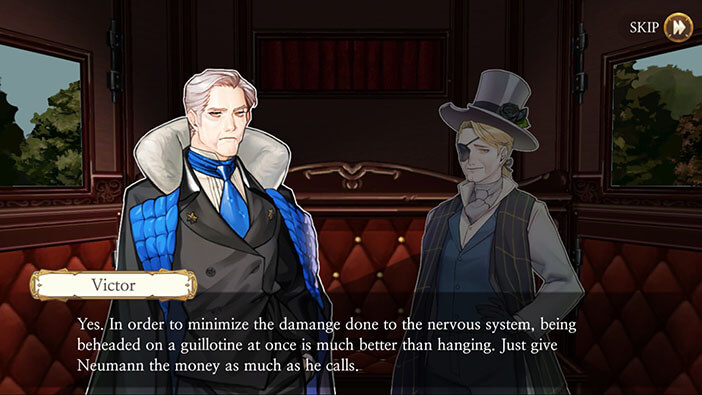
Samuel confirms, saying that Neumann should aim for the death penalty by guillotine since beheading will deal less damage to the nervous system, opposed to hanging. Ah, so that’s why Neumann’s employer explicitly asked for a sentence by beheading.
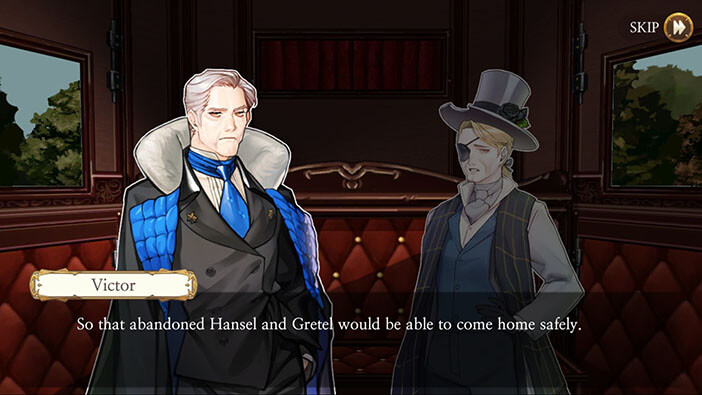
Henry would like to know what is going to be their next move and Samuel replies that he will leave bread crumbs on the road, which would lead Hansel and Gretel back home. By that he means clues that will lead Elizabeth and Huxley MK II (once he is reanimated, of course) to Babel.

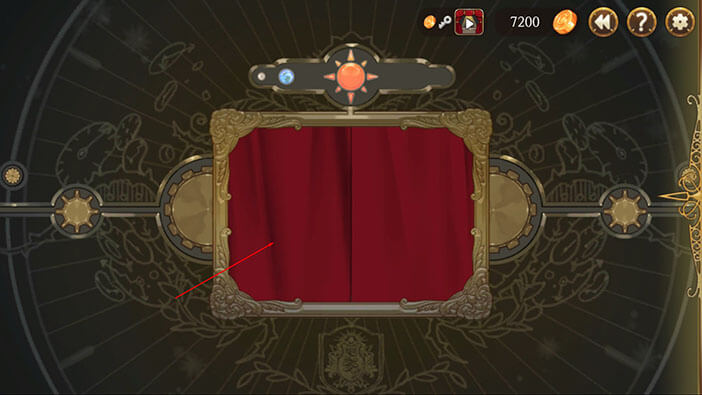
Tap on the red curtain to start another sequence of memories. I am quite sure now that this entire stage represents Huxley relieving Victor’s memories.
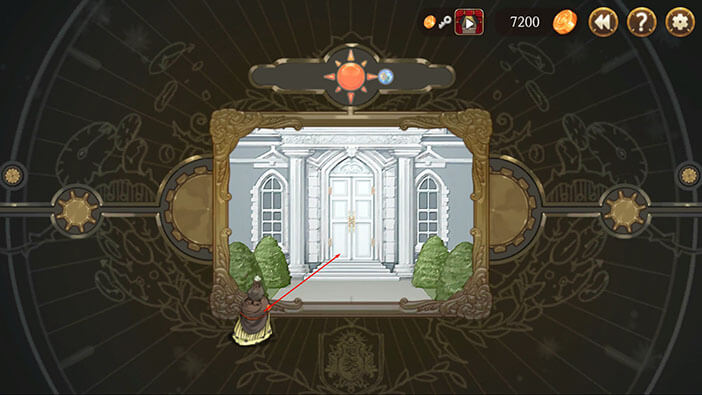
In the first memory, we can see Elizabeth standing in front of the mansion. Drag Elizabeth to the front door to progress to the next memory.
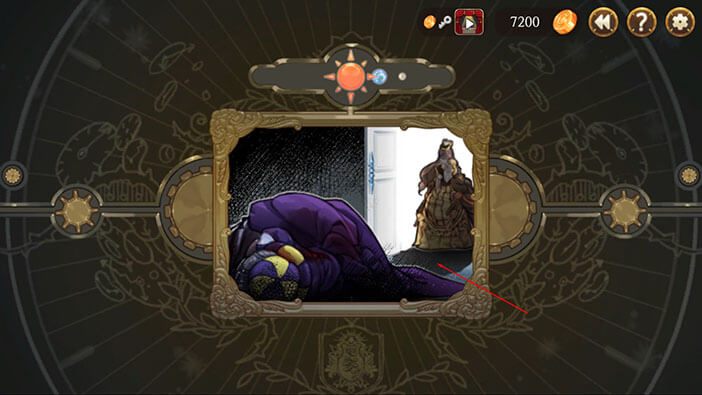
In the next scene, we can see Elizabeth walking into the mansion and finding her mother dead on the floor. Tap anywhere on the image to proceed.
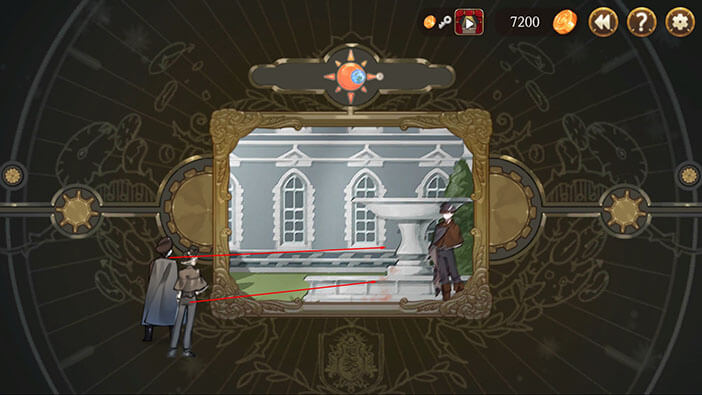
In the next scene, we can see chief investigator Schmitz and junior detective Erich arriving at the murder scene. Drag them next to the police officer to proceed.
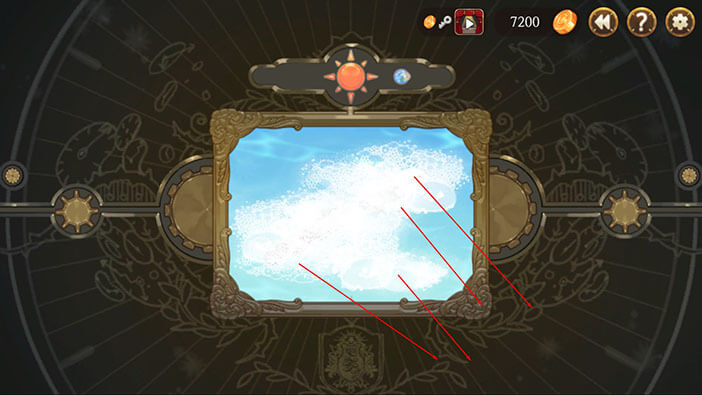
In the next scene, we can see water with a lot of bubbles. Drag the bubbles outside of the image frame, revealing the murder weapon.
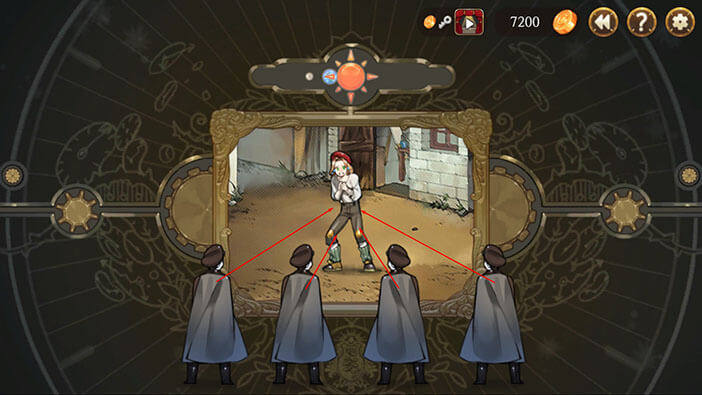
In the next scene, we can see Huxley and four police officers. Drag the police officers next to Huxley, and they will arrest him.
NOTE: You have to do this quickly since Huxley will push away police officers after a few seconds.
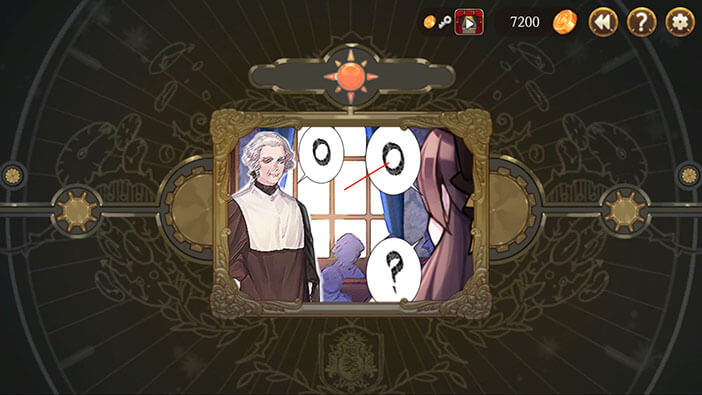
In the next scene, we can see Elizabeth testifying at Huxley’s trial. When she’s asked a question a symbol (either “O” or “?”) will appear above the prosecutor’s head. Tap on the matching symbol to proceed.
After answering three questions we will proceed to the next memory.
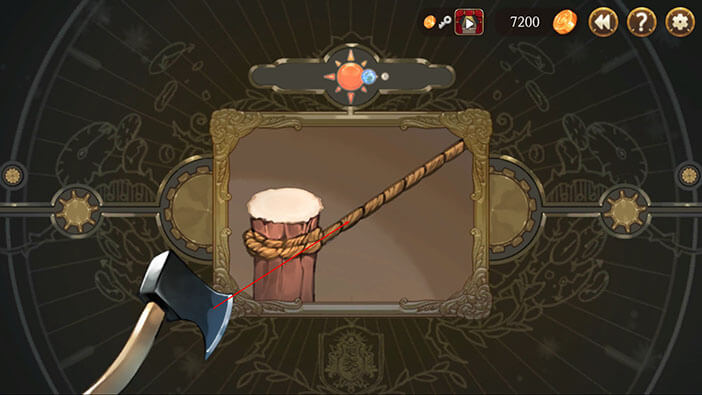
In the next memory, drag the axe next to the rope to cut it. The guillotine will fall down, beheading Huxley in the process. Tap on the guillotine to proceed.
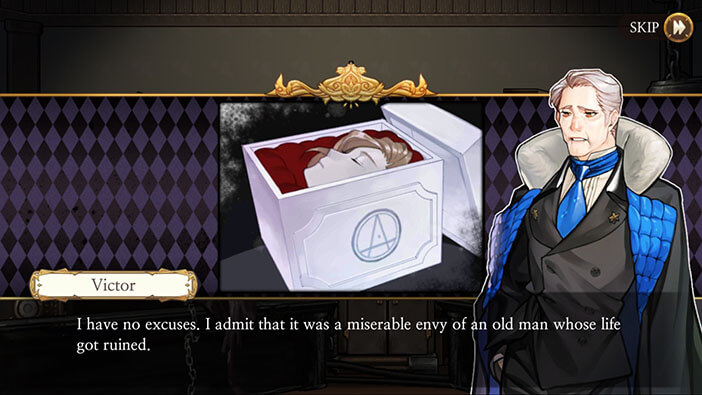
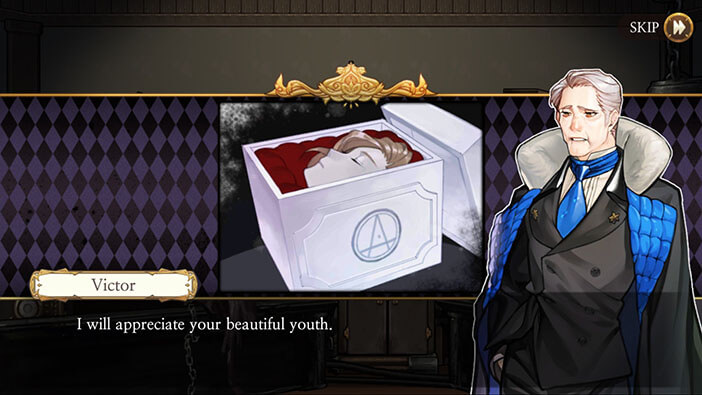
Our story continues at the secret lab of the Aegyptus, with Victor talking to Huxley’s head, which is quite a morbid scene. Victor says that there are no excuses for what he has done to Huxley, but he is going to enjoy being young once again.
At the end of the scene, “Huxley’s Head” will be added to the inventory.
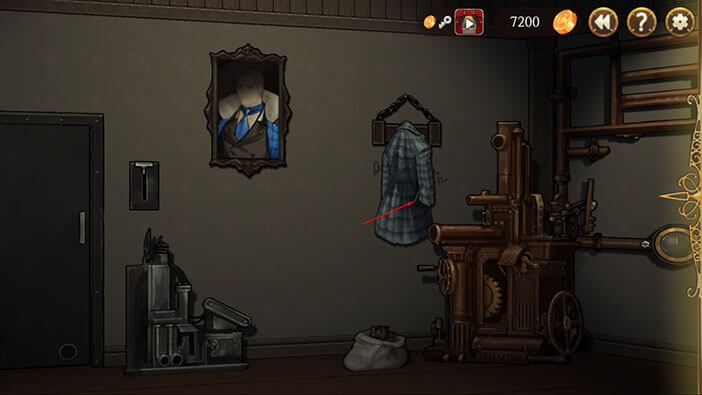
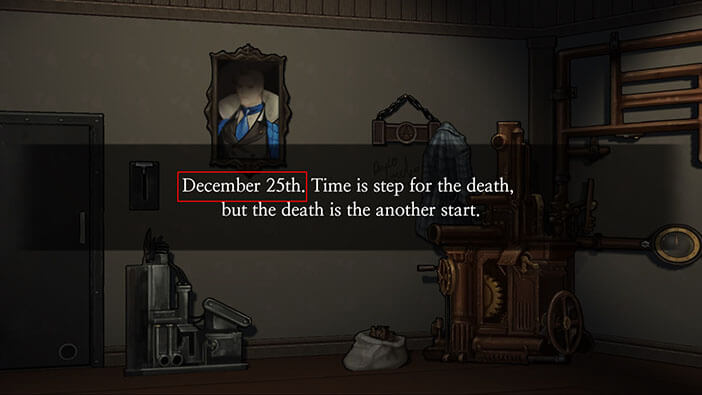
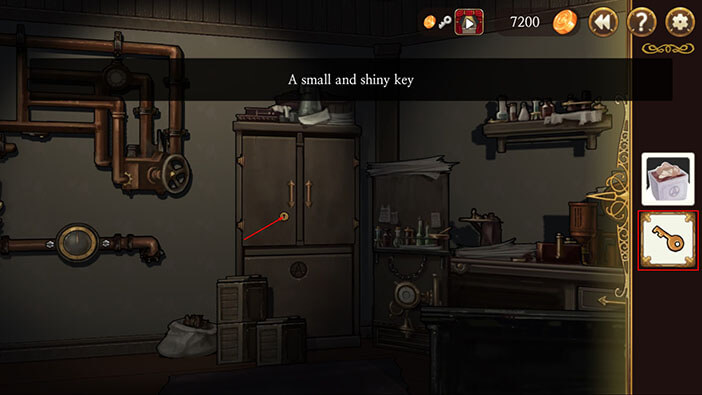
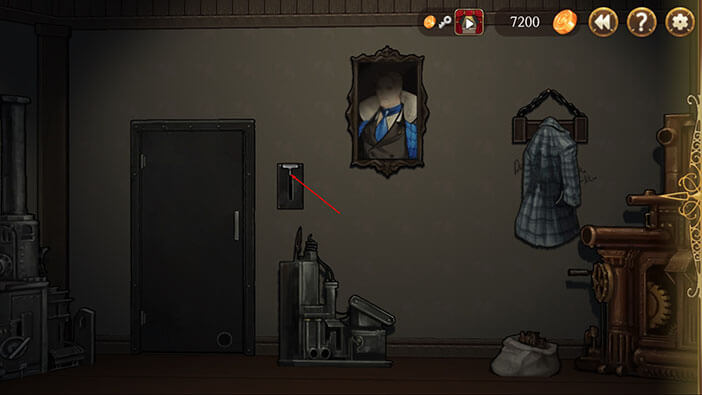
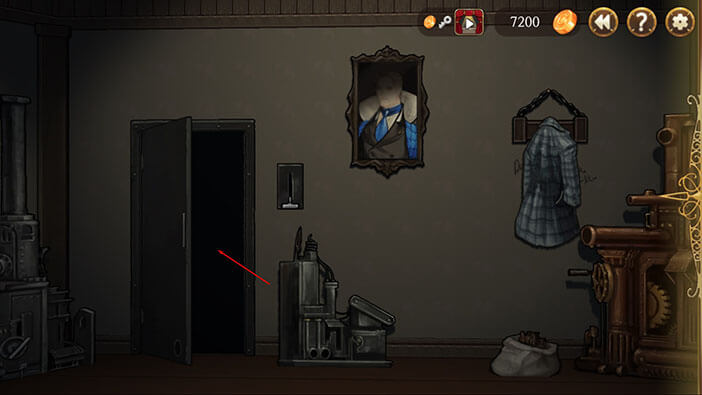
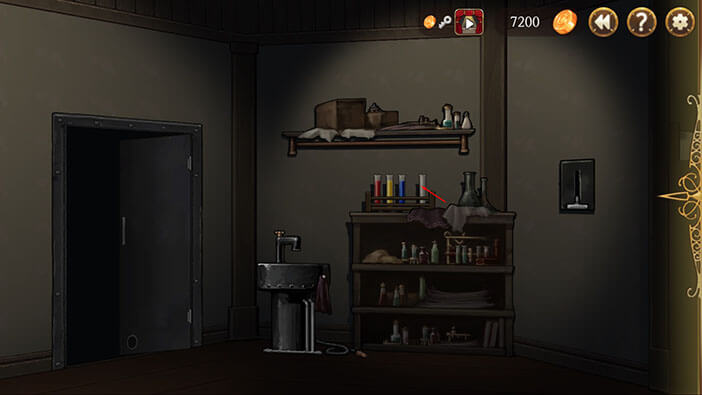
Turn around and tap on Victor’s coat. A key will be added to the inventory.
Tap on the coat again to move it aside, revealing the message behind it. The message is the same as when we played with Huxley MK II, so memorize the date December 25th (“1225”) because earlier we used this code to open a safe inside this room.

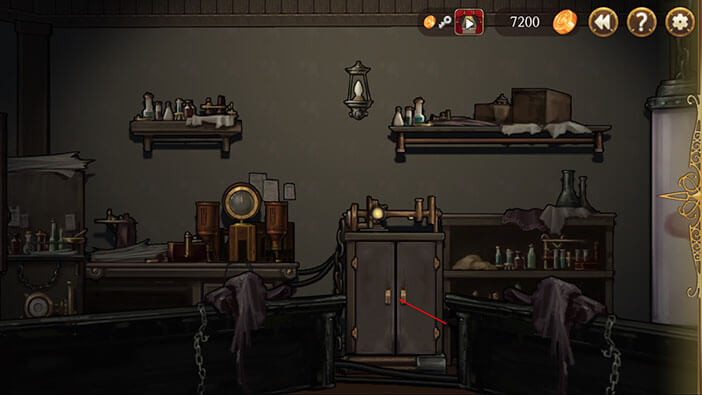
Turn to the left and tap on the safe to start the interaction.
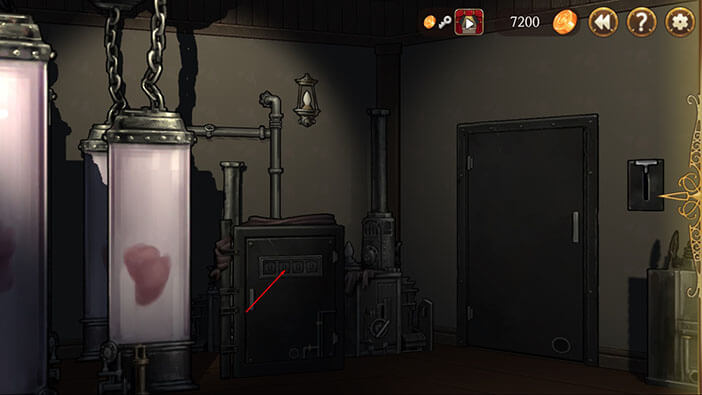
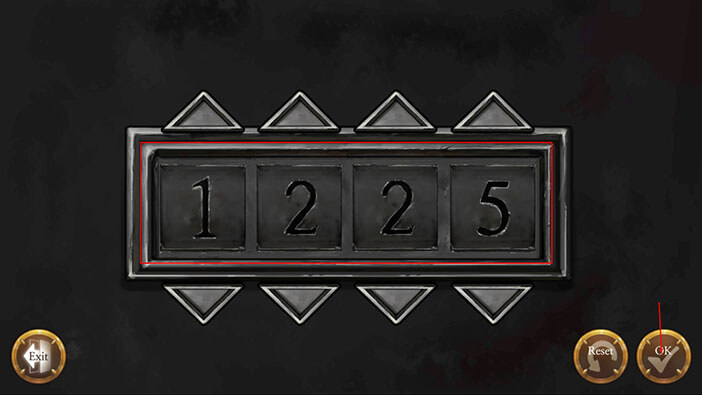
Enter the code “1225” (the date that we just saw), and tap on the “OK” button to confirm.
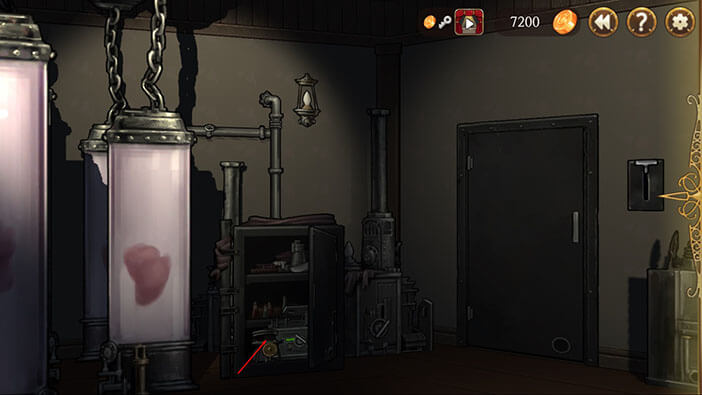
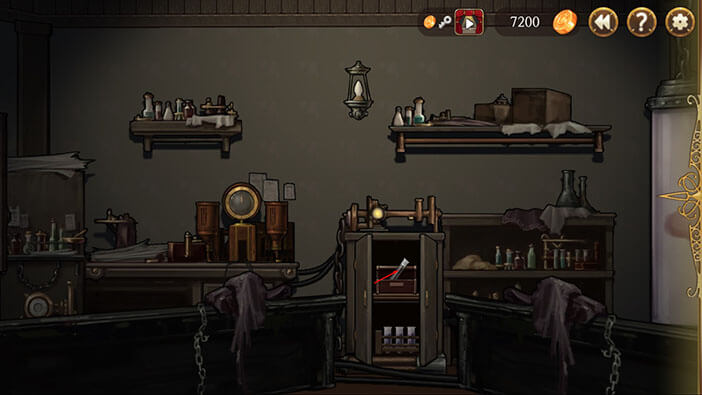
Tap on the cables at the bottom shelf of the safe and Victor will automatically connect them with the machine.
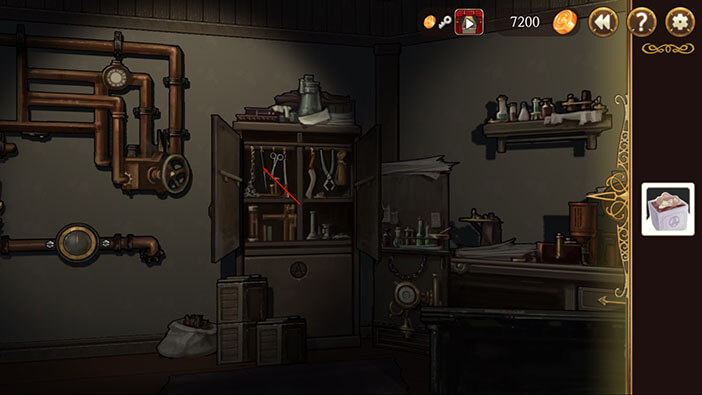
Turn around, select the “Key” from the inventory, and tap on the keyhole on the left cabinet door. After unlocking it tap on both cabinet doors to open them.
Tap on the screwdriver in the upper left cabinet compartment to pick it up.
Turn to the left, select the “Screwdriver” from the inventory, and tap on both screws to remove them.
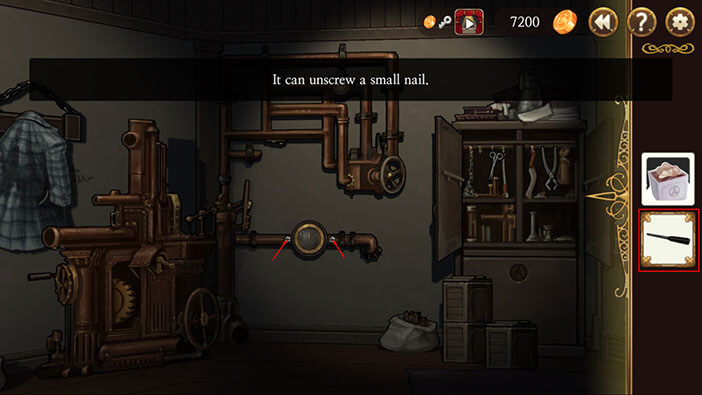
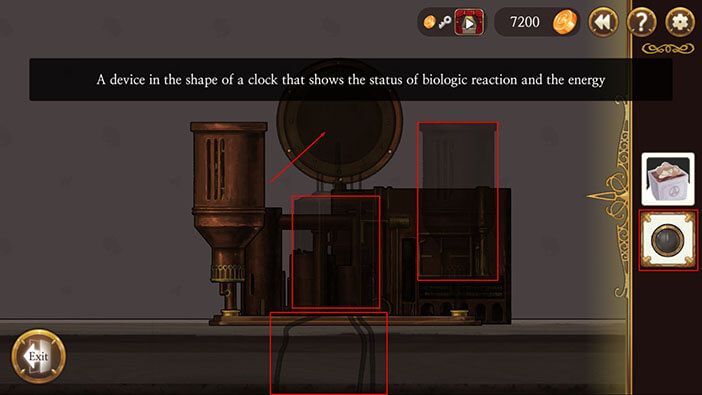
Tap on the circular metal object to pick it up and the “Signal Meter” will be added to the inventory. If we read the description of this item, we can see that it is used to measure the status of biological reaction and energy. So, we will probably need this for reanimation.
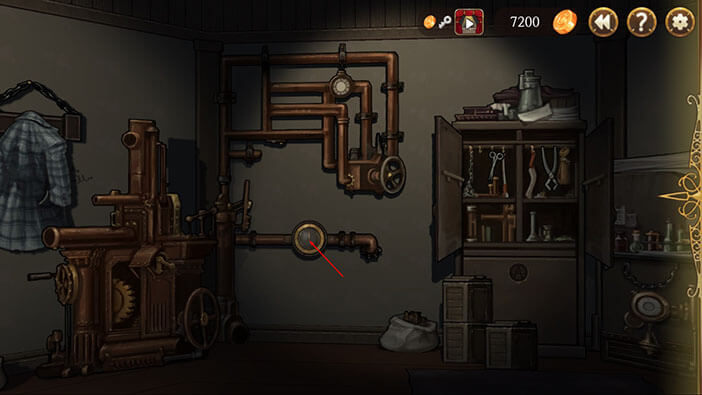
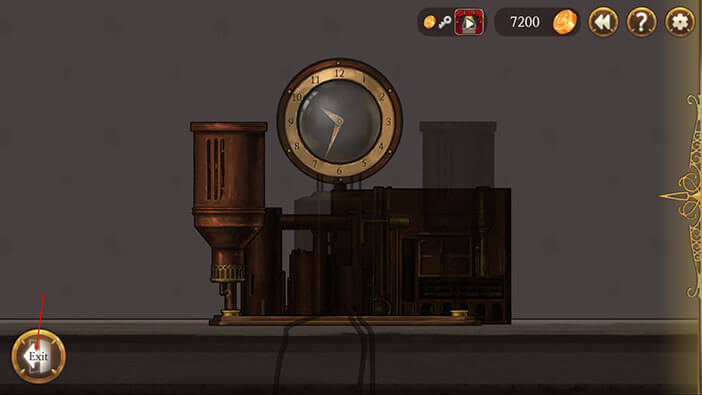
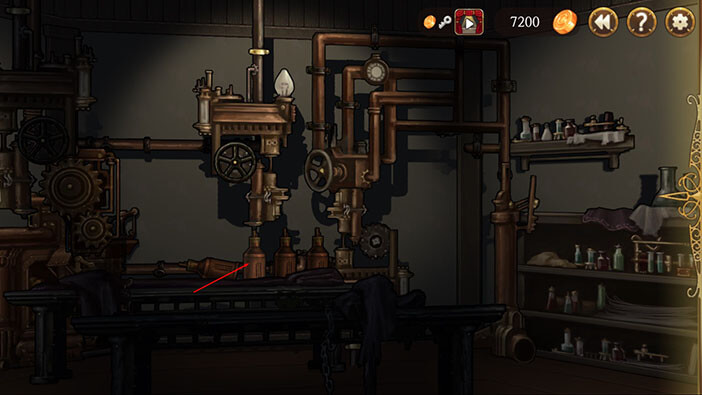
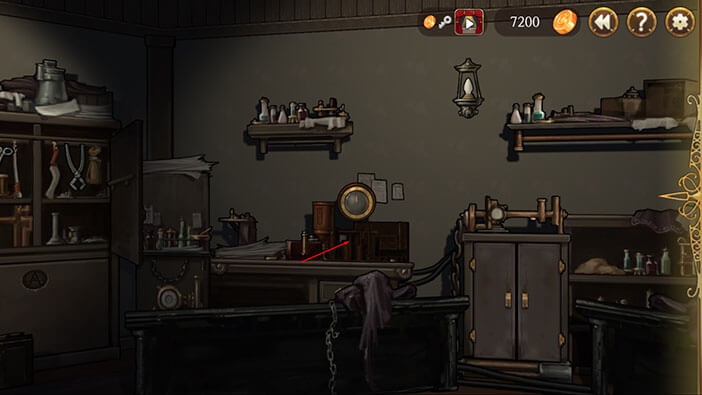
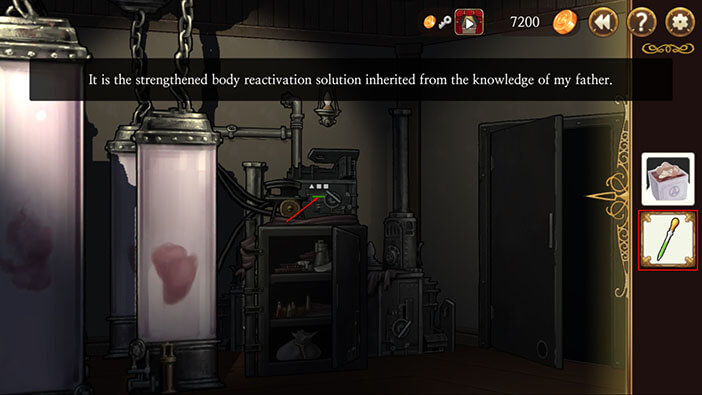
Turn to the right and tap on the device, located just to the right of the cabinet.
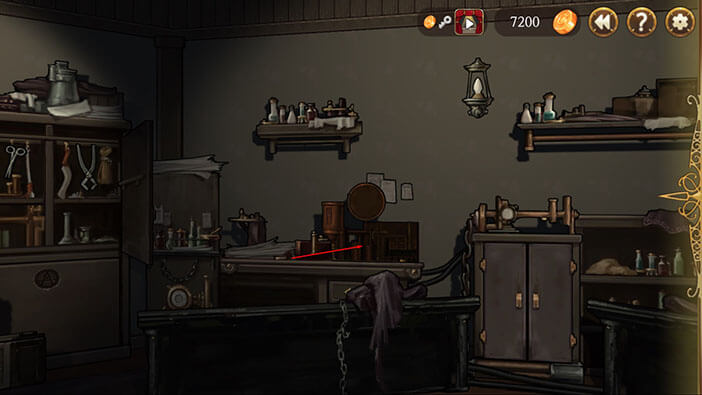
Select the “Signal Meter” from the inventory and tap on the circular portion of the device to insert it. We can see that a few more parts are missing (represented as translucent parts). It seems that we will have to find some cables, plus two larger parts that look like some kind of batteries. Once you’re done tap on the “Exit” button.
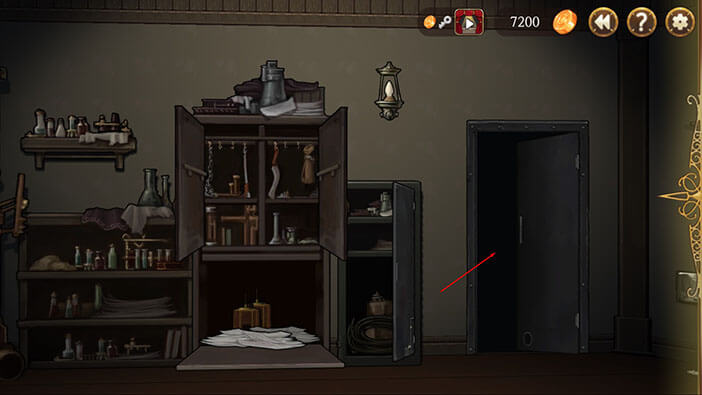
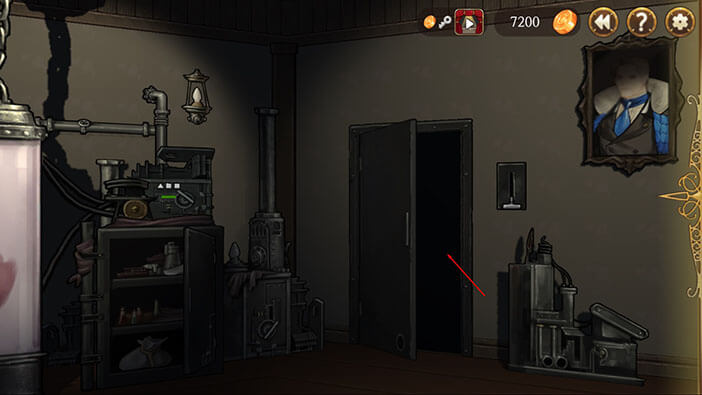
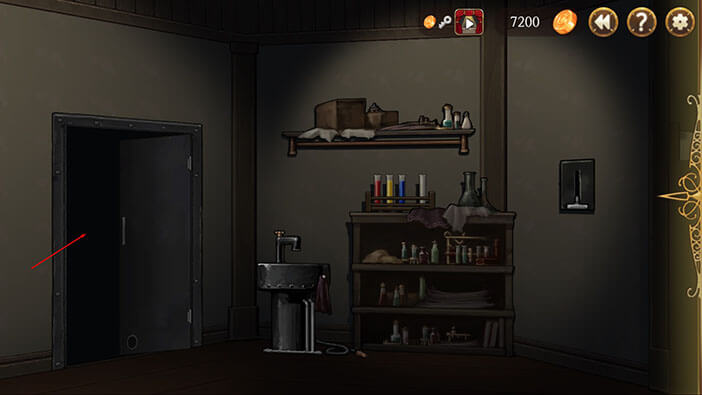
Ok, turn around tap on the lever next to the door to pull it down, and open the door. After that, tap on the door to proceed into the next room.
Tap on the safe on your left to open it, and tap on the cables inside it to pick them up.
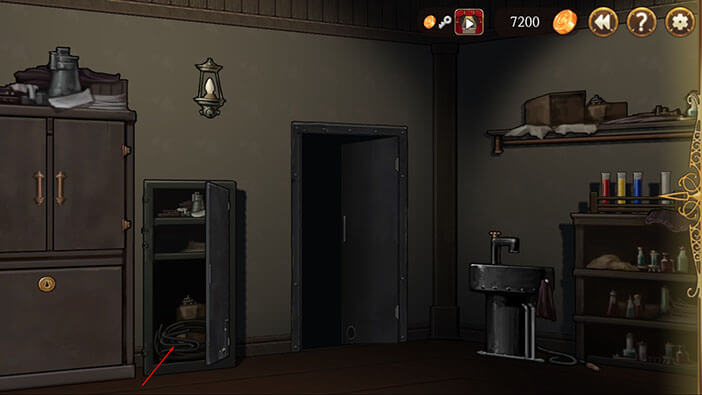
Tap on both cabinet doors to open it (just to the right of the safe), and tap on the “Syringe” inside it to pick it up.
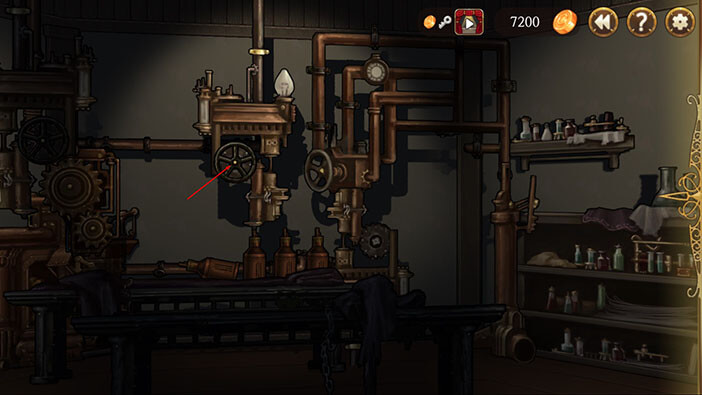
Turn to the left and you’ll see a huge machine. Tap three times on the upper part of the machine on the left to move it aside.

After that, tap twice on the upper part of the machine on the right to move it to the left.

We can see that the machine is aligned with the battery below it, so tap on the valve to turn it, releasing the electricity and charging the battery in the process.
Tap on the charge battery to pick it up and the “Intensifier Device” will be added to the inventory.
Turn a bit more to the left and you notice that there is a small key inside the wheelbarrow. Tap on the key to pick it up.
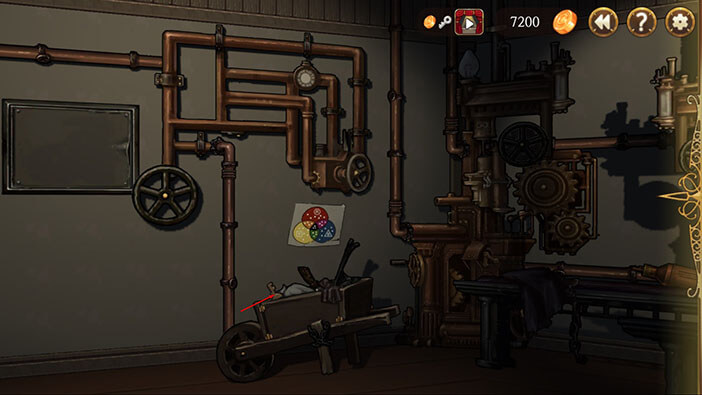
Also, take note of the picture on the wall above the wheelbarrow. We saw a similar picture all the way back in the first chapter of the game. The picture explains how to get a specific color (the color in the intersected parts of the circles) by mixing two or more other colors.

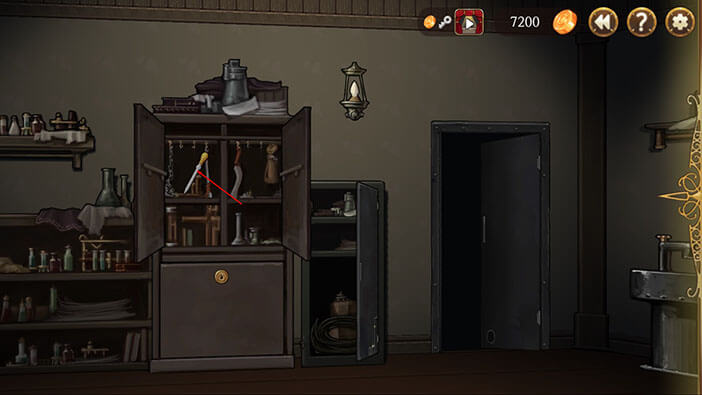
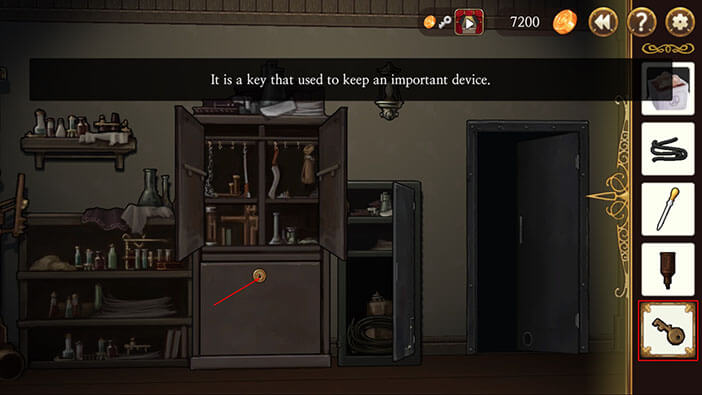
Turn around and face the cabinet. Select the “Key” and tap on the keyhole on the lower cabinet compartment.
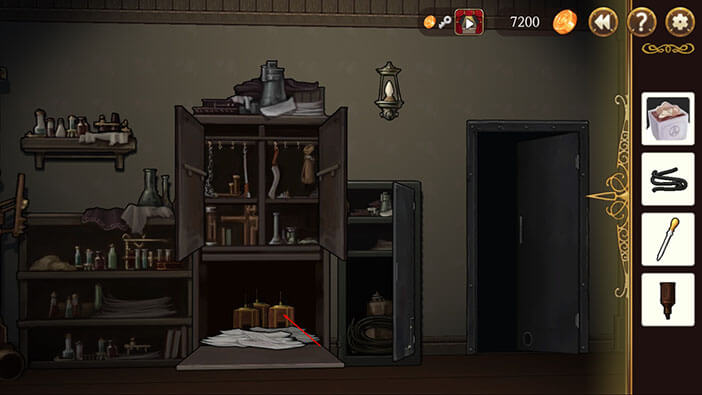
Tap on the lower cabinet door to open it, and tap on the object inside it to pick it up. “Control Device” will be added to the inventory.
We have now gathered all the parts that are necessary to assemble the machine in the other room, so let’s do that. Tap on the door to go back to the previous room.
Turn around and tap on the device to start the interaction.
Select the “Cables”, “Intensifier Device”, and “Control Device” from the inventory and tap on the matching “slots” on the device to insert the missing parts and assemble the machine.
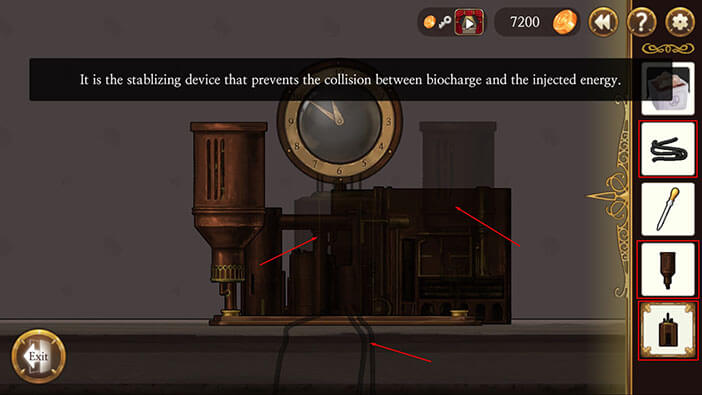
With that done we have assembled the “biosignal activation device”. Also, the light on the cabinet next to the right of this device has been turned on, indicating that we can now open the cabinet, take the solution and synthesize it.
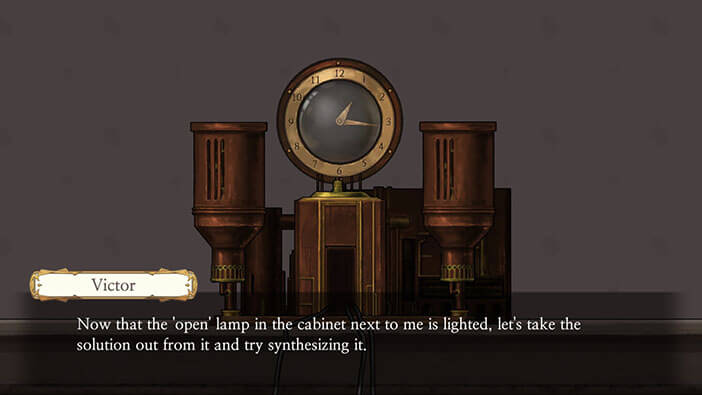
Tap on the cabinet to open it.
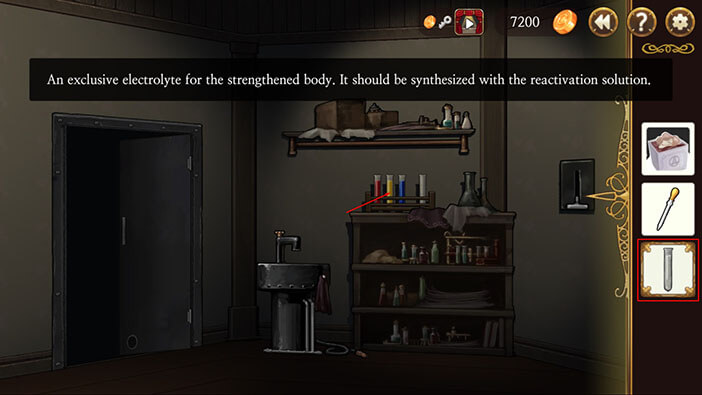
Tap on the wooden box inside the cabinet to open it and tap once more to pick up the test tube. “Grey Solution” will be added to the inventory. If we read the description of this item, we can see that the “Grey Solution” can be used to strengthen the body, but it should be synthesized with the reactivation solution, before that.
Hmm, I guess that’s that the reason behind Huxley’s superhuman strength and speed, after the reanimation.
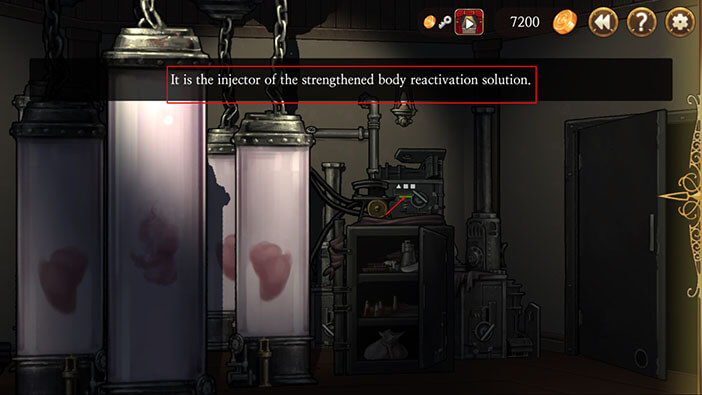
Turn to the right and tap on the green light on the machine, next to the huge tubes. We can see that this is “The injector for strengthened body solution”, and it is green.
Turn a bit more to the right and tap on the door.
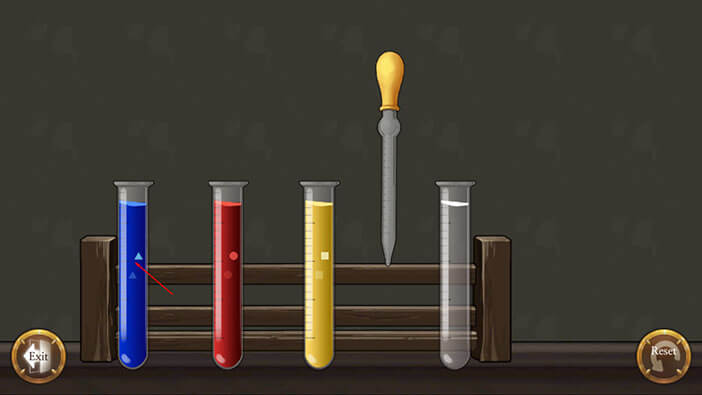
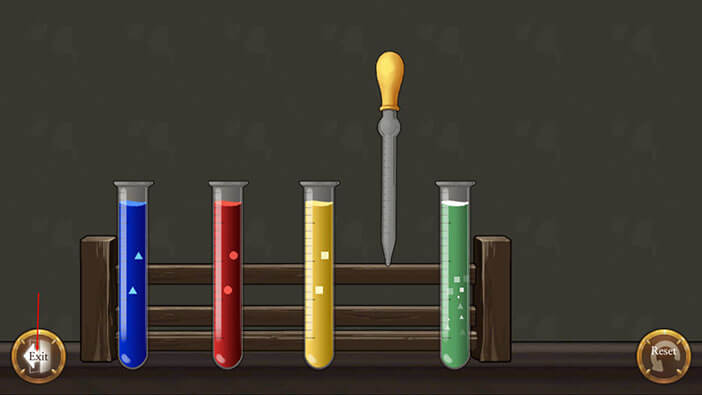
Turn to the right and you will see four test tubes (red, yellow, blue, and the last one is empty). We know that we need a green solution since we already inspected the machine in the other room. We also know that mixing blue and yellow colors will produce a green color.
Note: You can also see this in the image on the right – the one with colored circles.
Ok, so let’s mix up that solution. First, select the “Grey Solution” from the inventory and tap on the tubes.
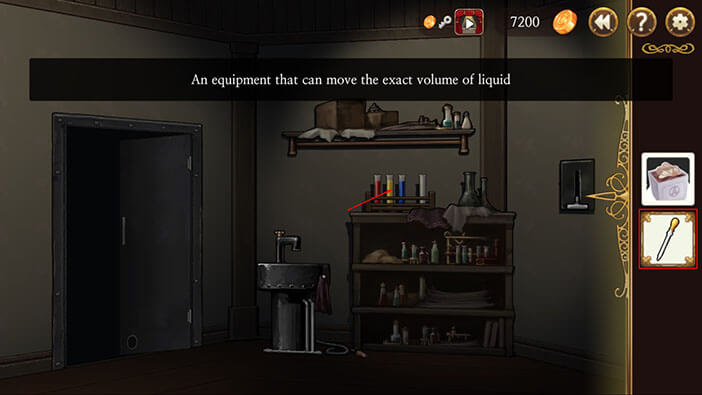
Next, select the “Syringe” from the inventory and tap on the test tubes to start the interaction.
Tap on the blue test tube to draw out the liquid and add it to the “Grey Solution”, changing its color to blue.
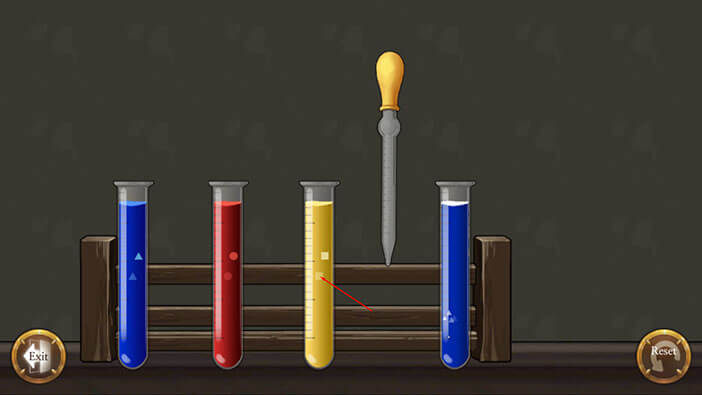
Tap on the yellow test tube to draw out the liquid and add it to the “Grey Solution”, changing its color to green.
Tap on the “Exit” button.
Tap on the test tubes again to pick up our new chemical and the “Synthesized Solution” will be added to the inventory. If we read the description of this item, we can see that it will strengthen the body upon reactivation, but the chemical was developed by Victor’s father, not Victor. I think Schneider destroyed the experiment conducted by Victor’s father by replacing this solution with the fake one.
Tap on the door to go back to the first room.
Select the “Synthesized Solution” from the inventory and tap on the green slot on the machine in front of you.
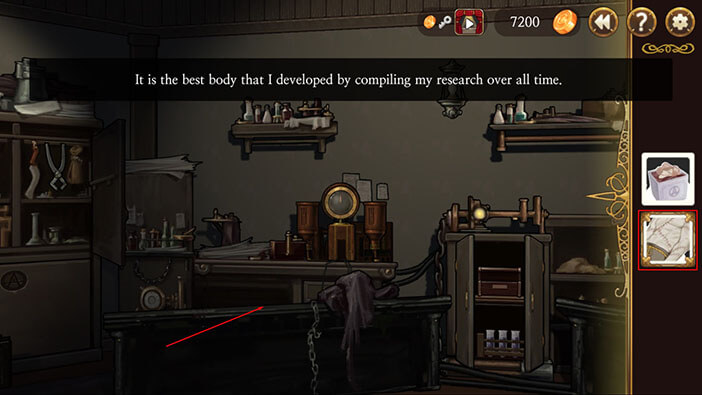
After a few moments machine will start working, and when it stops “Strengthened Body” will be added to the inventory. By looking at the description, we can see that this is the most powerful body that Victor was able to “produce” after decades of research and experimentation.
Turn to the left, select the “Strengthened Body” from the inventory, and tap on the operating table (the second one on the left, below the device that we assembled earlier).
After placing the body on the table, the only thing left to do now is to add the head. So, select the “Huxley’s Head” from the inventory and tap on the neck of the body to attach it.
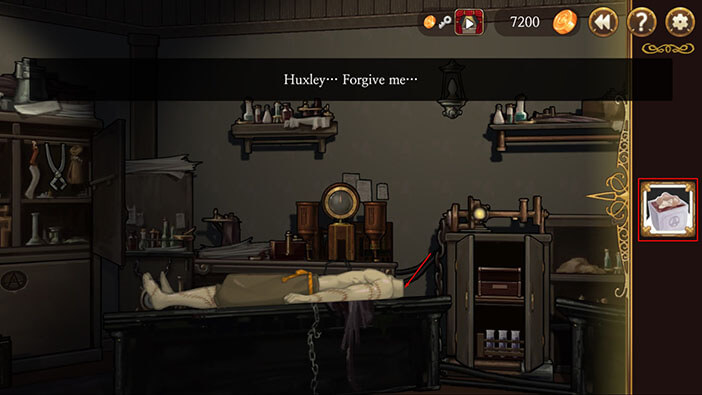
Victor says that he has finished extracting the brain from Huxley’s head, so everything is ready.

Victor seems satisfied while he is looking at the body in which he will achieve immortality (if everything goes according to plan, of course). He realizes that he is very close to achieving the goal of his father, to resurrect a human being. Somehow, he thinks that it will end the curse that has been haunting his family…


Victor thought that he was fighting against a satanic world that wanted to disrupt scientific advancement but then realizes that he became much worse than the people he despised. He even calls himself “satanic devil”, while smiling, so this fact doesn’t seem to bother him.
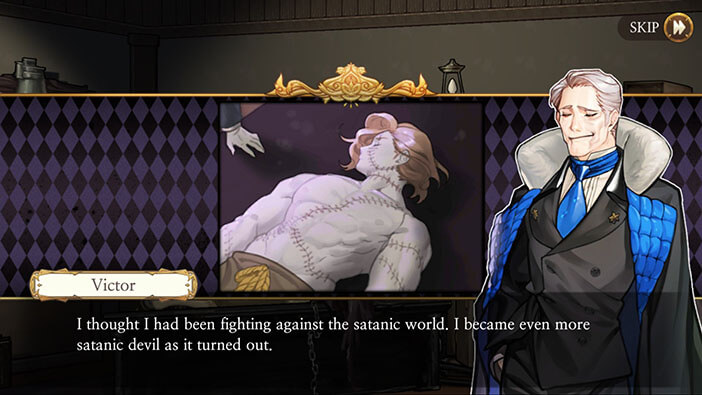
However, in the next scene, we can see Victor crying, probably because he realized what he has turned into. He started as a brilliant young scientist with noble ideas, high moral standards, and a strong desire to finish his father’s work and help the entire human race by doing so. And now, he turned into a murderer that cares about nothing, leaves the trail of destruction in his wake, even ruining the lives of the young couple out of spite, and killing Elizabeth’s parents was just collateral damage…

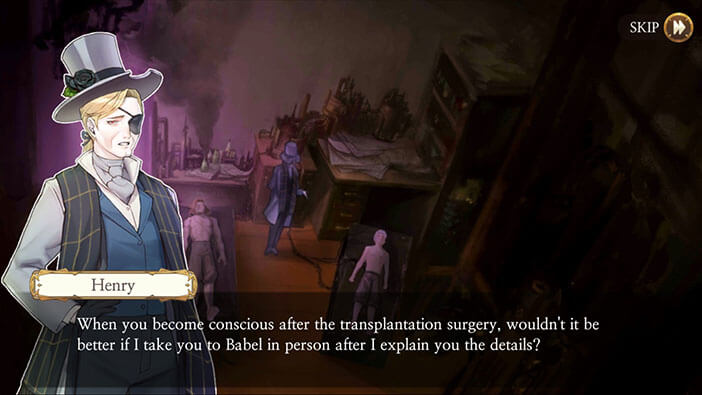
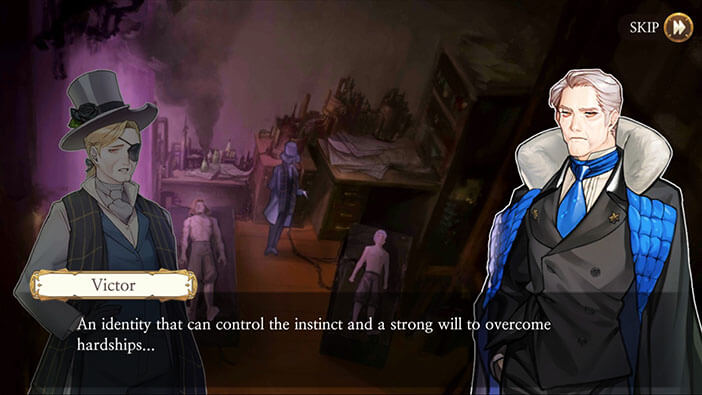
In the next scene, we can see Victor laying on the operating table and talking to Henry. Victor’s right hand man is preparing to perform a brain transplantation surgery and place Victor’s brain inside Huxley’s head.
Henry thinks that he should stay with Victor (Huxley MK II) when he wakes up, and explain to him their plan. That way Henry could lead him to Babel and there would be far fewer possibilities for something going wrong.
However, Victor rejects this proposal. He explains that reanimated creature can’t be controlled and it has to create its own identity (it would most likely attack Henry if it saw him immediately after reanimation). Victor is certain of this since he failed to control reanimated subject many times over the years. But, for Huxley MK II, he created a clever “backstory” that will convince the creature that it is actually Huxley, and create a strong bond between it and Elizabeth.


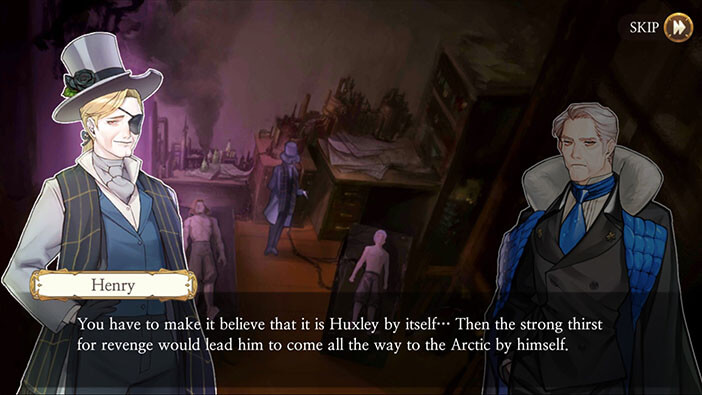
The creature, believing that it is Huxley, will immediately have a goal. It will seek revenge against people that wrongfully accused it and sentenced it to execution (so Schmitz and Neumann would be the most likely first victims), and it will also go after people who murdered Elizabeth’s parents (Victor/Samuel).
With such a strong desire for revenge being its only goal, the creature will come to the Arctic by its own free will, fulfilling Victor’s plan.
Henry approves of the plan, although he thinks that it is a bit risky.
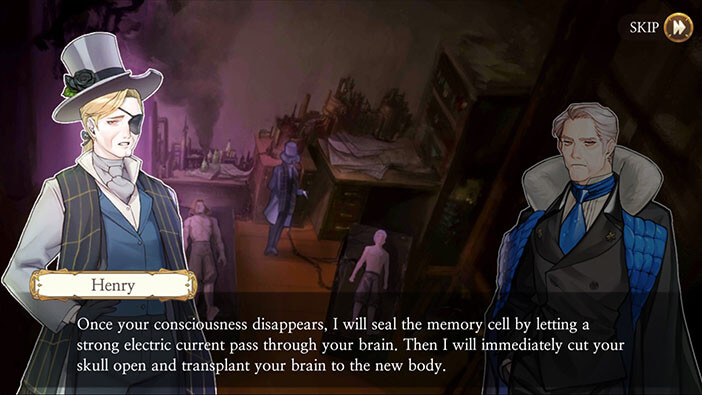
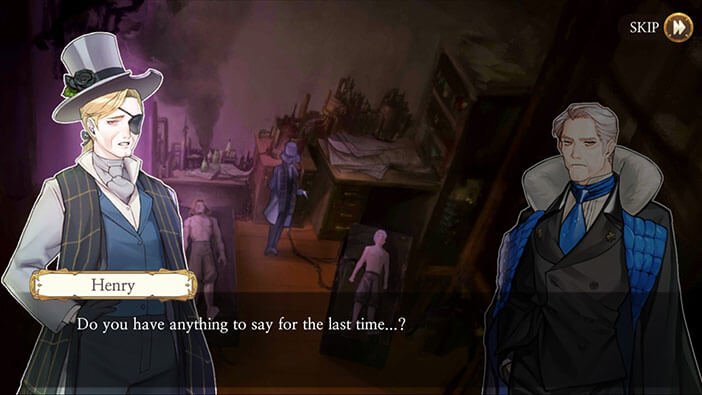
With that said, Henry prepares to give Victor the anesthesia. After that, they will seal the memory cells inside Victor’s brain by using powerful electric shock. The following step will be transplanting Victor’s brain inside Huxley’s head…

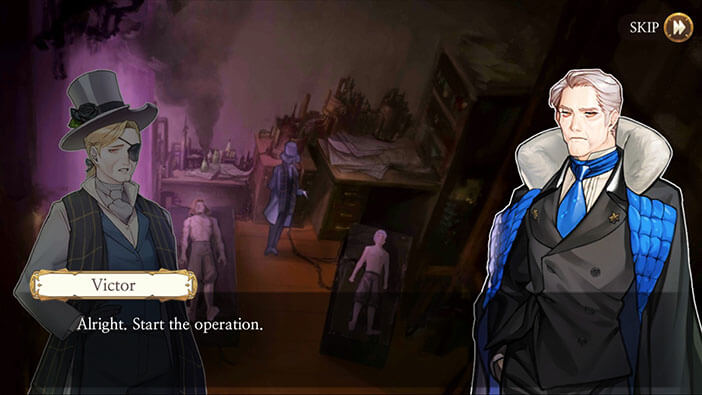
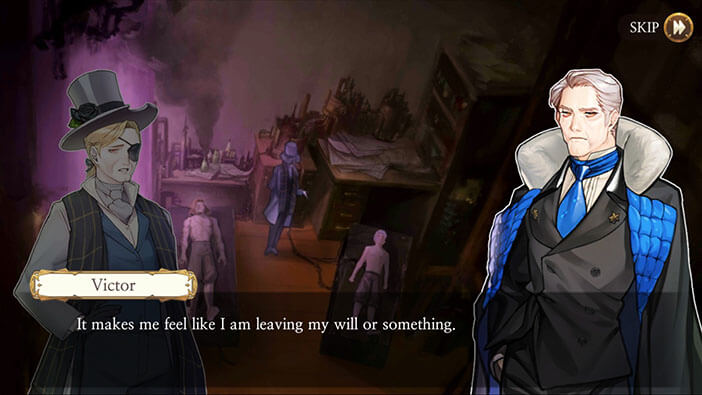
Victor says that he is ready and informs Henry that he can start the procedure. He doesn’t have anything else to say, because, to him, it would feel like he’s leaving his last will.
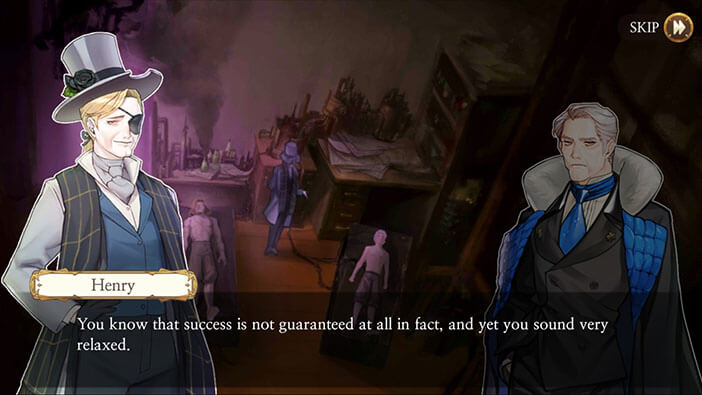
Henry notices that Victor is very relaxed, and reminds him that a lot of things could go wrong and that Victor (his memory cells) might never wake up again. Even if everything works out exactly as planned (concerning Huxley and Elizabeth) the entire procedure is still just theoretical, since nothing similar was tried ever before.
Yet, Victor says that he has nothing to lose because he would die in a month or two anyway.

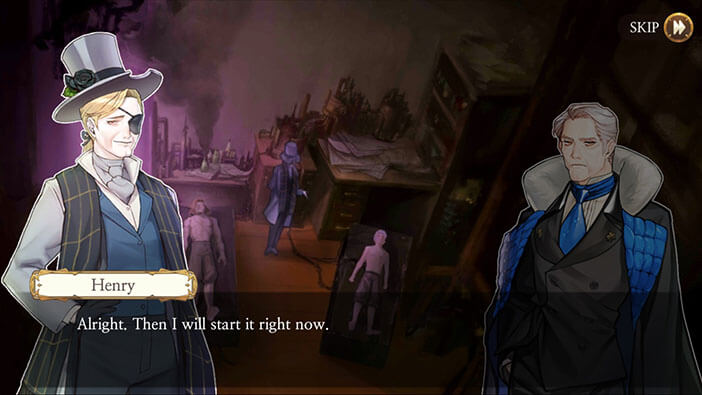
Henry is ready to start the operation, but before he begins, Victor says that he will see him again in Babel. Henry hopes that everything will play out the way it should…
But it won’t. Henry thought that something would go wrong with the plan to reanimate and wake up Victor. Little did he know that he will be stabbed to death by chief investigator Schmitz, in a few days. Hmmm, I wonder how they plan to wake up Victor will work out now that Henry is out of the picture. I bet they didn’t see that coming…

Well, in this stage we found out a bit more about Victor’s past, and we finally know his entire diabolical plan to achieve immortality. Also, all pieces of the puzzle have fallen into place, and I have to say that I really like how the story developed. There’s a logical explanation/motive behind the actions of all characters. Join us in the next, final, stage of the Walkthrough for Frankenstein Room ESC, so we can together discover what is going to happen with Victor, Huxley, and Elizabeth, and how this epic story will end.
Thank you for reading.