Chapter 2-1 The Simplest Way
Complete Walkthrough
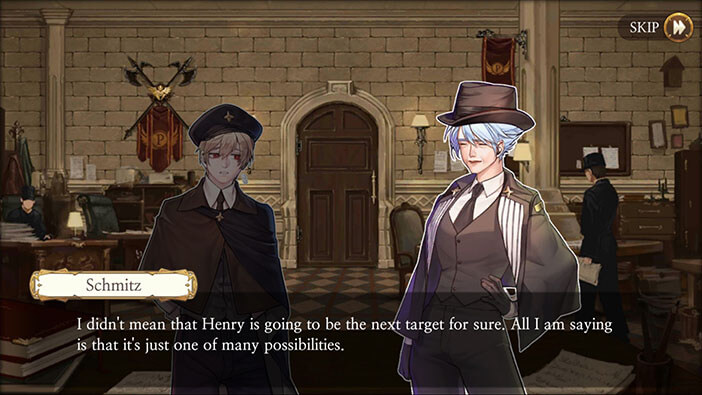
Hello everyone, and welcome to our Walkthrough for the First Stage of Chapter 2 for the Frankenstein Room ESC adventure game. In this stage, we come back to the Sachsen police station in the present time, still in the role of detective Schmitz. Our protagonist is considering his next course of action, after concluding that the lawyer’s killer is probably out for revenge against anyone who participated in wrongly condemning Huskley.
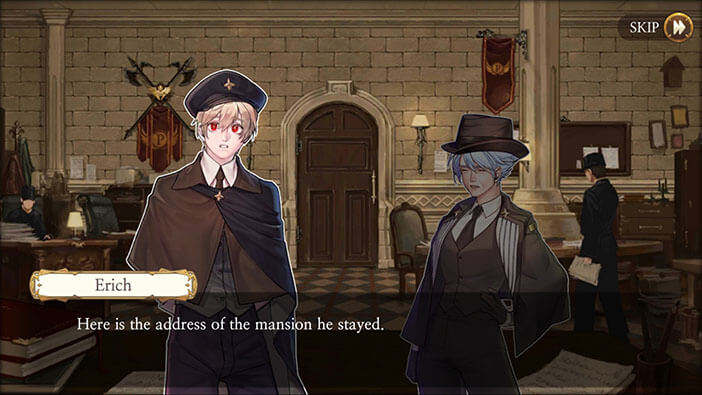
Schmitz thinks that Henry Cleval will be the next target of the vigilante since he is much easier to get to than Samuel (head of the Aegyptus). She confirms this while talking to Erich, one of her junior detectives. Erich had a task to gather information about Henry’s location. He found out that Henry was at a liberalist meeting, and was often spending his time socializing with the intellectuals. But no one hasn’t seen him for some time now. Erich suspects that he either left Sachsen or that he’s hiding. I think that there’s also a third option. He might be already dead, slain by the vigilante. Anyway, Erich hands Schmitz Henry’s last known address, and I guess that’s where will be heading next.


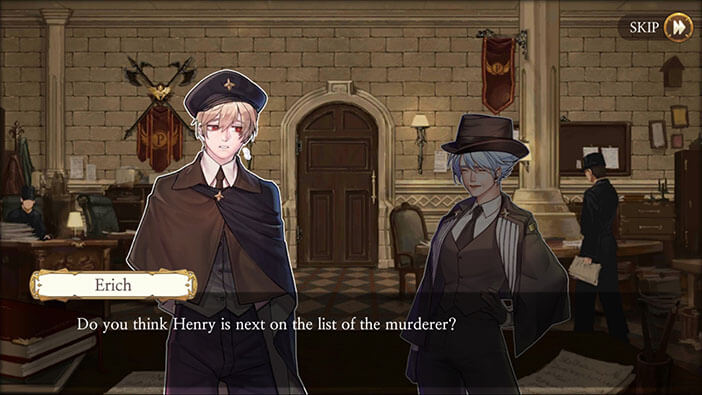
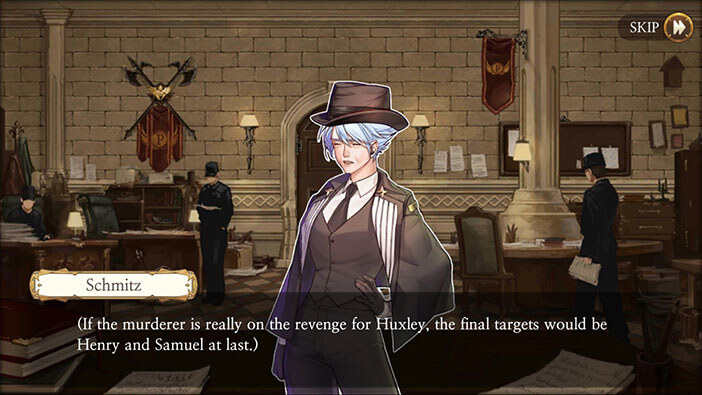
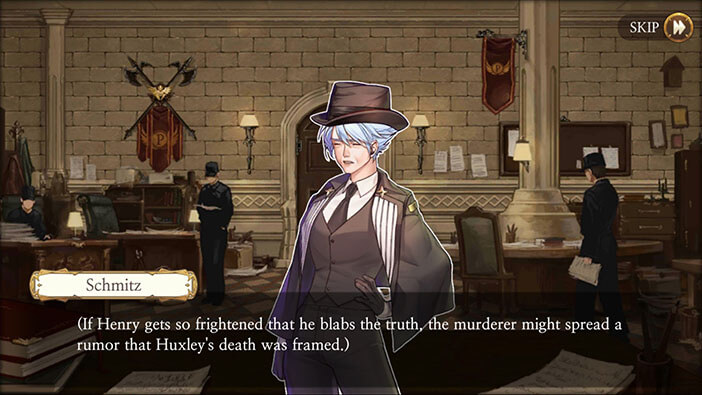
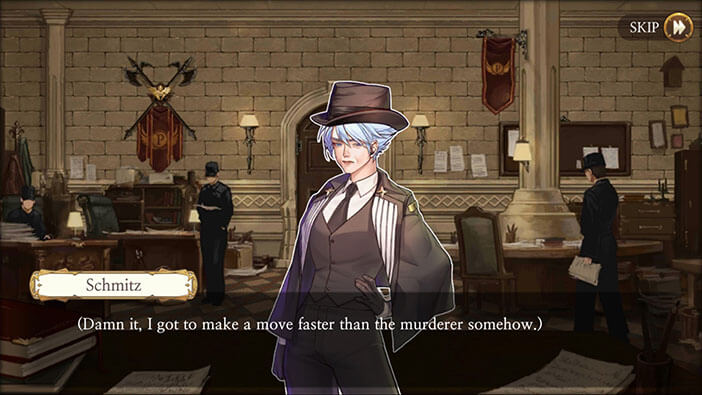
After talking to Erich, Schmitz is thinking about what the future might hold. She thinks, as we already discussed, that the vigilante will go after Henry first, and will later hunt down Samuel. The chief investigator Schmitz is worried about the fact, that Henry if put under enough pressure, might confess to the vigilante that Huxley was framed. I think the vigilante already knows this, and that she should be more worried about Henry telling that she knew Huxley was innocent and didn’t do anything about it, in order to save her own reputation. So, now our detective has to find Henry before the vigilante does. But what is she going to do once she finds him? Is she going to kill him in order to cover up her own wrongdoings? I think nothing is off the table at this point, but I do hope that the detective will go back to the path of righteousness… However, right now, she seems more concerned with preserving her own status.
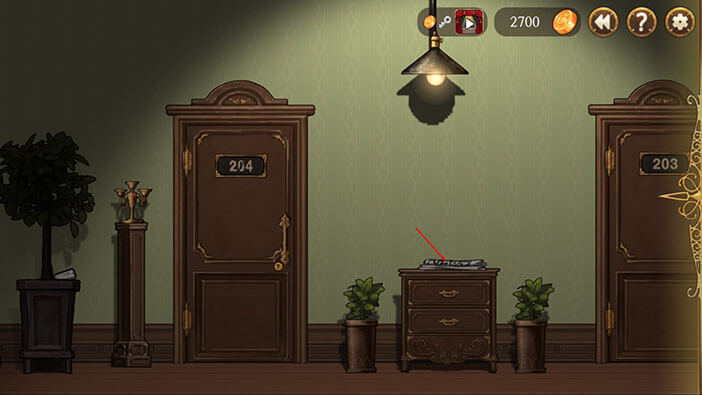
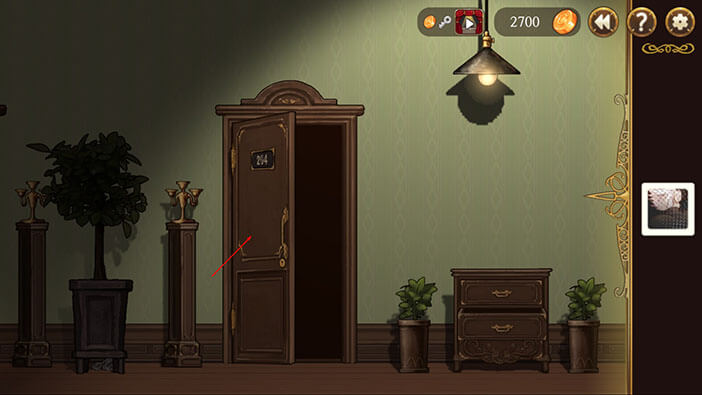
The story continues at the hotel in which Henry rented a room.
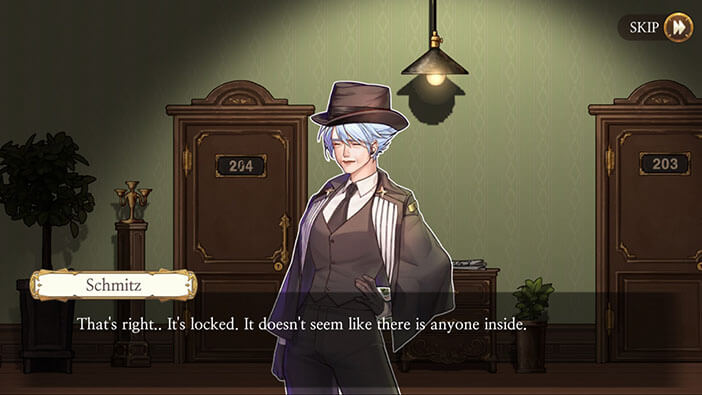
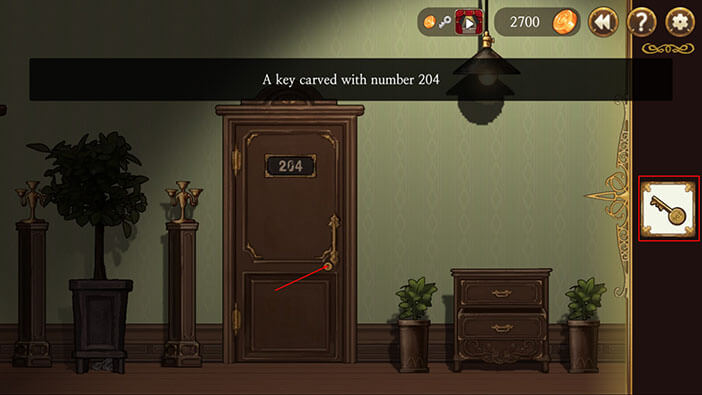
Well, let’s try the most obvious approach and knock on door 204. Tap on the door.
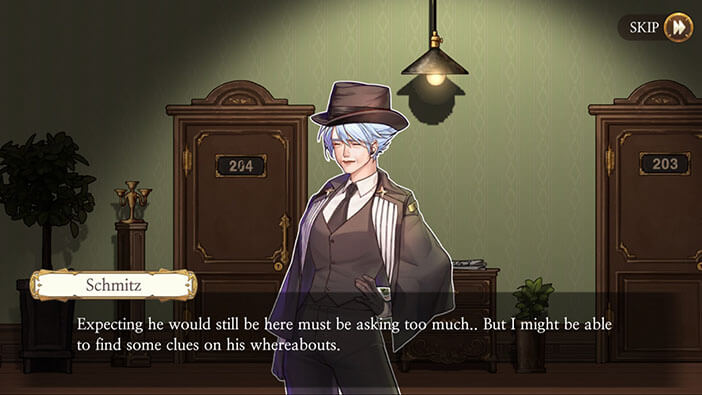
As expected the door is locked, and it seems that no one was in the room for quite some time. Our next objective is to find a way to unlock the door and enter the room since Henry might left us some clues in there, that could indicate where he went.

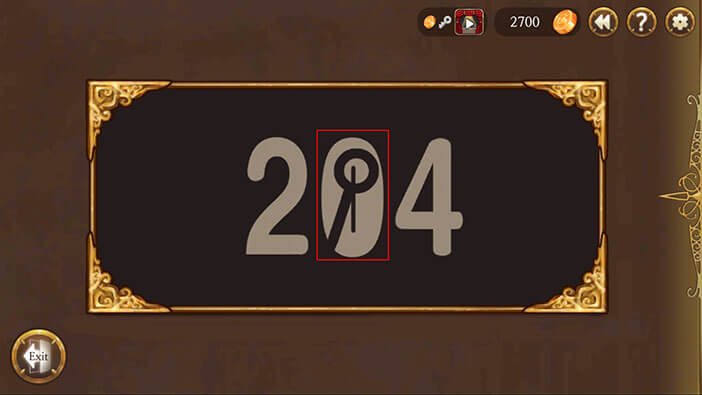
Let’s check the door number before we do anything else – tap on it. Hmm, it looks like there is a key drawn inside the number zero when we closely look at the number 204. Remember this information, as it will be important later on.

Tap on the “Exit” button.
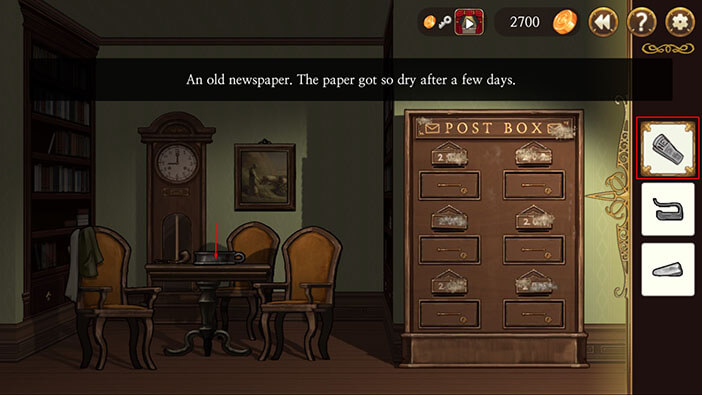
Tap on the newspaper that is sitting on the cabinet to pick it up. It’s old and dry, which makes it perfect for lightning up a fire.
Tap on the bottom drawer to open it.
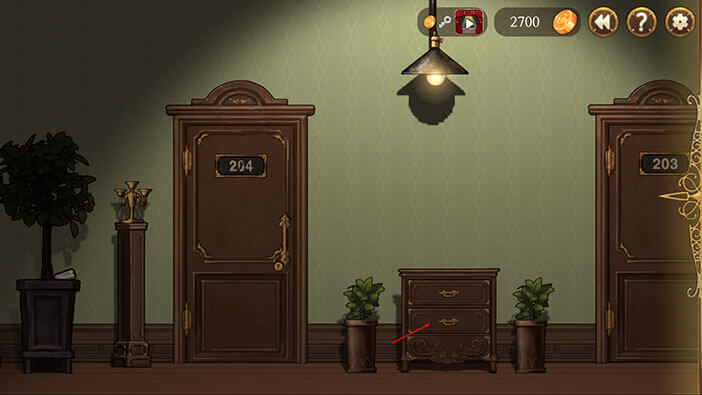
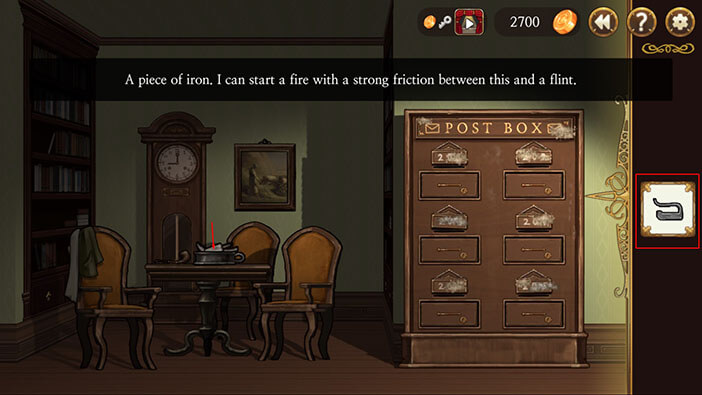
Tap on the piece of iron, located inside the drawer, to pick it up. This piece of iron can be used to start a fire. Before the invention of matches and lighters, people used flint and steel to light up a fire.

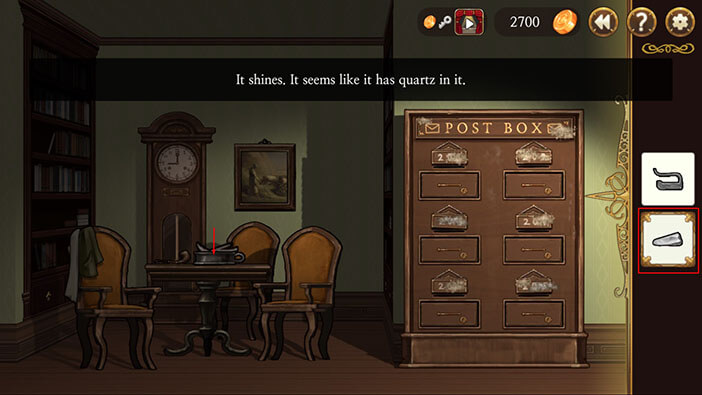
Now, sweep slightly to the left and tap on the stone below a small tree to pick it up. It actually contains some quartz in it, and now we have everything that is necessary to start a fire.
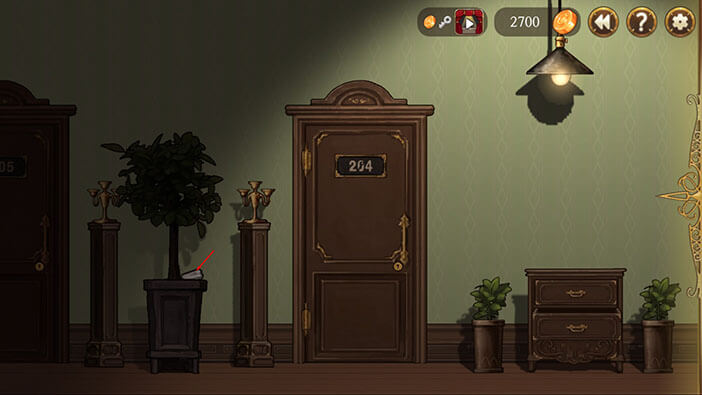
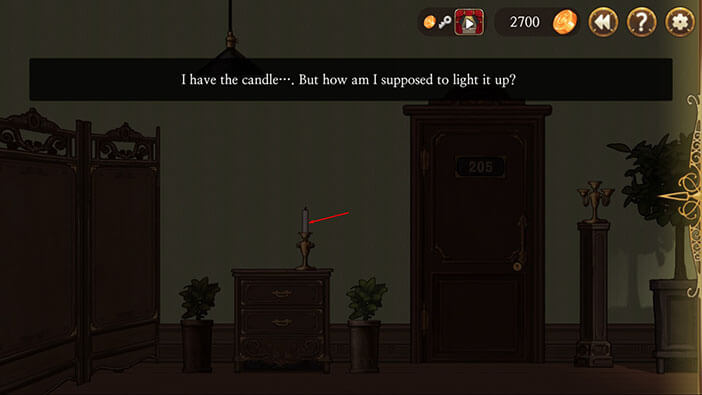
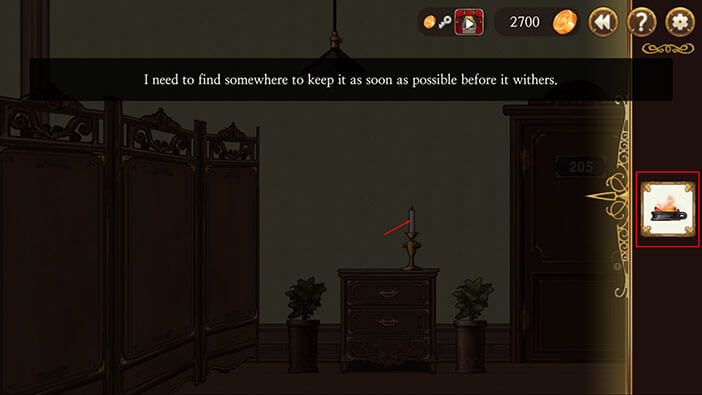
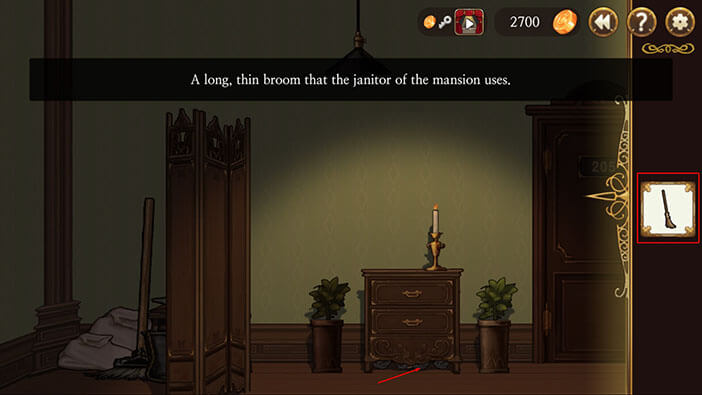
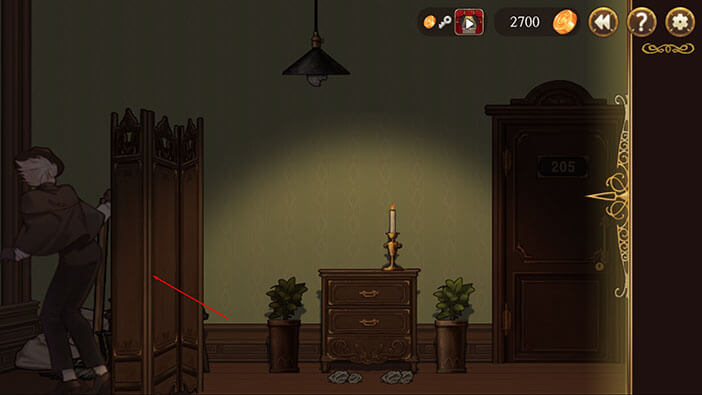
Sweep to the left and tap on the candle located on top of the other cabinet. Well, it’s too dark in here, so we will have to find a way to light the candle and illuminate this part of the hall before we can search it.
Sweep to the far right end of the hallway until you see a table and three chairs. Tap on the pipe. Well, somebody forgot it, but the detective doesn’t seem interested in picking it up.
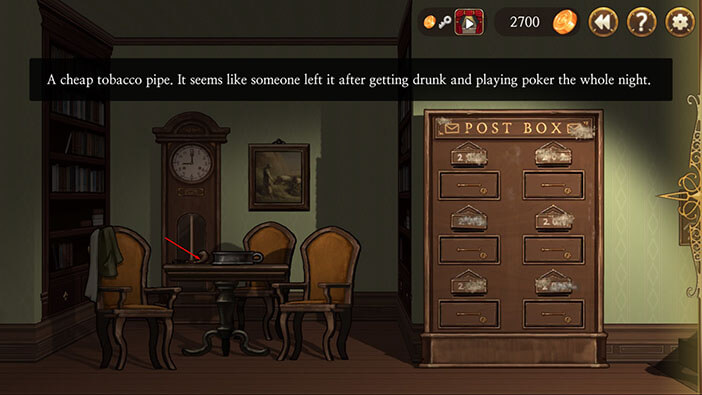
You will also notice that there’s a huge ashtray on the table, and we could lit a fire there.
Select the newspaper from the inventory and tap on the ashtray to place the newspaper inside it. Well, when I think about it, this ashtray is actually enormous, I never so one that is even close to the size of this one…
Next step, select the stone from the inventory and tap on the ashtray to put it inside.
OK, now select the piece of iron from the inventory and tap on the ashtray to smash it against the stone in order to make a spark that will lit up the newspaper and start a fire.
There was a spark but it wasn’t enough to start a fire. You know how they say, if you don’t succeed on the first try, try again. So, let’s tap on the ashtray again. Fingers crossed.
Yup, the second time is the charm. We started a fire, so let’s tap on the ashtray to pick it up. It is easy forget how even the simple task of starting fire was a tedious work before the invention of matches, and lighters.
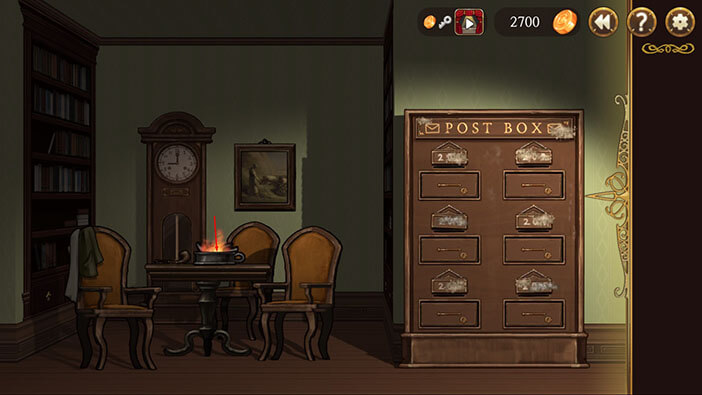
Schmitz is concerned that the fire might quickly die out, so let’s not hesitate. Sweep to the left, until you see a candle. Once there, select the burning ashtray from the inventory and tap on the candle to light it up.
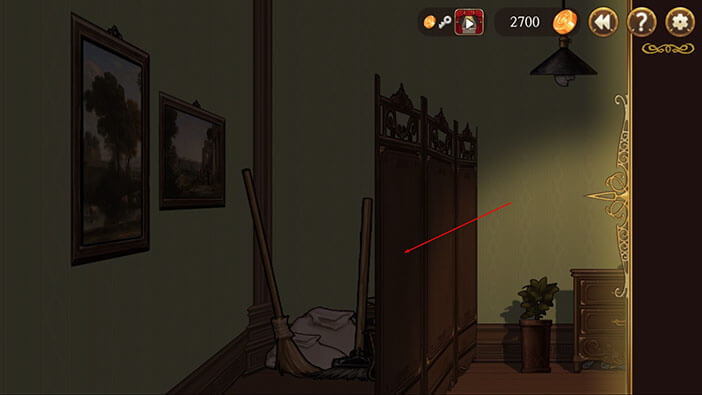
We finally have some illumination, and can now search this part of the hallway. Sweep all the way to the left and tap on the broom behind the dressing screen.
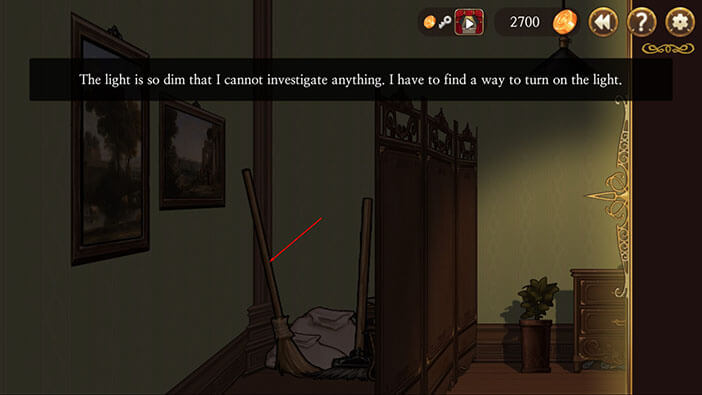
Dang it! It looks like we need some light in here. Tap on the dressing screen to pack and illuminate this corner of the hallway.
With all that done, tap on the broom to pick it up. Yeah, we went through all this trouble of starting the fire, and everything else, just so the Schmitz can pick up a broom… Oh, well, let’s go on.
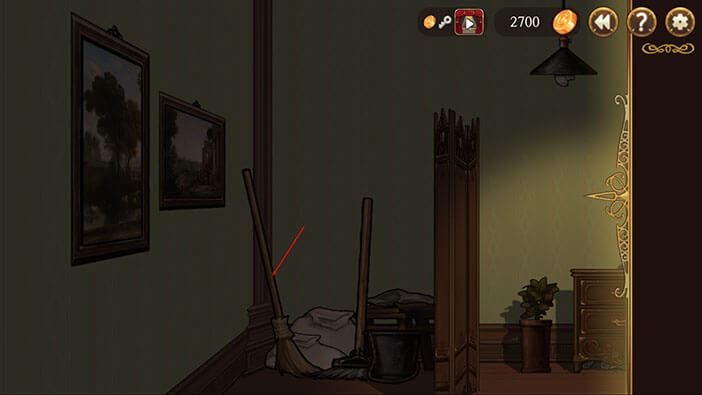
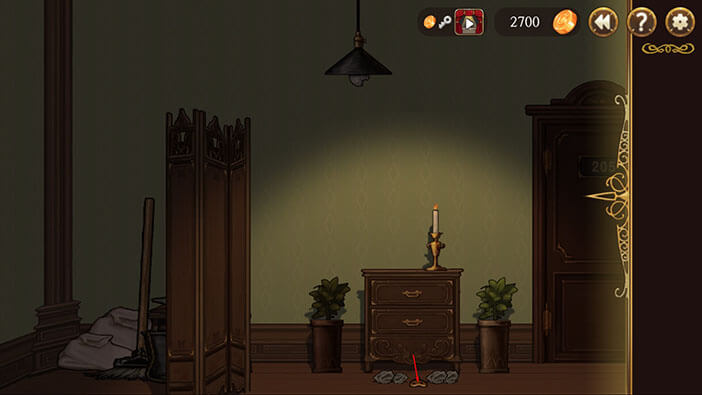
Select the broom from the inventory and tap below the drawer to sweep out everything that might be down there.
Tap on the gold-colored object to pick it up. It’s actually an old wind-up key. Earlier we saw a large cabinet clock on the right side of the hallway, so let’s if this key fits.
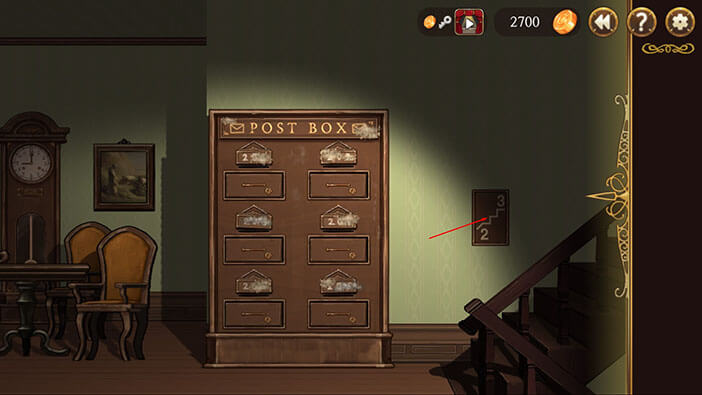
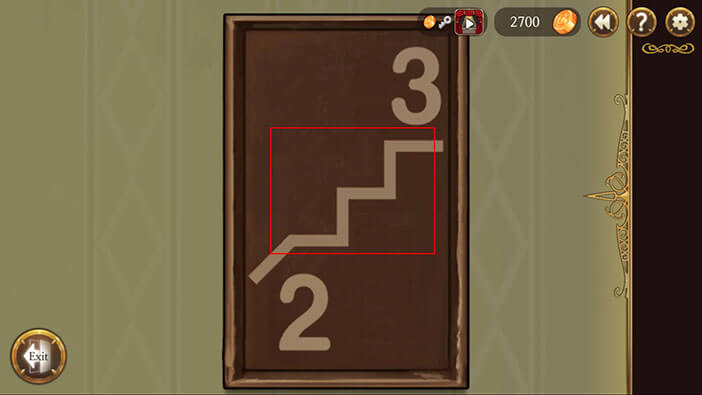
Sweep all the way to the right. Before proceeding to the clock, tap on the floor sign on the wall. The sign shows that we’re on the second floor, and the stairs will lead us to the third floor (logically). Remember this sign, because we are about to use this information.
Tap on the “Exit” button.
Now, sweep slightly to the left until you see a cabinet clock. Select the wind-up key from the inventory and tap on the clock.

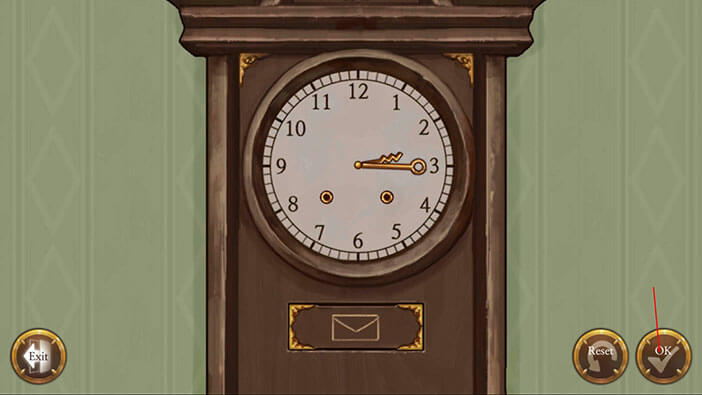
You will notice that the long minute hand is in the shape of a key, while the hour hand resembles the stairs. We saw the key-shaped object inside the zero when checking out room 204. That means that the minute hand should be pointed to 3 o’clock – between 2 and 4. We also saw the floor sign, and it contains the stairs that are of a very similar shape to the hour hand, and they are located between numbers 2 and 3. So, the hour hand should be pointing between 2 and 3 o’clock. So, let’s do this. Drag the minute hand to 3 o’clock, and the hour hand between 2 and 3 o’clock and tap on the “OK” button.
Great! Tap on the key to pick it up.
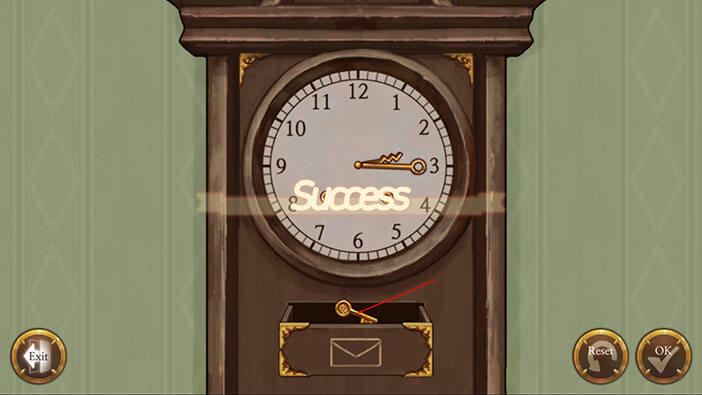
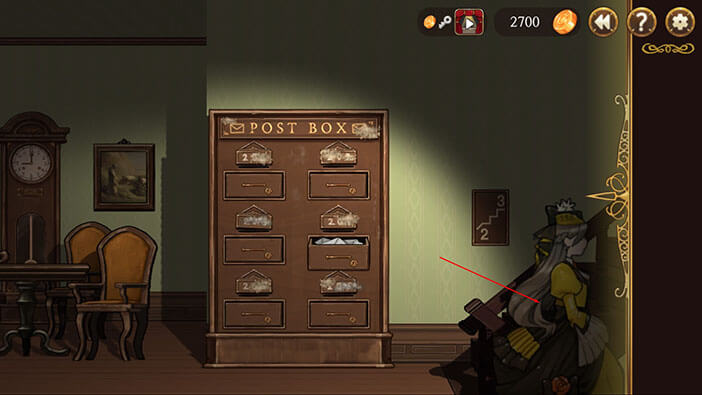
Ah, we’re not going to get inside the room that easy. This is just a mailbox key and not a room key. Oh, well, let’s check the mail. Select the key from the inventory and tap on the mailbox marked with number 204 – the middle one in the right column. Tap again to interact with the opened mailbox.
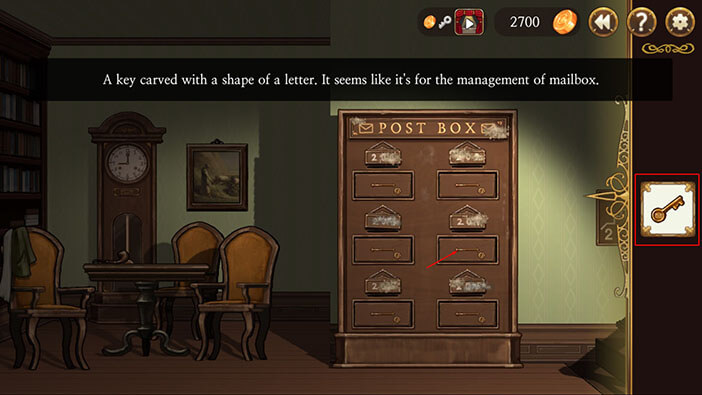

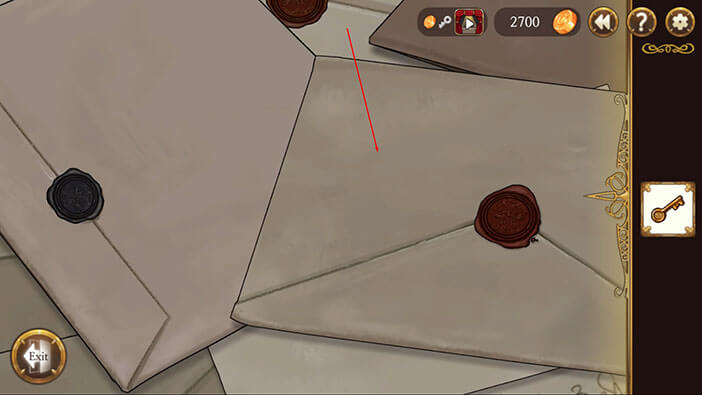
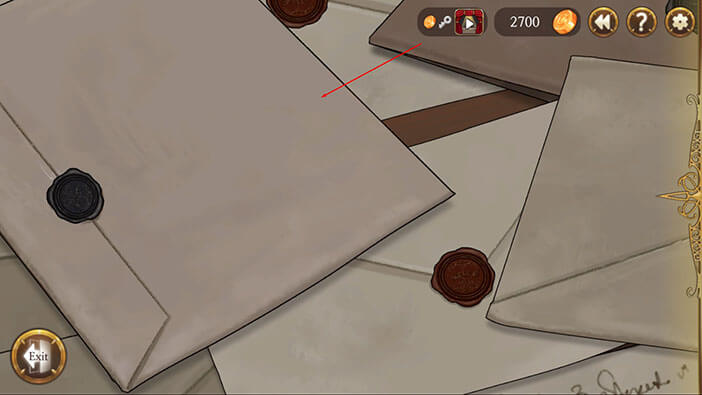
Tap on the letters to move them out of the way, and then tap on the key hiding below them to pick it up.
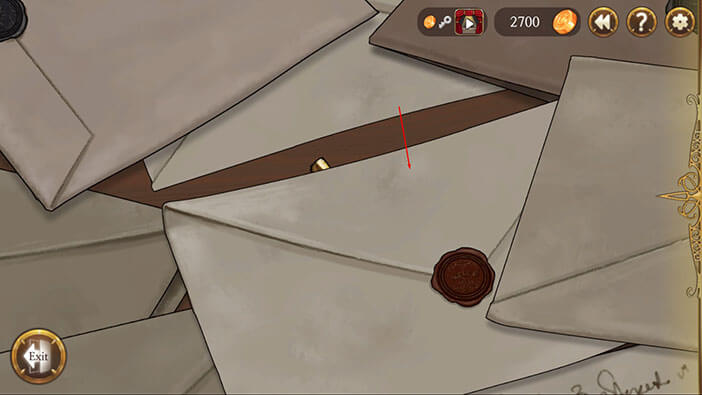
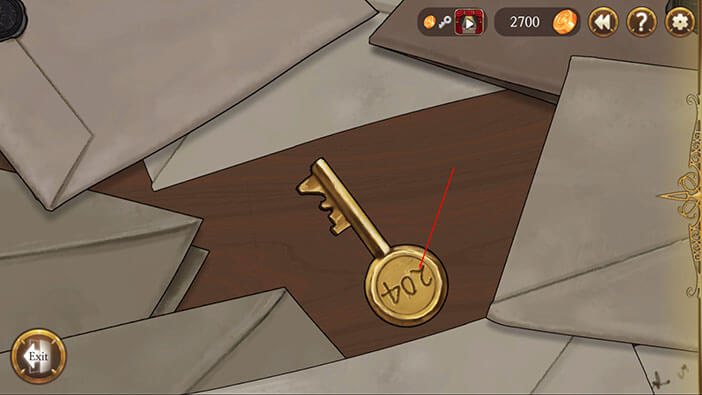
Finally, we managed to find the key to Henry’s room. Tap on “Exit” button.
The next step is very straightforward. Go to room 204, select the key from your inventory and tap on the door to unlock them. Tap on the door again to open them and enter the room.
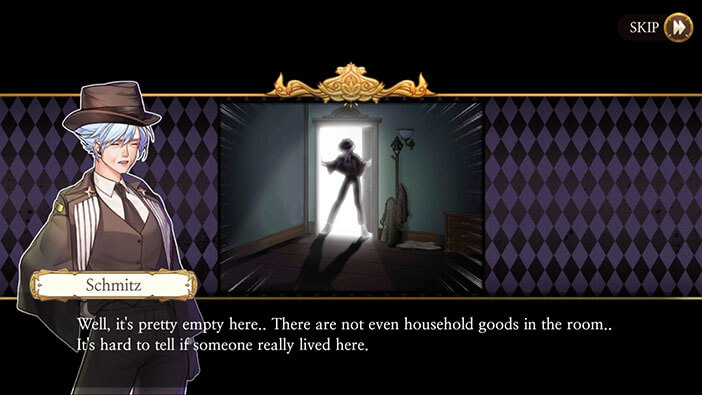
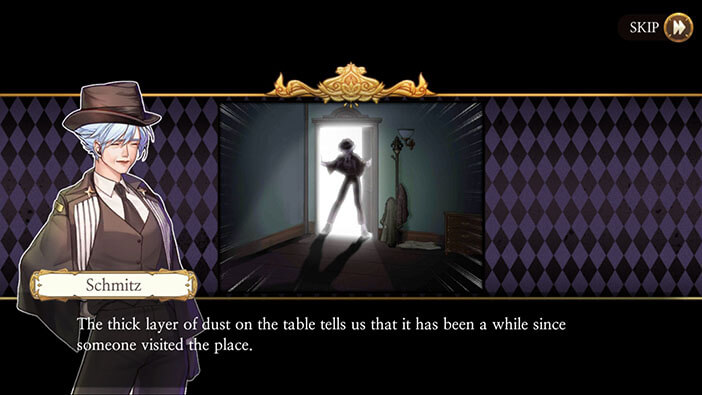
There is very little furniture in this room, and since there’s also a thick layer of dust everywhere, it seems no one has lived here recently. Regardless, Schmitz is going to check for clues that might uncover more about Henry’s current location.
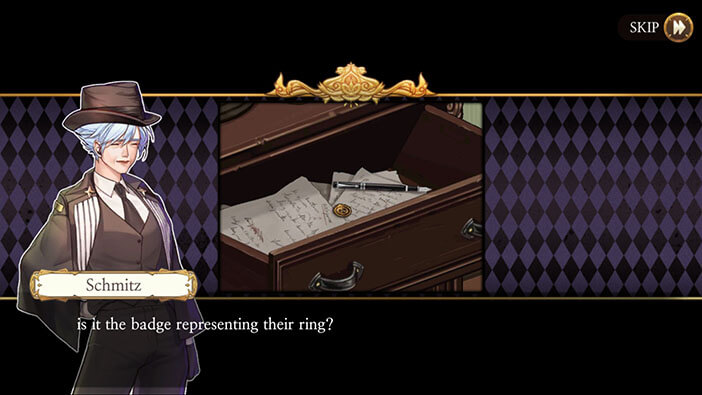
Well, she did find the badge with the Aegyptus symbol and figured that it’s probably a good idea to pick it up, as it might become useful later. At least this badge proves that Henry (or at least someone from the Aegyptus) was really here, so Erich gave us the correct information.
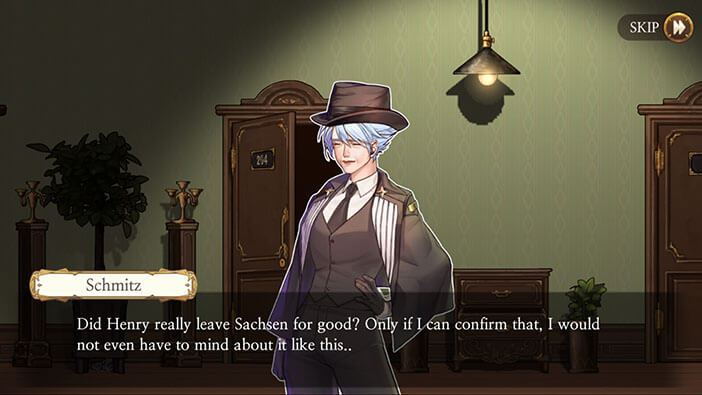
The chief investigator Schmitz is really disappointed because she didn’t learn anything about Henry’s possible whereabouts after examining his room. If she knew for sure that he left Sachsen, she would be at ease – and her secret safe. Alas, we found nothing that could prove this theory. Just when she was about to go back to the police station, she heard the footsteps of someone coming upstairs.
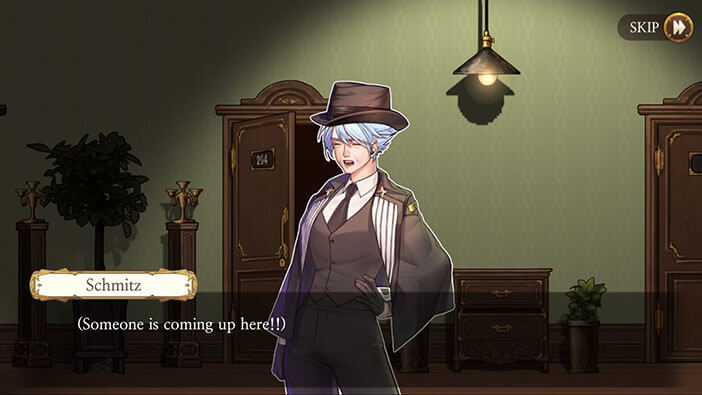
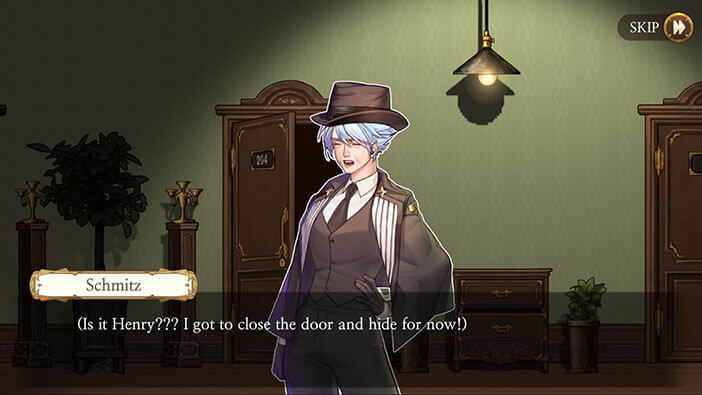
Startled, the detective realized that it’s possible Henry coming upstairs and decided to quickly close the door of room 204 and hide somewhere.
You will now get the Schmitz card, which can be used from the inventory to place the detective once we find a good hiding place.
First, tap on the door of room 204 to close them. I suppose our protagonist will remember to lock them.
I think that one of the best hiding places would be behind the dressing screen, so let’s do that. Select the Schmitz card from the inventory and tap on the dressing screen.

With the Schmitz behind it, tap on the dressing screen again to extend it, so none can see our detective.
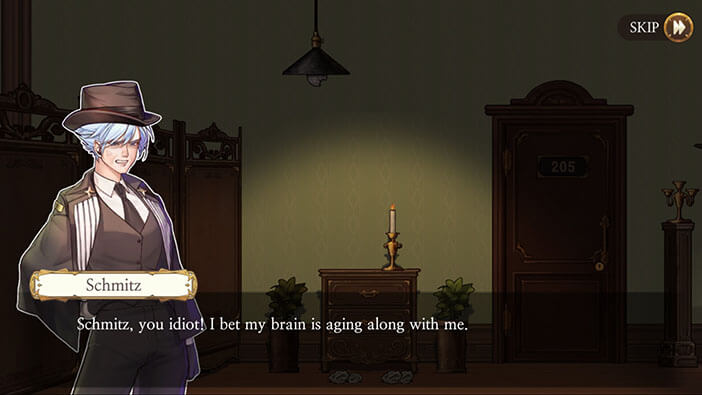
A few moments later, Schmitz hears knocking on the door, and after that hears a female voice calling Henry’s name. A woman left, clearly disappointed that she didn’t find him.
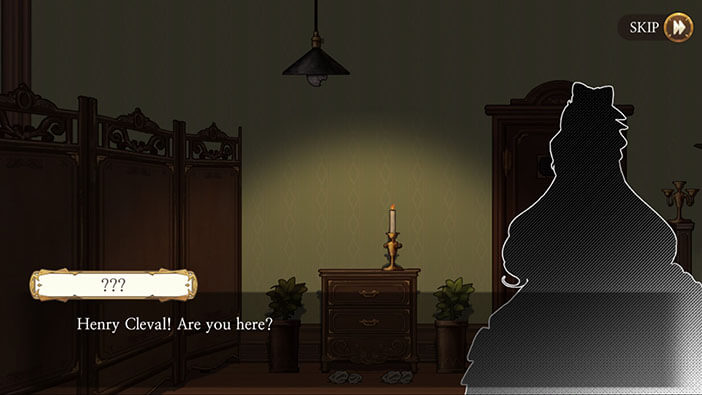
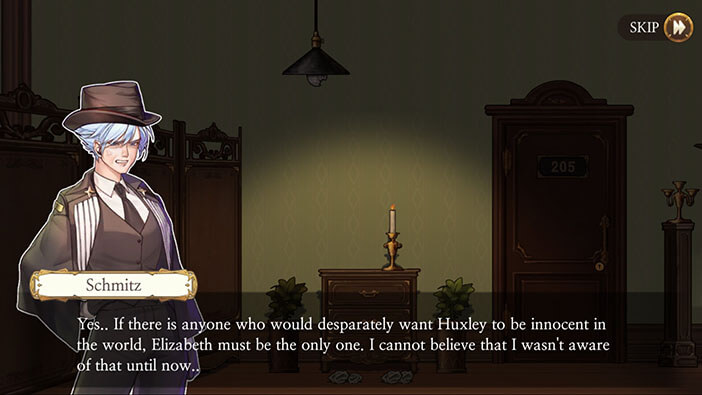
After the initial shock, Schmitz identifies this woman as Elizabeth, the late Huskley’s fiancée. The detective seems convinced that Elizabeth wants to prove Huskley’s innocence. This makes sense.
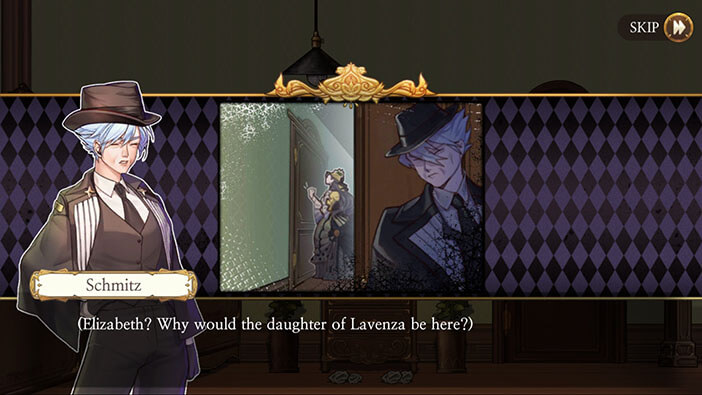
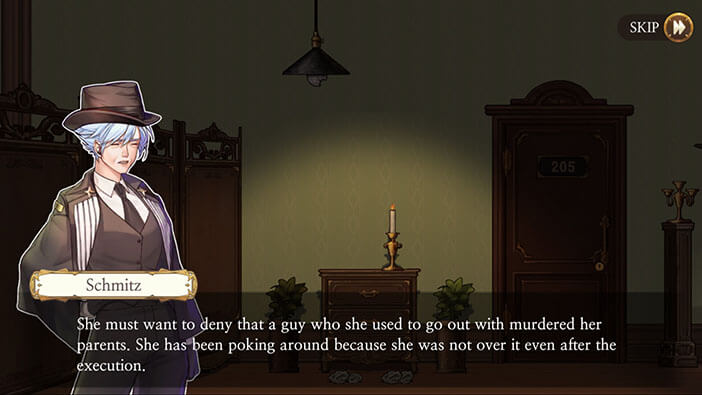
However, Schmitz also believes that Elizabeth is the one that killed the lawyer and that she is now after Henry and Samuel, because she wants to avenge the death of her lover, and also the death of her parents. Ahem, well our not-so-bright detective, this doesn’t make any sense. I can’t imagine Elizabeth walking into Neumann’s (lawyer) office, and him becoming frightened and running away from the young girl. I also can’t imagine her crafting the improvised, heavy axe in a matter of minutes and using this weapon to break down the sturdy storage room door, and the sight of her terrifying the lawyer so much, that he decides to jump through the closed window and commit suicide. Oh, and she would also have to completely trash the place with an aforementioned axe. Although seeing her swinging wildly with the ax would be a magnificent sight to behold, this theory is extremely unlikely, at best.
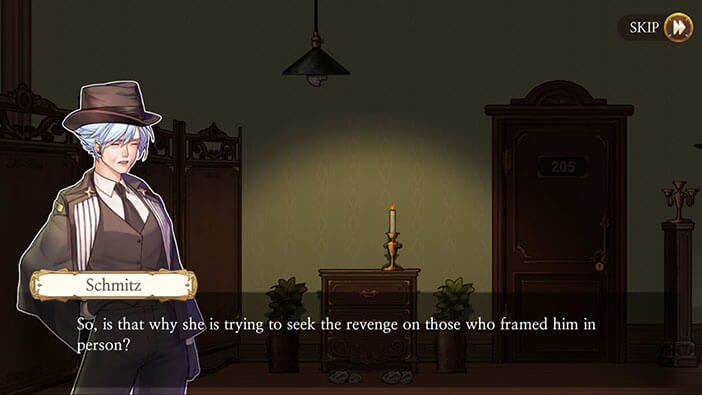


On the other hand, Schmitz is certain that Elizabeth is the one that killed Neumann, and thinks that she should tail Elizabeth, and find the proof of her guilt. The detectives hopes to catch Elizabeth when she attacks and, hopefully, murders Henry. After that, the detective would arrest her, close the case, and solve the problem of her not-so-honorable act of letting the innocent man die. Oh, well, it seems that Schmitz is going back to her stupid mode in order to quickly solve the case, just like when she investigated the Lavenza murders for the first time. Honestly, this new theory of hers is even worse. I would say that it is completely ridiculous.
But, since there’s nothing we can do about it, let’s just follow Elizabeth and see what happens next. Move all the way to the right and tap on Elizabeth to follow her.
FOLLOWING ELIZABETH:
While following Elizabeth, try to stay close to her. Use the movement pad in the bottom right corner of the screen to move your character. You will only fail this mission if you bump into her, or if you are too far back. In other words, don’t worry about being too close, as the mission won’t unless two portraits are touching each other.
Elizabeth will stop several times while you follow her. Everything is fine, this isn’t a bug. Just wait for a moment or two until she starts moving again, and, of course, don’t bump into her while she’s standing. Tap on “Start”.
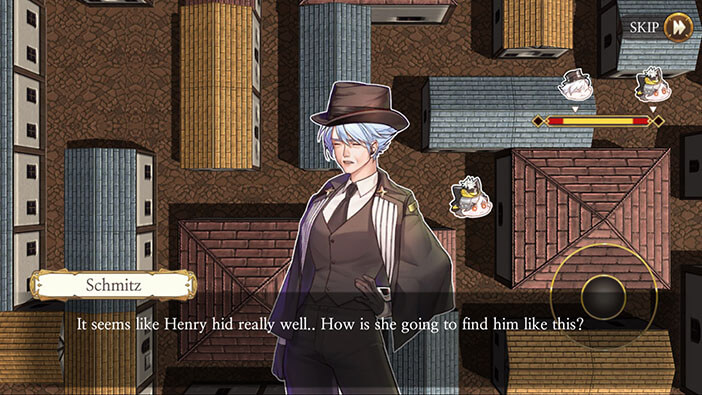
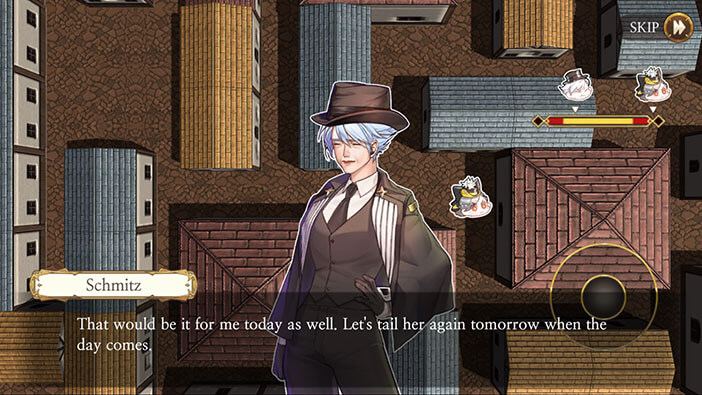
Day 1
The Schmitz followed Elizabeth all around town, but it seems she wasn’t able to find Henry. We will have to try again tomorrow.
Day 2
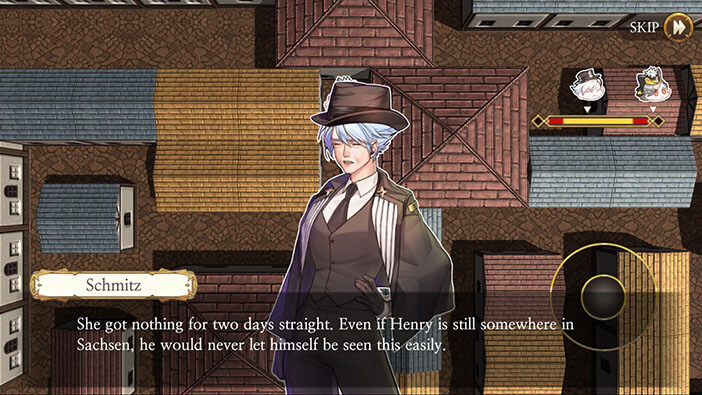
Well, Elizabeth’s search didn’t yield any results today, either. Schmitz suspects that Elizabeth won’t be able to find Henry, since she didn’t find him so far. The detective also thinks that Henry left Sachsen. Regardless, will follow her again tomorrow.
Day 3
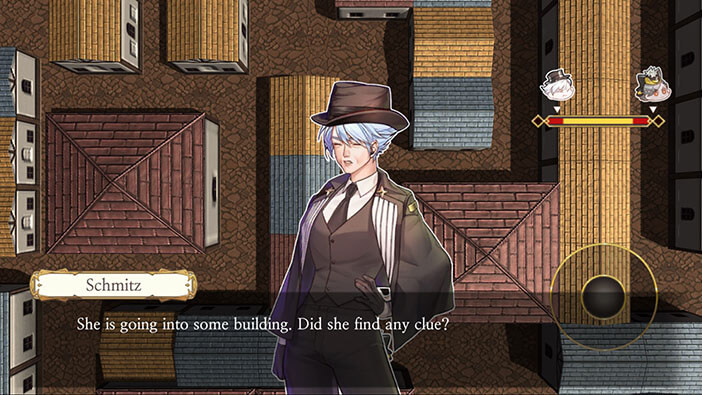
As the saying goes, the third time is the charm, but this is also the most difficult mission. Elizabeth will move much faster on the third day, and she will also make a few sudden stops. Finally, she will enter into an unknown building, and Schmitz believes that this is Henry’s hiding place.
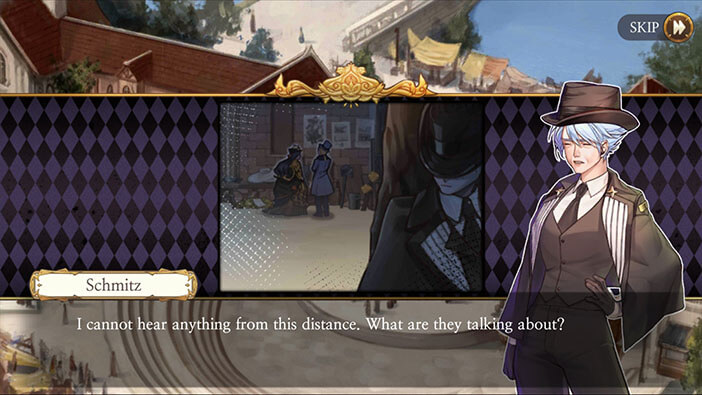
Our story continues at the Outdoor Stage. After nearly losing Elizabeth, Schmitz manages to catch up with her and sees her talking to Henry.


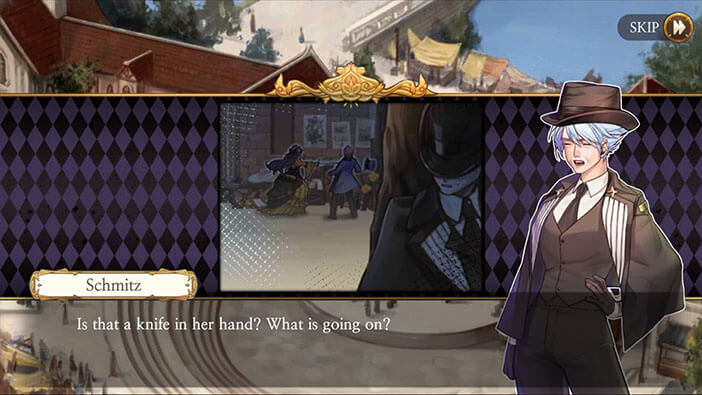
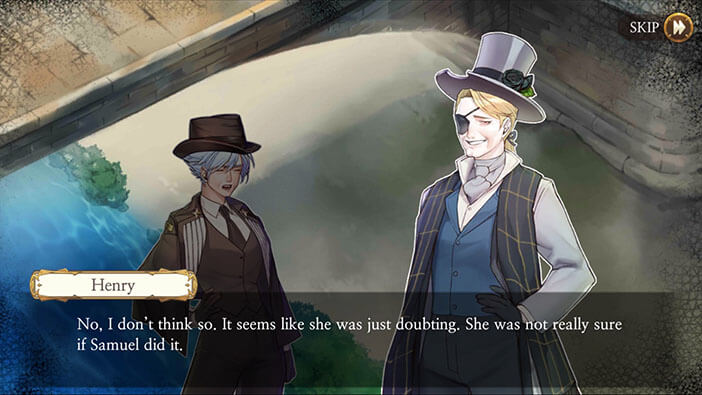
However, the detective is too far away to hear what are they talking about. At one point, Elizabeth draws a small sword and points it at Henry’s chest. When I first saw this image, I thought she stabbed him in the chest, but she didn’t. She used the weapon to scare the men, forcing him to tell her everything he knows. Naturally, Schmitz is very concerned because, if cornered, Henry might even say that the detective knew that Huxley was innocent, but did nothing to stop his execution. Well, who knows how Elizabeth would react if she knew this.


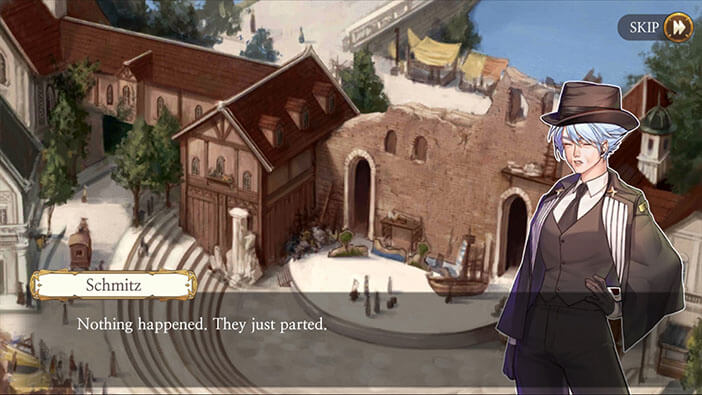
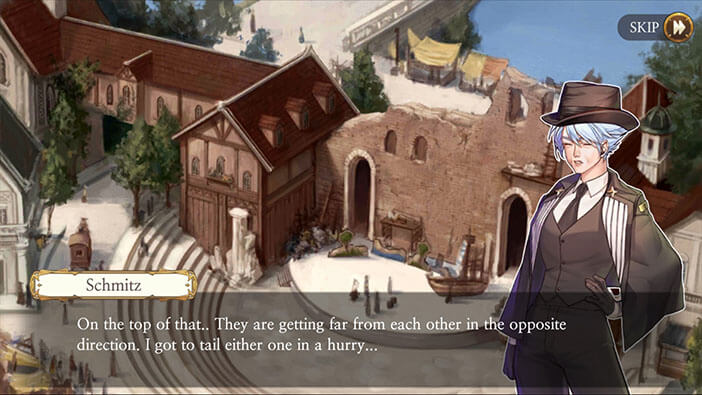
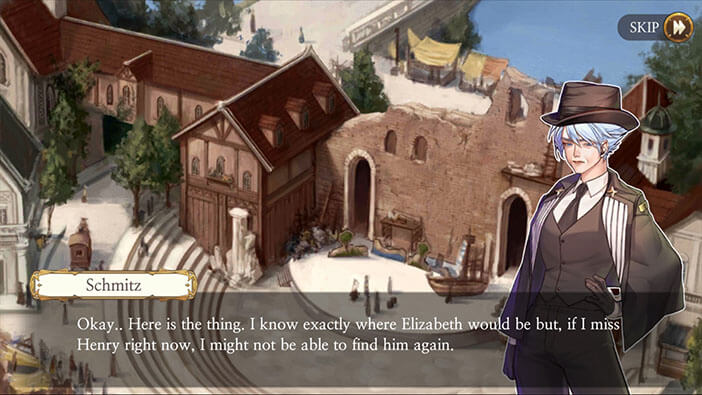
Schmitz seems disappointed after seeing Elizabeth and Henry part ways. She hoped that Elizabeth would kill Henry. In that scenario, the detective would arrest Elizabeth, and Henry would take Schmitz’s secret to the grave. Problem solved. However, that’s not what happened. Now, the detective has to make a choice, because she could follow only one of them. She made the right call and went after Henry, since Elizabeth is easy to find and she probably won’t leave the city, anyway.

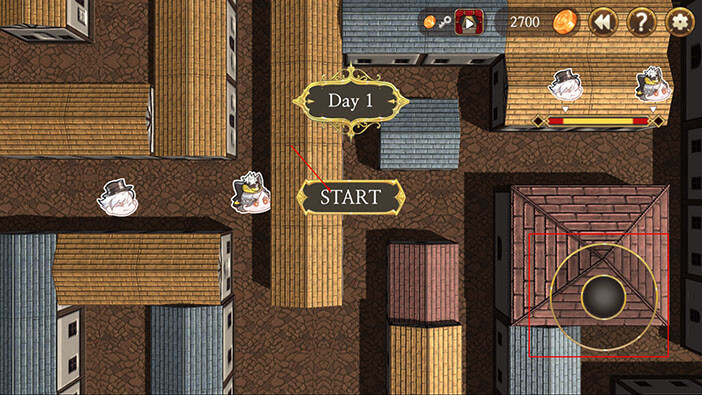
And with that, we come to our next task. Following Henry will be much more difficult than following Elizabeth since we will have to search for his footprints across the town. Besides that, we will have a limited time to accomplish the task. The timer is set at 30 seconds and will start ticking down as soon as you start the mission. However, the timer will reset to 30 seconds each time you find a footprint. There are four footprints in total.
Also, you can see what’s in the immediate vicinity of the footprint by looking at the minimap.
FOLLOWING HENRY:
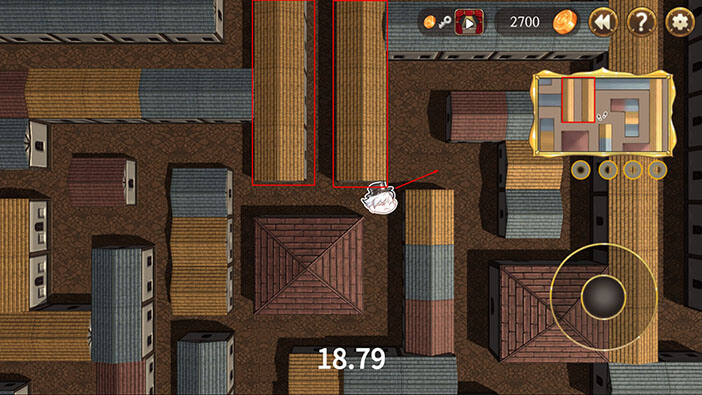
The first Footprint is in the northeast (top right) corner of the map. Use two rows of the buildings with yellow roofs as an orientation landmark. Once you spot these two rows of buildings, the first footprint will be just to the right of them. 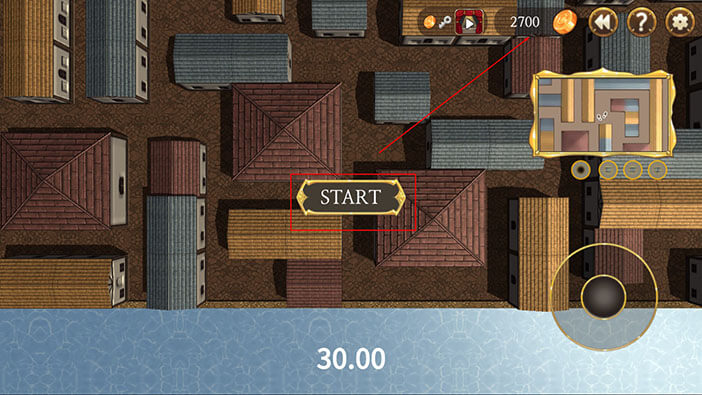
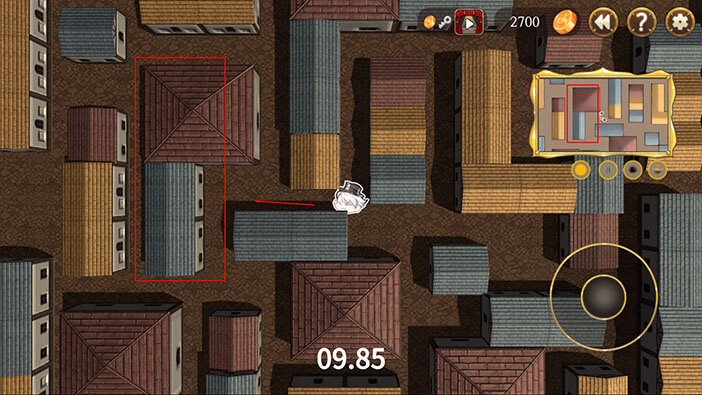
The second footprint is located in the middle of the map, near the starting location.
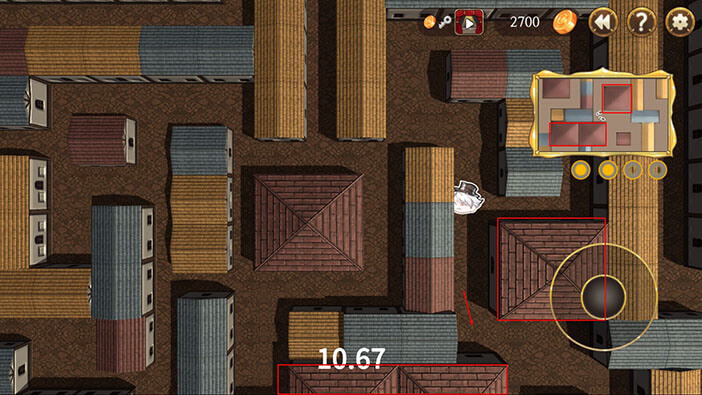
The third footprint is located in the southeast (bottom left) corner of the map, but you will have to detour slightly to the north to get there. Look for two large buildings with red roofs. Once you see them, you will be very close, and the footprint is slightly to the right of them.
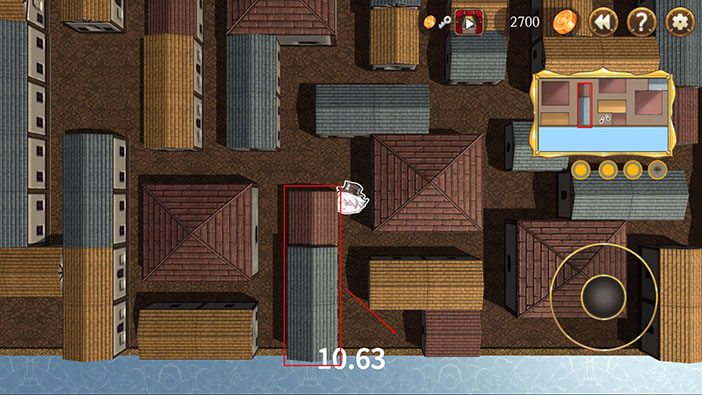
The location of the fourth footprint is a bit tricky to explain, and you will have to quickly cover a lot of distance to get there. The easiest way to find it is to go all the way to the western (left) end of the map and work your way south. Once you get to the south-west corner of the map, you will be able to see the location of the footprint, a few streets to the east, as shown in the image below.
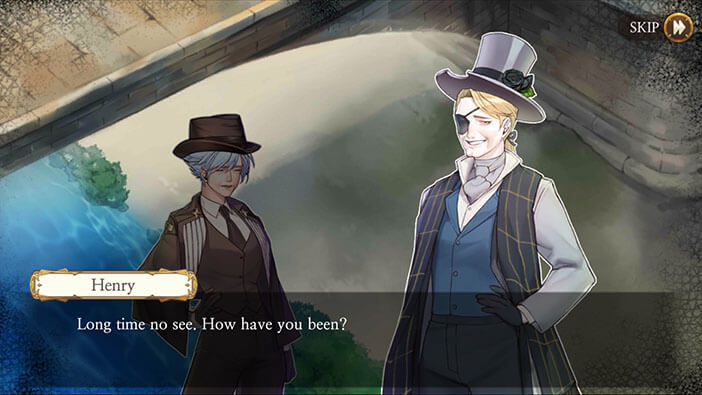
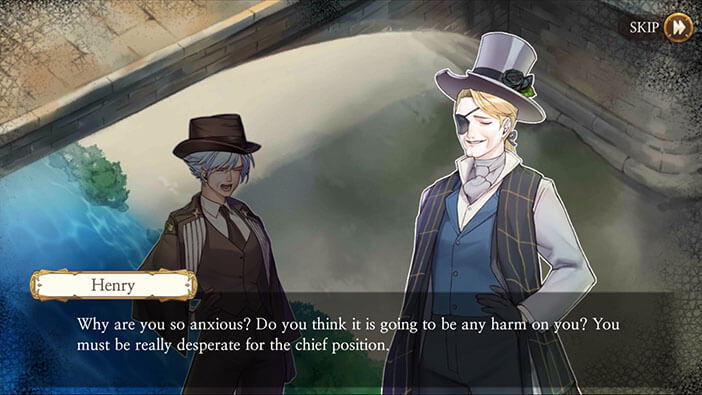
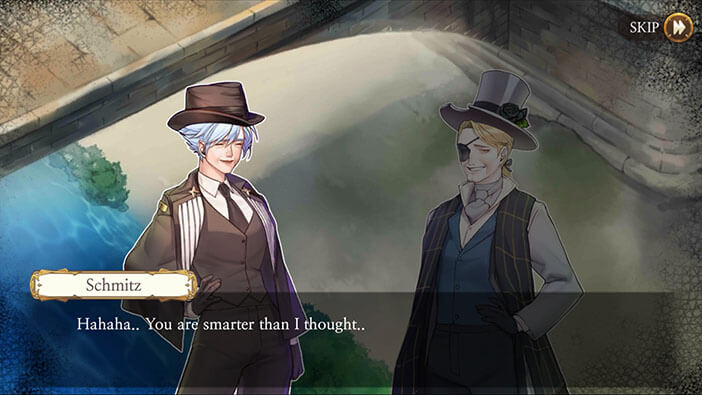
The story continues under the bridge on the Elbe river, as Schmitz finally finds Henry. Naturally, the detective wants to know what he said to Elizabeth and gets straight to the point. Henry seems completely unconcerned. It looks like he isn’t frightened the detective at all, and behaves like they are having a casual conversation.

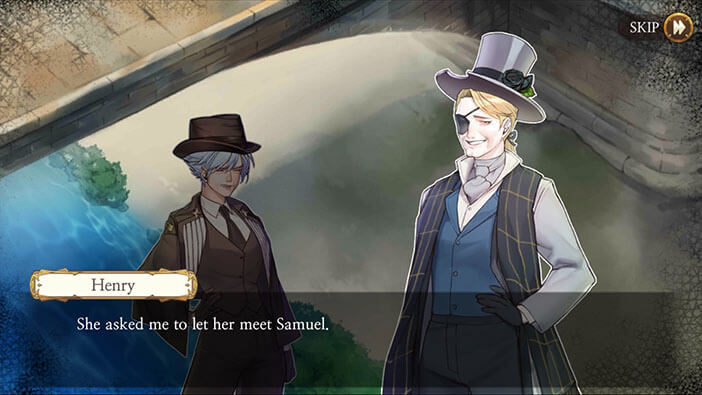
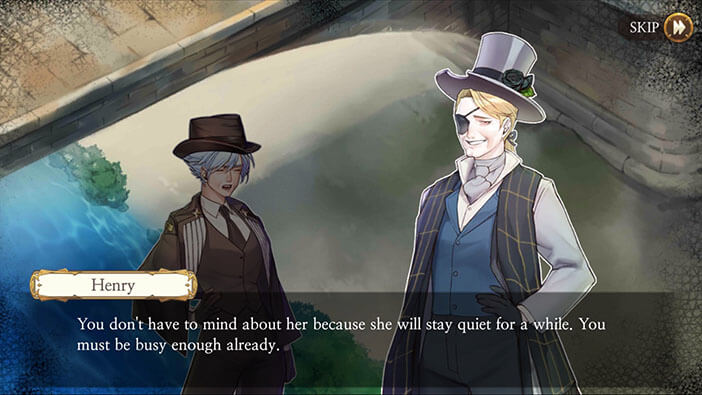
We also find out that Elizabeth wants to meet with Samuel. Apparently, she doesn’t yet know it for sure but suspects that he is responsible for the murder of her parents. Henry managed to talk his way out of trouble when faced with the sharp end of the sword pointed to his chest, by promising Elizabeth that he will reveal the identity of the murderer next time they meet. Ahem, well, it was very naïve of her to trust the known criminal to hold his end of the bargain, if I might notice. Also, Henry tries to reassure Schmitz, telling her that he can handle Elizabeth and that there’s nothing to worry about.

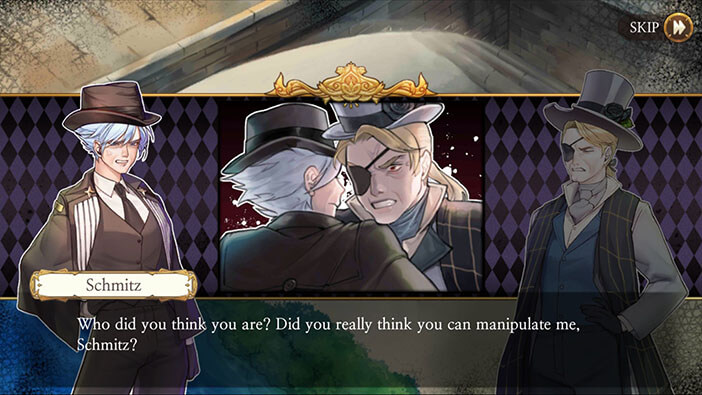
Now, Schmitz gets straight to the point and asks if Henry is going to reveal the identity of the murderer to Elizabeth. Henry, a criminal with years of experience, sees a way to turn this situation to his advantage. He tries to blackmail the detective, saying that he won’t reveal anything to Elizabeth, in turn for, let’s say a small favor. Once Schmitz becomes the chief of the police, she will turn a blind eye to all the crimes committed by the Aegyptus. Henry’s plan has only one minor flaw. If Schmitz calls his bluff, he would have to tell Elizabeth that Samuel, the head of the Aegyptus, was the murderer, and I don’t think Samuel would react favorably to that.


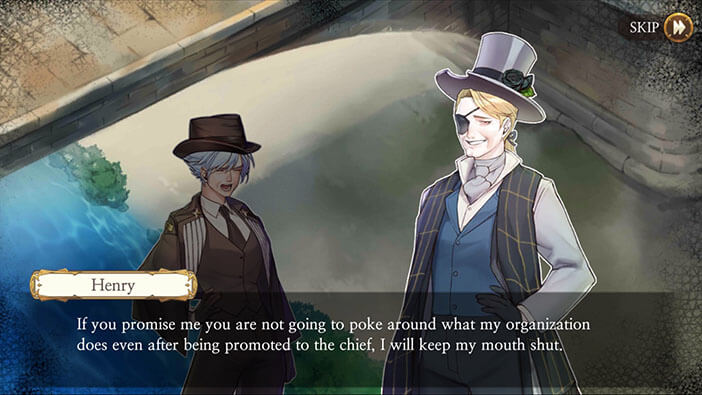
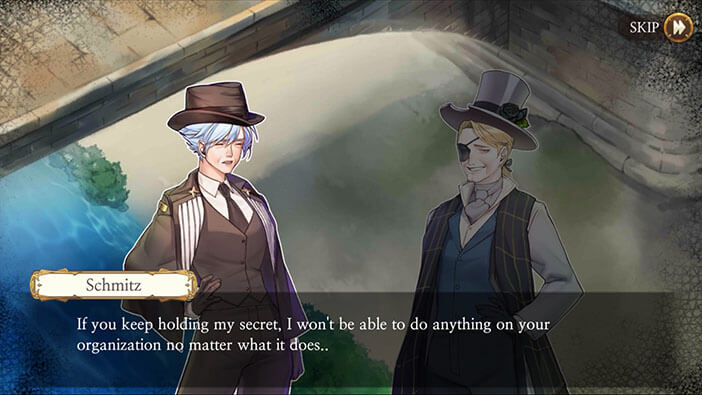
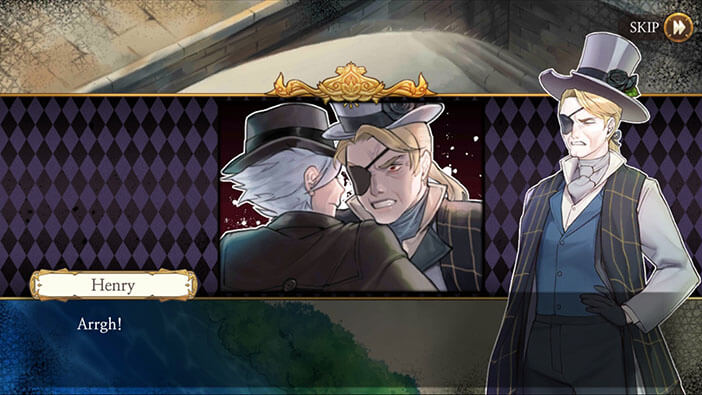
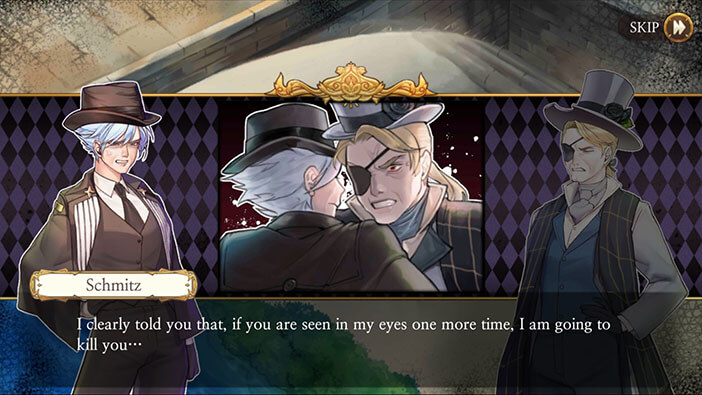
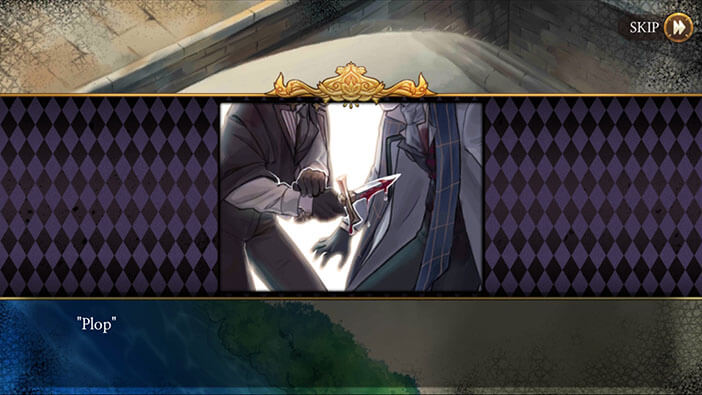
So, just to make things clear, Schmitz wants him to confirm that he won’t do anything, as long as she doesn’t “interfere” with the Aegyptus’ business, which he does. She then asks if he remembers what she promised the last time they met. And…
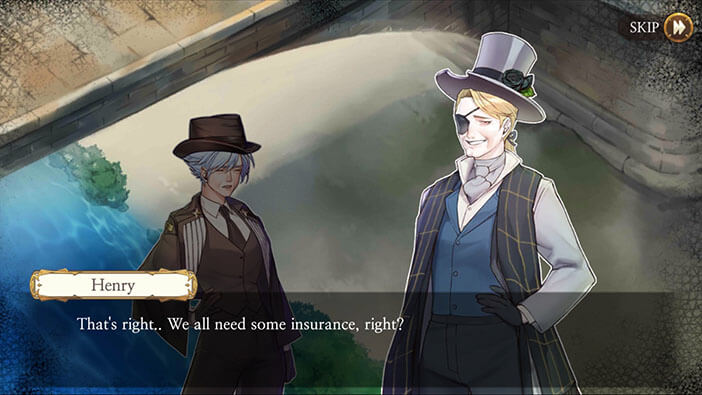

The detective suddenly draws a dagger and stabs Henry, whispering into his ear and reminding him that she promised to kill him. Wow! That’s a very sudden turn of events, but I can’t say that I am completely surprised. I already mentioned at the beginning of this stage that Schmitz might be considering killing Henry, but I was hoping she would take a more righteous path. With that said, Henry falls to the ground, and with him, our protagonist also slips further into darkness. Right now, there’s not much difference between her and the criminals that she’s hunting. She withheld the evidence about the Huxley, which led to his death, basically making her an accomplice to the murder – by the way, Henry was an accomplice in Lavenza murders, just for a comparison. And now, she even committed murder, killing an unarmed man. At this rate, Schmitz will quickly become one of the most notorious criminals.
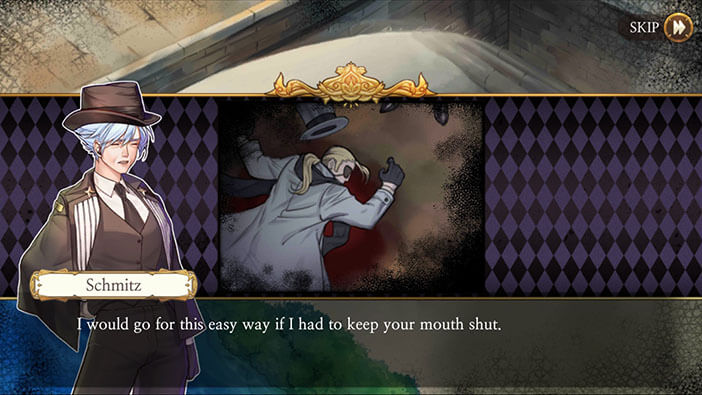
Before leaving, Schmitz says that she would let Henry live if he kept his mouth shut. I don’t buy it and think this is an excuse to justify her own actions. In my opinion, she subconsciously planned to kill him as soon as she gets the chance since that’s the only certain way to keep her secret hidden. If she let the poor Huskley die to keep her reputation intact and get a promotion, why would she do anything less drastic with Henry who is… Errm, excuse me, was a known criminal. Also, I am starting to really dislike this egoistic detective.
In the next chapter we will be playing for the first time as junior detective Erich, who has the task of solving Henry’s murder. Join us in the next stage of the Walkthrough for Frankenstein Room ESC, to find out how this investigation will work out.
Thank you for reading.