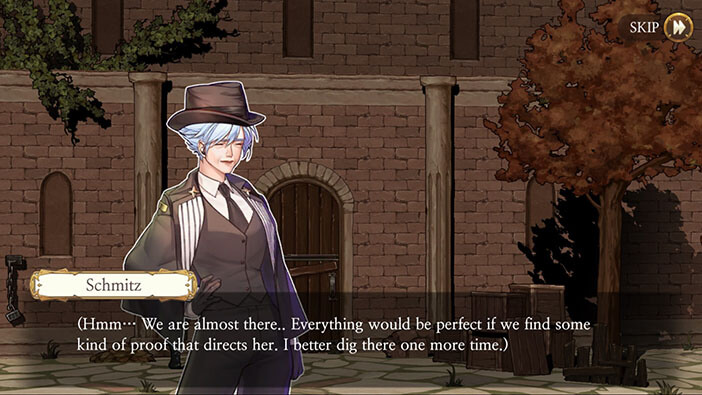
Chapter 2-2 The Made-UP Criminal
Complete Walkthrough
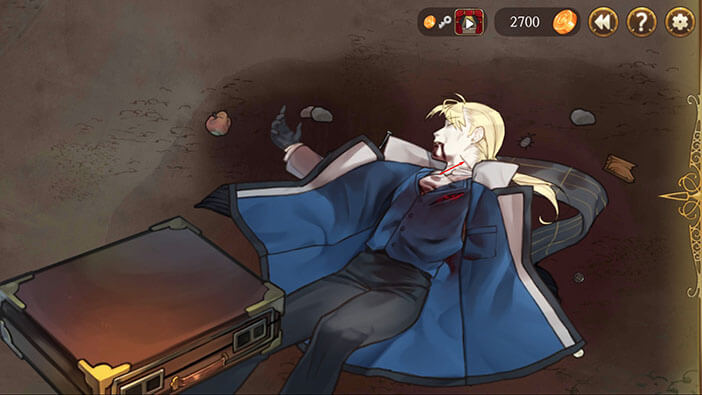
Hello everyone, and welcome to our Walkthrough for the Second Stage of Chapter 2 for the Frankenstein Room ESC adventure game. Our story continues the following day, at the banks of the Elbe river. Someone has found Henry’s body and called the police. This time, we will take on the role of Erich, Schmitz’s deputy, as he investigates the murder.
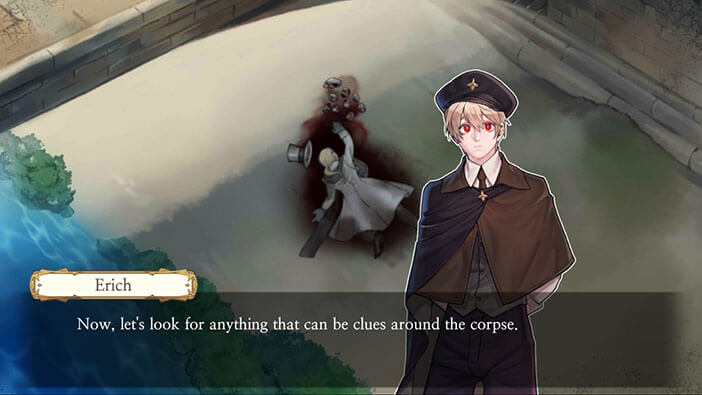
As Erich explains, the first thing that we should do when conducting a homicide investigation is to search the body for any kind of evidence. After that, we should proceed by searching the immediate surroundings of the crime scene.
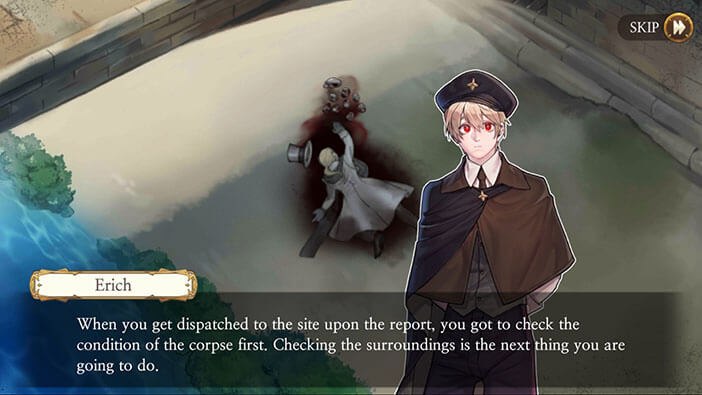
Tap on the corpse. Erich will roll over the body, and now we can start examining the victim.
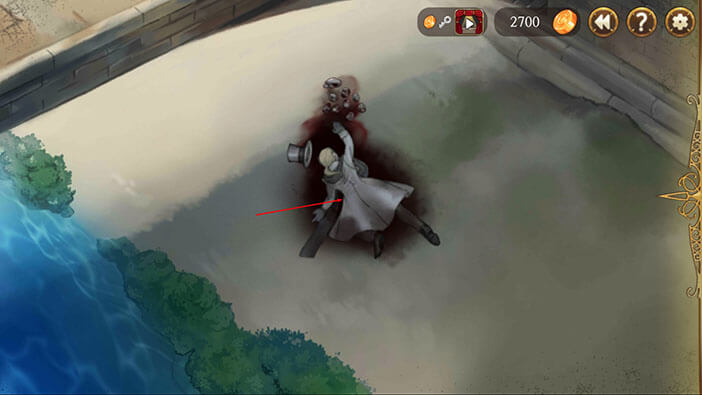
Tap on Henry’s left pocket.

It seems like there’s some kind of a small box inside it. Tap on it again. The box is now open, so tap again to pick up the object inside it.

Henry smoked and this is one of his cigars. After this action, “A Cigar” evidence card will be added to your inventory.
Now, tap on the spot on the ground just below the apple.
The Erich will pick up some soil and the “Soil” card will be added to the inventory. We will use it later.
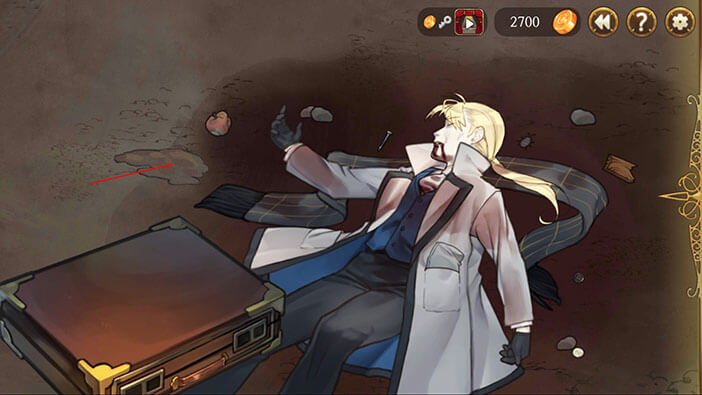
We should take a closer look at the victim’s wounds. To that, we first have to tap on both sides of Henry’s coat. Just avoid tapping at the pockets again.

There’s a large wound on the victim’s chest, so tap on it to have a closer look, and tap again to confirm.
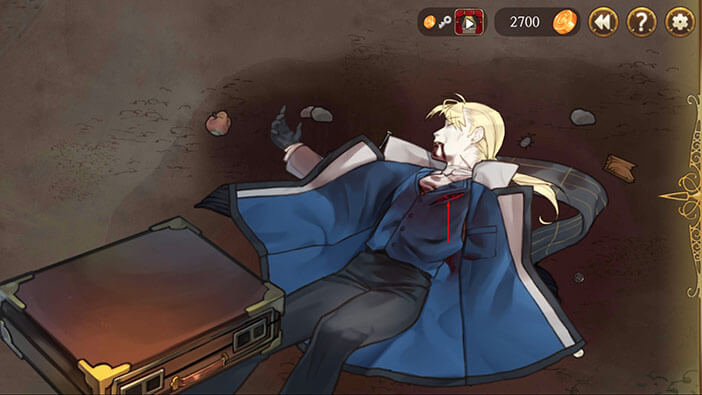
The wound is both deep and wide, inflicted by a sharp and pointy object. It looks like the stab came from below the ribcage, and went upwards, right into the victim’s heart. This kind of wound is fatal. It would be logical to conclude that murder was executed with a knife or dagger. We already know how Schmitz killed Henry from the previous stage. Another evidence card “A Pierced Wound on Chest” will be added to the inventory.
It appears that there’s also a wound on the victim’s neck, so let’s tap on it twice, and examine it.
Unlike the chest wound, the wound on the neck is shallow and it was caused by slashing rather than stabbing motion. So, after already fatally wounding the victim, the killer slashed at its neck, probably while the victim was falling. That would explain why the cut is shallow. We can definitely conclude that the stab to the chest was the cause of death. Another evidence card “A Slash on Throat” will be added to your inventory.
Tap on Henry’s inner pocket to examine it. Looks like a pencil. Tap on it to pick it up.

Tap on the engraving.
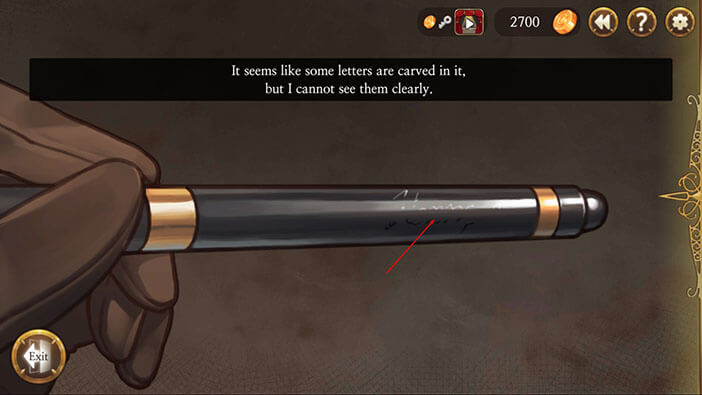
It seems that the inscription is hard to decipher.
Select the soil from your inventory and tap on the pencil.
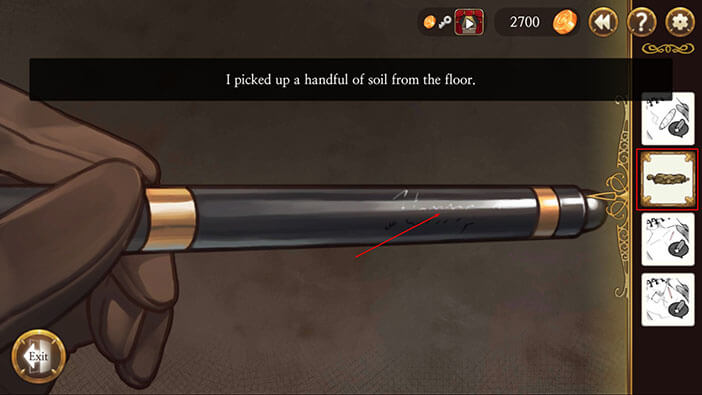
Tap on the pencil again to remove the soil.

Now the inscription is clearly visible, and it says “Henry”. Honestly, I have no idea what kind of evidence the cigar and the pencil with the victim’s name engraved on it could represent. There’s nothing strange about Henry owning and carrying these items. Tap on the pencil once more. “A Fountain Pen” evidence card will be added to your inventory.

It’s now time to bag the evidence. Tap on the suitcase to open it.

Tap on the envelope to open it.

Select “A Cigar” evidence card from the inventory and tap on the paper, inside the envelope, to store the evidence.
Do the same thing with the other three pieces of evidence.

This concludes the first part of the investigation, and Erich will return the body to its original position.
We will now start the second part of the investigation, and search for any evidence in the victim’s immediate surroundings.
We should probably take a closer at the bloodstains stones, located next to Henry’s right hand. Tap on them.
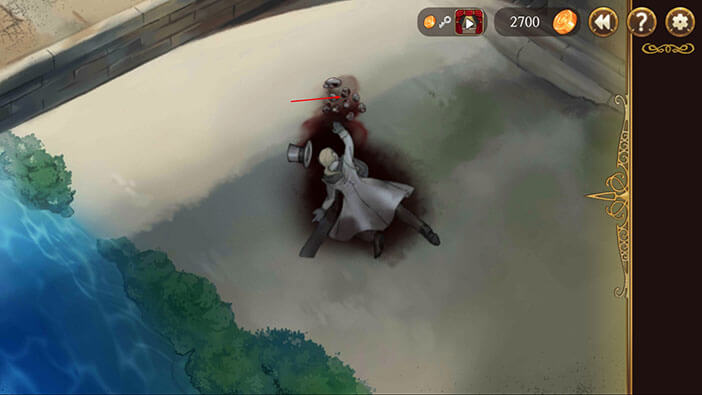
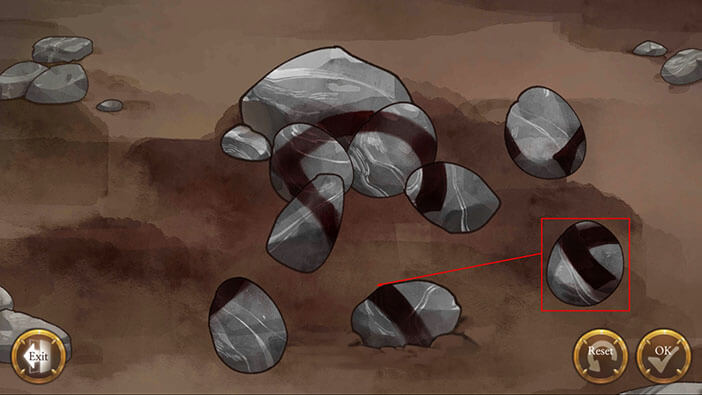
It seems the blood on the stones forms some kind of pattern, but we will have to rearrange them to see exactly what it is. Note that the largest stone can’t be moved, as well as the bottom one that is partially buried into the ground. Let’s start by moving the stone closest to the largest one out of the way because that is not where it should be. I dragged it in the upper right corner, for now, but you can place it wherever it suits you.
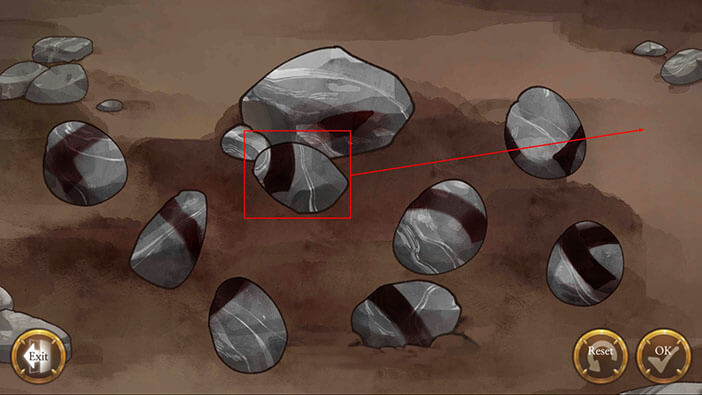
We can now start assembling the stones in the correct pattern. Drag the stone in the upper left corner to the bottom of the large stone. See how it forms a continuous line? Let’s proceed.

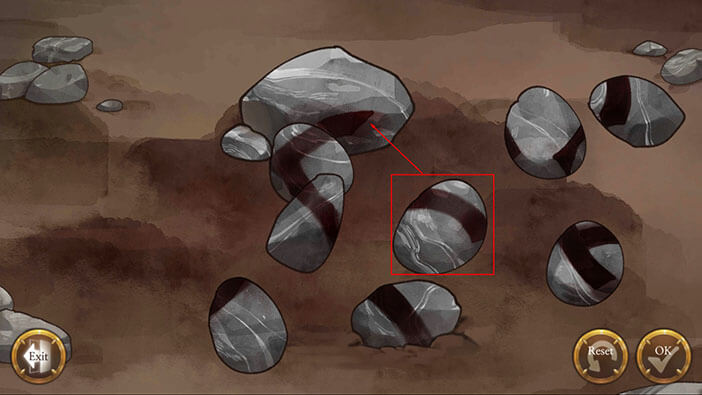
Drag the stone on the left, and place it below the stone that we dragged previously.

Let’s now drag the middle stone and place it on the right side of the large stone. We are slowly getting there. The line is forming into some kind of a circular shape.
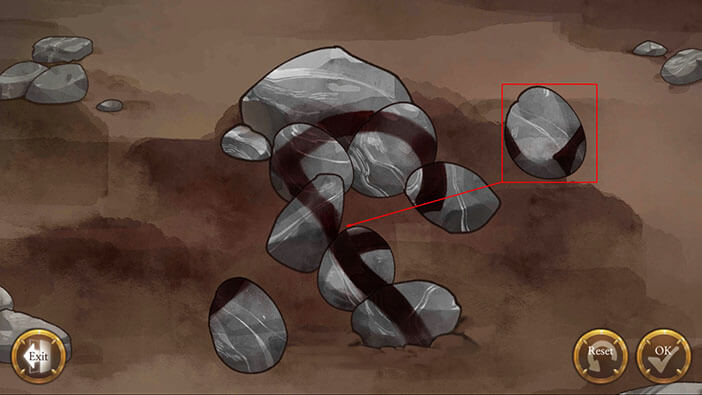
We can now take the stone that we previously moved away (I placed it in the far right corner) and drag it next to the stone on the upper right side of the formation.
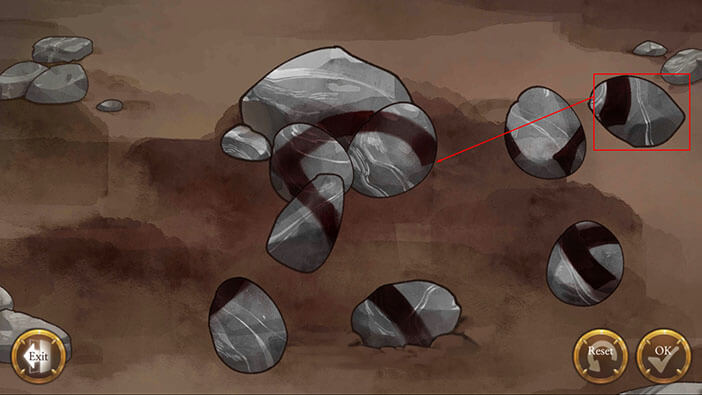
The stone in the bottom right corner should be dragged and placed above the stone buried into the ground, continuing the existing line.
The stone on the right should be placed between the stone that we just dragged and the one above it.
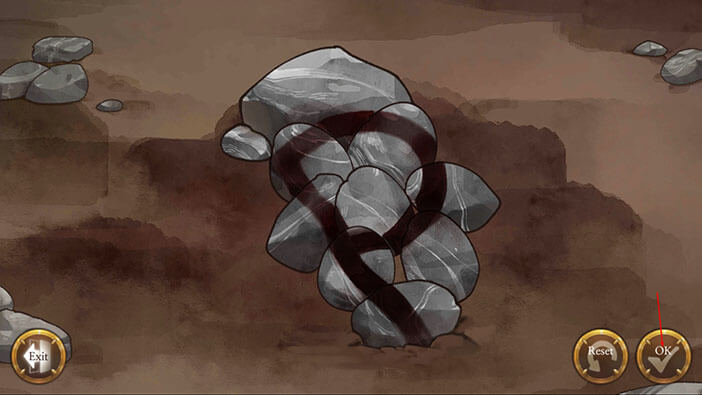
And the final stone will fill the hole, forming the letter “P”.
Tap on the “OK” button.
Tap on “Exit”.
The “Dying Message” card will be added to your inventory.
Erich thinks that Henry was trying to say something important because he used his own blood to write the letter P, while he was drawing his last breath. Hmmm, did he want to say “Police”? It would be very interesting (and probably bloody) if the people from his organization realize that the police killed him.

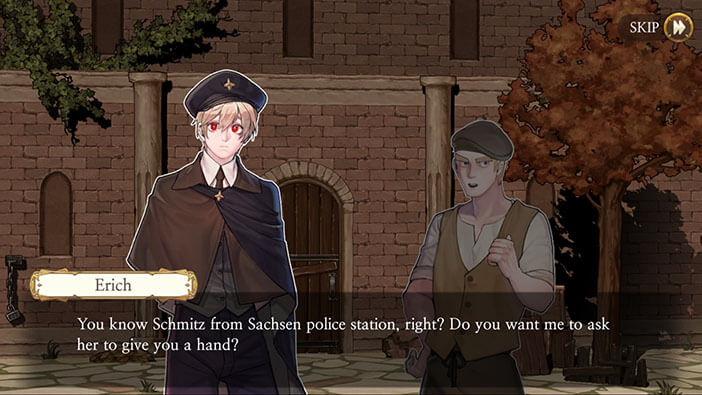
The Schmitz interrupts the investigation, claiming that Erich was struggling and that she wants to lend him a hand.
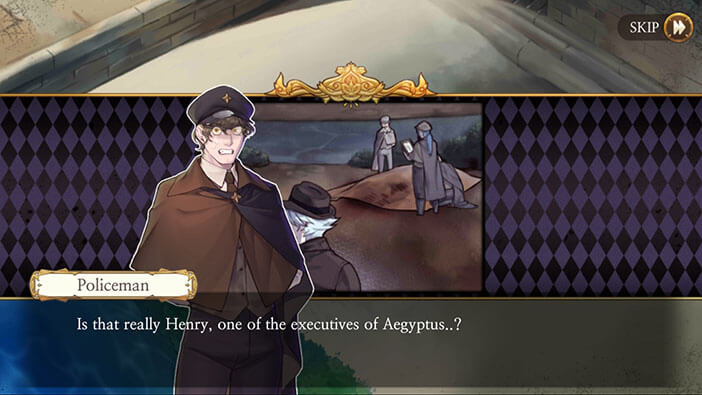
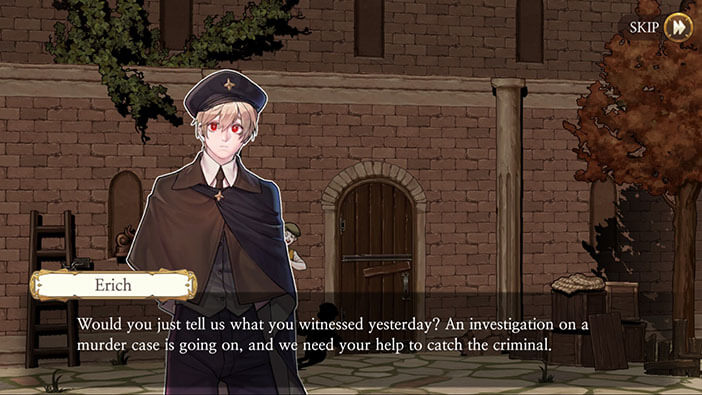
Erich says that he identified the victim as Henry Cleval, one of the people from the Aegyptus. This organization is very powerful and the other police officers are very nervous since one of its members was killed in their town.


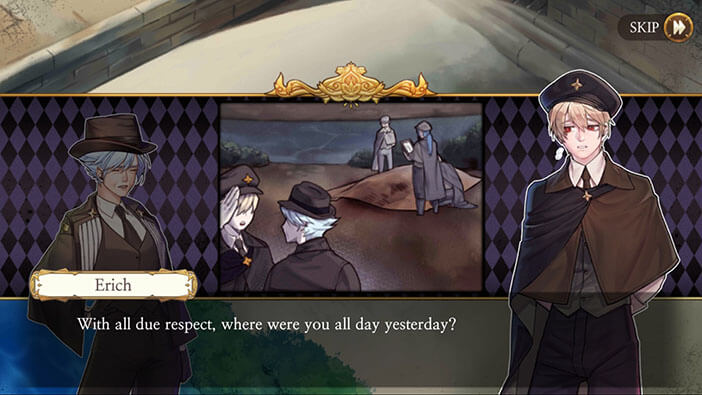
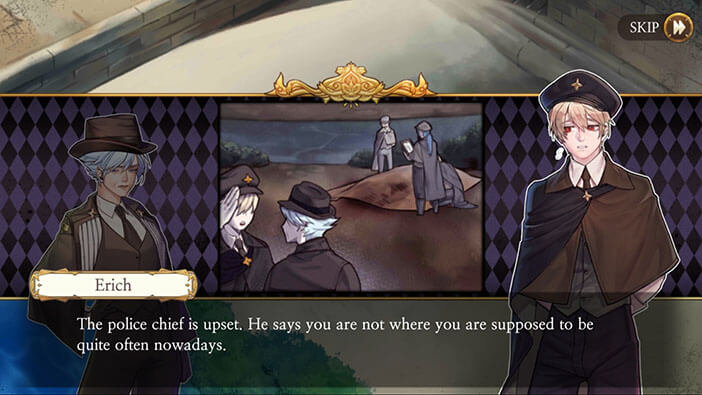
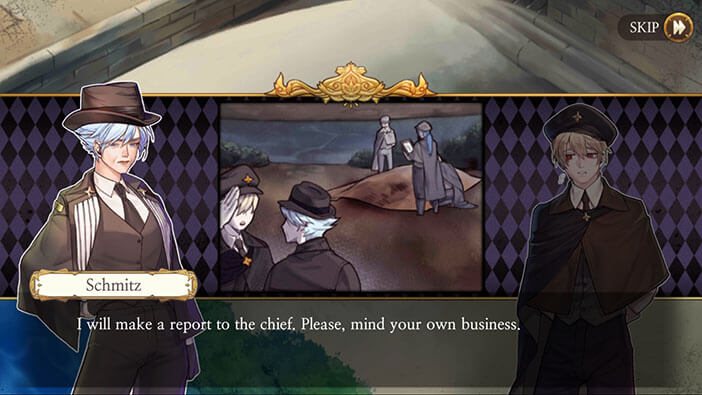
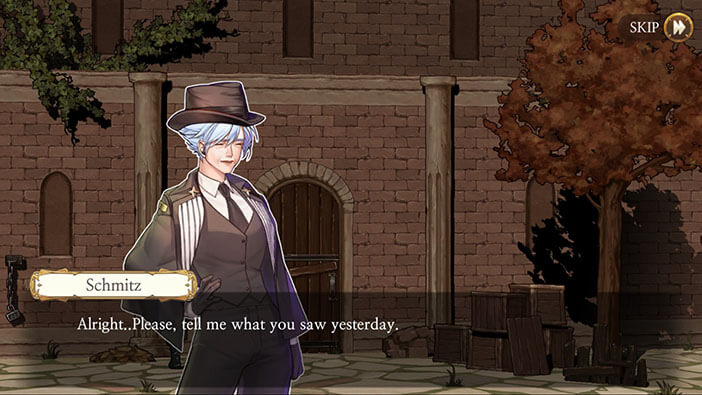
The Schmitz stops the panic and inquires about the approximate time of death. Erich says that the victim was murdered yesterday, between afternoon and midnight. He also asks Schmitz where she was yesterday, but only does so because the chief of the police was looking for her. He, of course, has no reason to suspect that Schmitz committed this crime, but the question did throw her off guard, for a moment. She quickly composes herself, proclaiming that she doesn’t have to report to Erich, invoking her high rank in the police force and telling him to mind his own business. That was a bit too arrogant and kind of a defensive statement, but still, not nearly enough to raise any alarms in Erich’s head.

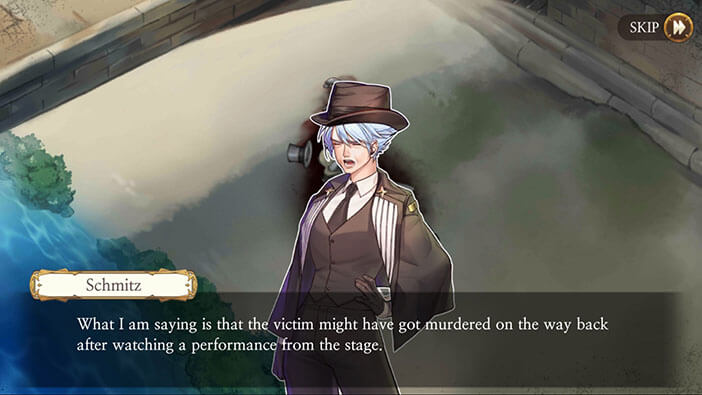
The Schmitz takes over the investigation, claiming that there’s nothing of importance close to the bridge, except the outdoor stage. She claims that the victim was probably watching the performance and was killed on his way back. After that, she orders her officers to question everyone, and find out if anyone saw Henry.


Oh, I see where this is going. She sent her officers, knowing that somebody saw Elizabeth arguing with Henry and threatening him with a sword in her hand. The Schmitz has become a real bastard and now wants to set up Elizabeth for Henry’s murder. To refresh your memory, that is EXACTLY what Samuel and Henry did to Hauxley. The chief investigator had become a true villain and she is no longer any different from the most notorious criminals. In my opinion, she’s even worse than them, because she’s the officer of the law. I just hope she gets what she deserves in the end.
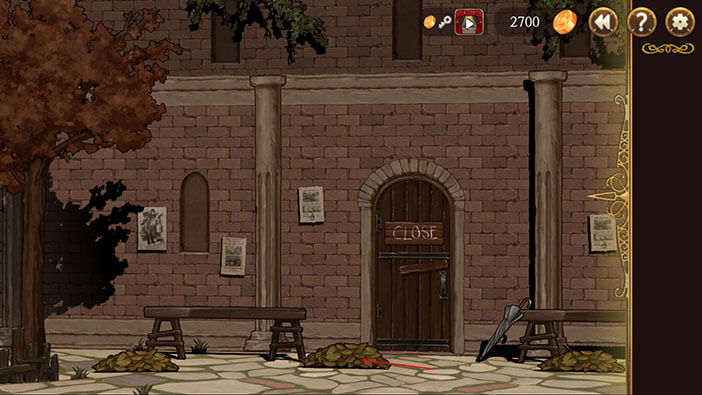
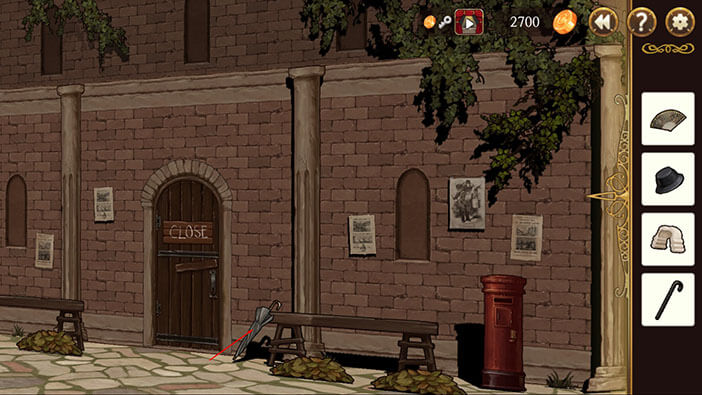
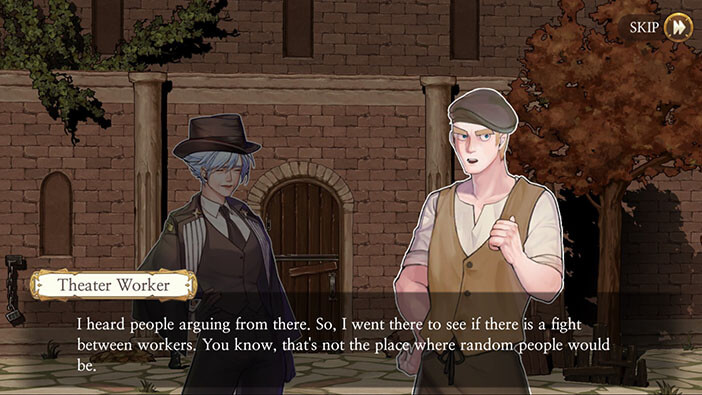
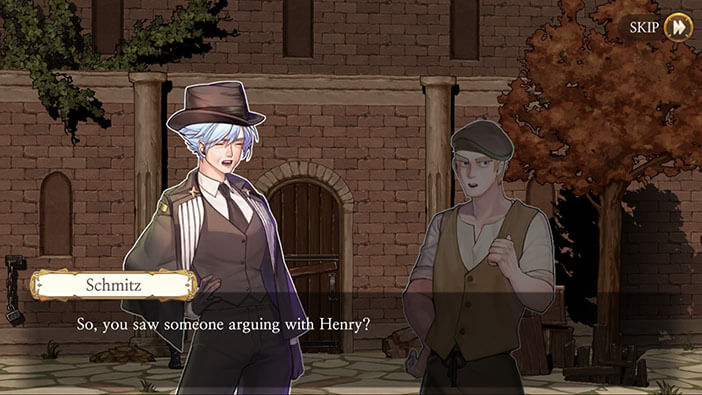
Our story continues at the outdoor stage, with one of the witnesses refusing to answer Erich’s questions.
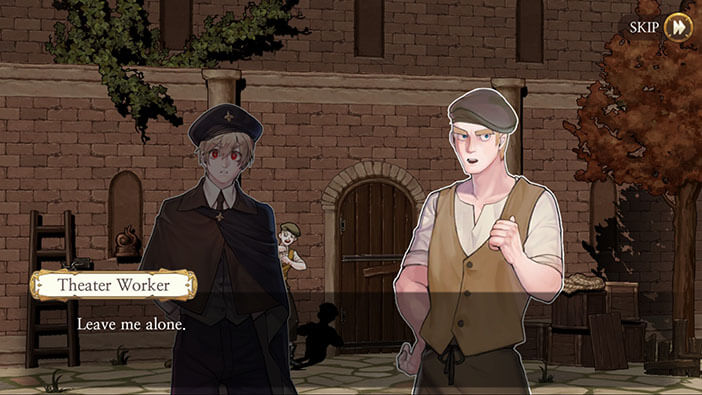

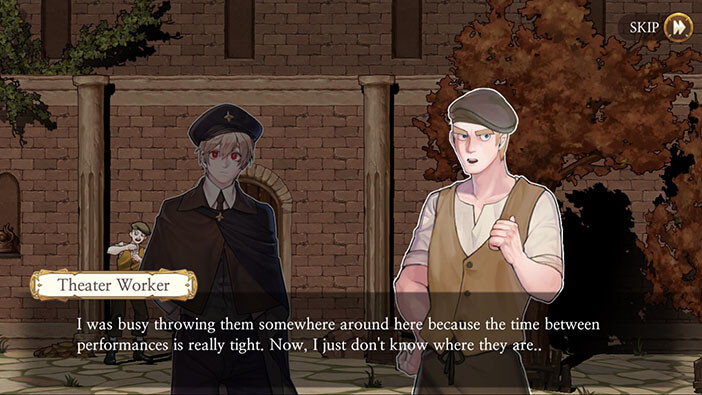
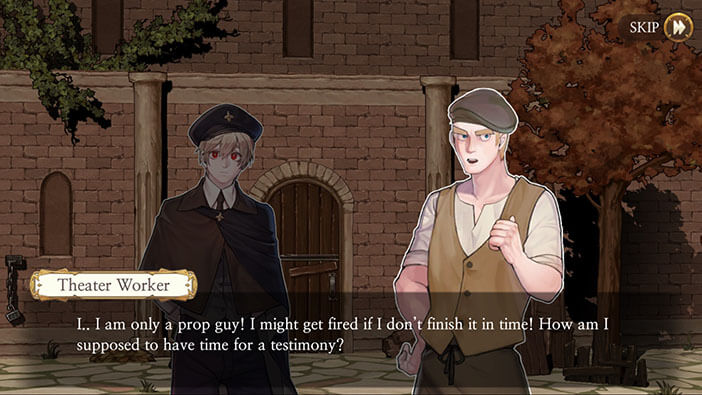
Tap on the witness. He still refuses to talk, saying that he has to practice for the performance, and stating that he lost the sheet that contains an arrangement of props for the show. I can’t believe that this guy is so calmly refusing to testify, considering this is, after all, a murder investigation. Anyway, Erich believes he might be more cooperative if we find his list, so let’s do that.
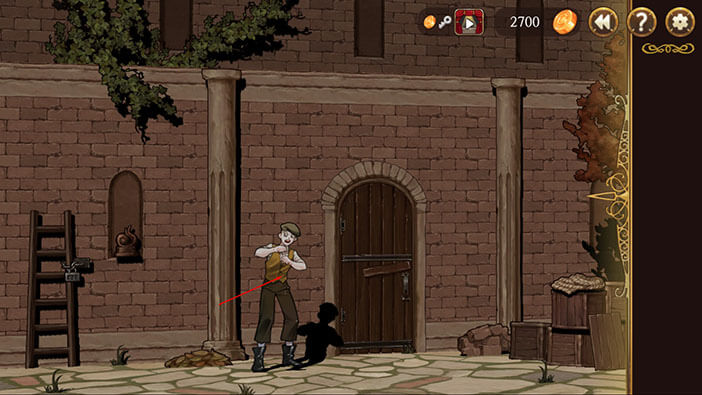
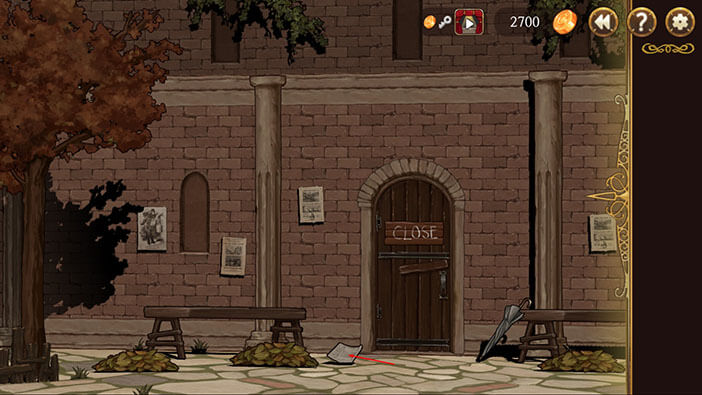
Sweep all the way to the left and tap on the heap of leaves, located in front of the door.
Tap on the list to pick it up, and “A Slip” will be added to your inventory.
We should now hand it over to our witness. Sweep all the way to the right, select “A Slip” from the inventory, and tap on the witness.
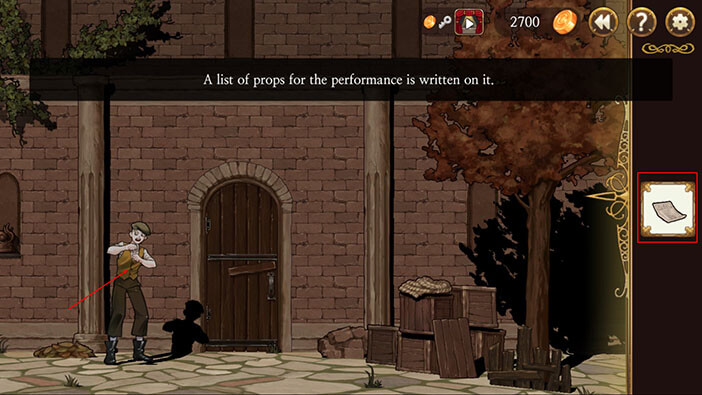
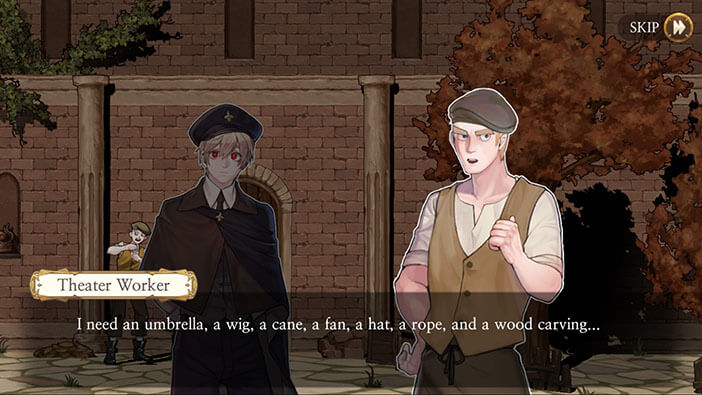
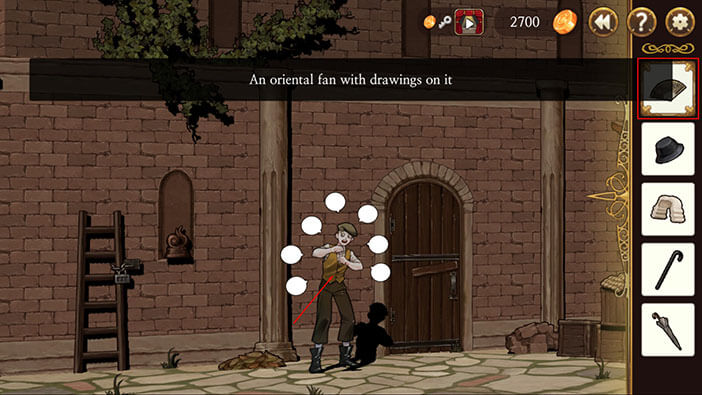
After handing over the list, Erich asks to hear this guy’s testimony but he still refuses to talk, saying that he has to find all the props, that he misplaced after the last performance. There are 7 props in total: an umbrella, a wig, a cane, a fan, a hat, a rope, and a wooden figure. Naturally, we will have to find all of these objects, in order to get this guy to talk. Erich doesn’t seem very happy about it. This guy really has some nerve, asking a junior detective to do his chores.

OK, let’s start.
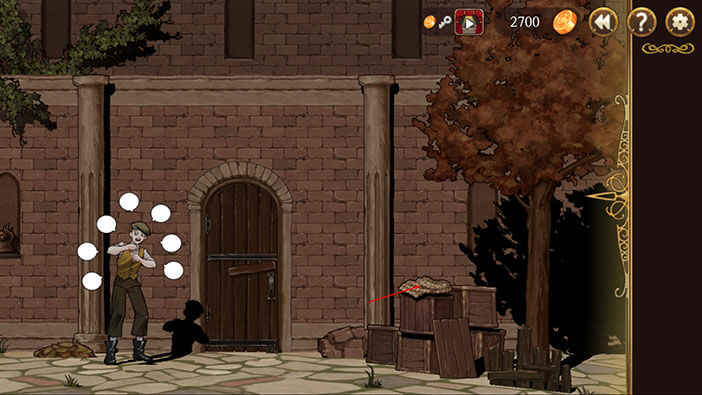
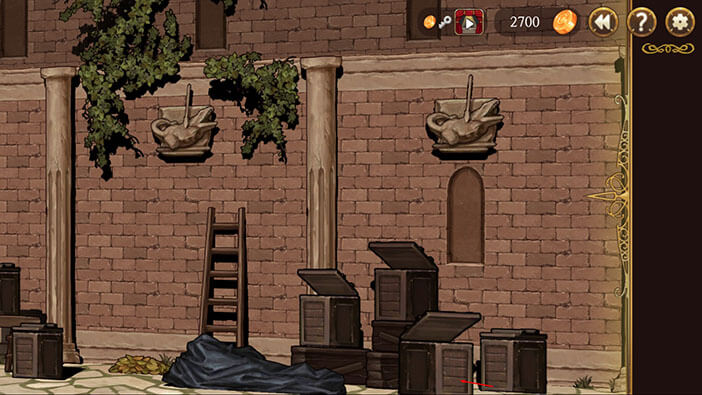
We can already see the rope on top of the wooden boxes to the right. Tap on it to pick it up, and “A Rope” card will be added to your inventory.
If you sweep slightly to the left, you can see a wooden figure standing in the window. Tap on it to pick it up, and “A Wood Figure” card will be added to the inventory.
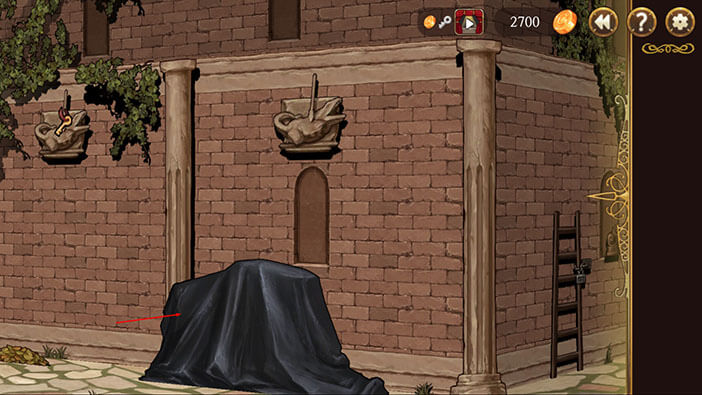
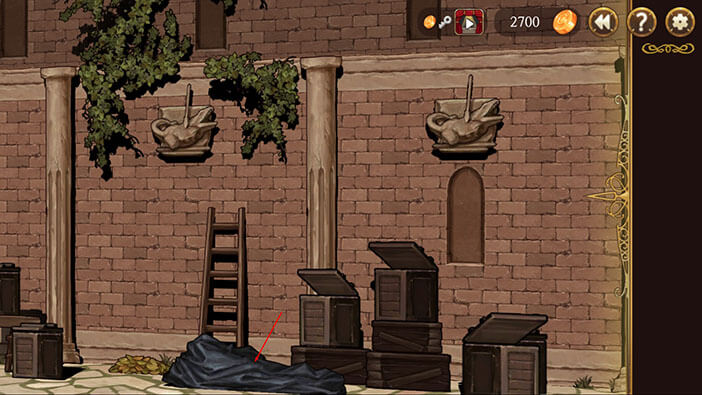
Sweep to the left until you see a black sheet. Tap on it to uncover the objects underneath it.
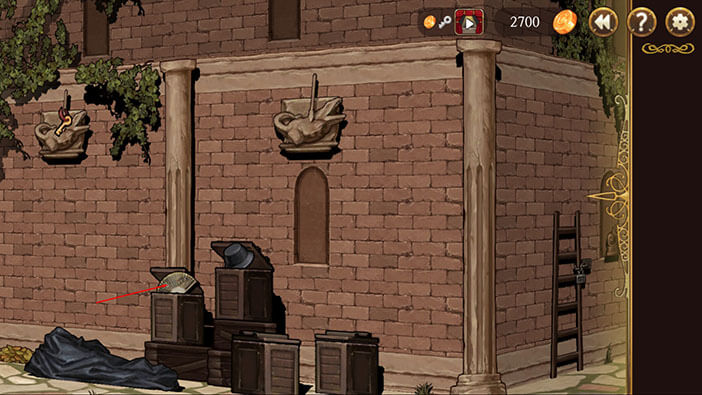
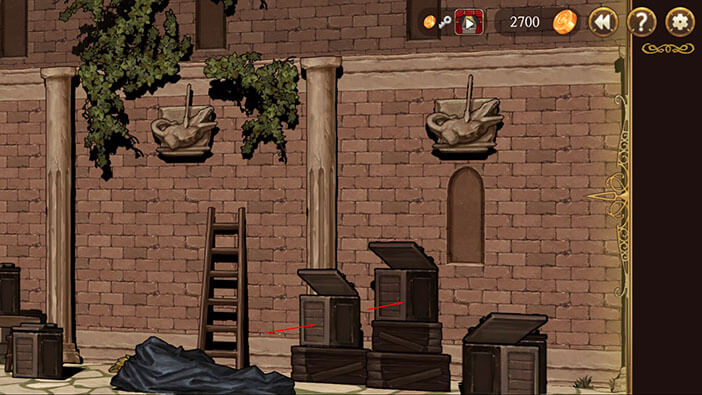
Tap on the top box to open it. Tap on the hat to pick it up.

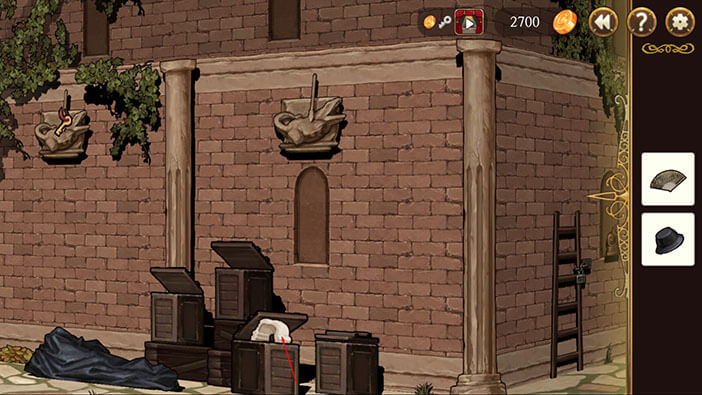
Tap on the box on the left to open it. Tap on the hand fan to pick it up.
Tap on the bottom-left box to open it. Tap on the wig to pick it up. The last box is empty.
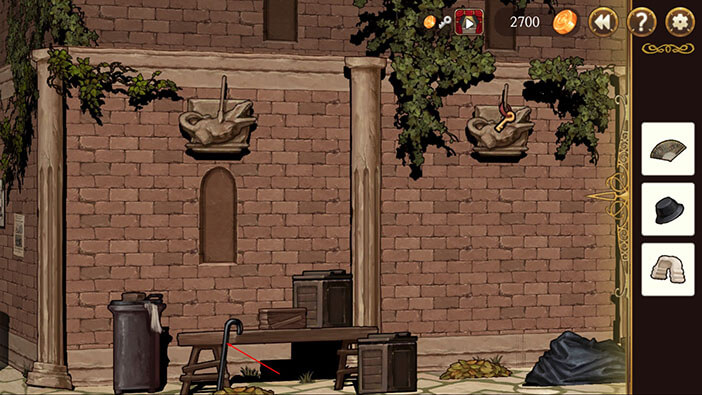
Sweep a bit more to the left until you see a cane, resting by the wooden bench. Tap on the cane to pick it up.
Sweep a bit more to the left until you see an umbrella resting by the other wooden bench. Tap on the umbrella to pick it up.
With an umbrella in the bag, we have collected all 7 props, and should now hand them over to our uncooperative witness. Sweep all the way to the right.
Select all the props from the inventory, one by one, and tap on the witness to hand them over. Note that you don’t have to tap on the specific slot, this guy will arrange them for you.
And, after we handed over to props, the guy thanks us, and now, he is probably going to give us his testimony…
Nope, he now has to store all the props, and again the junior detective Erich is going to have to that for him. Well, wouldn’t it be nice if you could ask police officers to do all your chores for you? I think this guy is really pushing his luck, and that Erich’s patience is at the limits. 
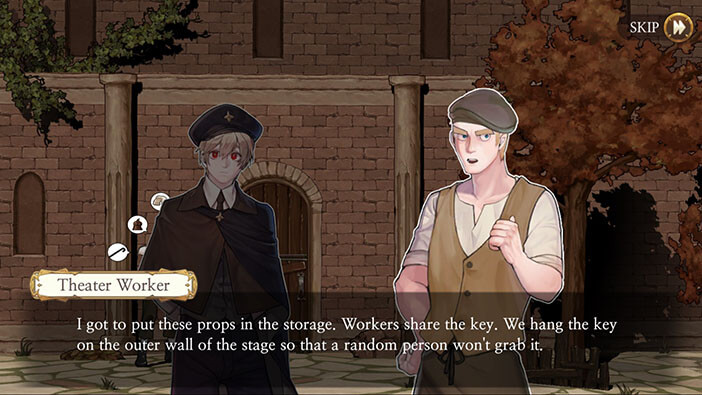
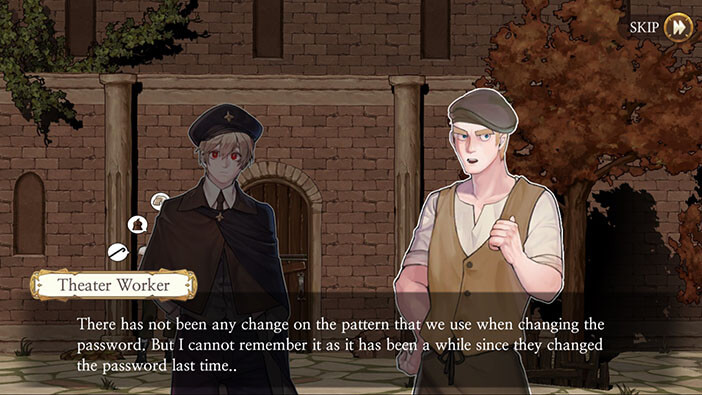
Apparently, to get the storage key, we will need a ladder, since it is hanging high above the ground. But, there’s a catch. The ladder is locked by the numerical password, and the witness can’t remember the new combination. There’s a slip that explains how the combination was formed, but this guy can’t decipher it, so we will have to do it for him… Well, at least he didn’t ask us to do any manual labor… Yet.


Erich accepts to help out the witness and asks for the slip, so he can try to figure out the code.
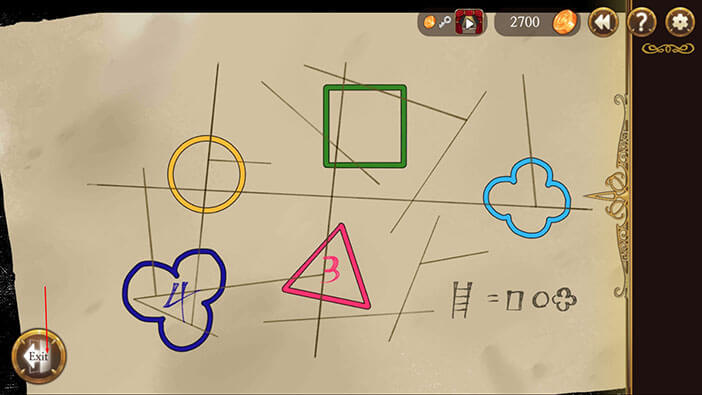
There are 5 shapes in total, and only two of them have the numbers written inside. The triangle is marked with the number 3, and it is intersected by the lines 3 times. The other shape is marked with the number 4, and it is intersected by the lines 4 times. So, if we count how many times the lines intersect the other objects we should have a correct combination. Note that one line can intersect the same object more than once.
After looking at the yellow circle, we can see that it is intersected 5 times. So, Circle = 5
The green square is intersected 6 times. So, square = 6
The light blue cloverleaf is intersected 3 times. So, cloverleaf = 3.
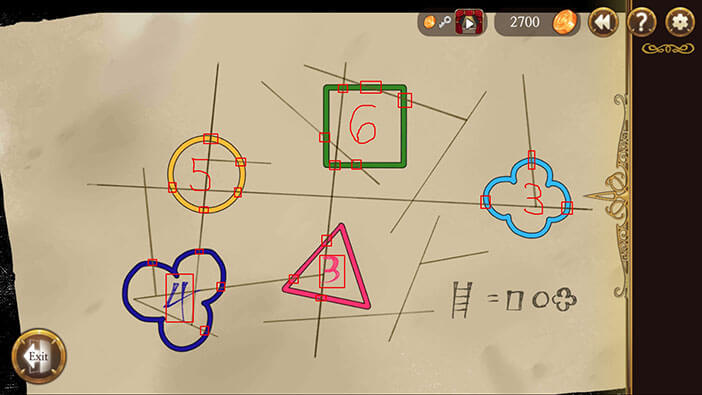
In the bottom right corner of the slip, we can see the formula.
Ladder = Square, Circle, Clover Leaf. So, if we replace the shapes with their numbers we will get the correct numerical passwords for the lock.
Ladder = 6, 5, 3.
Tap on the “Exit” button.
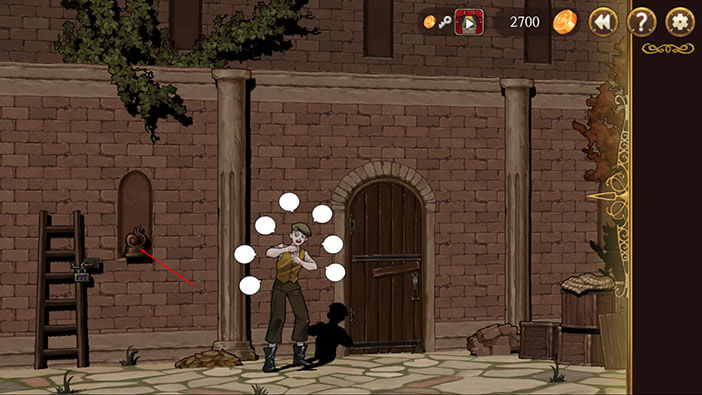
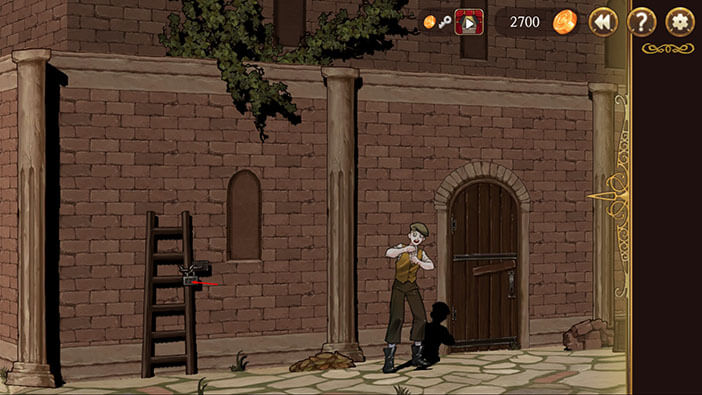
Sweep a bit to the left until you see a ladder. Tap on the lock.
Now, enter the combination that we just decipher, by using up and down arrows. Remember, it’s 6, 5, 3. Once you’re done tap the “OK” button.
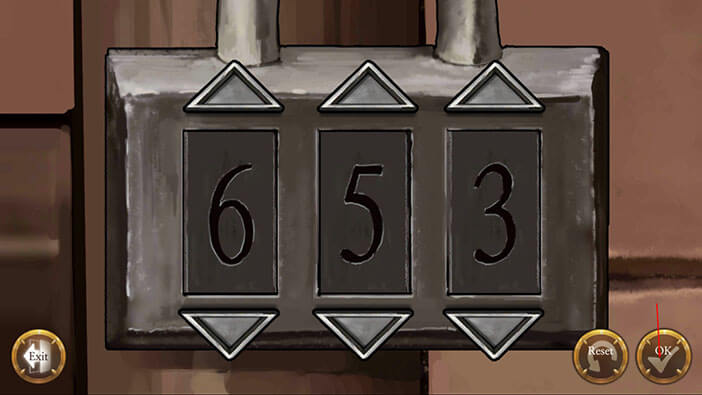
Tap on “Exit”.
Ok, we managed to unlock the ladder, so let’s pick it up and go get that key. Tap on the ladder.
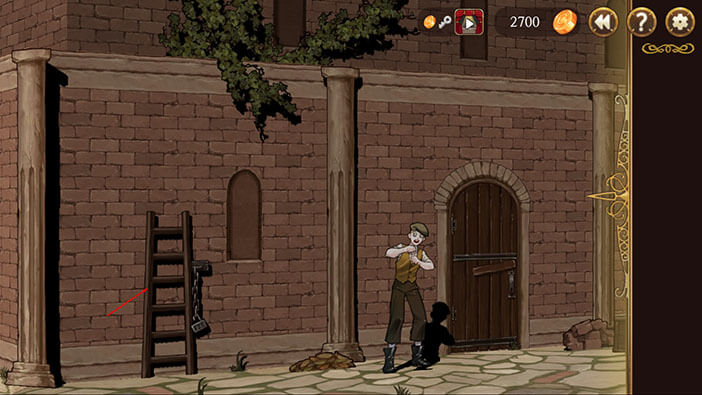
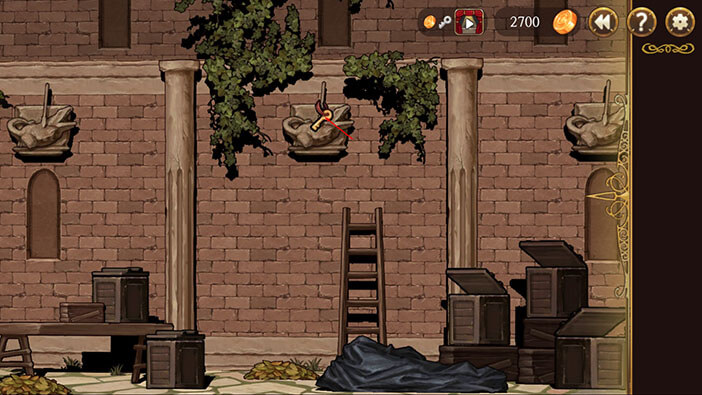
Now, sweep to the left until you see a key hanging from one of the stone statues. Select the ladder from the inventory and tap on the wall below the key to place it.

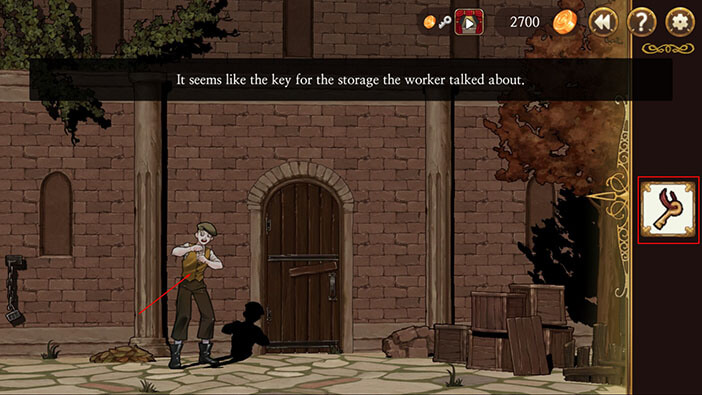
We can now reach the key, so tap on it to pick it up. “A Key” will be added to your inventory. Let’s now bring it back to the extremely annoying guy. I hope he doesn’t ask us to do any more of his work. That would be very, very rude. Besides, Erich might lose his temper, and, in that scenario, we might have another crime committed by the police. Although, in this case, that kind of reaction would be understandable.
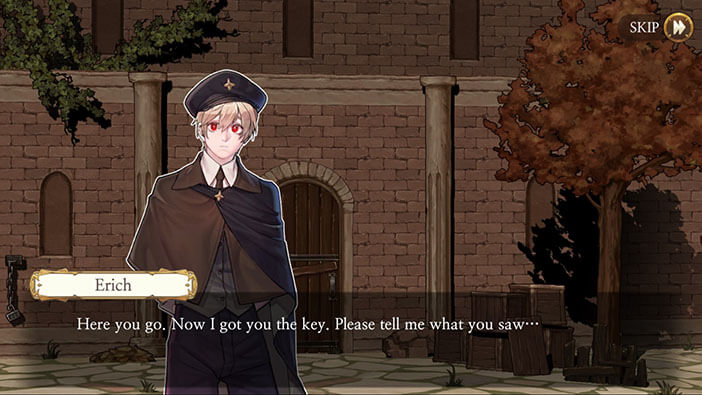
Sweep all the way to the right, select the key from the inventory, and tap on the witness to give him the key.
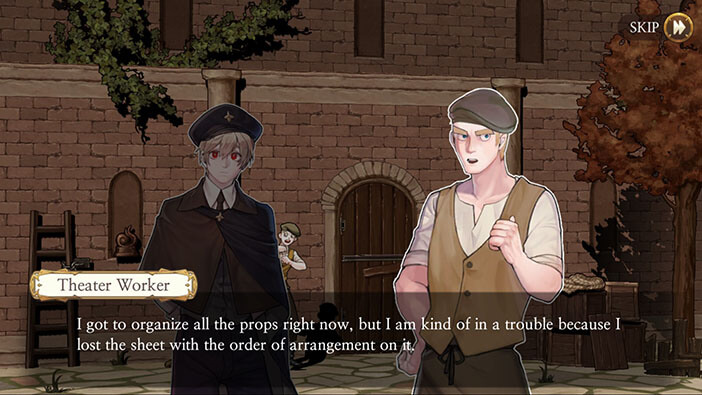
After handing over the key, Erich politely asks the witness if he will give his testimony now. However, the guy refuses, saying that he has to organize all the props – and Erich should again do this instead of him. I can’t believe how rude this guy is! If I was in Erich’s shoes, I would arrest him for obstructing the investigation. Unbelievable! Erich even threatens the guy, saying that he will call the chief investigator Schmitz, but the witness doesn’t back down, and Erich (we) will have to the job of the prop guy, once again. Well, it would be really nice if we could call the police to do the work for us, whenever we’re behind the schedule.
If Schmitz was conducting this investigation, I have a feeling that the prop guy would already have a blue eye, possibly a few broken ribs, and would be singing like a nightingale, spilling out everything he knows. In the end, he promises that this is the last thing he will ask of Erich, and I surely hope that’s true. Otherwise, I think even the calm and composed junior detective will get sick of him and will take some drastic actions.

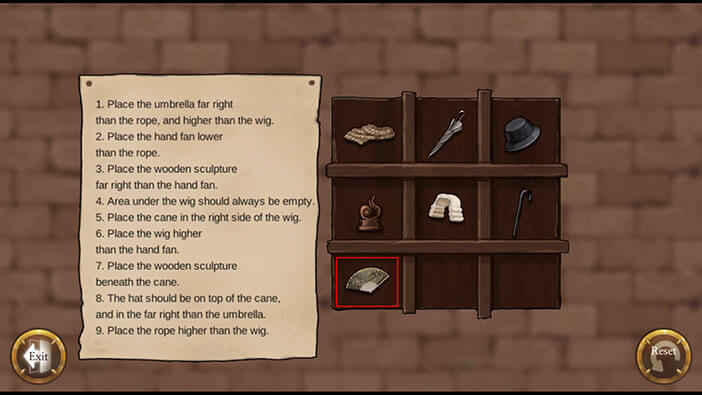
Well, back to the job at hand. The prop guy handed us a slip with the correct order of the props, and now we have to arrange them.
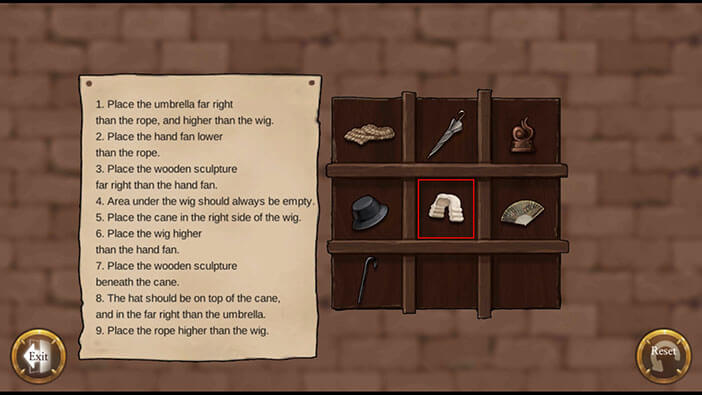
Before we start, note that there is an error in the instructions. The umbrella doesn’t have to be on the far right. It just has to be to the right of the rope. There are several more very strange instructions. For example, lower than something actually means the field below some object, etc.
Let’s get on with solving this puzzle, everything will be much easier to understand once we get started. You can read the explanation about the item position below after we solve this task.
Place the umbrella far right than the rope, and higher than the wig
Step One (1.1.): Move the umbrella one field to the right
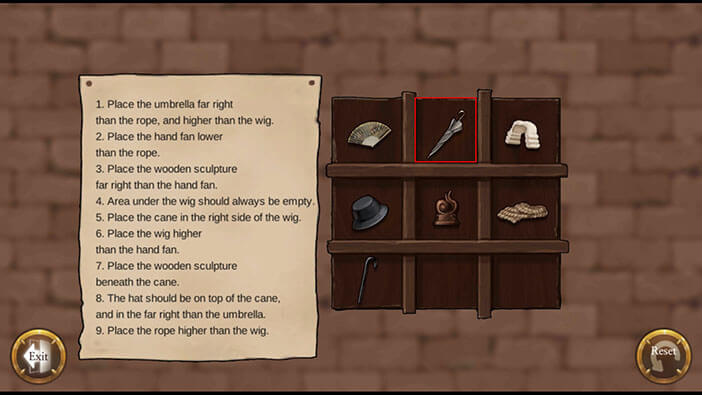
Step Two (1.2.): Move the rope to the left of the umbrella
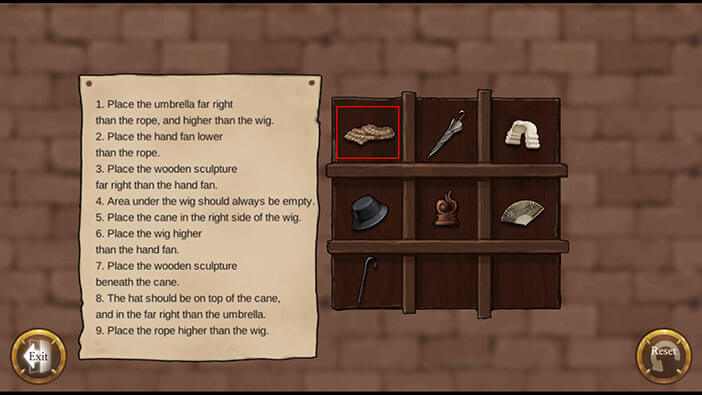
Step Three (1.3.): Move the wig below the umbrella
Place the hand fan lower than the rope
Step Four (2): Move the hand fan below the rope
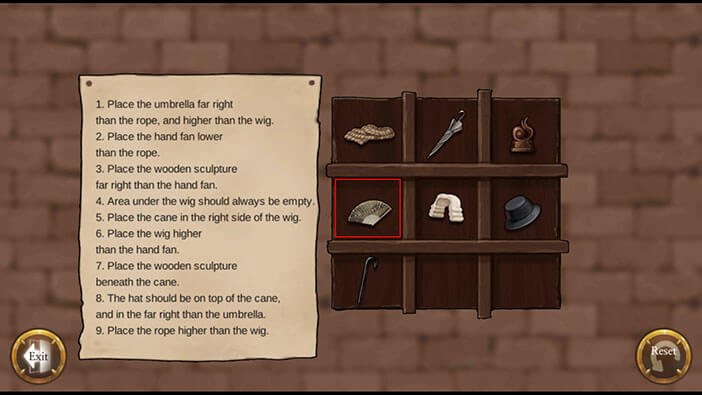
Place the wooden sculpture far right than the hand fan
Step Five (3): Move the wooden figure to the right of the hand fan and the wig. This time, far right is actually a correct instruction 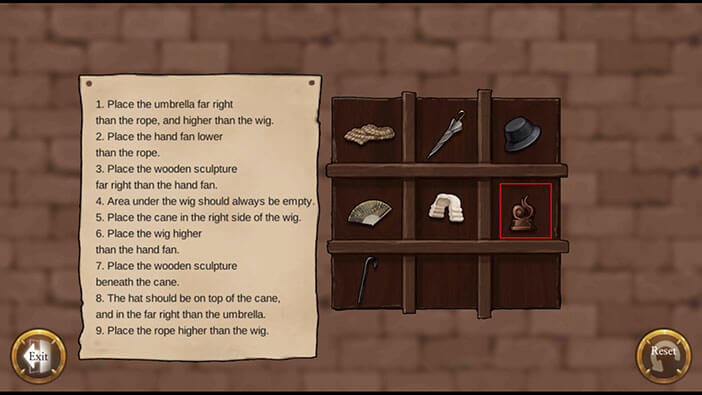
The area under the wig should always be empty. (It already is).
Place the cane on the right side of the wig.
Step Six (5): Move the cane to the right of the wig.
Place the wig higher than the hand fan.
Step Seven: Since the field under the wig should always be empty, move the hand fan one field down, so it sits in the bottom left corner.
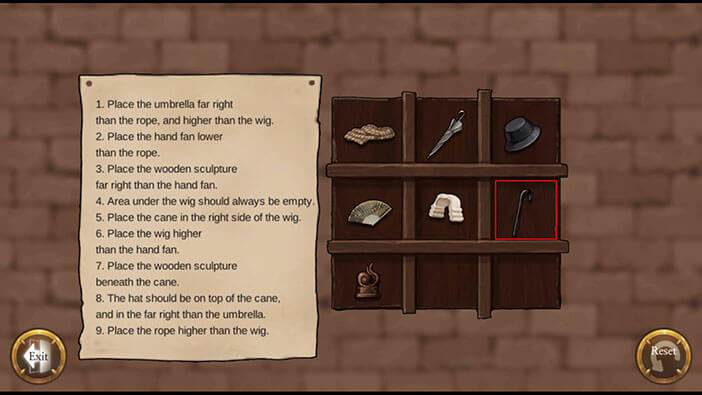
Place the wooden sculpture beneath the cane
Step Eight: Move the wooden sculpture below the cane.
With this step completed, this task is solved. The other two conditions are already met.
Tap on “Exit”. 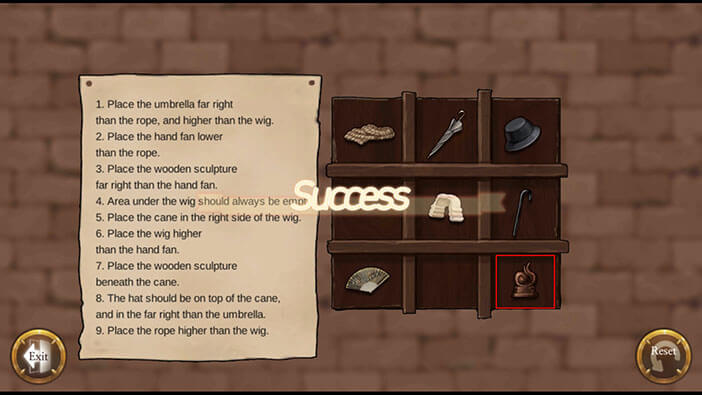
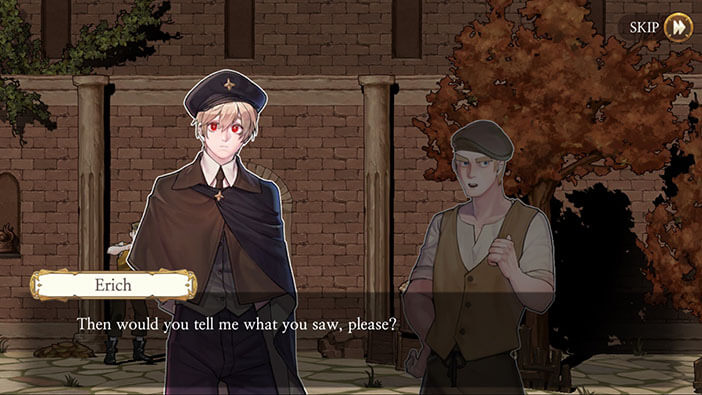
After Erich completes the previous task, the Schmitz will come to take the statement from our annoying witness.
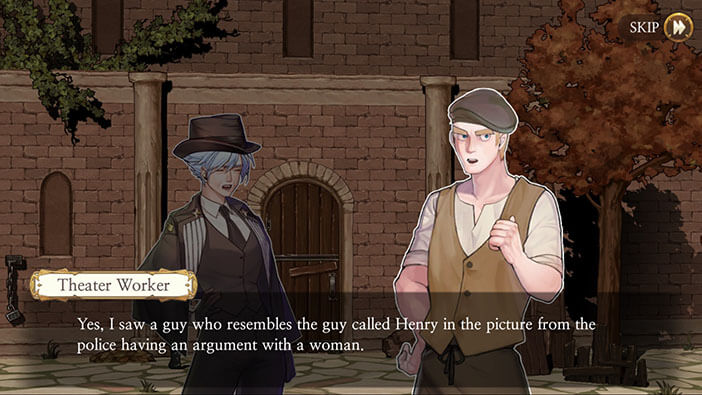
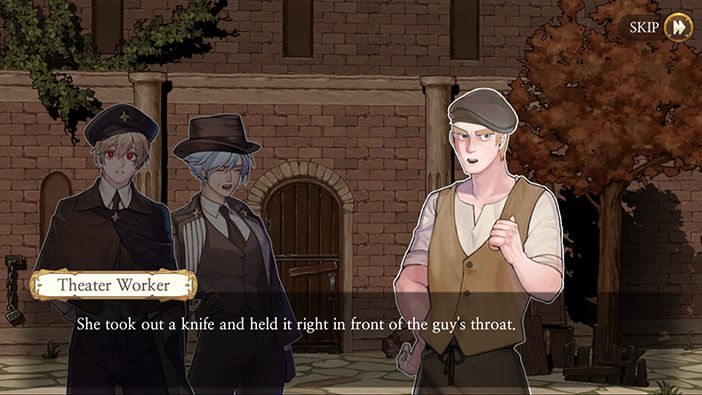
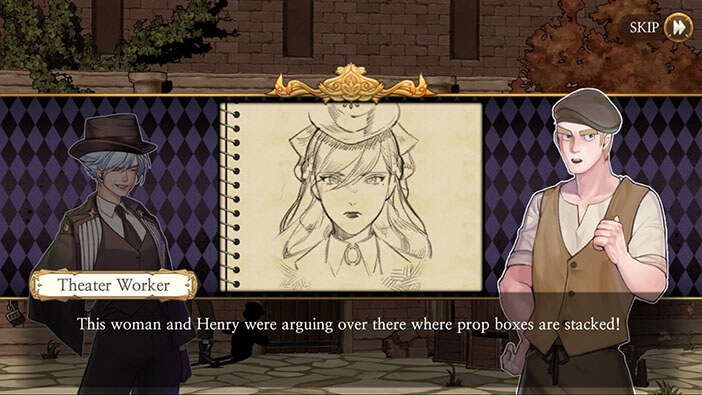
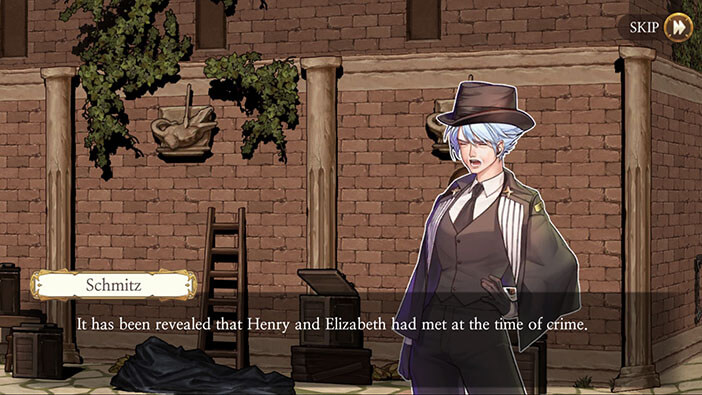
The witness says that he heard the commotion in backstage, and there he saw a man and a woman arguing. From the police photo, he recognized the man and confirmed that it was Henry. The woman looked like she belonged to the nobility, and the witness saw her draw a sword and put it under Henry’s neck. The prop guy didn’t saw the woman stab Henry, but we already know all this. Unfortunately, after finding the witness willing to talk, the Schmitz should have no problems in framing Elizabeth for the murder.
Erich is wondering who the girl might be. But, Schmitz quickly interjects saying that she has a pretty good idea who this mysterious woman might be.
The Schmitz will ask the witness to describe the woman he saw. After the prop guy is done describing the “unknown” woman, it will be up to Schmitz to find or draw, a picture matching the description. This shouldn’t be hard for the detective, since she already knows that she just has to draw Elizabeth, and the witness will recognize her.
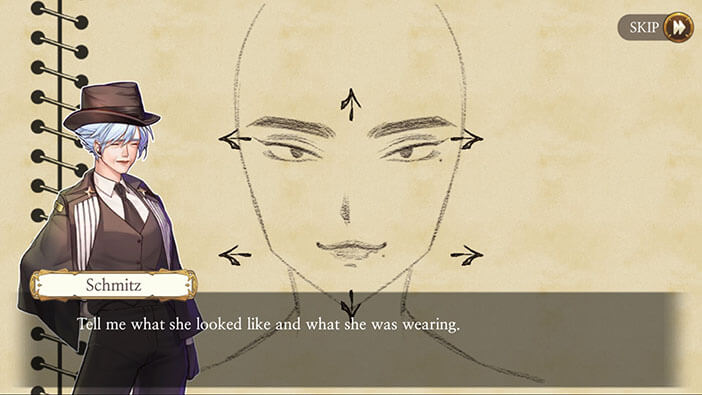
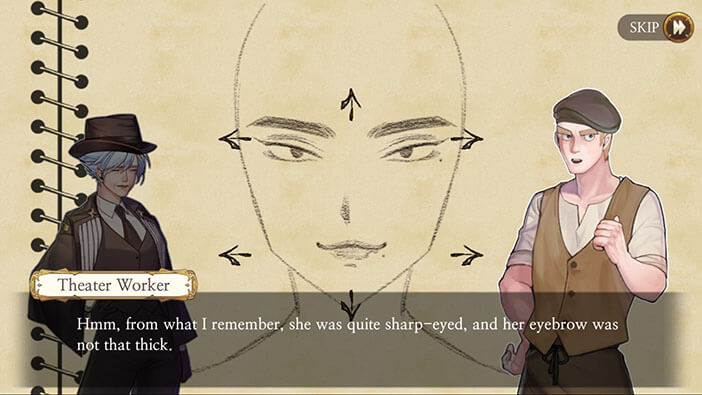

Next task. Based on the instructions from the witness, we have to draw a picture of Elizabeth.
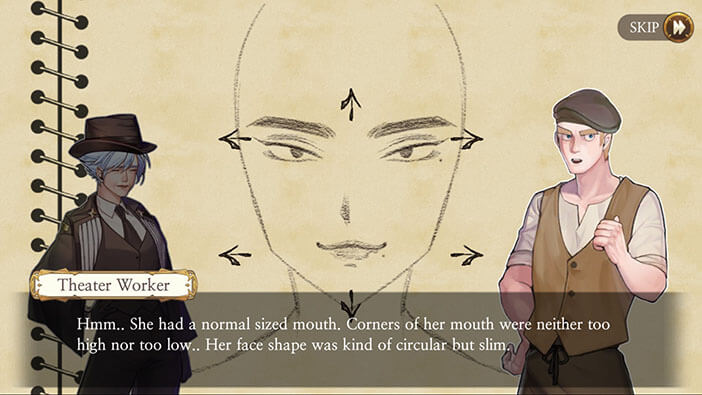
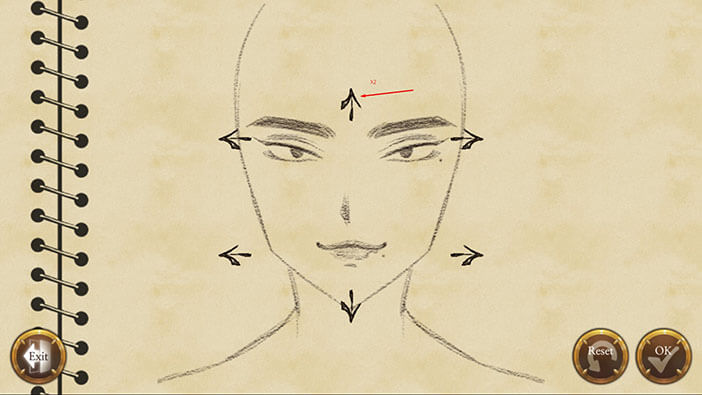
Let’s start with the face. The guy said circular but slim face, with a mole below her left eye. Tap on the upper arrow twice. It seems this face matches the description.
She was sharp-eyed, and her eyebrows weren’t very thick. Tap twice on the right arrows next to the eyes.
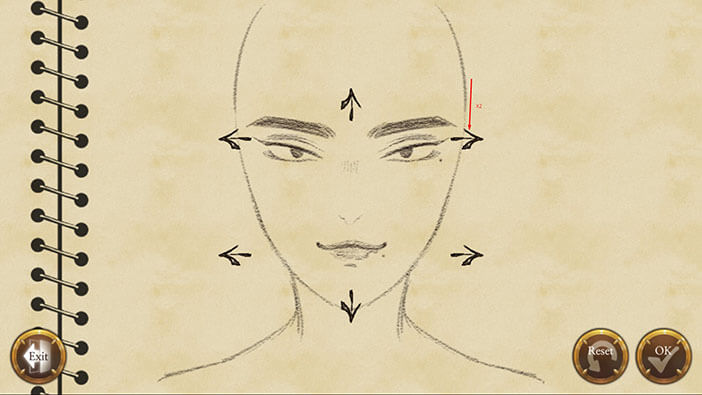
Her mouth was of average size, and the corners of her mouth were neither too low nor too high. Tap three times on the right arrow, next to the mouth.
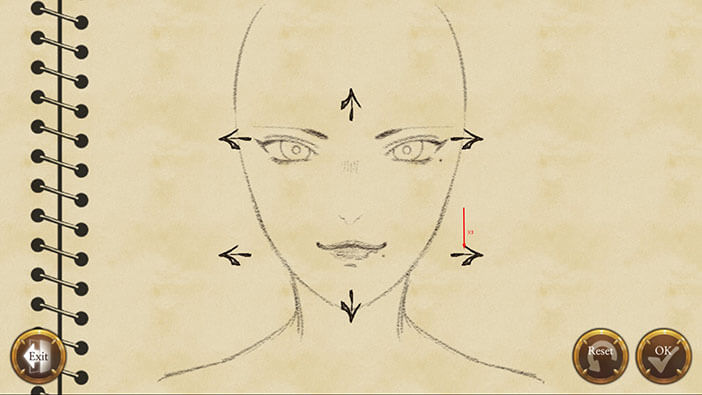
Tap “OK” to confirm.
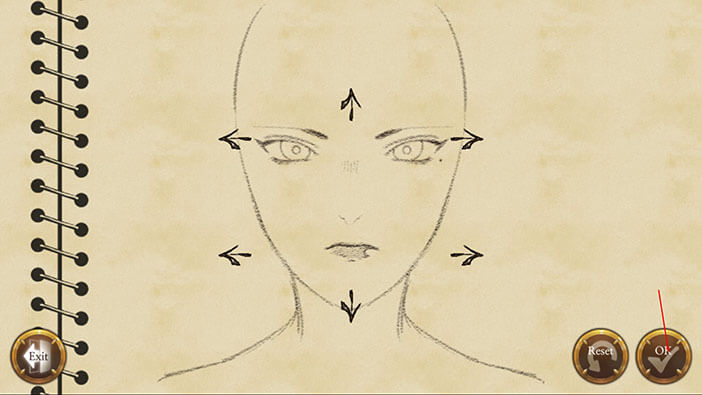
Tap on “Exit”.
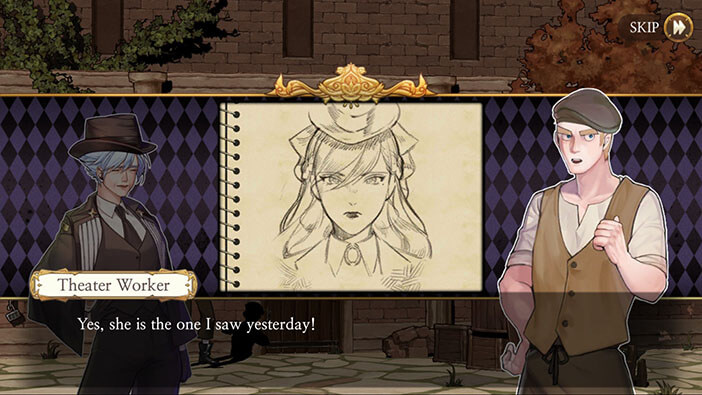
After drawing Elizabeth, Schmitz shows the picture, and the witness immediately recognizes her and confirms that she was the one arguing with Henry.
For Schmitz, everything is working out as planned. Now, she just wants to find one last piece of evidence that confirms that Elizabeth was arguing with Henry.
Since they were arguing next to the prop boxes, let’s head there. Sweep to the left, and tap on the front box to move it.
Tap on the black sheet to move it.
Tap on the boxes on the left and right to move them.
Looks like there’s some kind of golden object behind. Tap on it to pick it up.
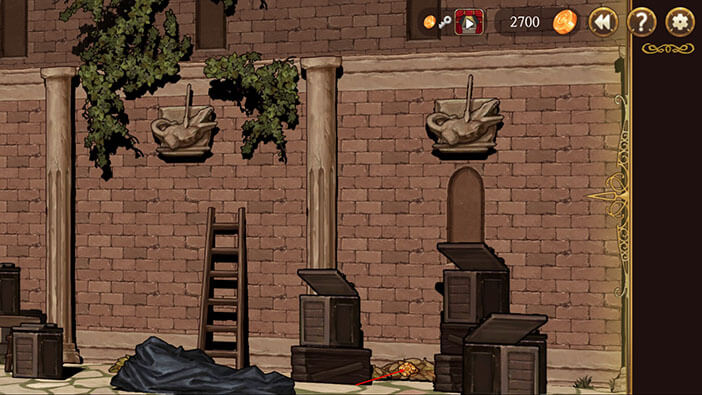
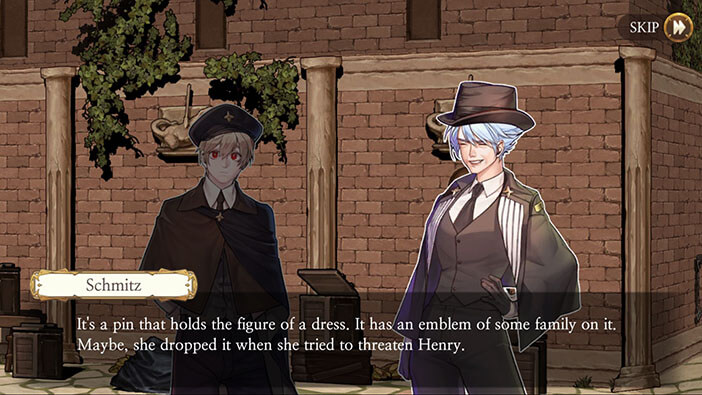
It’s a dress pin with the engraved family crest.
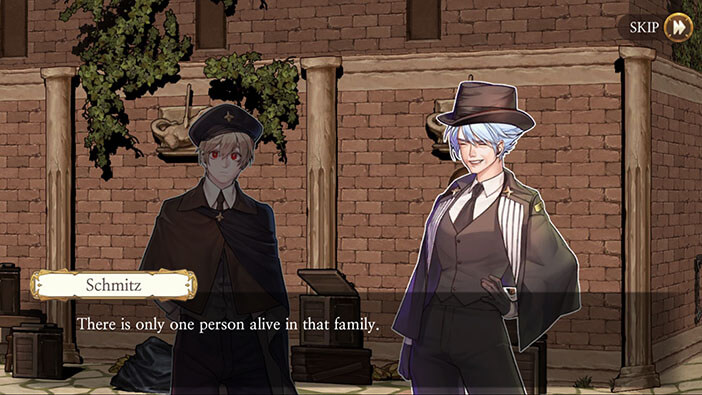
The Schmitz proclaims that she found the evidence, and explains to Erich that the dress pin has an engraved family crest. She identifies it as the Lavenza family crest. Since no other members of the Lavenza family are alive, the chief investigator proclaims that the dress pin belonged to Elizabeth and that she was the one arguing with Henry and threatening him with a sword pointed to his throat, shortly before the time of the murder.
She then calls over the police officers, and instructs them to find and arrest Elizabeth Lavenza… And there we have it. Schmitz has completely gone over to the dark side. I hope that Erich or somebody else will realize that there’s something fishy about this case. Sooner rather than later, because if Elizabeth gets arrested she might meet the same fate as her late lover Huskley…

In the next chapter, we will be playing as chief investigator Schmitz, once more. Join us in the next stage of the Walkthrough for Frankenstein Room ESC, to find out if Schmitz’s diabolical plan is going to succeed.
Thank you for reading.