Chapter 2-3 Carrot and Stick
Complete Walkthrough
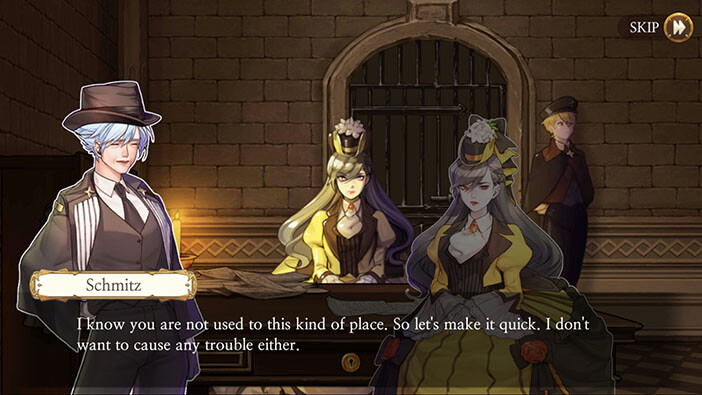
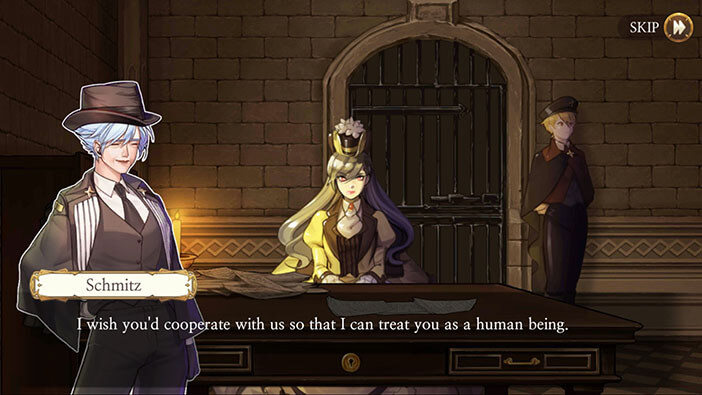
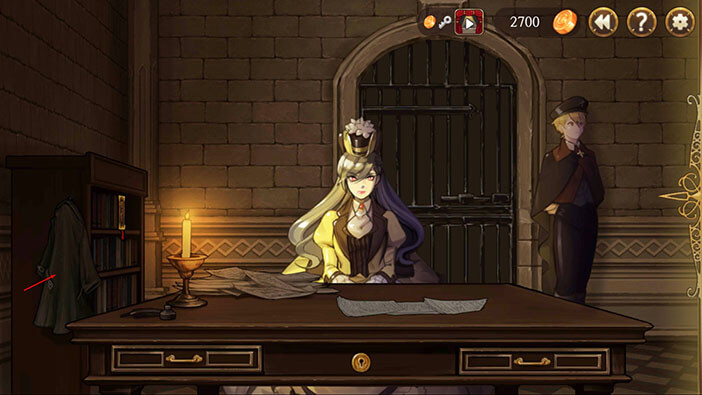
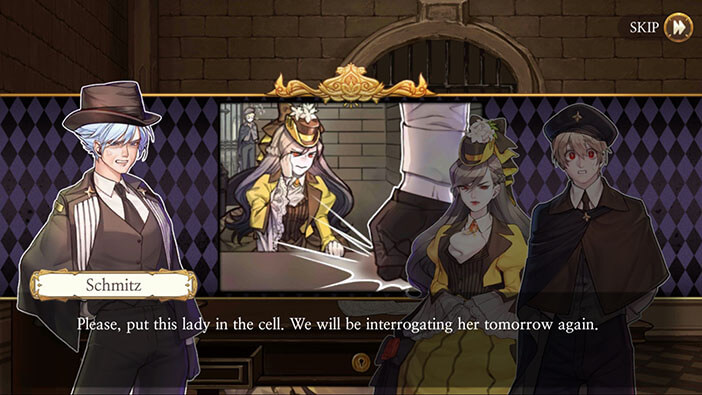
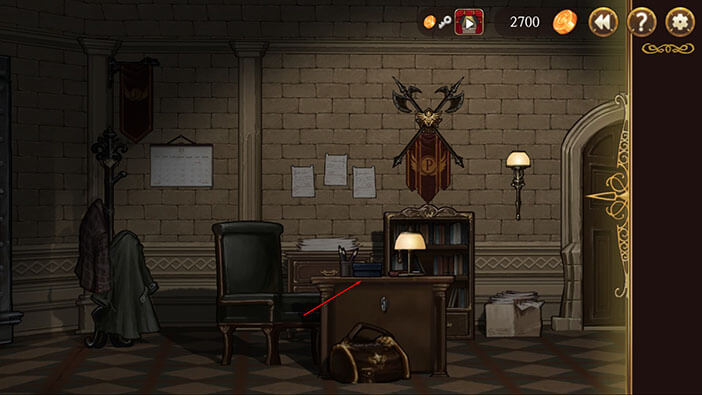
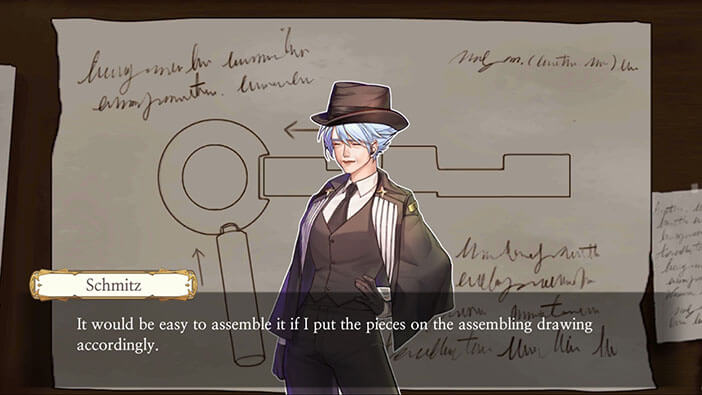
Hello everyone, and welcome to our Walkthrough for the Third Stage of Chapter 2 for the Frankenstein Room ESC adventure game. Our story continues in the interrogation room in Sachsen Police Station. In this stage, the chief investigator Schmitz will be questioning Elizabeth, with the final goal of framing her for the murder of Henry Cleval.
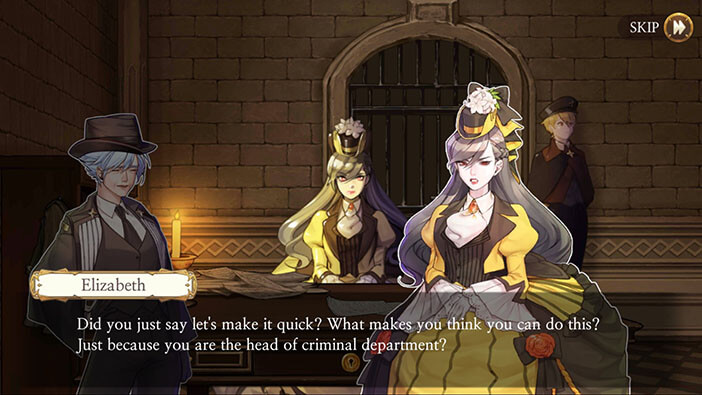
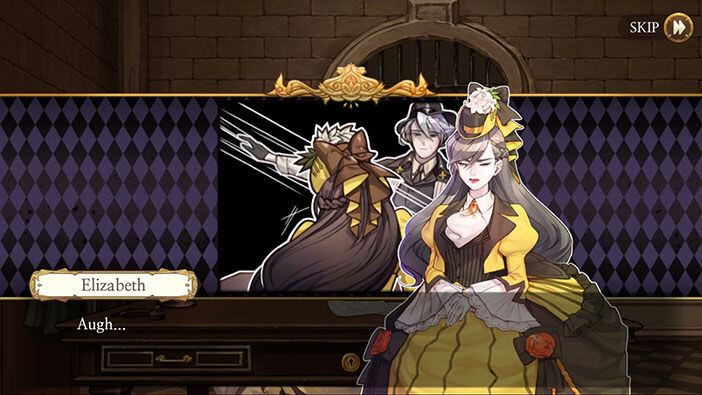
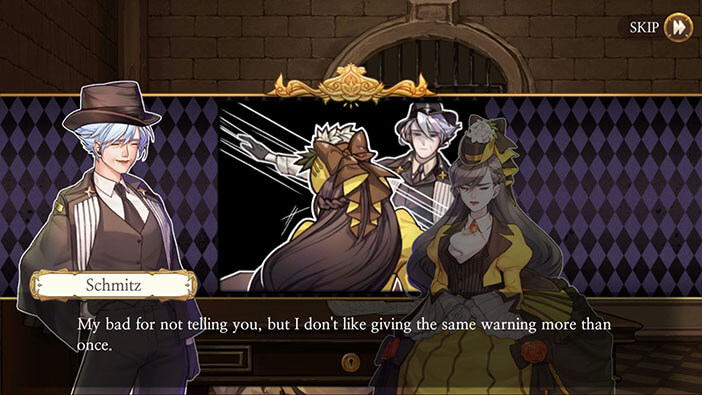
Schmitz wants to quickly conclude the interrogation, but Elizabeth stands up to her. And the detective cuts the dialog short with a strong backhand slap, that clearly shakes Elizabeth for a moment. Erich is shocked, but Schmitz calmly proceeds, saying that she gave her one warning, before slapping her. Hmmm, I don’t remember this warning… Well, the detective has the blood of the two people on her hands already (Huxley and Henry). She is also trying to get Elizabeth convicted and probably executed. So, harassing and beating a suspect is a minor offense, in her own mind, at this point.
The investigator promises that she will treat Elizabeth fairly in exchange for her cooperation. And now she is trying to figure out the best way to frame Elizabeth.
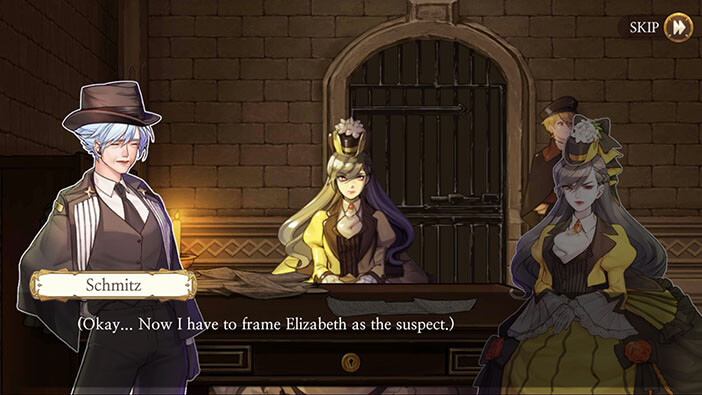
OK, now the interrogation begins. Since we already know that Schmitz’s goal is to set up Elizabeth, I will roleplay, and try to perform this task as best as I can. I will ask the things that Schmitz would most likely ask while trying to achieve her goal.
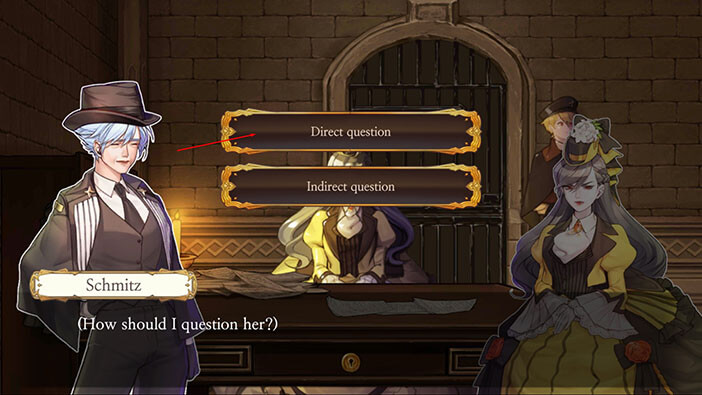
NOTE: I made the following choices during the investigation, but you can certainly take a different approach.
Well, Schmitz isn’t really known as a subtle person, so let’s tap on the “Direct Questions”.
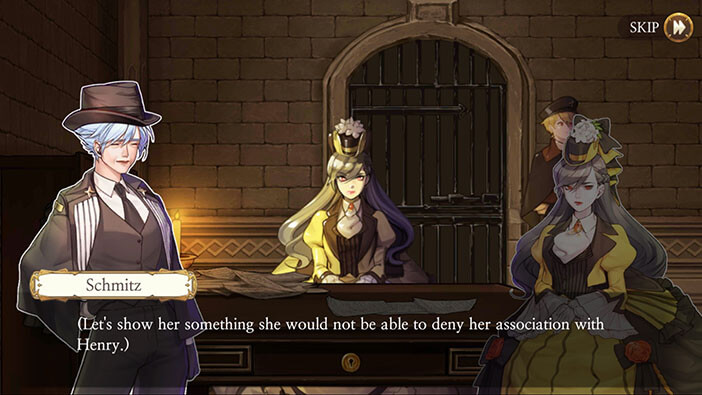
After asking Elizabeth if she knows Henry, the girl answers that Henry is a very common name, and playing dumb.

Now, Schmitz has to present some evidence that connects Elizabeth to Henry, otherwise, this interrogation won’t go anywhere.
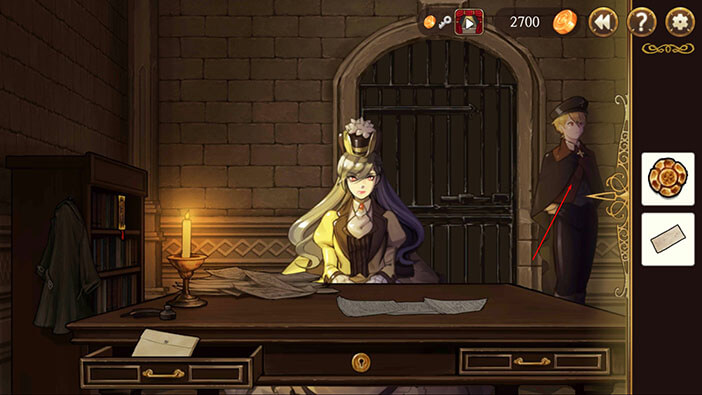
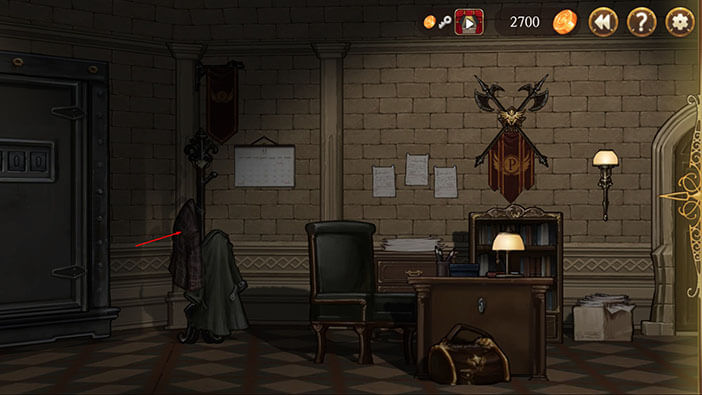
Tap on the green coat, hanging from the shelf to the left, and “Small Key” will be added to our inventory.
Great! Let’s use it to unlock our desk. Select the “Small Key” from the inventory and tap on the keyhole.
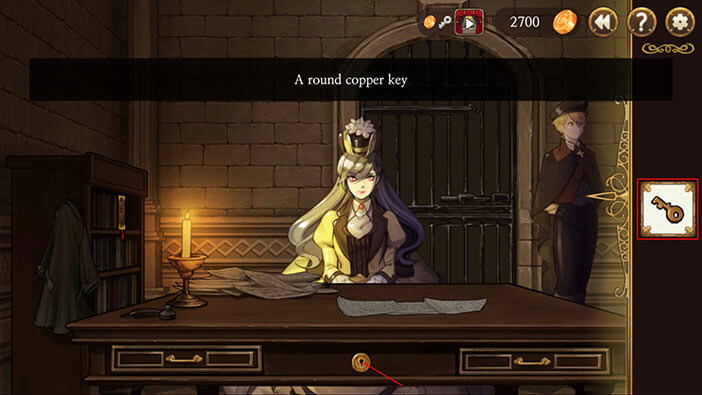
With the desk unlocked, let’s open the drawer on the left. Tap on it.
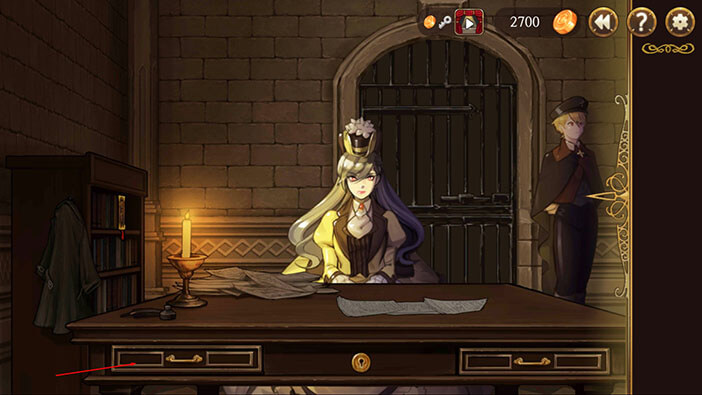
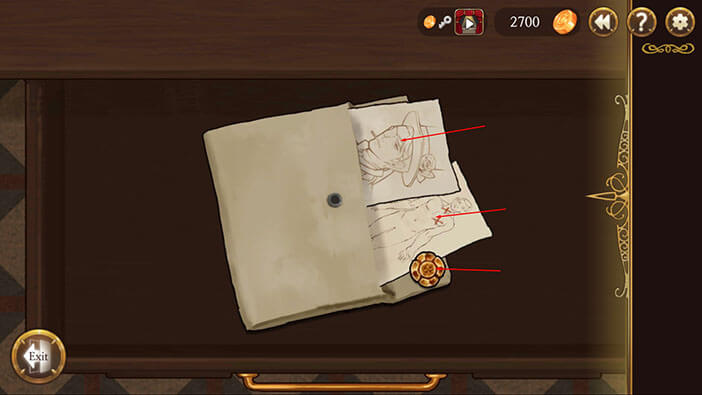
Tap on the envelope to open it.

Tap on all three pieces of evidence to pick them up. These are “Montage” (Henry’s portrait), “Autopsy Report”, and “Accessory” (Elizabeth’s dressing pin with family crest).
Tap on “Exit”, after that.

Well, showing Henry’s portrait would make the most sense, so let’s selected it from the inventory and tap on Elizabeth.
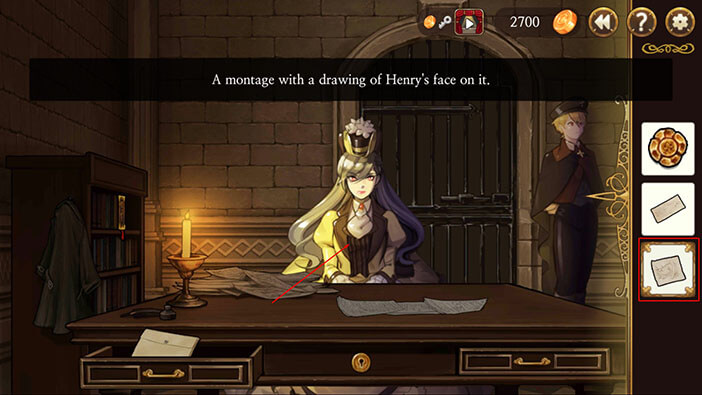
Elizabeth was surprised for a moment after seeing Henry’s portrait but she remained silent, and now we have to make her talk.
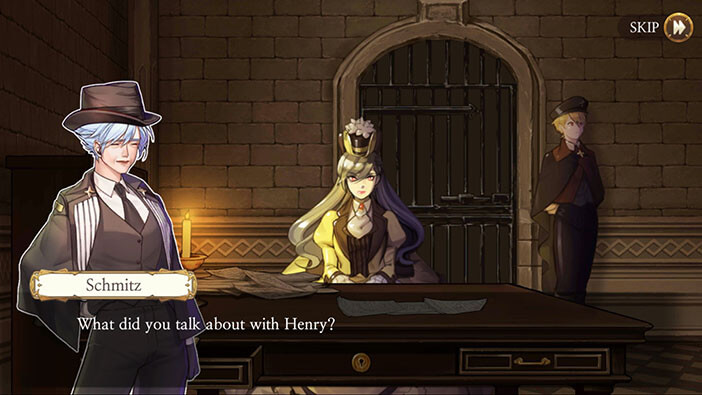
Well, as I already said, Schmitz isn’t a subtle person, so I chose the “Push Elizabeth” option because that’s what I think that the detective would do. However, this option doesn’t work out and if you want to finish the story, the game forces you to take the other option. So, let’s tap on the second option “Question Elizabeth”.

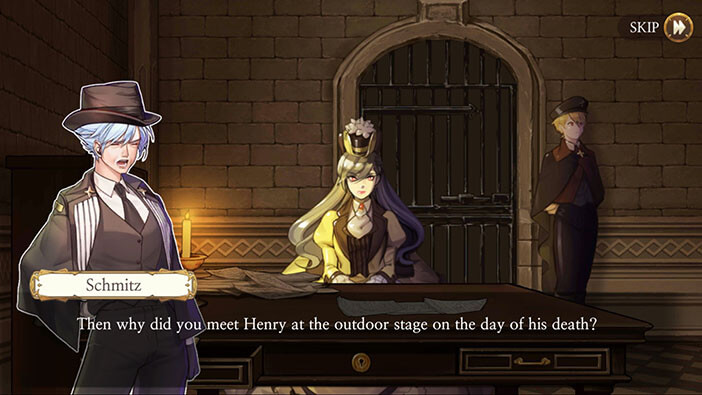
Elizabeth met with Henry, but she claims they didn’t talk about anything of importance. Schmitz pushes, saying that there is a witness who saw Elizabeth arguing with Henry. Again, the young woman remains unshaken and denies this claim.

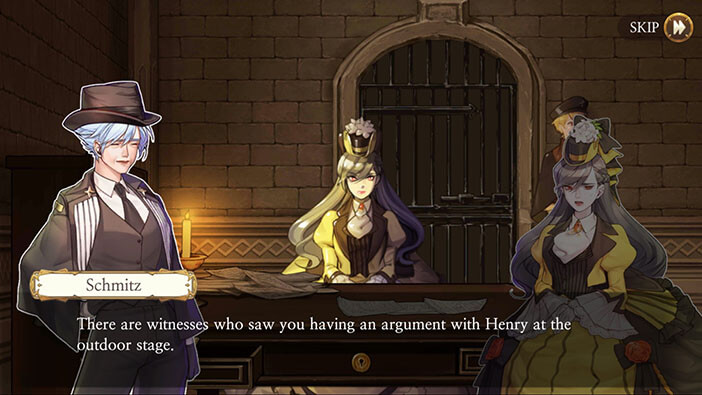

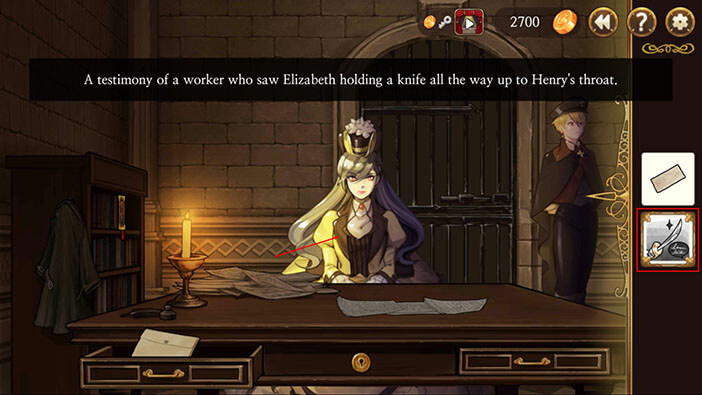
We have to present more evidence in order to make Elizabeth talk. Tap on Erich and he will bring you the testimony of two witnesses. Testimony of Worker B who saw Elizabeth arguing with Henry, and the Testimony of Worker A who saw Elizabeth pointing a sword at Henry’s throat.
At this point, we have to present the evidence that Elizabeth was arguing with Henry, and the Testimony of Worker B proves that – the game won’t accept the other testimony, at this point. So, select the Testimony of Worker B (not the card with a sword, the other one) from the inventory and tap on Elizabeth.
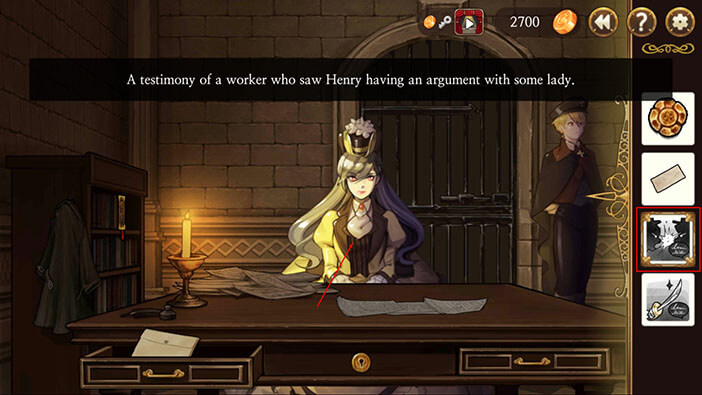
The testimony just says that Henry was arguing with a woman, but Elizabeth points out that it could be any woman since nothing points to her, specifically.


Well, we know what piece of evidence we have to present next. Select the “Accessory” (Elizabeth’s dressing pin) from the inventory and tap on her. This item proves that she was the one arguing with Henry at the outdoor stage, so this seems to me as a logical choice.


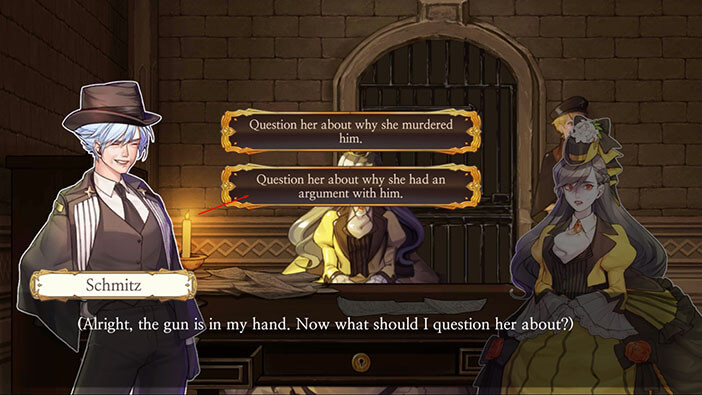
Presenting the pin with the Lavenza crest, gained Schmitz the upper hand. Although Elizabeth is clearly shaken, she remained calm. The detective has the initiative and should now choose the next course of action.
Since we know that Elizabeth didn’t murder Henry, the first question is probably a dead end. So, let’s choose the other option “Question her about why she had an argument with him”.
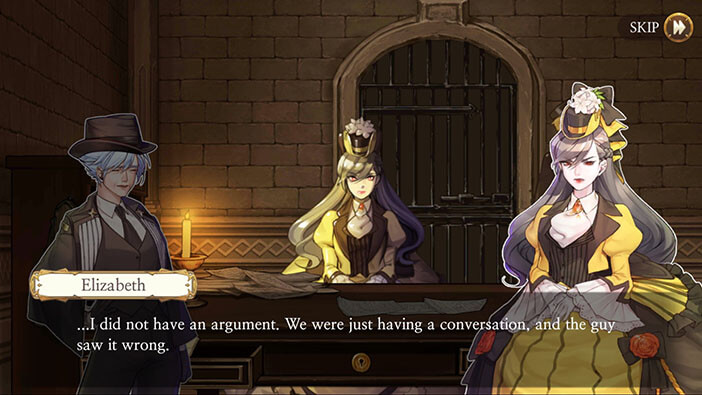
Well, Elizabeth still claims that they were just calmly talking, and that there wasn’t any argument between her and Henry, and that the witnesses probably made a mistake.
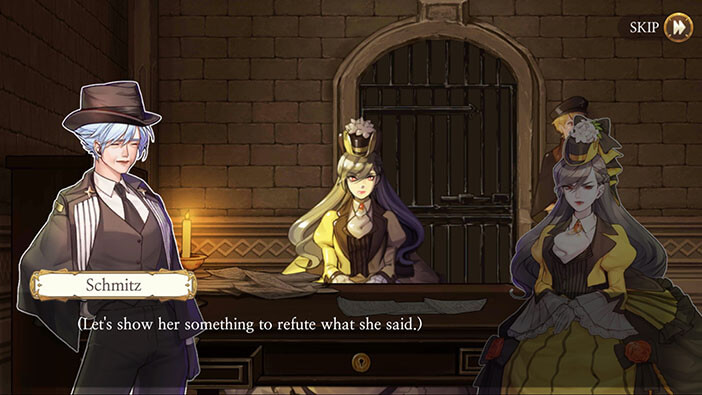
Now, we need the evidence that proves that they were in fact arguing. Sword to the throat is a pretty solid confirmation of an argument. So, let’s select the Testimony of Worker A from the inventory (the one with the image of a sword), and tap on Elizabeth.
Even after presenting her with the other testimony, Elizabeth remains silent. However, Schmitz thinks that she’s close to a breaking point.

Let’s present her with the final piece of evidence. Select the “Autopsy Report” from the inventory and tap on Elizabeth.
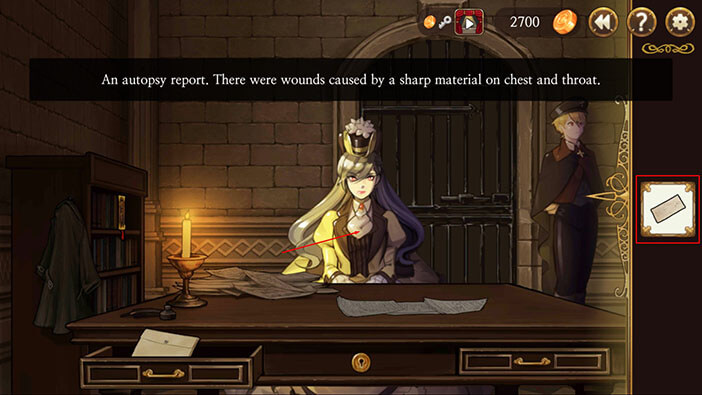
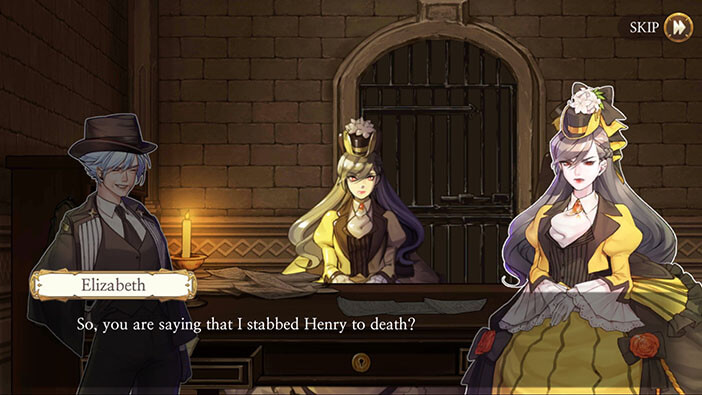
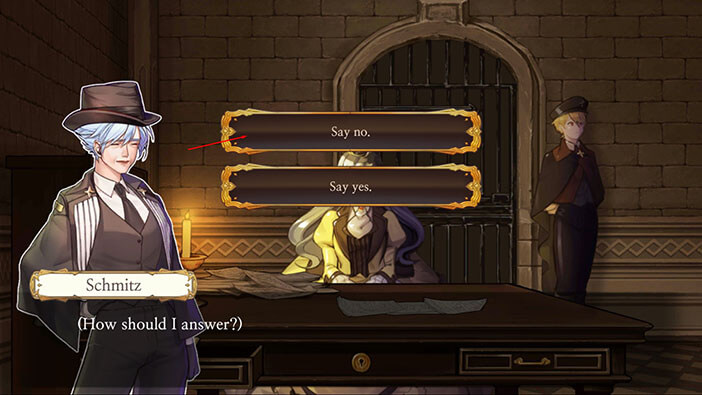
After presenting the evidence, Schmitz points out that there is a shallow cut on Henry’s neck, just like something that could be inflicted when Elizabeth threatened him. (Ups! Honestly, I completely missed this clue when we were playing the previous stage). However, this was only a superficial wound, and the detective points out that Henry died from a stab to the chest. Elizabeth asks if Schmitz thinks that she is the one who stabbed him.


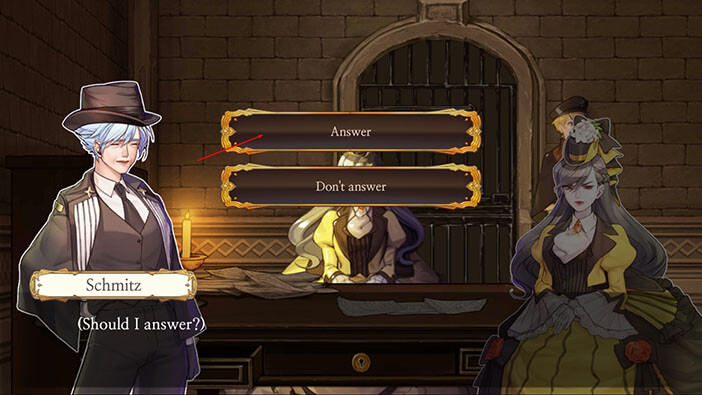
I chose the option “Answer”.
At first, I chose the option “Say yes”. However, this option doesn’t lead anywhere, which is really weird. OK. Elizabeth is accused of Henry’s murder. If, hypothetically, Schmitz doesn’t believe that she was the one who stabbed him, then why was she arrested in the first place? And I would also like to add, that it was Schmitz, personally, who accused Elizabeth of Henry’s murder and ordered the police officers to arrest her. And wants to frame her. But, obviously, if Schmitz says “Yes”, I think Elizabeth stabbed Henry in the chest”, the story doesn’t go anywhere. Doesn’t make any sense.
Anyway, in order to progress the story, we have to choose the option “Say no”, so let’s do that.
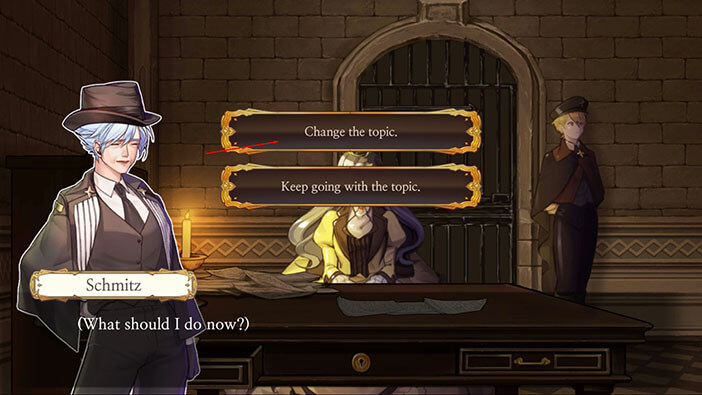
At this point, I was, honestly, a bit sick and tired of trying to roleplay the story by making logical choices that Schmitz would most likely make, and the game responding in an illogical manner. So, I chose the option “Change the topic”.
NOTE: The story was very logical and engaging up to this point, and I honestly don’t know why this part of the story is so poorly done.
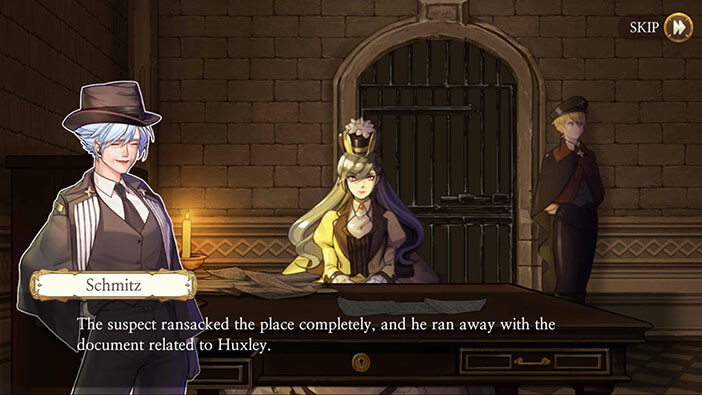
Now, Schmitz starts talking about the break-in at the mortuary. Wait, what?! That’s the first stage we played as detective Schmitz, but I don’t see how that case could be important, right now.

Next, I chose the option “Keep talking”, just out of curiosity. I really wanted to see where Schmitz was going with this.
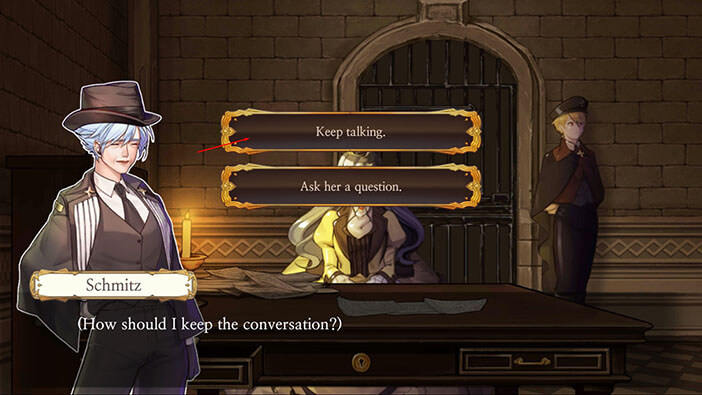
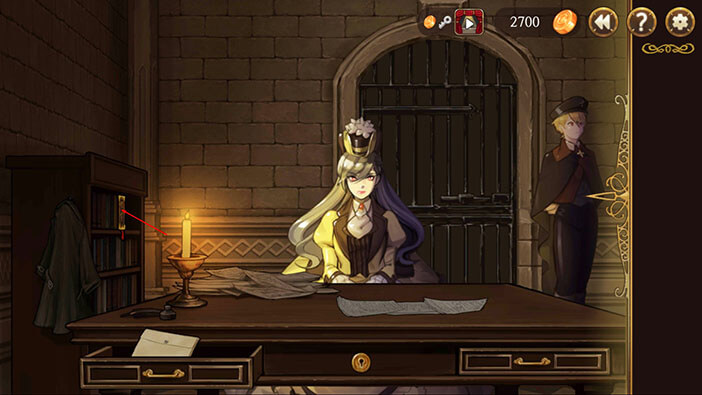
Our next task is to find files from the mortuary and show them to Elizabeth. I have no idea what the detective hopes to gain out of this, but we have to find the documents, so let’s do that.

Tap twice on the tome that is sticking out from the bookshelf on the left to pick it up. “Case File A” and “Case File B” will be added to the inventory.
Select the top Case file from the inventory and tap on Elizabeth to present the evidence.
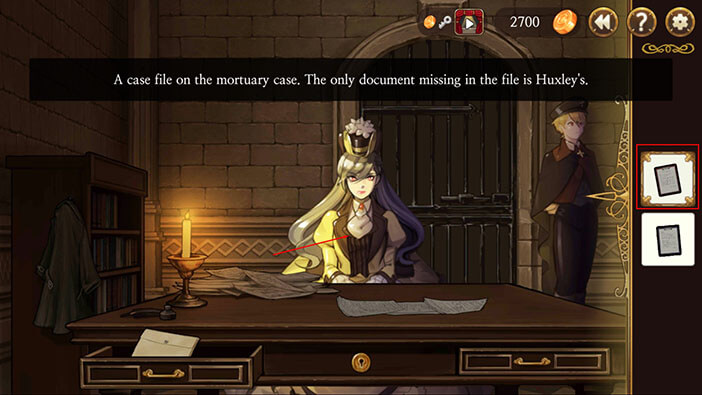
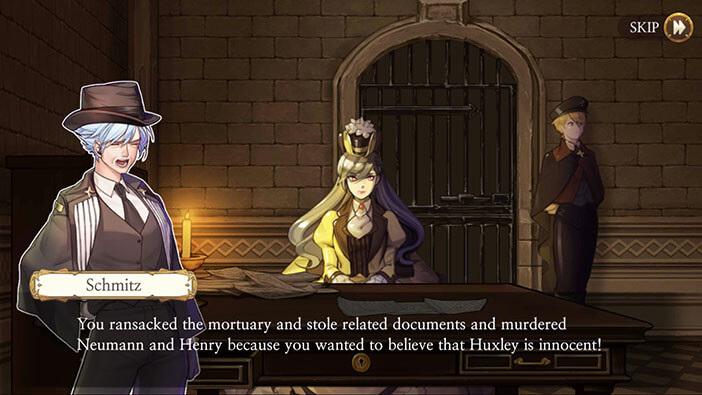
Oh, wow! Schmitz is again entering the dumb mode. Instead of trying to frame Elizabeth for Henry’s murder, she is now trying to set her up for Neumann’s murder and morgue break in… Even though there is no physical evidence nor witnesses that can back up these accusations (unlike in the case of Henry’s murder). The only thing that Schmitz has is her own theory, which explains Elizabeth’s motive… Again, this questioning really doesn’t make any sense at all…


Ok, let’s see just how stupid will this get. Select the other case file from the inventory and tap on Elizabeth.
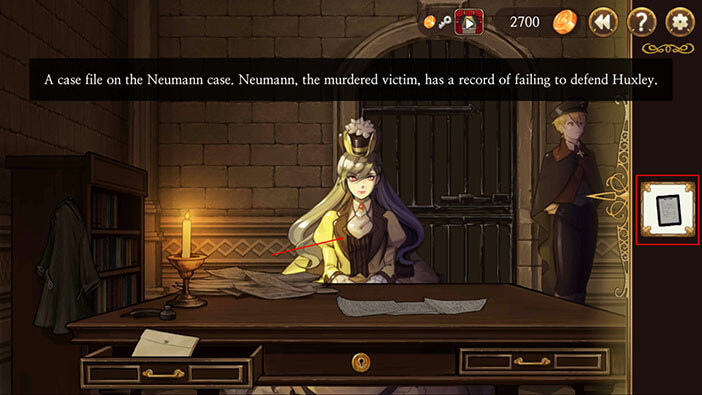
The detective’s logic is basically the following. Elizabeth was close to Huxley, and therefore she’s the one that committed the aforementioned crimes. (Sarcastic) Brilliant!!!


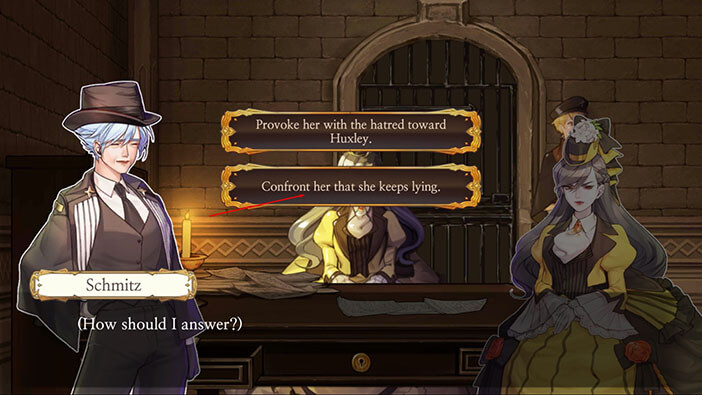
I tap on “Confront her that she keeps lying”. Whatever… She lied about Henry, but she didn’t lie about the other stuff. As a matter of fact, she didn’t say anything about the other cases, so far.
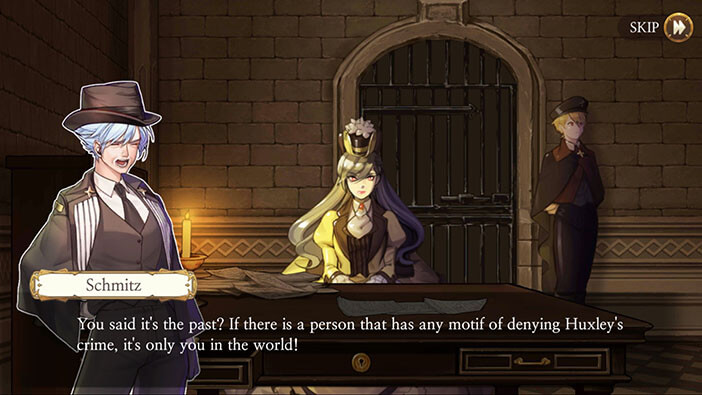
And here it comes. The detective accuses Elizabeth of every crime mentioned so far because she a “motif”. I already mentioned this in previous stages, but try to imagine Elizabeth crafting an axe in just a few minutes, and using it smash the sturdy storage doors, and demolishing the entire Neumann’s office. Nobody would believe that…

Tap on “Question her”.
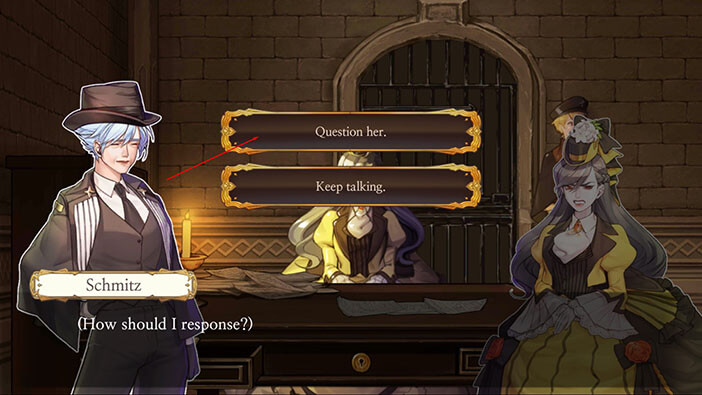
Well, Elizabeth was searching for Henry and did threaten him, and she is lying about it. This pretty much sums up everything that Schmitz correctly concluded about this case.
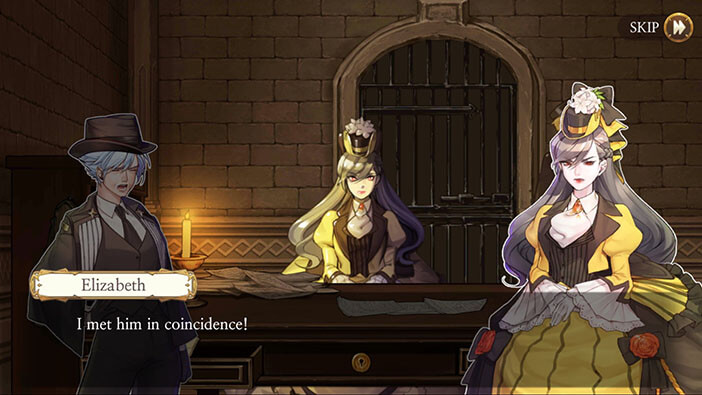


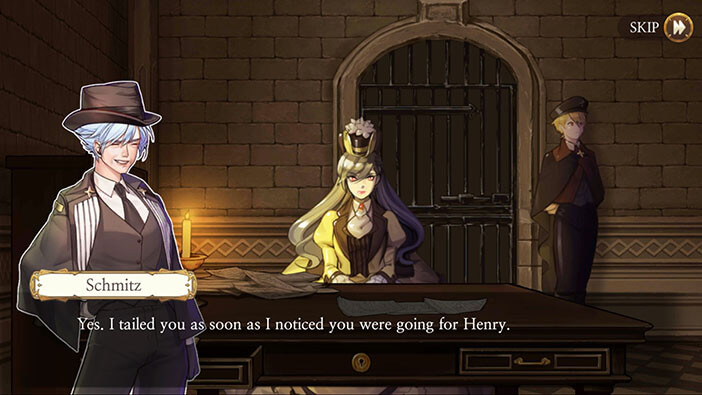
But Elizabeth figures that the only way Schmitz could know this would be if the detective followed her, for several days. Smart girl.

I chose “Say Yes”, just to see what happens next. Schmitz is the detective, after all, and there is nothing strange with the detective following someone that she considers suspicious.

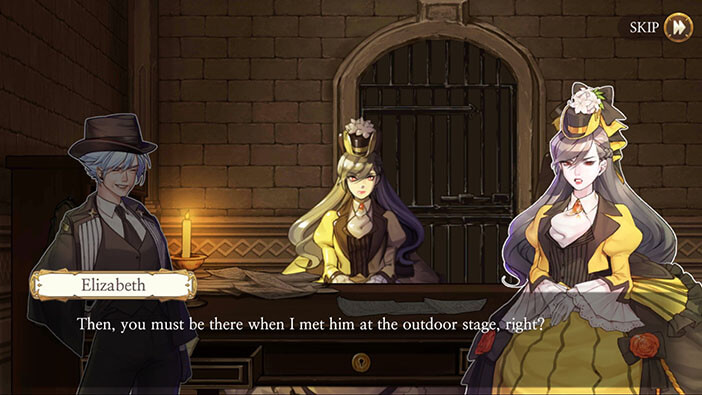
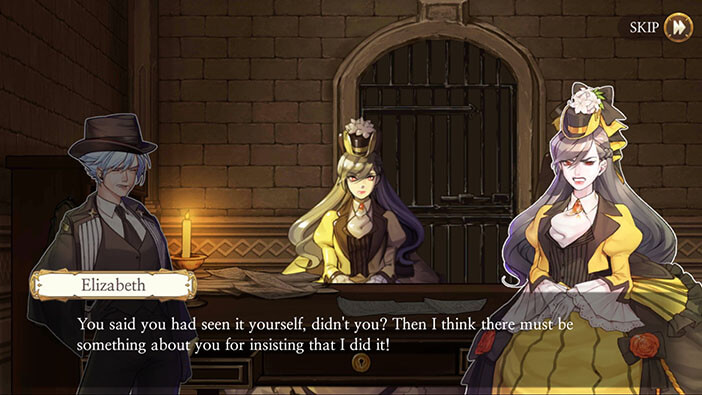
Oh, Elizabeth is a very smart girl! She confronts Schmitz, saying that if she was followed during the past previous days then the detective must have seen her sheathing her sword and parting ways with Henry. She also accuses Schmitz of having a hidden agenda. Again, a very smart girl! I honestly didn’t see this one coming.

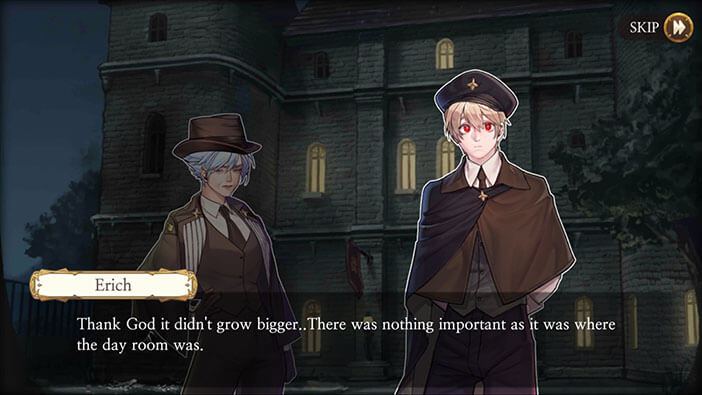
Schmitz slams the desk in anger, and… Well, decides that the best course of action would be to continue this investigation tomorrow. This is actually, the first smart thing she has done during the entire process. By the way, you know Erich heard the entire conversation, right? I wouldn’t be surprised if he starts suspecting that there’s something wrong with this case… There is a very confused look on his face, that’s for sure.
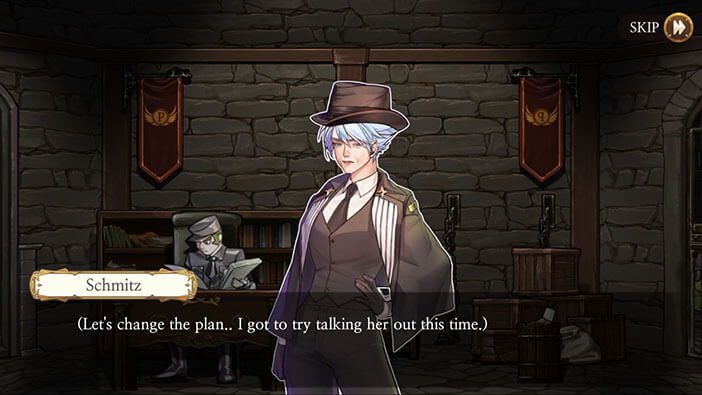
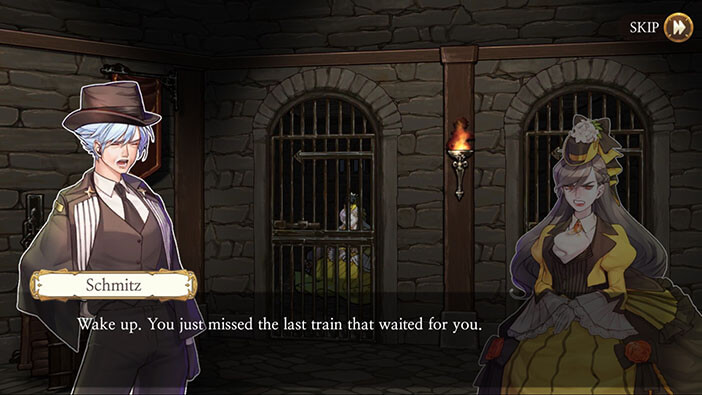
The story continues a few hours later, and Schmitz is going to try a different approach, this time around.
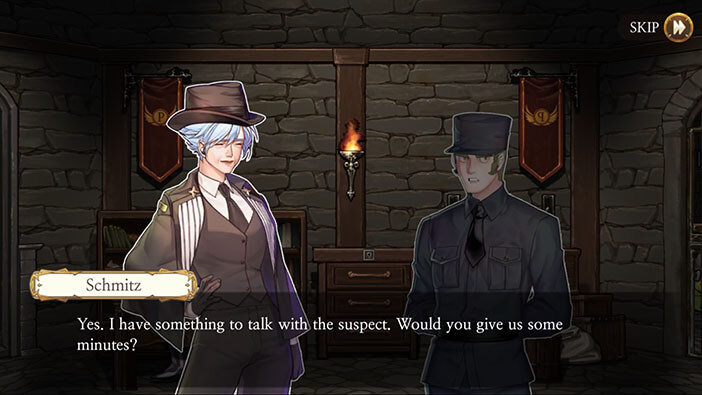
First, tap on the guard. He will leave the room, so you can talk to Elizabeth in private.
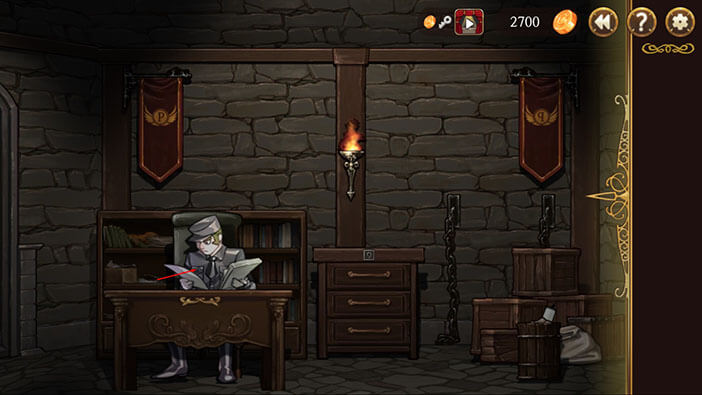
Now tap, on Elizabeth so we can see this new approach.
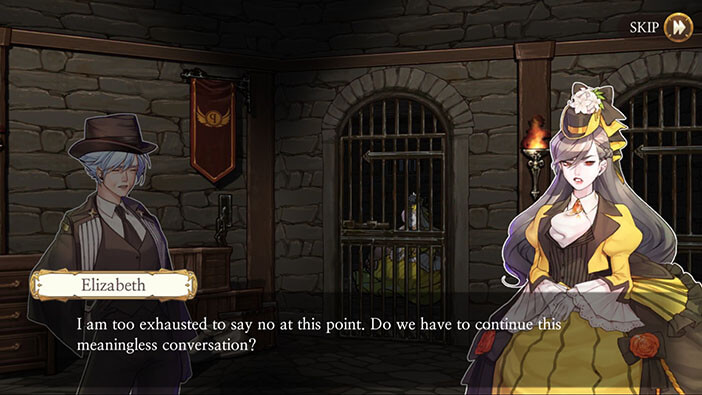
Schmitz has a new (sarcastic) brilliant idea! She will offer Elizabeth a compromise. The detective won’t press charges for Henry’s murder if Elizabeth says that she’s guilty of the other two cases. And, of course, it doesn’t work. But Elizabeth provides her with a very insightful answer.
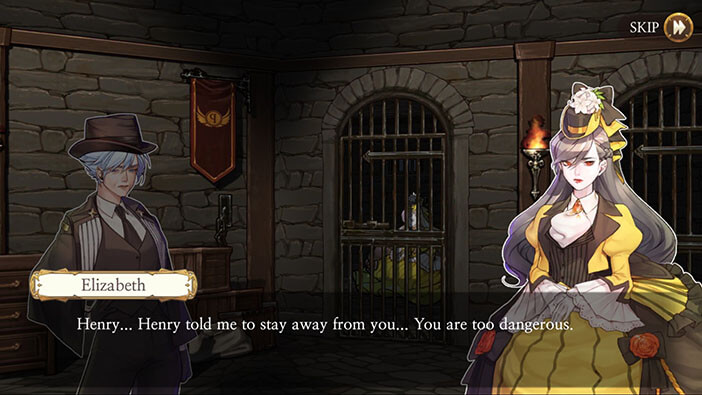
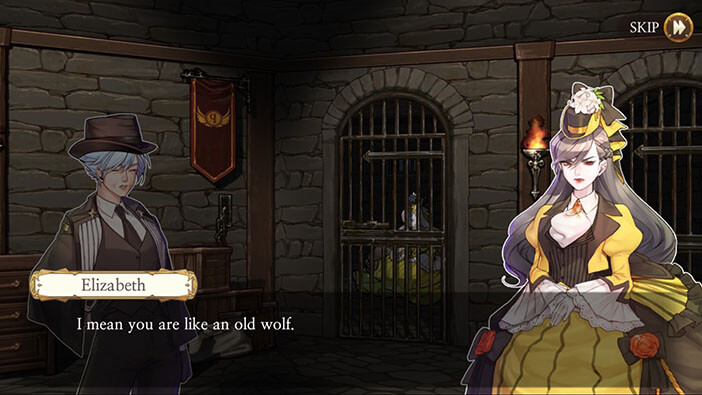
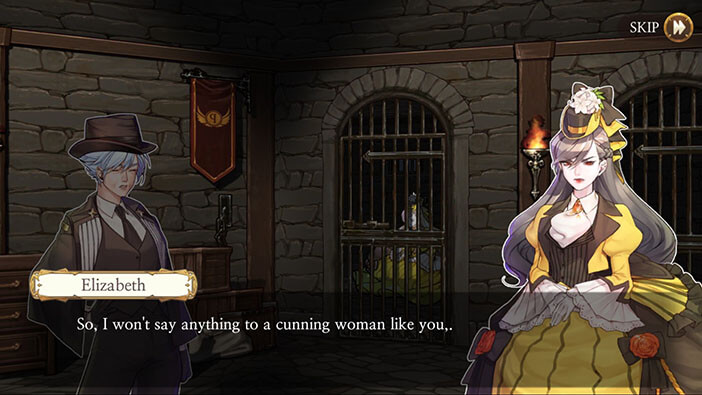
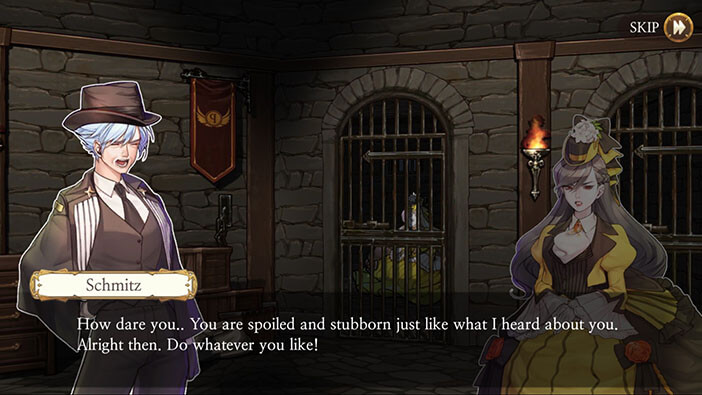
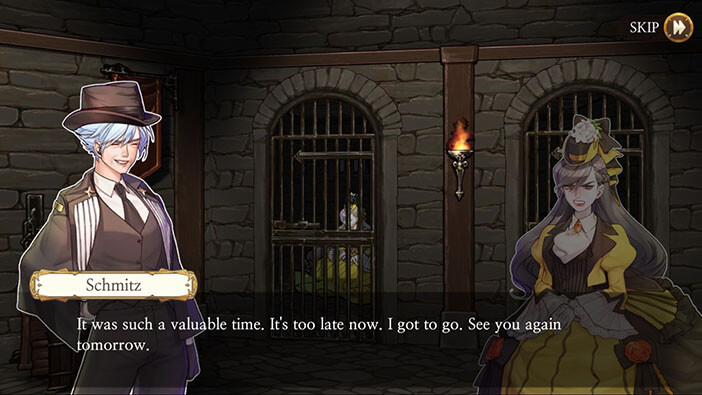
And, after a few minutes have passed, Elizabeth remembers that Henry warned her to stay away from Schmitz. At this point, the young girl says that she won’t speak to the detective anymore. Smart choice.
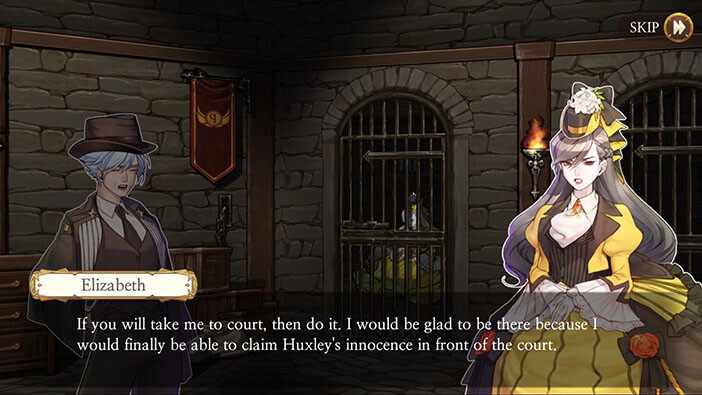
And a few moments later, the girl that was smarter just a second ago, does exactly the opposite and admits everything to Schmitz. Elizabeth proclaims she believes that Huskley was innocent and that several people (including the detective) conspired to frame him. Also, she is going to say this at court. Ouch! She shouldn’t have said that.

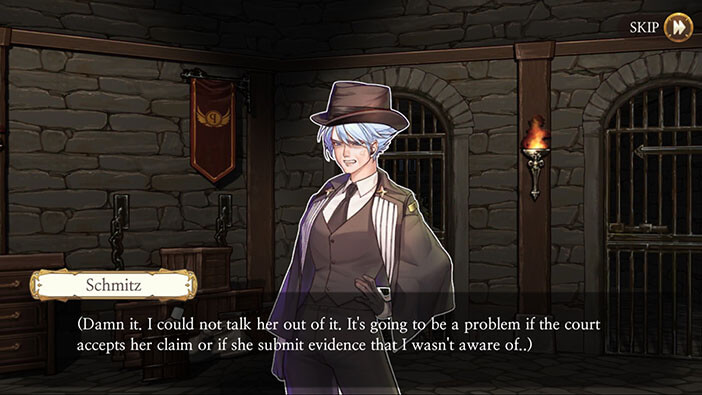
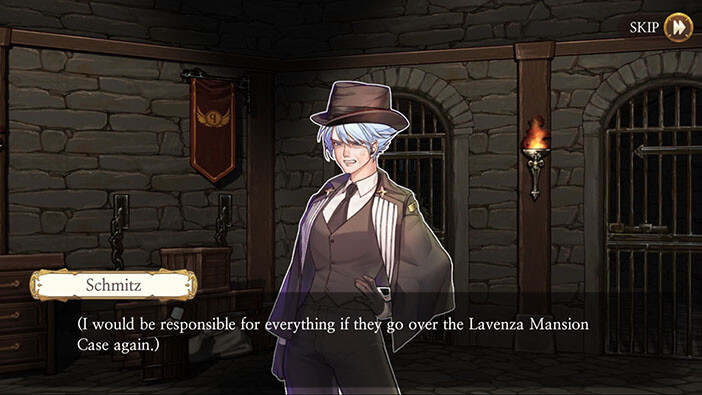
Now, Schmitz is truly terrified, since Elizabeth’s testimony could really endanger her career and reputation. If Lavenza case was to be reopened, who knows what might happen?
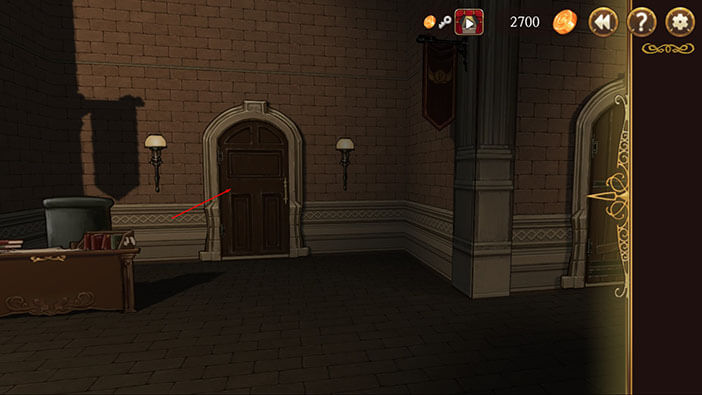
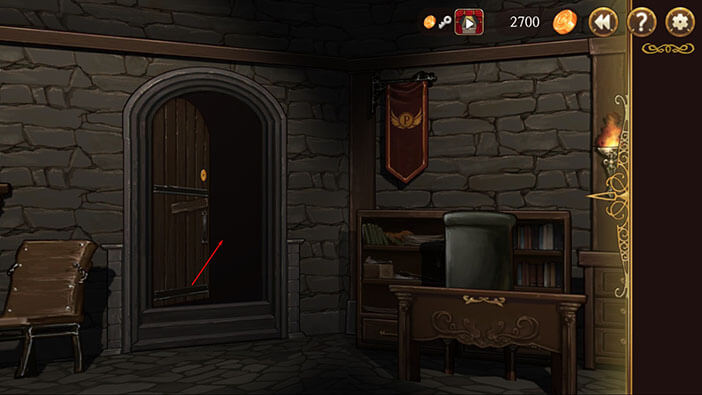
Turn around and tap on the door to open them, and once again to exit.

Sweep to the left, and tap twice on the second door to enter into the next room.
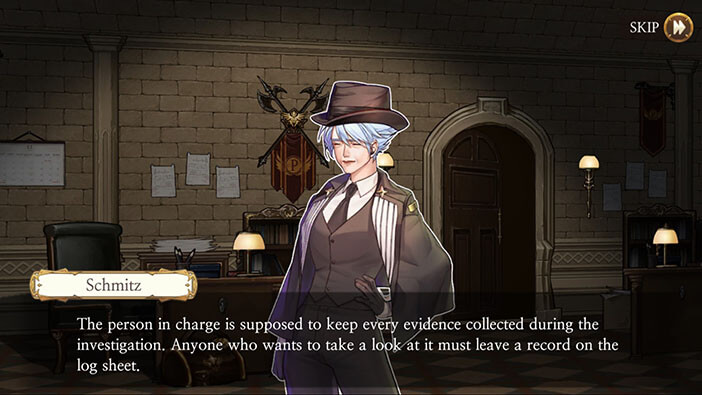
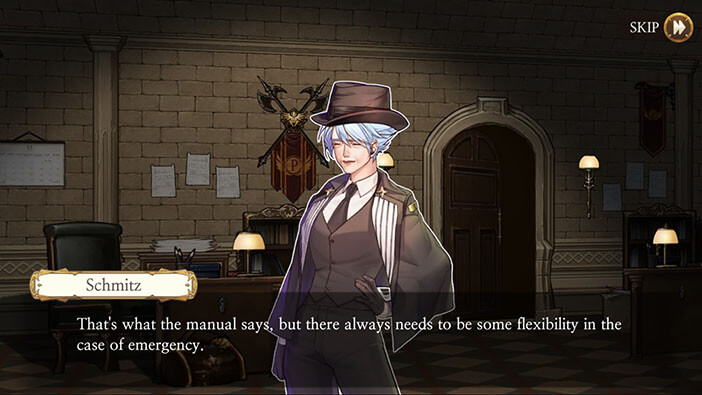
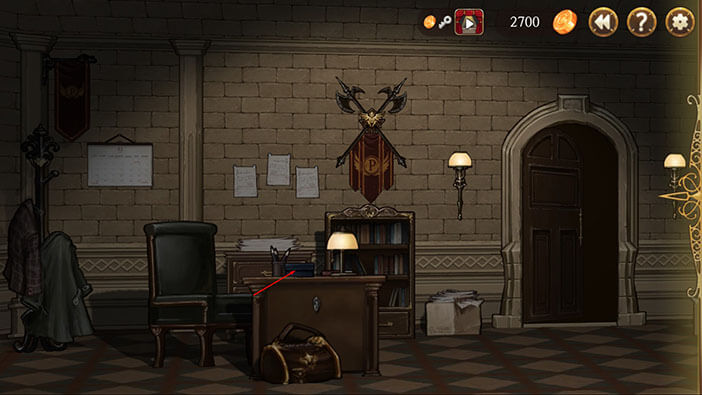
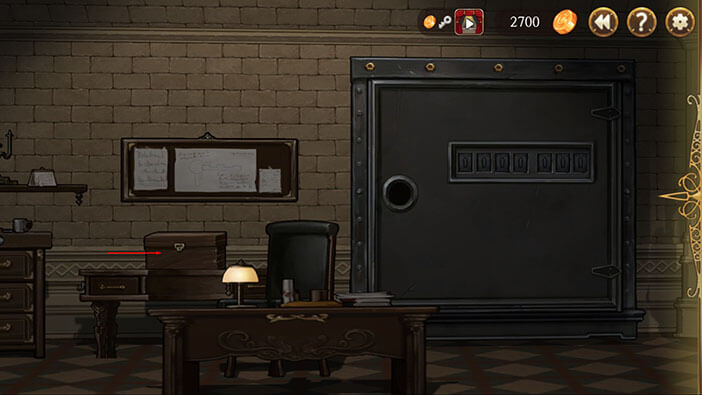
Well, now that she reached the evidence room, Schmitz formulated a new plan. She is going to plant or remove some evidence from the Huskley case. However, she had to be quick, or someone might come in and catch her red-handed.

Tap on the desk in front of you.
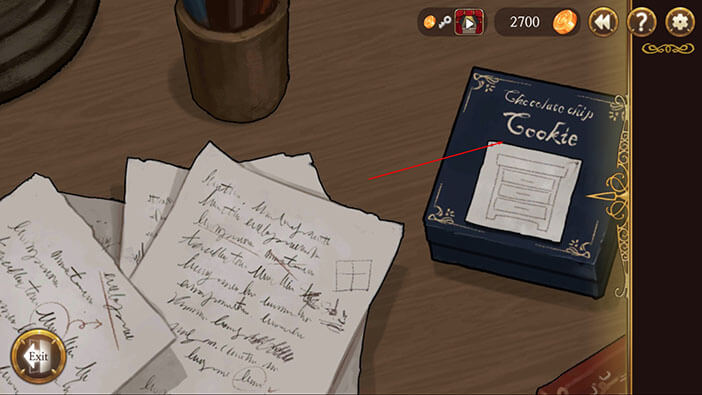
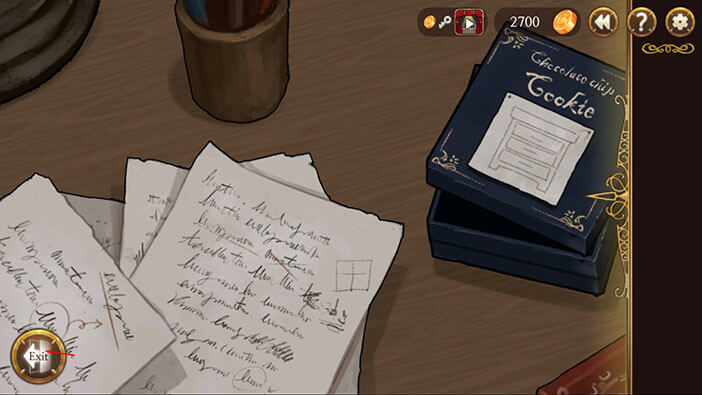
Tap on the blue box, labeled “Cookie”. And tap again to see what’s inside.
And now we have a small game, very similar to Sudoku. In the image below you can see the arrangement at the start of the game. Note that marked cookies can’t be moved.
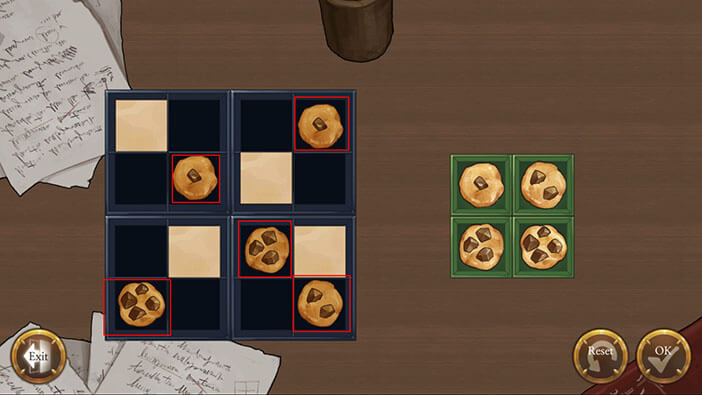
The point of the game is simple. Let’s rename cookies based on the number of crunches to 1, 2, 3, and 4. In every square, you should have four different cookies. But there’s the catch. None of the rows can’t have duplicate cookies, and the same goes for columns. For example, you can’t have more than a single number one cookie in any given row or column. If you like somewhat complicated puzzles, you’ll enjoy solving this one.
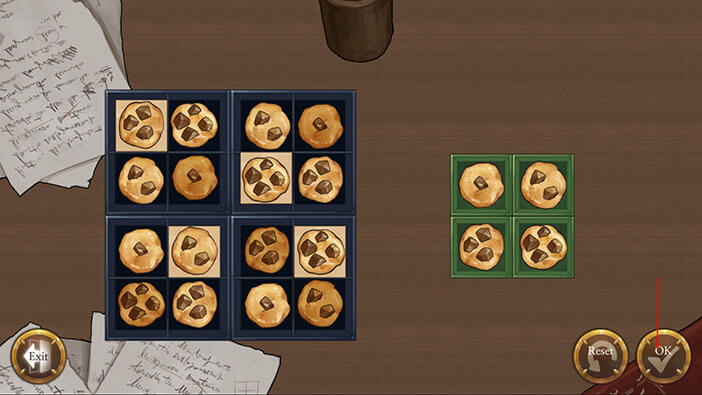
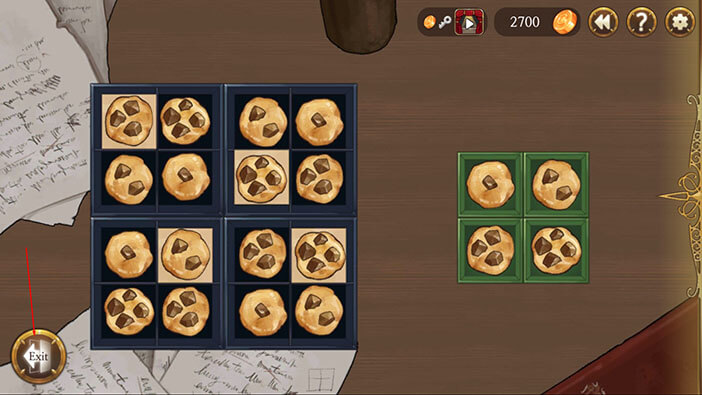
If not, check out the solution on the image below, and tap the “OK” button.
Tao on the “Exit” button.
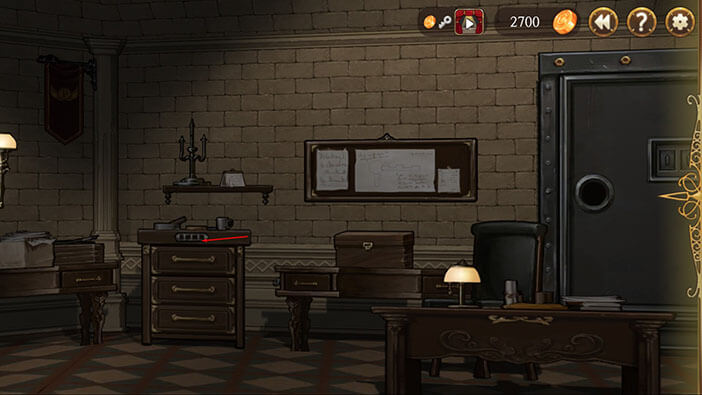
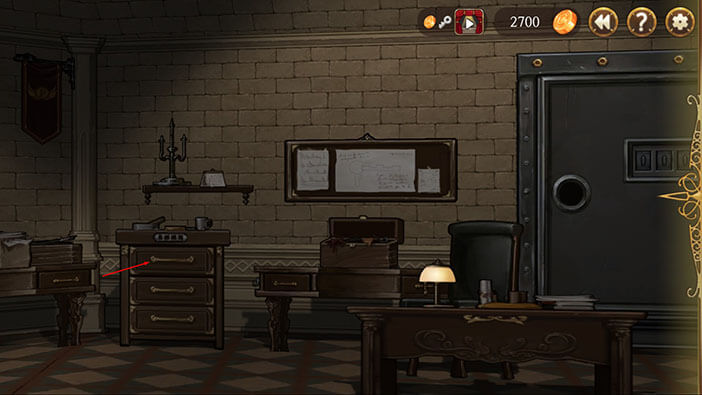
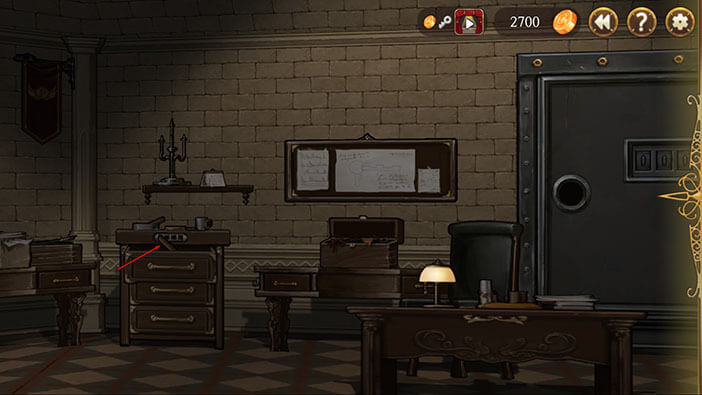
Tap on the brown coat on the left and the wooden part will be added to your inventory.
Sweep to the left until you see a drawer with a numerical lock. Tap on it. 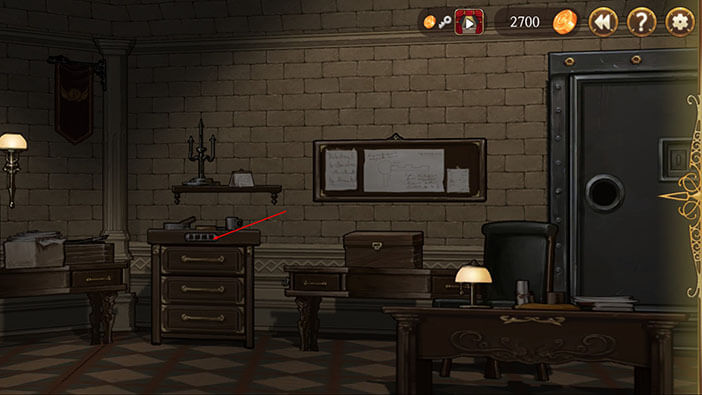
The fields on the right side look very similar to the ones in the cookie box. Let’s go back. Tap on the “Exit” button.
Turn around and tap, on the desk, and then tap on the cookie box.
Look at the image below.
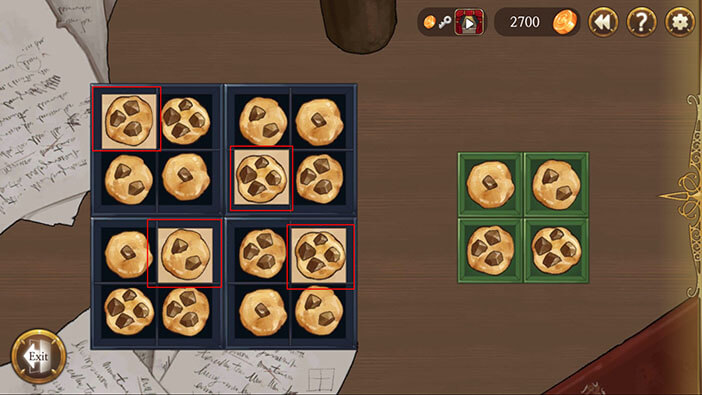
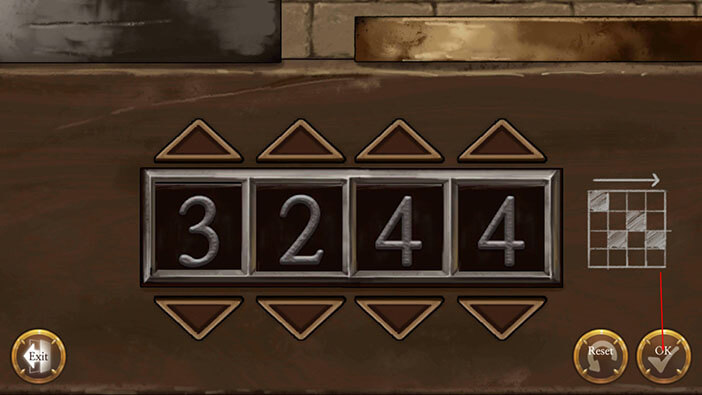
Did you notice how the four white fields are at the same position as on the board next to the numerical lock? I guess the cookies represent a code. So, the cookie in the first column is the first, number 3. The second column = 2. The third column = 4. The fourth column = 4.
So the code should be 3, 2, 4, 4. Let’s try it out. Tap on “Exit”.
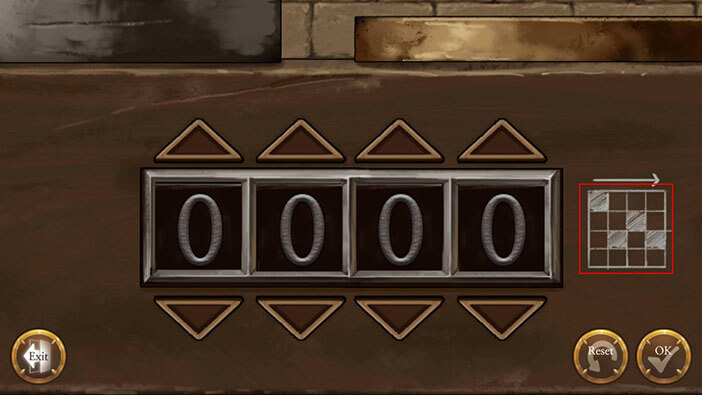
Go back to the drawer and tap on it, to interact with the lock.
Enter code 3, 2, 4, 4. Tap on “OK” to unlock the drawer.
Tap to open the top drawer.
Tap again to pick up the second wooden part.
Ok, now turn to the right and tap on the calendar.
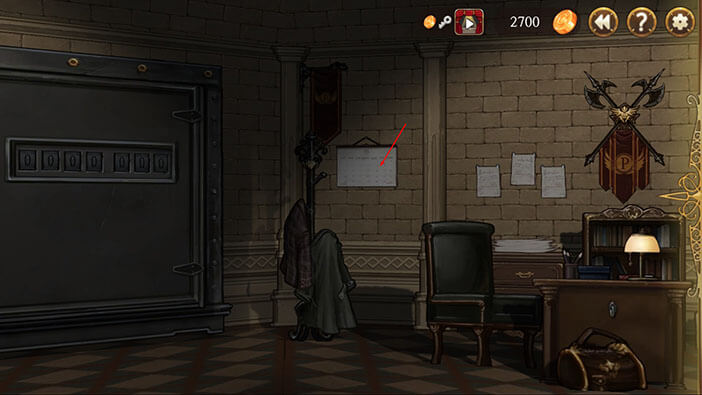
Tap on the calendar, you will find out that it is used to form a password for a large safe next to it.
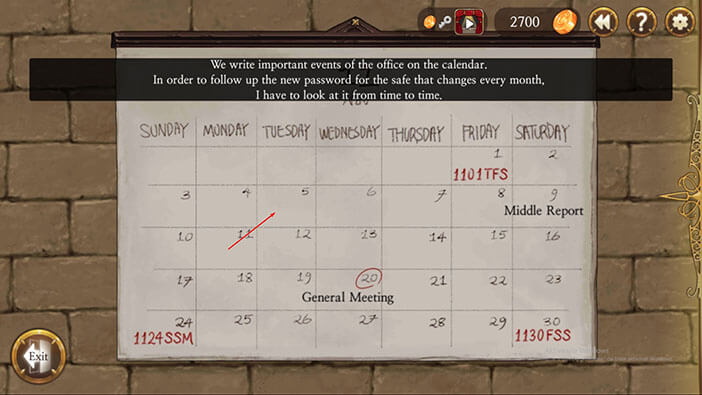
I already solved this puzzle, before writing this article, so look at the image below, and further down for the explanation.
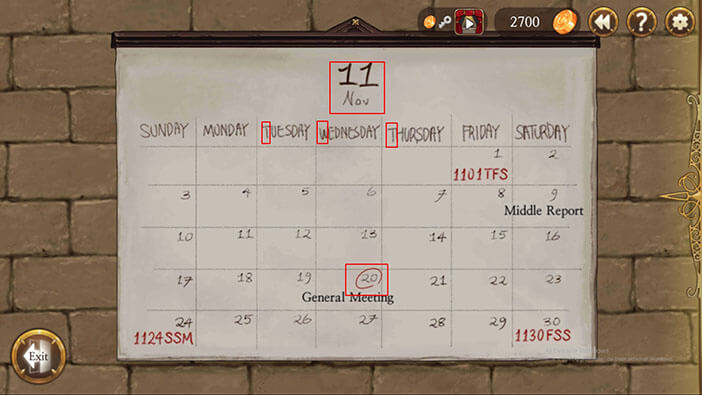
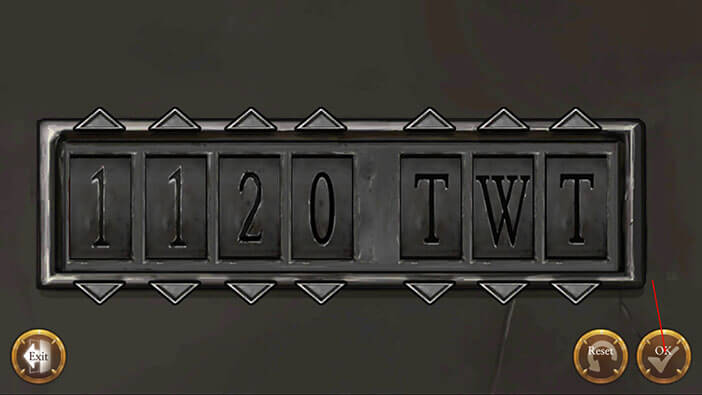
The code is the date (four numbers) and the first three letters of days (the day before the one marked on the calendar, the day marked on the calendar, and the day after the one marked on the calendar).
It’s currently November, so 11 is the first number (just like the other passwords for this month).
Wednesday the 20th is marked on the calendar. So, 20 is the second number. (again, the same as for the other passwords)
The first letter is that of the day before the day marked on the calendar. Wednesday the 20th is marked on the calendar. So, since Tuesday comes before Wednesday the first letter is T.
The second letter is the first letter of the day marked on the calendar. So, the second letter is W.
The third letter is the first letter of the day after the day marked on the calendar. In this case, that’s Thursday. So, the third letter is the letter, T.
And when we put it all together our password will look like this: 1120TWT.
This password is used for unlocking the large safe, so let’s do that now.
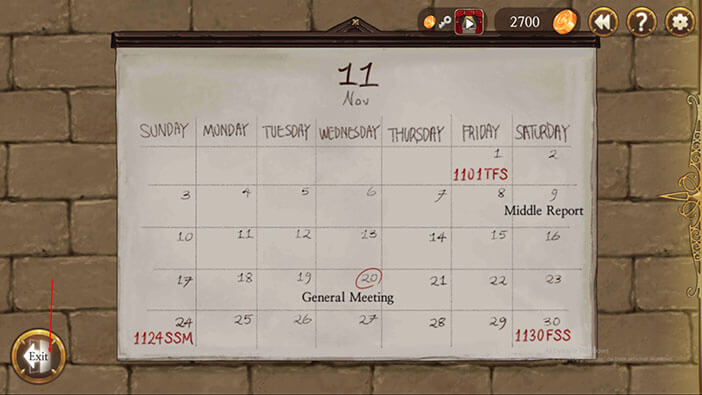
Uh, this was one of the most difficult puzzles so far. Tap on the “Exit” button.
Tap on the numerical lock of the large safe.
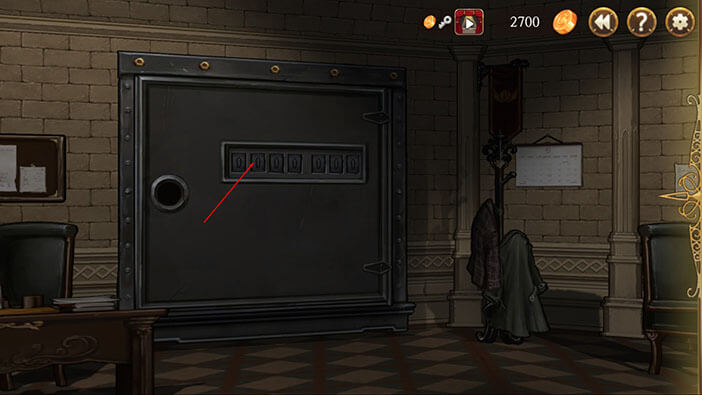
Enter the code that we discovered by solving the “calendar puzzle”. If you don’t remember it is 1120TWT. Tap OK.
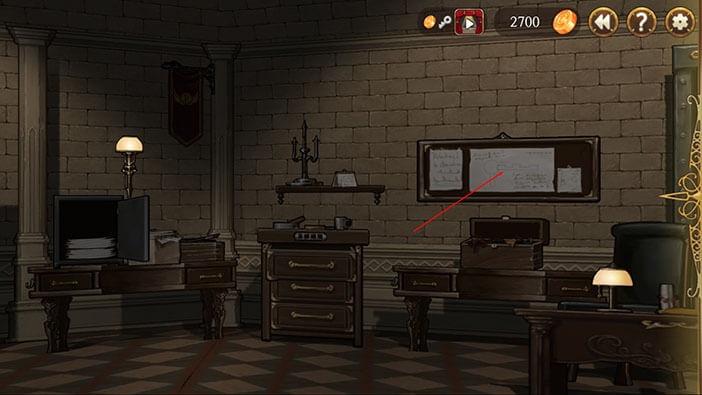
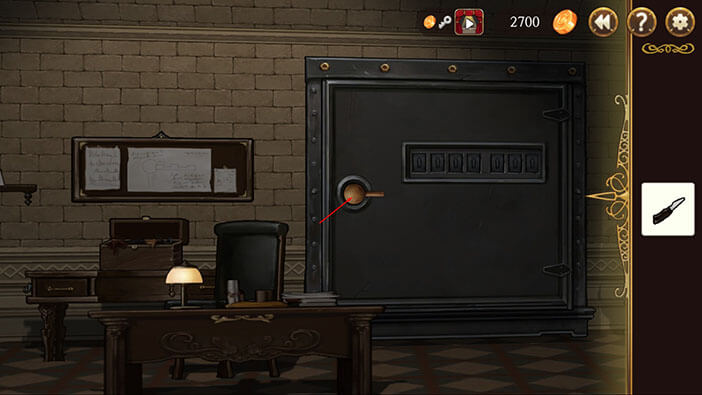
Tap on the hole on the safe. Well, we unlocked it, by we still need some kind of a special handle to open it.
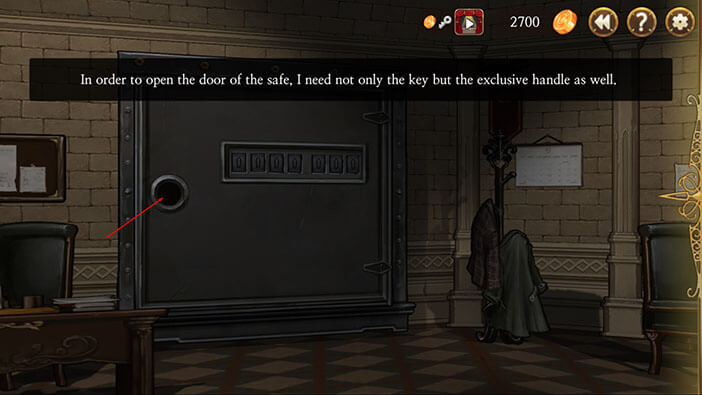
Tap on the image on the board, located on the wall to the left of the safe.

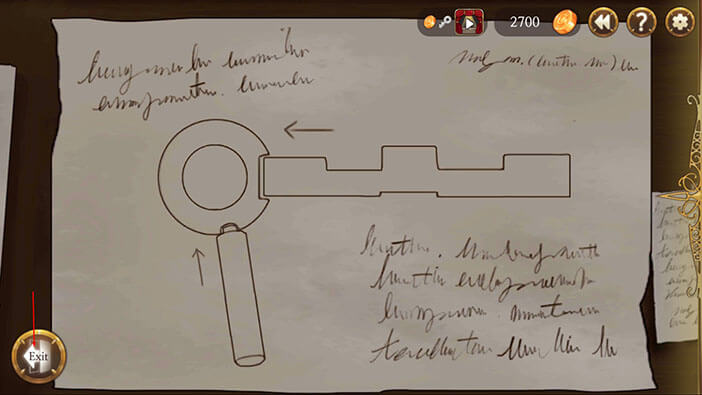
The wood handle for opening the safe can be crafted using this schematic. As we can see from the schematic, we will need to collect three pieces of wooden parts in order to assemble the handle. We already have two, so only one more and we’re golden. Tap on the “Exit” button.

Tap on the box below the schematics, and tap again to pick up a “Paper Knife”.

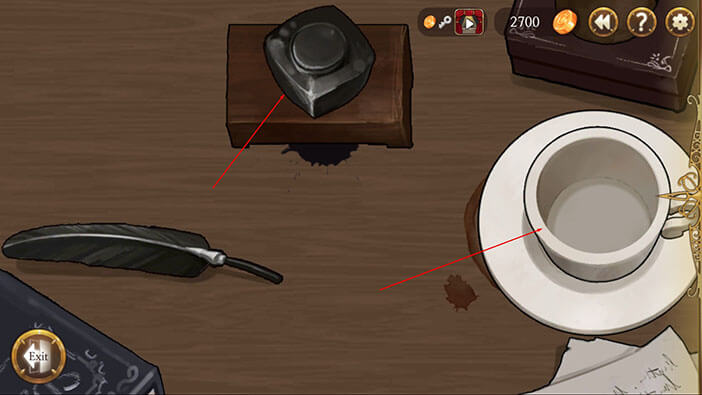
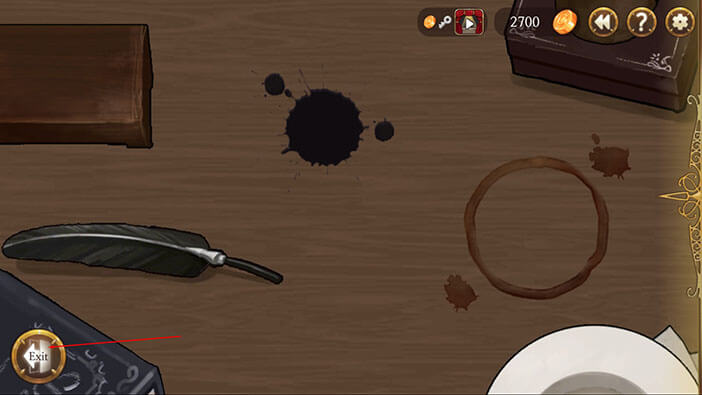
Now, tap on the desk in front of you.
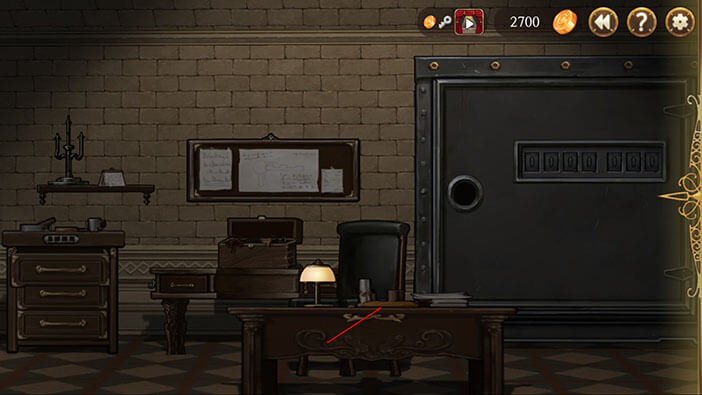
Tap on the coffee cup (twice) and the ink bowl (also twice) to move them aside.
Look at the stains on the desk. They actually represent a pattern that we will need to unlock the last safe.
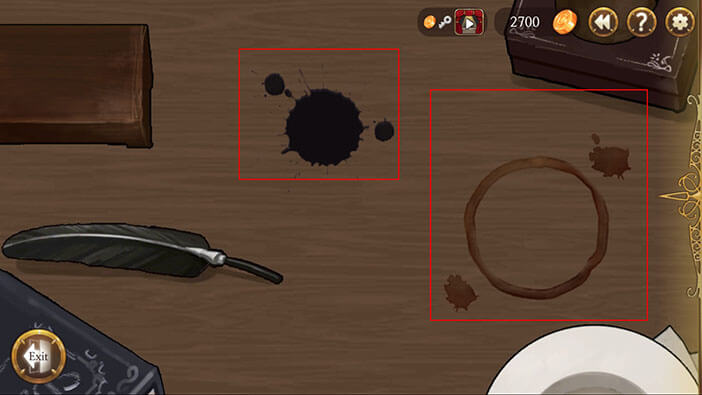
Tap on “Exit”.
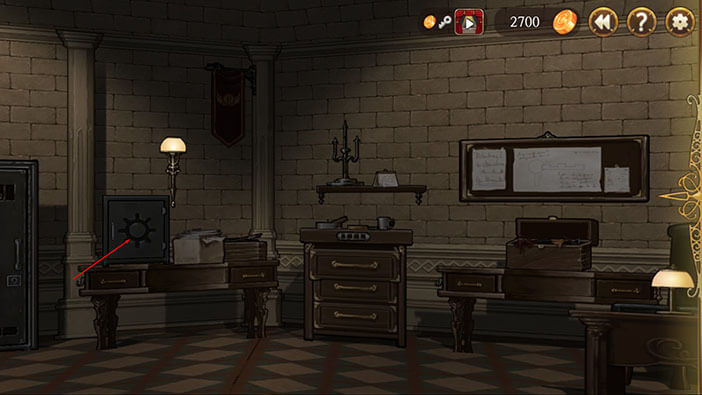
Now, turn to the left and tap on the safe with a strange lock that resembles a gear.
Now, we should move the metal balls so that they resemble the pattern that we saw on the desk. Look at the image below.
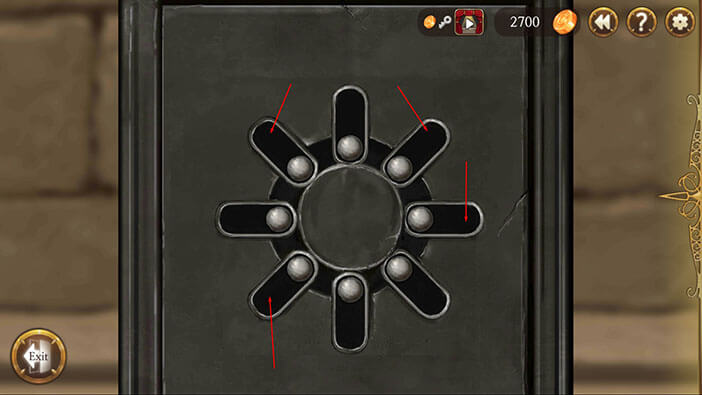
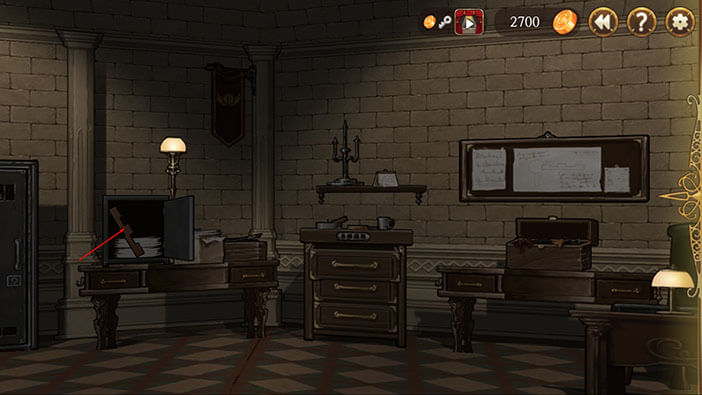
Well, after unlocking this safe we can collect the last wooden part. Tap on it to pick it up.
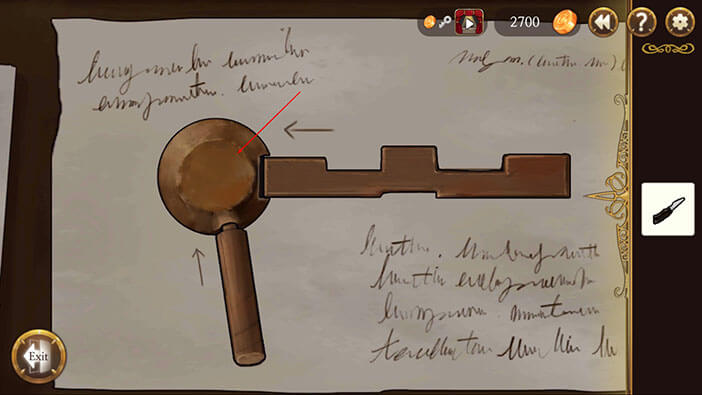
With all wooden parts collected we can now assemble the handle. Tap on the schematics.
Select all the wooden parts from the inventory and place them in corresponding slots.
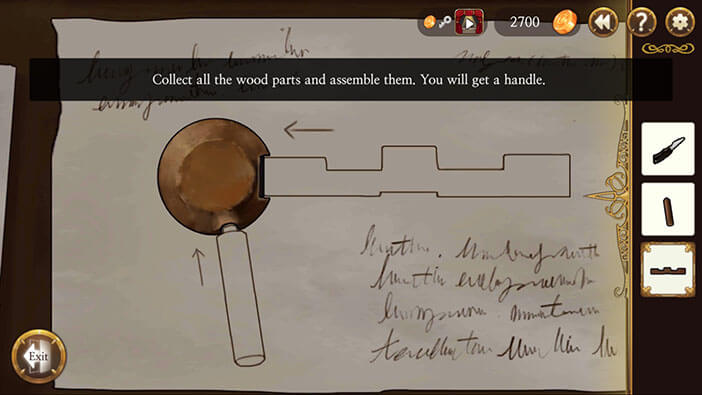
After that, tap on the wooden handle to pick it up.
Ok, we can finally open the large safe. Select the wooden handle from your inventory, and tap on the hole in the large safe to insert the handle.
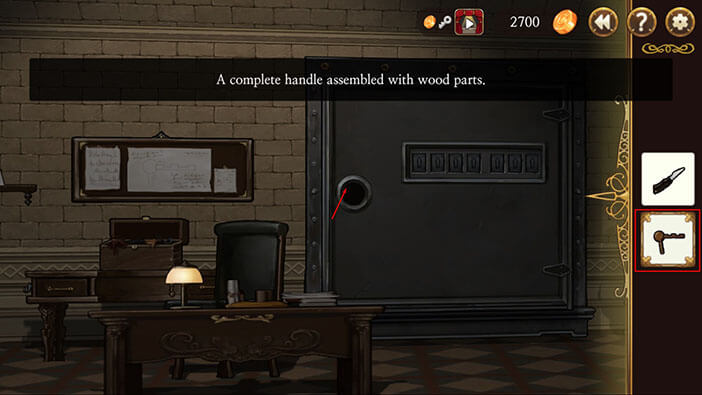
Tap again to open the safe.
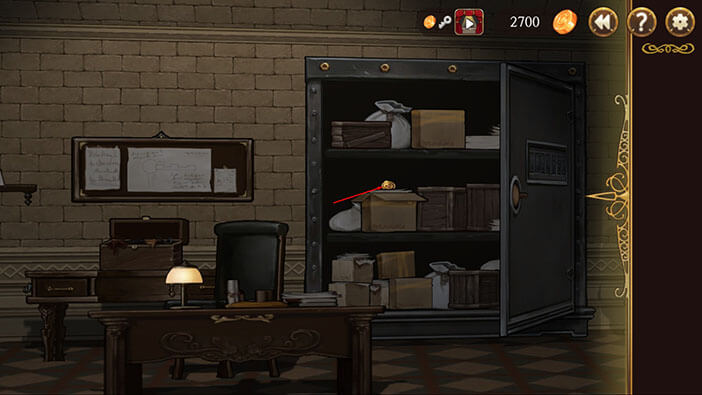
At last, we succeeded. Select the “Paper Knife” from the inventory and tap on the cardboard box on the second shelf to open it.
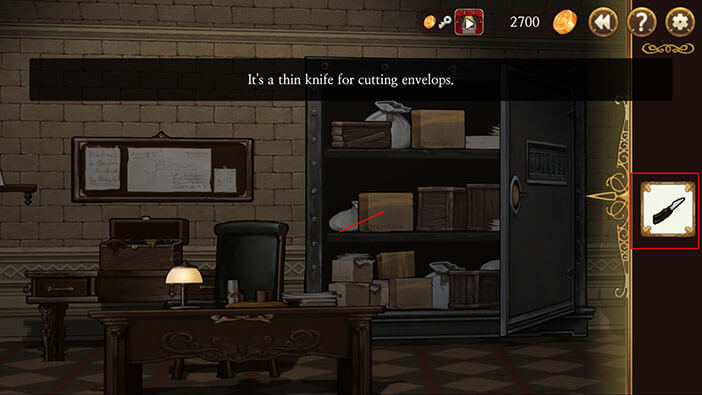
Tap on the yellow object to pick it up. It’s actually an Aegyptus badge.
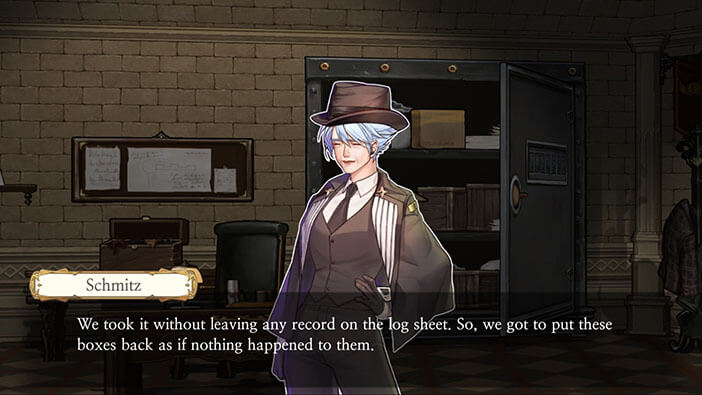
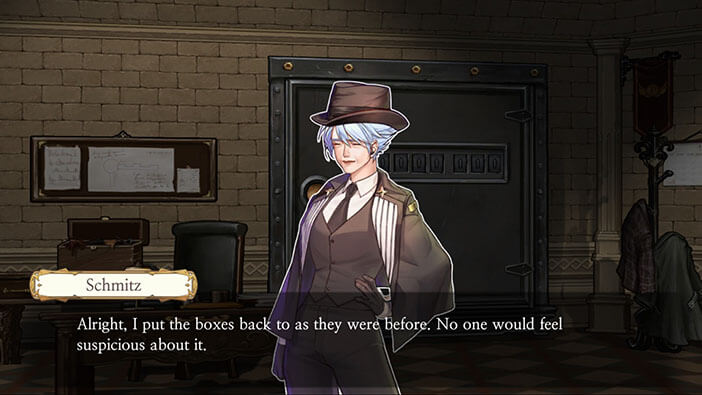
Before leaving, Schmitz has to close the box, so no one would suspect that she was inside the evidence safe.
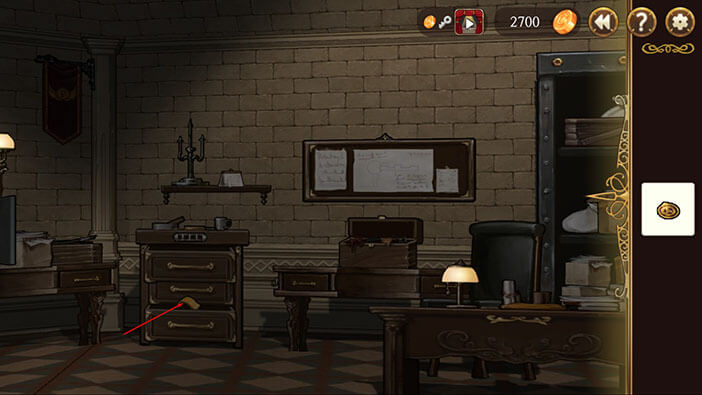
Turn to the left and tap on the bottom drawer of the cabinet with the numerical lock (the one that we unlocked by solving “the cookie” puzzle).
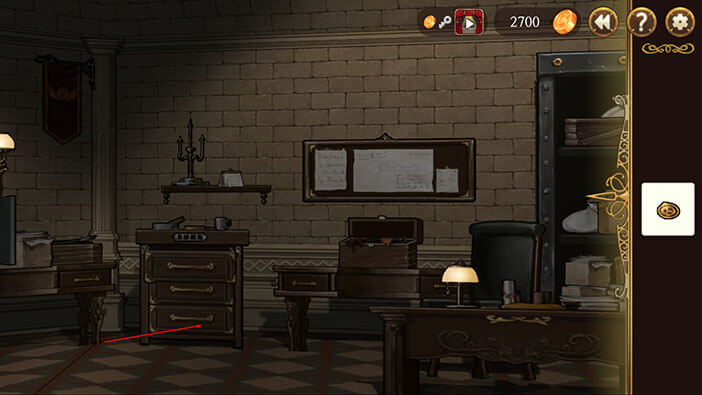
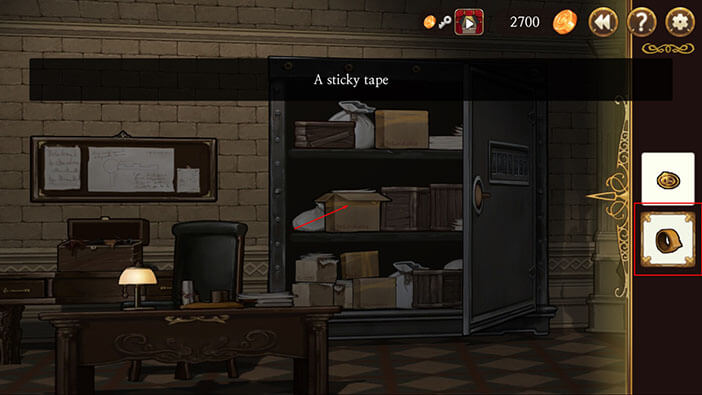
Tap on a tape to pick it up.
Go back to the large safe, select the tape from the inventory, and tap on the box to close it. Also, if you opened more than one cardboard box, make sure to close them too.
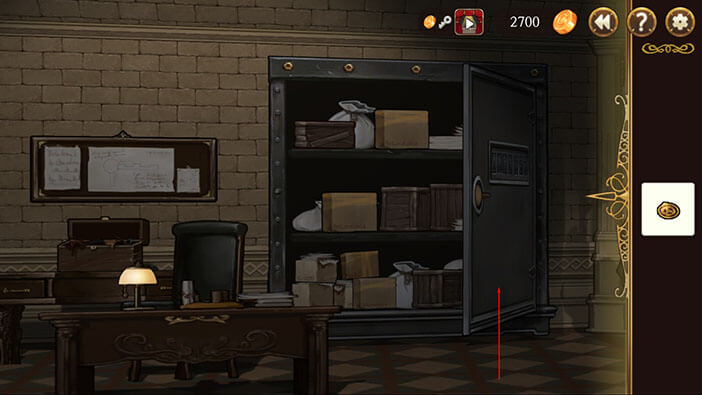
Tap on the large metal door to close them.
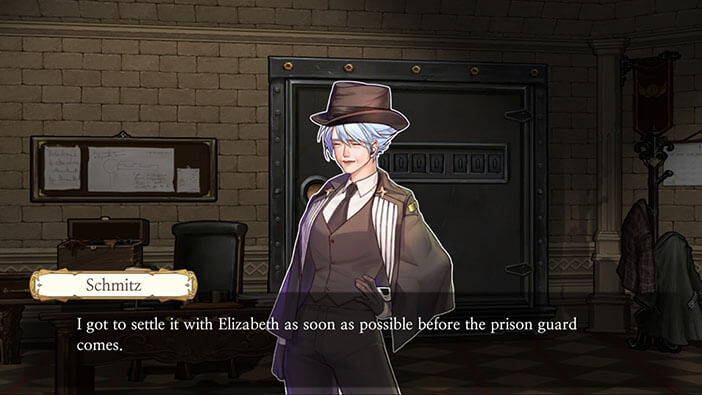
After returning everything as it was, Schmitz can now go and settle the score with Elizabeth… But she has to hurry up.
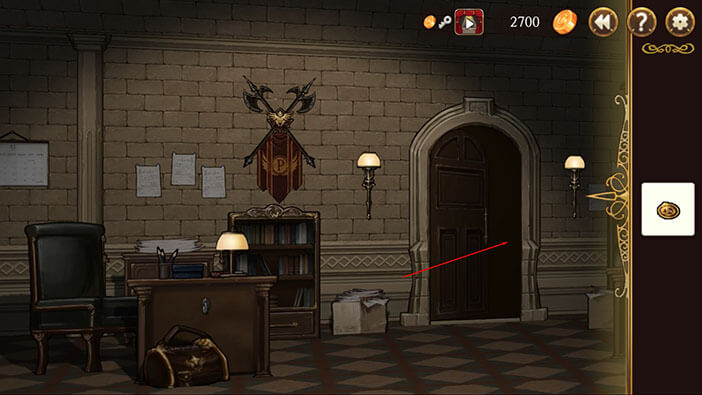
Turn all the way to the right and tap on the door to exit.
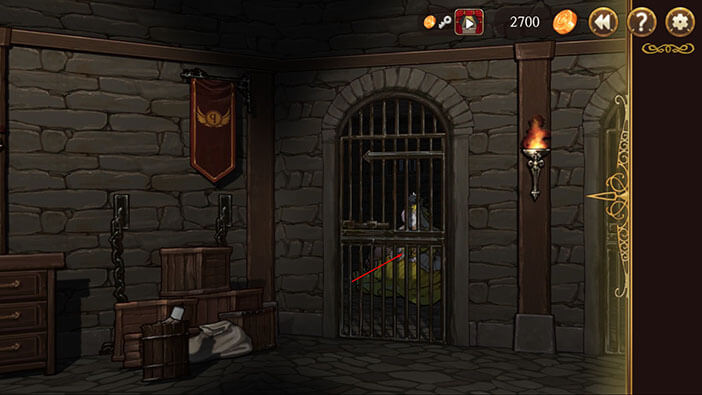
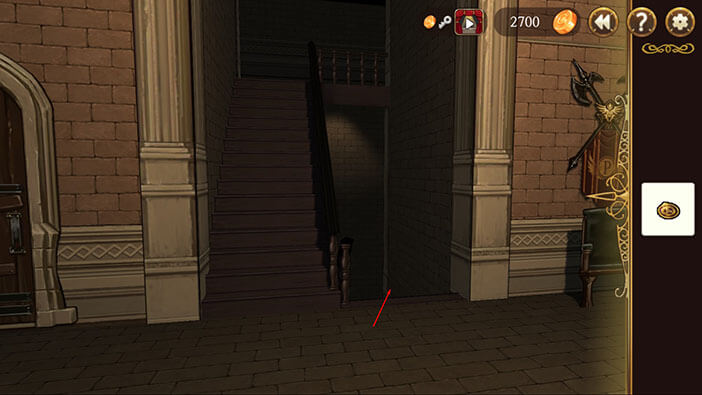
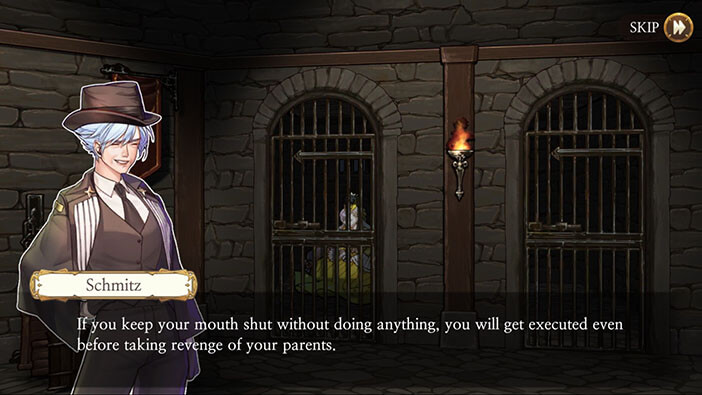
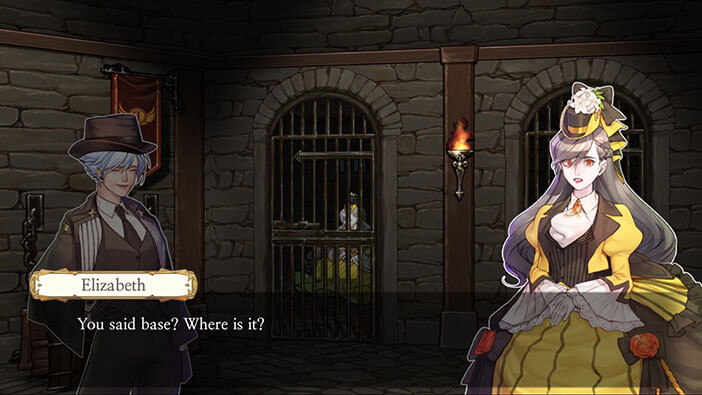
Tap on the stairs to go down into the basement, where Elizabeth’s prison cell is located.
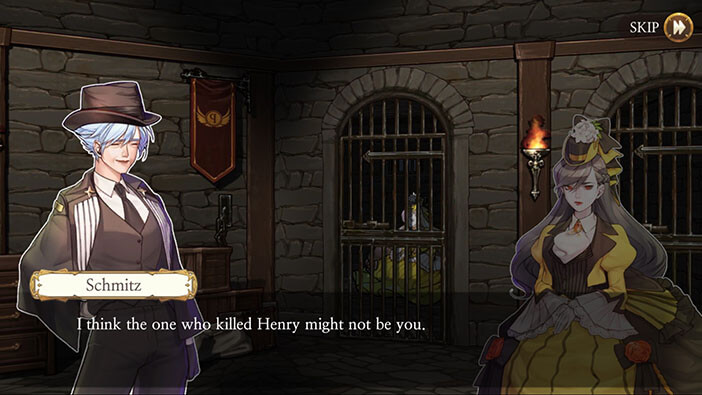
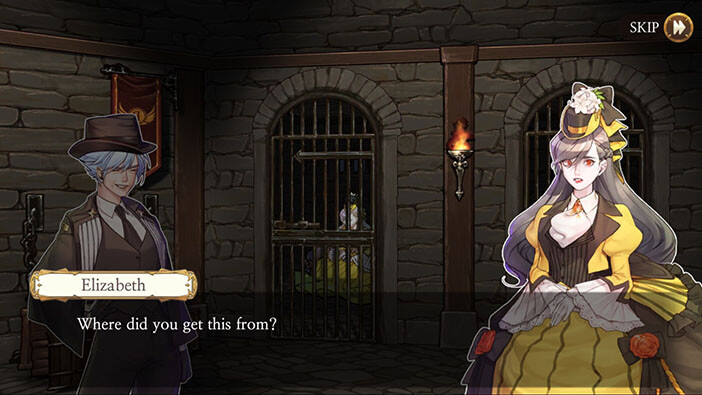
Scroll to the right, select the Aegyptus badge from the inventory and tap on Elizabeth to start the interaction. By the way, I still have no idea what the detective plans to do with the badge. It has nothing to do with Elizabeth… He found it in the abandoned hotel room.

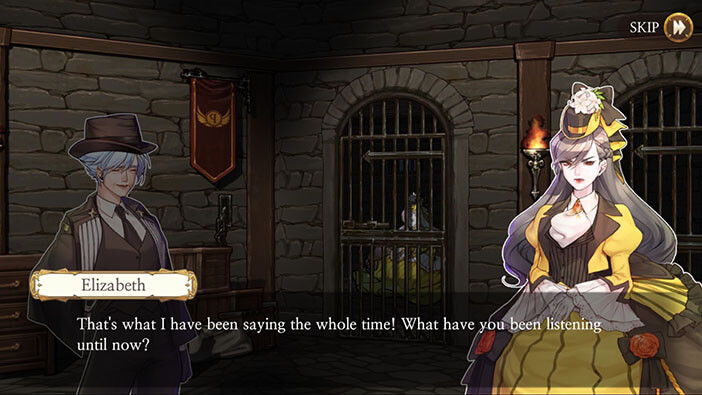
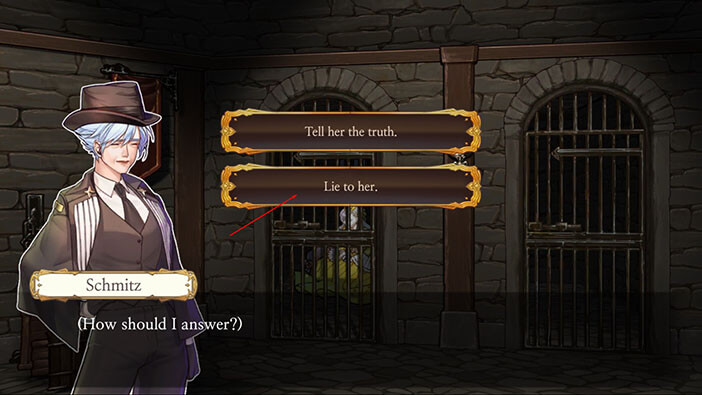
Tap on “Answer her”.

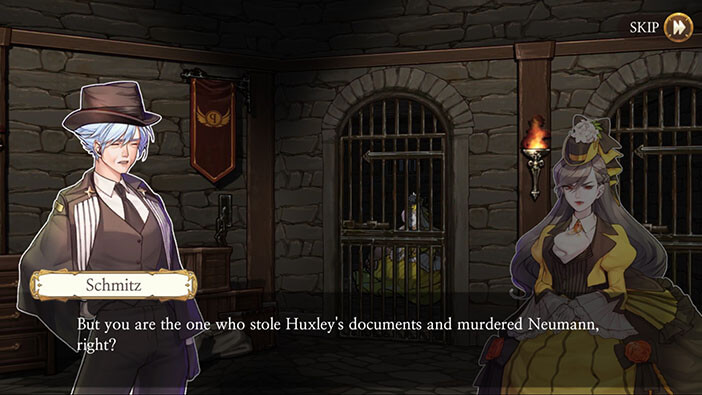
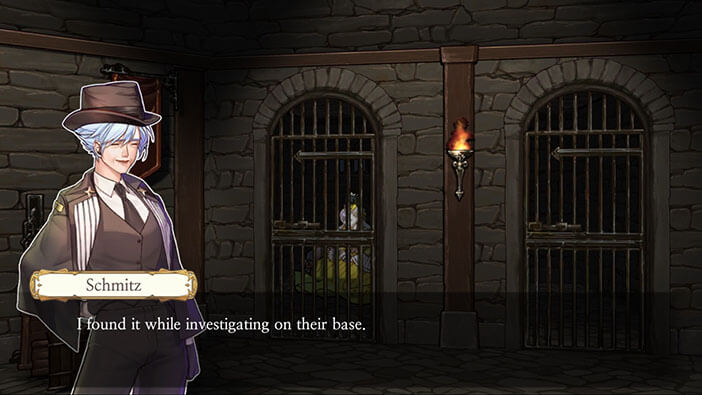
Tap on “Lie to her”.
Tap on “Answer her”.

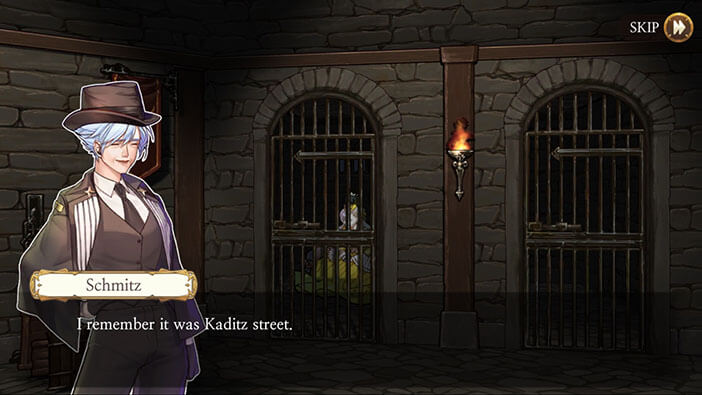
Tap on “Answer her in detail”.


Tap on “Answer Her”.
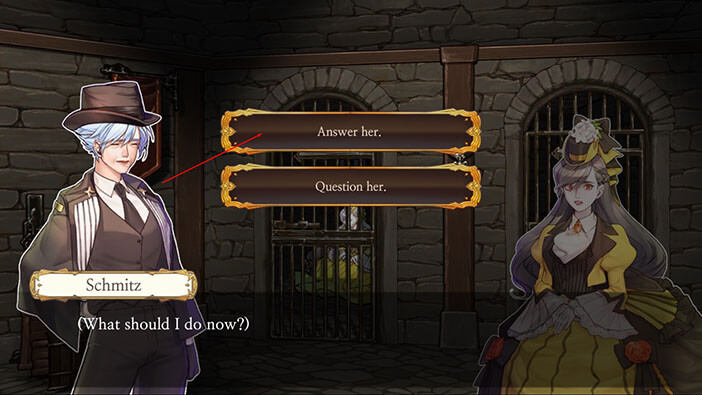
Tap on “Tell her yes”.


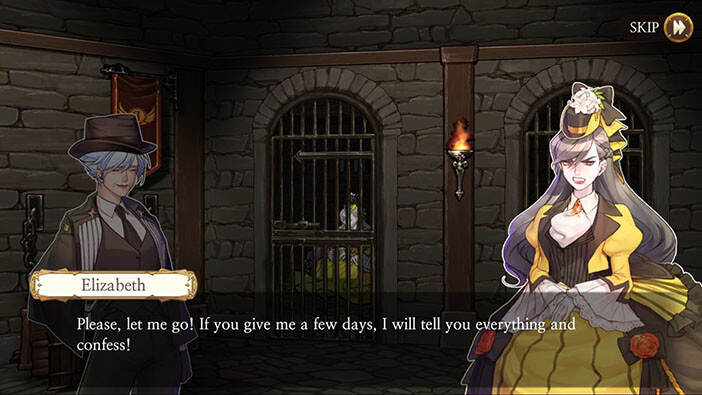
Elizabeth begs Schmitz to let her go, claiming that she will come back in a few days and confess everything, including the crimes that she didn’t commit… But, Schmitz did all of this just to taunt her and will now go away? Wasn’t her goal to convince Elizabeth to plead guilty so, the detective’s secrets could stay hidden. If Schmitz let her go, Elizabeth would probably go after Aegyptus seeking revenge for her family and fiancé. Whatever the outcome of that battle might be, it would still be in Schmitz’s favor.
Let me explain. If Elizabeth dies – good news for Schmitz. If Elizabeth survives, the detective arrests her and she will be surely sentenced – again good outcome for Schmitz. This way, the detective didn’t achieve anything, and she’s back to square one… Very, very, weird…
Turn around and tap on the door to exit.
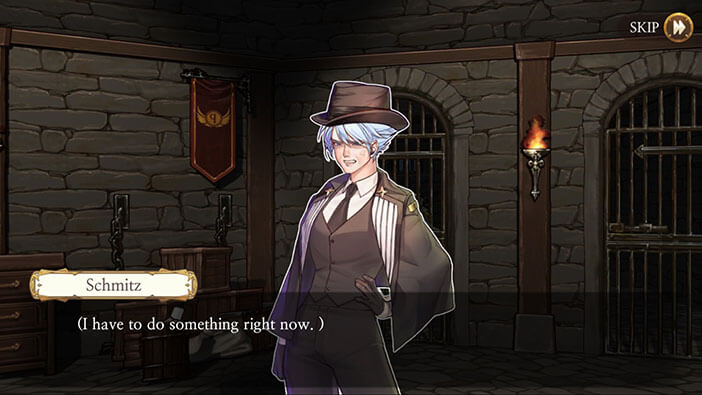
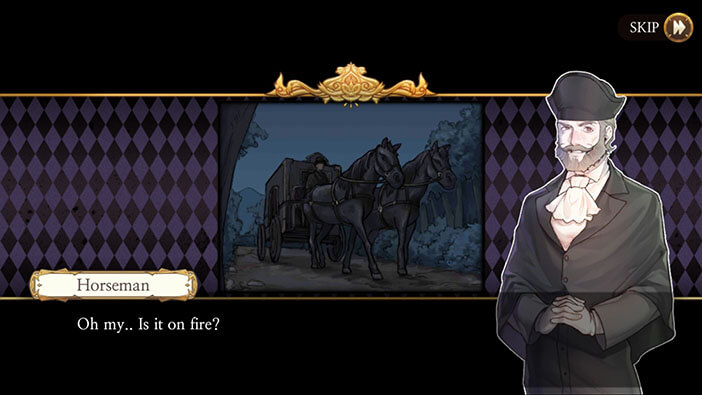
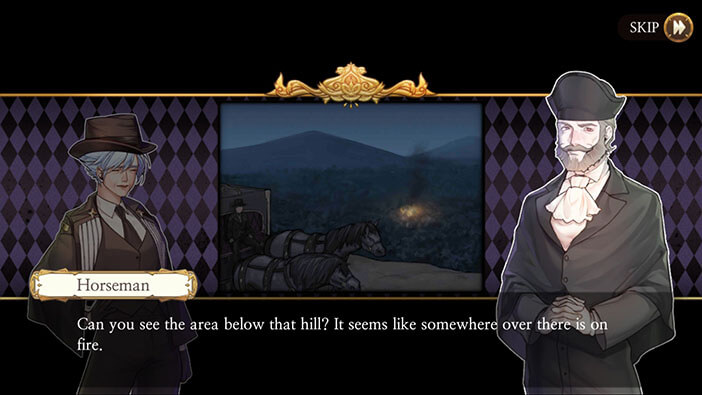
Schmitz goes out, sits in the carriage, and heads back home to rest, after a very long day.
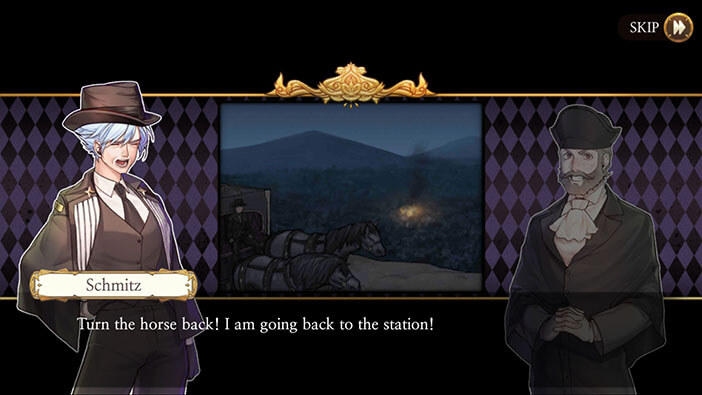
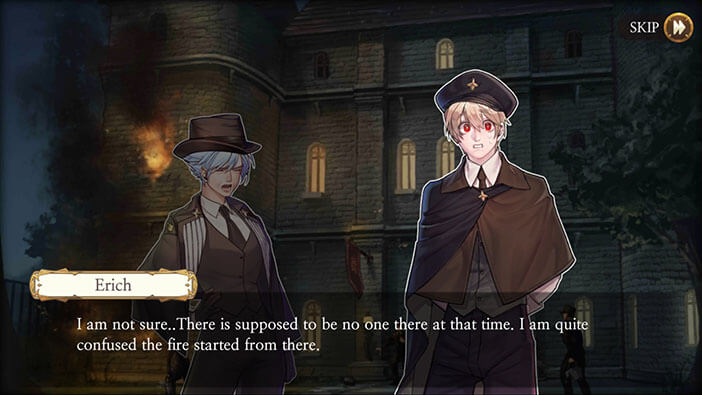
However, along the way the driver sees fire burning in the distance. The detective quickly realizes that the burning building in the distance is actually Sachsen police station and orders the driver to take her back.

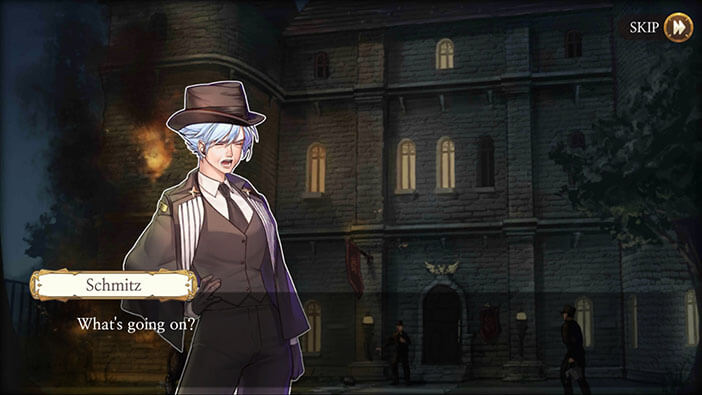
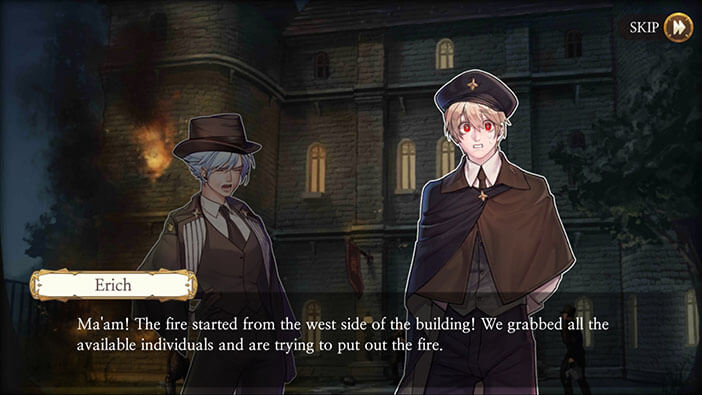
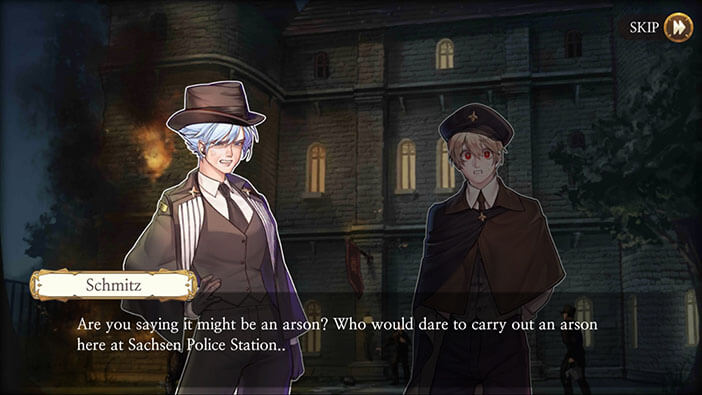
The fire started in the west wing of the Sachsen police station and it’s now quickly spreading in spite of the efforts of police officers that are trying to keep it under control. They suspect that somebody might intentionally set the building on fire. Even though she’s a villain at this point, Schmitz is an energetic person and a natural leader, and she quickly took over command in this time of crisis.
That brings us to our next task. We (Schmitz) have to organize the men, so they form a firefighting chain from the well, all the way to the burning building.
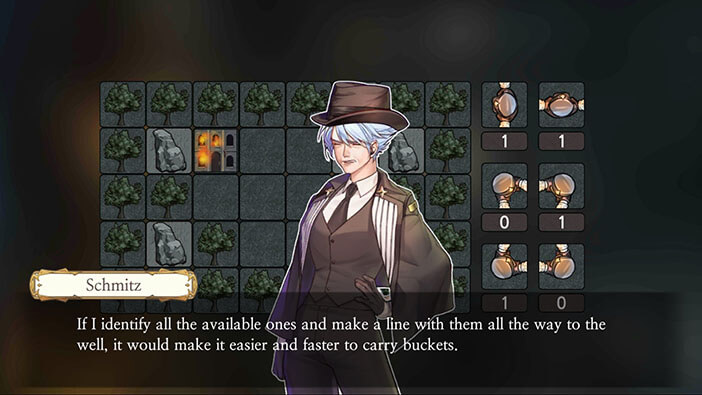

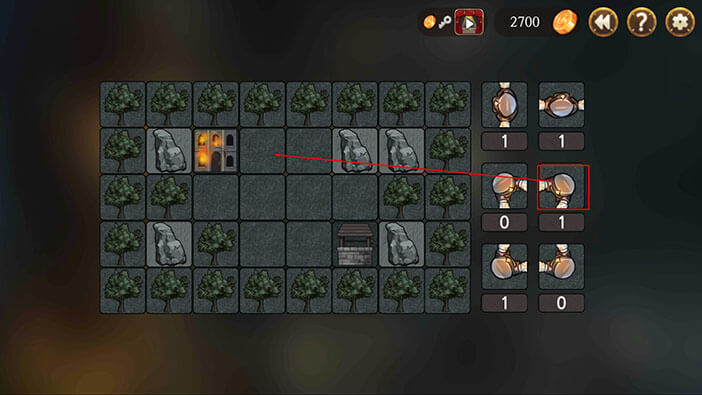
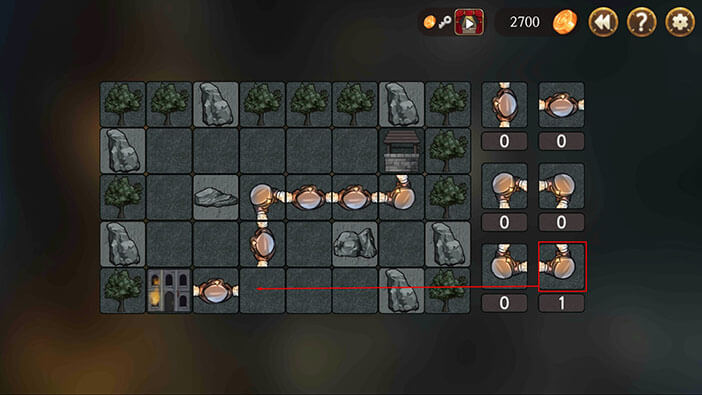
In this puzzle, we have six types of “firefighters” available, each of them is in limited supply, represented by the number below their icon. As previously mentioned, we should form a firefighting chain from the available personnel. Let’s start.
Drag the middle-right firefighter to the burning building.
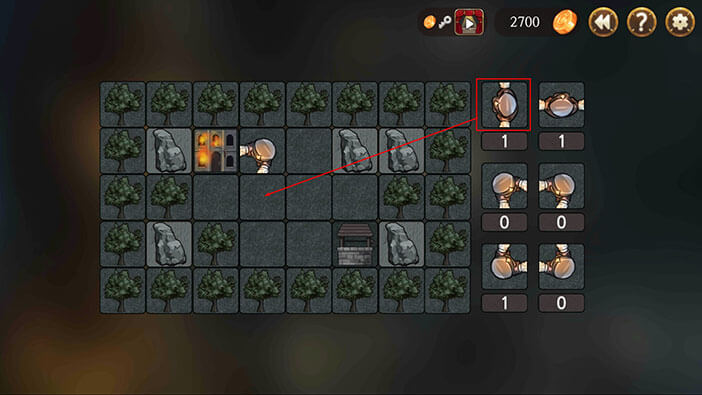
The top-left firefighter goes next to him.
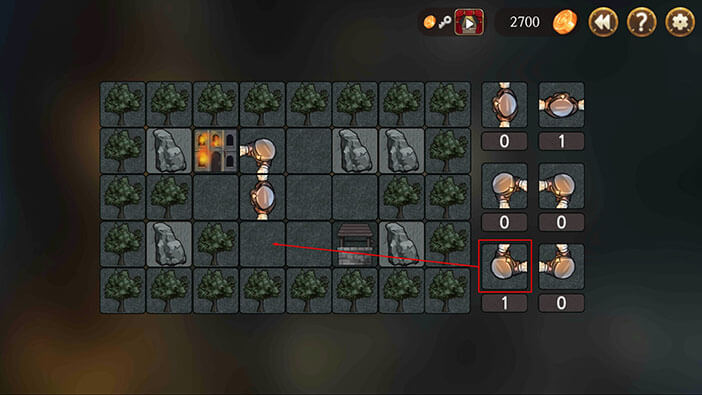
The bottom-left firefighter is next in line.
And we can complete our chain with the firefighter in the top-right.
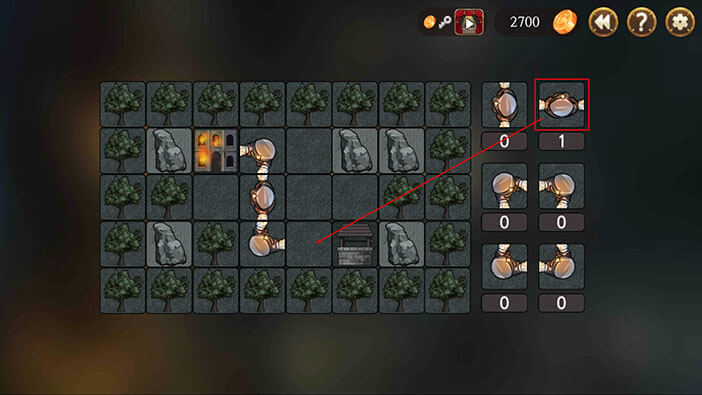
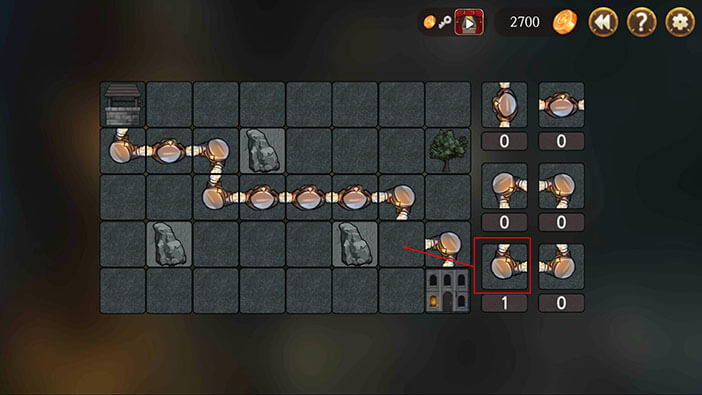
Next well.
We’re going to speed this up a bit. In the image below you can see our firefighting chain, you just need to add the last link.
Third well.
Same as the previous one. In the image below you can see our firefighting chain, you just need to add the last link.
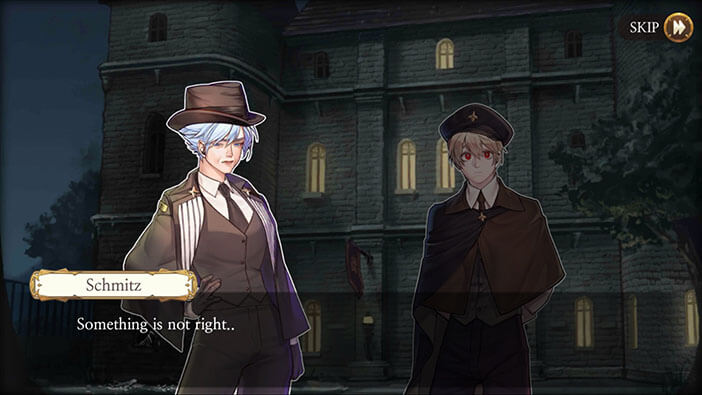
The policeman managed to put out the fire, but Schmitz thinks that something feels fishy. She, finally realizes that this might have been a diversion for a prison break, and rushes toward Elizabeth’s cell.
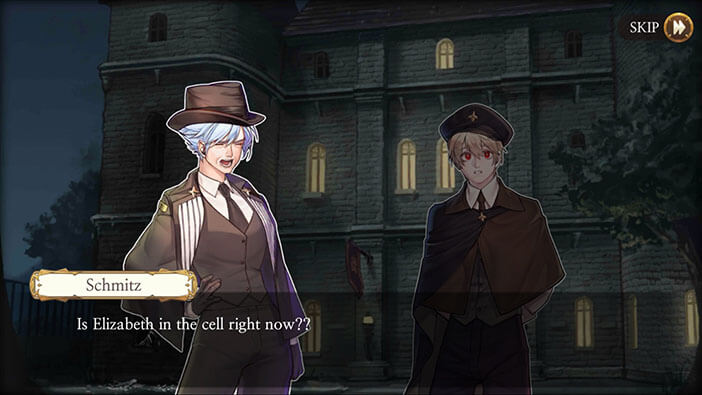
Well, she quickly gets to the cell and discovers that Elizabeth escaped. After a short burst of rage intended for her subordinates, Schmitz composes herself, and takes the role of the leader once more, this time organizing a hunt for the escaped prisoner.


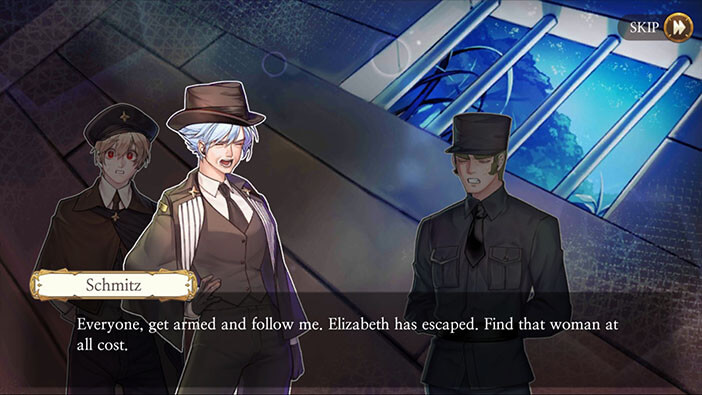
In the next chapter, we will be playing as chief investigator Schmitz, once again, as she leads the search for Elizabeth. Join us in the next stage of the Walkthrough for Frankenstein Room ESC, to find out is Schmitz going to be successful.
Thank you for reading.