Chapter 3-1 A Blank Page
Complete Walkthrough
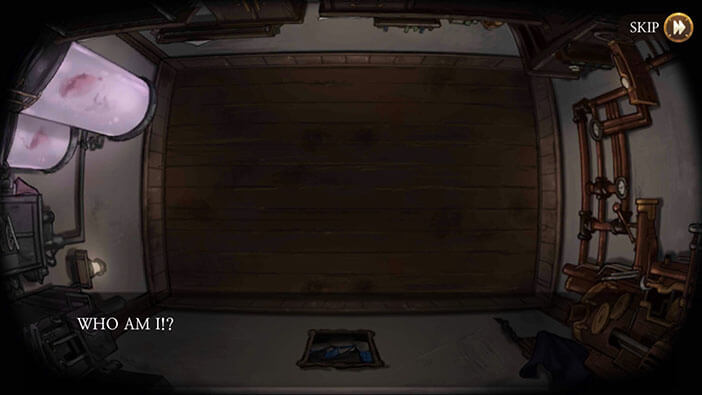
Hello everyone, and welcome to our Walkthrough for the First Stage of Chapter 3 for the Frankenstein Room ESC adventure game. In this stage, our character wakes up with a huge headache and finds out that even breathing is very difficult. He almost feels like he is going to suffocate. After getting up from the cold, stone floor he feels like his head is spinning, and realizes that he can’t even remember his own name.
I guess in this stage we will discover the identity of the new protagonist. Judging from his symptoms, our protagonist is either a creature freshly reanimated by Victor Frankenstein or someone who had way too much liquor last night. The first option seems more likely.
After a few moments, our protagonist realizes that he can’t remember anything, literally. His mind is completely blank… Shortly after that, he opens his eyes and feels a sharp pain running through his entire body.

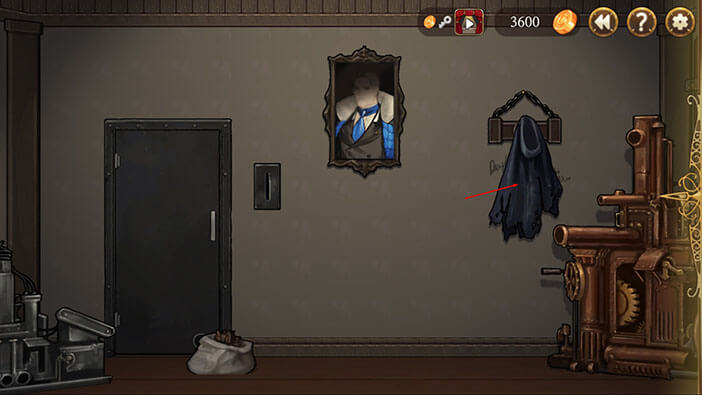
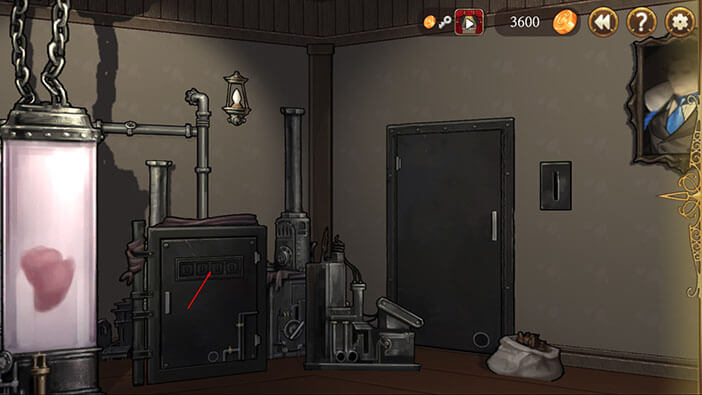
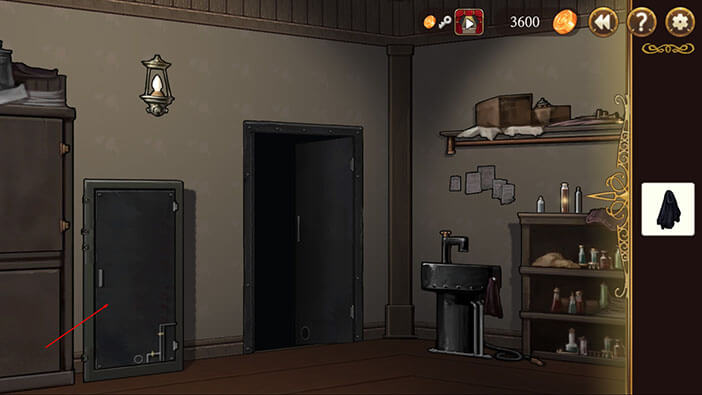
And this is where our story begins. Tap on the cape, that is hanging from the wall in front of you, to pick it up.
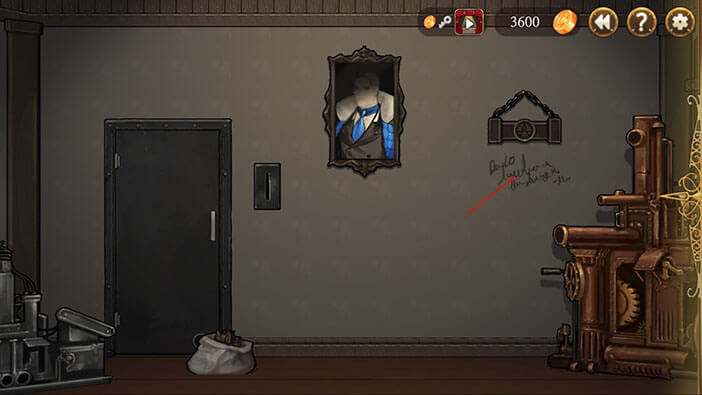
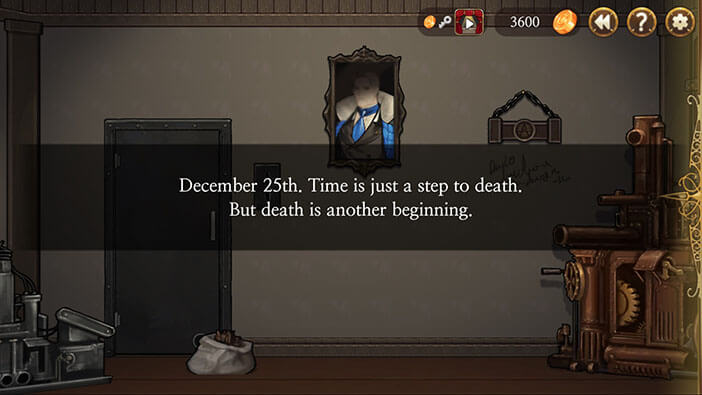
After picking up the cape, we uncovered the writing on the wall. Tap on it, so our character can examine it. Memorize the date written here, 25th of December. It looks like somebody died on this date…
Turn to your left until you see a safe and tap on the numerical lock.
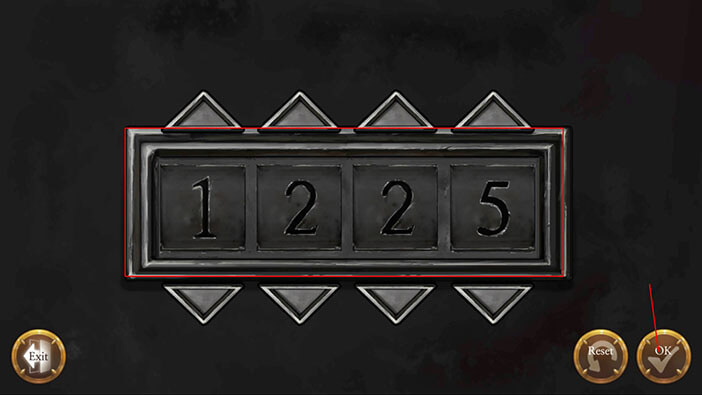
It has a four-digit code, so let’s try entering the date written on the wall. Enter 1225 (25th of December) and tap on “OK” to confirm.
With the safe now open, tap on the golden key to pick it up.
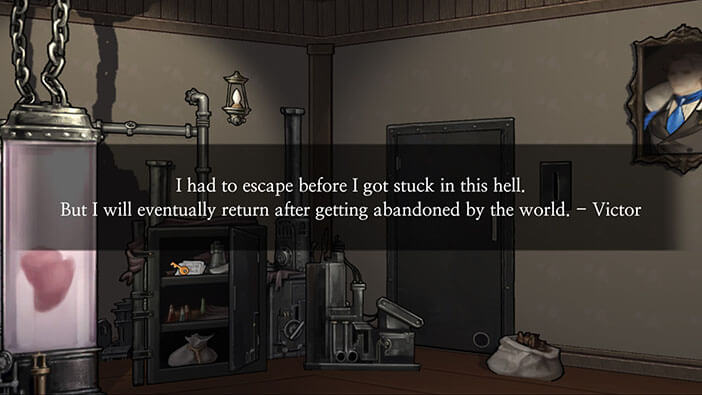
Before picking up the key our character will find and read the note inside it. The note is from Victor Frankenstein who either left this place or passed away… But he claims that he will come back. Hmmm, is it possible that Victor sacrificed his own life in order to reanimate his creation? It seems that’s what this note and writing on the wall imply. I hope I am wrong… On the positive side, I think it is safe to say that we are inside Victor’s lab. So, at least we know where our character is, now we just have to figure out who he is.
Anyway, let’s focus on the task at hand. After reading a note a key will be added to your inventory. 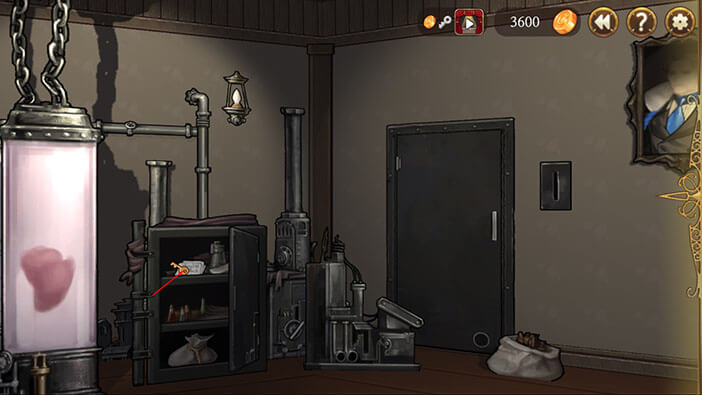
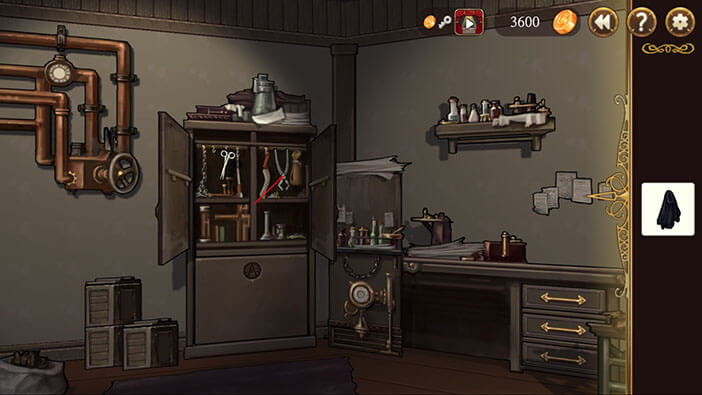
Turn to the left until you see a locker on the other side of the room. Select the key from the inventory and tap on the keyhole, and tap two more times to open both sides of the locker.
Look inside the right compartment and tap on the wire cutter to pick it up.
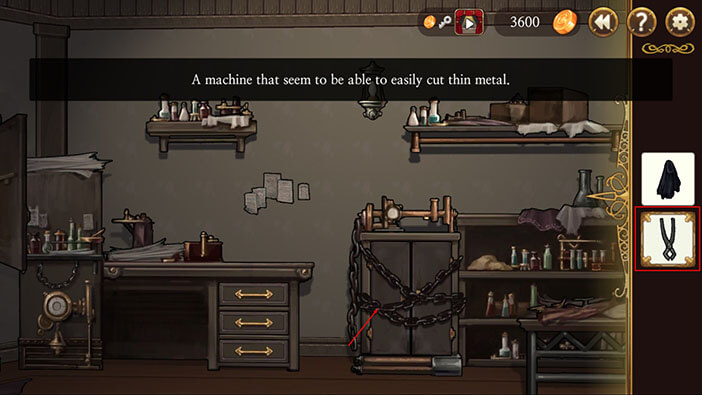
Turn slightly to the right and tap on the bench that is standing in front of the chained cabinet, to move it aside.

Select the wire cutter from the inventory and tap on the chain to cut it in half and unlock the cabinet.
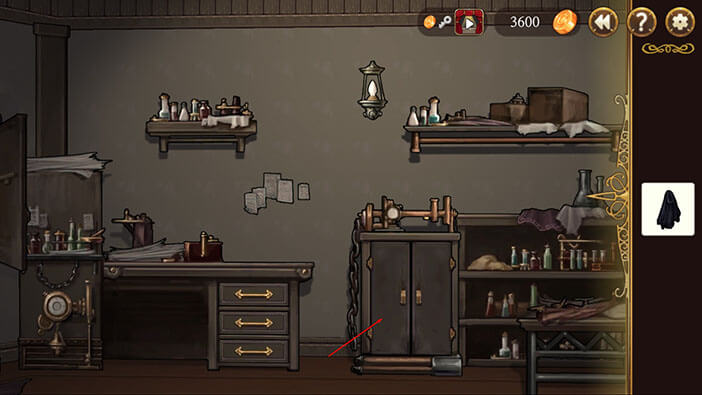
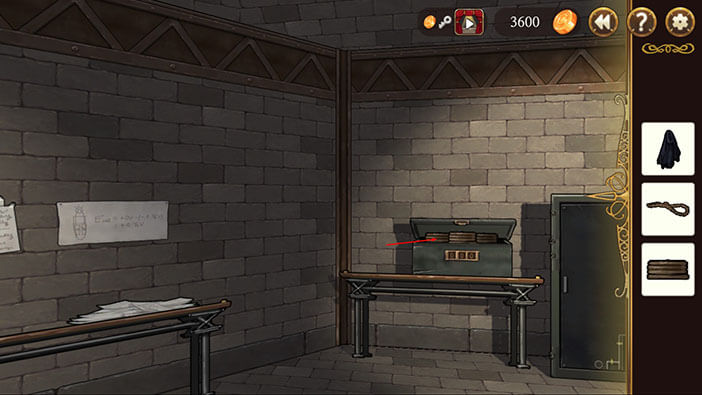
Tap on the cabinet to open it, and tap on the handle inside to pick it up.
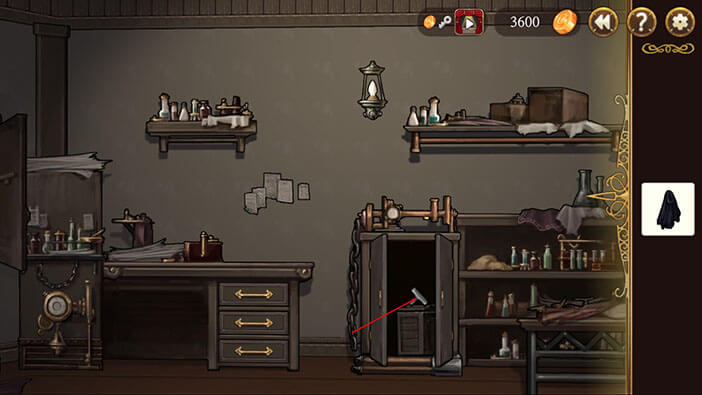
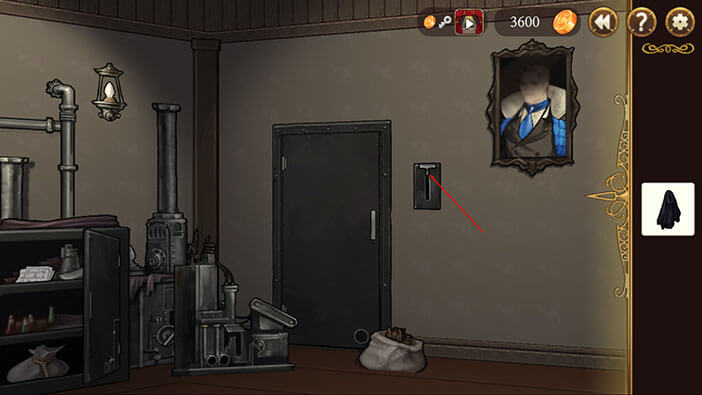
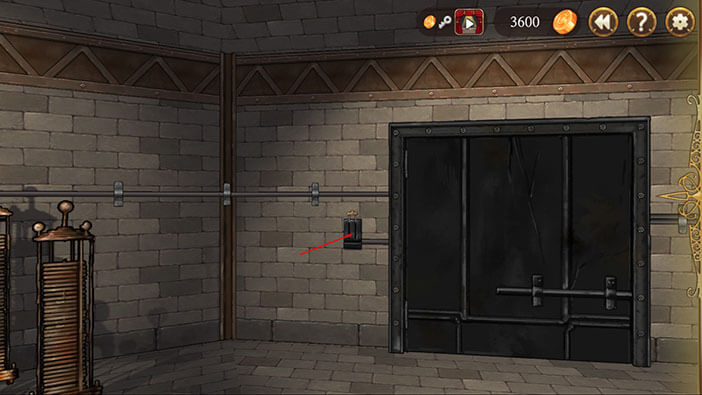
Turn around until you see a door. Select the handle from the inventory and tap on the hole next to the door to insert it.
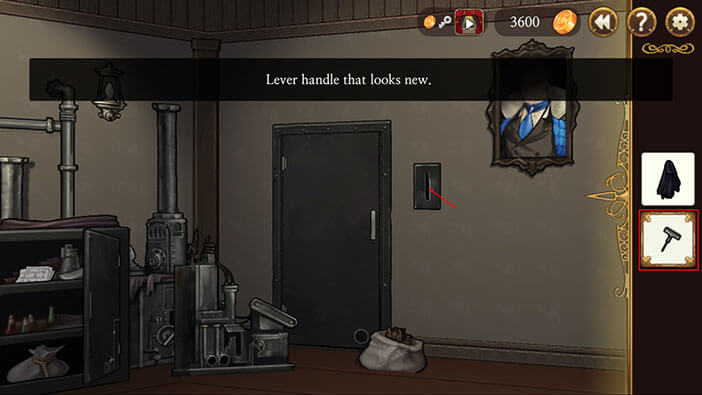
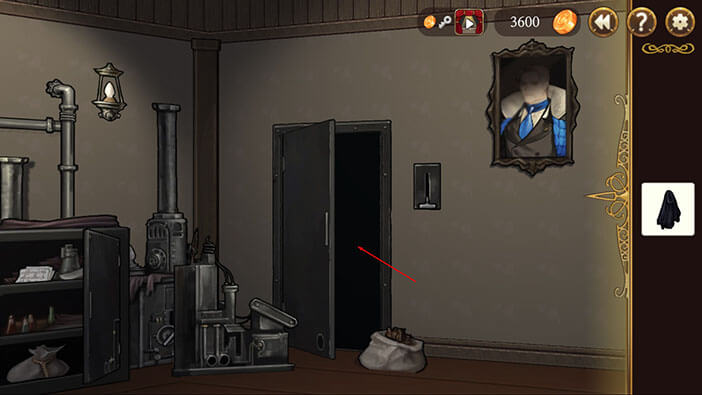
Now that the lever is in place, pull it (tap) to open the door. Tap on the door to exit.
Tap on the metal locker in front of you to open it. Tap on the cogwheel inside it to pick it up.

Turn to the left and tap on the machine to move it aside.

We can now see another cogwheel, sitting on one of the pipes, just to the left of the machine. Tap on it to pick it up.
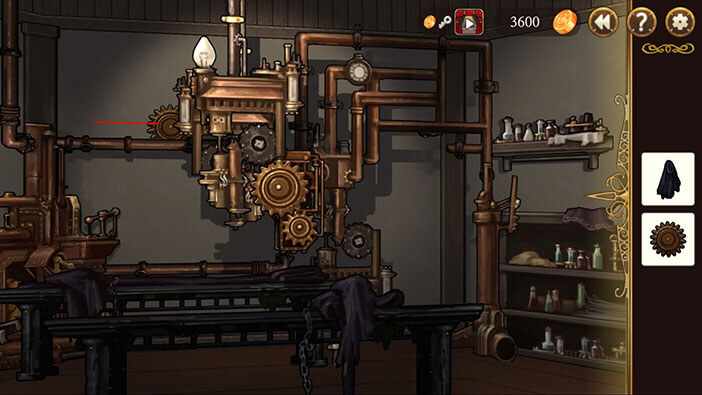
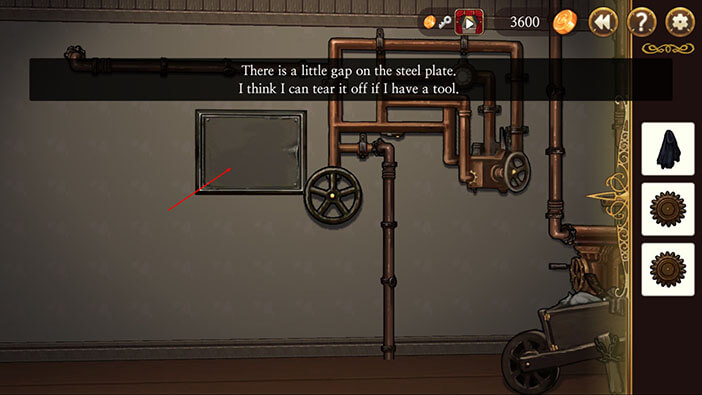
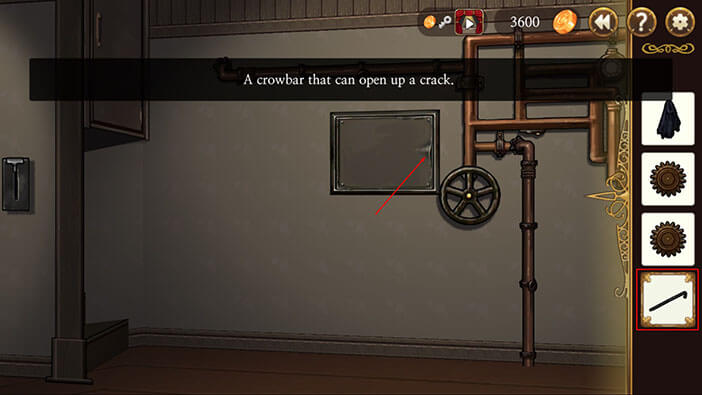
Turn to the left and tap on the metal panel. It looks like we will have to find a proper tool in order to open it.
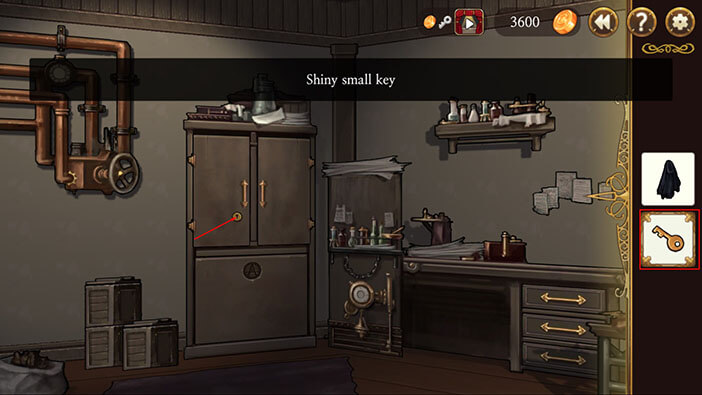
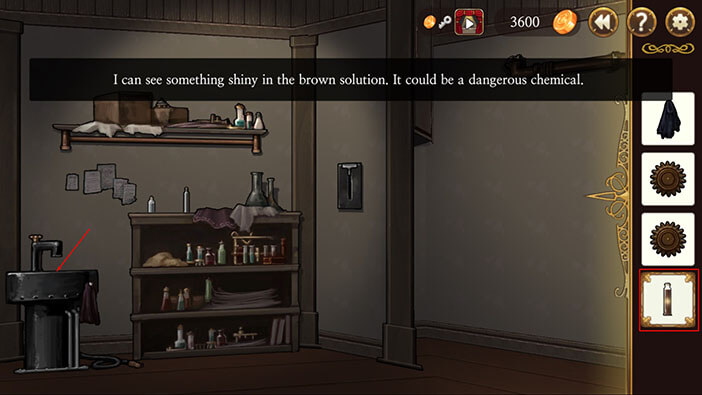
Turn to the left until you see a shelf filled with chemicals. Tap on the glowing bottle to pick it up. It is a brown solution, but it seems there’s something else inside the bottle.
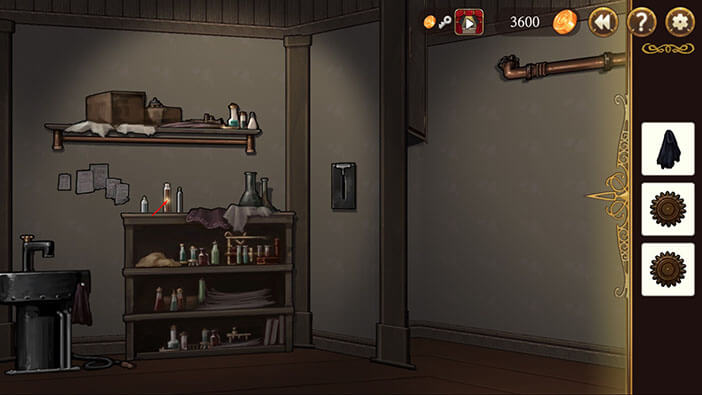
Select the bottle from the inventory and tap on the sink to spill out the fluid and get the object inside. The “Shiny Key” will be added to the inventory.
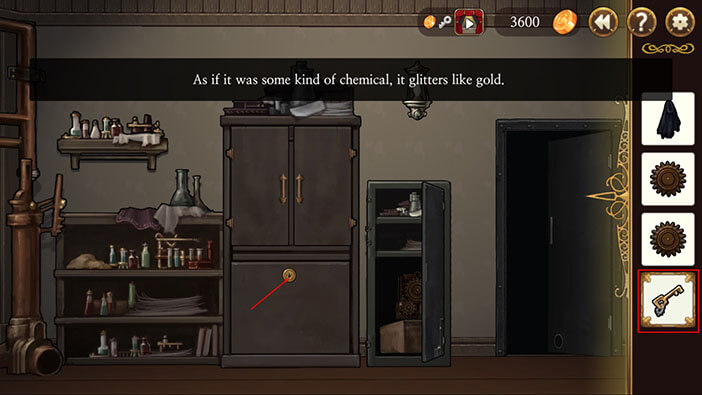
Turn to the left until you see a locker. Select the “Shiny Key” from the inventory and tap on the keyhole to unlock it, and tap again to open the lower compartment.
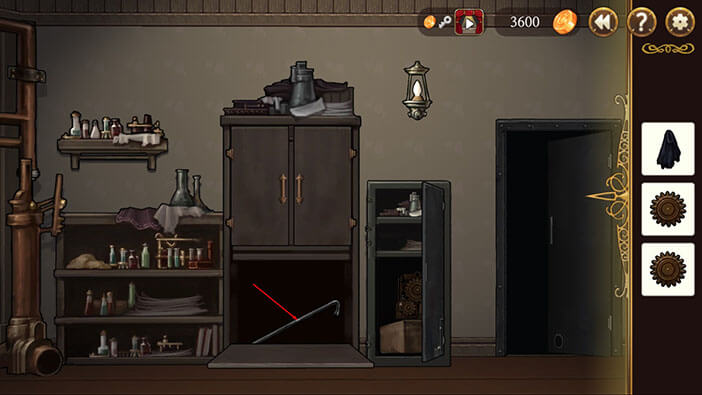
Tap on the crowbar to pick it up. There’s nothing of interest in the upper compartments, so let’s move on.
After we found the crowbar we can now use it to remove the metal panel. Turn around, select the crowbar from the inventory, and tap on the metal panel. Tap again to start the interaction.
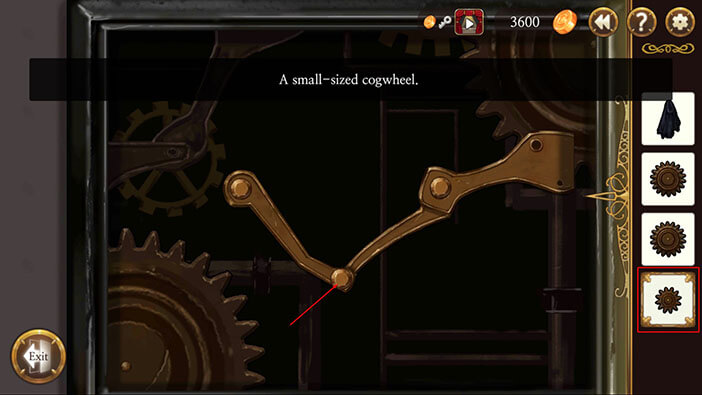
The cogwheels have to be placed on the bolts in a specific order or else the machine won’t work. There is already one cogwheel in the machine, but it is in the wrong position, so tap on it to pick it up. You will notice that this cogwheel is smaller than the other two.
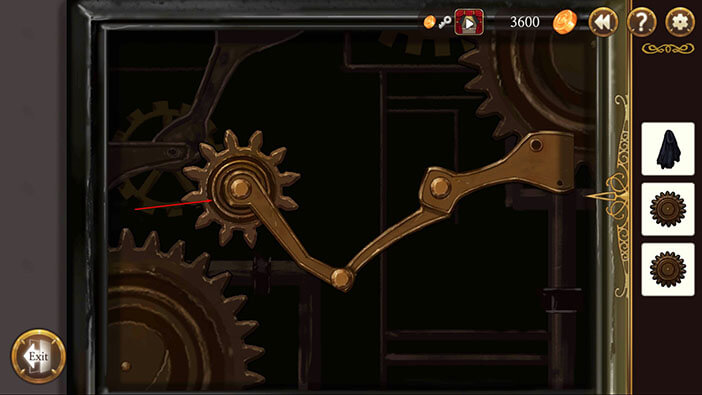
Select the smaller cogwheel from the inventory and placed it in the middle (lower position). Select the other two cogwheels and place them to the right and left of it. Tap on the “Exit” button, once you’re finished.

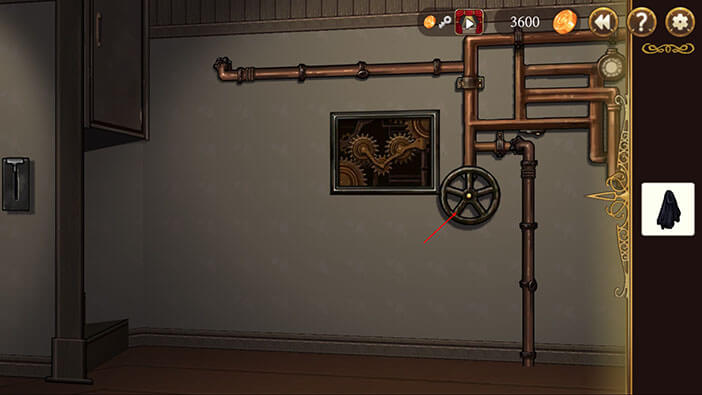
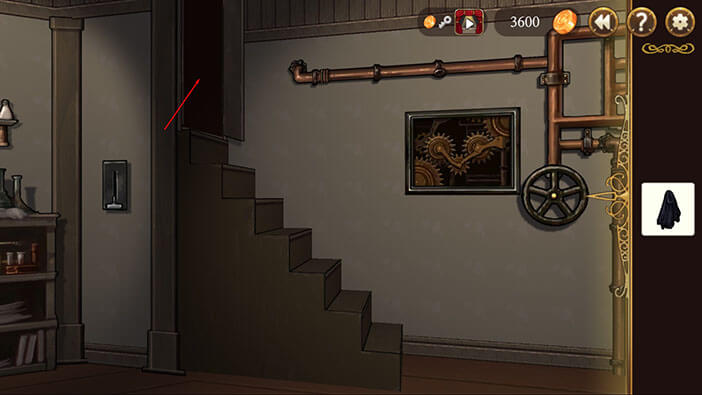
Turn the wheel in front of you by tapping on it, and the stairs will come out of the wall.
There’s one more thing we have to do before we can use the stairs. Turn slightly to the left, and tap on the lever to pull it down, opening the door above the stairs.
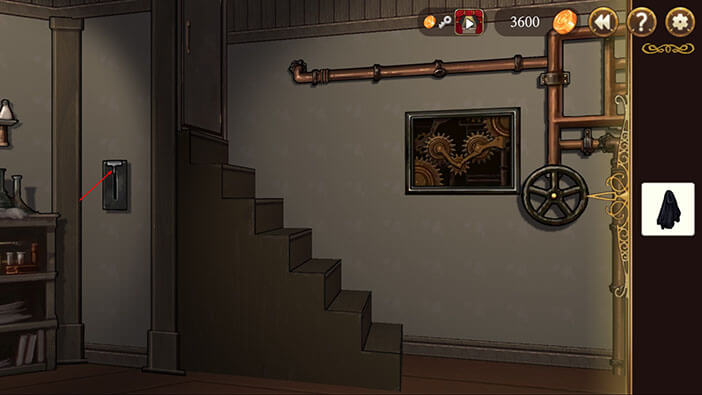
Tap on the door that we previously opened to go upstairs, into the next room.
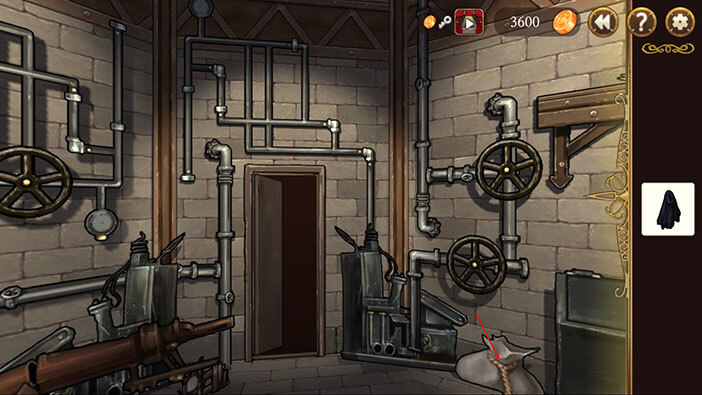
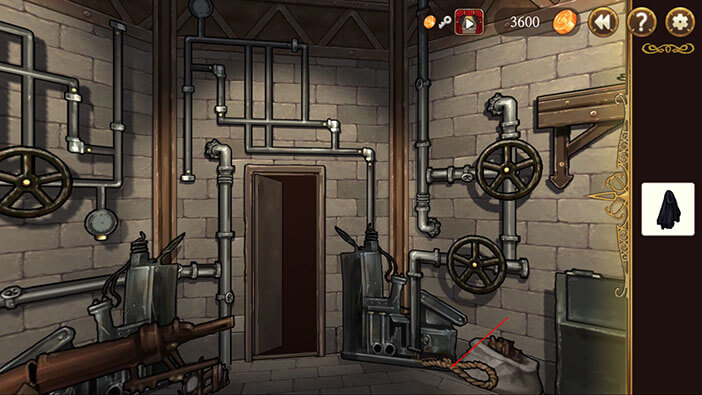
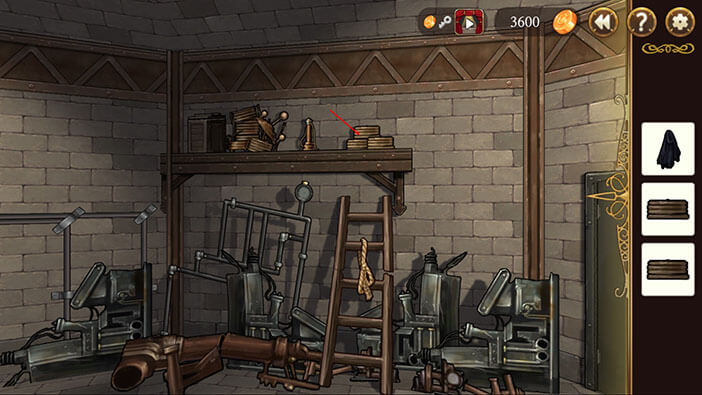
There is a sack to the right of our character. Tap on it once to untie the rope. After that, tap on the rope to pick it up. Broken rope will be added to the inventory.
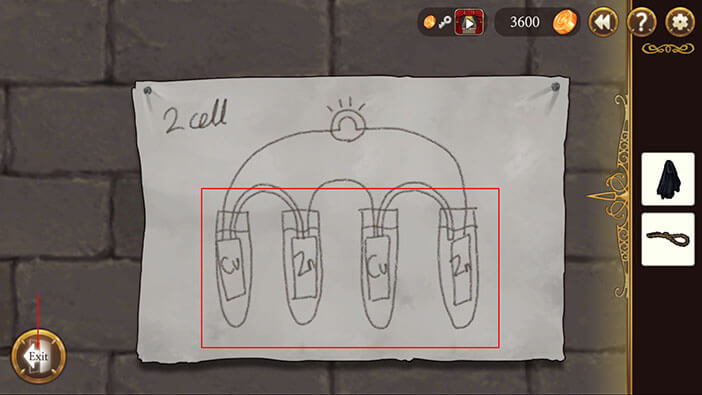
Turn to the right and you will see the scheme on the wall. Tap on it, so that our character can take a closer look at it. The scheme shows Cu, Zn, Cu, Zn. Memorize this order, because it might come in handy later. Tap on the “Exit” button.

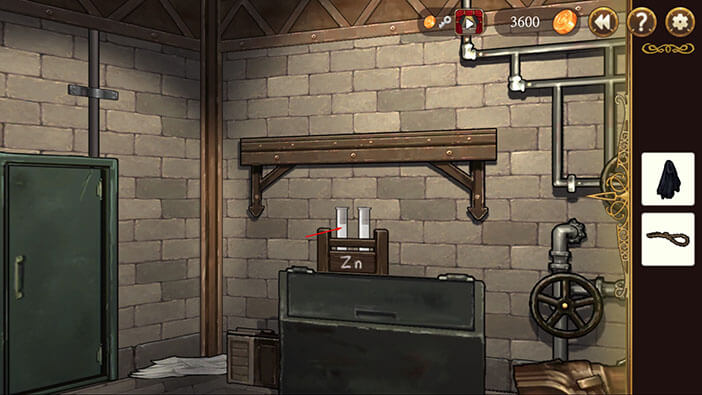
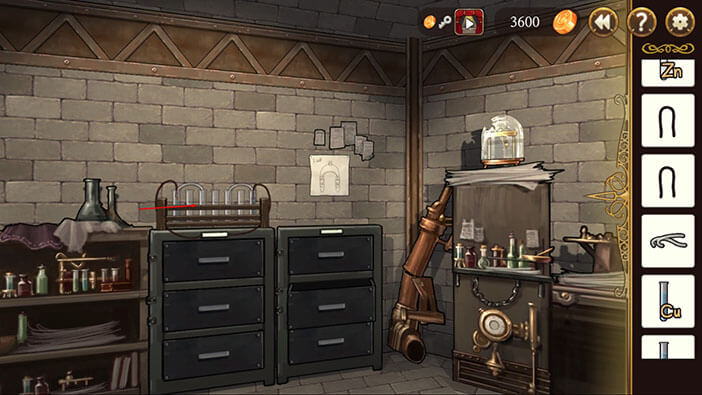
Now turn around and face the opposite wall. Tap on the two test tubes filled with white liquid, labeled “Zn” (Zinc) to pick them up.
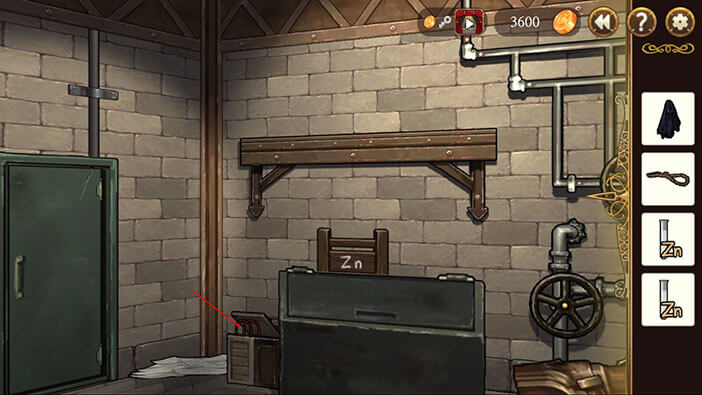
There is a wooden box below and to the left of the test tube stand. Tap on the wooden box to open it, and tap twice more to pick up two pieces of wire.

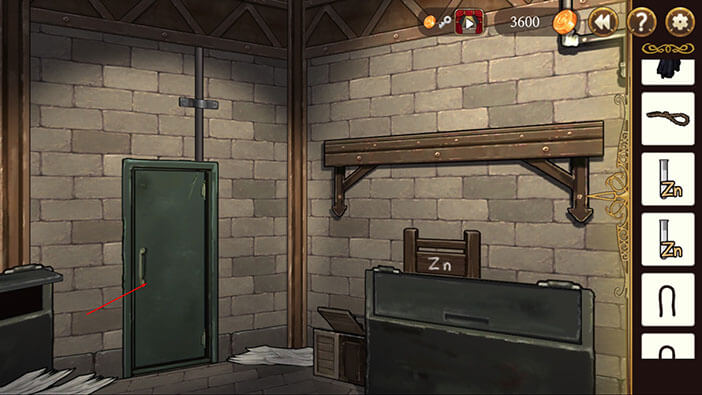
We’re now done with this room. Tap on the narrow green door to open them, and tap again to go into the next room.
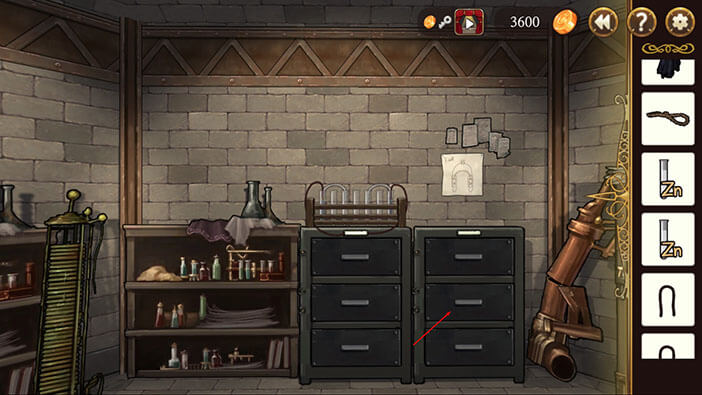
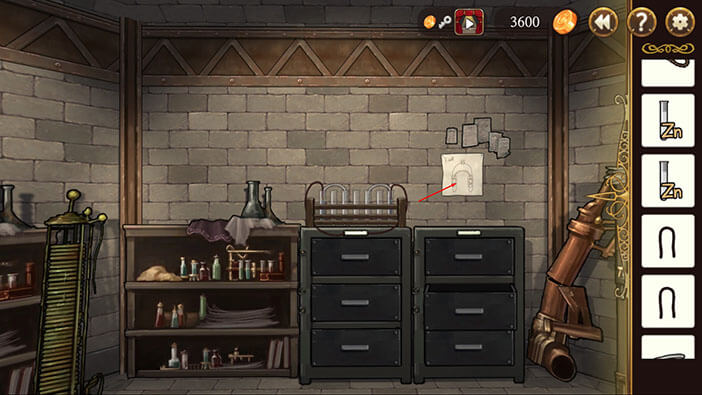
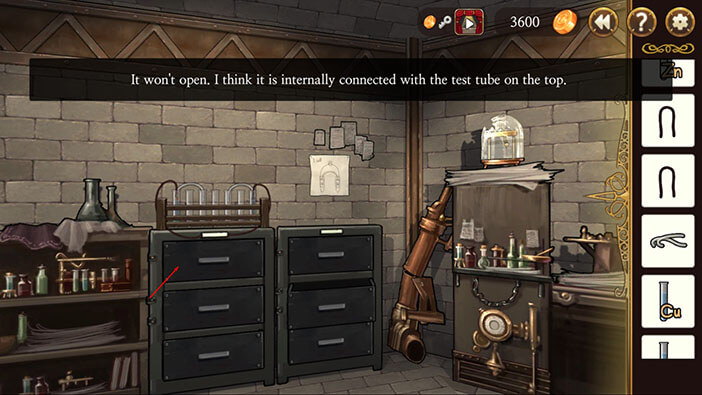
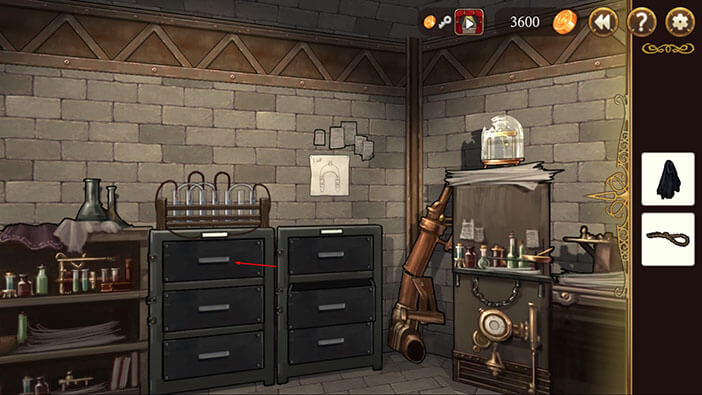
Turn to the right until you see two cabinets. Tap on the middle drawer of the right cabinet, and tab again to pick up the “Salt Bridge” inside it.

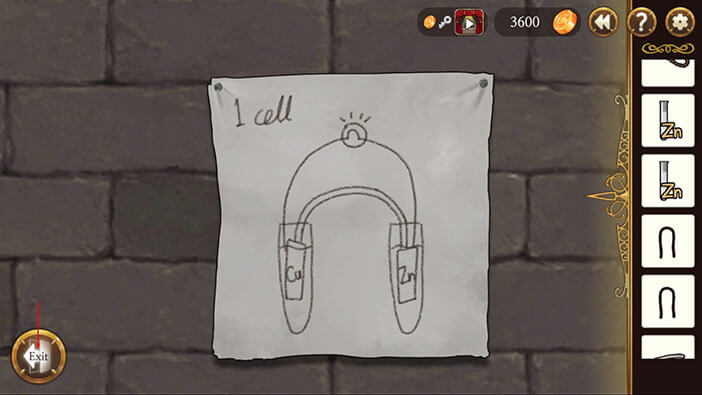
Tap on the scheme above the right cabinet to examine it. This scheme represents a single cell of Zn and Cu elements. Tap on the “Exit” button.
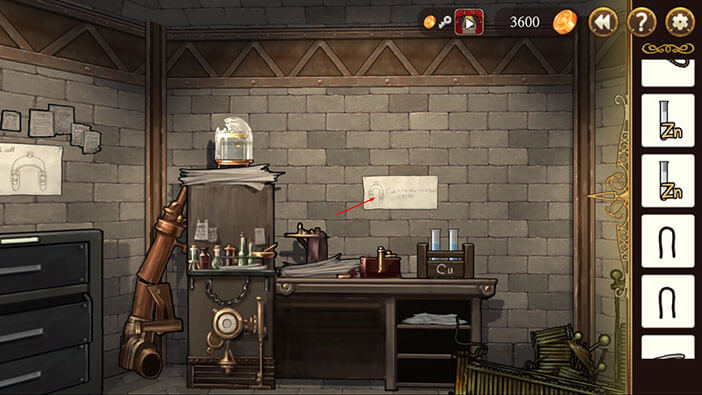
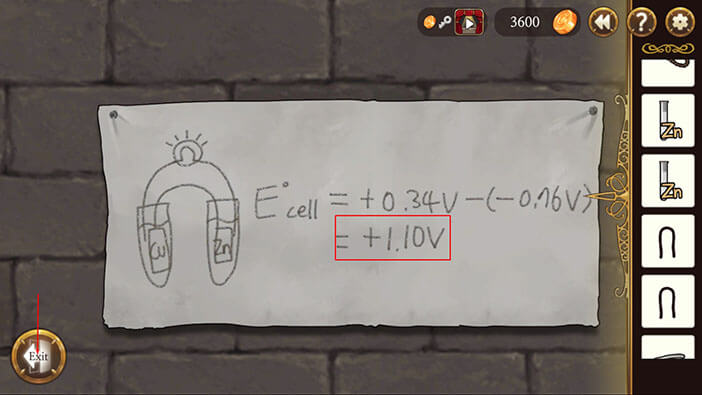
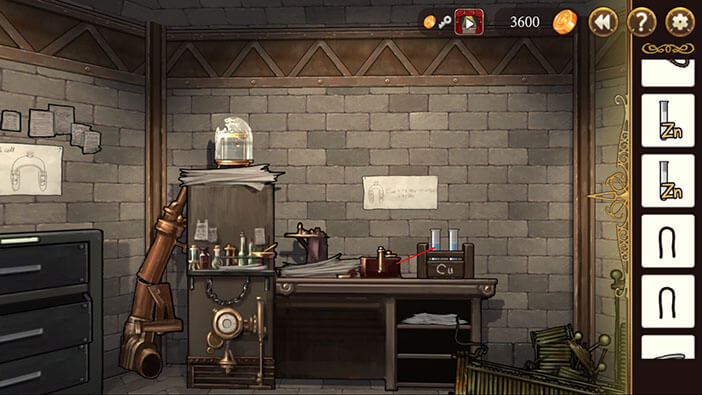
Turn to the right and tap on the other scheme to closely examine it. It is some kind of formula for two tubes voltage. The solution is +1.10V, so try to memorize, since we will probably need it later.
Tap twice on the two test tubes labeled Cu (Cooper) to pick them up.
Turn to the left, and face the twin cabinets.
Tap on the left cabinet and you’ll discover that it is locked.
Tap on the chemical apparatus on top of it. In order to unlock the left cabinet, we will first have to solve this chemical puzzle. The knowledge from the schematics that we examined earlier will come in handy.
Tap on the sixth test tube and you’ll notice that it is broken and can’t be used. Also, the first tube (the one on the far left) is already filled with a Cu test tube and the seventh tube (one on the far right) is already filled with a Zn test tube. In order to make this experiment work, we will have to make three Zn+Cu pairs, and all of them also need to be connected with transparent “cloth tubes”. We should also connect them with wires. Let’s begin.
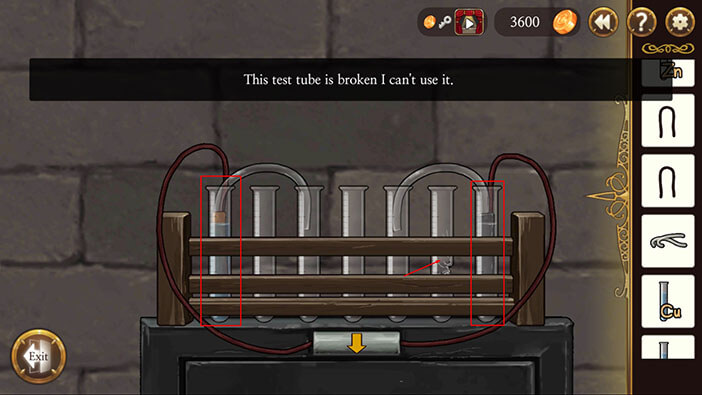
Since we already have a Cu in the first test tube and it is connected with the third tube, select the Zn from the inventory and tap on the third test tube. That’s our first pair.
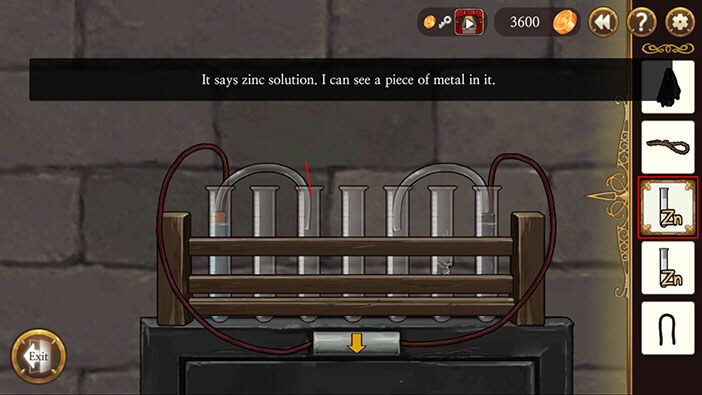
There’s also a Zn is in the sixth tube and it is already connected with the fifth tube. So, select the Cu from the inventory and tap on the fifth tube to put it in. That’s our second pair.
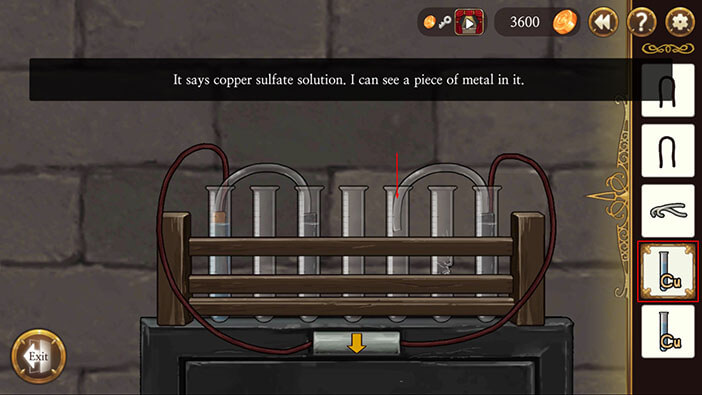
The fifth test tube is broken so we will have to use the second and fourth tubes for our third pair. Select the Cu from the inventory and tap on the second tube. Select the Zn from the inventory and tap on the fourth tube. That’s our last pair, but we still have to connect the tubes.
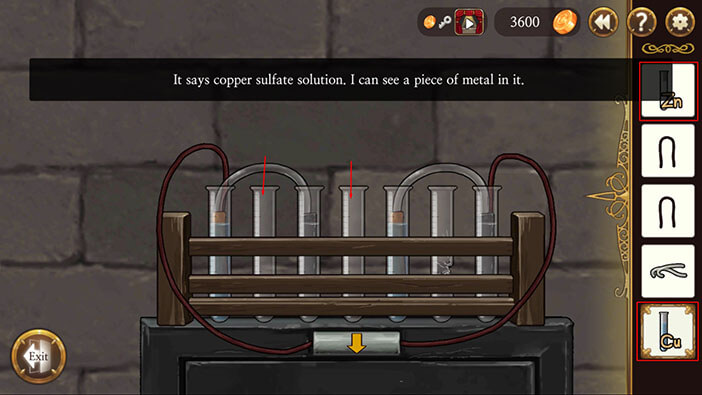
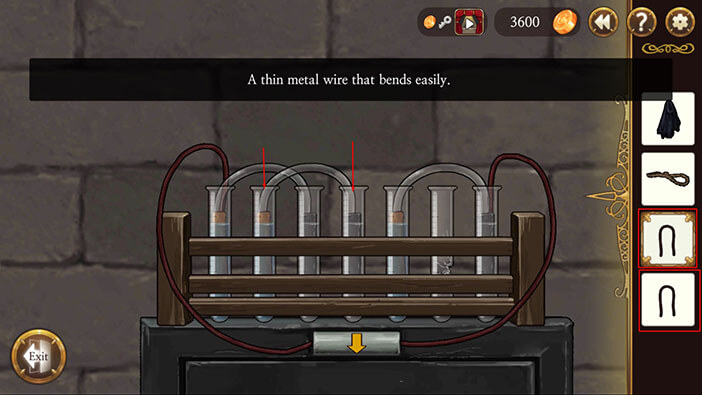
Now, select the “cloth tube” from the inventory and tap on the second tube, to connect the 2nd and 4th tube.
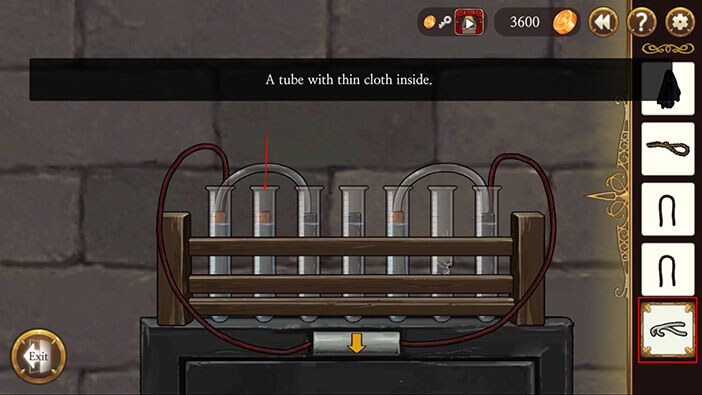
And the final step, connecting the tubes with wires. Select the wire from the inventory and tap on the second tube to connect the first pair. Select the other wire from the inventory and tap on the fourth tube to connect another pair. Now, all of our inner tubes are connected with wires, just like on the scheme. Note that the first and the last tube are already connected with wires…
That should be it. Fingers crossed and let’s tap on the yellow arrow.
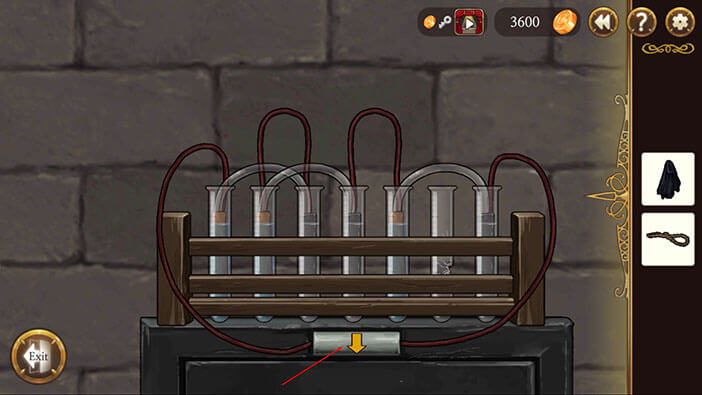
Looks like it worked. Tap on the top drawer of the left cabinet to open it.
Tap on the object inside it, and “Voltaic Battery” will be added to the inventory.

That’s it for this room. Turn around and tap twice on the door on the left to proceed into the next room.
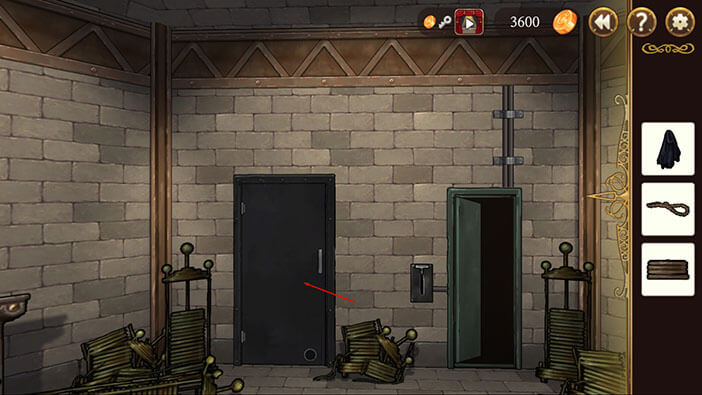
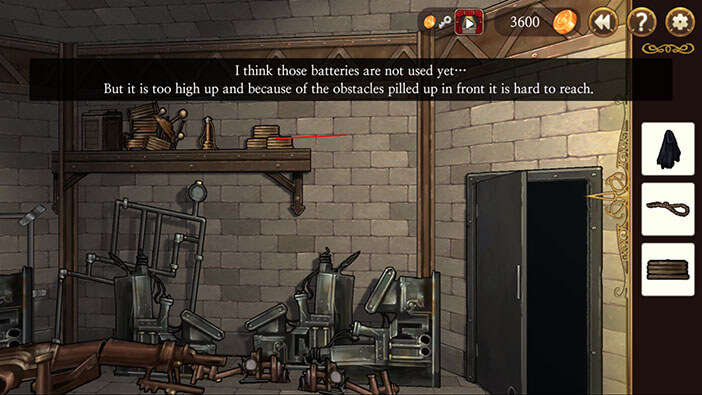
Tap on the battery in front of you, and our character will conclude that is too high above the ground for him to reach it. We will have to figure out a way to get to it.
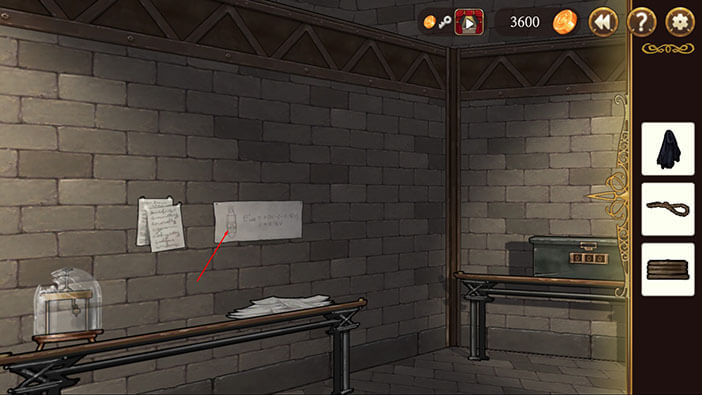
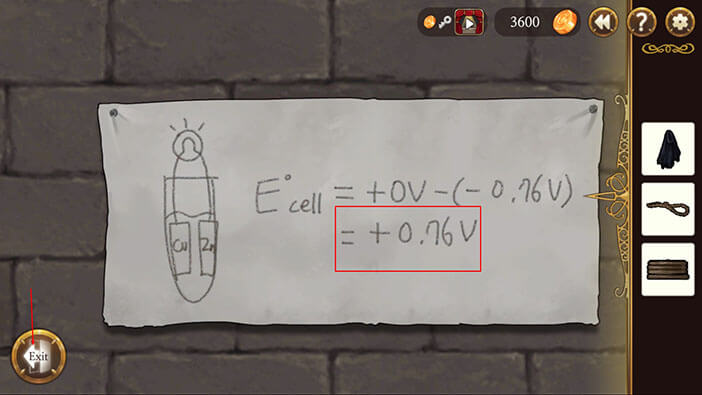
Turn to the right and tap on the scheme that is hanging on the wall. It looks like one of the previous schemes except there is only one cell here. The solution is +0.76V. Memorize it, and tap on the “Exit” button.
Turn a bit more to the right until you see a locked green box. Tap on the numerical lock.

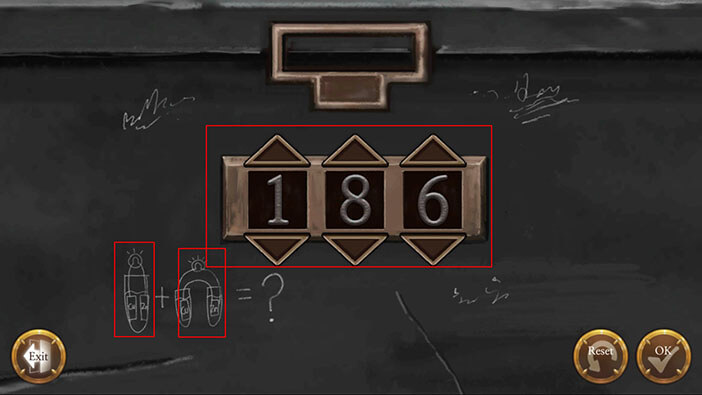
At first, I thought that this puzzle is much more complex, but it’s actually quite simple. We just have to calculate the appropriate voltage for a single plus double test tubes.
As we know from the scheme that we just looked at the voltage for a single tube is 0.76V.
In the previous room, we discovered from the scheme that the voltage for the double tubes is 1.10V.
So, 0.76V (single tube) + 1.10 (double tube) = 1.86V. And that’s our desired voltage.
Enter the 186 numbers, and tap on the “OK” button to unlock the green box.
Tap on the “Voltaic Battery” to pick it up.
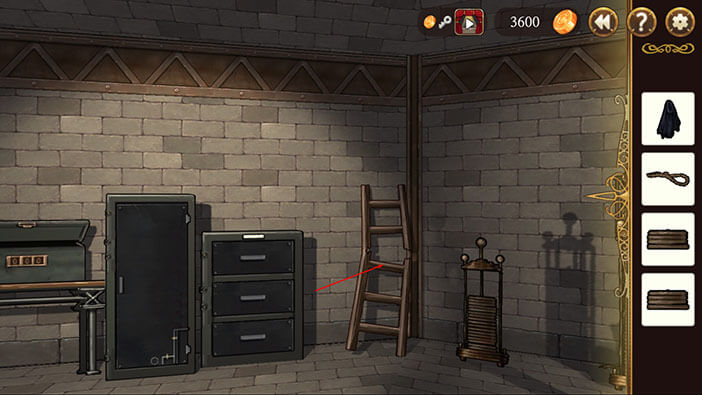
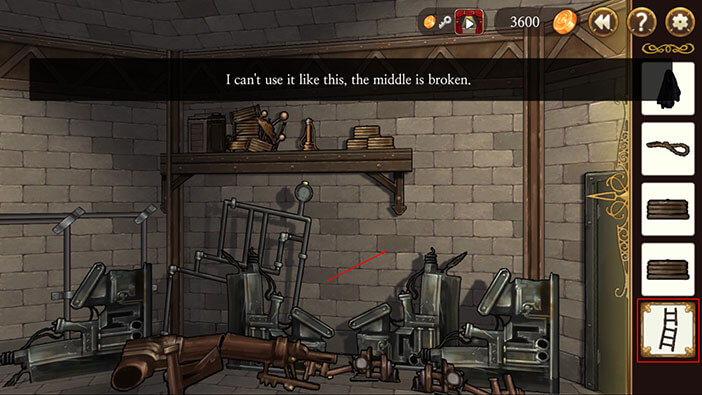
Turn a bit more to the right and tap on the ladder to pick it up. It seems the ladder is broken, so we will first have to fix it before we can use it.
Turn around until you see a battery that can’t be reached. Select the “Broken Ladder” from the inventory and tap on the wall below the battery.
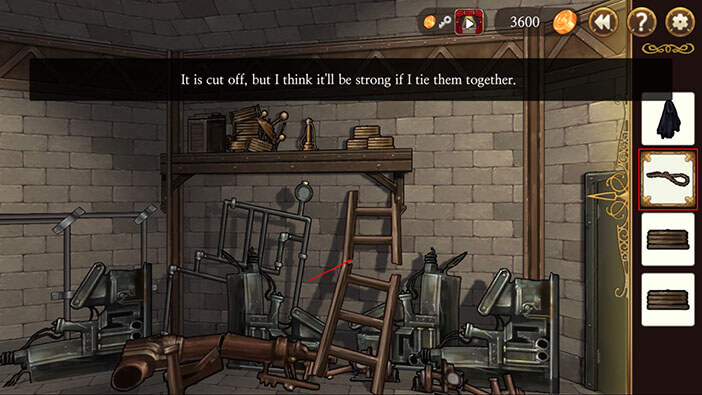
Now, select the “Broken Rope” from the inventory and tap on the ladder to fix it. Errm, fixing a broken ladder with a broken rope doesn’t seem to me like a very good idea. I hope our protagonist won’t fall while trying to reach the battery…
Let’s see. Tap on the battery, and it will be added to your inventory. Luckily, I was wrong and the fixed ladder was strong enough to support the weight of our character.
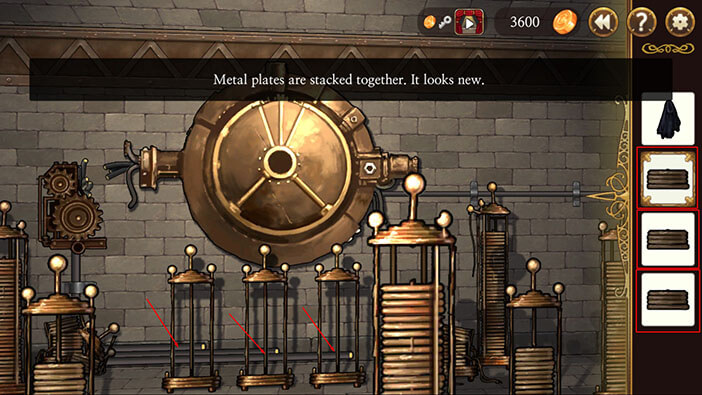
Ok, with the third battery in our inventory, turn around and face the huge machine on the opposite side of the room. Select all three batteries from the inventory and place them inside the three empty stands, one by one.
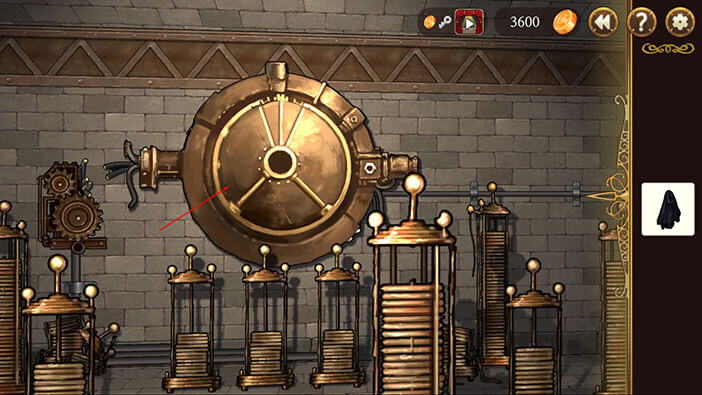
Tap on the huge golden disk to start the interaction.
This puzzle seems quite straightforward, but it can be quite tricky to solve. The point is very simple and easy to understand. You start from the left with number 4, and you can tap on one of the adjacent fields to move forward each time adding a number in that field to your total and finally adding the number 2 at the end. The same goes for the right side except the first and the last numbers are three.
The point is to have a TOTAL equal to 100 when you add both sides.
I had a lot of fun while solving this puzzle since it has multiple solutions, so I would advise you to try to figure it out yourself.
Just for fun, I managed to get both sides to the value of 50, and you can see that solution in the image below. Note that both sides don’t have to be equal (50) in order to solve this puzzle, the only important thing is that their total equals 100. So, you can have any ratio of left and right side like 60:40, 35:65, etc. 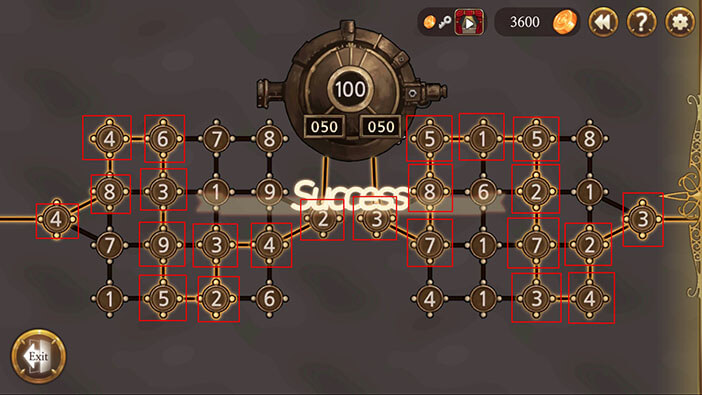
After solving this puzzle, turn to the right and tap on the lever. Pulling the lever will open the huge metal door, and our mysterious character can finally leave Victor’s lab and go to the outside world.
Our protagonist still doesn’t know who he is, so join us in the next stage of the Walkthrough for Frankenstein Room ESC, as we explore the outside world, while trying to uncover the identity of our new character.
Thank you for reading.