Chapter 3-2 Wanderer
Complete Walkthrough
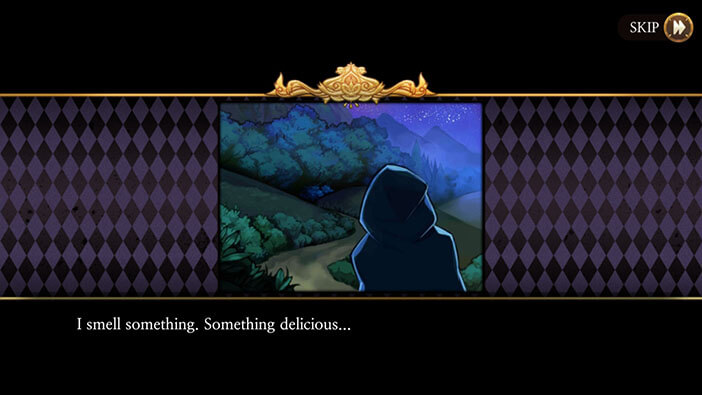
Hello everyone, and welcome to our Walkthrough for the Second Stage of Chapter 3 for the Frankenstein Room ESC adventure game. In this stage, our mysterious protagonist leaves the lab and goes into the outside world, but he has no idea where he is, where to head next, or what to do.
His belly starts to rumble, reminding him that he didn’t have any food in days, maybe even longer, and just how hungry he is. He caught the scent of food being cooked somewhere on the other side of the forest and almost subconsciously starts moving in that direction. I guess that’s a good idea, he finally has a course to follow.
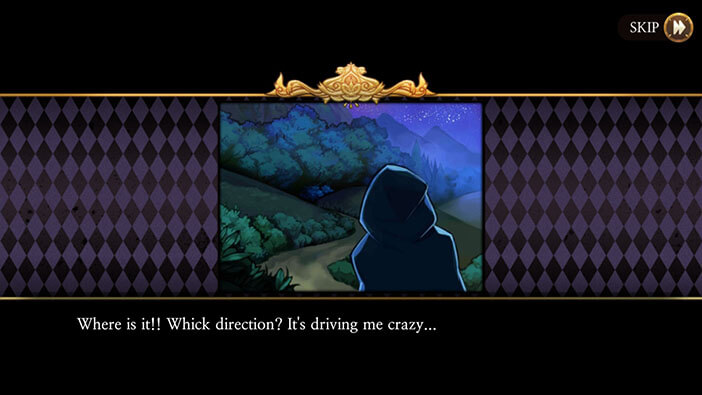

However, our character seems to be running in circles and decides to mark his path from now on with rocks and branches. And that’s how our story begins.

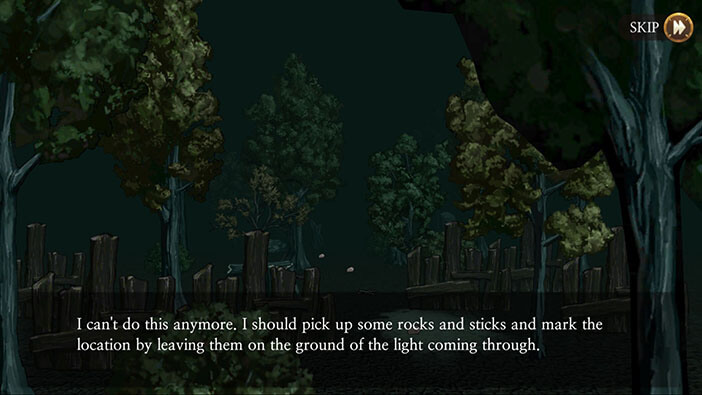
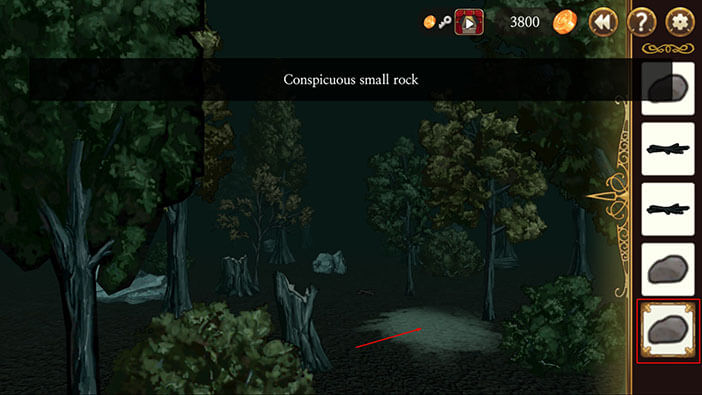
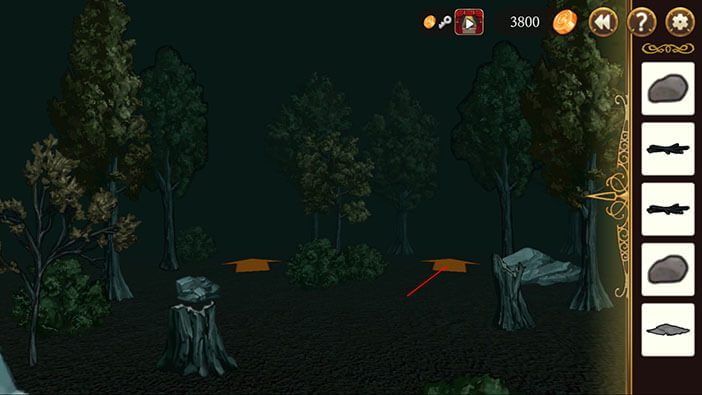
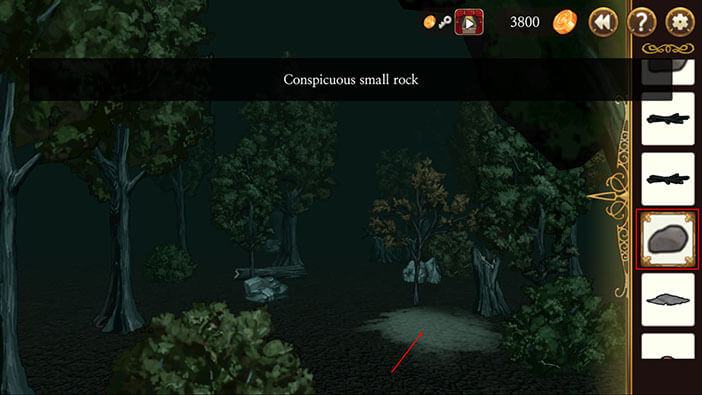
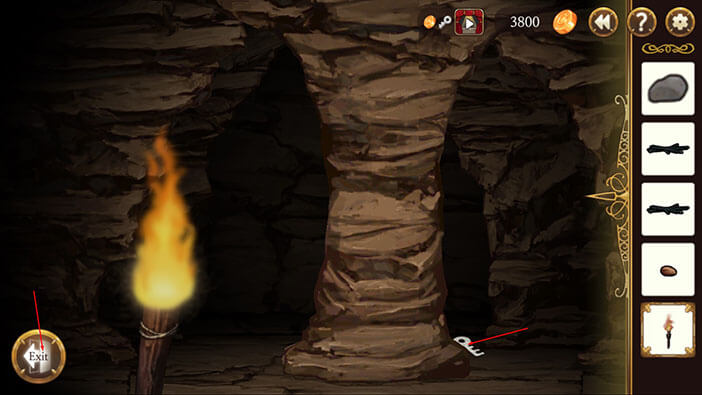
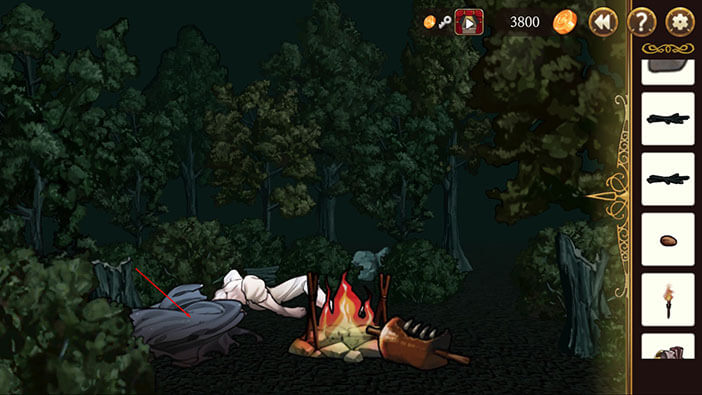
Tap on the small rock in front of you to pick it up, and do the same with the two branches and two other rocks further down the path.

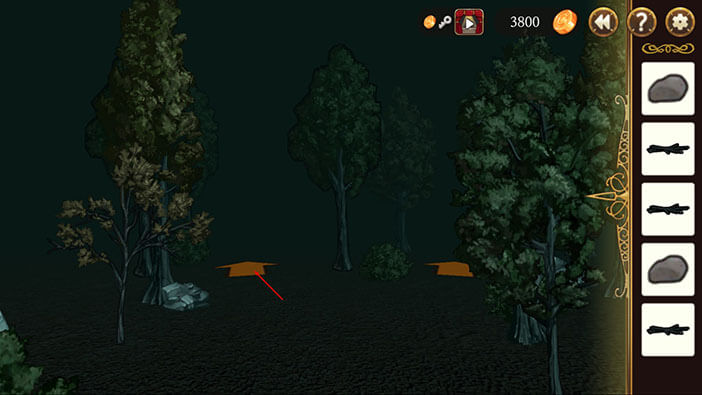
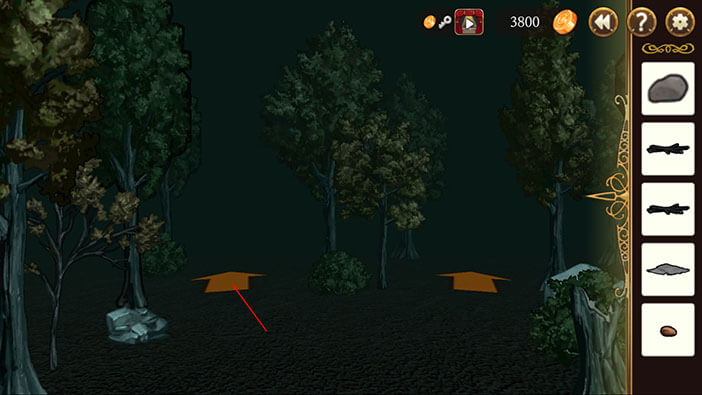
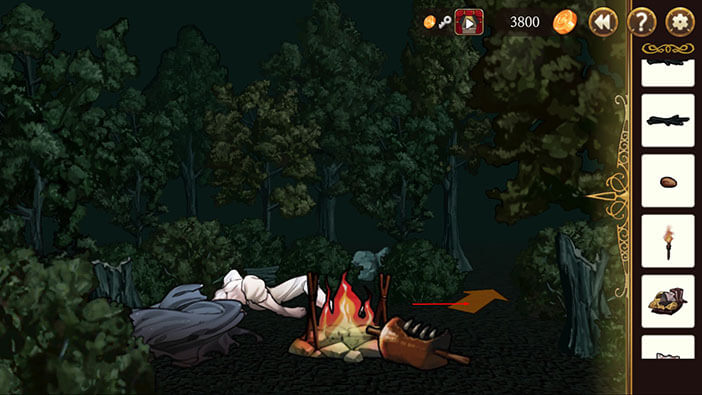
Move forward and tap on the arrow on the right, to go down the right path at the first intersection.
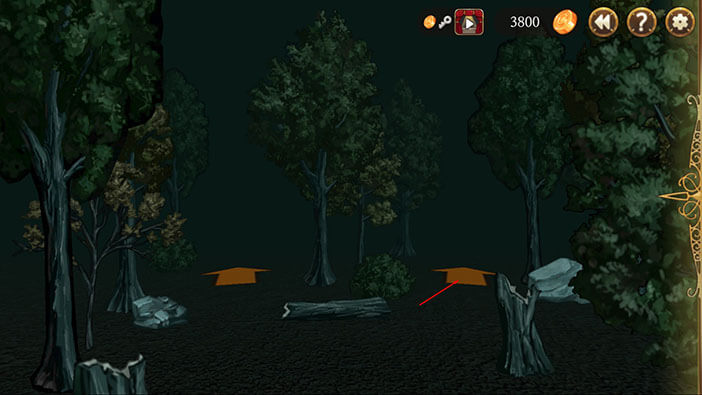
Our character still has no idea who he is, and wonders why he has no memory, and if anyone will recognize him. We can use the stones and branches to mark our path, so let’s do that. At the first intersection we went right, so select one of the stones from the inventory and tap on the bright spot on the ground to mark it. I used stones to mark paths on the right, and branches to mark paths on the left.
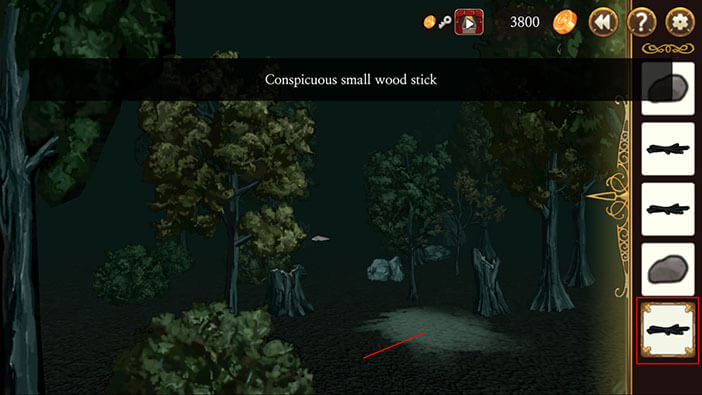
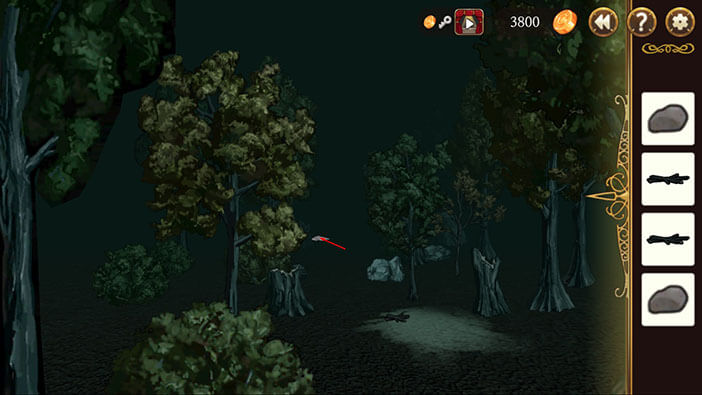
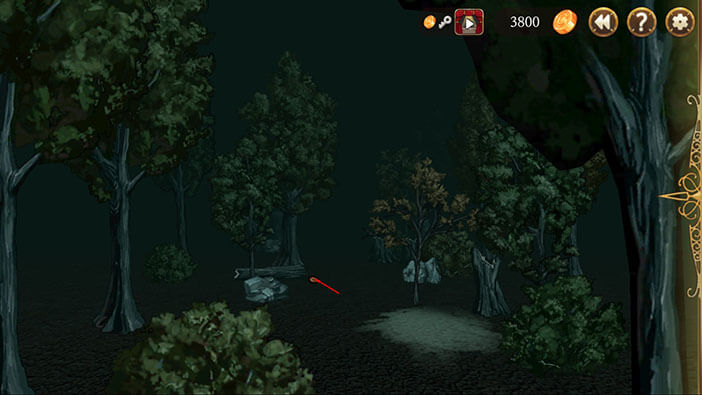
Tap on the branch in front of you to pick it up and keep going down the path. Tap on the arrow on the left, to go down the left path, at the second intersection.

Our protagonist is still starving, but it looks like he is now closer to the source of that delicious smell. Great, we are making some progress! That means we are on the correct path.
Select the branch from the inventory and tap on the bright spot on the ground to mark it. We made a left turn on the previous intersection, so that’s why I will mark this one with a branch.
Tap on the white rags in front of you to pick them up.
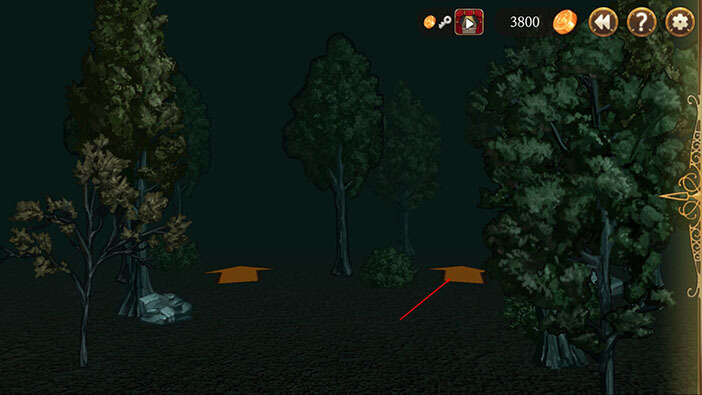
Move forward, and tap on the arrow on the right, to go down the right path, at the third intersection.
As you can see, there’s a stone in front of us, which means that we circled back to the right path after the first intersection. No biggie, we did pick up the rags on our detour which might come in handy.
Keep moving forward until you reach the intersection. This is a second intersection again, and we went down the left path here previously, so let’s go right this time. Tap on the arrow on the right, to go down the right path, at the second intersection.
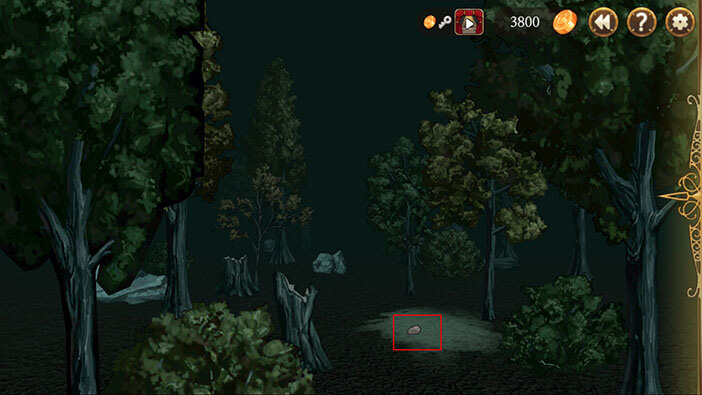
We haven’t been here yet, so let’s tap on the seeds in from of us to pick them up. Since we went right, select the stone from the inventory and tap on the spot on the ground to mark it.
Keep moving forward and on the third intersection tap on the left arrow to go down the left path.
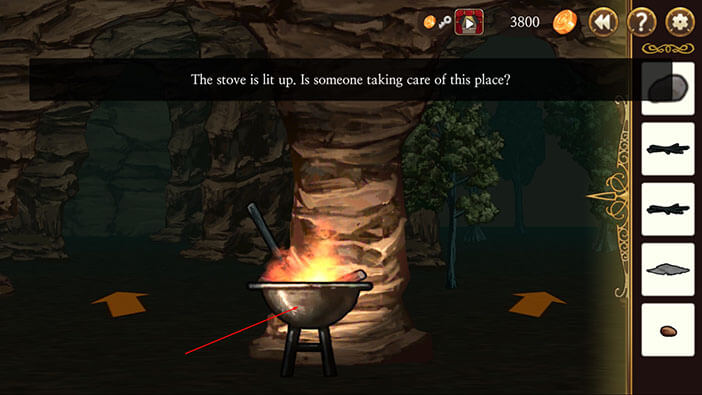
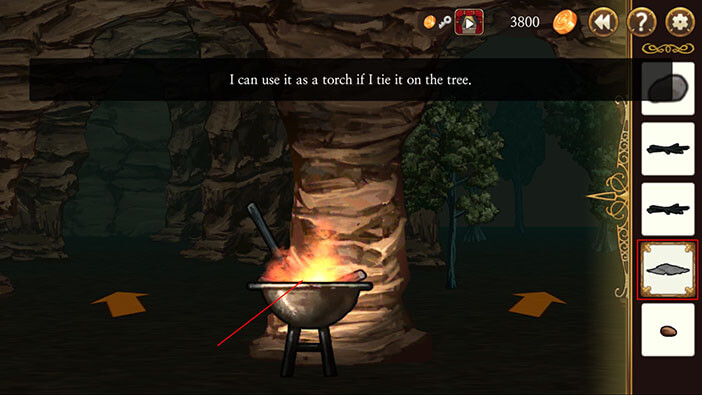
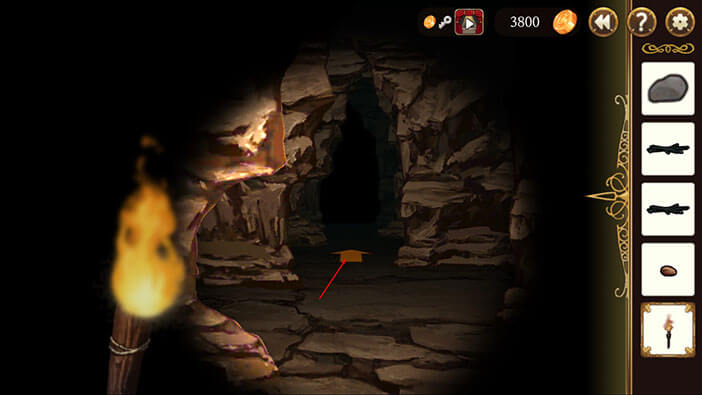
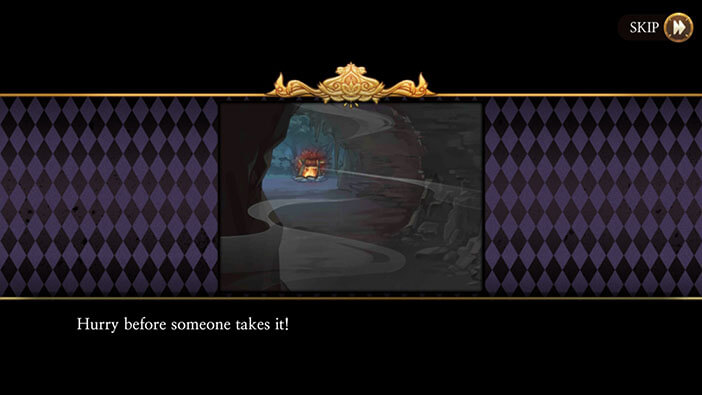
We reached a large cave. Tap on the stove, and our character will conclude that someone must have lit up a fire, and is possibly living in here (or the stranger might be using a cave as a temporary shelter).
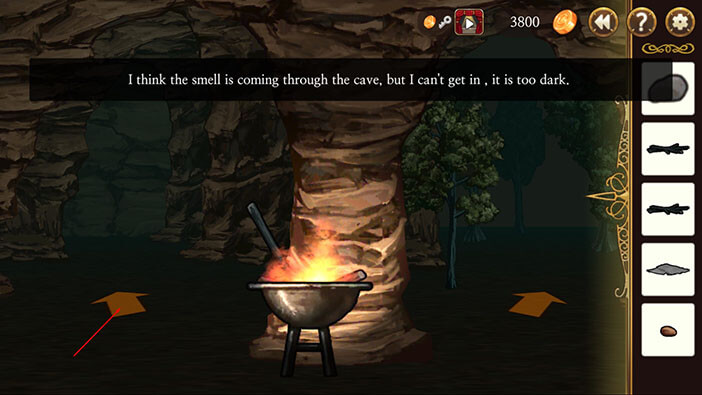
Tapping on the arrow on the left will reveal that the smell seems to be coming from that direction, but the cave is too dark, and our character can’t go in. So, let’s make a torch.
Select the rags from the inventory and tap on the stove. It looks like our slight detour in the forest, during which we picked up the rags, was a good thing after all. The “Torch” will be added to the inventory, and it should serve us well in this dark cave.
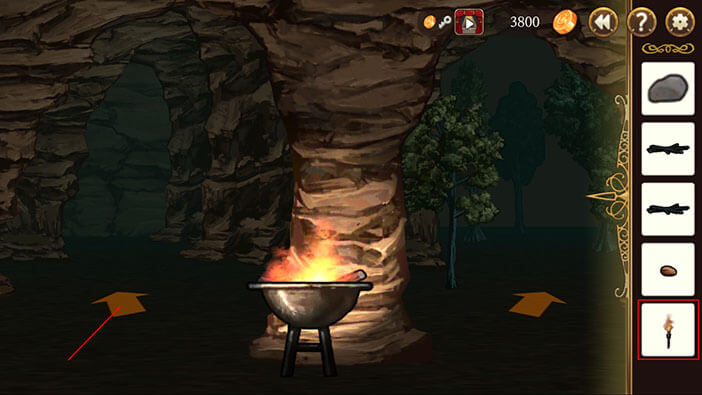
Select the torch from the inventory and tap on the left arrow to enter the cave.
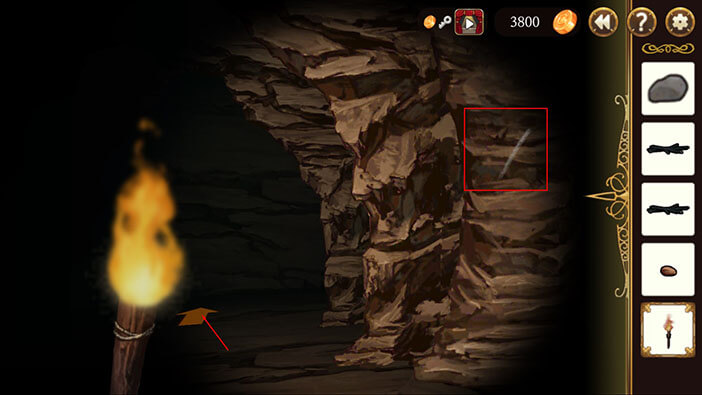
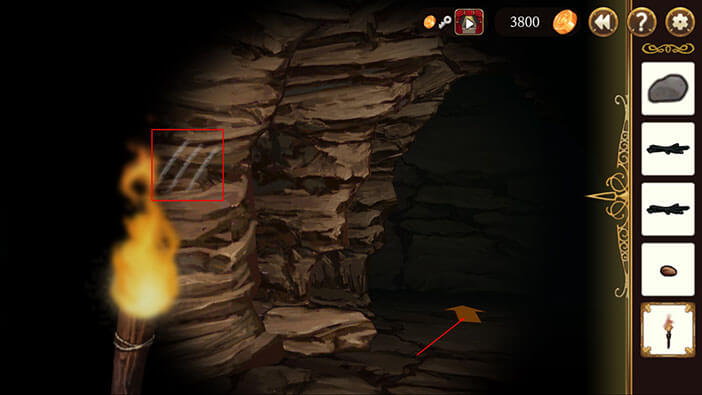
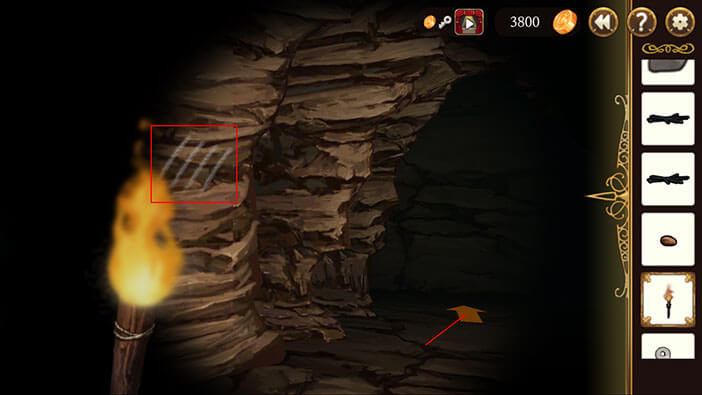
This is the first part of the cave. Pay attention to a SINGLE white line that somebody painted on the cave wall on the right. Perhaps that’s how they navigated the cave system, similarly to how we used stones and branches to mark our path in the forest? With that in mind, let’s move on.
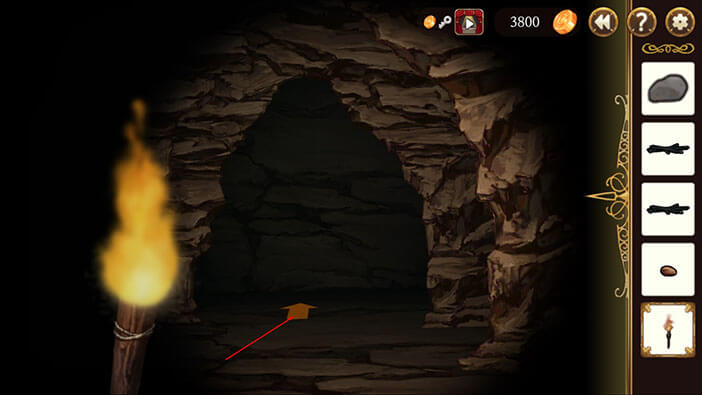
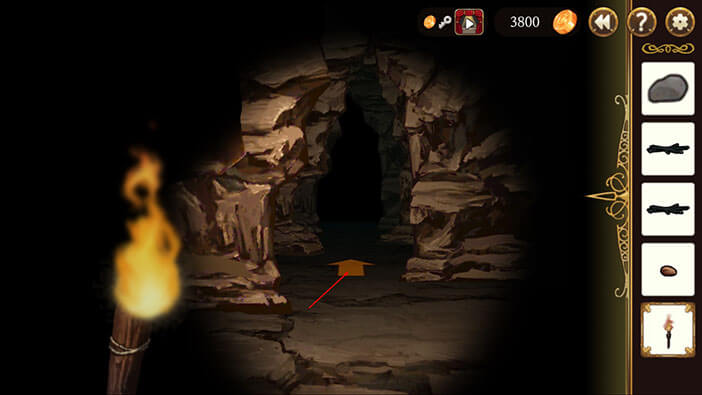
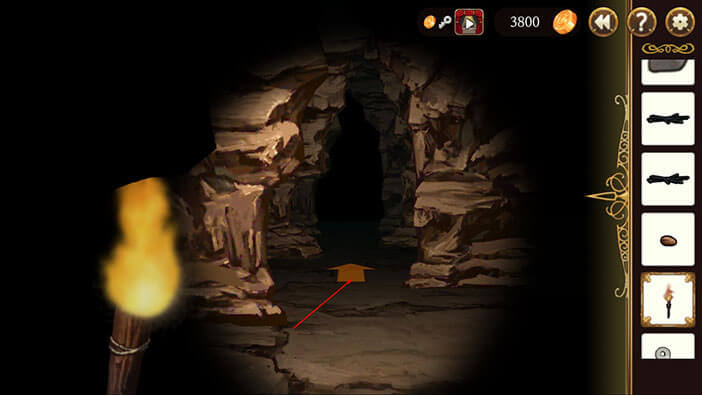
Tap on the arrow in front of you to go down this path.
Move forward until you reach the end of the hall, and tap on the arrow to proceed.

We reached the wall marked with TWO lines. Here, turn to the left and tap on the arrow to go down the left path.
Move forward until you reach the end of the hall, and tap on the arrow to proceed.
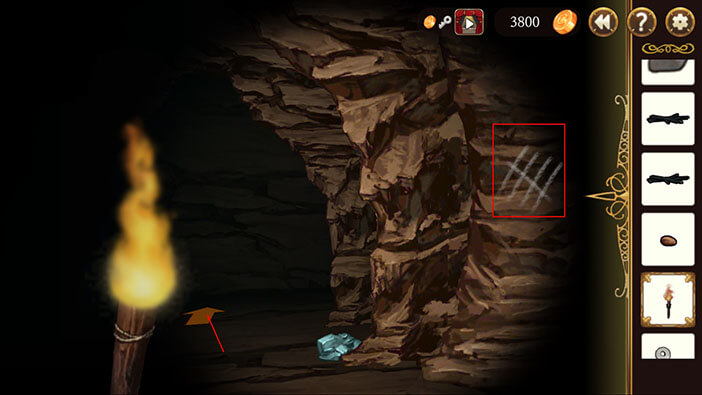
We reached the wall marked with THREE lines. So far, so good. Here, turn to the right and tap on the arrow to go down the right path.
Move forward until you reach the end of the hall, and tap on the arrow to proceed.
The wall is marked with FOUR lines, and here we’ll make a slight detour. At this point, turn around and tap on the arrow behind you (located on the opposite side from the wall marked with four lines).
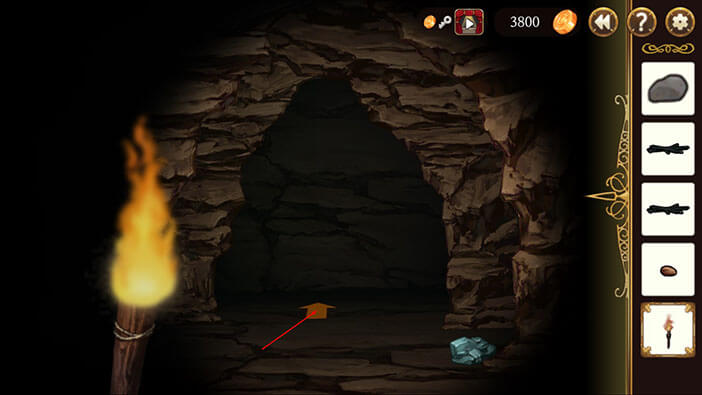
There is a key in here. Tap on it to pick it up. After that, tap on Exit, since this is a dead end.
We are again in front of the wall marked with four lines. Now, turn to the right and tap on the arrow to go down the right path.
Move forward until you reach the end of the hall, and tap on the arrow to proceed.
The wall is marked with five lines. Tap on the arrow in front of you and go down the path.
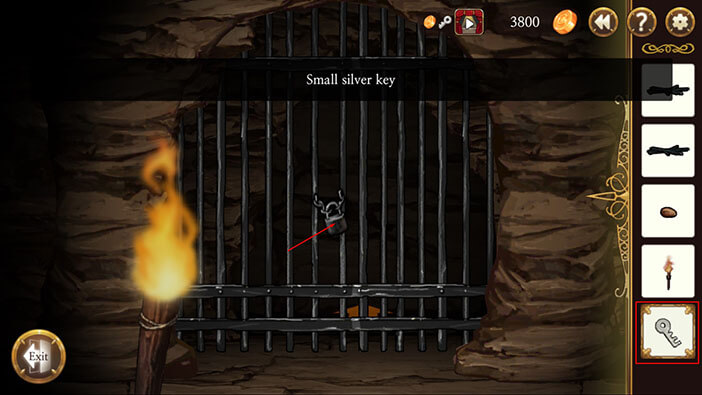
We reached the barred gate. Great! Select the key that we found close to marker four, and tap on the padlock to unlock it. Tap on the arrow behind the gate to proceed.
Move forward until you reach the end of the hall, and tap on the arrow to proceed.

At this point, our character is starving, but we found the source of that delicious smell. It’s a lump of roasted meat, and it is straight in front of us.
Tap on the meat, so our character can finally have a decent meal.

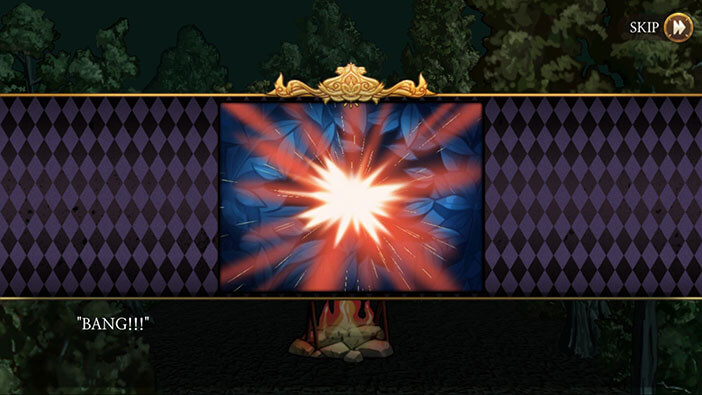
Oh, no! After our protagonist took a few bites, someone took a shot at him, while hiding in the nearby bush. Of course, our character immediately ran away.
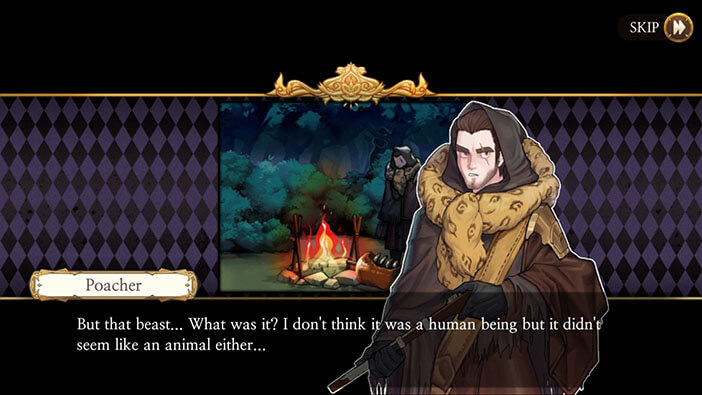
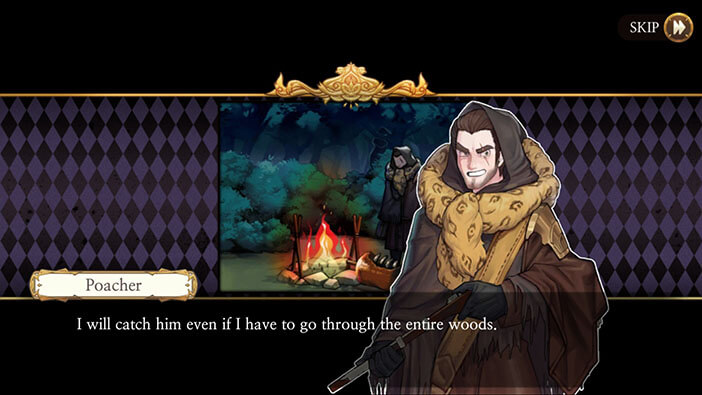
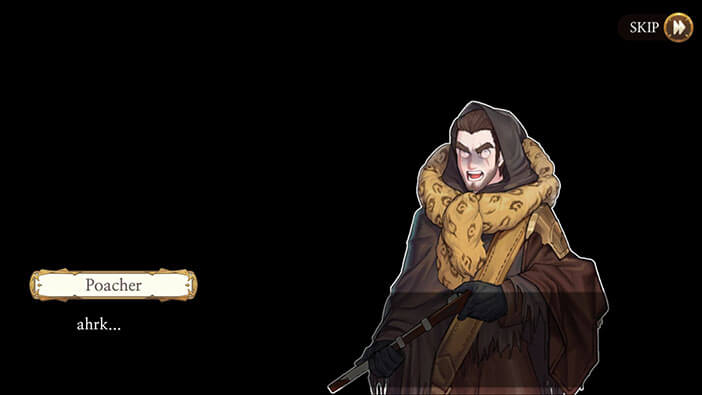
The poacher comes out of his hiding places, claiming that our protagonist is neither a human being nor an animal, and that’s he is surprisingly fast.
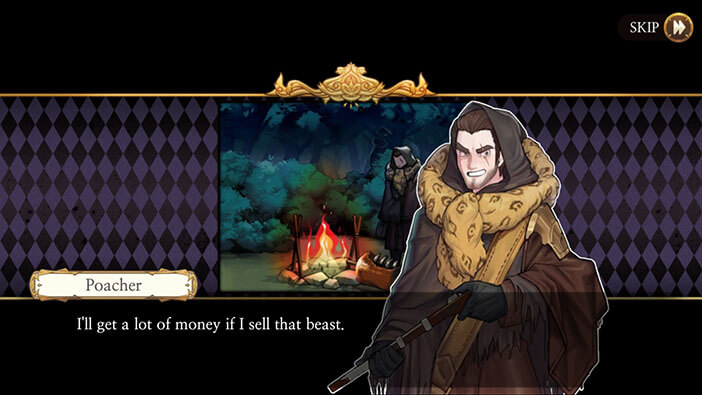
But he doesn’t care and he is now even more determined to hunt down and kill the beast. Yeah, that’s how he classified our protagonist…

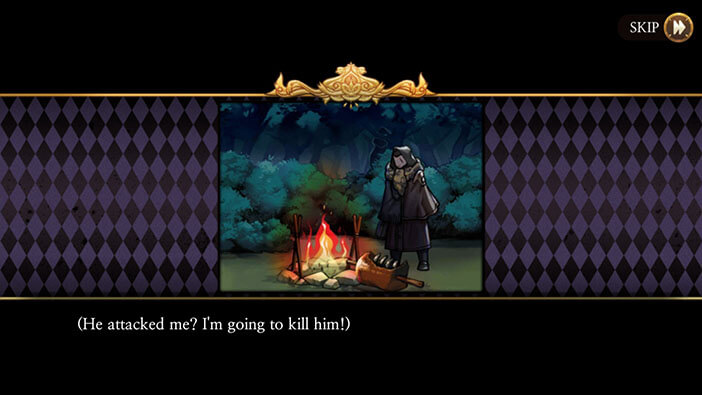
Understandably, our character is furious because somebody shot at him for no reason, whatsoever, and wants to take revenge. Well, I like his approach.
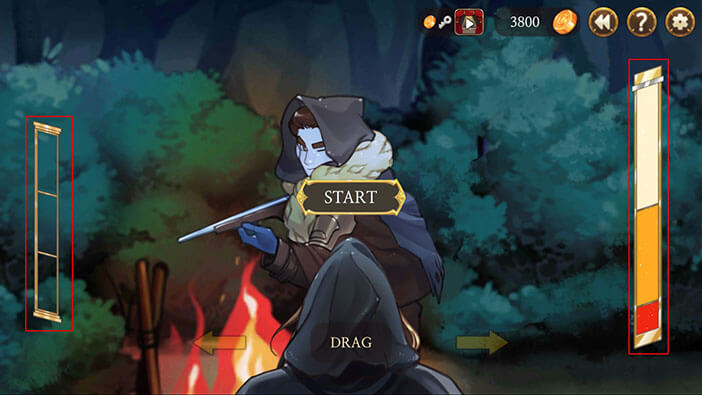
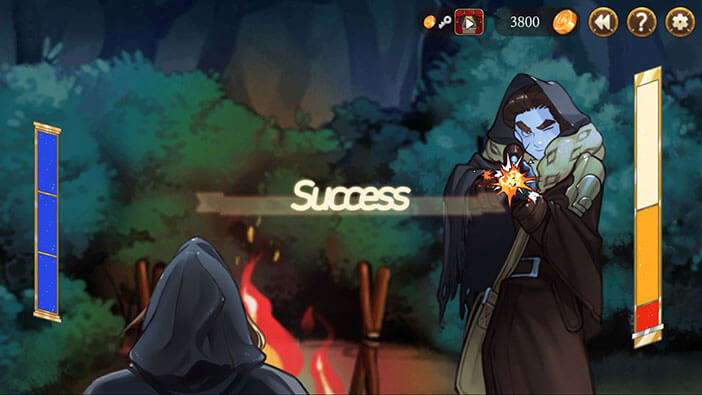
And that brings us to our next task. The hunter will take shots at us as our protagonist charges forward, closing the distance. Our job is to avoid the shots by sweeping left and right and moving our character to dodge. The bar on the right represents the progress until the hunter shoots. The orange line means he is aiming and preparing to fire. The red line means he already aimed and is about to pull the trigger.
When the hunter misses our character, one blue line will be added to the bar on the left. When the bar is filled (3 lines), our character will close into the melee range.
Well, there are three positions at which hunter can fire, just move away from the position at which he is aiming and he’ll miss… Also, try not to dodge too early, because your character will move back to the central position after a few seconds.
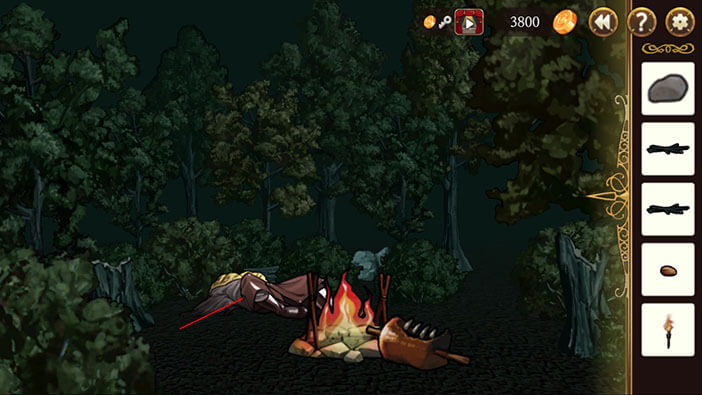
Our protagonist is extremely surprised and unaware of his own strength. He killed the poacher after throwing a single punch! He is wondering what kind of creature is he? Well, at this point we know for sure that he is the creature we saw in the previous stage. You know, the one that saved Elizabeth. Remember that these events that we are playing right now happened before the police chased after Elizabeth.
Tap on the dead poacher. Our character will “borrow” the dead man’s hooded cloak, but while putting it on he sees a note falling out from the cloak. The poacher’s clothes will be added to your inventory, and I guess this is the outfit that our protagonist was wearing when we saw him on the cliff with Elizabeth.
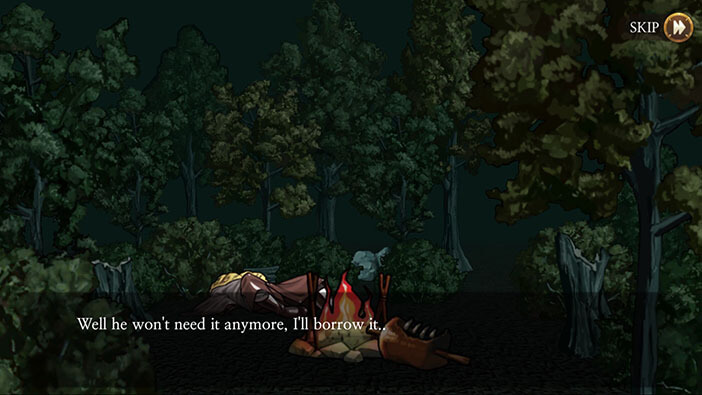
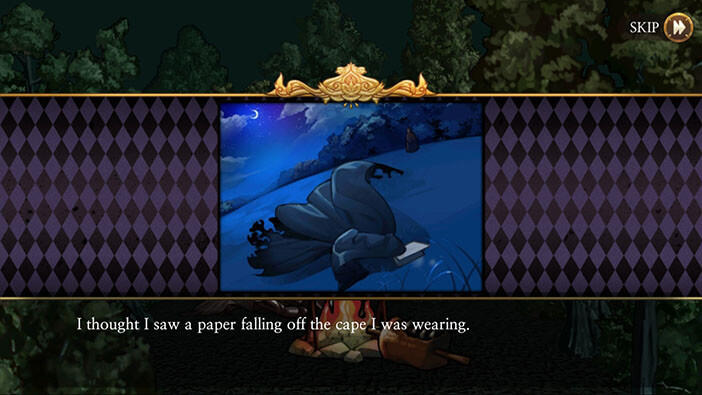
Tap on the cloak again, and our character will read the note. It’s a map to a morgue. Our characters figures, that he might as well head there since he was wandering aimlessly so far.
Tap on the arrow and our character will go to the morgue.
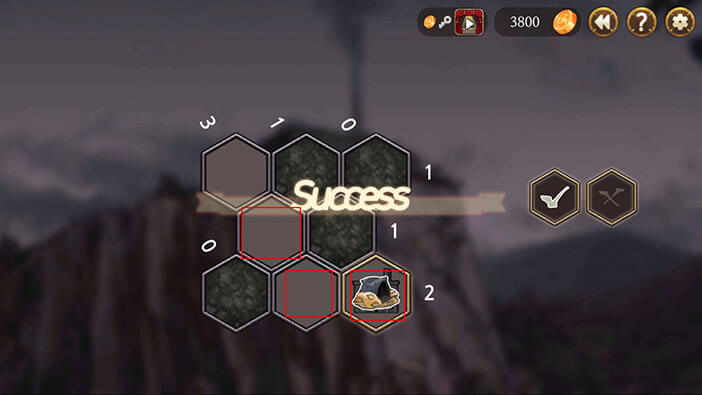
We have another puzzle to solve, but I will keep things simple here. Check out the solution in the image below.
Well, it turns out I was wrong about my previous assessment about the morgue incident. It looks like it wasn’t Victor who broke into the morgue to obtain the information about Huxley… It looks like our extremely strong protagonist went there randomly, and that’s how everything started. I am also certain that he was done who killed Neumann. Although, technically, that was a suicide.
In the next stage, we will be playing as the new protagonist again, this time as he heads to the morgue. Join us in the next stage of the Walkthrough for Frankenstein Room ESC, to find out what exactly transpired at the morgue, once our monstrous character got there.
Thank you for reading.