Chapter 3-3 The Monster Outside The Window
Complete Walkthrough
Hello everyone, and welcome to our Walkthrough for the Third Stage of Chapter 3 for the Frankenstein Room ESC adventure game. In this stage, we will be playing again as the “mysterious” protagonist, although, at this point, we are almost certain that he is a creature created by Victor Frankenstein.
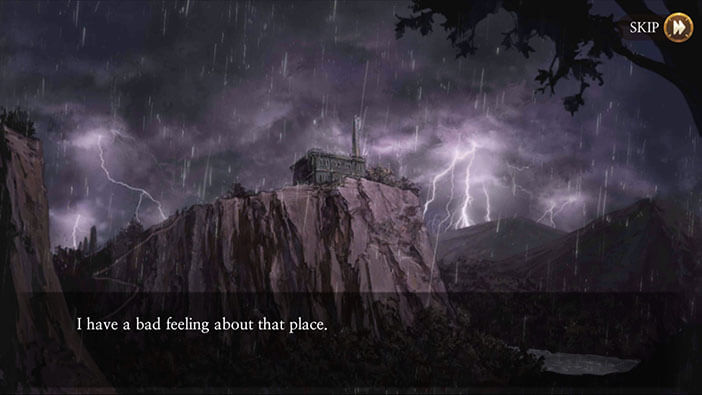
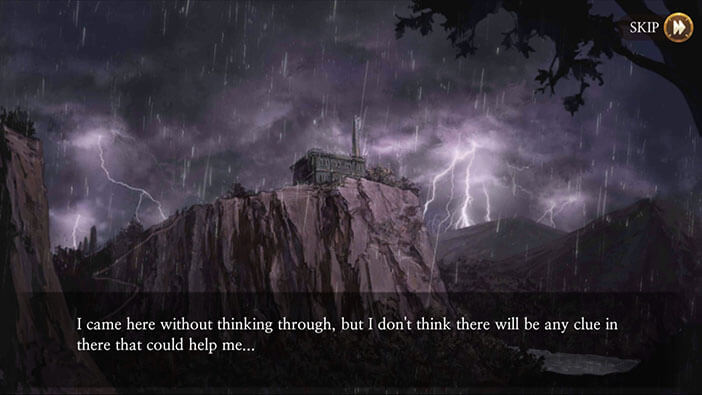
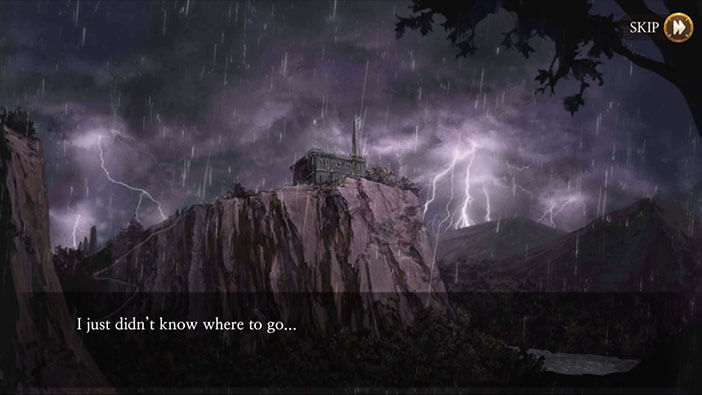
After finding a map to the Delphi morgue and deciding to head there, our character took less traveled paths through the forest, trying to avoid contact and confrontation with humans. These side routes extended his journey, but after traveling for two days, he finally reached his destination. The only reason why he came here, was because he did not know where else to go. Still, going to a morgue definitely wouldn’t be my first choice, if I were in his shoes. Now that he’s finally here, our protagonist thinks along the same lines but decides to go in anyway, promising that he won’t hesitate to defend himself and kill anyone who assaults him.

After he climbed up the hill, our protagonist pushed open the heavy metal gate and entered the morgue.
This is how the story begins. We already visited the Delphi morgues previously in Chapter 1-1, while investigating the morgue break-in (this event) in the shoes of chief investigator Schmitz. With that said, this location should feel very familiar.
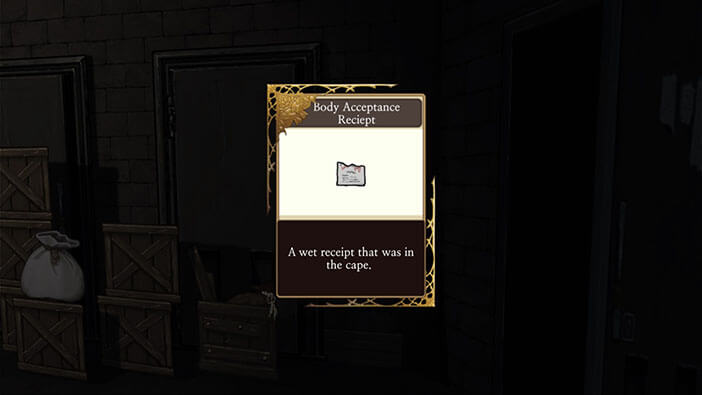
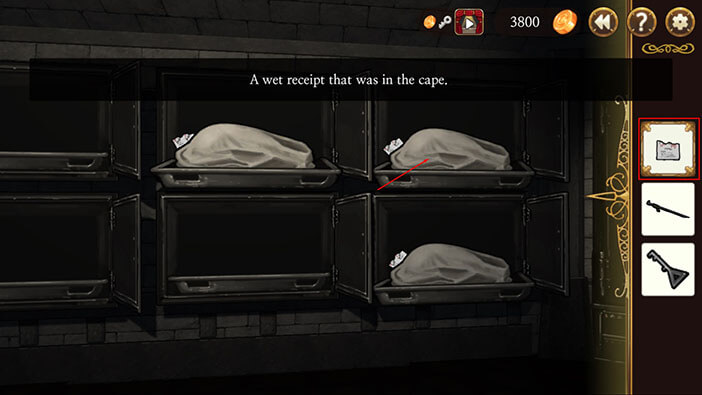
Upon entering into the morgue, our character “Body Acceptance Receipt” will be added to your inventory. I honestly have no idea how this receipt ended up in game poacher’s (the guy we killed in the forest) possession.
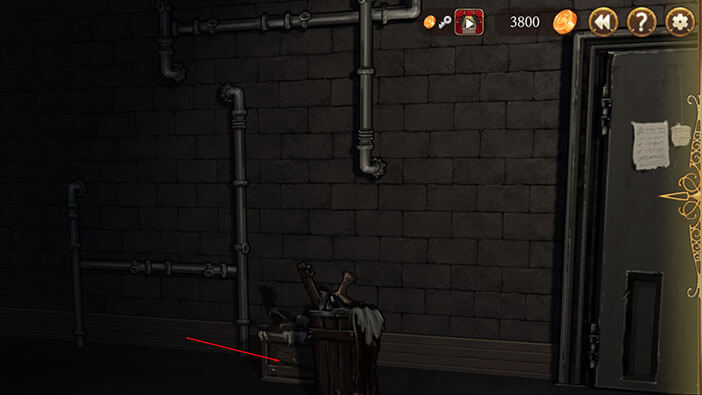
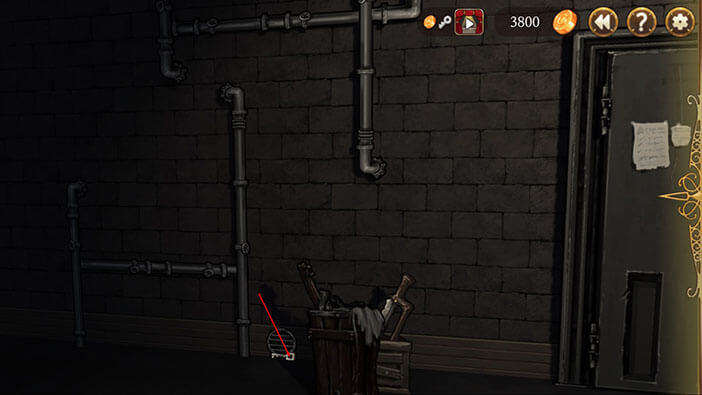
Sweep all the way to the left. Tap on the wooden box to move it aside and reveal a key hidden behind it. Tap on the key to pick it up, and a “Quadranglar Key” will be added to the inventory.
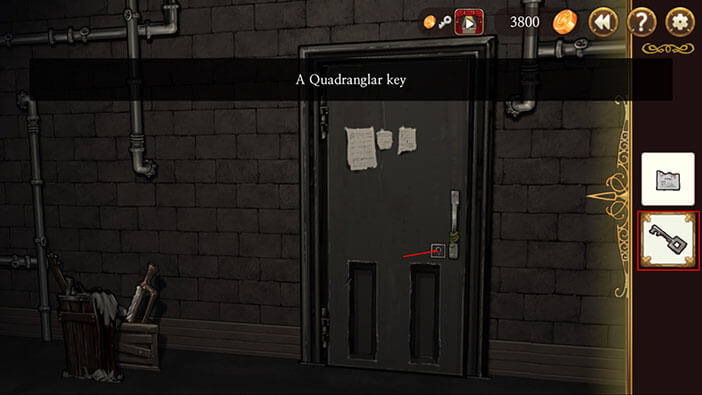
Select the key from the inventory and tap on the keyhole on the first door on your right to unlock it. Tap on the door twice more to open it and enter.
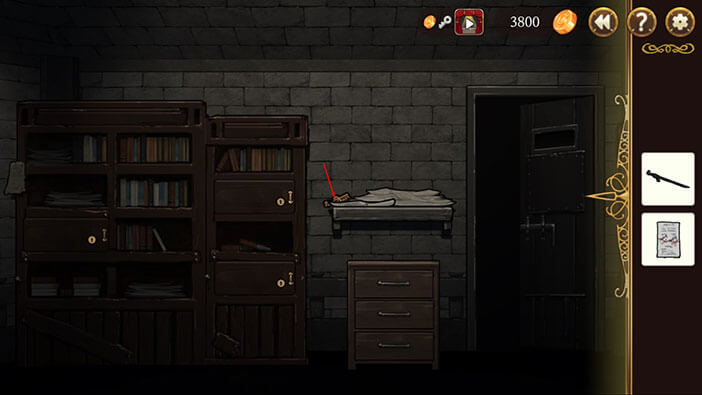
Turn to the right until you see a wooden wheelbarrow and a bucket. Tap on the stick that is “sticking out” (pun intended) from the bucket to pick it up and it will be added to the inventory.
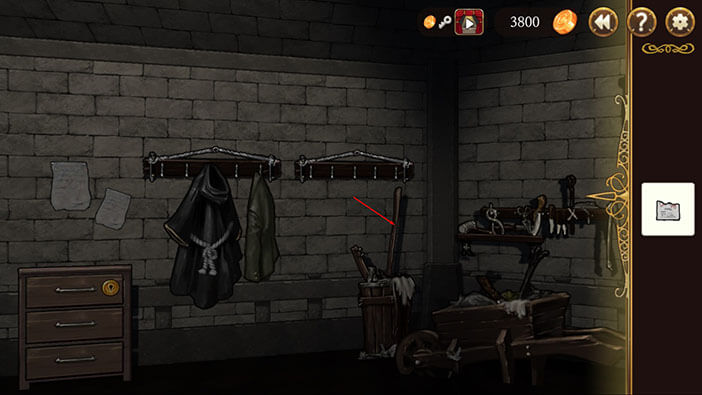
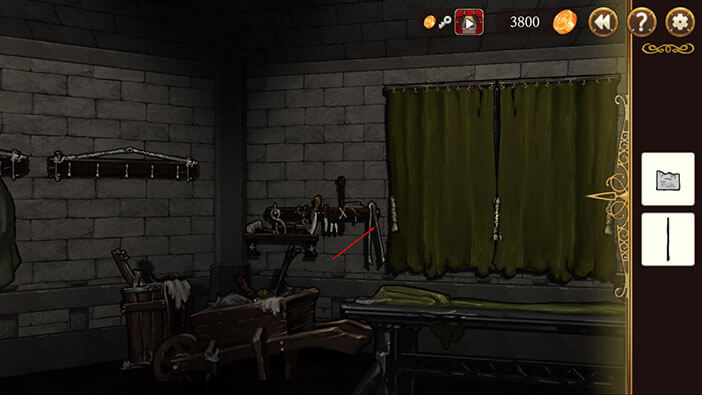
Turn slightly more to the right, and tap on the tong, located just to the left of the curtain, to pick it up.
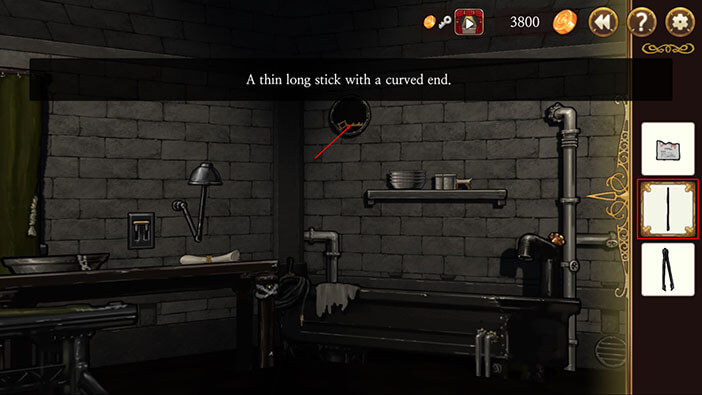
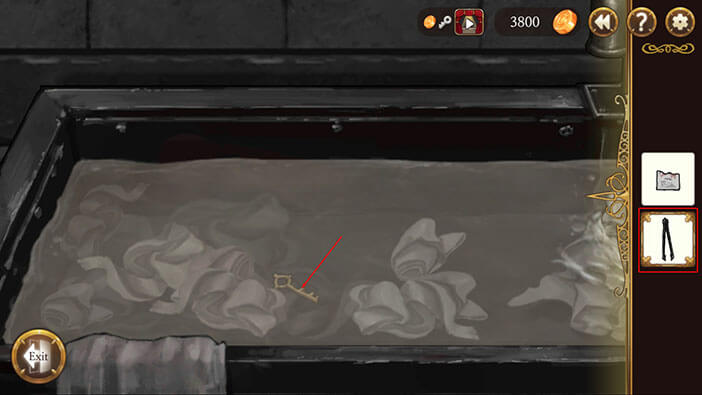
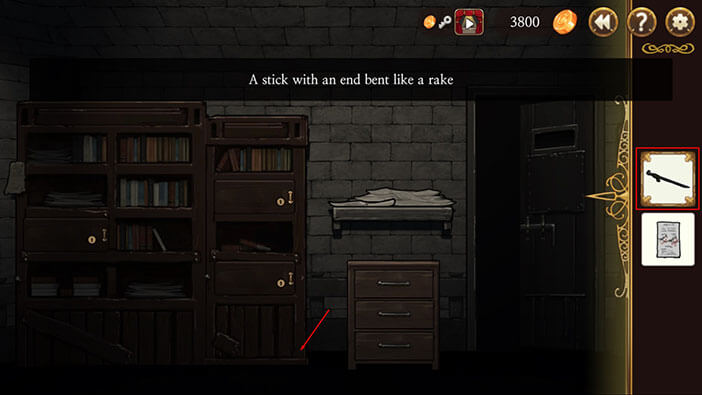
Turn a bit more to the right and you will notice a key inside the hole in the wall, in the upper left corner. Our character can’t reach the key, so select the “Thin Stick” from the inventory and tap on the key.
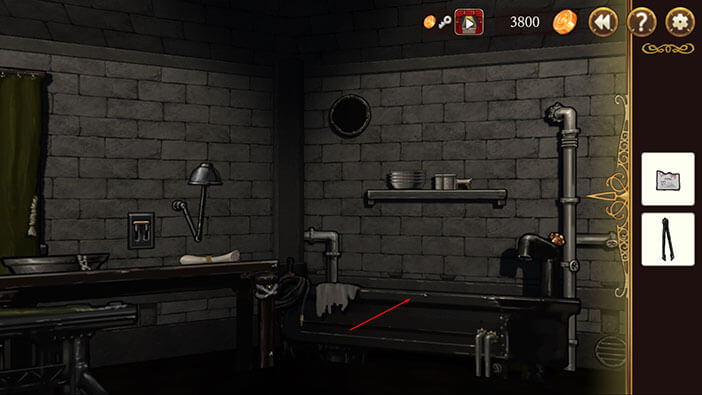
Unfortunately, the key fell into the metal bath, so tap on it to look for the key.
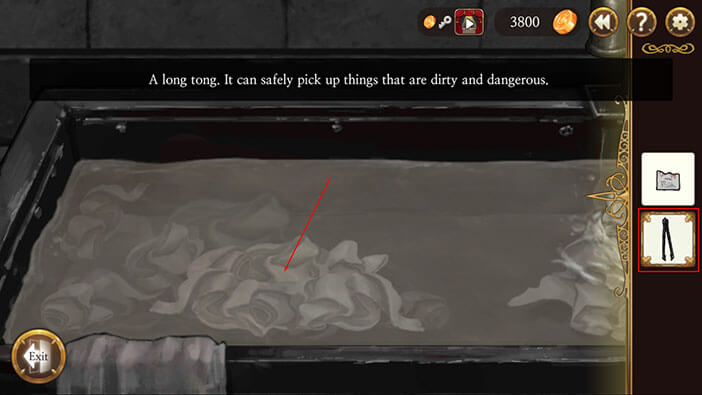
After tapping on the liquid inside the bath we will discover that it’s disgusting and our character won’t touch it with the bare hands. So, select the “Tong” from the inventory and tap on the white-ish goo inside the bath to move it aside. Keep tapping until you move away all the goo from the middle of the bath, and you will uncover a key below all that disgusting matter.
Tap on the key to pick it up and it will be added to your inventory. Tap on the “Exit” button.
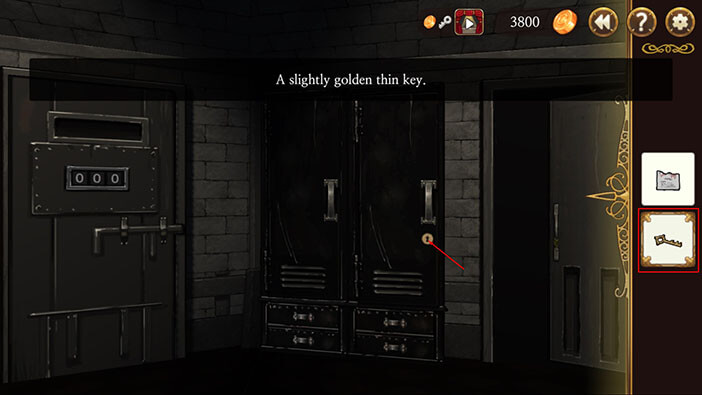
Turn to the right until you see a metal locker with a keyhole, located next to the door through which we entered into the room. Select the key from the inventory and tap on the keyhole. Tap on the locker to open it.
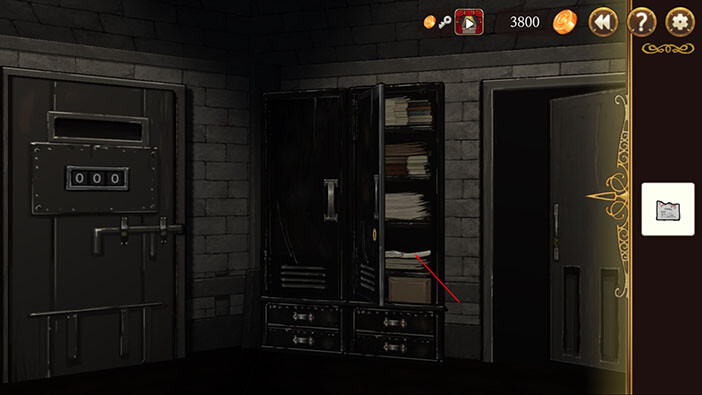
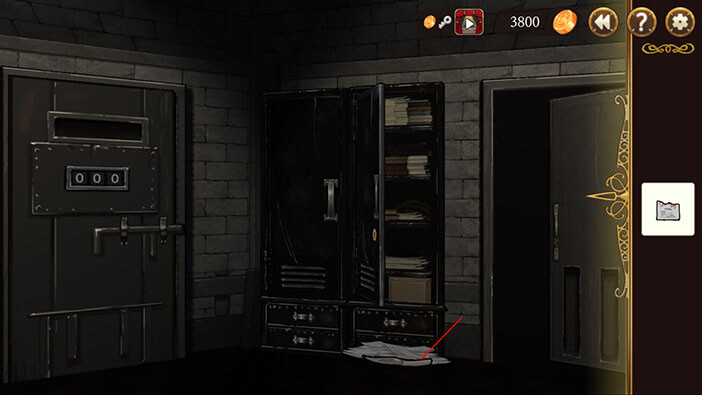
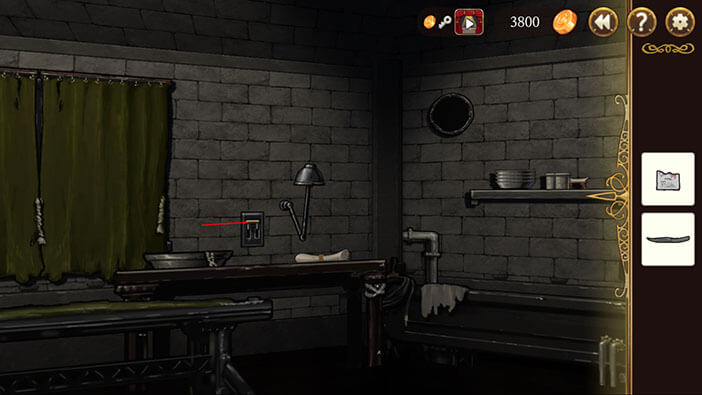
Tap on the note on the first shelf, and it will fall to the ground. Tap on it again to pick it up, and “Notepad” will be added to your inventory. However, it’s too dark in here to read it.
We saw a desk lamp in this room, so let’s turn around and tap on the lever next to the desk lamp to turn it on.
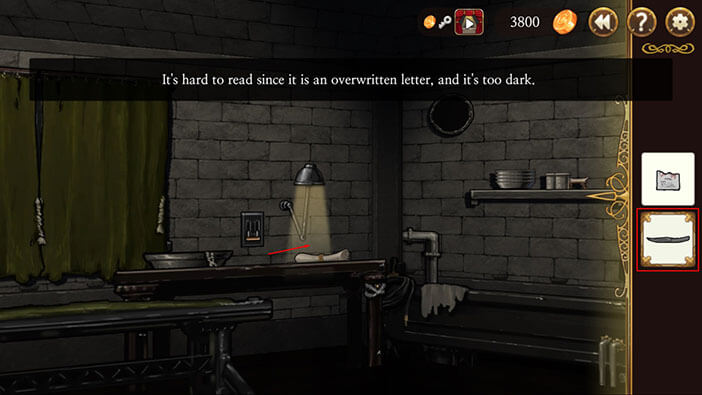
With that problem solved, select the “Notepad” from the inventory and tap on the illuminated area to read the letter.
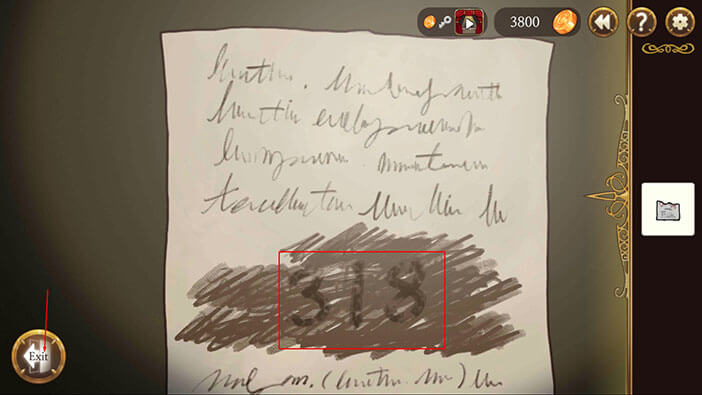
We can see the code “318”. Memorize it and tap on the “Exit” button.
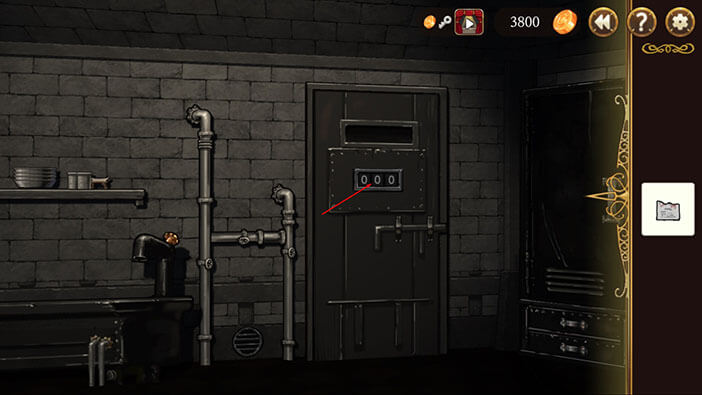
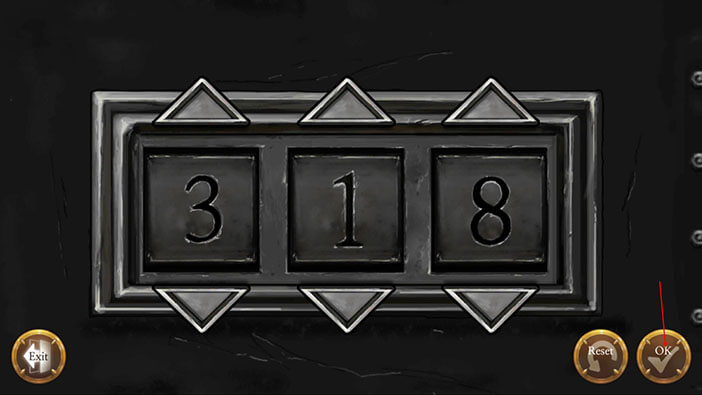
Turn to the right and face the door marked with “000”. I don’t know if you can remember it from our previous visit to this place, but the door marked with three zeroes leads into the morgue. Tap on the three zeroes, enter the code “318” that we just obtained, and tap on “OK” to confirm.
Tap twice on the door to open and proceed into the morgue.

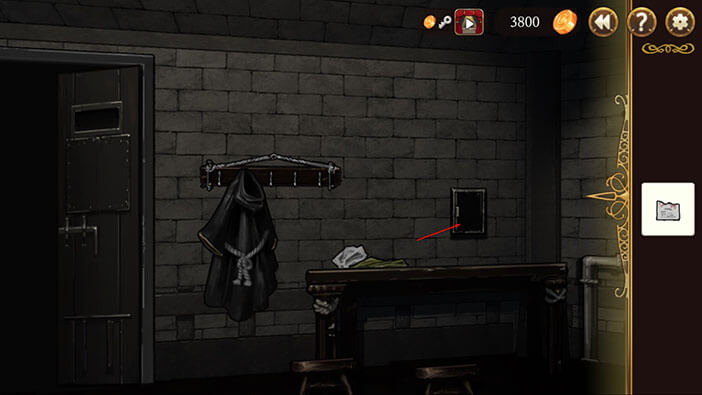
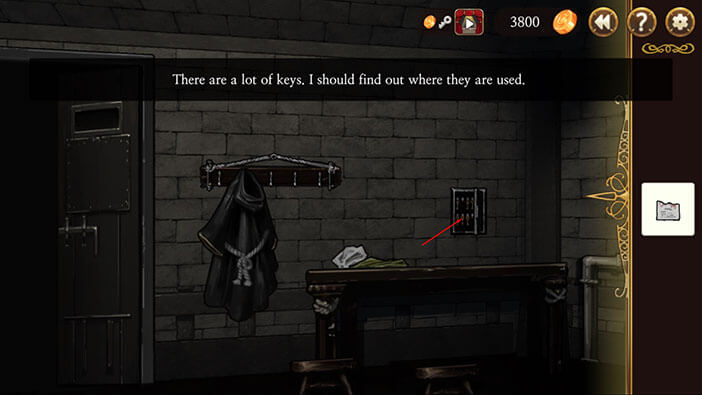
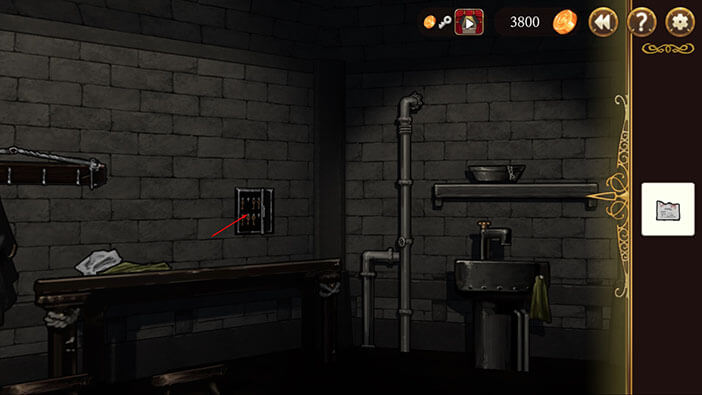
Tap on the black box (key box), located on the wall on your right. Tapping on the open key box will reveal that we first have to determine what are these keys used for before we can use them. So, let’s do that.
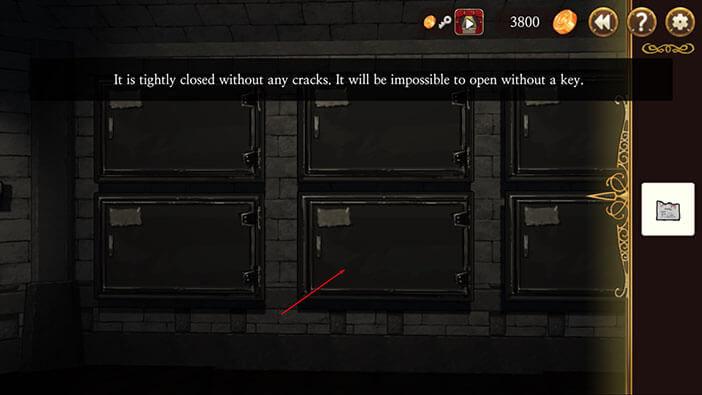
Turn to the right and tap on one of the body lockers. This isn’t much of a hint, since we will just find out that we will need a key (some key) to open the body lockers. But, strangely enough, that’s what we had to do in order to enable the interaction with the key box. Although, it doesn’t seem that our character concluded that the keys from the key box are used for body lockers…
With all that said, turn around and tap on the key box, once more.
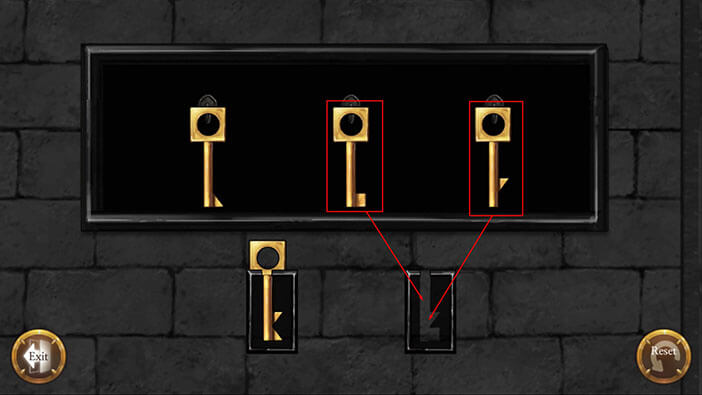
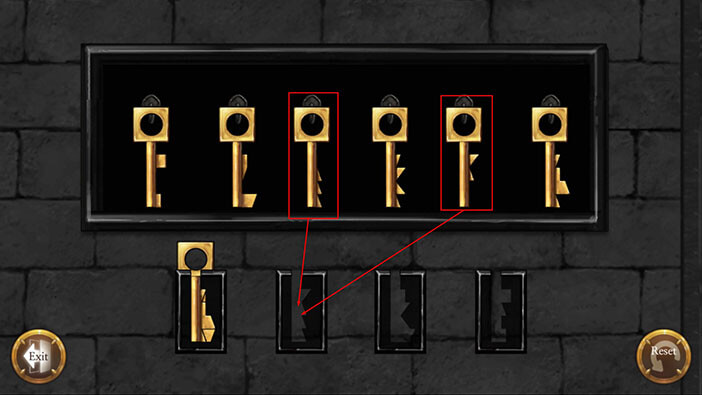
OK, now we can interact with the keys inside. However, before we can use the keys we will first have to drag and “combine” two keys, placing them in the slot below, to assemble a useable key. The shape of two combined keys must match the shape of the slot. Before we begin, I will name the keys with the numbers 1, 2, 3, etc. counting from left to right.
Drag the keys number 1 and 3 into the first slot.
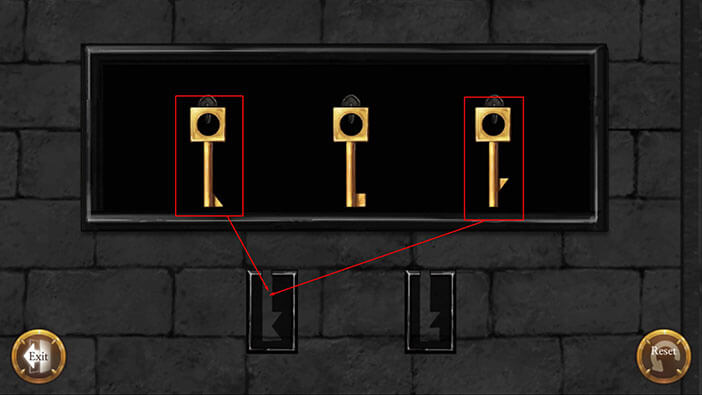
Drag the keys number 2 and 3 into the second slot.
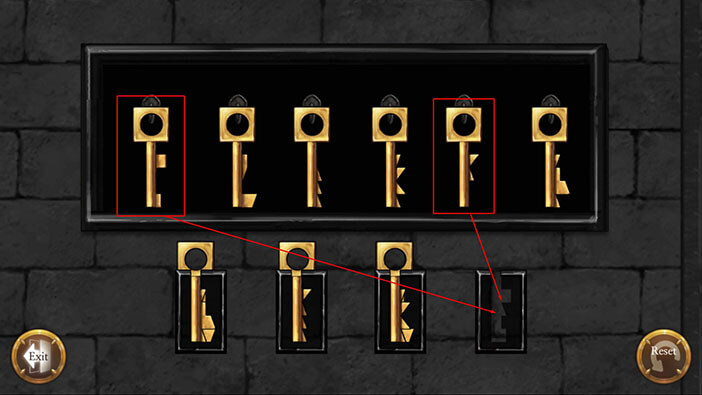
Since each cabinet uses a key of a different shape, our character would like to make all keys, so he can open all cabinets at once. Let’s do that.
Drag the keys number 6 and 2 into the first slot.
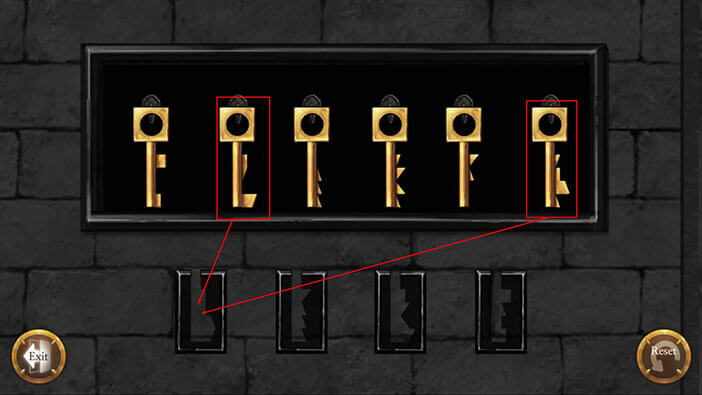
Drag the keys number 5 and 3 into the second slot.
Drag the keys number 2 and 4 into the third slot.
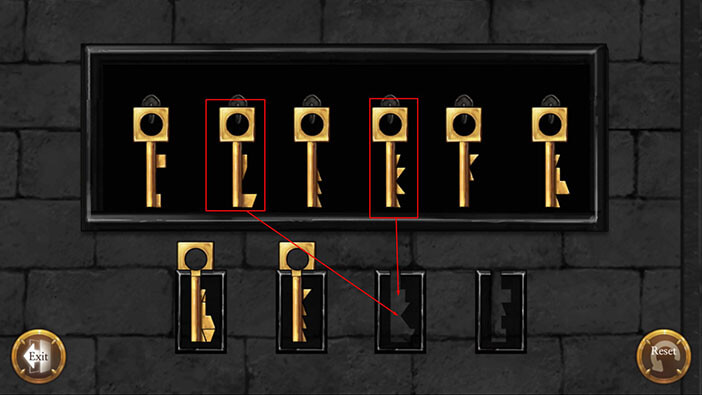
Drag the keys number 1 and 5 into the fourth slot.
With the task completed or character unlocked all the body cabinets. Turn around and tap on every cabinet, to open it, one by one.
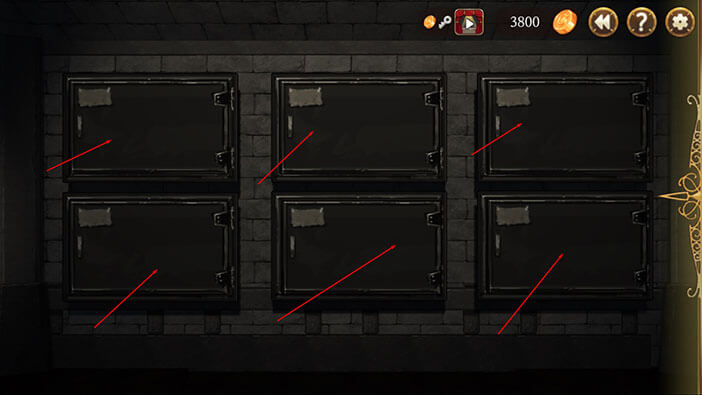
There’s a crowbar in one of the body cabinets, tap on it to pick it up.
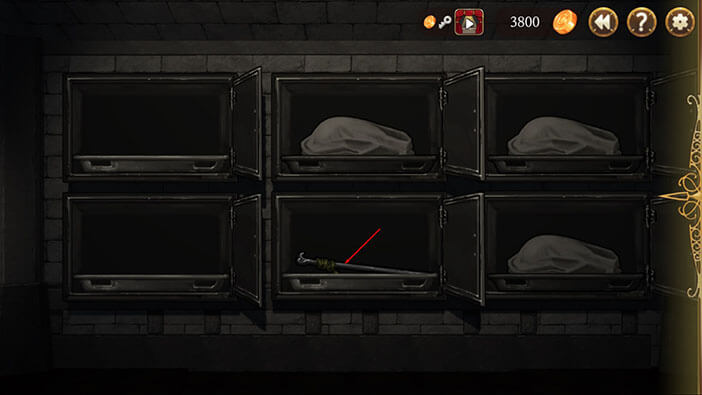
Now, that we have a crowbar, we can use it to pull out the bodies. Select the crowbar from the inventory and tap on the three bodies, one by one.

There is a key next to the body in the upper right cabinet. Tap on ti to pick it up, and the triangular key will be added to the inventory.
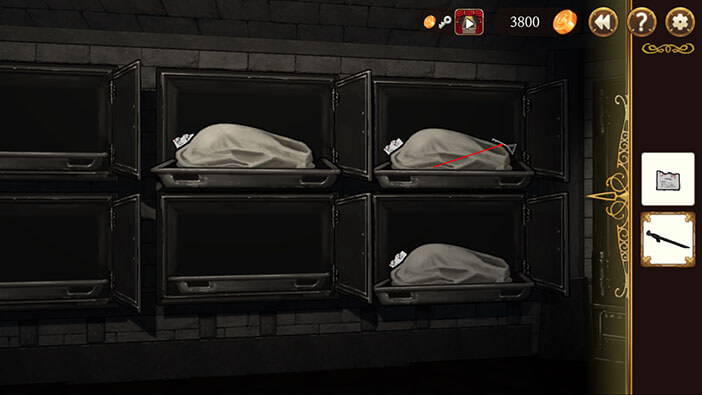
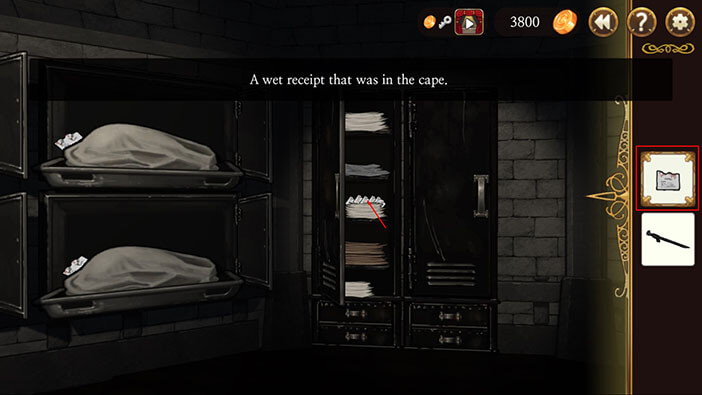
Select the “Body Receipt” from the inventory and tap on one of the bodies. The bodies are only marked with numbers, there are no names on the tags, and the body number on our receipt is unreadable. So, if we find the document that issued the receipt, we should be able to find out the identity of the person on our receipt.


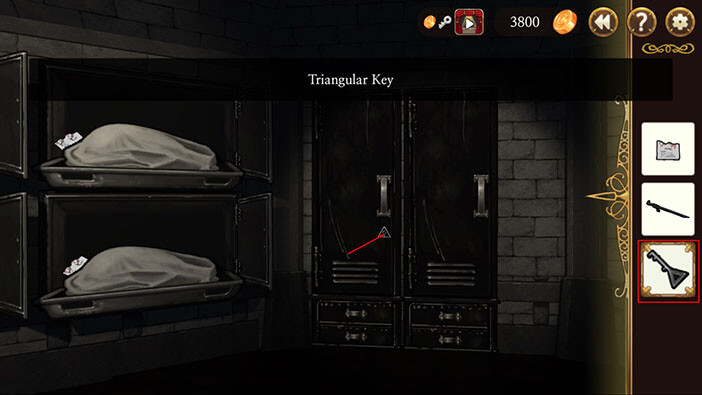
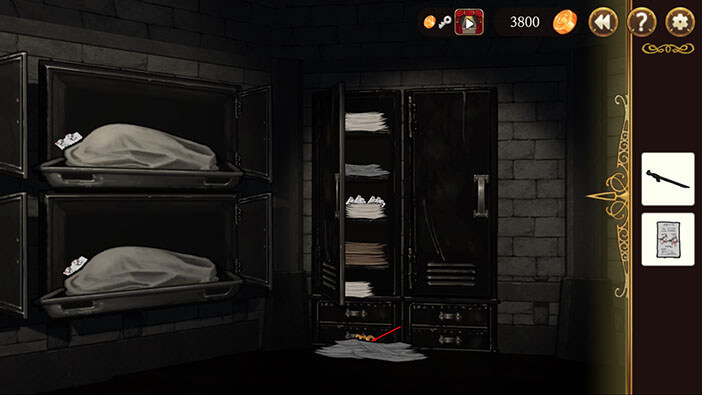
Turn to the right, select the “Triangular Key” from the inventory, and tap on the triangle on the left side of the locker. Tap again to open the locker.
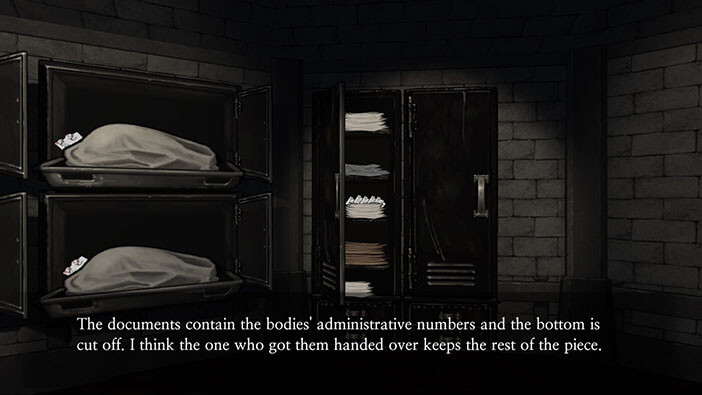
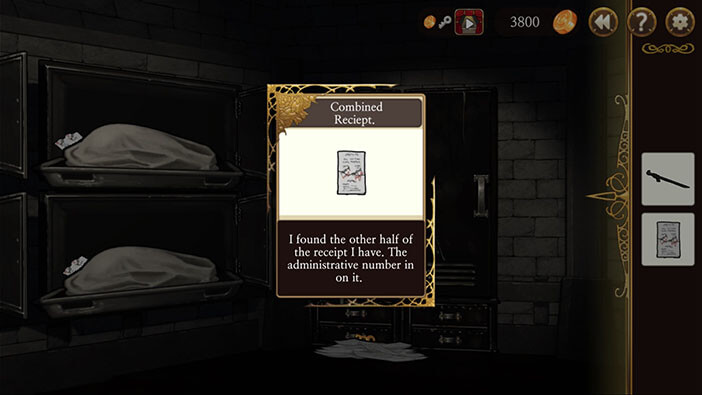
Select the “Body Receipt” from the inventory and tap on the pile of documents on the second shelf.
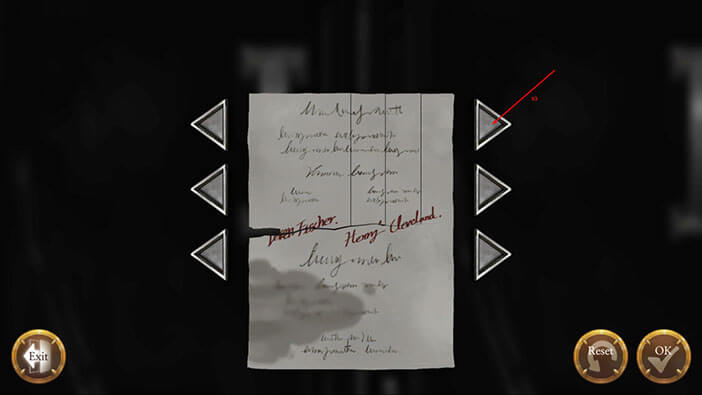
The documentation in the locker contains the upper part of the receipt, and we have the bottom part. Our task is to find the document that matches our receipt by scrolling through the documents, using the left and right arrows.


Tap once on the bottom right arrow.

Tap once on the middle right arrow.

Tap three times on the upper right arrow. Looks like it matches our receipt, tap on “OK” to confirm.
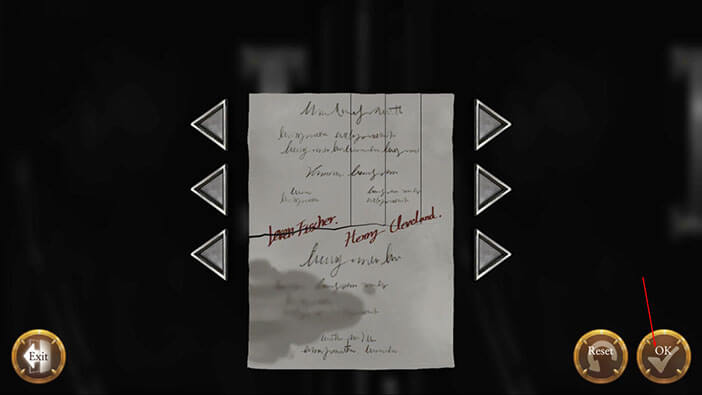
The body was handed over by the head of the morgue, Levine Fisher. We already know this guy, he was the one that wore a cylinder hat and helped Schmitz with the investigation. The body was claimed by Victor Frankenstein, as expected, but if Frankenstein didn’t take over the body, Henry Cleval would do that instead of him! Why? Are these two connected in some fashion? I don’t think so, but that’s something to think about…
As our character takes the receipt, a key falls out of the cabinet. Tap on it to pick it up.
That’s it for this room, turn to the right and tap on the door to exit.
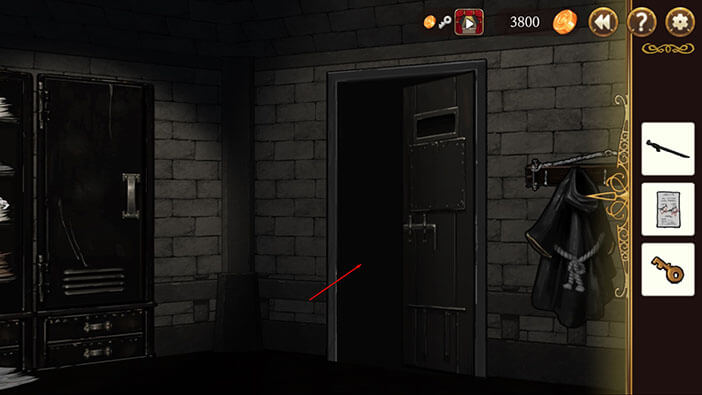
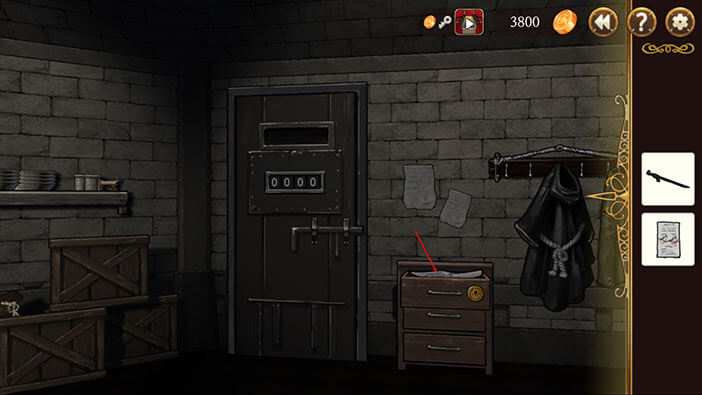
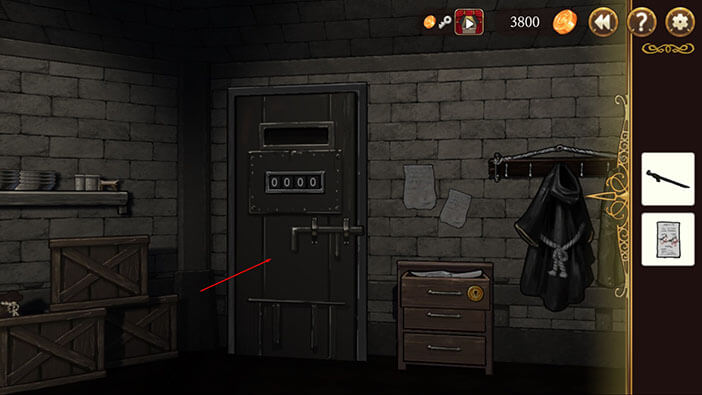
We already know from the previous chapter that our character went to the office next, through the door marked with “0000”. However, the door is now locked, so let’s find a way to open it.
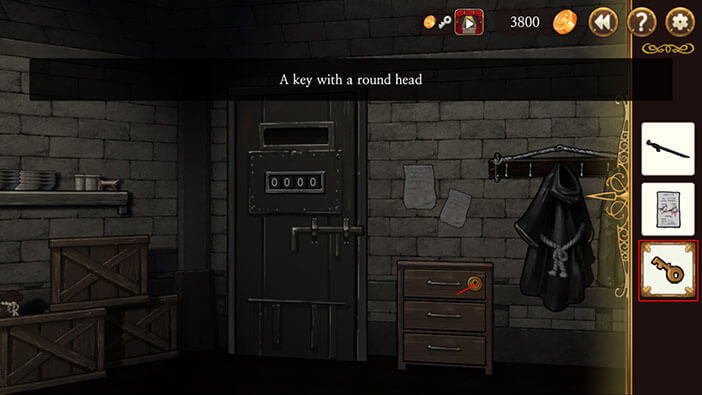
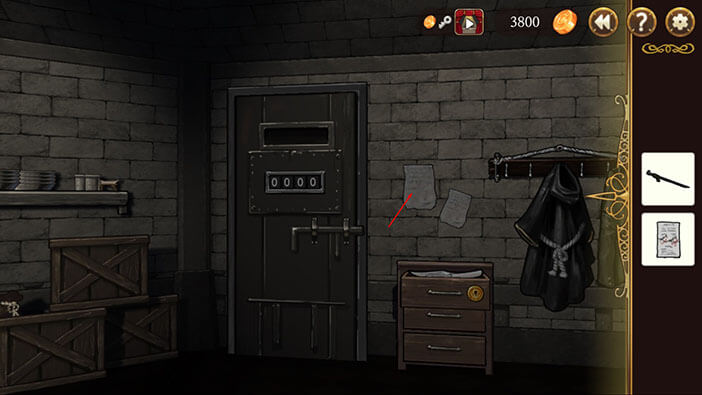
Turn around, select the key from the inventory, and tap on the keyhole on the upper drawer of the small cabinet, located to the right of the door marked with four zeroes. Tap on the drawer to open it.
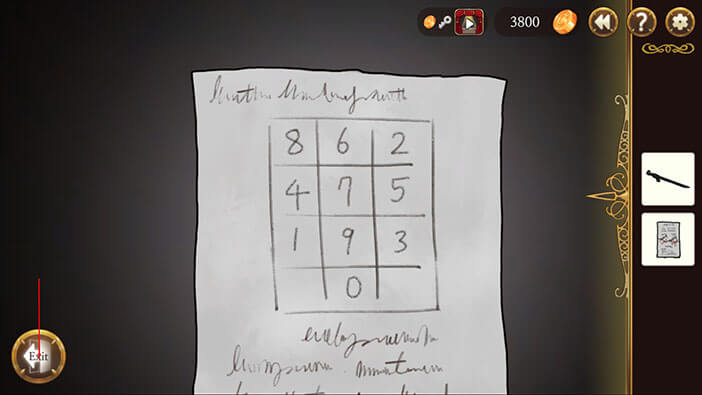
Tap on the document inside the drawer.
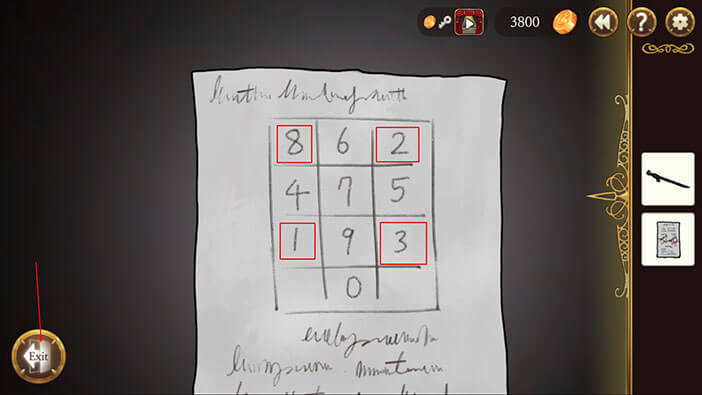
It’s some kind of a grid with fields marked with numbers. Tap on the “Exit” button.
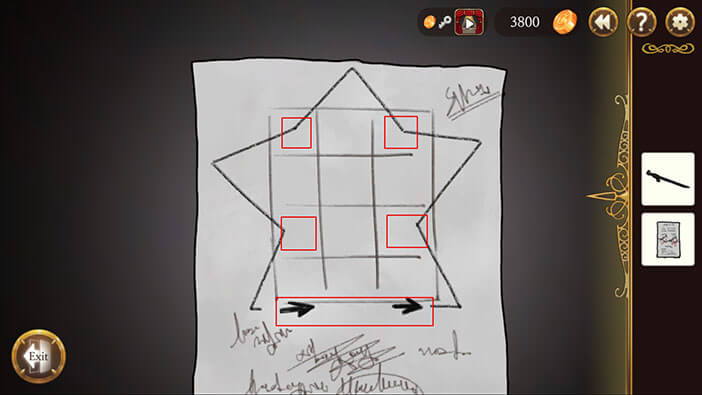
Tap on the note above the cabinet to examine it.
Ok, this image is very similar to our grid. Four of the fields are intersected by lines of the star-like shape drawn around the fields. These fields are:
The field in the first column of the first row (III)
The field in the first column of the third row (IV)
The field in the third column of the first row (II)
The field in the third column of the third row (I)
Looking at these fields on the grid in the drawer, and using the numbers inside those fields should reveal the code for the door “0000”. However, there are also two arrows below the grid that indicate the order of numbers. Looking at the arrows I added the order of numbers in the brackets next to the field, in the text above, using Roman numerals.
Uh, this was a difficult one to figure out. Tap on the “Exit” button.
Tap on the document inside the drawer, again.

Let’s figure out the code.
The first number is the one in the field in the third column of the third row = 3
The second number is the one in the field in the third column of the first row = 2
The third number is the one in the field in the first column of the first row = 8
The fourth number is the one in the field in the first column of the third row = 1
So our code is “3281”. Tap on the “Exit” button.
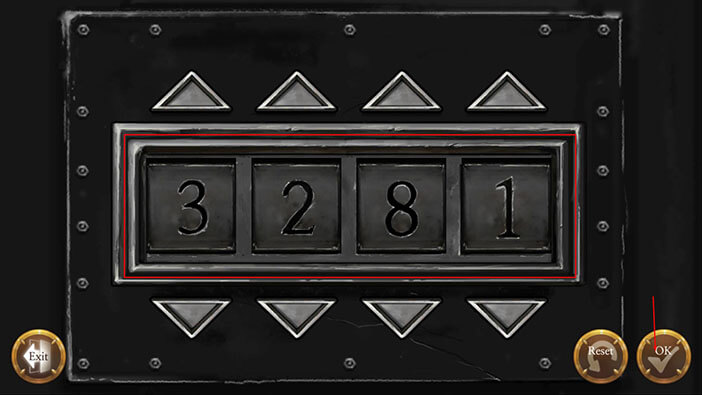
Tap on the numerical lock marked with “0000”.
Enter the code “3281” and tap on the “OK” button.
Finally, tap on the door to open them, and tap again to proceed into the office.

Tap on the keys on the shelf, located just to the left of the door.
Dang, our character dropped the keys and it is now behind the cabinet. Select the “Crowbar” from the inventory and tap on the bottom right corner of the cabinet.
We managed to reach it, and the “Bunch of Keys” has been added to the inventory. On a side note, do you think that this character is really clumsy? My theory is that his hands are too big and that’s why he has trouble when handling smaller objects. No other character, so far, didn’t have such problems, but this one dropped several items when trying to pick them up, in this stage alone.
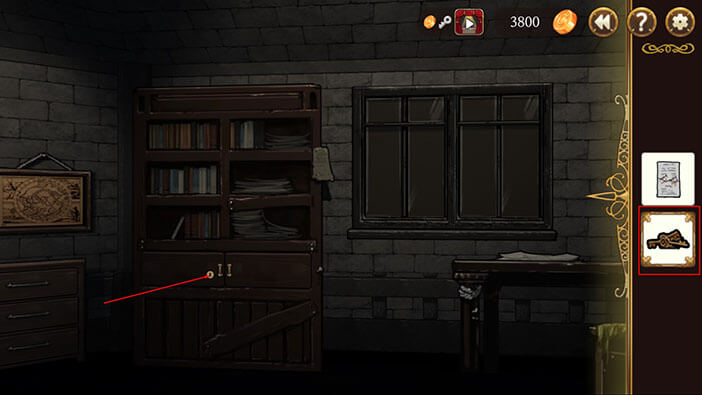
You can use the “Bunch of Keys” to unlock and open all the cabinets but none of them contain anything useful, except the one on the left of the window. So, turn to the left until you see this cabinet, select the “Bunch of Keys” from the inventory, and tap on the keyhole to open the cabinet.
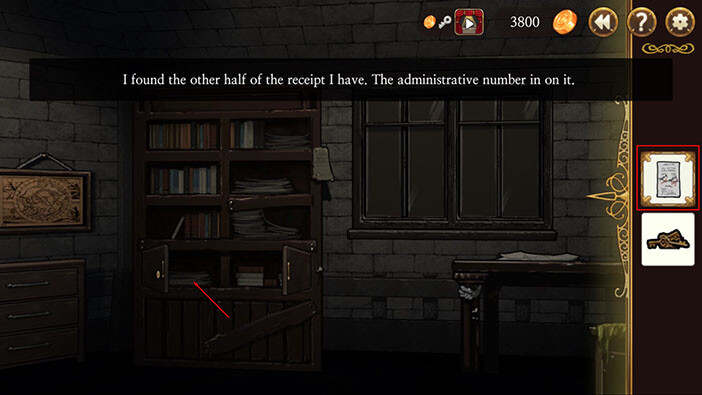
Now, select the “Body Receipt” from the inventory and tap on the compartment on the left, so we can find a matching document.
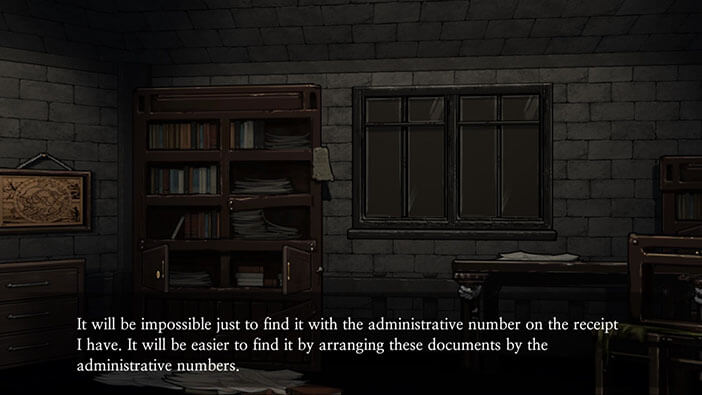
Oh, well. It seems that the morgue has an unorganized administration and in order to find a matching document and discover the identity of the person on our receipt, we will first have to arrange the entire archive by administrative number.
Just like when we did this the last time, I will write down the order in which I “paired up” the documents, step by step.
Step 1: Tap on the H001 and H002 to connect them
Step 2: H021 and H022
Step 3: H022 and H023
Step 4: H002 and H003
Step 5: H026 and H027
Step 6: H027 and H028
Step 7: H005 and H006
Step 8: H019 and H020
Step 9: H020 and H021
Step 10: H018 and H019
Step 11: H004 and H005
Step 12: H010 and H011
Step 13: H014 and H015
Step 14: H008 and H009
Step 15: H016 and H017
Step 16: H015 and H016
Step 17: H006 and H007
Step 18: H007 and H008
Step 19: H025 and H026
Step 20: H003 and H004
Step 21: H009 and H010
Step 22: H024 and H025
Step 23: H013 and H014
Step 24: H011 and H012
Step 25: H023 and H024
Step 26: H017 and H018
Step 27: H012 and H013
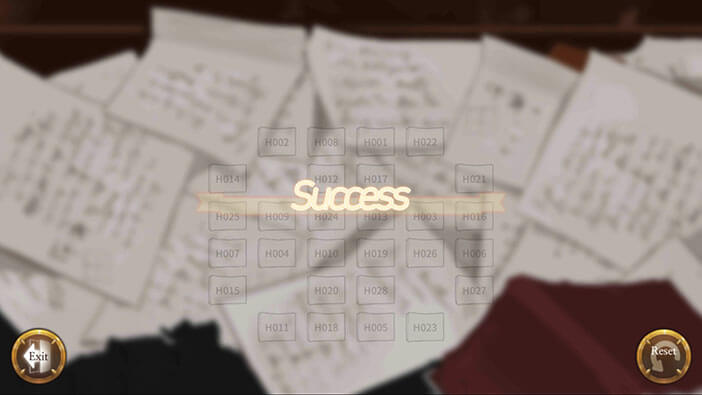
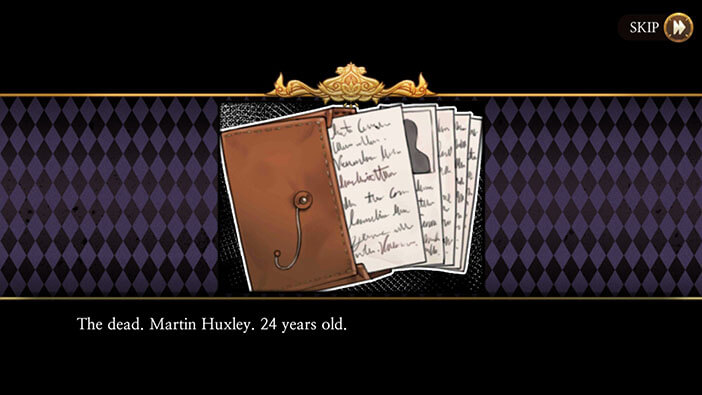
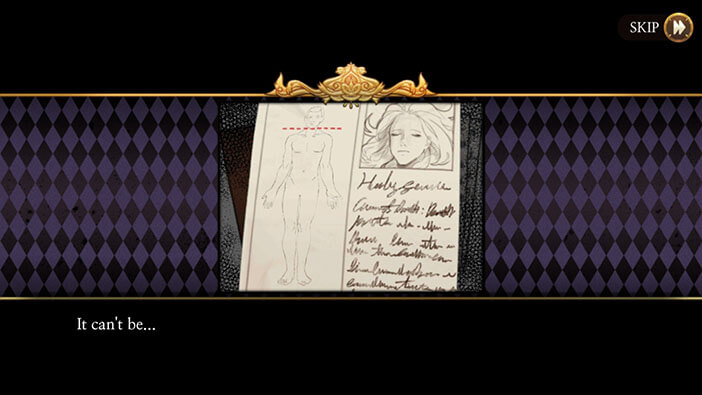
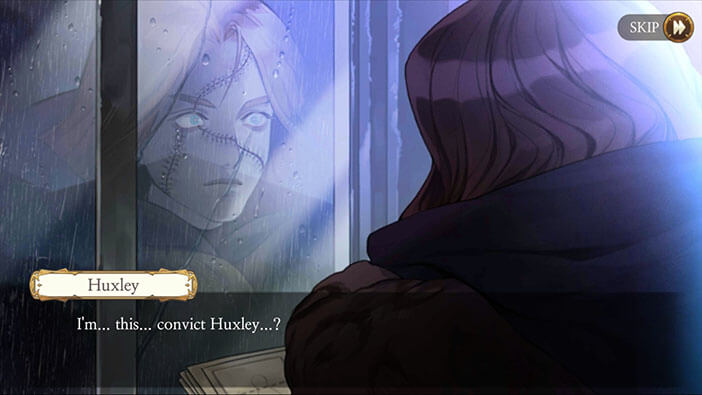
After completing this puzzle our character finally finds out the identity of the person from the receipt. It was Martin Huxley’s body that was picked up by Victor Frankenstein, just as we expected. Huxley was slain 4 days ago, and on the other side of the document, our protagonist sees the image of Martin Huxley. The lightning briefly illuminates the office and he sees stitched up Huxley’s face staring at him from the window. At this moment, after seeing his own reflection, our character realizes that he is Martin Huxley. That must have been a terrifying discovery… In flashes, he remembers the moments in which he was reanimated…
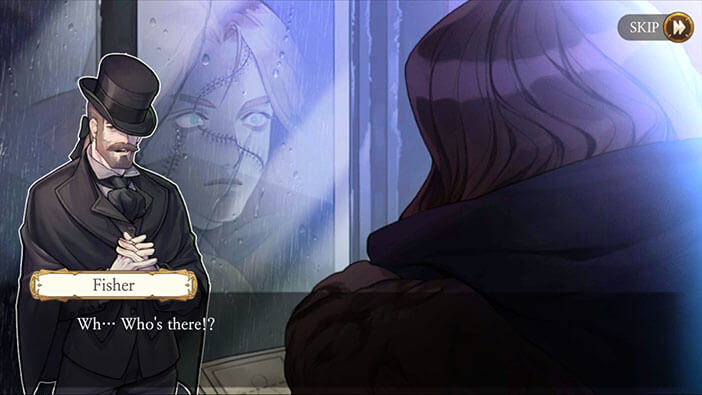
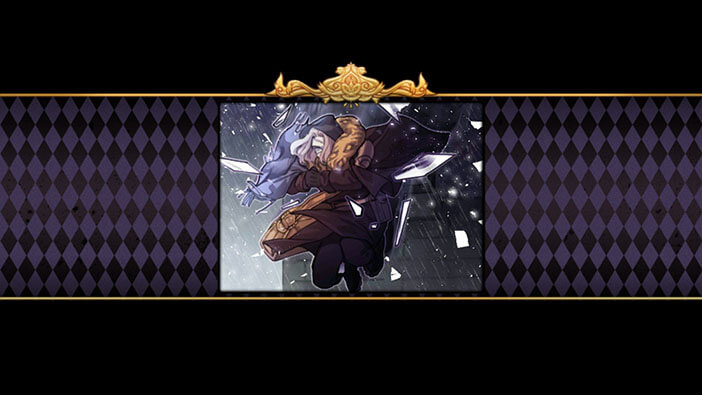
At this moment, Fisher enters the morgue shouting, and our protagonist decides to jump through the closed window and escape. He is an extremely strong and powerful creature, so jumping through a window on the second floor shouldn’t be a problem.
In the next stage, we will be playing as the reanimated Huxley again, this time as he heads back into his old home. Join us in the next stage of the Walkthrough for Frankenstein Room ESC, so we can together help out Huxley as he rediscovers his past life.
Thank you for reading.