Chapter 4-1 Lovers
Complete Walkthrough
Hello everyone, and welcome to our Walkthrough for the First Stage of Chapter 4 for the Frankenstein Room ESC adventure game. Since the name of the chapter is the “Underground Organization” I guess we will be investigating the Aegyptus, and uncovering the dark secrets of this organization.
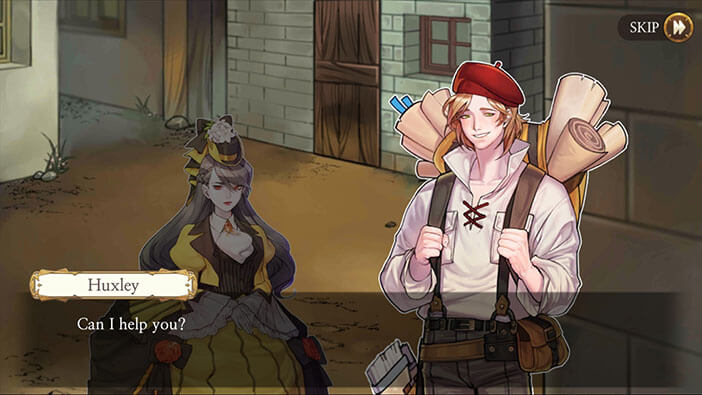
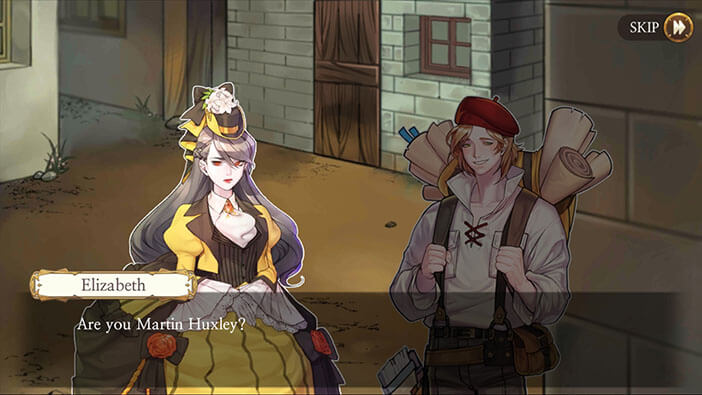
Before we start playing this chapter, there is a very interesting backstory, explaining how Huxley and Elizabeth met. The young girl immediately wanted to see what Huxley can do, claiming that he is “the best in town”. Ah, well that was a very open approach, it looks like Elizabeth wasn’t shy, at all. But Huxley seemed very surprised and caught off guard.


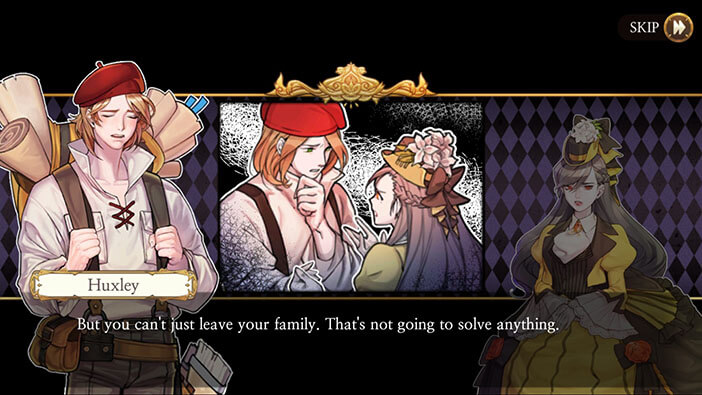
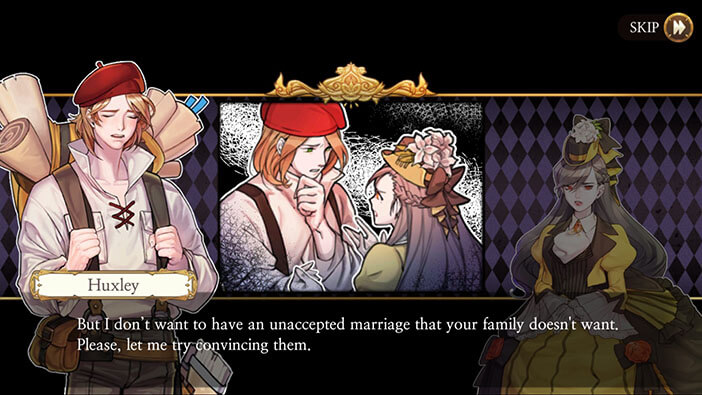
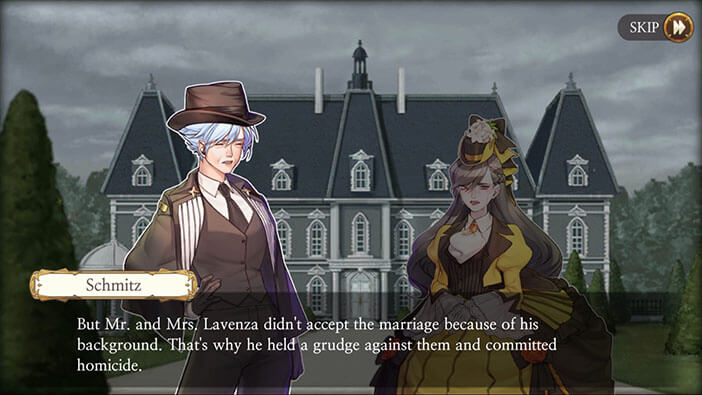
As we already know, her parents were strongly against this relationship, and even more so against marriage, at least initially. Elizabeth was even considering abandoning the family, but Huxley wanted to wait and gain the Lavenza’s approval. As a side note, at this point, he already got the approval from Francis Lavenza’s letter, but he couldn’t tell Elizabeth about it until they get married. That was one of Francis’s conditions if you can recall reading this letter while investigating Neumann’s office.


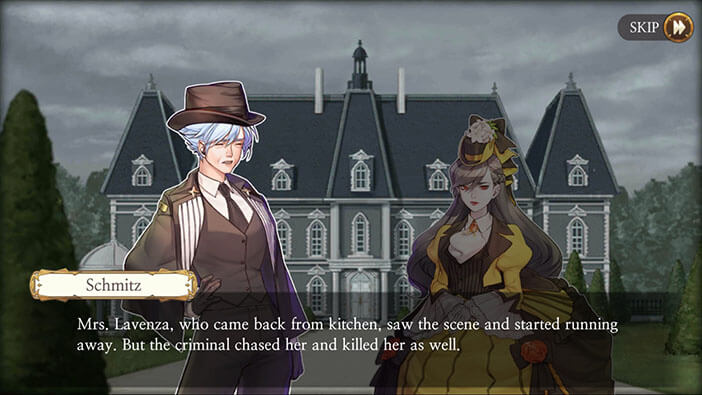
Our story continues in the Lavenza family mansion. Elizabeth returns to her family home and discovers that both of her parents have been murdered.
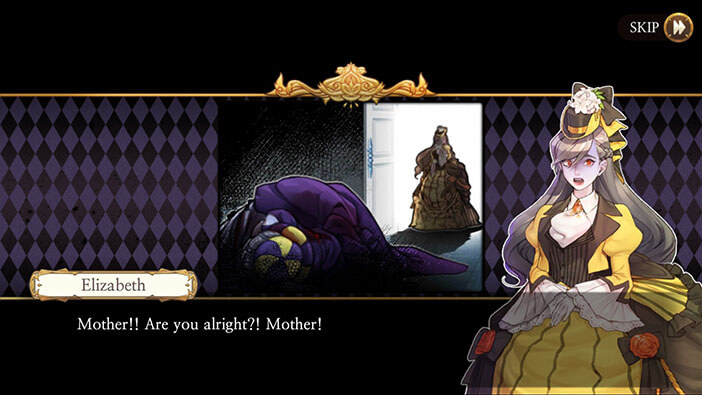

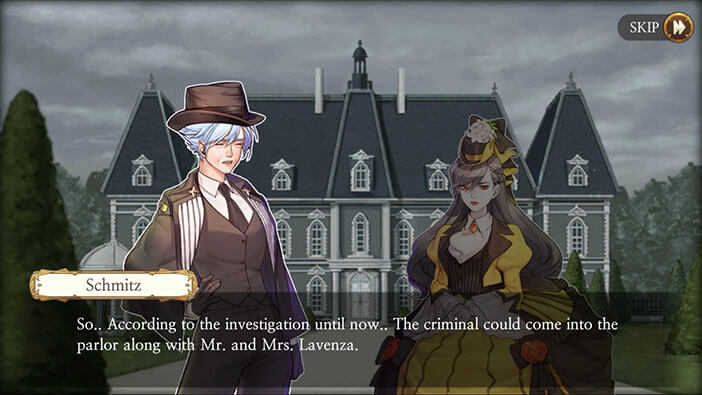
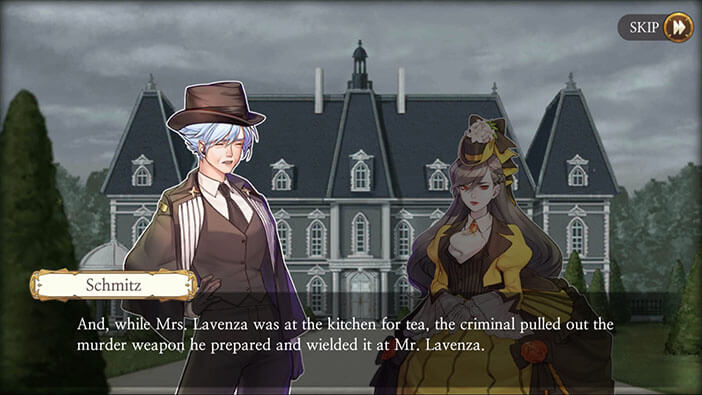
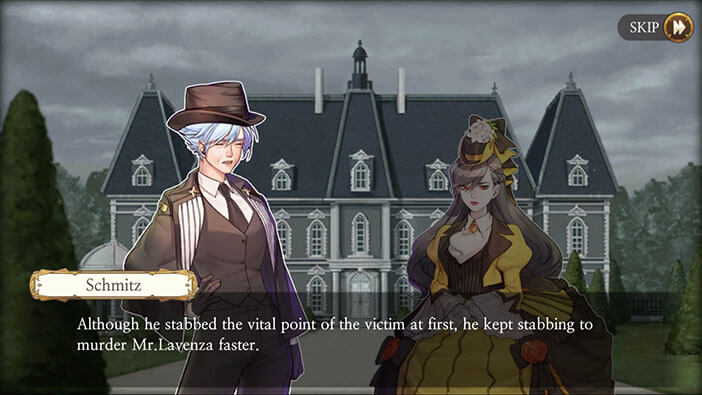
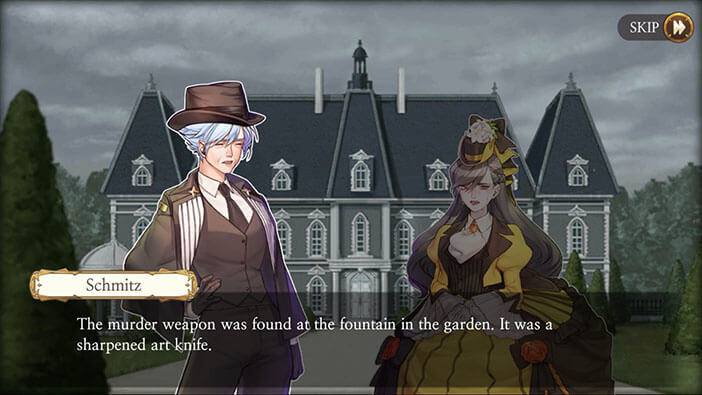
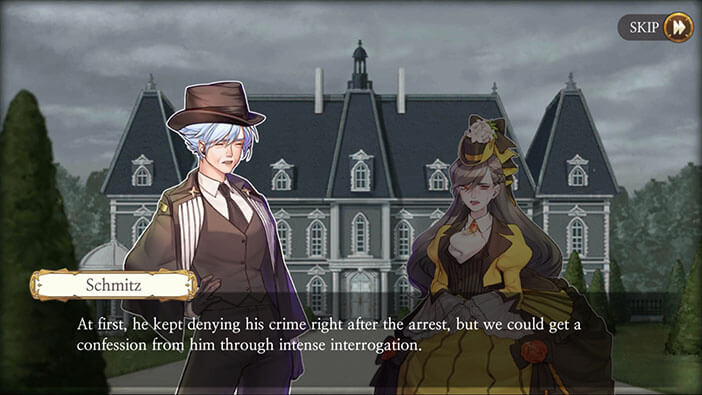
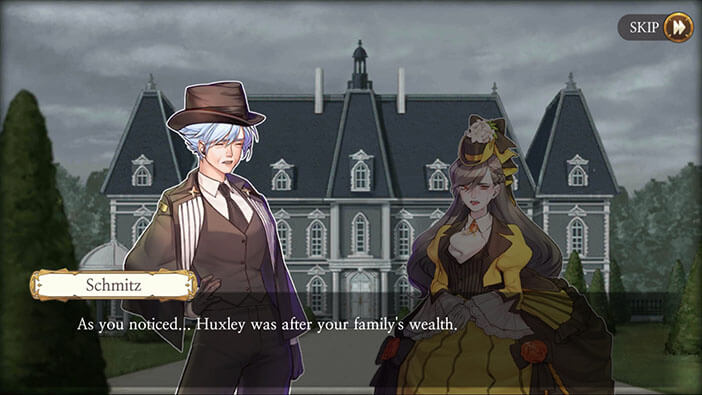
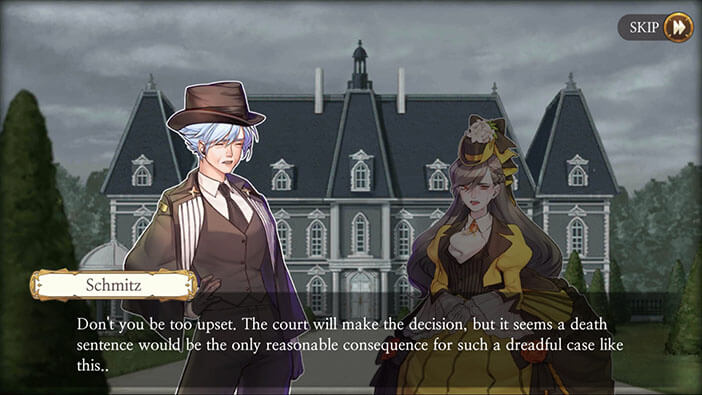
The backstory continues with Schmitz explaining to Elizabeth everything that was uncovered during the investigation. Ahem, well the detective, of course, explained what she uncovered during the first investigation, later discoveries that she uncovered during the second investigation, she kept for herself. The detective also says that Huxley claimed that he is innocent at first, but confessed the crime later… I still don’t understand why would he confess, but that’s what happened. Elizabeth’s world turned upside down, after losing both parents, and finding out that Huxley was only after her money…
At least, that’s what she was lead to believe by the court and by chief investigator Schmitz…

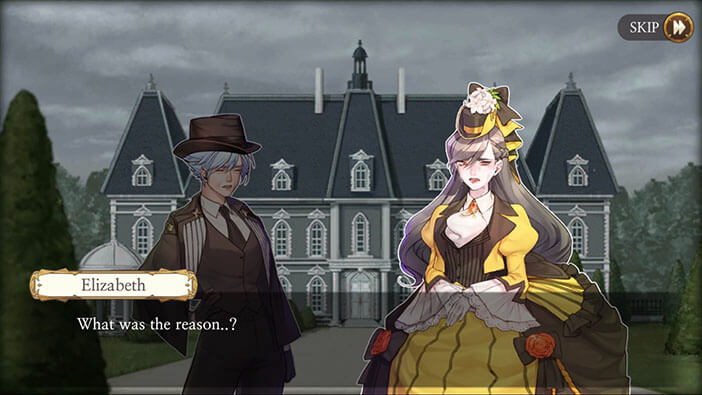

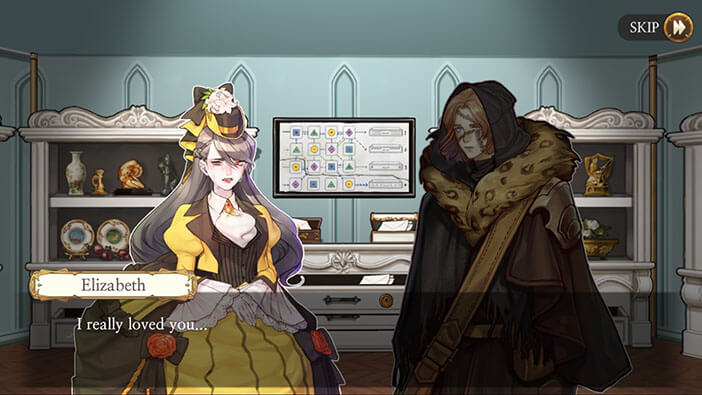
And we come back to the present. After both Elizabeth and Huxley calmed down and recovered from the initial shock, they are trying to figure out what happened. Elizabeth isn’t trying to kill him anymore, but she now demands an explanation. Huxley, honestly admits that he doesn’t remember what happened, as he doesn’t remember almost anything from his past life. But swears that he will discover the truth.
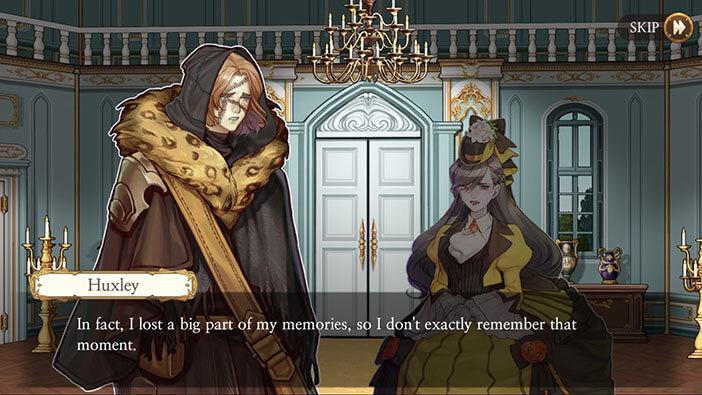

At this point, Elizabeth recalls that Huxley sent her several letters while he was imprisoned and that she threw the letters somewhere in the attic, without reading them. This lights up new hope in Huxley, since reading the letters might uncover what actually happened, and it might also trigger some of his old memories…

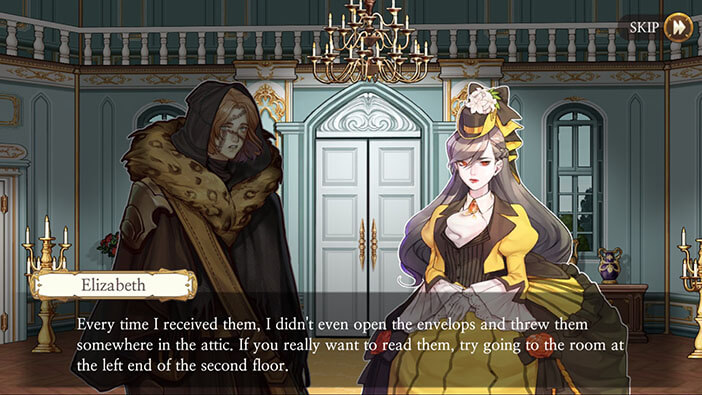
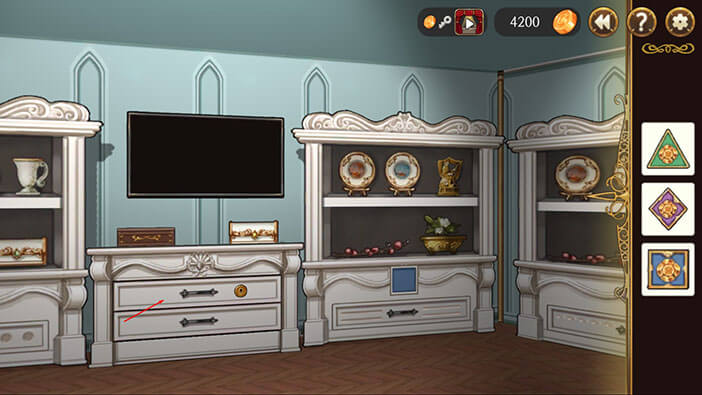
And that’s how this stage starts. Tap on the statue of the golden eagle, located to the left of the stairs to pick it up.
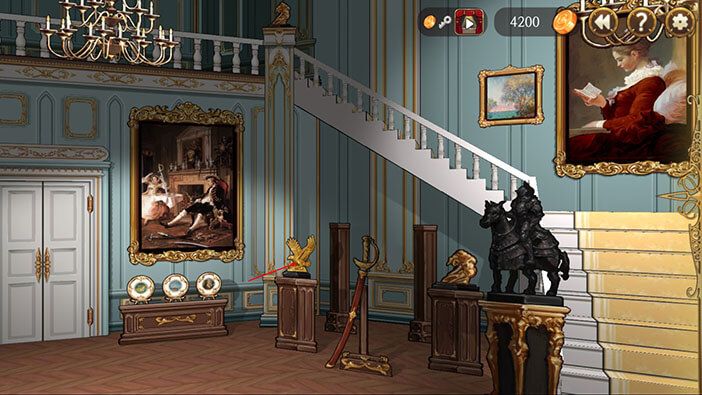
Tap on stairs that lead to the upper left part of the house, so we can start the search for the letters.
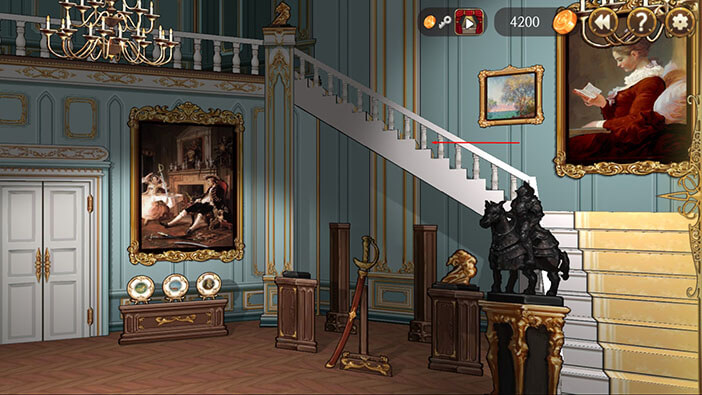
Once you get upstairs, tap on the statue of the golden rabbit, located to the left of the first door, to pick it up and it will be added to the inventory. We are not looting the place for gold, instead, we will use these statues to solve one puzzle, a bit later.
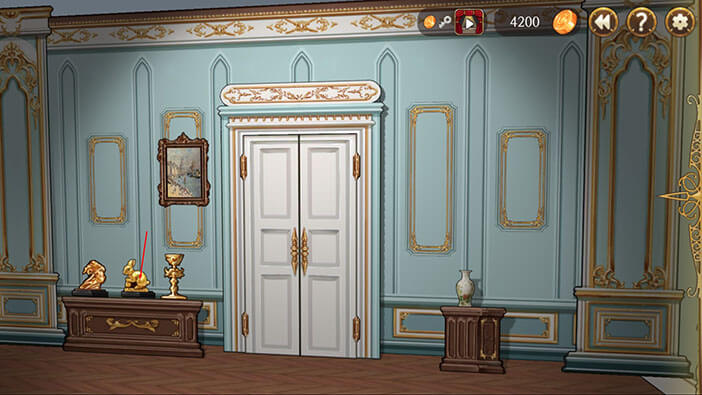
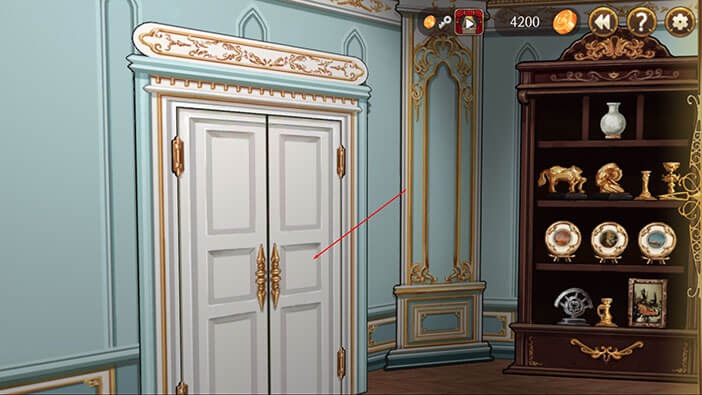
Now, sweep all the way to the left, and tap twice on the door at the end of the hallway to open it and enter.
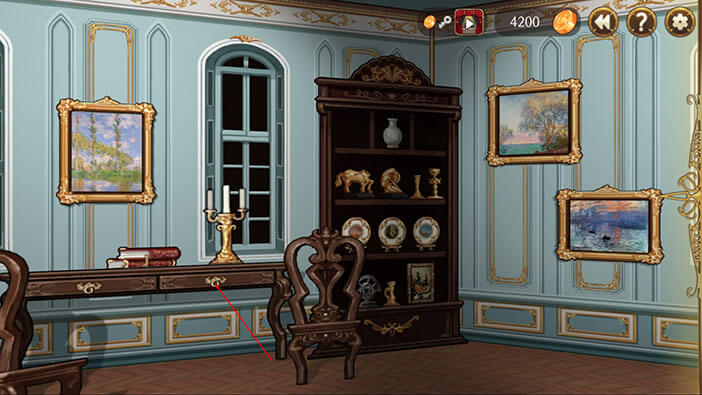
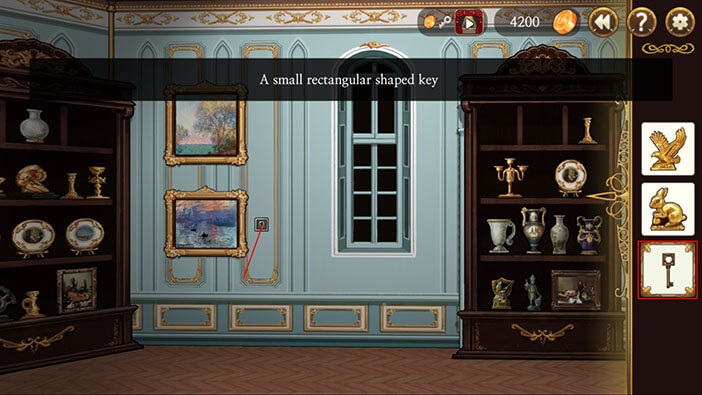
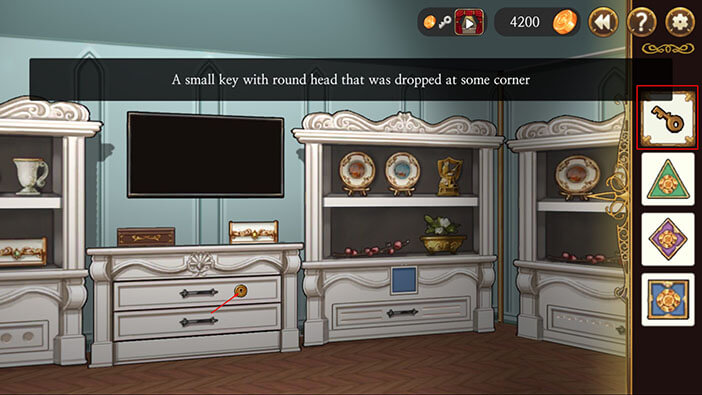
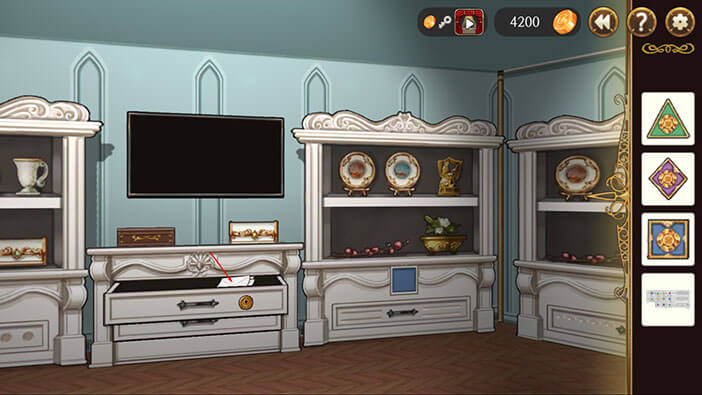
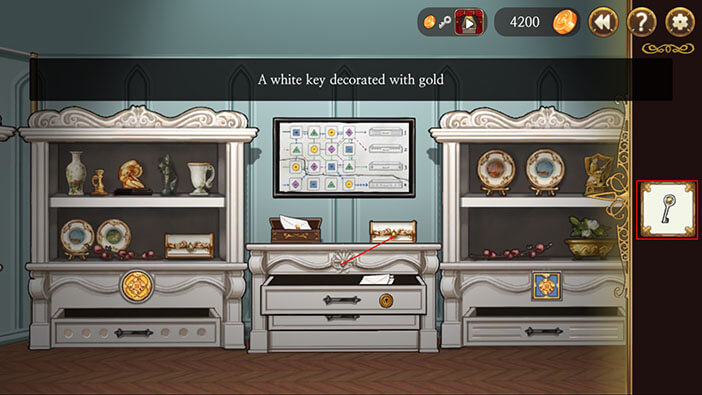
Turn all the way to the left until you see a desk. Tap on the right drawer to open it, and tap on the key inside to pick it up.
Turn a bit to the right and tap on the lower of the two paintings, that are hanging from the wall between the two cabinets. The painting will slide to the left, uncovering the keyhole that was hidden behind it.
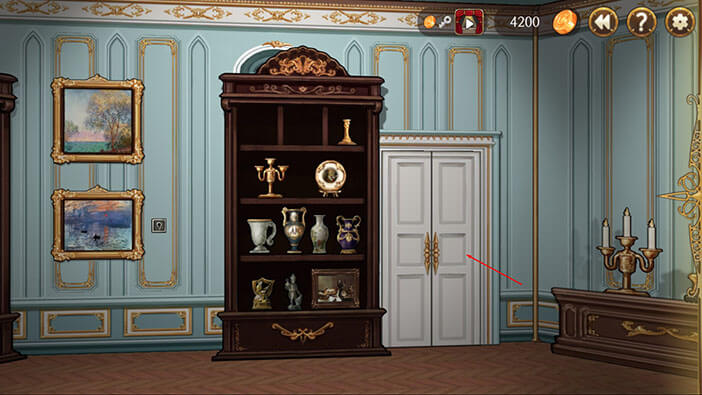
Select the key from the inventory and tap on the keyhole. The cabinet on the right will slide to the left, revealing a secret door.
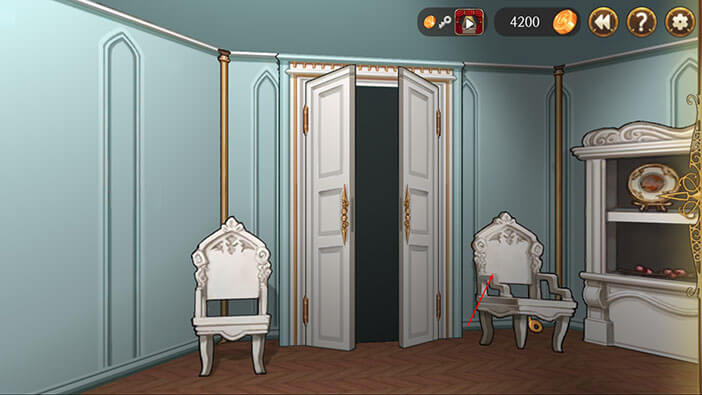
Tap twice on the door to open them and proceed into the “hidden” room.
Tap on the chair on your right to move it out of the way.
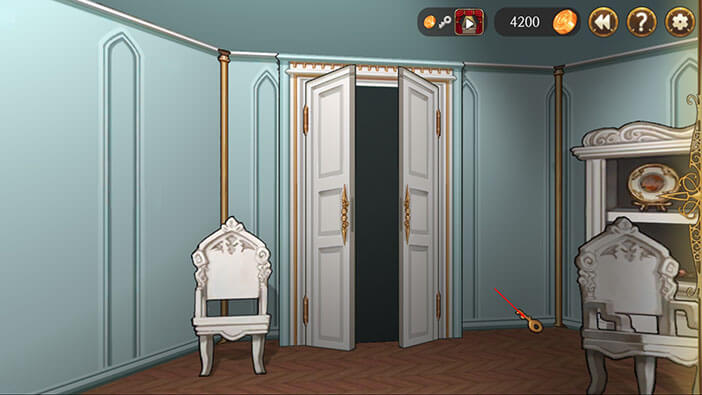
Tap on the key that was hidden behind the chair to pick it up.
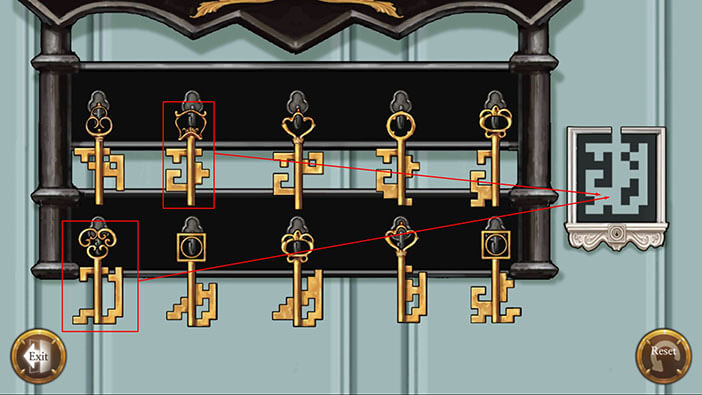
Now, turn around and tap on the keys, hanging from the shelf.
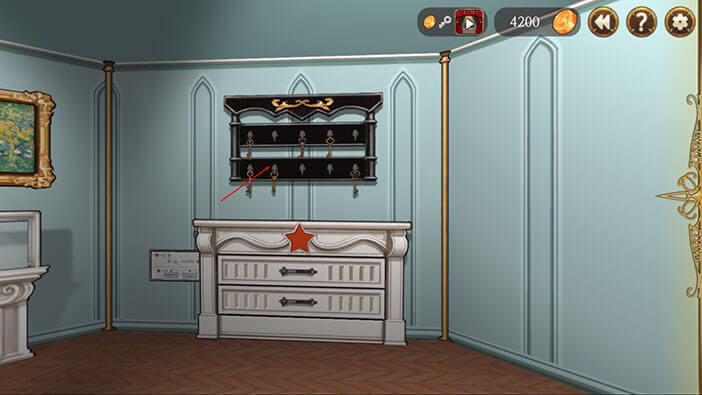
Here, we have to combine two keys in order to create a usable key that matches the slot, just like we did in the previous stage. Drag key number 2 and key number 6 into the slot and a large key will be added to the inventory.

Turn a bit to the left, select the newly created key, and tap on the keyhole on the display shelf to unlock it.
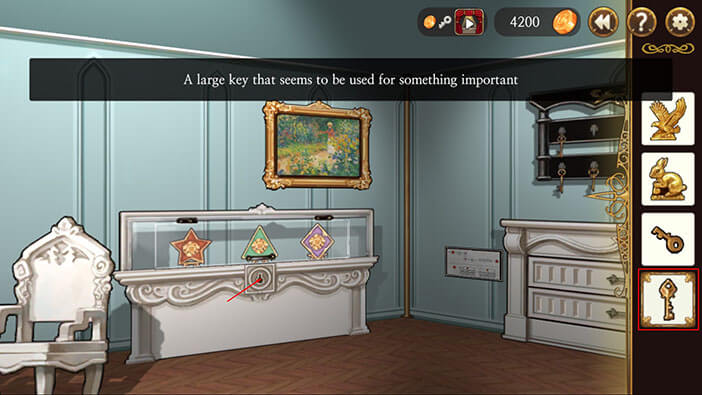
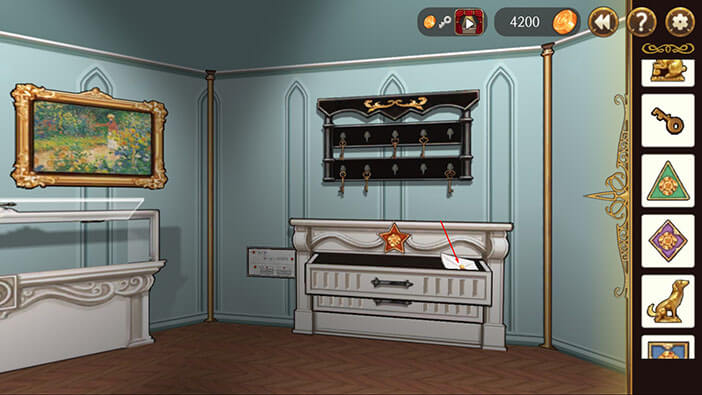
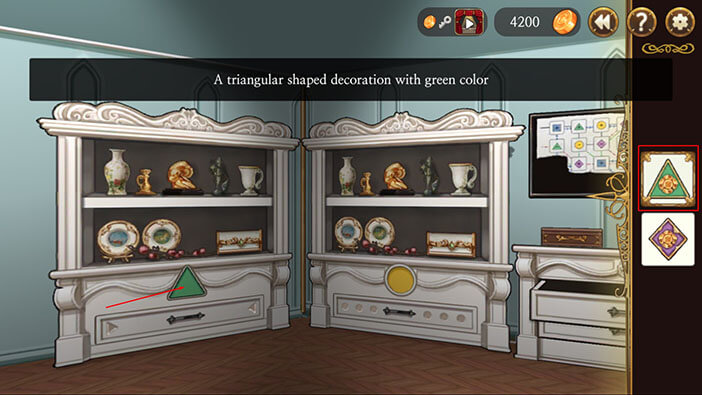
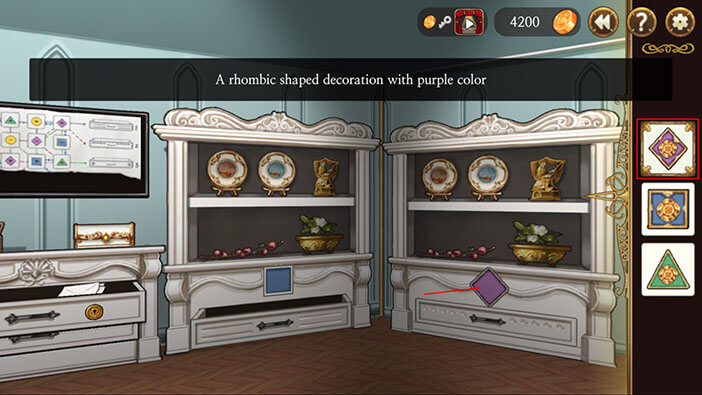
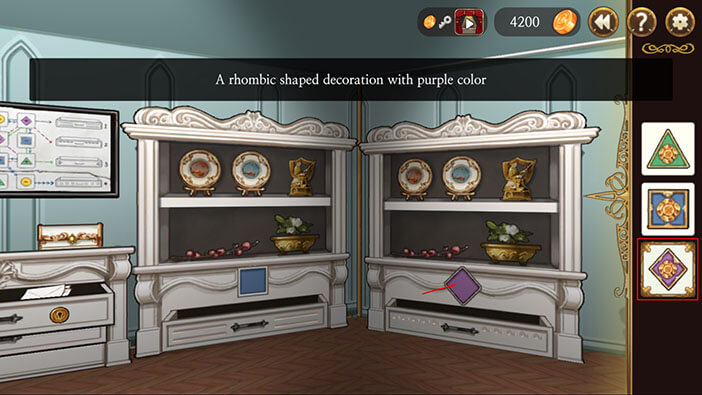
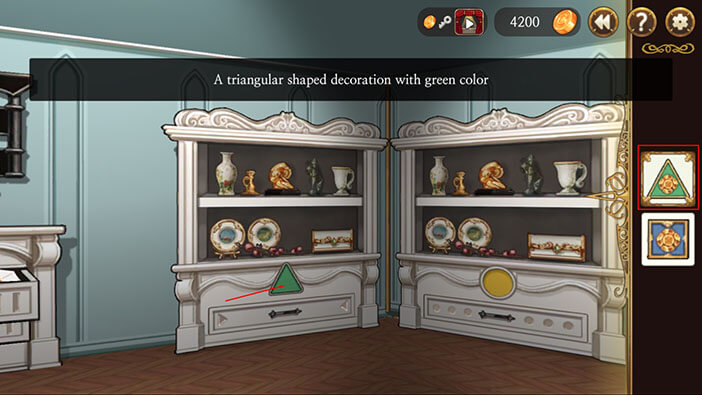
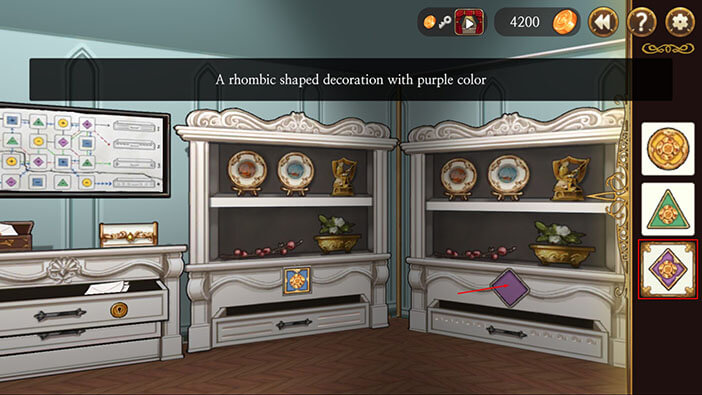
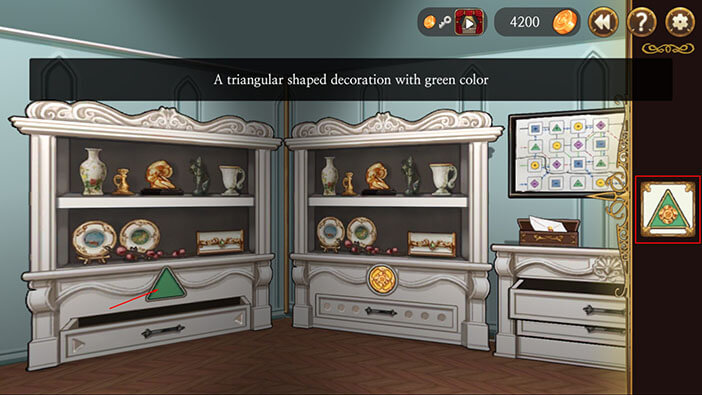
Tap on the display glass to open it, and tap on all three decorations to pick them up. “A Star”, “A Triangular”, and “A Rhombic” decoration will be added to the inventory.
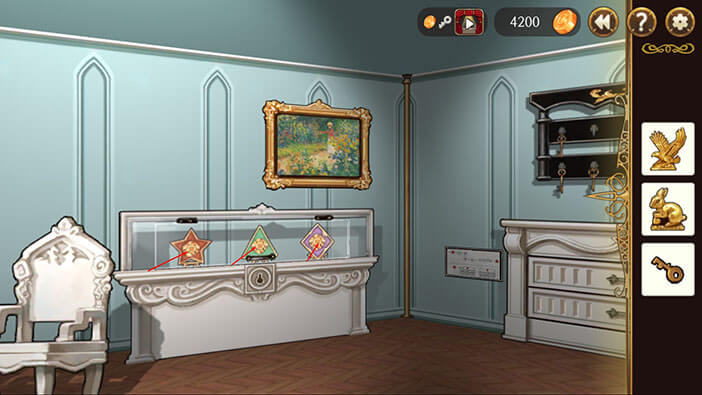
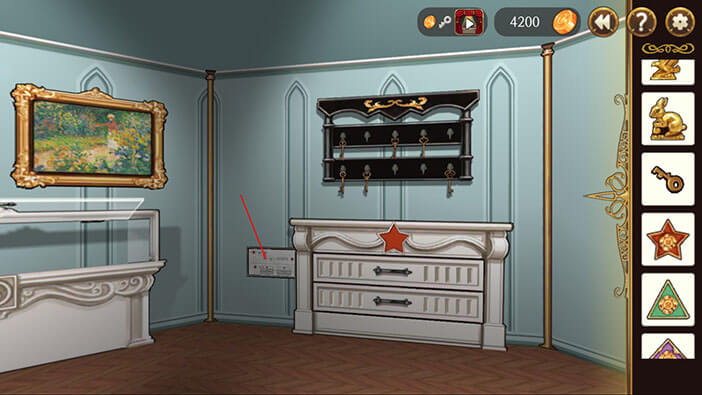
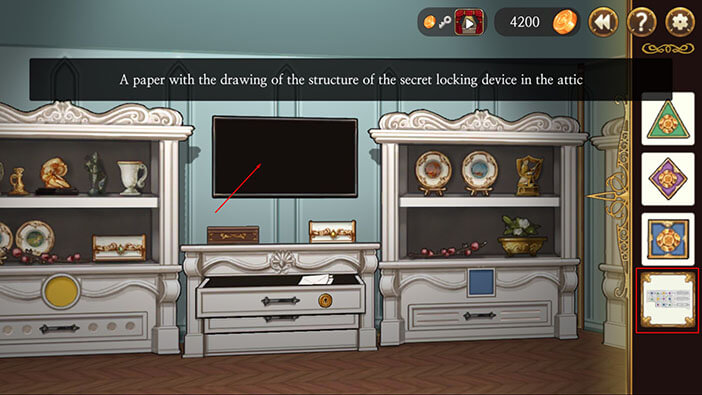
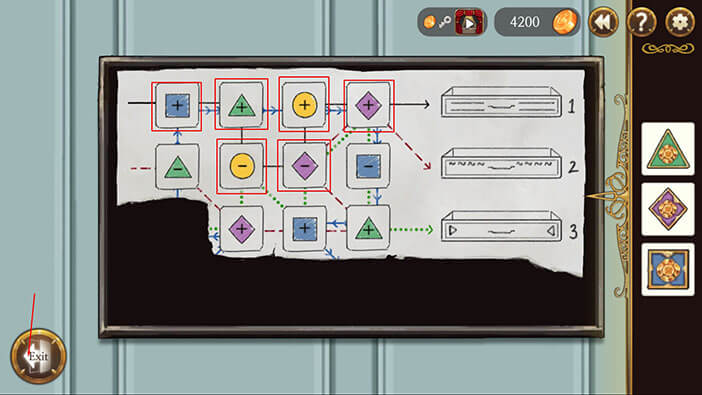
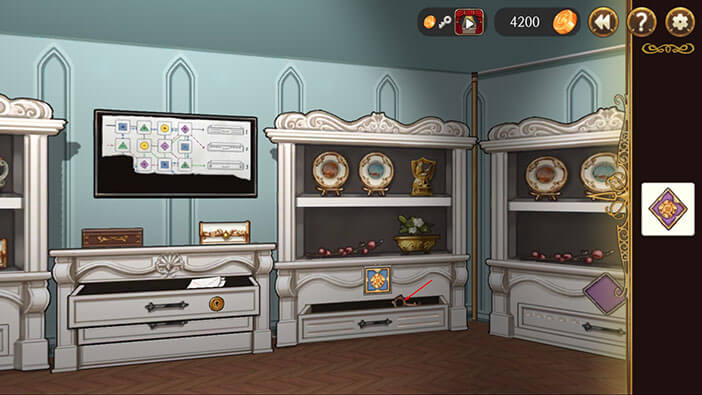
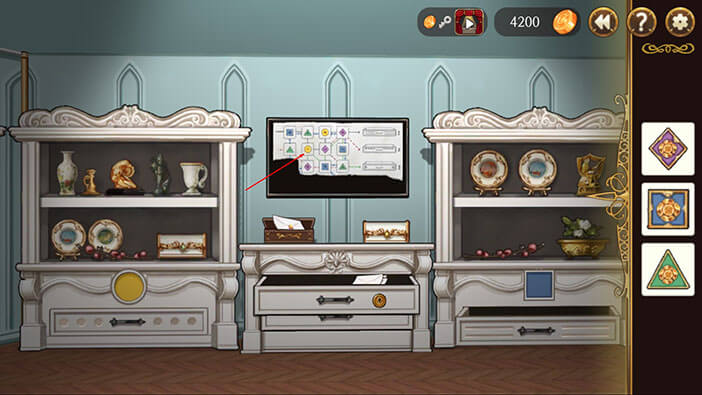
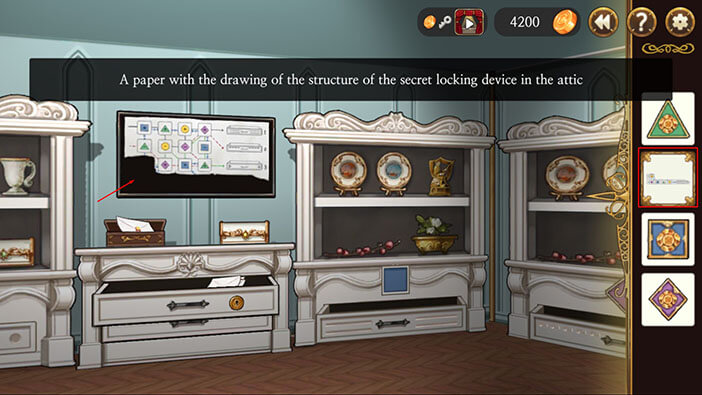
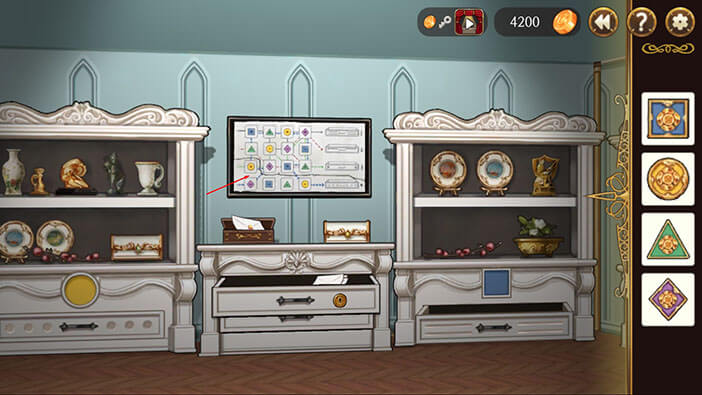
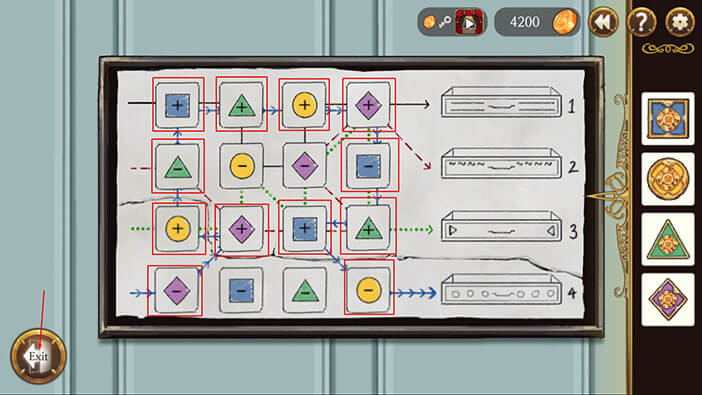
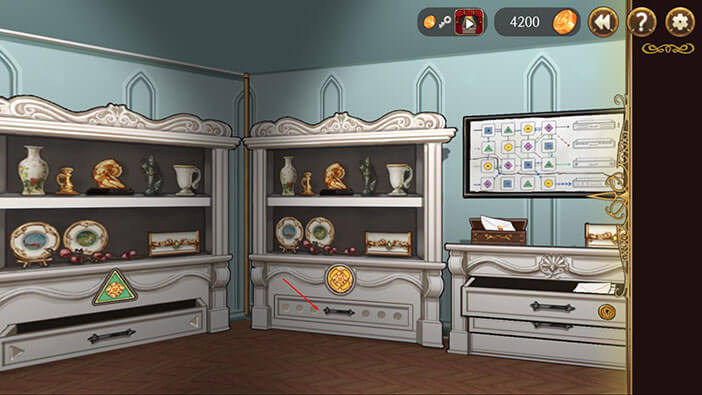
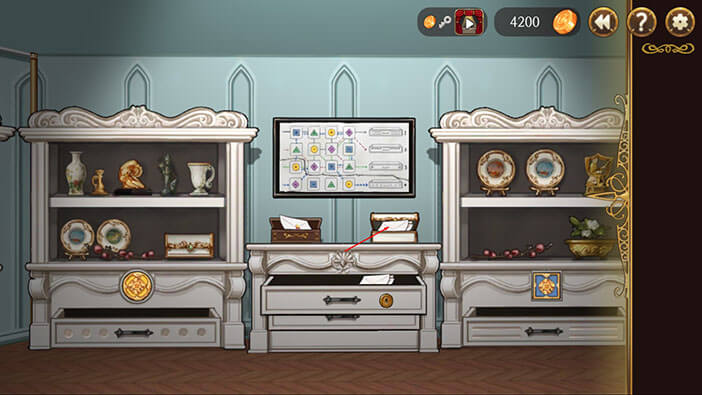
Tap on the scheme, located to the left of the drawer that is marked with a star symbol.
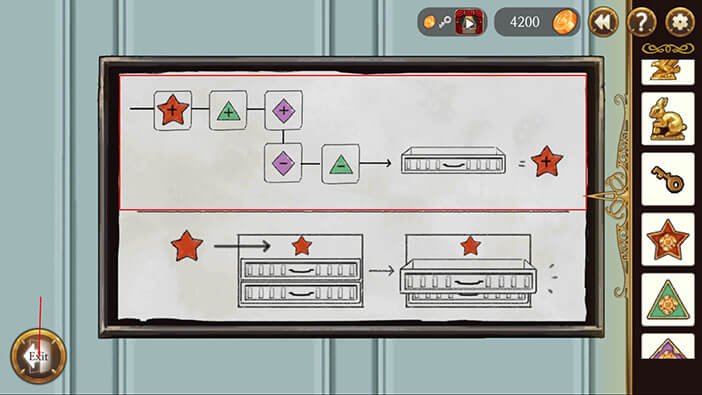
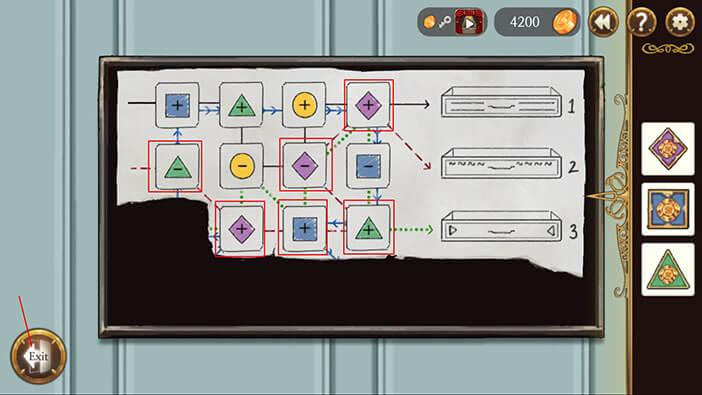
This scheme explains how to unlock the secret device. In the upper part of the scheme, we can see a single red star marked with a plus. There are also two green triangles, one marked with a plus and another with a minus, and the same goes for the purple rhomboids. All of these objects are connected by the black line.
Deciphering the scheme is very easy once you figure out the logic behind it. For each plus inside the shape, you add that shape and subtract it for each minus. Since the red star has a plus, and the other two shapes have a plus and a minus each, the solution is the red star.
You can also see the solution to this puzzle in the lower part of the image, but I wanted to explain the logic behind this type of puzzle in this simple example because we will need to understand it in order to solve similar puzzles in the future.
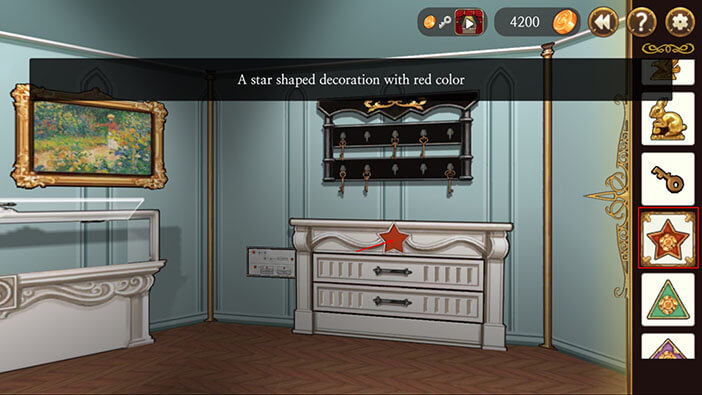
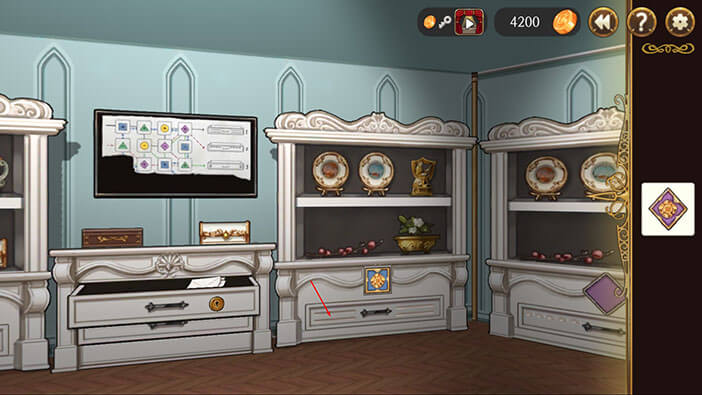
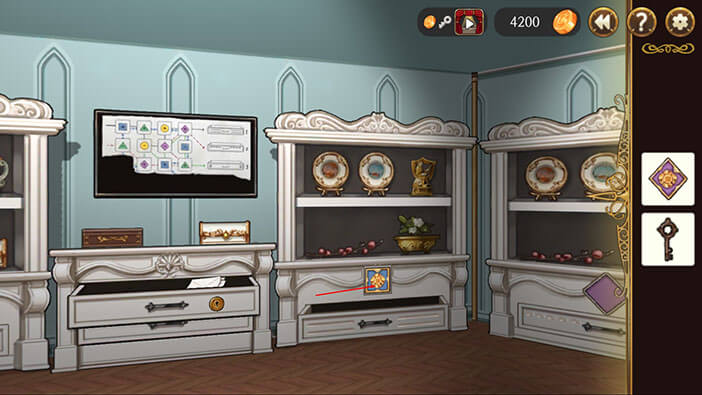
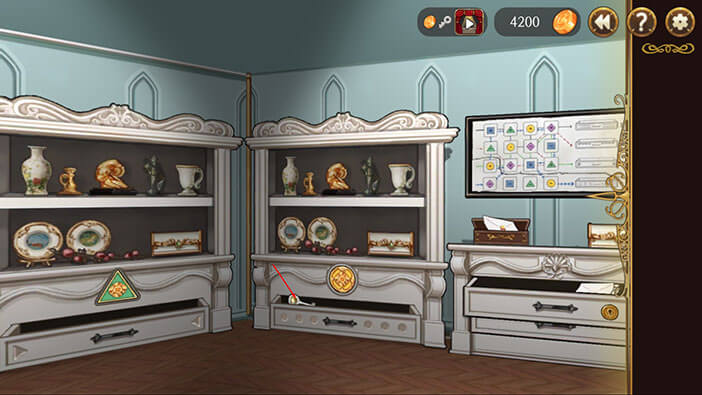
Select the “Red Star” decoration from the inventory and tap on the star slot on the cabinet.
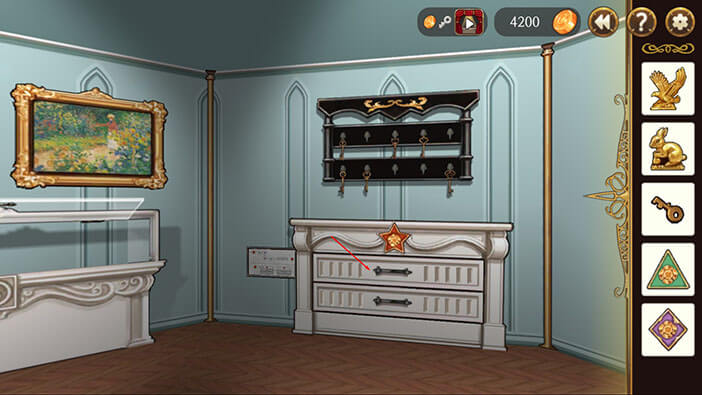
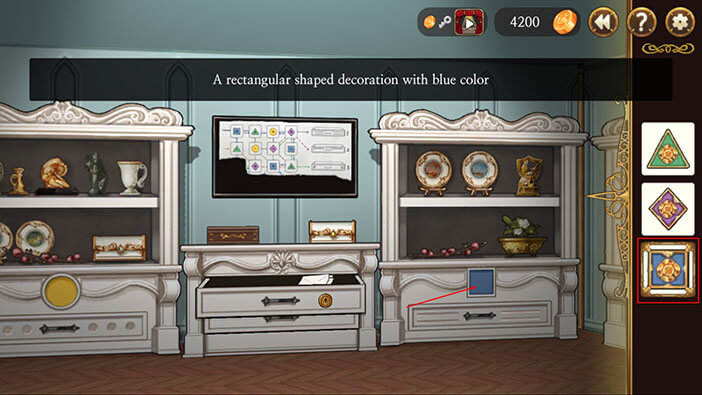
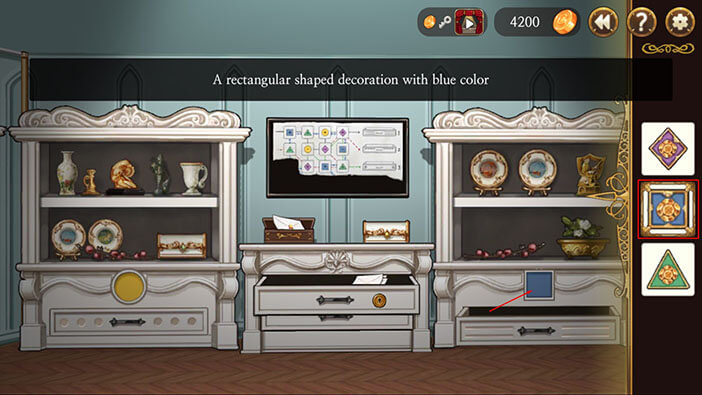
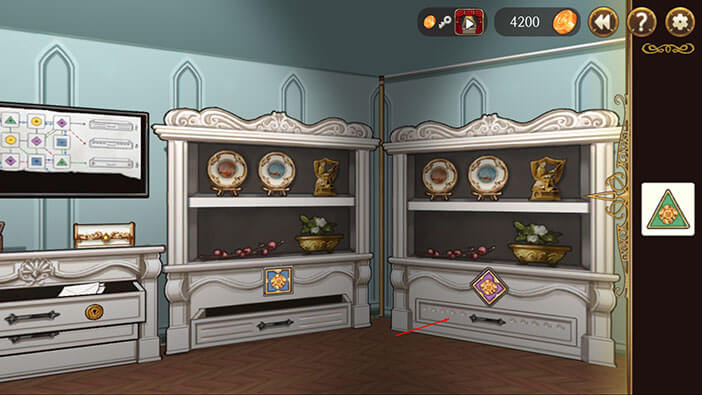
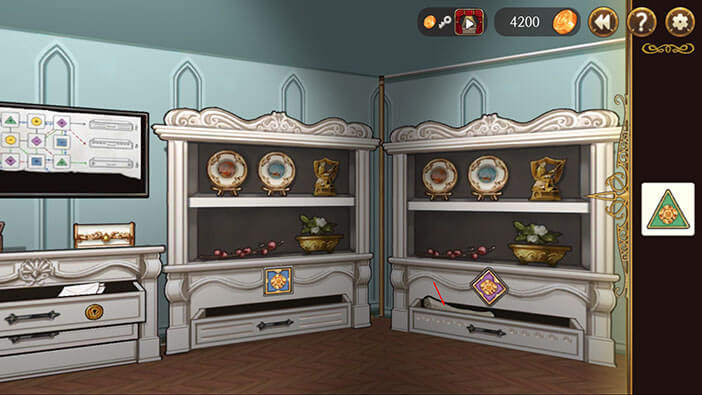
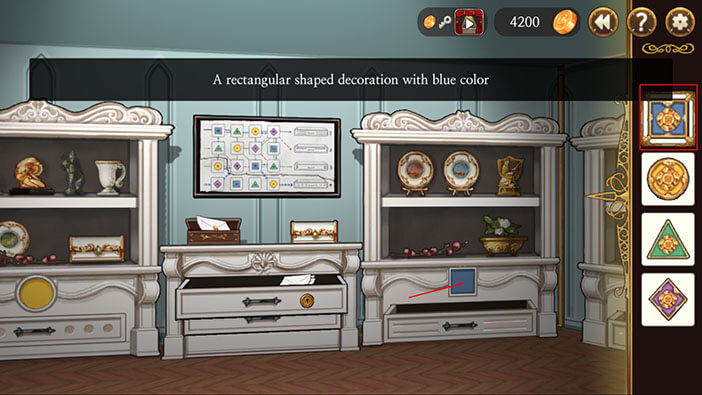
Tap on the top drawer to open it, and tap on the blue “Rectangular” decoration to pick it up. In my opinion, this shape looks more like a square, so we will call it a square to avoid confusion. Also, tap on the golden Dog statue to pick it up and it will be added to the inventory.

Ok, let’s now tap on the letter to read it. Well, Huxley is very sad and spends most of his time crying, while waiting for the trial. He also thinks that if there’s a single person in the world that might believe in his innocence, that would be Elizabeth. Well, we didn’t find out much from this letter…

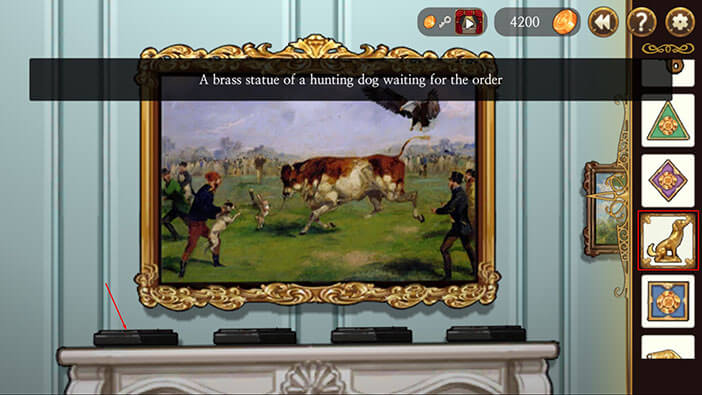
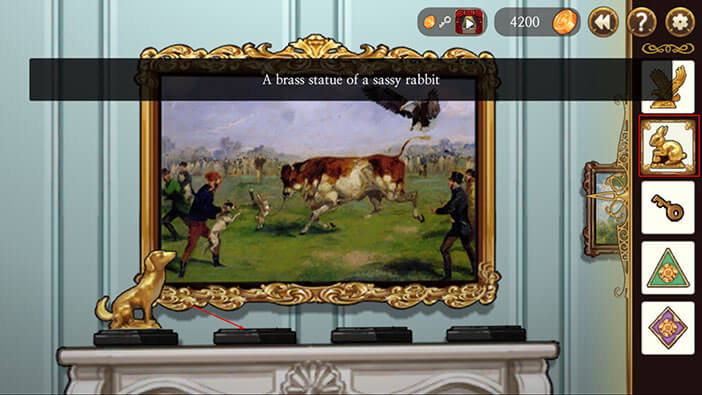
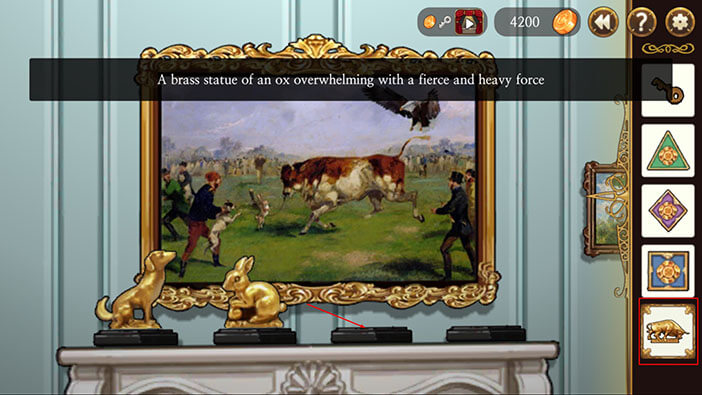
Turn to the right and face the picture. You will notice four black stands and the golden bull on top of one of them. Tap on the bull to pick it up.

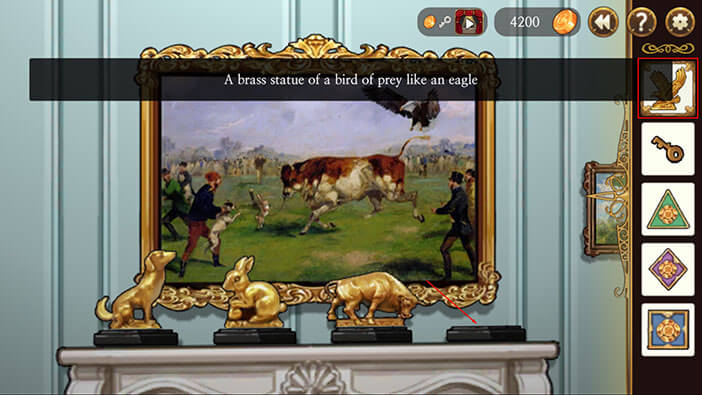
Now we have four golden statues of animals. Pay attention to the picture. Looking from left to right, we can see a dog, a rabbit, a bull, and an eagle. Let’s place the statues from our inventory on the stands below the picture, in exactly the same order. Select the “Golden Dog” statue from the inventory and tap on the first stand to place it.
Select the “Golden Rabbit” statue from the inventory and tap on the second stand to place it.
Select the “Golden Bull” statue from the inventory and tap on the third stand to place it.
Select the “Golden Eagle” statue from the inventory and tap on the fourth stand to place it.
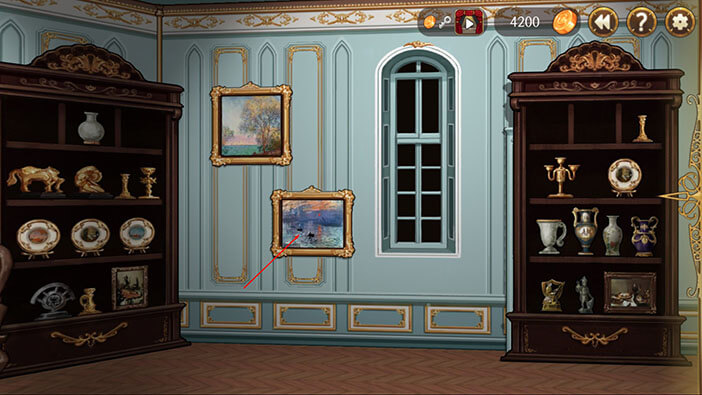
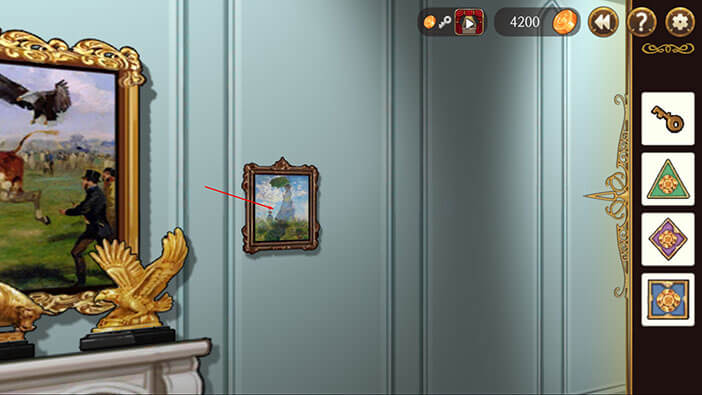
OK, after we finished arranging the statues, turn slightly to the right and tap on the smaller picture, located to the right of the larger one. This action will open remove the fake wall, revealing another part of the room that was hidden behind it.
Ok, now let’s select the key from the inventory (the one that we found behind the chair), and tap on the keyhole on the top drawer (between a yellow circle and blue square).
Tap on the drawer to open it and tap on the darker scroll on the left to pick it up. “Security Design” will be added to the inventory, and it is a scheme that we can use to figure out how to open the locked drawers with symbols of different colors.

Let’s also tap on the letter on the right side of the drawer and read it. Huxley believes that he will prove his innocence at the trial since a capable lawyer took over his case and found the evidence that can prove Huxley’s innocence. Oh, boy. We all know how this is going to end…

Let’s take a look at the scheme. Select the “Security Design” from the inventory and tap on the black panel above the drawer.
Tap on the scheme so we can examine it more closely. Notice that the bottom part of the scheme is missing, so it’s probably hidden somewhere in the room and we will have to find it.

OK, let’s figure out what we will need to open drawer number 1. As we can see, the BLACK line leads to this drawer, and it starts with the blue square (+).
So, following the black line we can see:
One Blue Square (+) = +1
One Green Triangle (+) = +1
Two Yellow Circles (+ and -) = 0
Two Purple Rhomboids (+ and -) = 0
So, to open drawer number 1 we will need a BLUE SQUARE and a GREEN TRIANGLE.
We already have both of these decorations in our inventory, so let’s do that. Tap on “Exit”.
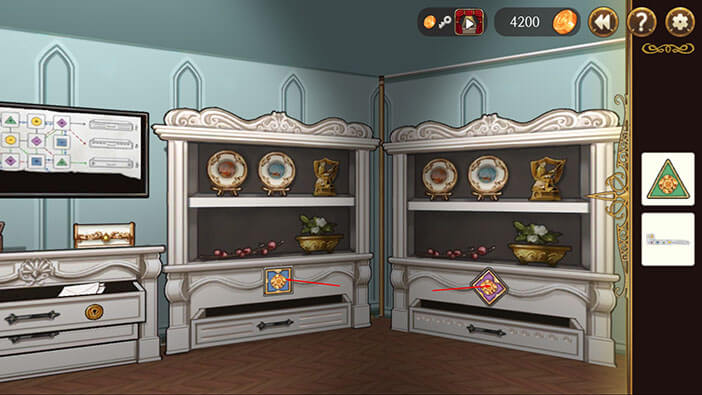
Select the “Blue Square” from the inventory and tap on the same shape located above the drawer to the right of the scheme.
Turn to the left, select the Green Triangle, and tap on the slot with the same symbol to place it.
Turn back to the drawer below the blue square and tap to open it. Tap on the key inside to pick it up.
Collect the Blue Square and Green Triangle decorations, and put them back in the inventory.
Select the key from the inventory and tap on the brown box below the scheme to unlock it. Tap again to read the letter.

As we already know, Neumann betrayed Huxley. This, of course, provoked Huxley, who grabs the lawyer and was removed from the court, with the trial proceeding without him…

Tap on the scheme again so we can figure out how to open drawer number 2.
As we can see, the RED line leads to this drawer, and it starts with the green triangle (+).
So, following the RED line we can see:
Two Green Triangles (+ and -) = 0
One Blue Square (+) = +1
Three Purple Rhomboids (+, -, and +) = +1
So, to open drawer number 2 we will need a BLUE SQUARE and PURPLE RHOMBOID (two + and one – = +). Tap on “Exit”.
Place the Blue Square and Purple Rhomboid into the matching slots above the drawers.
Tap on the drawer below the Purple Rhomboid to open it. Tap on the scroll below it and the bottom part of the scheme will be added to the inventory.
First, pick up the Blue Square and Purple Rhomboid decorations and put them back in your inventory.
Face the scheme, select its lower part from the inventory, and tap on the panel to complete the scheme.
Tap on the scheme again so we can figure out how to open drawer number 3.
As we can see, the GREEN line leads to this drawer, and it starts with the yellow circle (+).
So, following the GREEN line we can see:
Two Yellow Circles (+ and -) = 0
Three Purple Rhomboids (+, -, and +) = +1
Two Blue Squares (+ and -) = 0
One Green Triangle (+) = +1
So, to open drawer number 3 we will need a PURPLE RHOMBOID and a GREEN TRIANGLE. Tap on “Exit”. 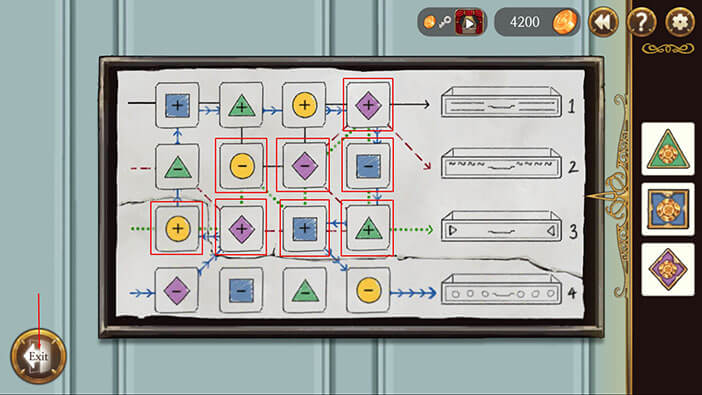
Place the Blue Square and Purple Rhomboid into the matching slots above the drawers.
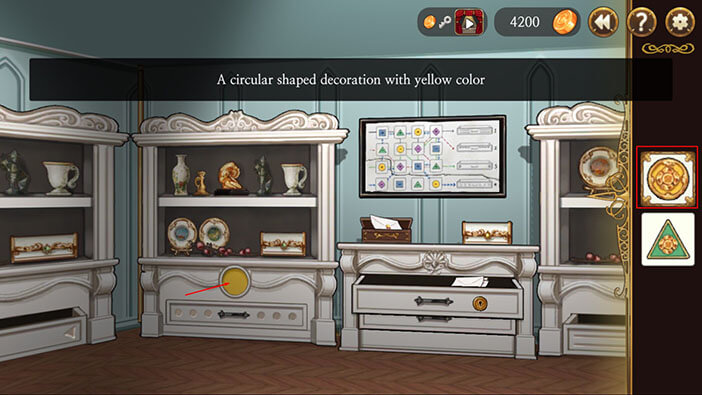
Tap on the drawer below the green triangle to open it. Tap on the yellow “Circular Decoration” inside it to pick it up.
As before, pick up the Purple Rhomboid and Green Triangle decorations and put them back in your inventory.
Tap on the scheme again so we can figure out how to open drawer number 4.
As we can see, the BLUE line leads to this drawer, and it starts with the purple rhomboid (-).
So, following the BLUE line we can see:
Three Purple Rhomboids (-, +, and +) = +1
Three Yellow Circles (+, +, and -) = +1
Three Green Triangles (-, + and +) = +1
Three Blue Squares (+, -, and +) = +1
So, to open drawer number 4 we will need to place all four decorations. Tap on “Exit”.
Place all 4 decorations into the matching slots above the drawers.
Tap on the drawer below the Yellow Circle to open it. Tap on the key inside it to pick it up.
Select the key from the inventory and tap on the white box, located below the scheme.
Tap on the letter to read it.
Huxley was sentenced to death, and as we presumed, it was Neumann who talked him into confessing the crimes he didn’t commit.
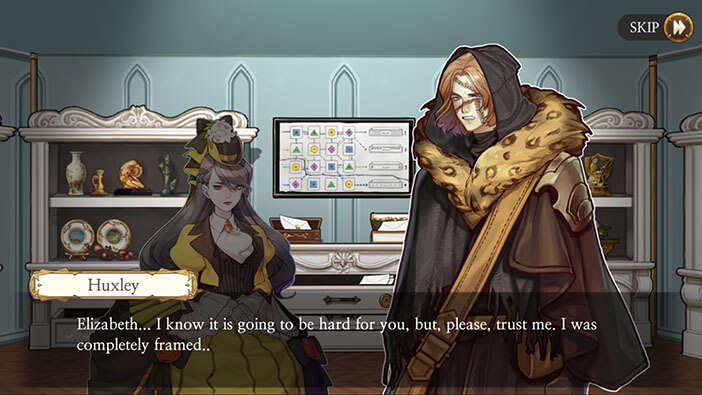
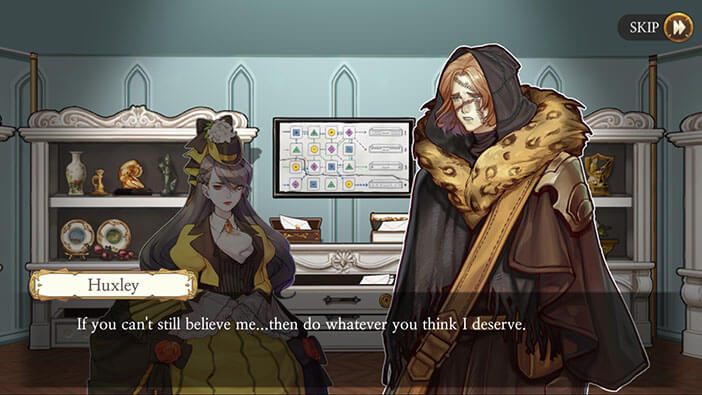
At this moment, Elizabeth arrives upstairs, and Huxley is trying to explain that he was framed. He swears he will find and bring back the true culprit. Well, it’s plural, but he doesn’t know that, yet. He is at Elizabeth’s mercy and says that she can do to him whatever she wants if she doesn’t believe in his story. My observation. He is still a very gentle soul, although he is in the body of the giant, and possess tremendous strength. Hmmm, I wonder when are we going to find out how they “created” this body. And whom did it belong to?

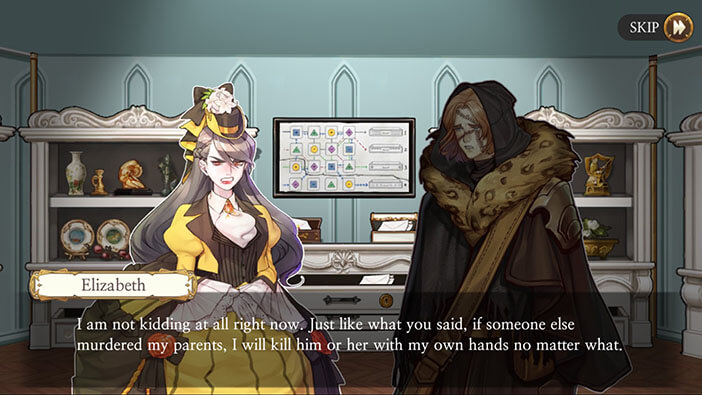
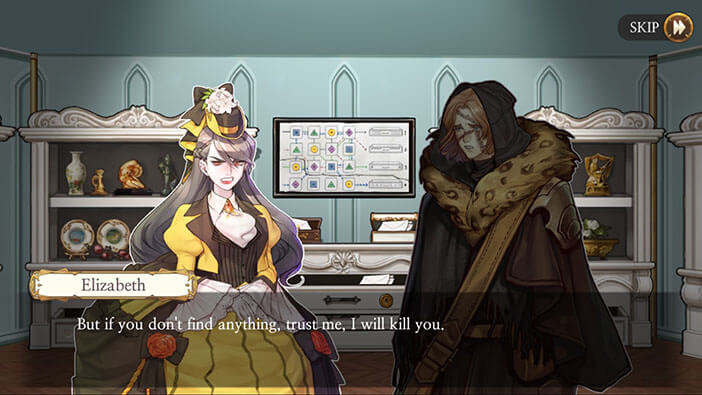
Elizabeth promised him that she will kill a man responsible for the murder of her parents herself, once Huxley finds him. However, if he doesn’t find that person, Elizabeth will take his life…
With that, Huxley leaves the mansion.

In the next stage, we will be playing as the reanimated Huxley again, this time as he starts the hunt for the people behind the Lavenza’s murders. Join us in the next stage of the Walkthrough for Frankenstein Room ESC, in which Huxley heads to Neumann’s office, ready to take revenge on the corrupt lawyer. Finally, justice comes knocking on the door of at least one bad guy, in the form of an enraged, reanimated giant. I was looking forward to this part…
Thank you for reading.