Chapter 4-2 Betrayer
Complete Walkthrough
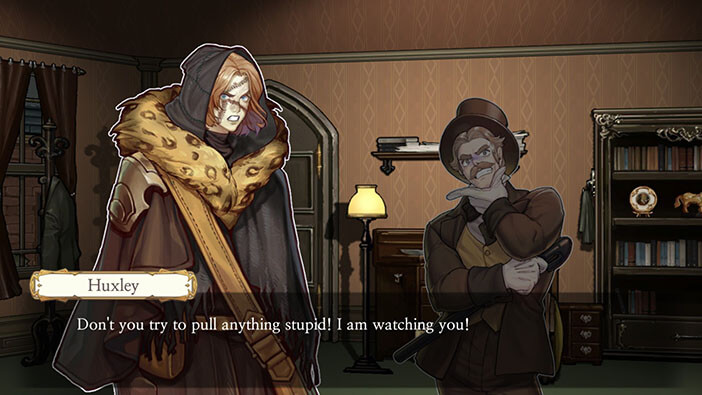
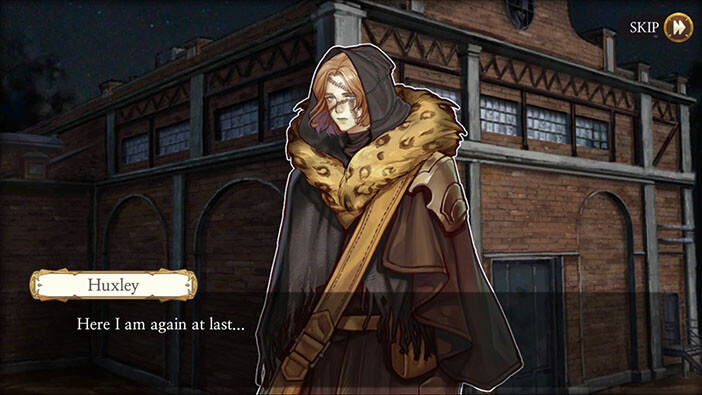
Hello everyone, and welcome to our Walkthrough for the Third Stage of Chapter 3 for the Frankenstein Room ESC adventure game. In this chapter, we will be playing as Huxley Mk II again, as he heads to the Neumann’s office seeking answers, and revenge.
Tap on the “Go to Neumann” button.
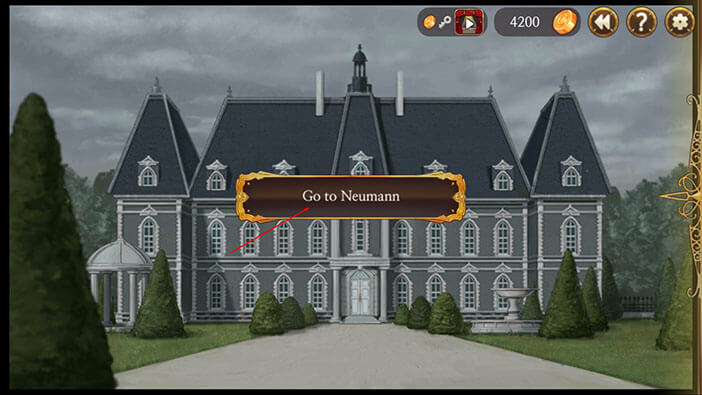
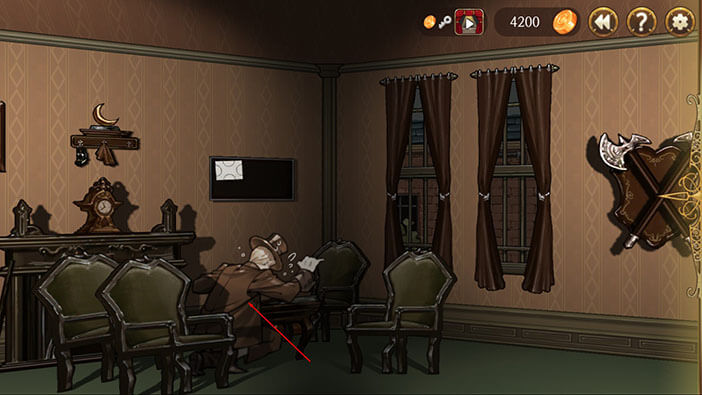
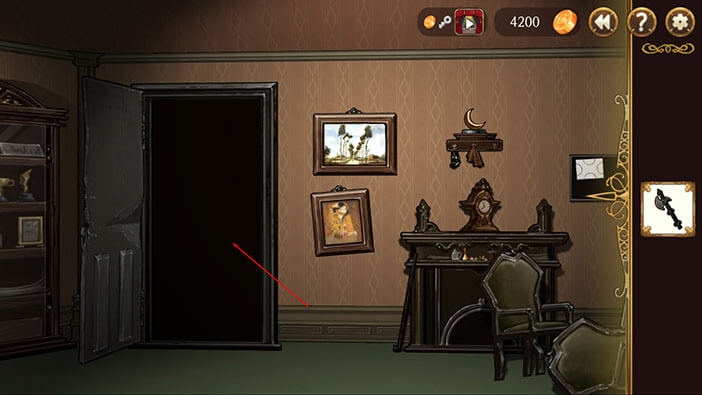
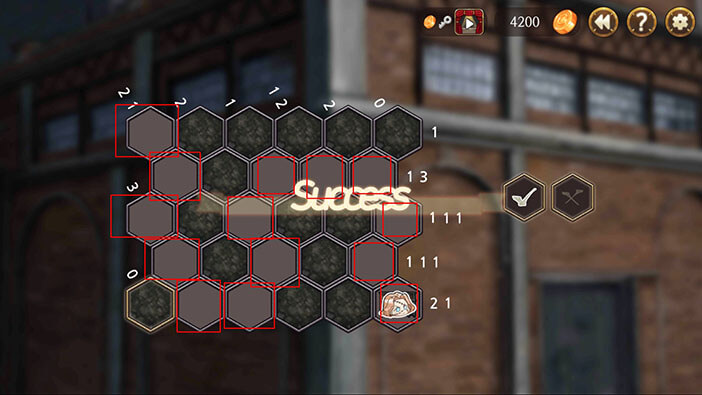
You can find the solution for the first puzzle in the image below.

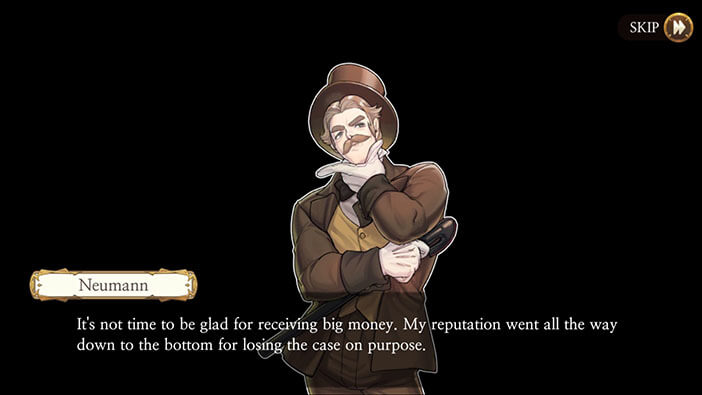
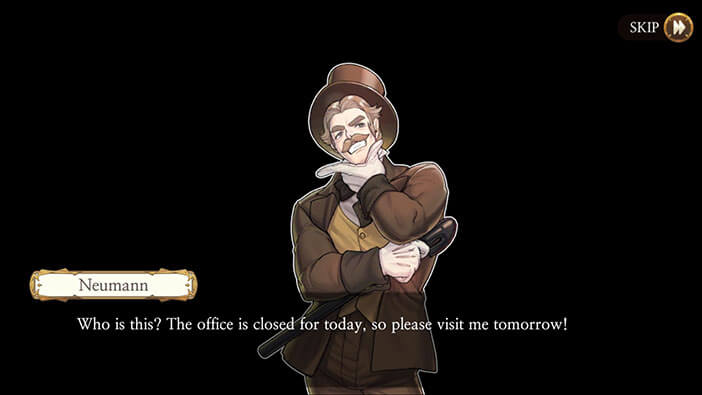
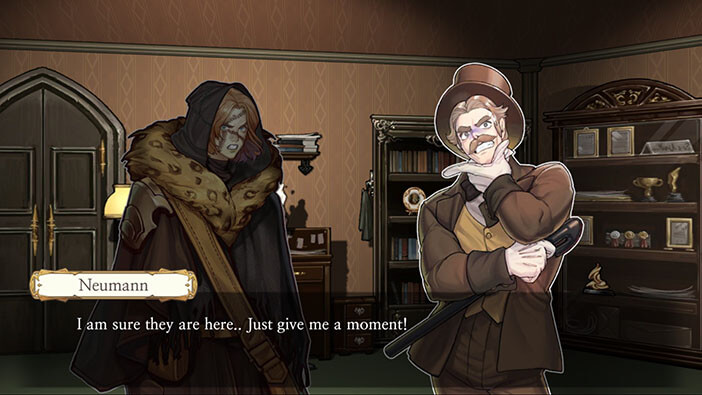
This part of the story starts with Neumann evaluating his decision to lose Huxley’s case on purpose. This decision had a much worse effect on his reputation than expected, and his poor performance at court have already prompted some of his clients to send him letters, canceling his service as their legal representative. In the aftermath, Neumann concludes that although the payment for Huxley’s case was generous, it brought more harm and good and that he should ask for more money, for the similar arrangements with Samuel, in the future. Right now, he is writing letters to his clients, trying to persuade them to keep his services and win back their trust. At this point, he hears somebody knocking on the door, but tells the visitor to go away, since it’s late at night, and the office was closed for business hours ago. But the visitor walks in, anyway…


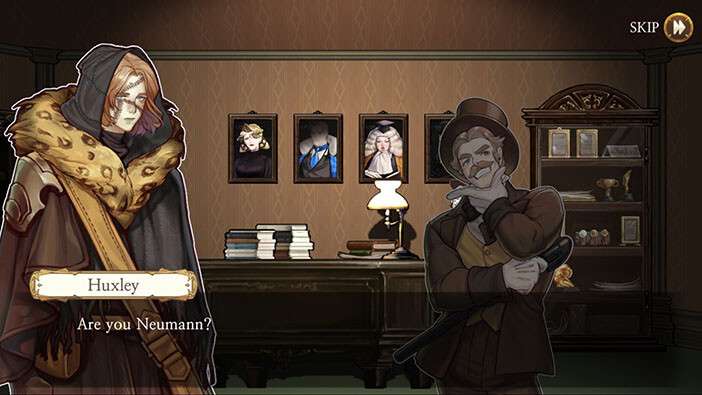
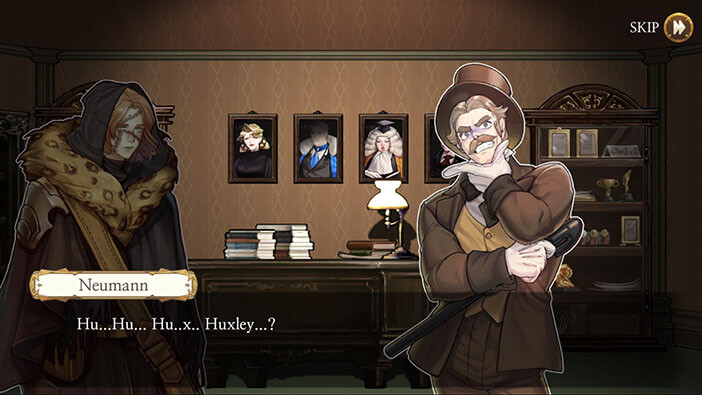
Tap on Neumann to initiate the conversation.
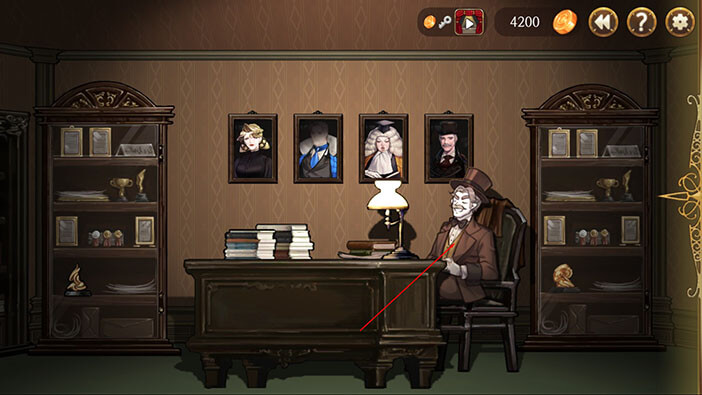
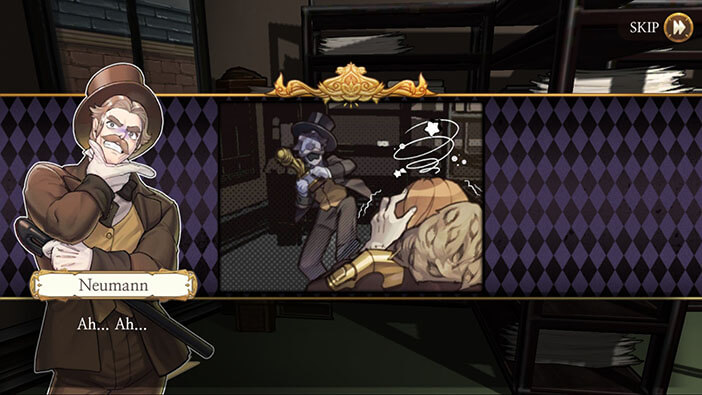
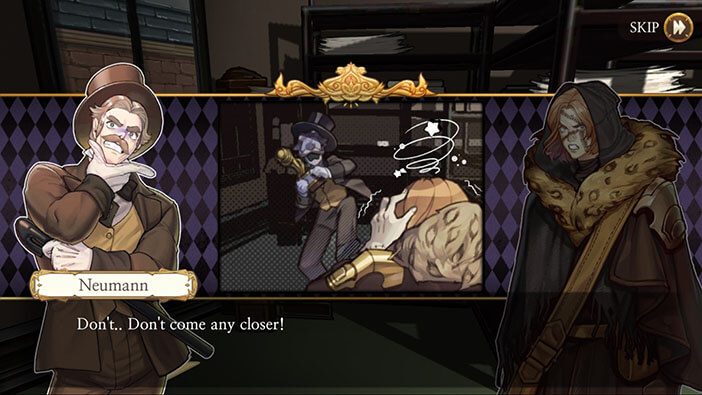
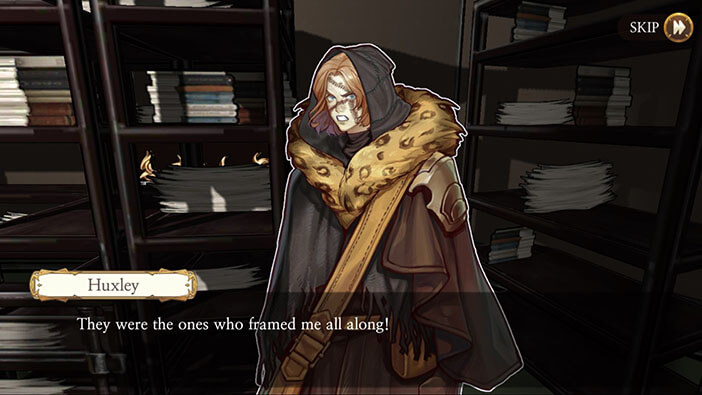
Neumann is terrified when he sees Huxley walking into his office. After confirming that this is indeed Neumann (Huxley doesn’t remember how the lawyer looks), Huxley says that he came back from hell and that he is going to kill him. The terrified lawyer tries to talk his way out of this situation, but fails…
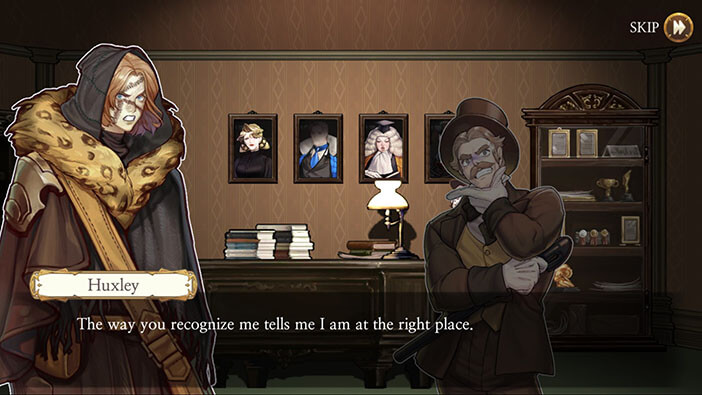


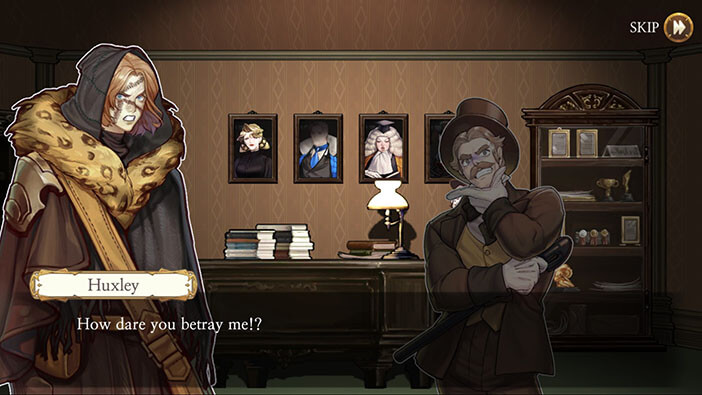

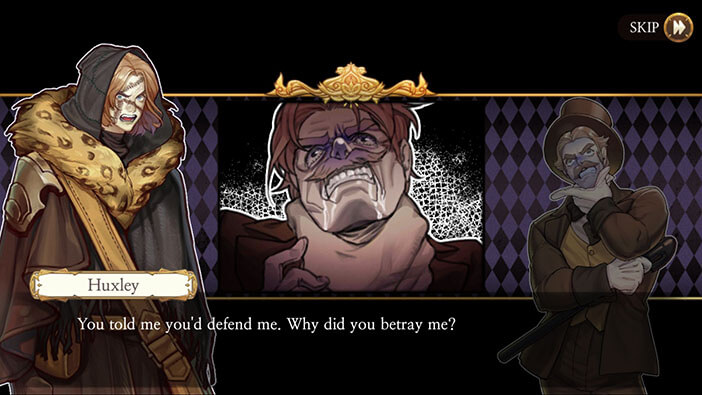
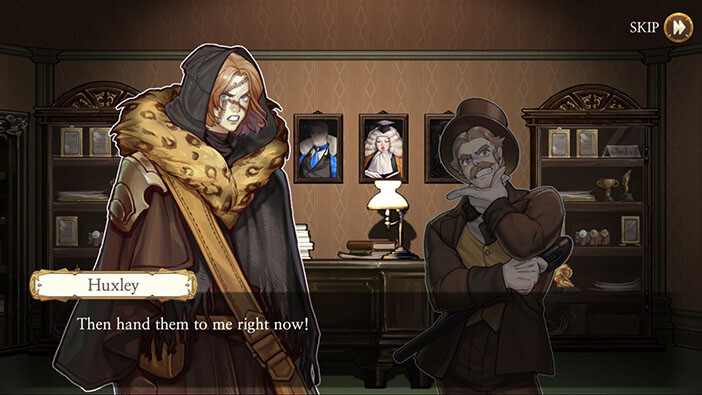
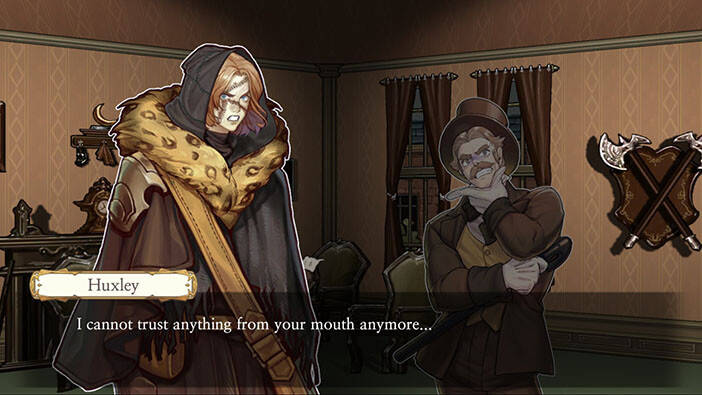
In the next scene, Huxley grabs the lawyer by the throat and starts questioning him. He first wants to get some answers and find out why the layer betrayed him.
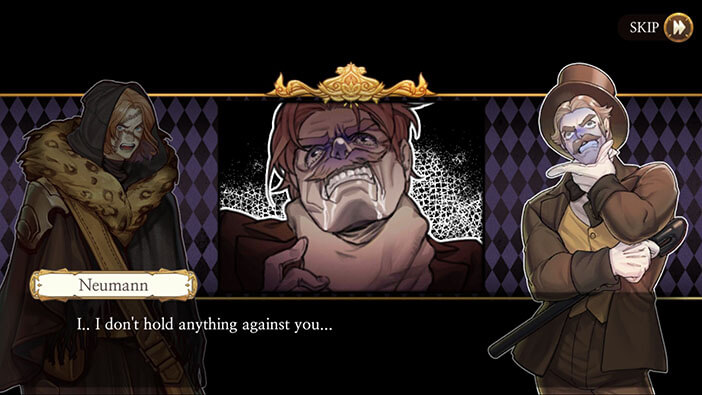
Neumann, claims that it was nothing personal, that he was just following Samuel’s orders, and begs Huxley to release him.

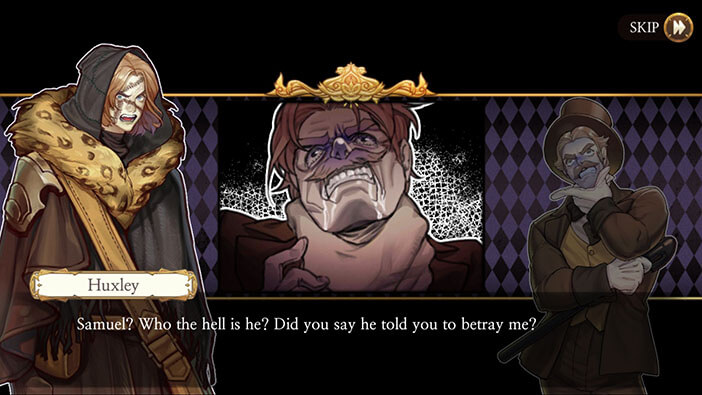
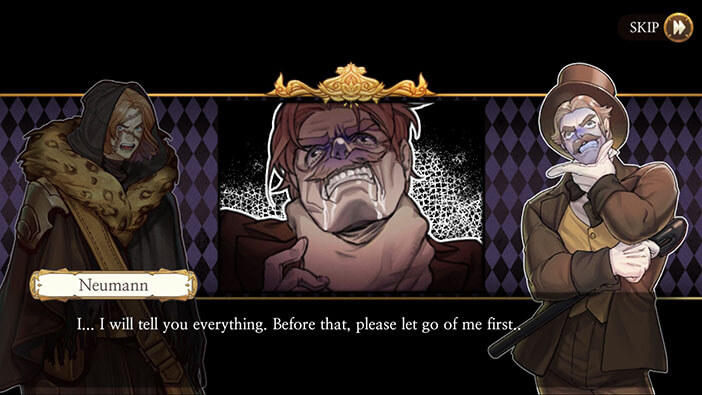
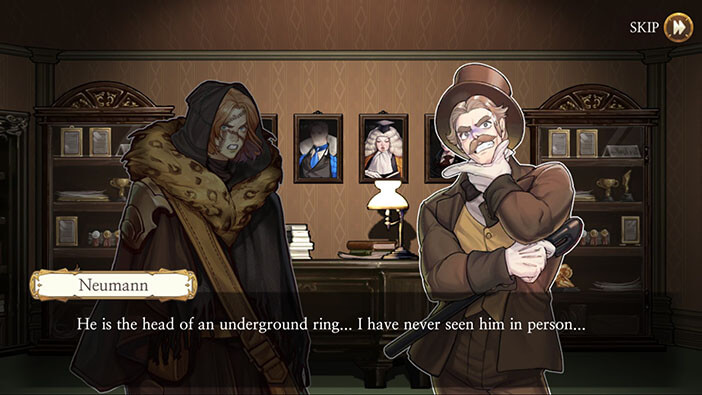
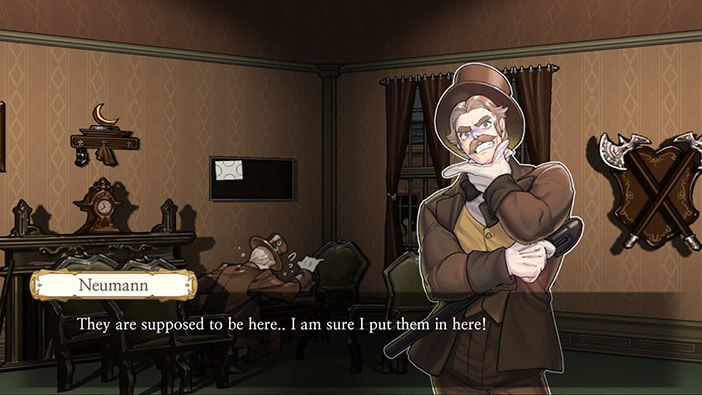
The lawyer states that Samuel is the head of an underground organization and that he never met the man in person. However, he still keeps the letters sent to him by Samuel. Curiously, the lawyer doesn’t say which underground organization, so he is probably still hoping that he can somehow run away from Huxley, without revealing too much.


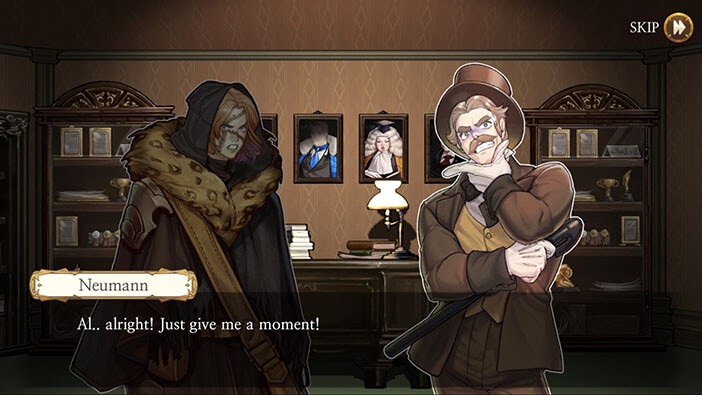
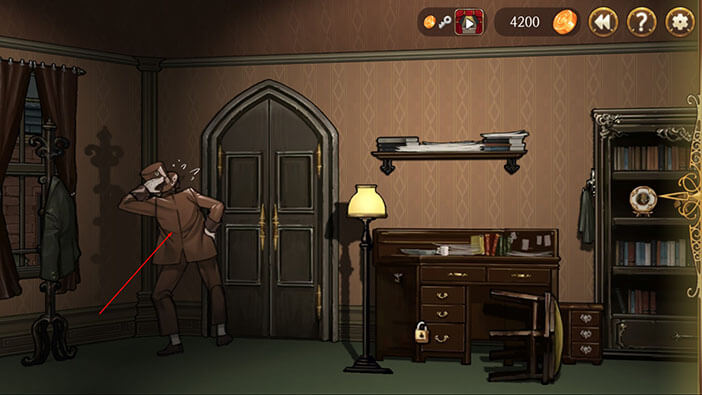
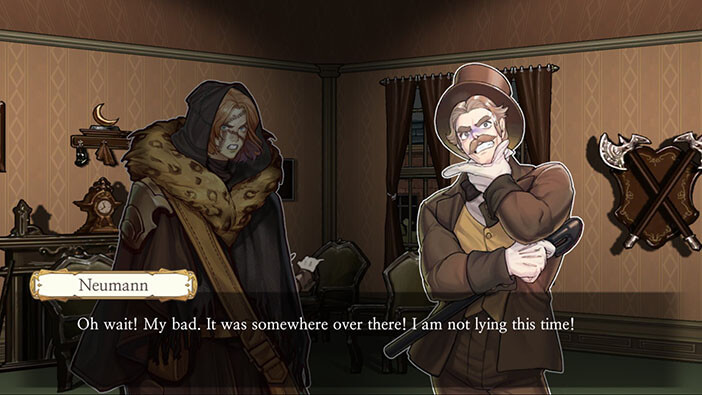
Tap on Neumann. In a hurry, he knocks over a chair, claiming the letters should be inside the desk of his secretary and goes to look for them somewhere else.
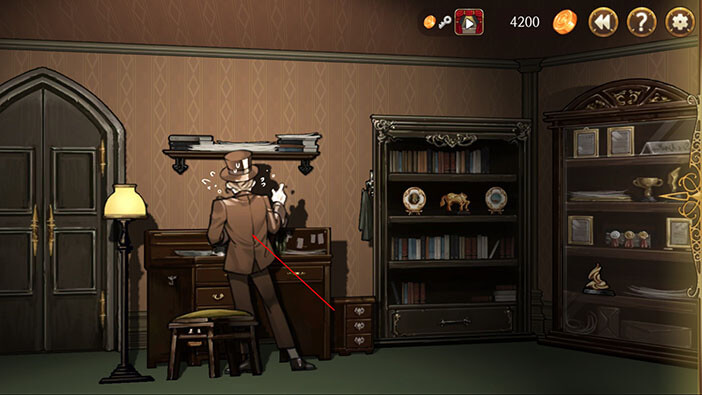

So, Neumann was running through the office, apparently searching for the letters, pretending that he doesn’t remember where he put them. Well, in the first investigation, we came to the wrong conclusion that the furniture was knocked over during the chase. Now we can see that this was actually done by Neumann, while he was looking for the letters. It did seem a bit odd that an overweight lawyer could be so nimble as to evade an obviously physically strong assailant, in such a confined space.
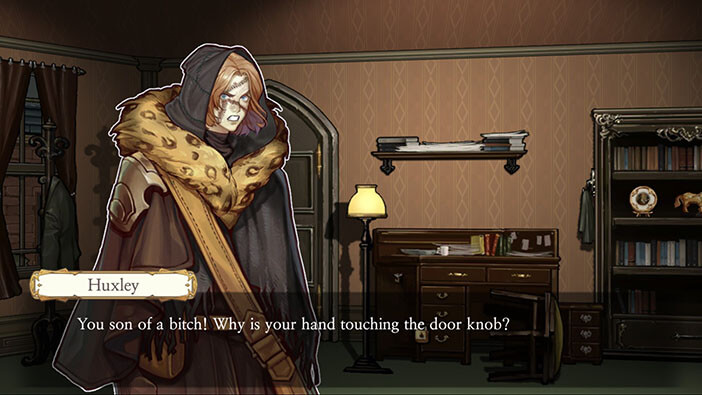
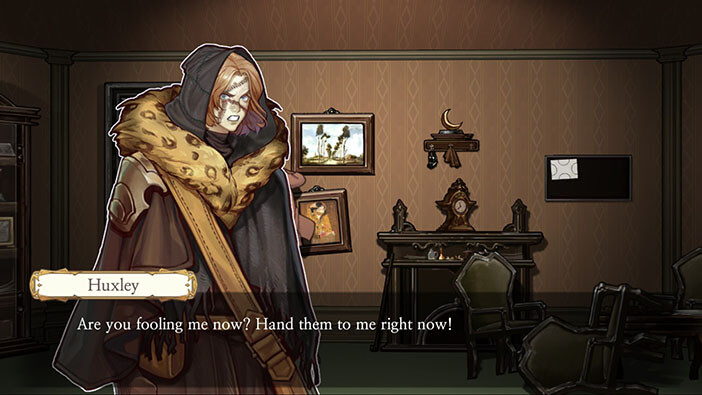
Tap on Neumann, again.
In the next scene, we can see the lawyer standing by the front door. He was probably thinking about running through the door but changed his mind since he probably realized that Huxley was faster, and could catch him in a matter of seconds.
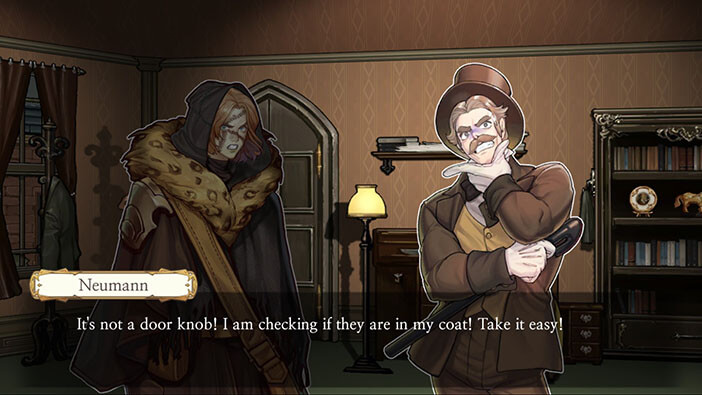
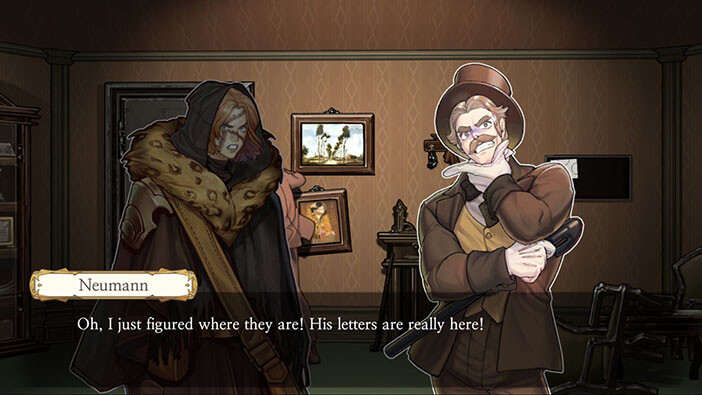
Tap on Neumann, again.
The lawyer moves to the smaller desk located in front of the fireplace and starts searching there, but Huxley’s patience is growing thin… Neumann says that he just remembered where he hid the letters and starts moving towards the storage room door. We all know what will happen next…
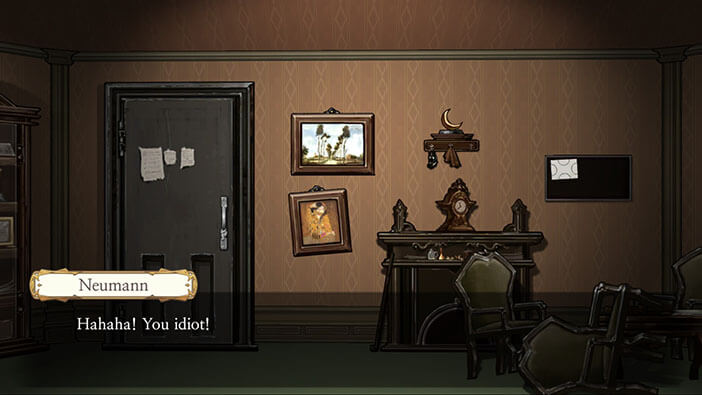
Neumann is now next to the storage room door, tap on him.

Neumann runs into the storage room and locks the door. After reaching the safety of the storage room, he taunts Huxley for being so naïve. That was a very reckless move.
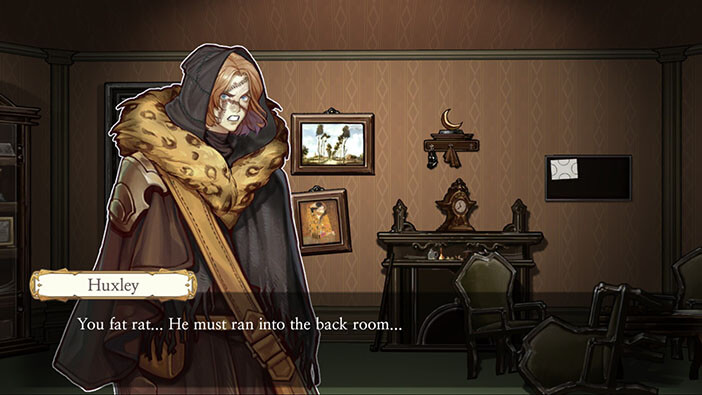
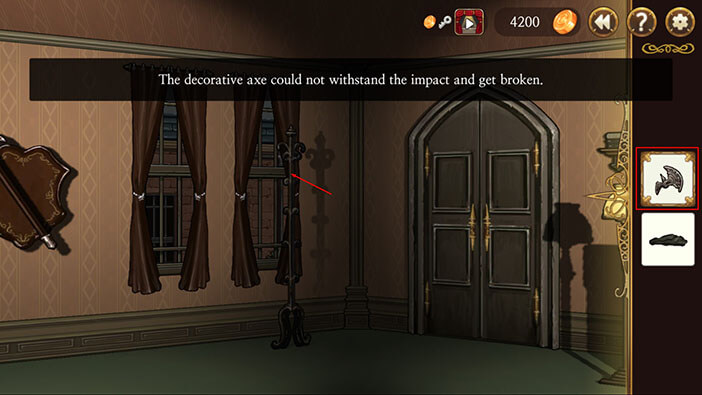
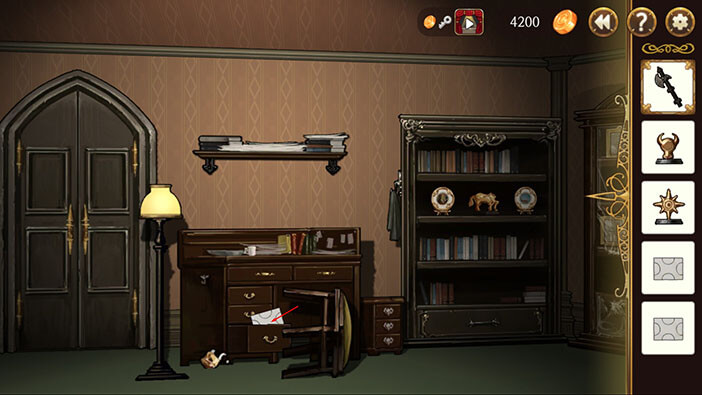
Well, we already investigated what happened here in one of the previous chapters, so our next move should be quite obvious. We will use brute force to solve this problem. Turn to the right and tap on the axe on the right.
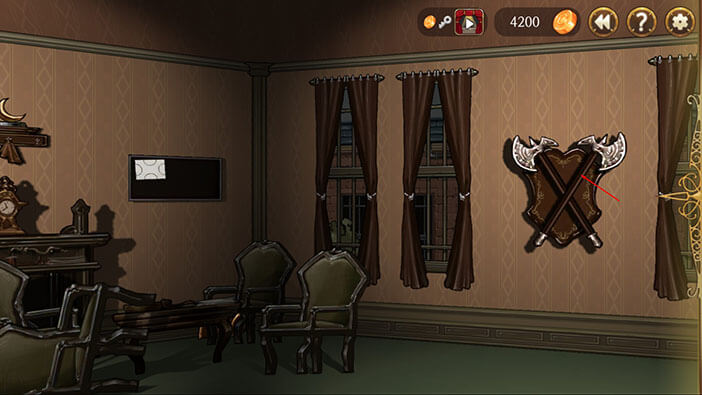
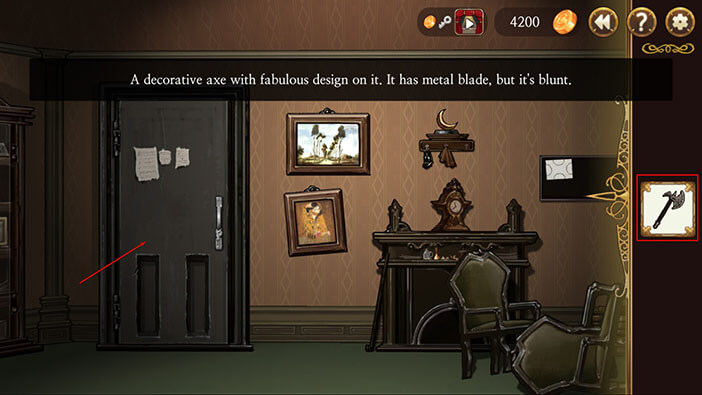
Faced the storage door again, select the axe from the inventory, and tap on the door. After hitting door once, the plastic handle broke, as expected. Let’s make the more durable, improvised axe.
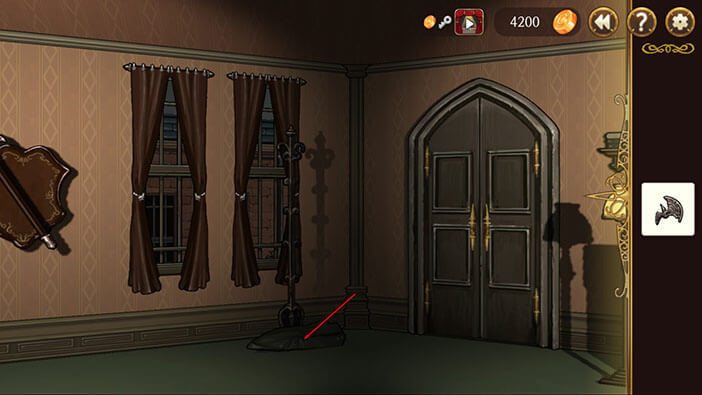
Turn around and tap on the coat hanging from the coat rack. Tap on the coat again to pick it up, and it will be added to the inventory.

Select the axe head from the inventory and tap on the upper part of the rack.
Now, we have to firmly attach the axe to the rack. Select the coat from the inventory and tap on the axe head, to tie it up.
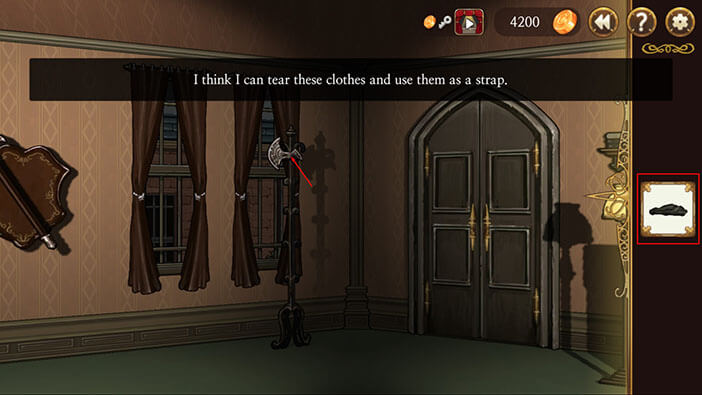
Tap on the coat rack again, and the “Improvised Axe” will be added to the inventory. From the previous chapter, we already knew that Huxley used broke off the coat hanger and used it as an axe poll.
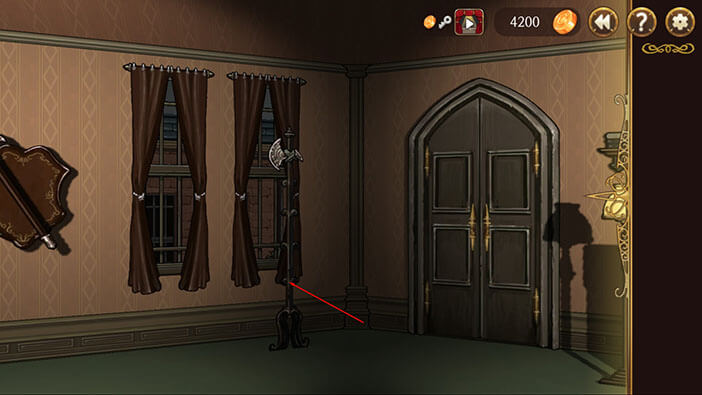
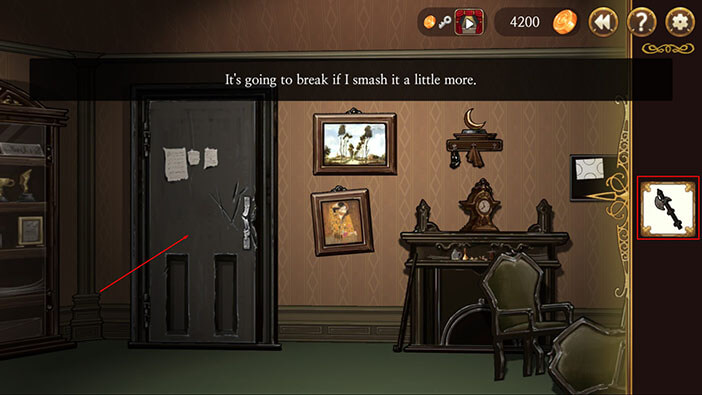
Face the storage room door, again. Select the “Improvised Axe” from the inventory, and tap on the door to smash it. Tap three more times to break down the door.
Tap on the door to enter.
As soon as Huxley walked in through the door, Neumann, in desperation smacked him on the head with some kind of a statue. Enraged, Huxley threw him out the window…
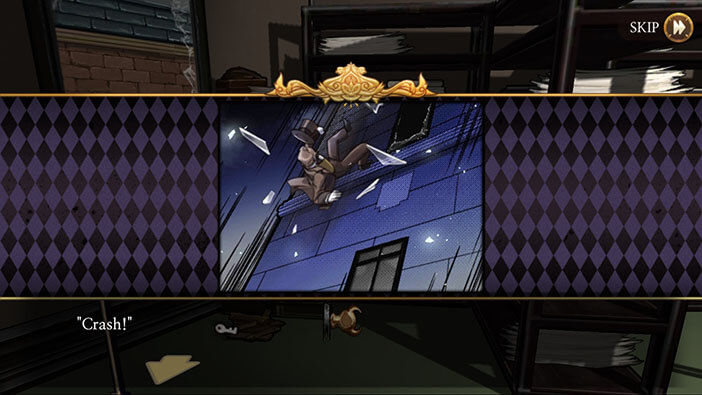
Well, when we investigated this case, we presumed that the lawyer jumped through the window in order to get away from the assailant since it would be quite difficult for a normal person to lift a not-so-light lawyer and throw him through the window. However, Huxley Mk II possesses superhuman strength, and could easily do it.
Our protagonist is mad at himself, because, in the moment of rage, he killed the only person that could reveal more about Samuel. Fortunately, the streets are deserted and nobody saw what happened. However, Huxley should now pick up the pace and search the office before somebody notices the lawyer’s body and calls the police.


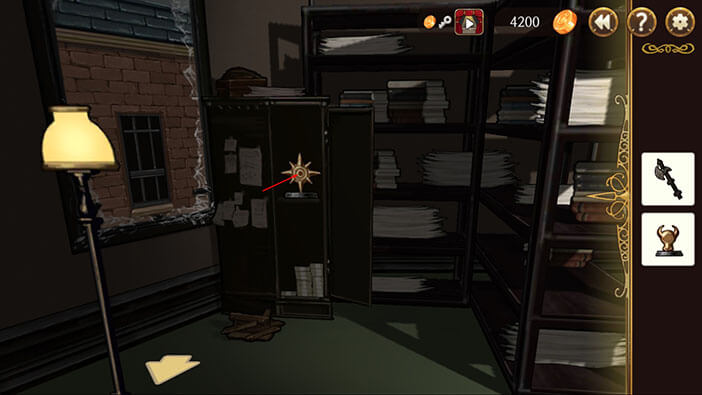
Tap on the statue on the floor to pick it up.
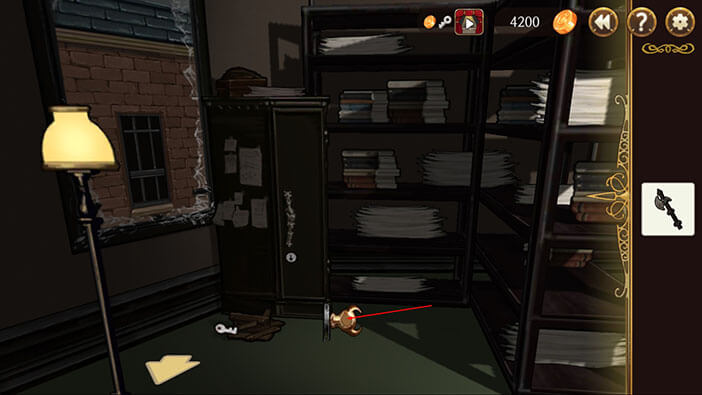
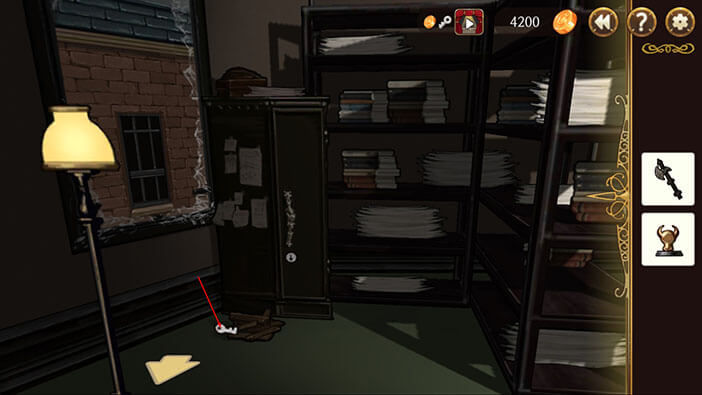
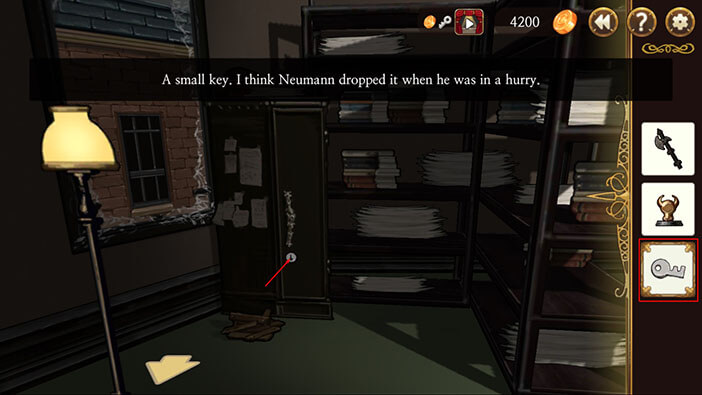
Tap on the key to pick it up. (You might need to tap several times because tapping on the key will often activate the “broken box” interaction instead)
Select the key from the inventory, and tap on the keyhole on the small locker.
Tap on the statue inside the locker to pick it up.
Turn to the right, tap on the documents on the middle shelf, and tap again to examine them.
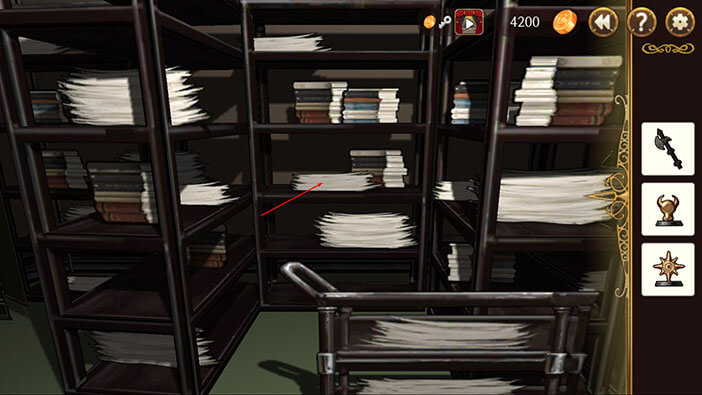
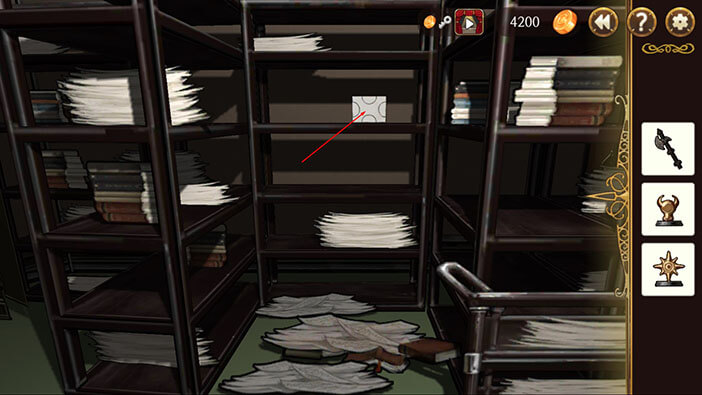
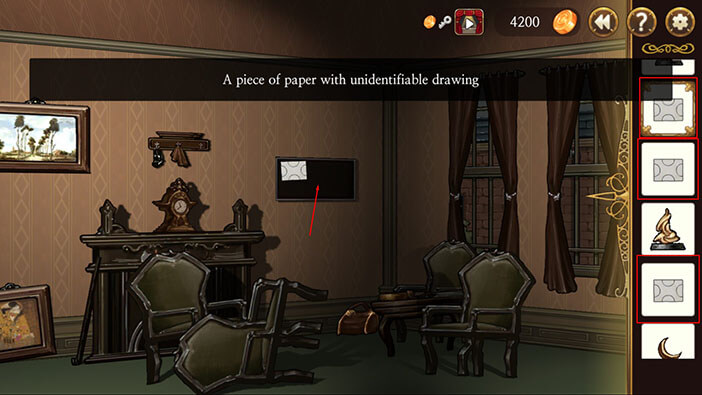
Documents do not seem very important, but after we moved them out of the way, we discovered some kind of drawing that was hidden behind the documents on the third shelf. Tap on it to pick it up, and “A Piece of Paper” will be added to the inventory.
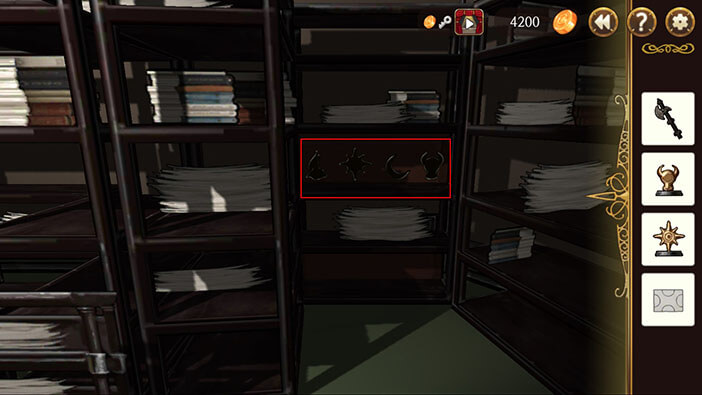
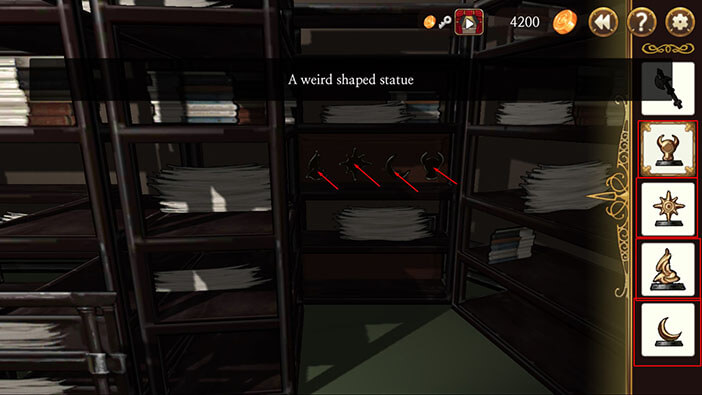
Sweep all the way to the right, and you will notice four slots for statues of different shapes. Since we only have two statues, at this point, let’s go back to the previous room and look for the other two.
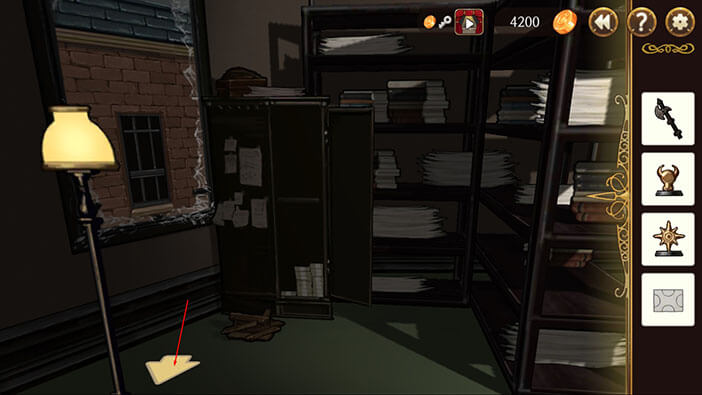
Go back to the broken window and tap on the yellow arrow to leave the storage room. I don’t know why the developer changed to the arrow from the “Exit” button, since I think that the earlier option was more convenient.
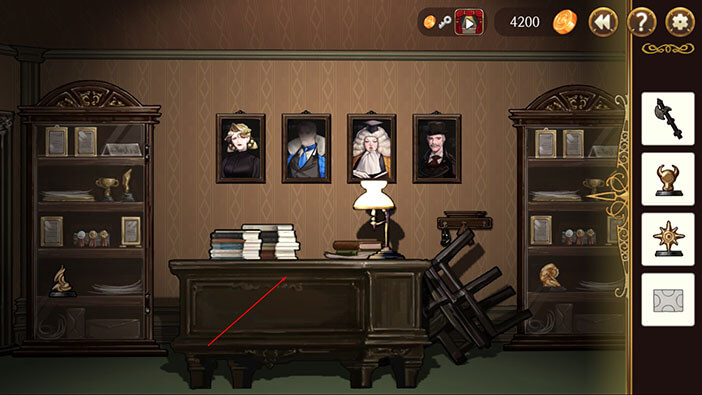
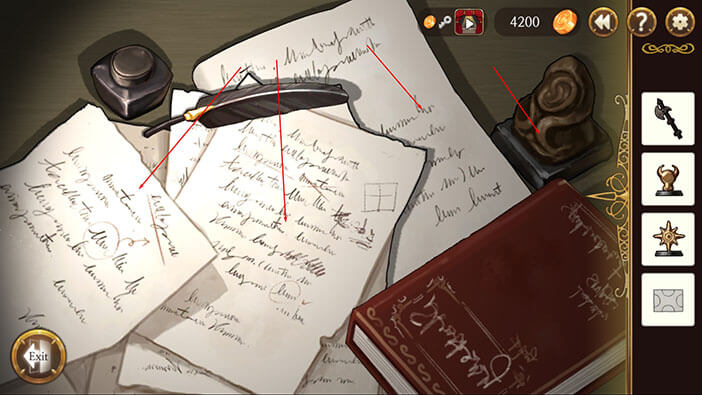
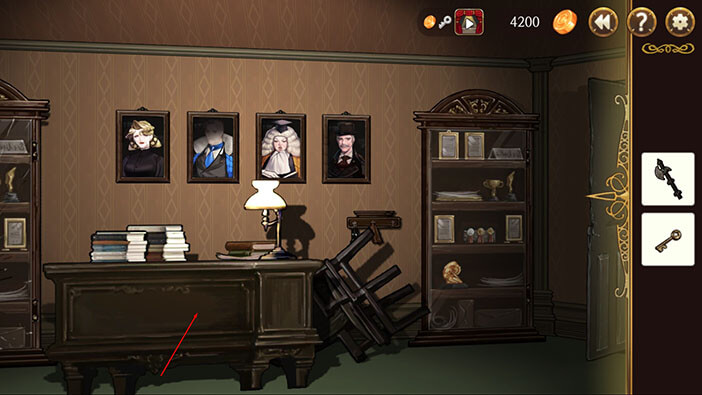
Tap on Neumann’s desk.
Tap on the letters on the left and right to move them aside, and you will uncover another “Piece of Paper”. Tap on it to pick it up.
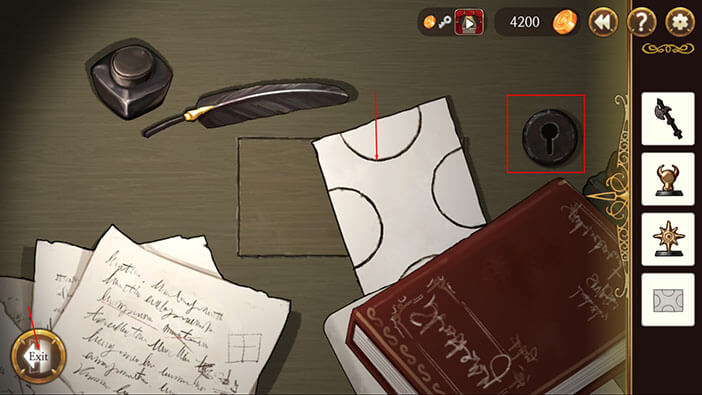
Also, tapping on the small statue will move it aside, revealing a keyhole that was hidden below it.
Tap on the “Exit” button.
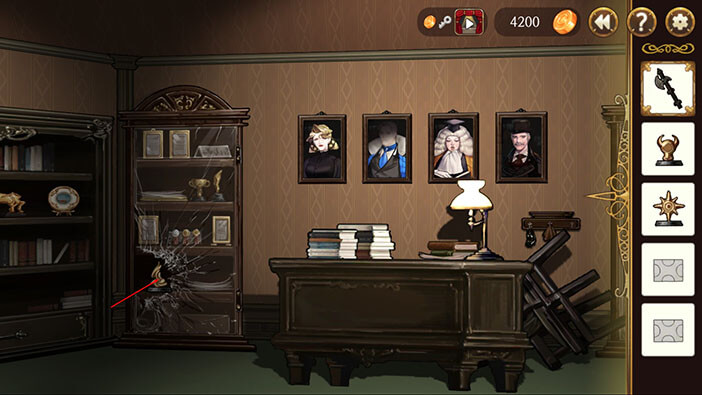
Now, select the “Improvised Axe” from the inventory and tap on the display cabinet, located to the left of the desk to break the glass.
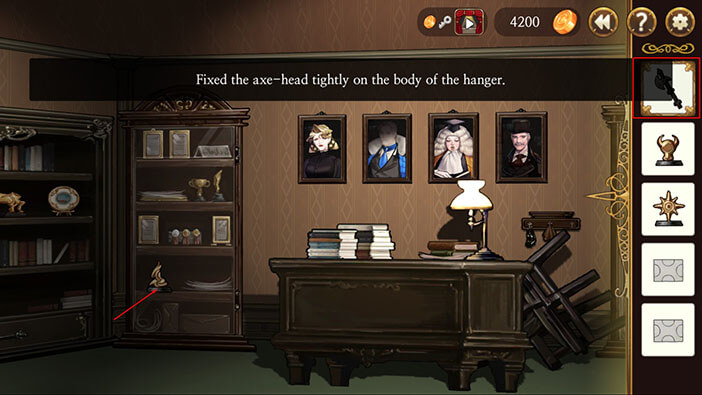
Tap on the statue inside to pick it up. We now have 3 out of four statues.
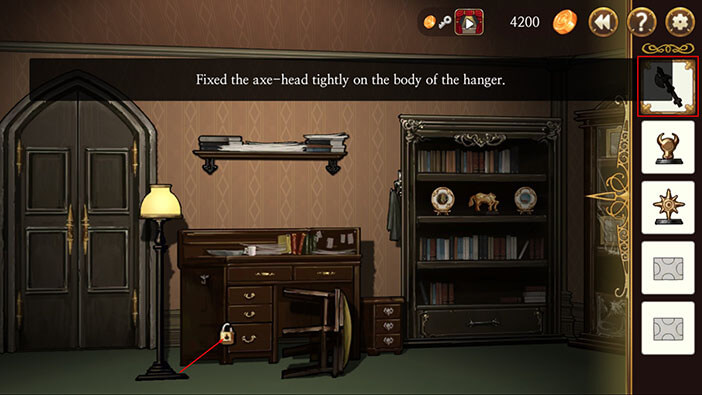
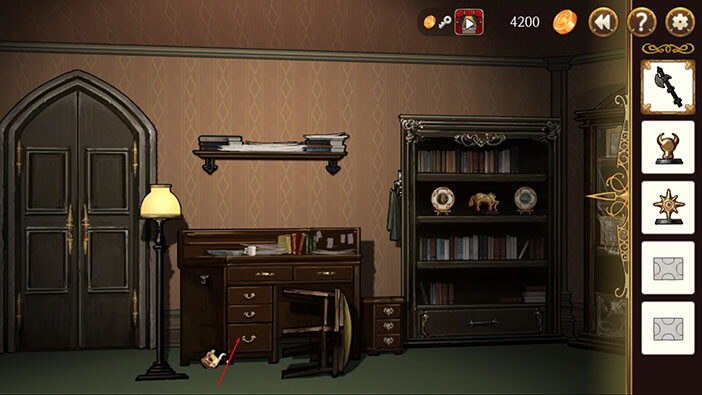
Turn a bit more to the left, select the “Improvised Axe” from the inventory, and tap on the padlock on the secretary’s desk to smash it.
Tap on the bottom drawer to open it, and tap again to pick up another “Piece of Paper”.
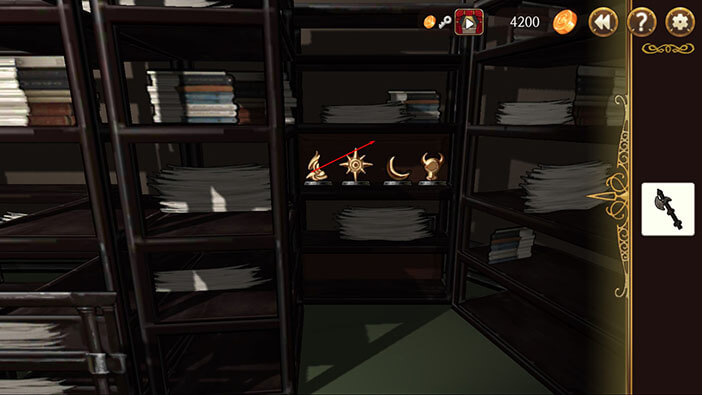
Now, turn around and you will notice another statue in the shape of a crescent moon on top of a wall shelf. Tap on it to pick it up. We now have all four statues, but let’s first collect all “Pieces of Paper” before we go back to the storage room.

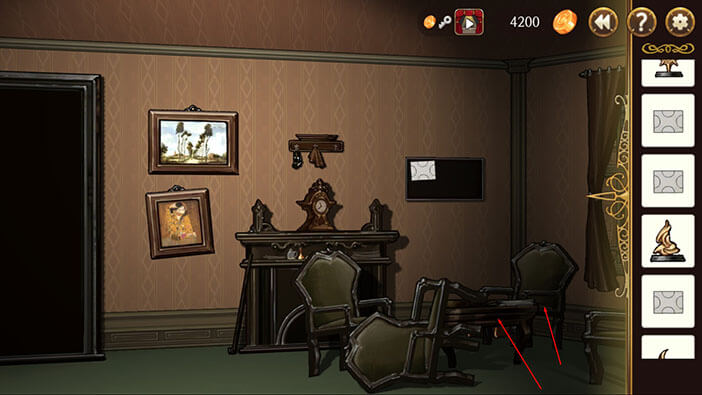
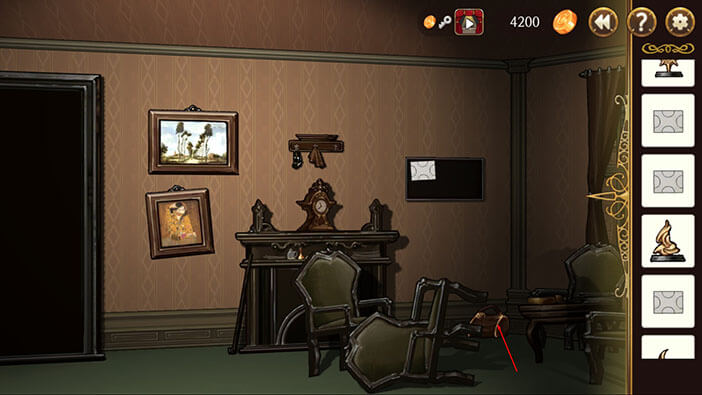
Tap on the chair and table in the right corner to move them aside. Tap on the small bag that was hidden behind them, and another “Piece of Paper” will be added to the inventory.
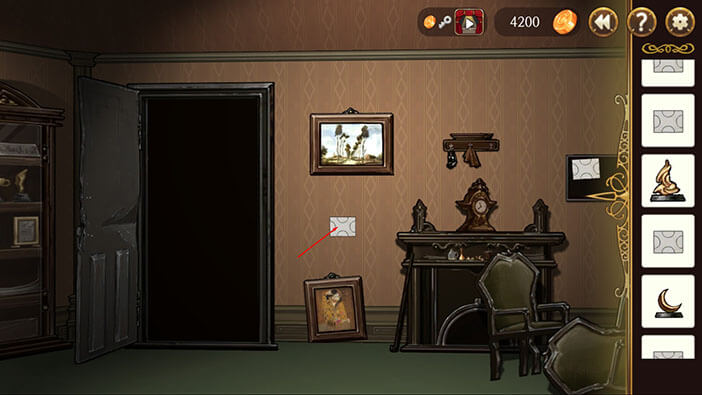
Face the storage room door and tap on the smaller picture located to the right of the door.
The picture will fall down, revealing another “Piece of Paper” behind it. Tap on it to pick it up.

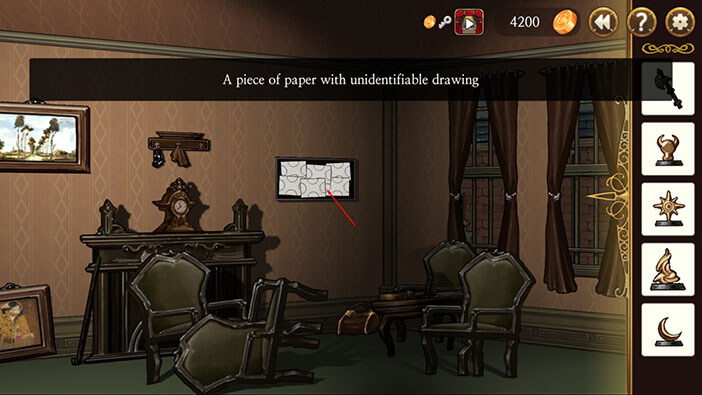
Let’s assemble the picture on the board, located to the right of the storage room door. There is already a single “Piece of Paper” present there, so select the other five from the inventory and tap on the board.
Once you have placed all five pieces, tap on the board again, to examine it.
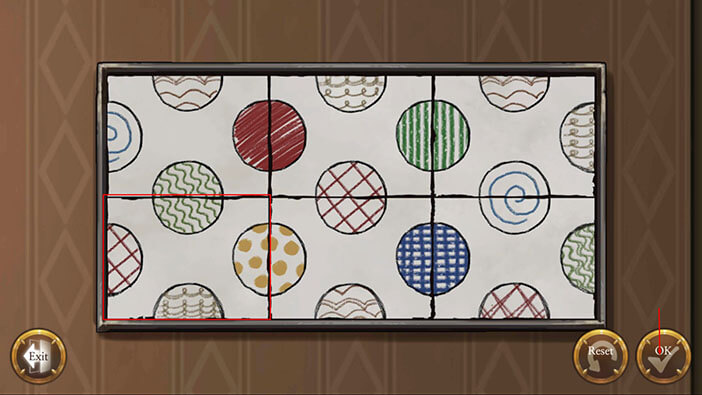
Our next task is to arrange the drawings. Drag the drawing with the left half of a red circle into the upper left slot.
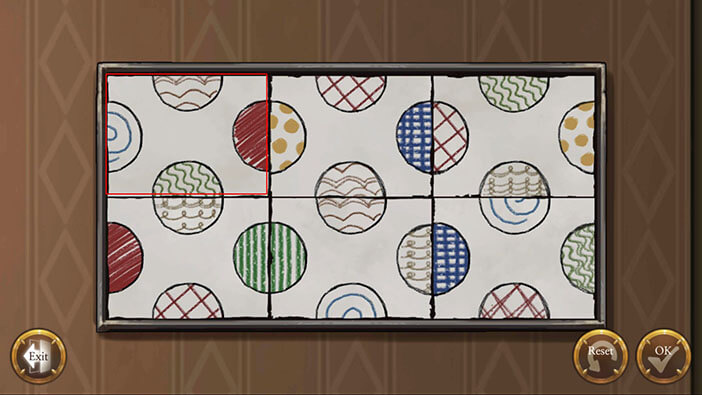
Drag the drawing with the right half of a red circle into the upper-middle slot.
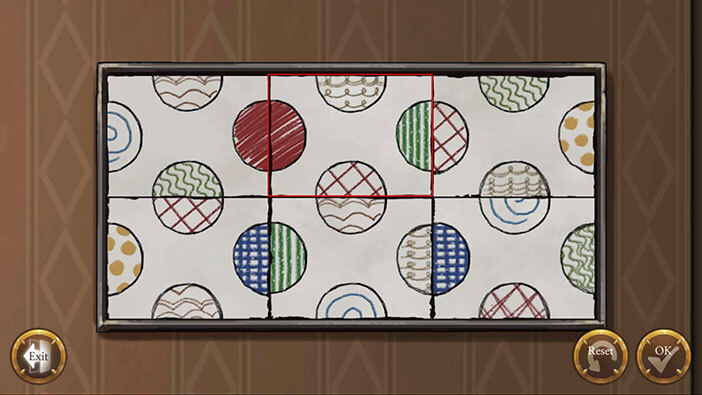
Drag the drawing with the right half of a green circle into the upper right slot.
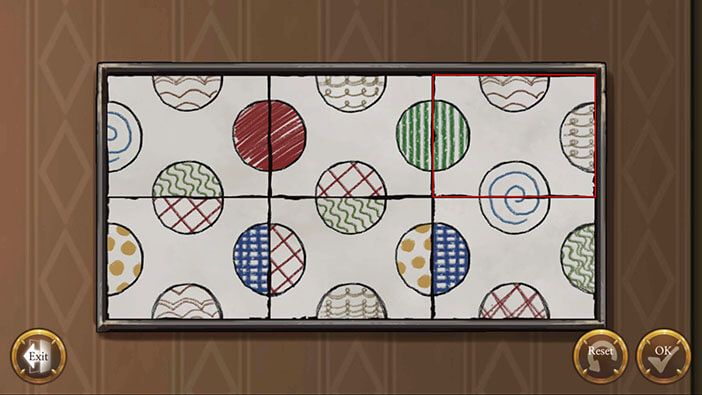
Drag the drawing with the left half of a yellow dotted circle into the lower-left slot, and tap on the “OK” button. Memorize this picture because we will need it, later.
Go back to the storage room door and tap on it.
Sweep all the way to the right. Select the statues from the inventory and place them into matching slots, one by one.
After placing all four statues, tap on the shelf to move it aside.
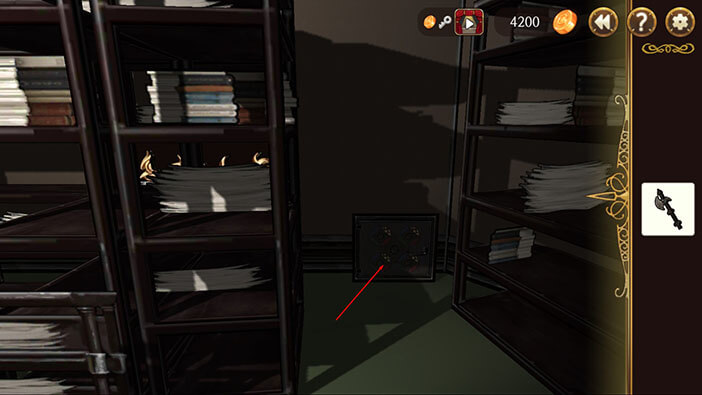
It looks like a safe was hidden behind the shelf that we just moved. Tap on it.
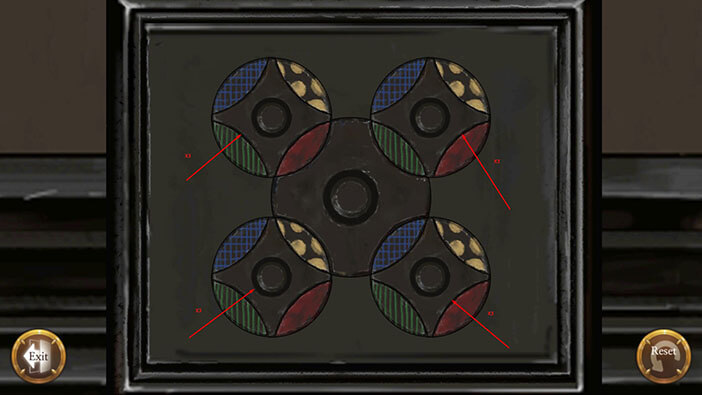
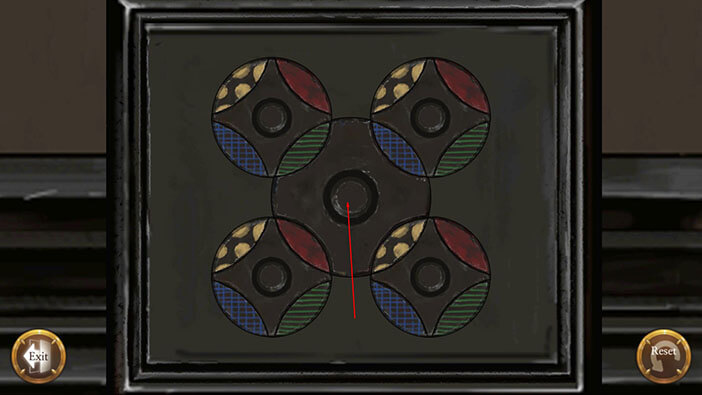
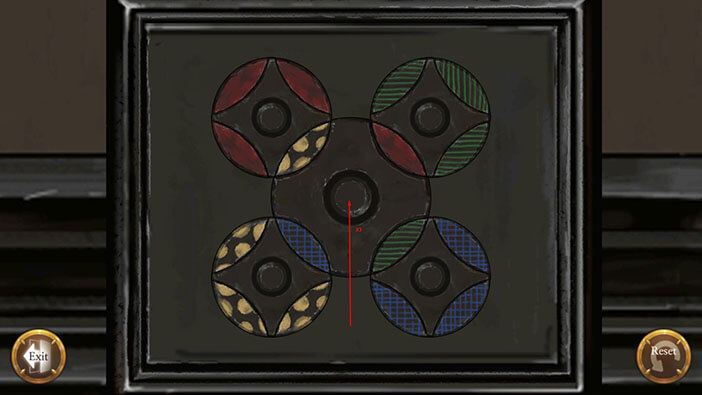
Here we have another puzzle that may seem quite intimidating at first, but it is actually quite easy to solve using “My System”.
First things first, let’s see what we have to do in order to solve it.
Remember the image on the board that we assembled using “Pieces of Paper” from the previous room? The arrangement of the circles here should be the same as on that image.
The circle in the top left corner should be red
The circle in the top right corner should be green
The circle in the bottom right should be blue
The circle in the bottom left should have yellow dots
All of the smaller circles can be rotated clockwise, and the same goes for the larger circle. However, rotating the large circle will also move one of the pieces of the smaller circles.
Let’s begin. Since the larger circle is rotating clockwise (left to right) we can use it to “send” the parts from one smaller circle to the other one. I started by arranging smaller circles so they send the appropriate colored piece to the next circle in rotation.
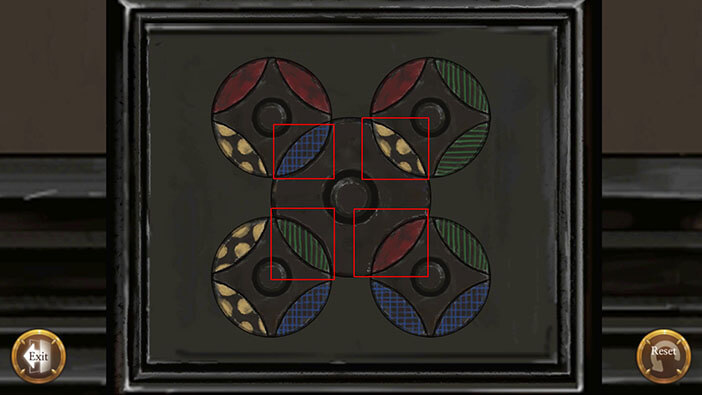
For example circle in the top left should be tapped on three times so that it “shares” the green piece with the larger circle. That way, when the larger circle rotates once, it will send the green piece to the circle in the top right – and our goal is to paint this circle green.
We will do the same thing with the other 3 smaller circles before tapping on the larger one. So, rotate all the smaller circles so that their shared field with the larger circle is of the following color.
Top – Left = Green
Top – Right = Blue
Bottom – Left = Yellow dots
Bottom – Right = Red
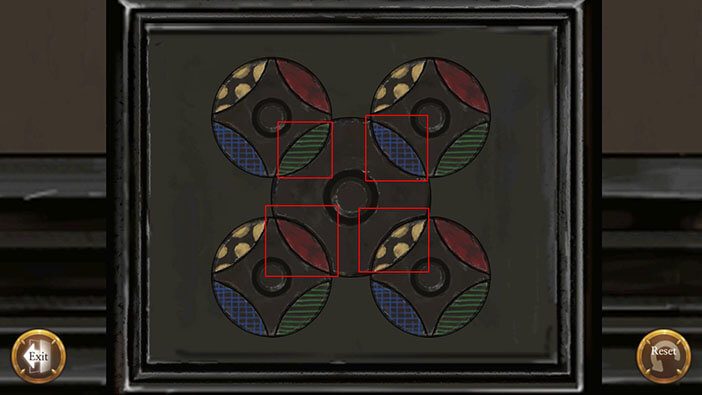
Now we can tap on the larger circle once and it will send the pieces exactly where we need them, and all four circles will have two out of four pieces of the required color.
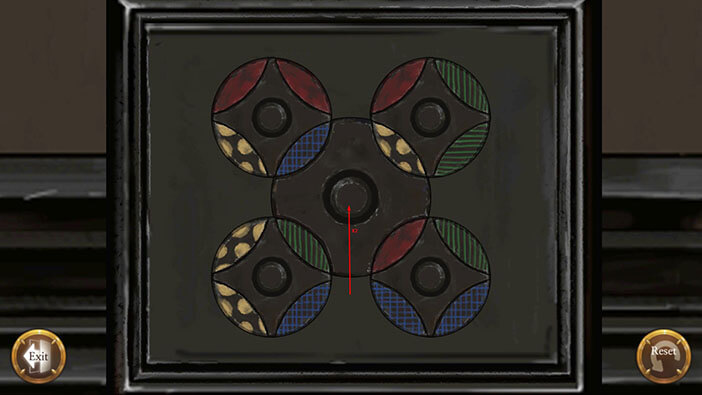
Using this system, we will repeat the process, but this time we will “send” pieces to the second circle in rotation. Rotate all the smaller circles so that their shared field with the larger circle is of the following color.
Top – Left = Blue
Top – Right = Yellow dots
Bottom – Left = Red
Bottom – Right = Green
Tap on the larger circle twice and it will send the pieces exactly where we need them, and all four circles will have three out of four pieces of the required color.
We will repeat the process, one last time, sending the pieces to the third circle in rotation. Rotate all the smaller circles so that their shared field with the larger circle is of the following color.
Top – Left = Yellow dots
Top – Right = Red
Bottom – Left = Green
Bottom – Right = Blue
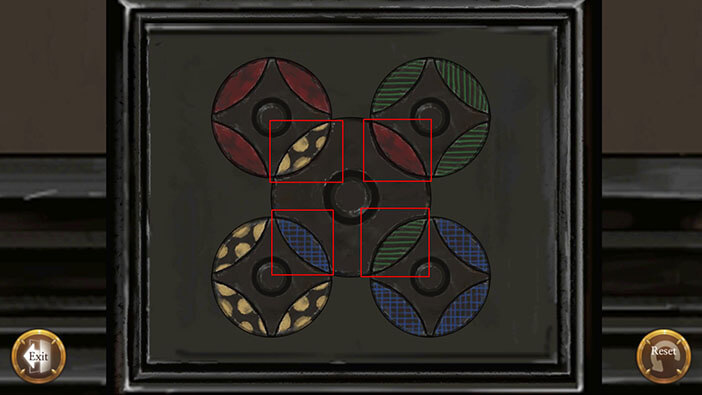
Tap on the larger circle three times and all the circles will be arranged exactly as we wanted.
Tap on the safe to open it. Tap again to pick up the key inside it.


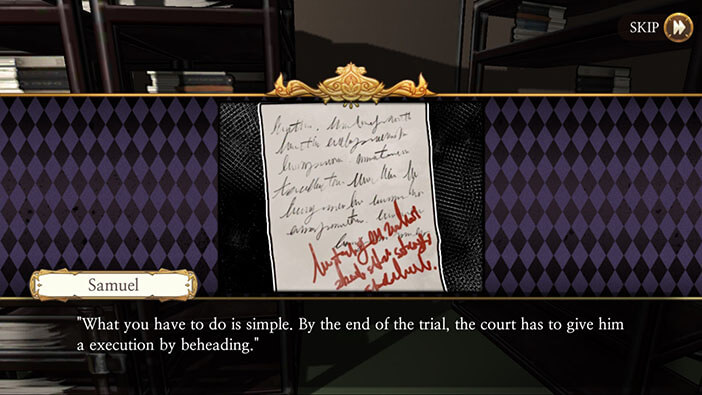
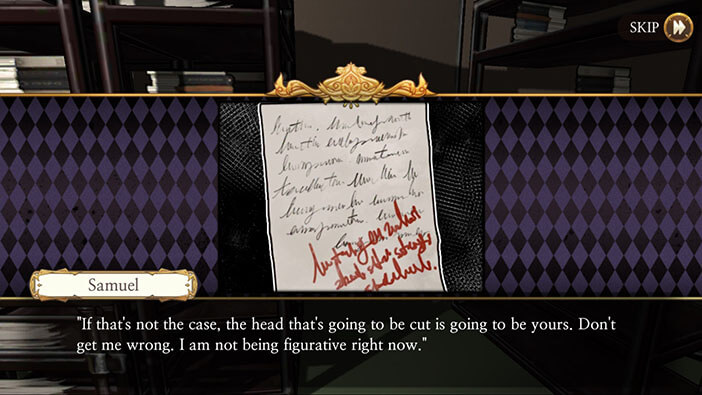
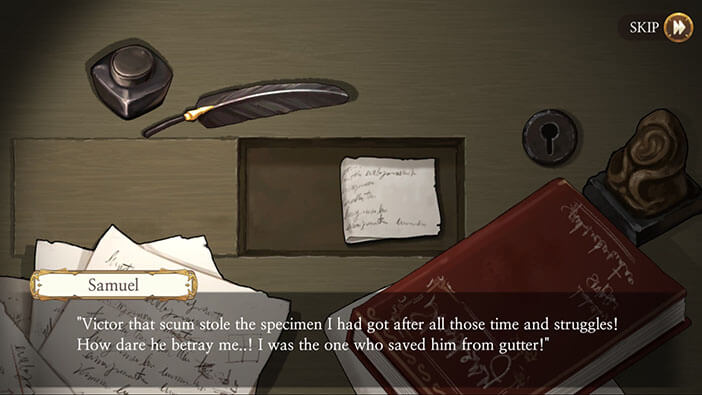
Before picking up the key, Huxley finds and reads the letters that Samuel sent to Neumann. It looks like the lawyer was reluctant to accept Samuel’s proposal at first. Even though the offer was quite generous the lawyer didn’t want to intentionally lose the case. However, Samuel then made him an offer that Neumann couldn’t refuse saying that the lawyer’s head will be rolling if he doesn’t accept, or achieve the desired outcome – Huxley’s beheading. So, we did make a correct guess when we investigated the case for the first time when we suspected that Samuel might have also threatened the lawyer…


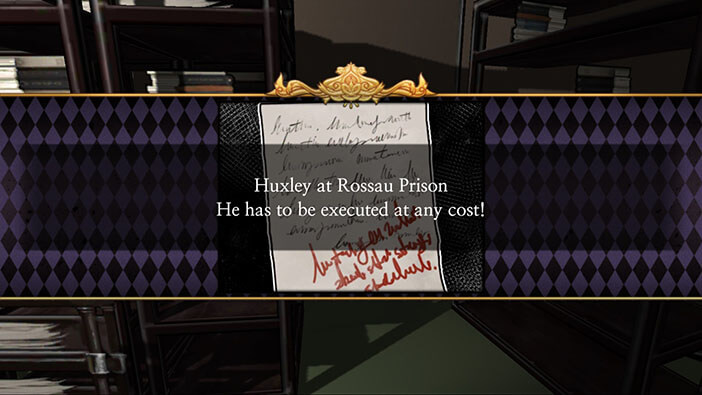
After receiving this letter Neumann wrote a note to himself, stating that he has to get Huxley convicted and executed, no matter the cost.
Our protagonist is of course furious and decides to go after Samuel.

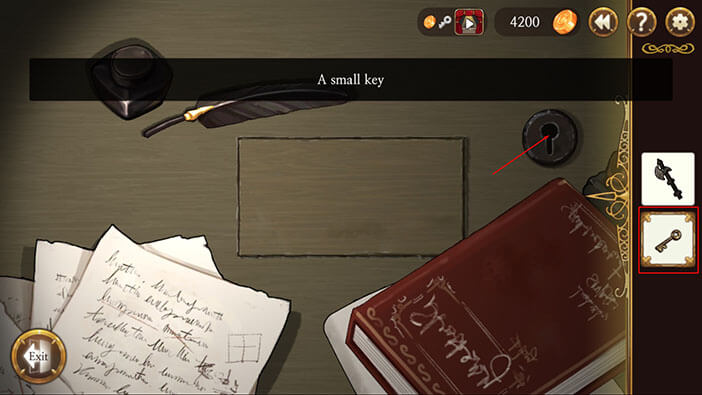
After reading the letters “A Small Key” will be added to the inventory. Remember the small keyhole that we uncovered below the letters on Neumann’s desk? Let’s check if we can use this key there. Sweep all the way to the left and tap on the arrow to exit the room.

Tap on Neumann’s desk.
Select the key from the inventory and tap on the small keyhole.
A hidden compartment in the desk will open. Tap on the medal to pick it up. Apparently, the pattern on this medal seems familiar to our protagonist.
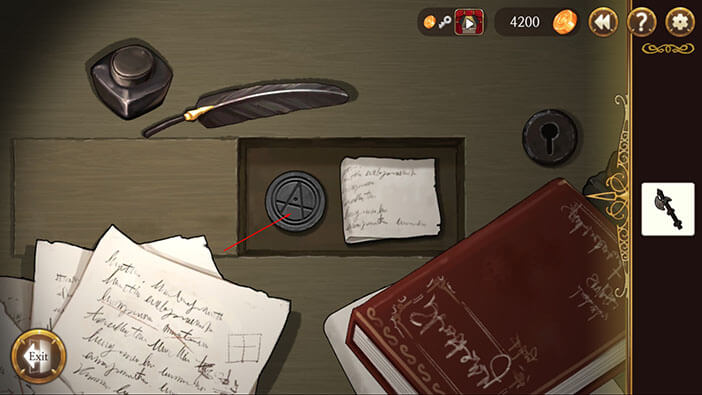
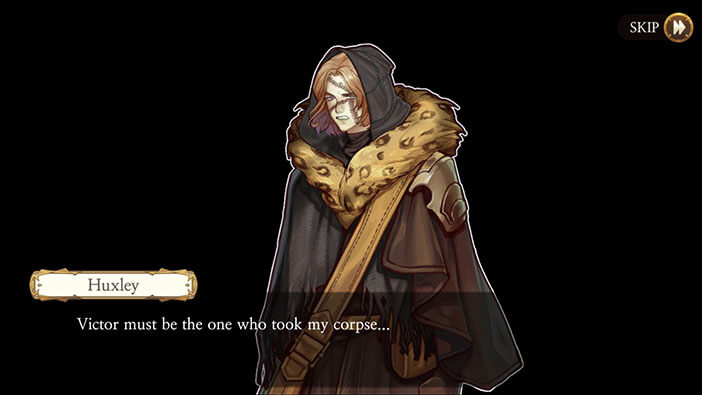
Huxley will automatically read the letter inside the hidden compartment. It looks like Victor “stole” Huxley’s body from Samuel, and that’s why the gang leader captured and tortured him, but couldn’t get him to talk. Luckily, Samuel can’t kill Victor yet, because he still needs him for one final experiment at Babel street. Hmmm, that’s probably the reason why Victor wrought that he was going to die, in the note that we found during chapter 3-1. Well, if he is still alive, maybe his “creation” will be able to reach him in time and rescue him.

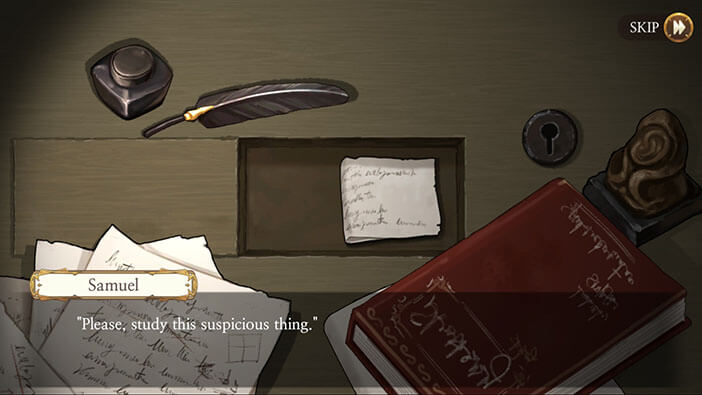
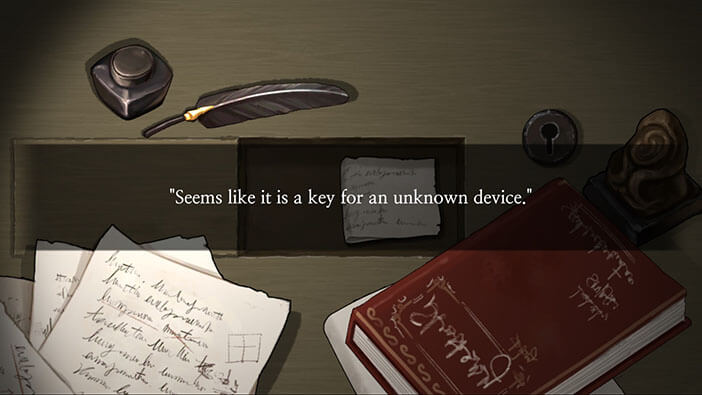
The medal that we found is the reason why Samuel sent this letter to Neumann. He instructed the lawyer to find out the origins of the medal and its purpose since it belonged to Victor Frankenstein. It seems that Neumann concluded that the medal is actually some kind of a key.

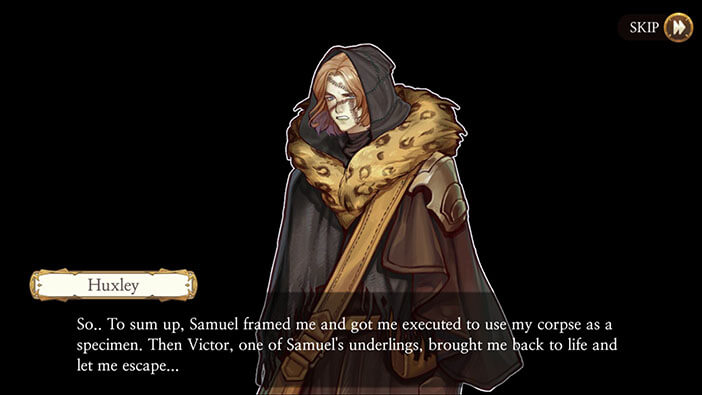
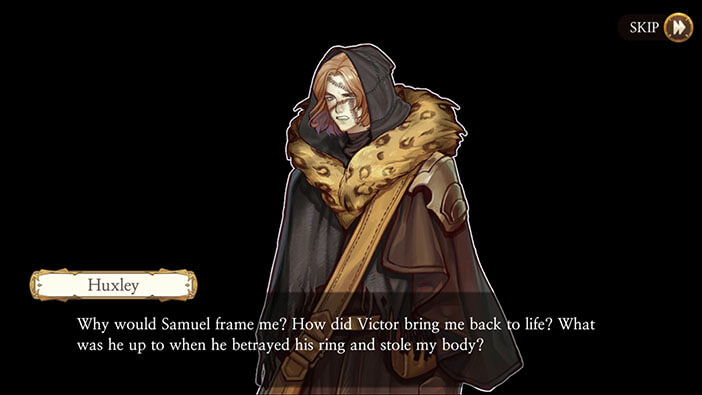
And Huxley finally realizes that he was the specimen mentioned in the letters. He basically summarizes what we already know. Only one piece of the puzzle is missing. Why would Victor betray the powerful underground organization such as Aegyptus, when he surely knew that they will hunt him down? He must have had a very strong motive to even consider such a bold move.
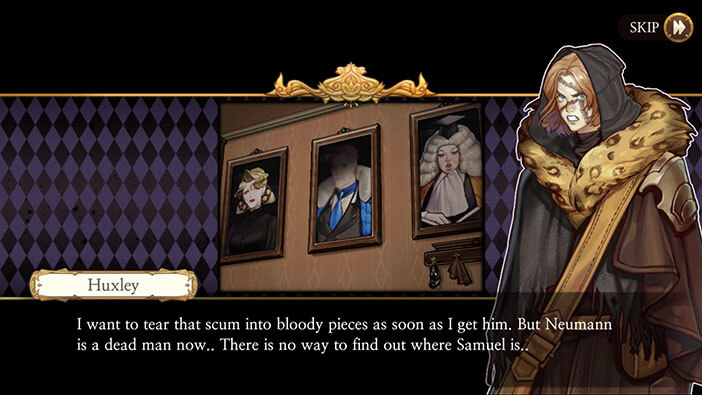
In the next scene, Huxley takes a look at Samuel’s portrait, and I finally realize that he is the mysterious figure – some of you probably figured this out earlier. By mysterious figure, I mean the person that Huxley saw while hallucinating inside his home, and the person that met with Victor in front of his lab, way back in the last stage that we played as Victor.

Huxley wants to take revenge but doesn’t know where to look for Samuel, since the lawyer is dead and there is no one else that he could ask. And then it hits him. That same portrait was hanging from the wall in the first room of the underground lab, and it was one of the first things that reanimated Huxley saw. Victor was also there, shortly before our protagonist came back to life, and the medal belongs to Victor, so our protagonist decides that checking out the lab again seems like the best course of action.

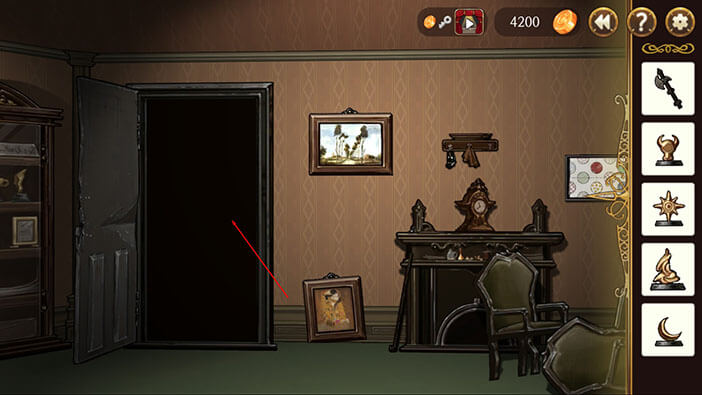
In the next puzzle, we have to figure out how to get Huxley to the lab. You can see the solution on the image below.
Huxley finally reached the lab after some traveling for quite some time, and that’s the end of this stage.
In the next stage, we will be playing as the reanimated Huxley again, this time as he starts searches the lab, once more. Join us in the next stage of the Walkthrough for Frankenstein Room ESC, so we can together discover the motives behind Victor’s actions, and possibly much more…
Thank you for reading.