Chapter 4-4 The Cursed Scientist
Complete Walkthrough
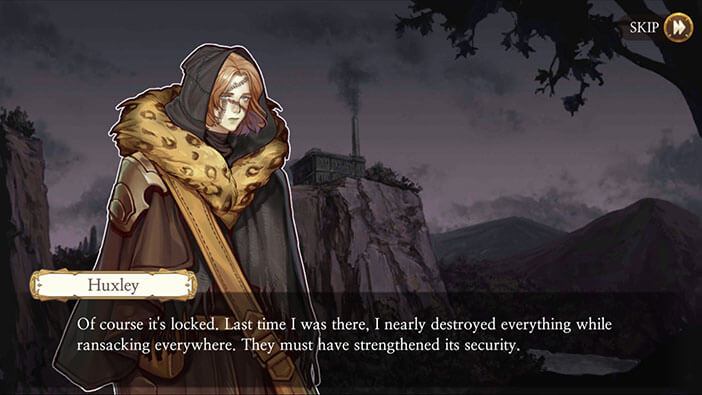
Hello everyone, and welcome to our Walkthrough for the Fourth Stage of Chapter 4 for the Frankenstein Room ESC adventure game. In this chapter, we will be playing as Huxley Mk II again, as he heads back to the Delphi morgue, in an attempt to discover more about Victor Frankenstein.
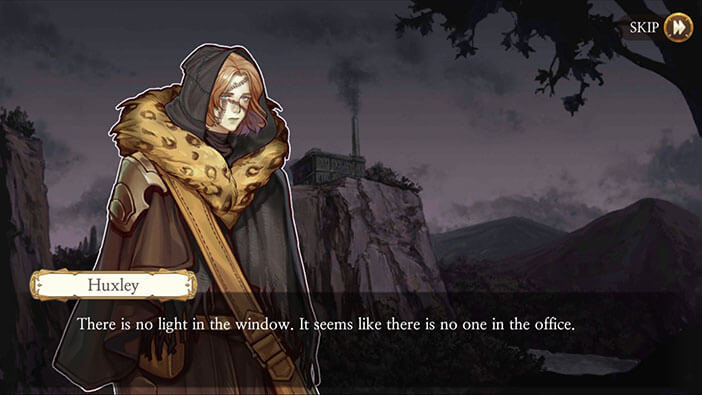
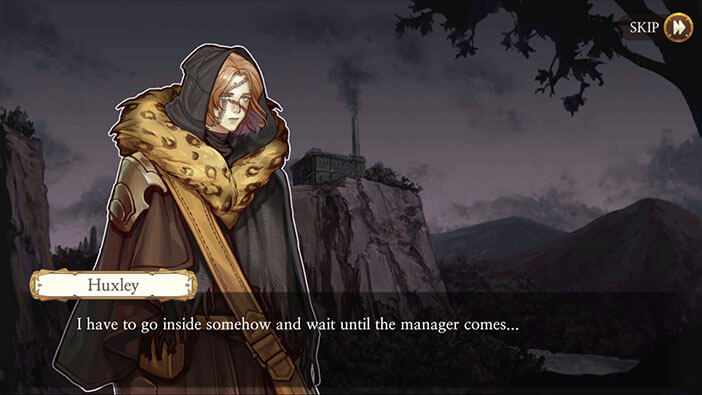
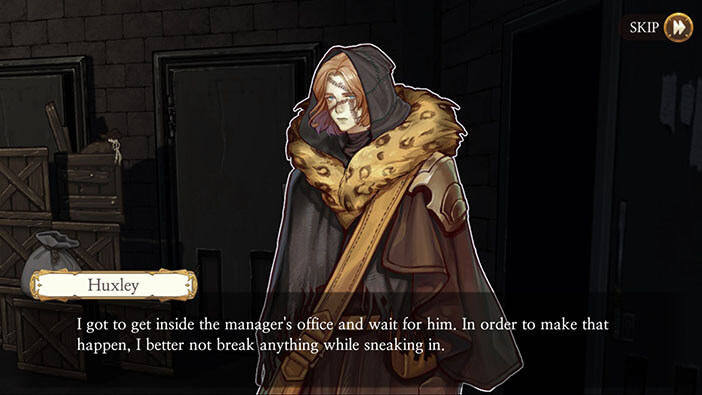
Huxley concludes that there’s probably no one in the morgue, but the building is locked, so he must find another way in. He plans to find a good hiding place, once he enters the morgue. He should then get inside the office, and wait for the manager…
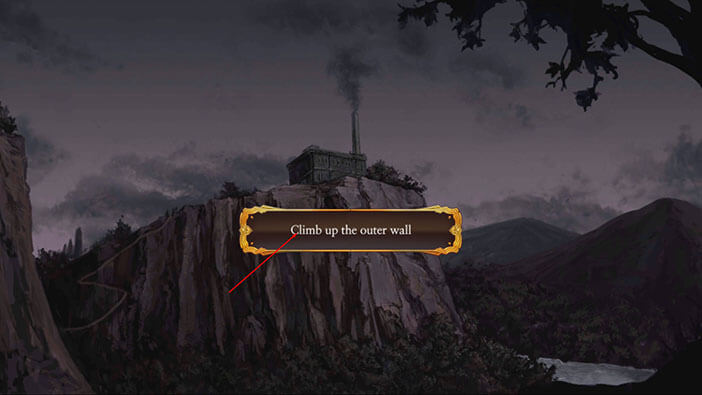
Tap on the “Climb up the outer wall”, and our character will try to reach an open window on the second floor.
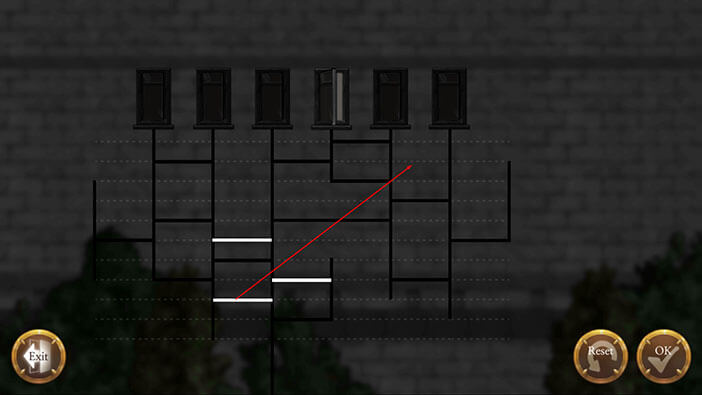
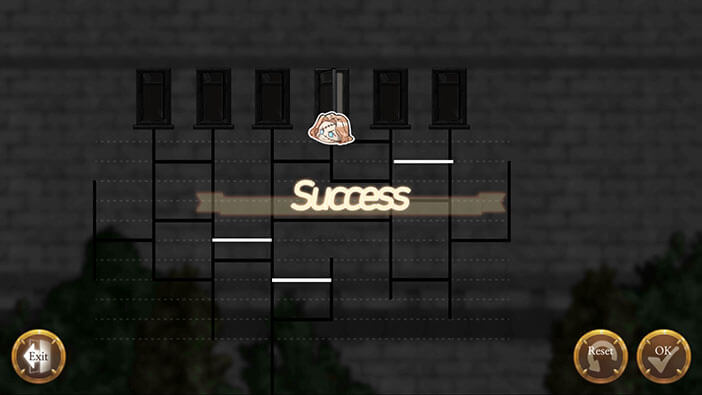
This is a new type of puzzle. Huxley can move on the black lines, but we can redirect his path with the white bars. In order to solve this puzzle, we just need to move the lowest white bar and place it below the two doors on the right, as you can see in the image below. Tap on “OK” to confirm.
We’re in, so we completed the first stage of the plan. Now, we should find a way to get into the manager’s office, but we need to do it quietly, so breaking and smashing things is out of the question.
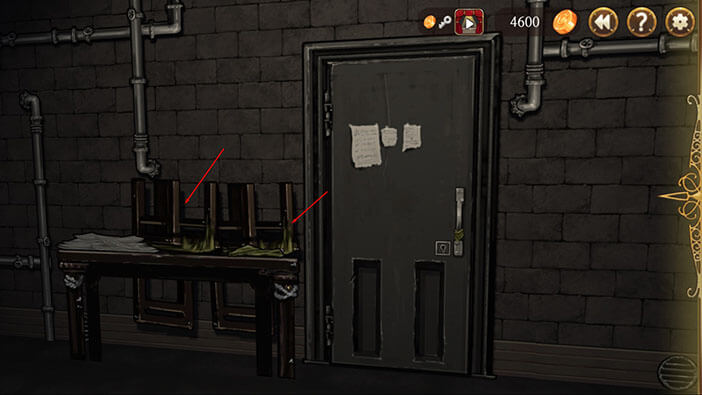
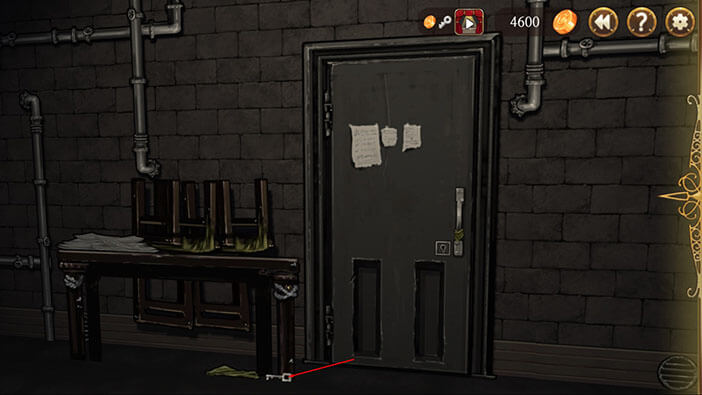
Turn all the way to the left. When we were here previously, the key to the front door was hidden to the left of it, so let’s see if the employees are still hiding the key in the same area.
Tap on the two chairs to move them and the key will fall to the ground. Tap on the key to pick it up… So, they didn’t change the hiding place, which is very fortunate for us.
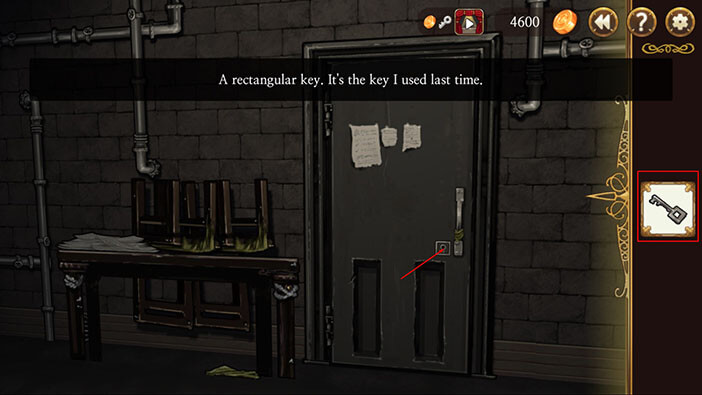
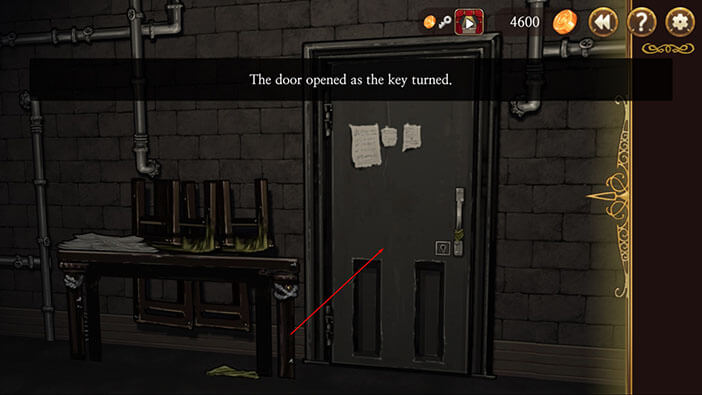
Select the key from the inventory and tap on the keyhole to unlock the door. Tap on the door twice more to open it and enter.
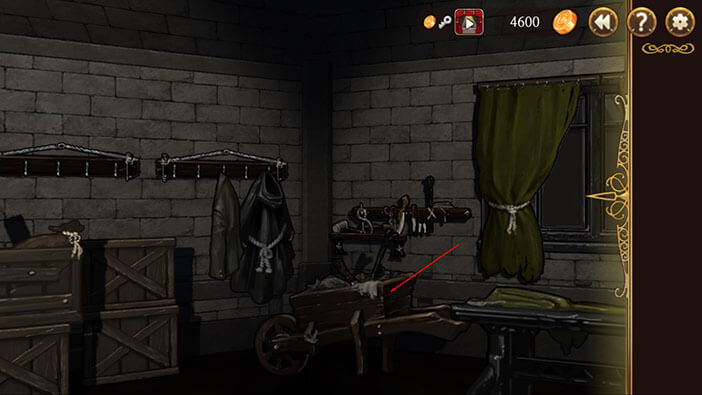
Turn to the right and tap on the wheelbarrow to move it aside, revealing a key that was hidden behind it. Tap on the key to pick it up.

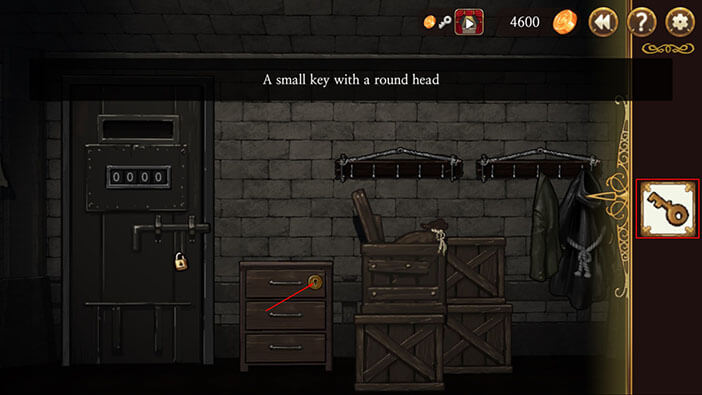
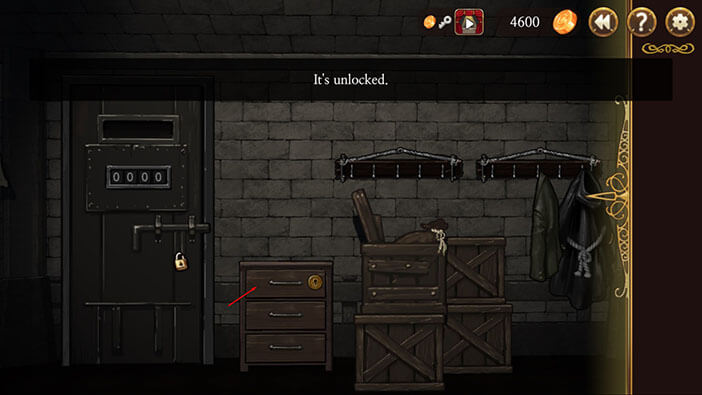
Turn slightly to the left, select the key from the inventory, and tap on the keyhole on the top drawer of the small cabinet.
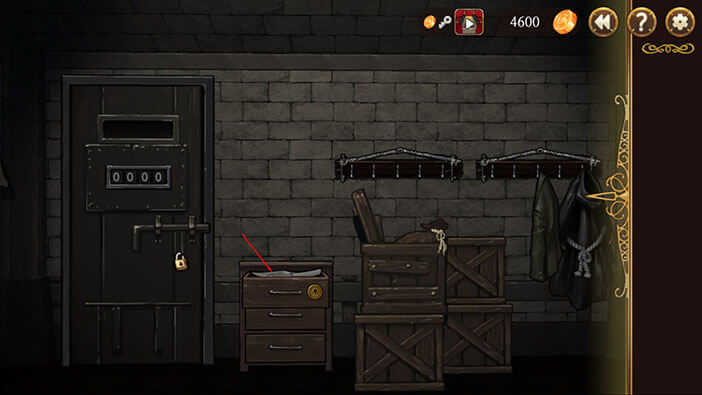
Tap on the drawer to open it, and tap again to pick up a “Memo” from inside it. It looks like some kind of drawing. Based on our previous experience, I guess this is a piece of some kind of scheme.
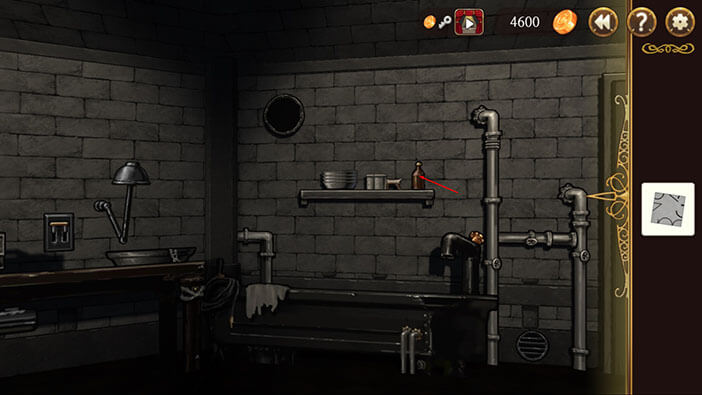
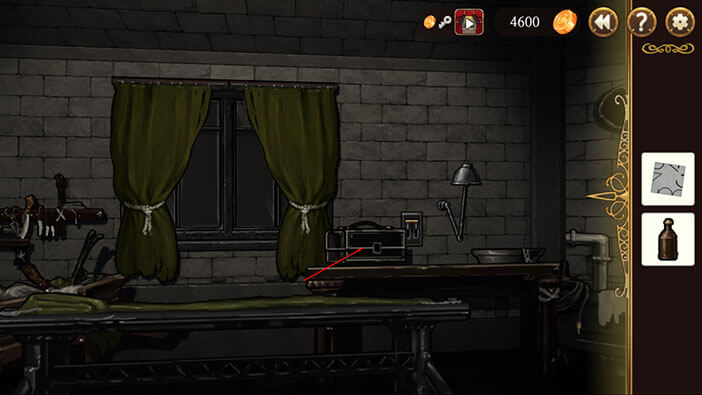
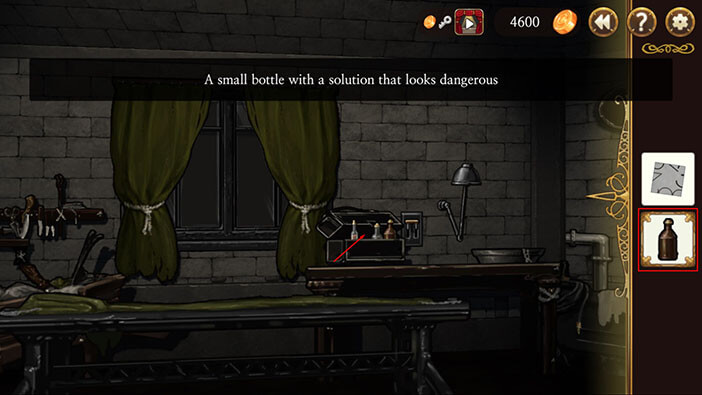
Turn around and you’ll notice a brown bottle on top of the small wall shelf. Tap on the bottle to pick it up.
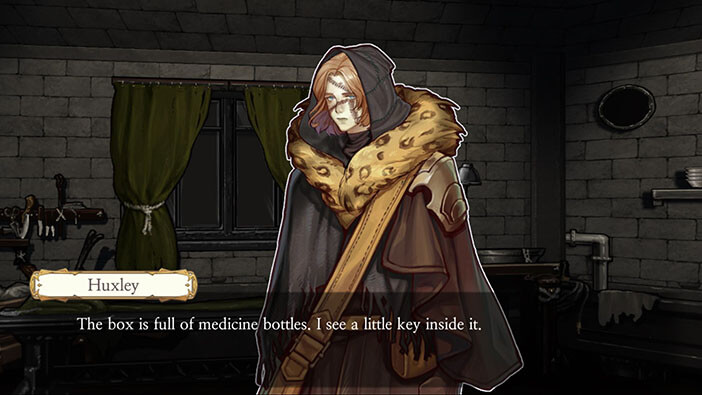
Slightly to the left, you’ll notice a large black bag. Tap on it, to open it. Tap again on the bottles inside and our character will comment that he can see a key inside the box, but he’ll need one more bottle in order to reach it. The good news is that we already found the bottle.

Select the bottle from the inventory and tap on the inside of the bag to start the interaction and a new puzzle.
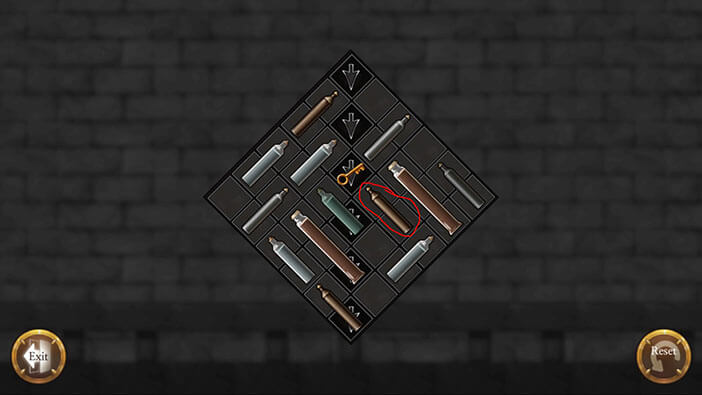
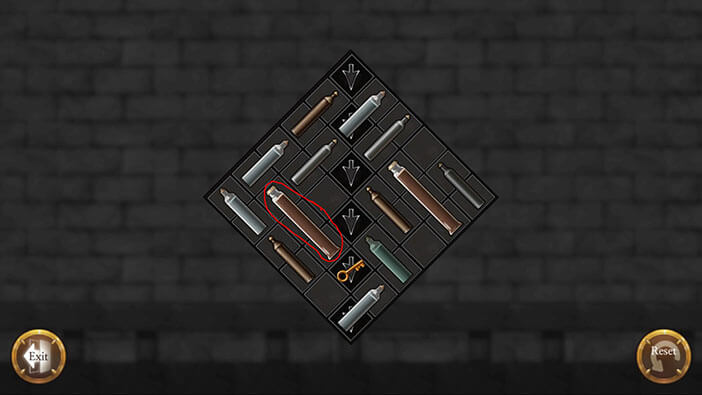
In order to solve this puzzle, we need to clear the way for the key by moving the bottles. Our goal is to get the key to the bottom right corner. Let’s start.
Move the white bottle in the lower-left corner all the way to the right. That allows us to move down the two bottles that are blocking the key’s path to the second position (second black field).
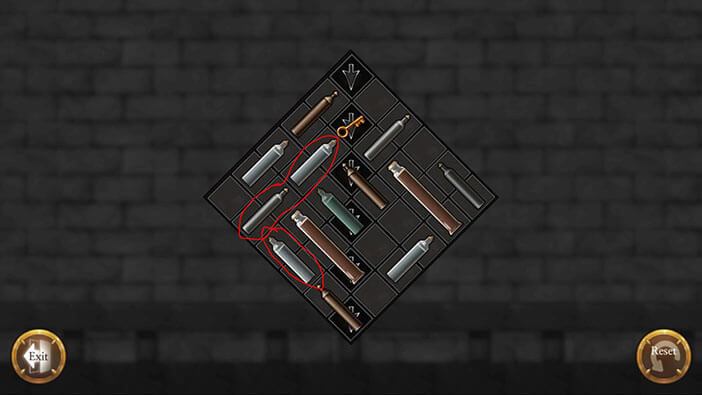
We should now move the large brown bottle (the one that is blocking the third position) to the right.
Ok, things now seem a bit complicated but there’s one really easy solution for our problem, which will also simplify the following steps.
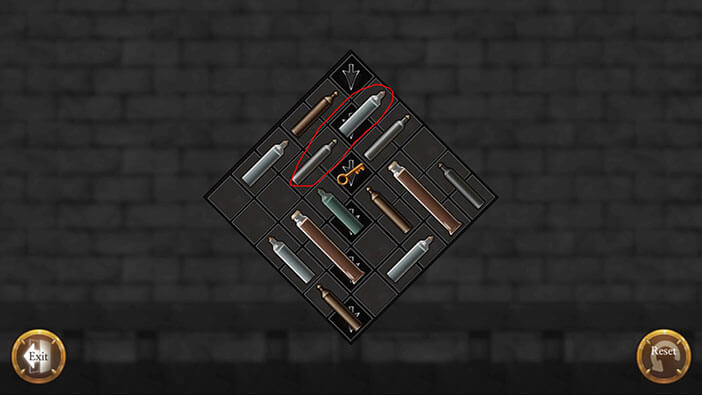
Step 1: Move the two bottles that were blocking the second position all the way up.
Step 2: Move the two bottles that are blocking the final position all the way to the left.
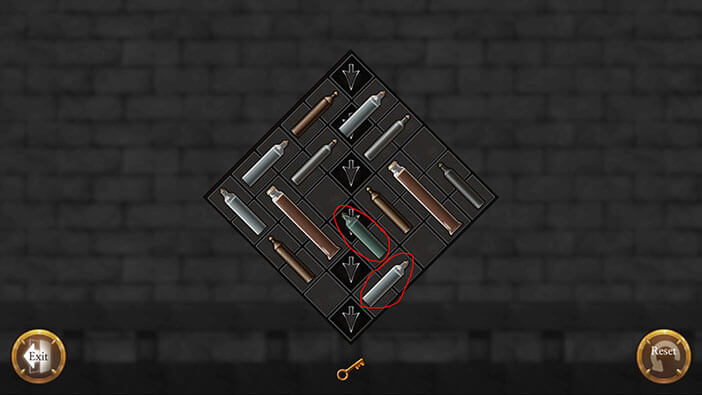
Step 3: We can now move the white bottle in the far right column, all the way down to the final position. This enables us to move the green bottle (located in the center of the grid) two fields to the right, clearing the path for the key.
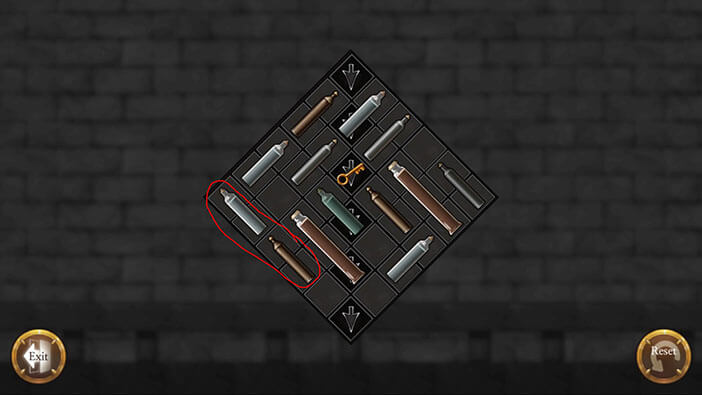
We can now move the large brown bottle one field to the left, and it will clear the path for the key. As I already said, the previous step makes things very easy.
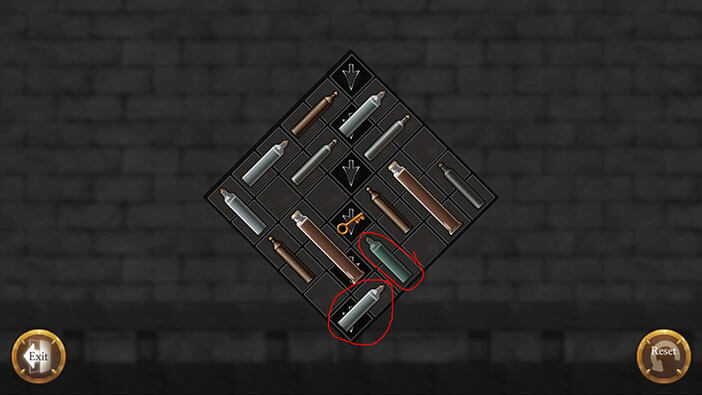
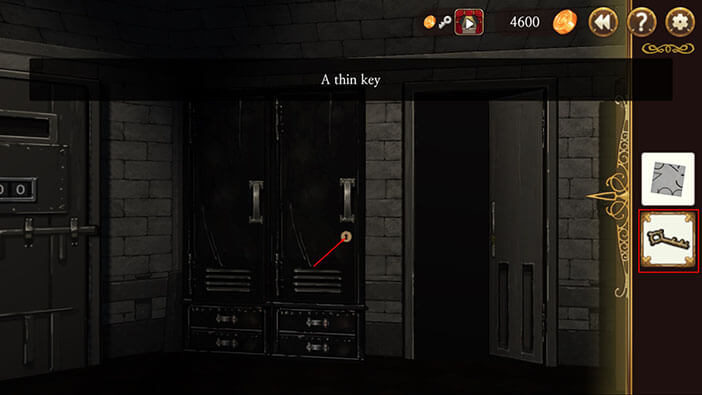
And we’re almost done. The solution should be obvious at this point. Move the green bottle one field to the left, and move the white bottle that is blocking the final position one field up. With this step completed, we solved the puzzle. Tap anywhere to continue, and a “Thin Key” will be added to the inventory.
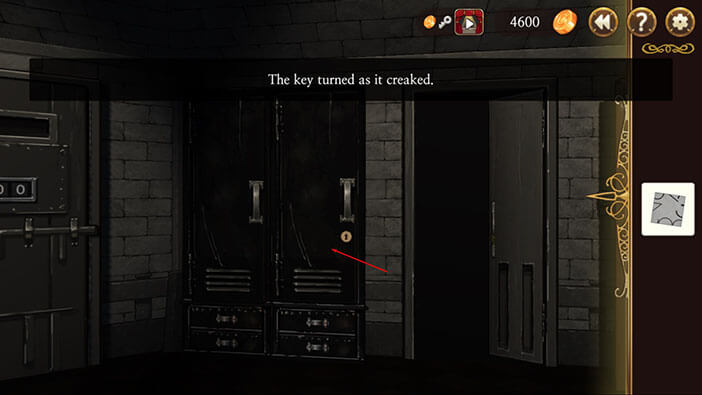
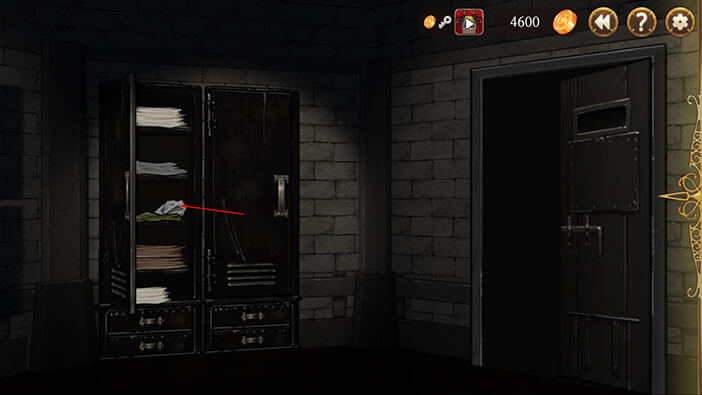
Turn around and you’ll notice two large lockers. Select the “Thin Key” from the inventory and tap on the keyhole on the right locker. Tap on the locker again to open it.
Tap on the drawing inside the locker.
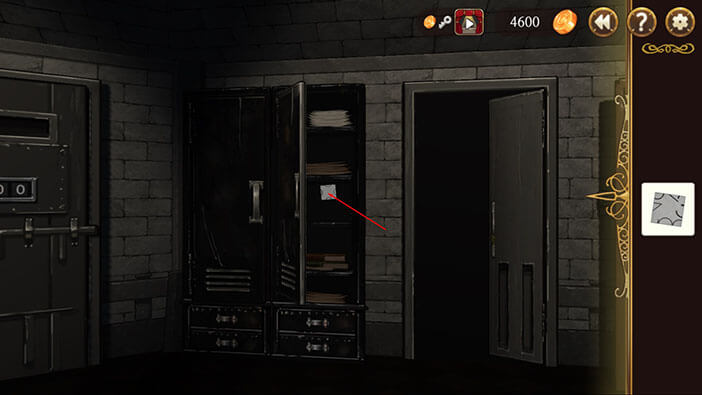
It looks like the “Memo” that we found earlier is a part of this scheme. Select the memo from the inventory and tap below the scheme.
Before we can figure out how the scheme works, Huxley hears voices coming from outside. He realizes that he has to quickly find a hiding place and that that is us to our next task.
Huxley’s card will be added to the inventory, and now we have to find a good hiding place.
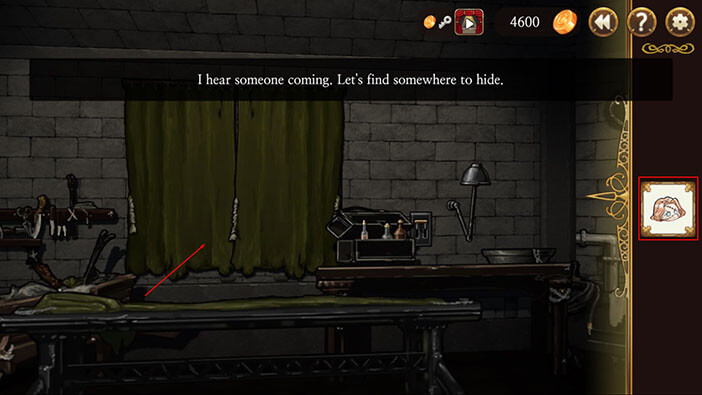
Turn around and face the window. Hiding behind the curtains seems like a decent idea. Tap on both curtains, select the Huxley card from the inventory, and tap on the curtain on our left side to hide.
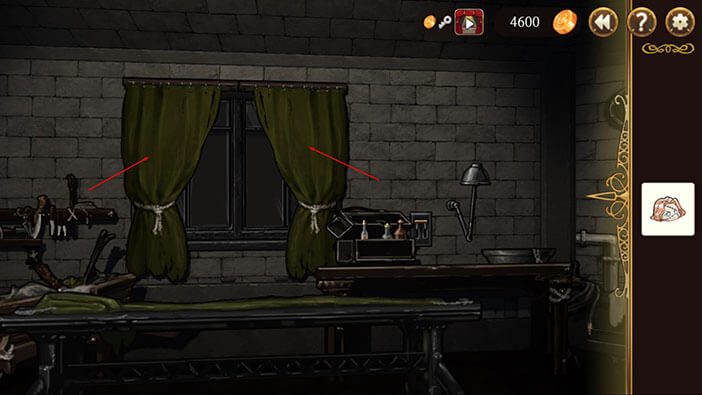
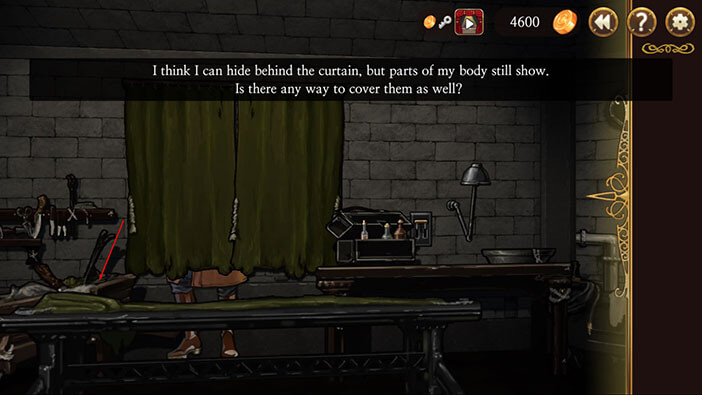
Tap on the wheelbarrow on the left, to move it closer and hide Huxley’s legs.
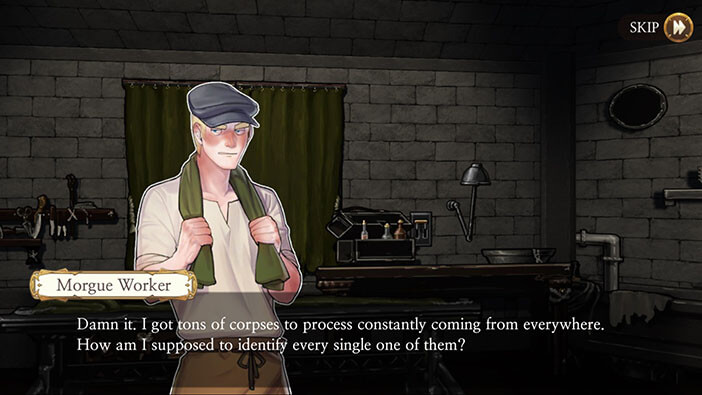
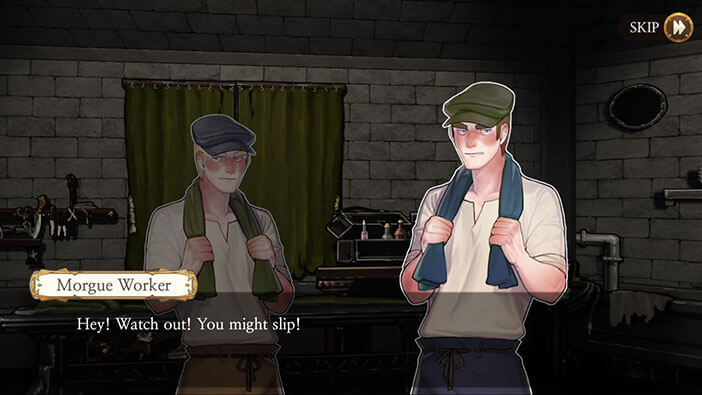
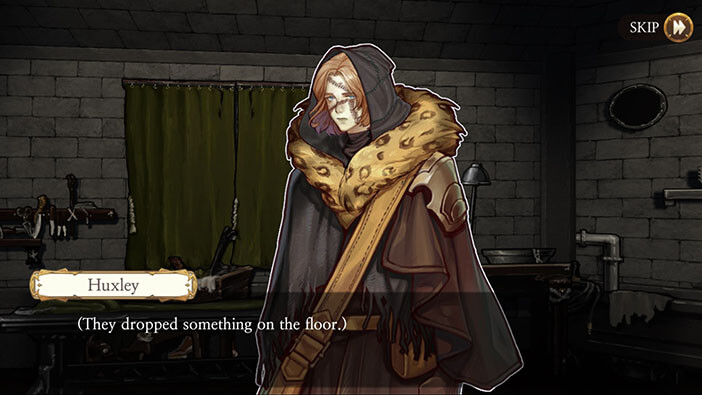
Our protagonist manages to hide at the last moment. The two workers came in, complaining about how they are overburdened with work. One of them slips and drops something on his way out.
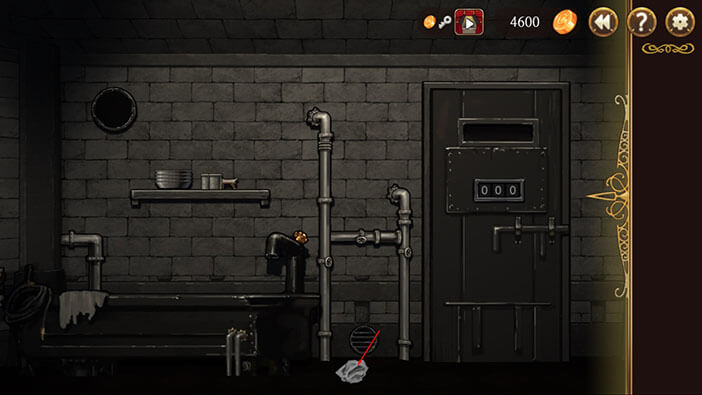
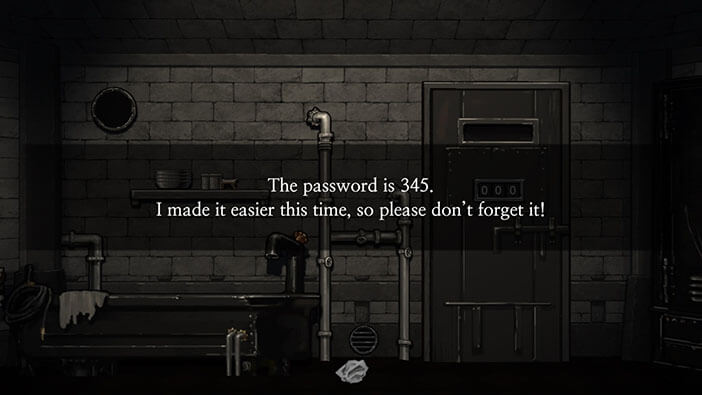
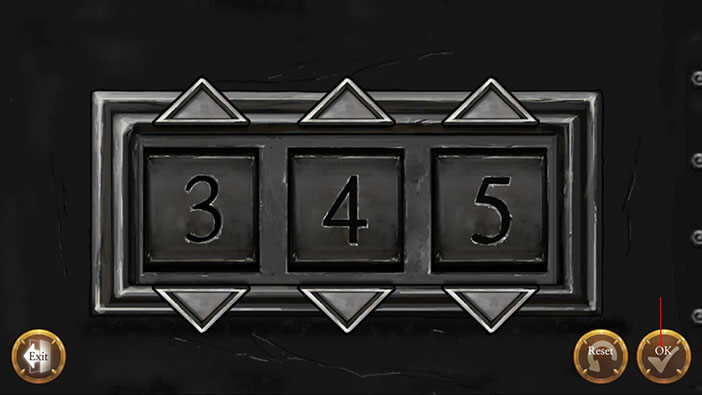
Turn to the right and tap on the piece of paper located near the bathtub. Reading the note that one of the workers dropped our character discovers that the password is “345”. Wow! I think this is the first time that we found out a password without having to solve one or more puzzles.
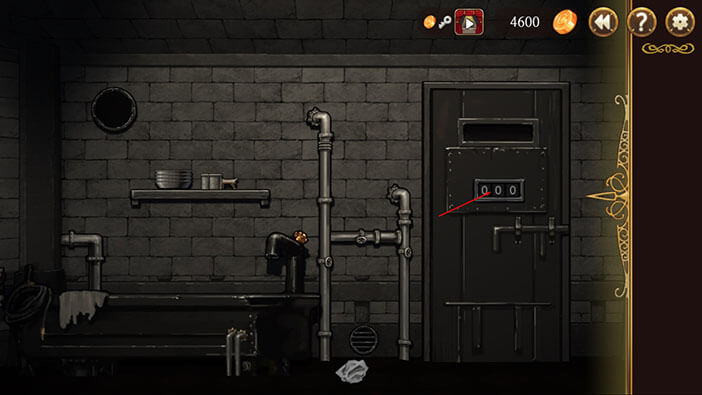
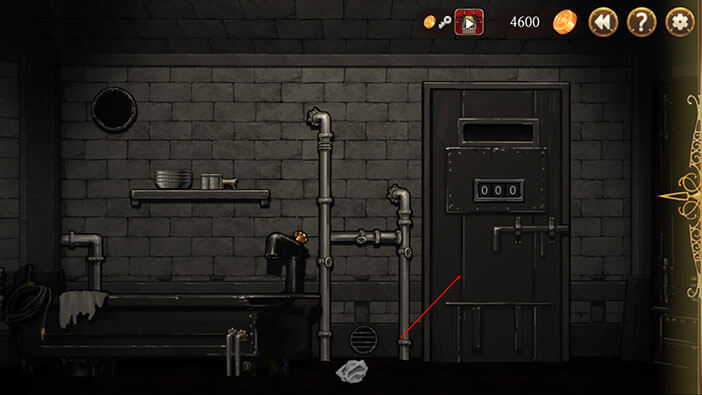
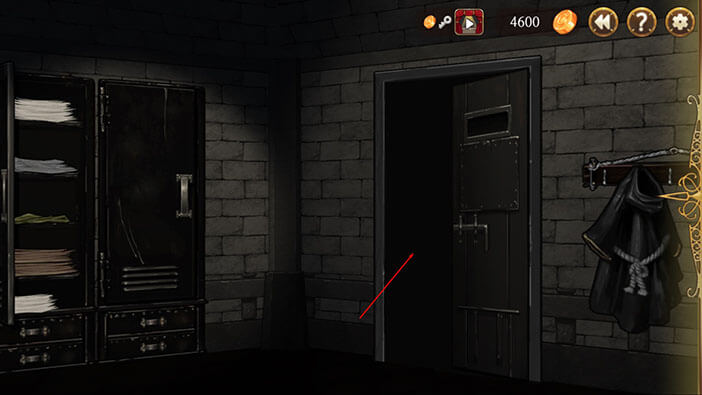
Tap on the three zeroes on the door in front of you. From the previous stages, we know that this door leads to the morgue, and we need to get to the office (door marked with “0000”). However, to unlock the office we will first have to search through the morgue. So, enter the code “345” that we just discovered from the note, and tap on the “OK” button to confirm and unlock the door.
Tap on the door to open it and tap once more to proceed into the next room.
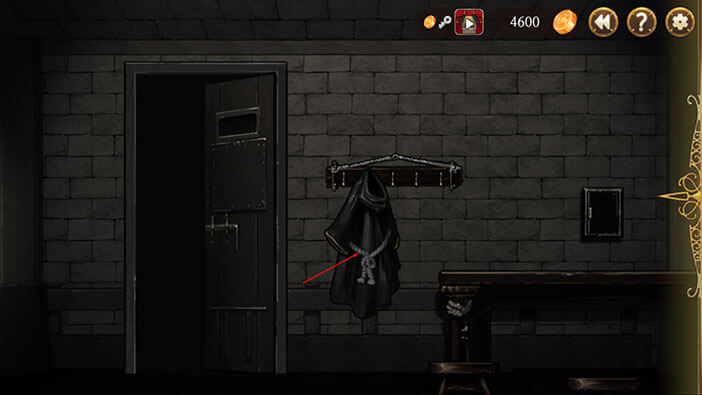
As you enter the morgue, you will notice a black robe. Tap on it and a “Shiny Key” will be added to the inventory.
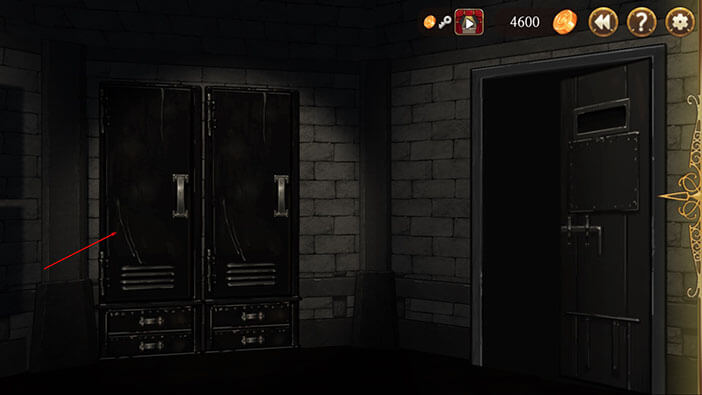
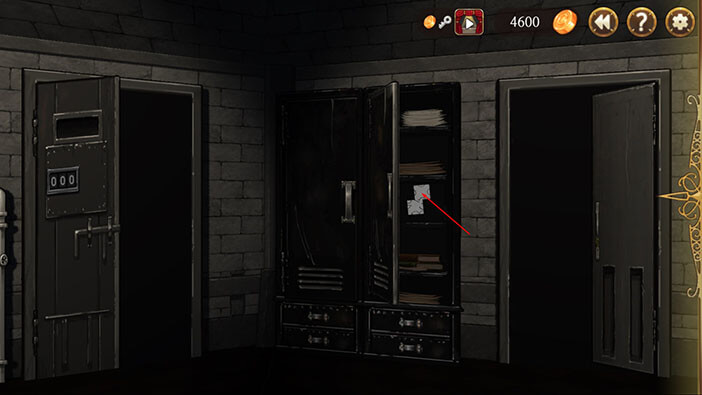
Turn to the left and tap on the left locker to open it. Tap on the piece of paper inside it and another “Memo” will be added to the inventory.
There’s nothing else of interest inside this room, so tap on the door to return to the previous room.
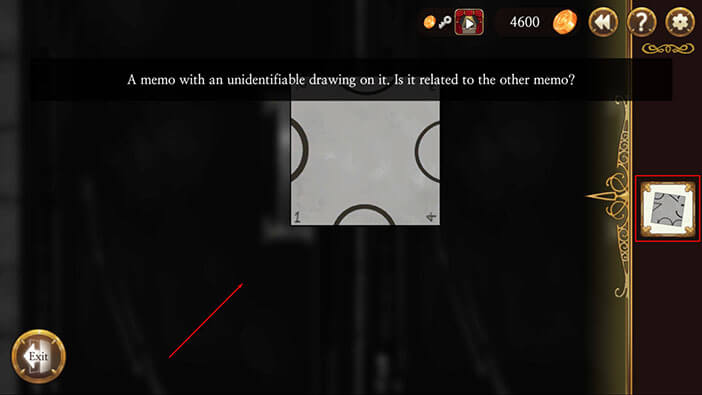
OK, let’s now try to solve the puzzle that we were looking at before the two workers came in. Tap on the drawing inside the locker.
Select the “Memo” from the inventory and tap just to the right of the memo that we already placed.
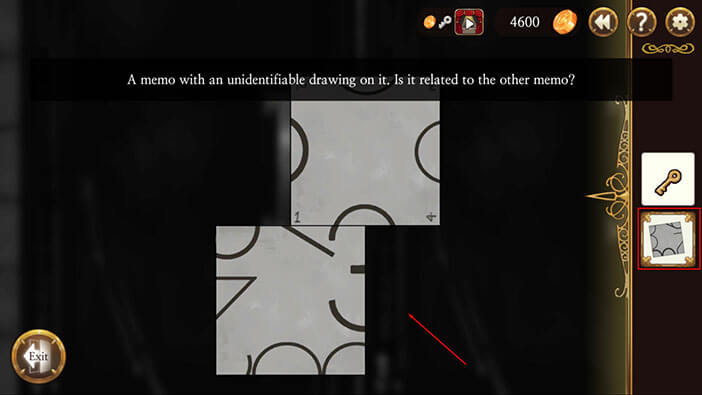
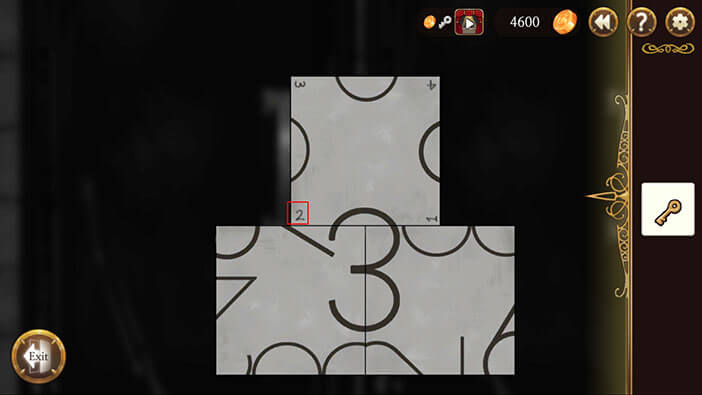
- To solve this puzzle we will have to discover four numbers. We can rotate all three “Memos”, and if all three have matching lines, we will reveal one of the numbers.
Now, pay attention to the bottom left corner of the main “Memo” (the top one). You will notice that it is marked with number one. So, matching the other two papers with this one will reveal us the first number.
So, after rotating the other two pieces of paper to match the main one, we will see a number 9. This is the first number.

Tap once on the main “Memo” and now the number 2 will be in the bottom left corner. We can now rotate the other two pieces of paper, and once they match the main one, we will discover the second number.
The second number is 3.
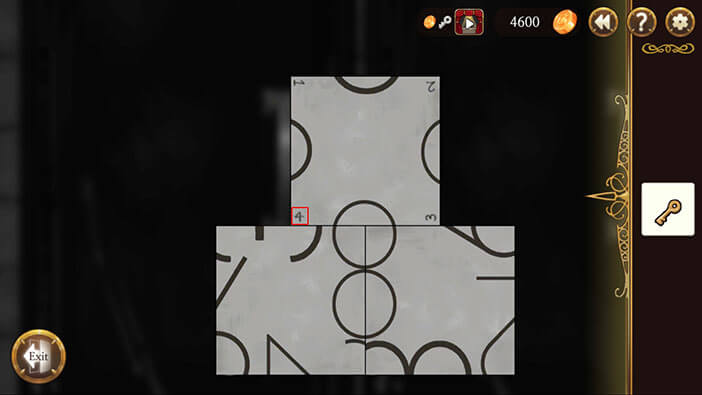
Tap once again on the main “Memo” and now the number 3 will be in the bottom left corner. We will do the exact same thing as in the previous two examples.
The third number is 2.

And, finally, tap again on the main “Memo” and now the number 4 will be in the bottom left corner. We will do the exact same thing as in the previous three examples.
The fourth number is 8.
When we put it all together, our combination is “9328”. It’s a four-digit combination, so we should probably try to use it on the door marked with four zeroes.
Tap on the “Exit” button.
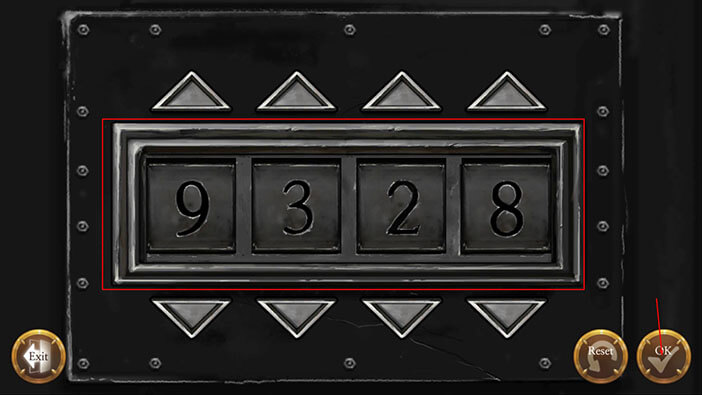
Turn to the right and tap on the numerical lock “0000”, located on the door that leads to the office.

Enter the “9328” code that we discovered by solving the previous puzzle and tap on the “OK” button to confirm.
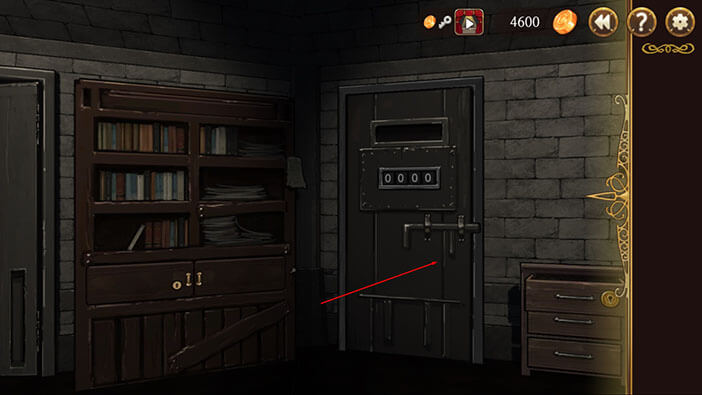
Now, we just have to unlock the padlock, and we will be able to get into the office. Select the “Shiny Key” from the inventory (the one that we found in the morgue), and tap on the padlock.

That’s it. Tap on the office door to open and tap again to enter.
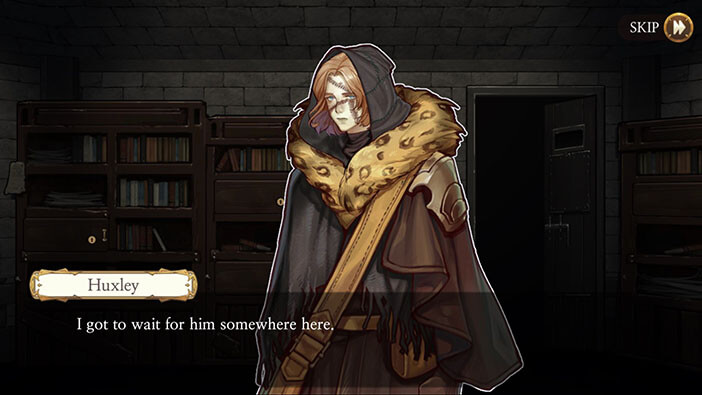
After reaching the office, we can execute the final part of the plan. Of course, there’s no one in the office since it was locked by padlock from the outside. Now, Huxley just has to find a good hiding place and wait for the manager.
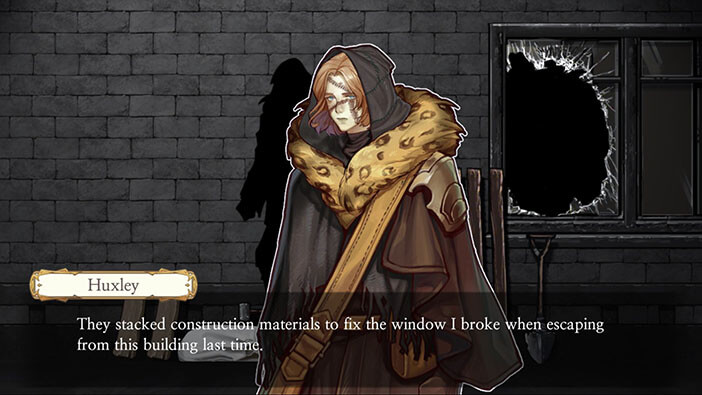
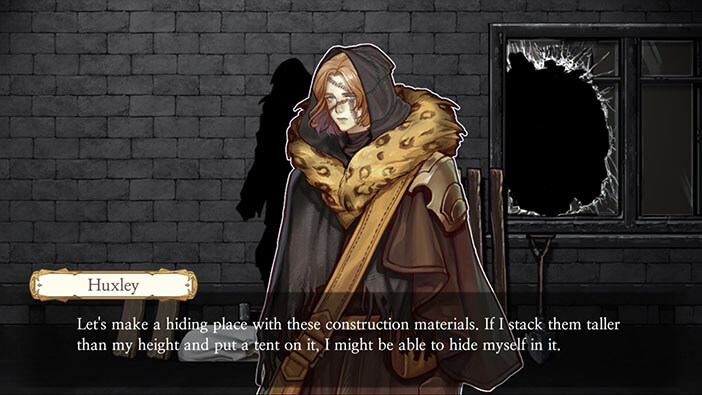
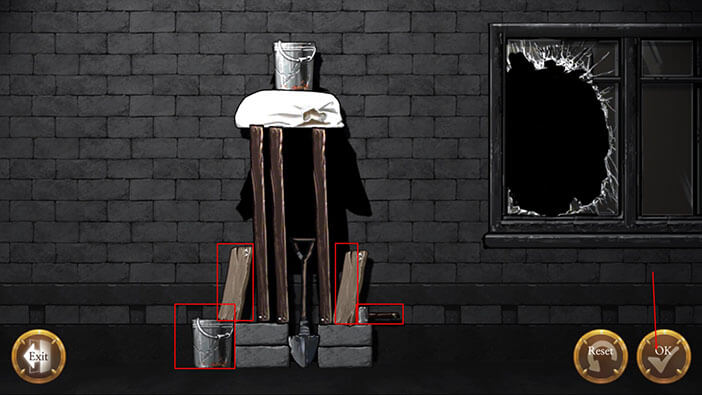
Turn around and you’ll see something covered by the sheet, next to the broken window. Tap on the sheet and Huxley will uncover the building materials that were brought in to fix the broken window. Our protagonist figures that if he stacks building materials high enough and throws a sheet over them, he will make a good hiding place for himself. Seems like a reasonable idea, let’s do it.
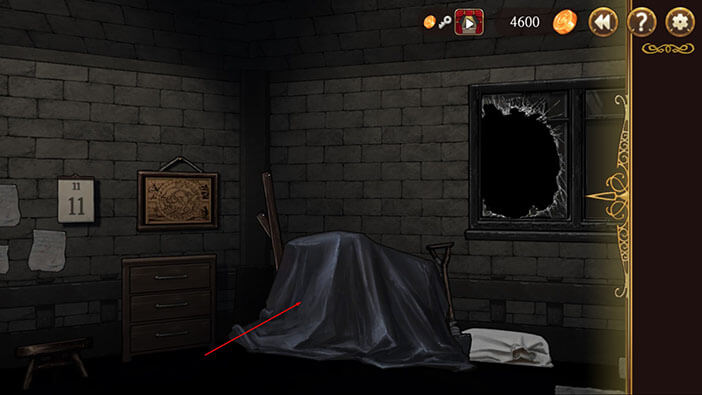

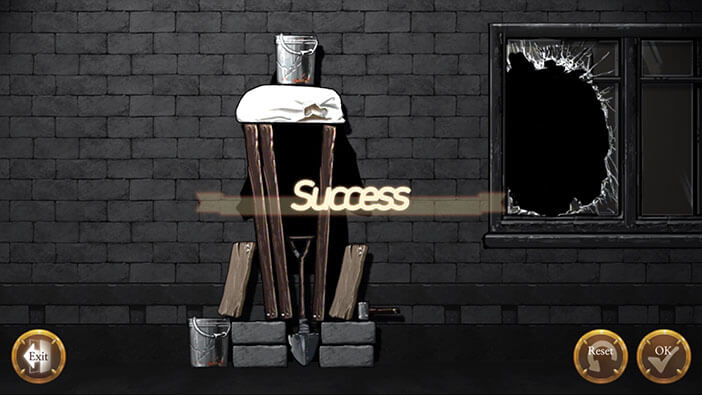
There are multiple solutions to this problem, and you can see mine in the image below. The most important parts of this solution are the two wooden boards, a hammer, and the bucket in the lower right corner since these objects are keeping the entire construction stable, preventing it from falling to the left or right. Tap on “OK” to finish the construction of the hiding place – and see if it will fall down or not.
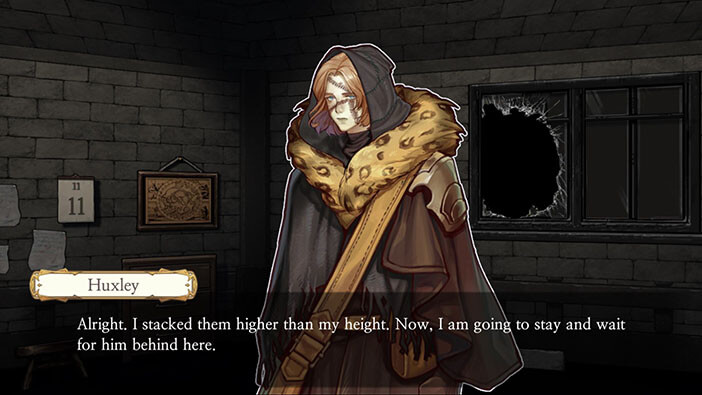
Now we just have to be patient and wait for the manager to arrive.
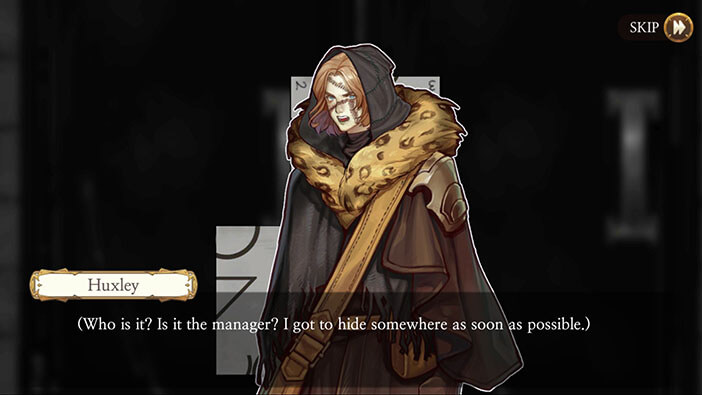
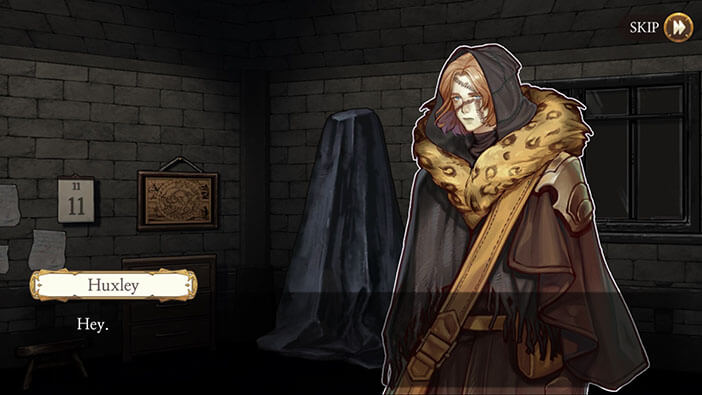
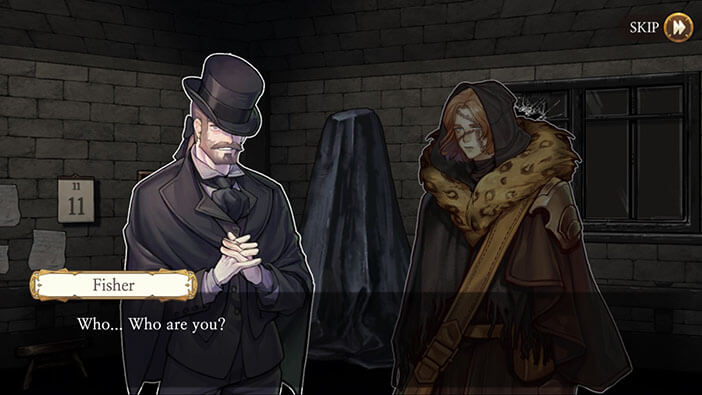
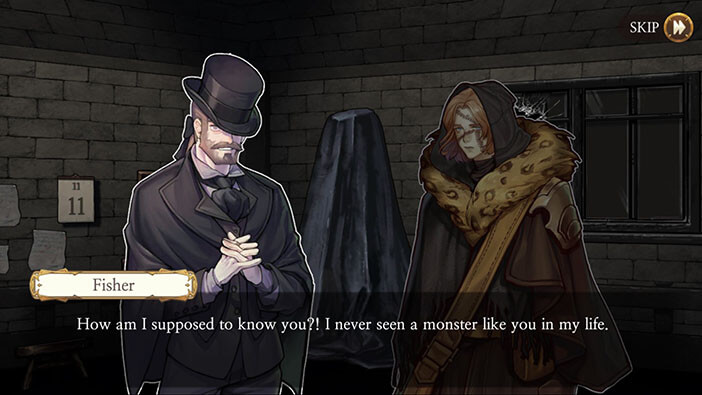
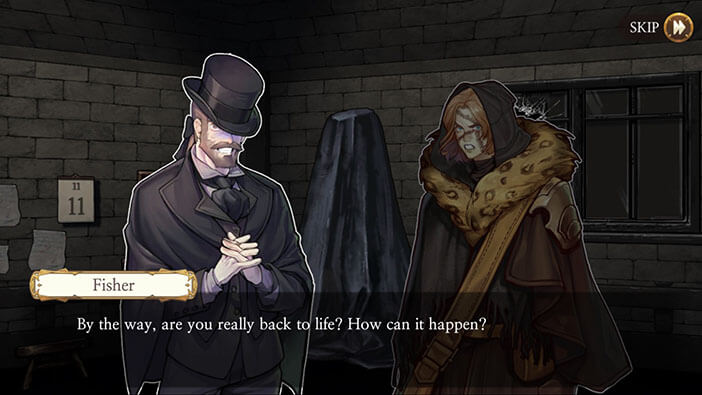
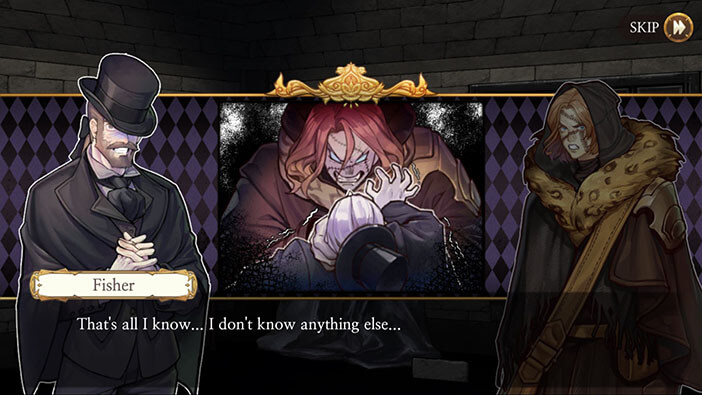
Fisher (the manager) came back for some missing document and at this moment Huxley gets out of the hiding place. Startling the poor Fisher with a very casual “Hey!”. After seeing Huxley, Fisher becomes truly terrified and calls him a monster. He doesn’t recognize our character.

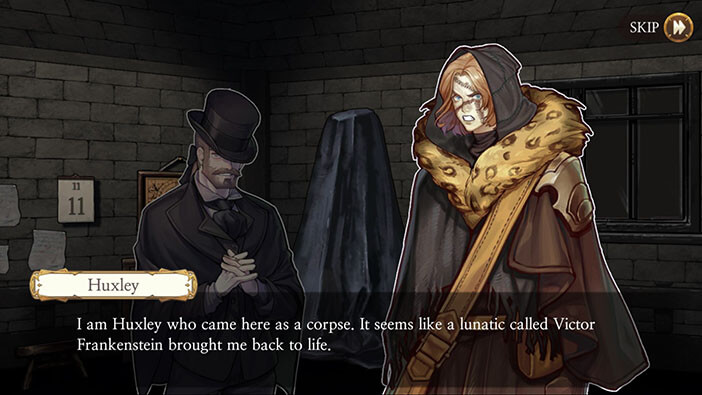
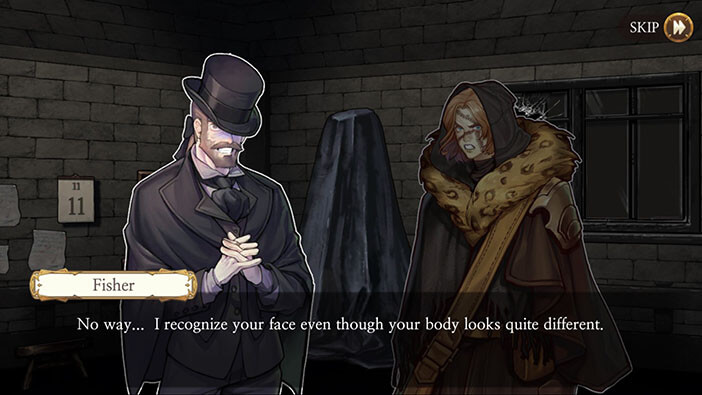
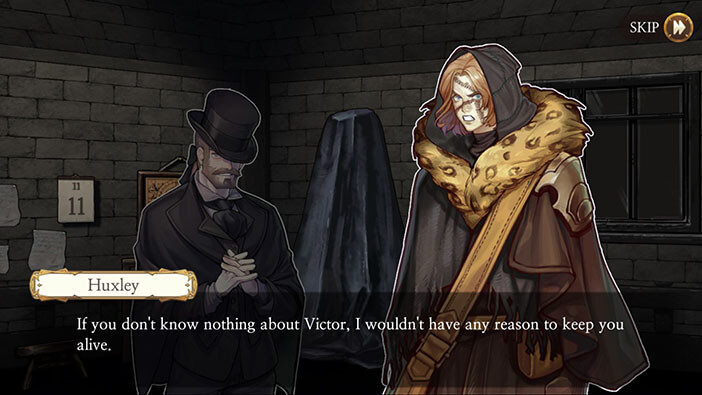
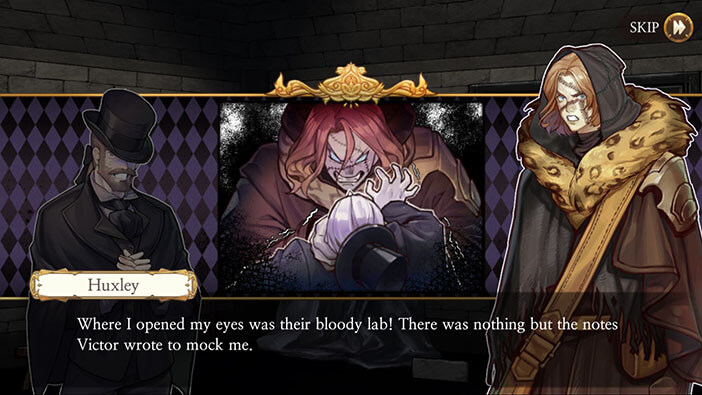
Our protagonist explains how he came into the morgue as a corpse and was reanimated by Victor Frankenstein. After the initial shock, Fisher recognizes Huxley. Unsurprisingly, the morgue manager is still in shock, after seeing a young man that came back to life in a monstrously large body. Huxley quickly gets to the point and asks the manager about Victor’s location. The surprised manager dodges the question at first but starts speaking as soon as Huxley raises his voice.

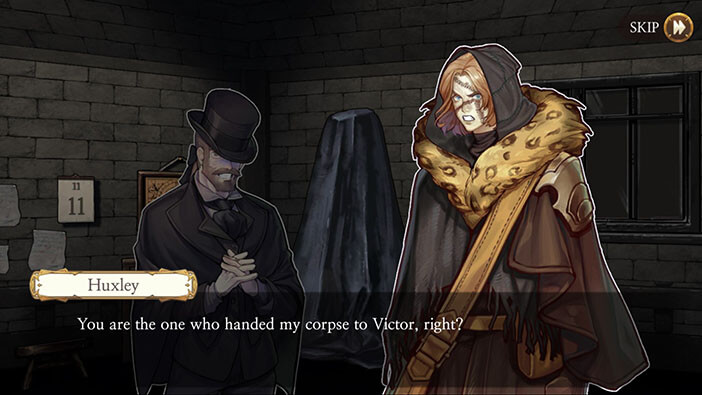

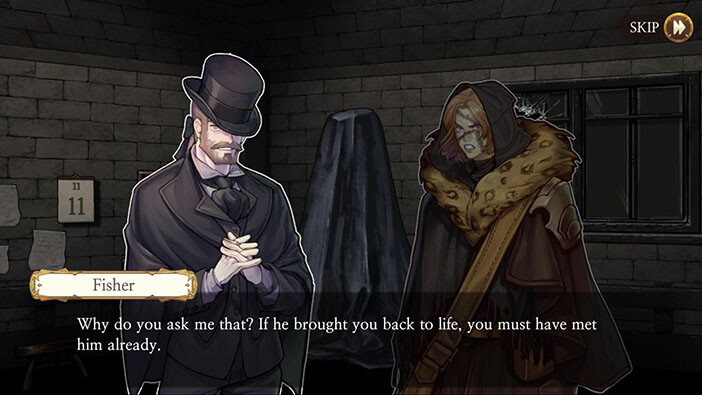

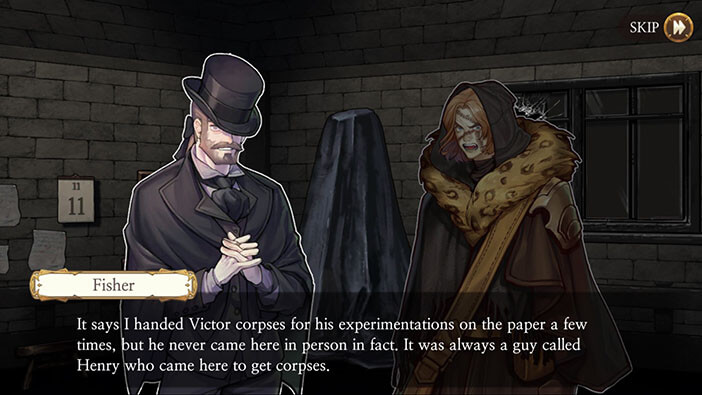
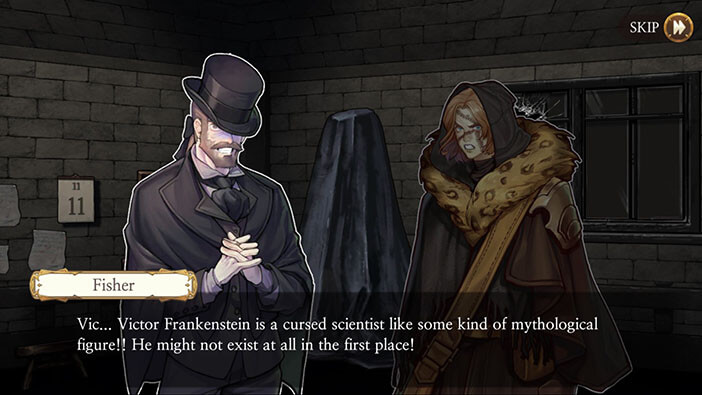
Fisher claims that he never saw Victor in person and that he always handed over the bodies to Henry (so the two were really working together). During the further interrogation about Victor, the manager states that he doesn’t know anything about Victor and that he isn’t certain if the scientist actually exists.
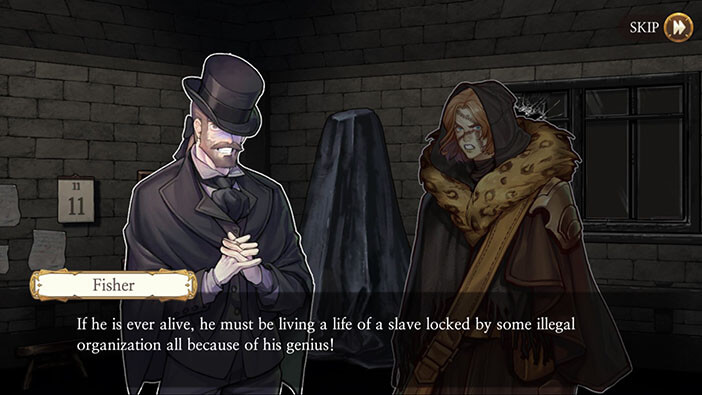
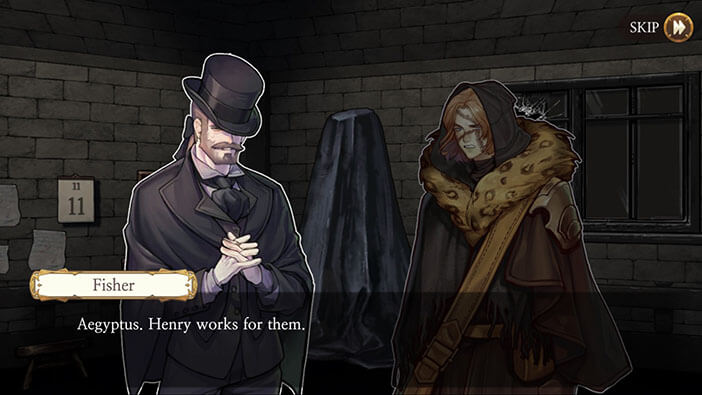
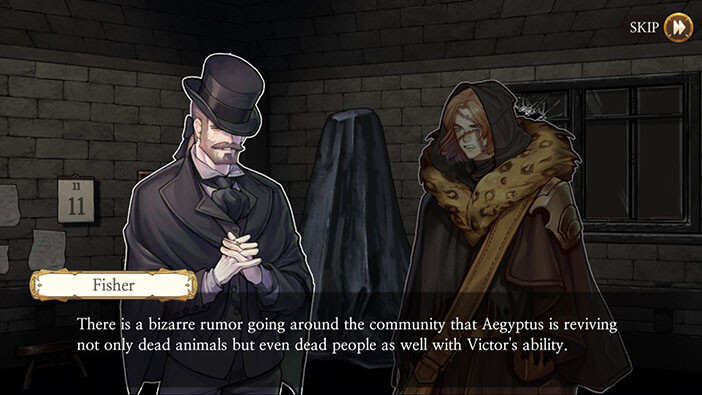
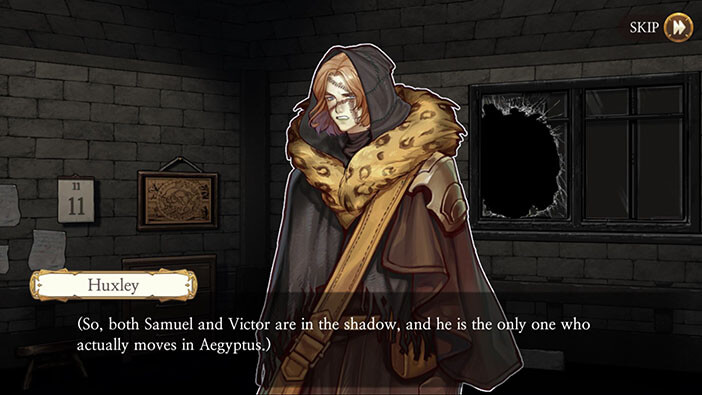
If he does exist, Fisher thinks that Victor might be held captive by the Aegyptus (good guess). He came to this conclusion because there’s a rumor that Aegyptus was reviving dead animals and even humans, during the past couple of days (or weeks). If this rumor is true, I think that things might get very complicated, to put it mildly…
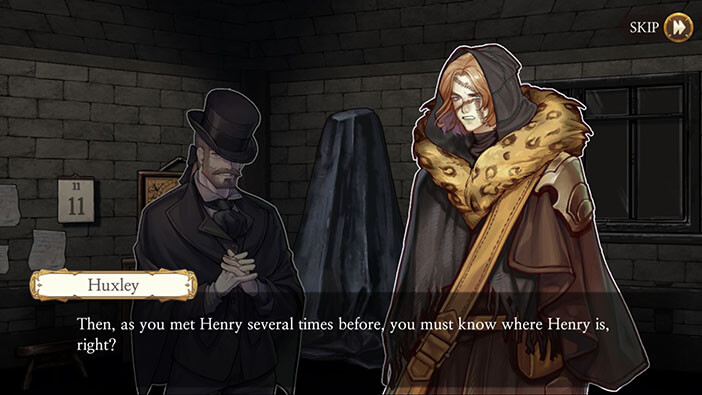
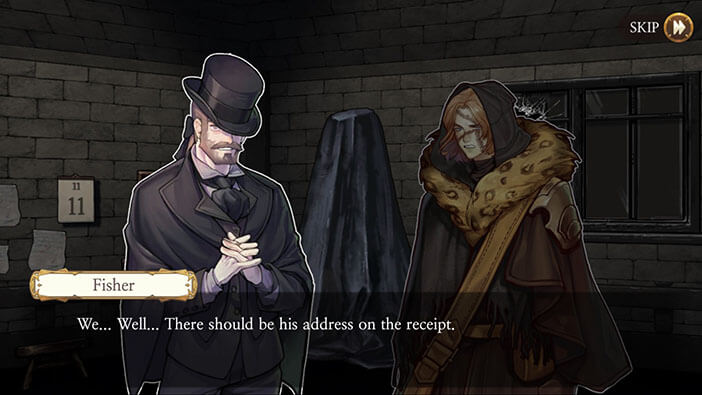
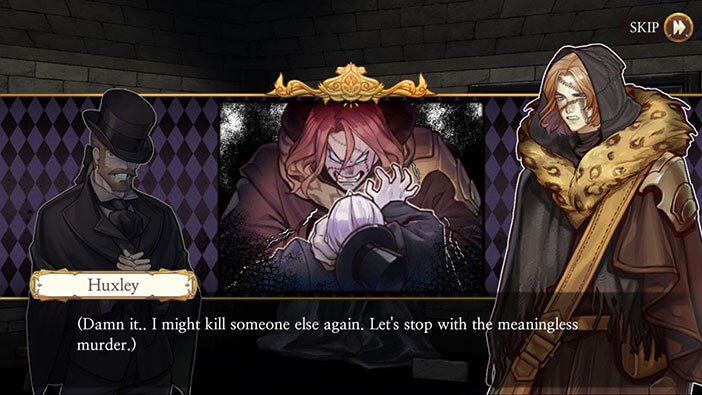
Continuing with interrogation, Huxley asks about Henry’s address, and Fisher honestly tells him that the address is probably written on the receipt. For some reason, this provokes Huxley and he grabs Fisher’s throat with both hands…

Luckily, the undead giant quickly calmed down, realizing that he might accidentally kill an innocent man. Good call. In the previous stage, Huxley MK II killed a game poacher in a single punch, so if he squeezed Fisher with just half of his strength he would probably kill the poor man instantly.
Realizing that he has no more clues about Victor’s or Samuel’s locations, our protagonist decides to go after Henry since this man was dealing with public matters on behalf of Aegyptus. Another reasonable decision.
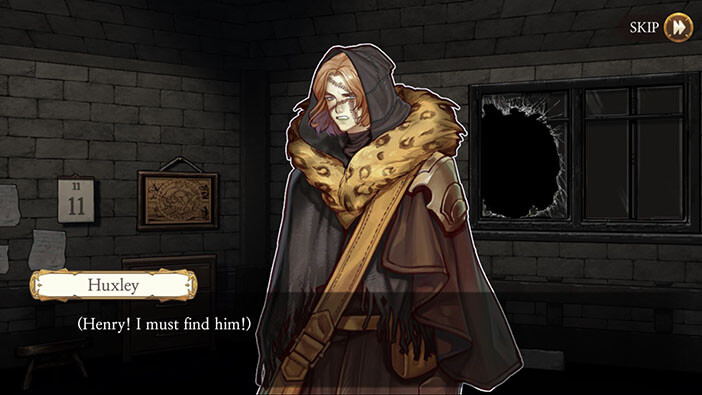
This was the last stage in chapter 4. In the next stage, we will be playing as Elizabeth. Join us in the next stage of the Walkthrough for Frankenstein Room ESC, in which Elizabeth starts the search for Henry Cleval, after Huxley informs her about everything that he found out.
Thank you for reading.