Chapter 4-3 Notes From Underground
Complete Walkthrough
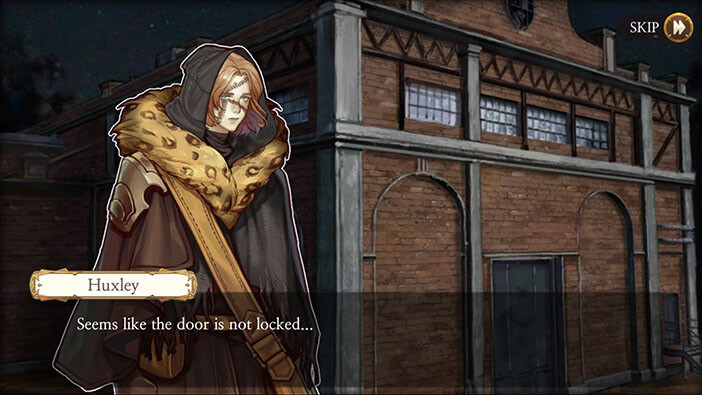
Hello everyone, and welcome to our Walkthrough for the Third Stage of Chapter 4 for the Frankenstein Room ESC adventure game. In this chapter, we will be playing as Huxley Mk II again. Our protagonist has just reached the underground lab, hoping that he will find some answers about Victor and Samuel in this building, as well as himself.
Huxley is certain that Samuel didn’t know that Victor brought him back to life. The head of the Aegyptus was mad at Victor only because he stole Huxley’s body. Our protagonist is wondering why would Victor do such a thing, and what were Samuel’s motives? Huxley thinks that Samuel might hold a grudge against him because of something that he did in the previous life… There are just so many questions…
Finally, our character brushes aside all of these unanswered questions and decides to step into the building in which he came back to life, determined to find answers, to at least some of them. That’s how this stage of the story begins…

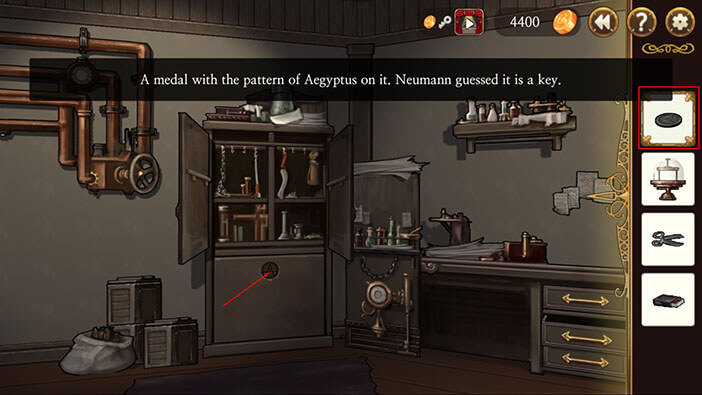
Upon entering the building the “Medal” that we found in the lawyer’s office will be added to the inventory. The medal is actually a key and now we have to figure out where to use it.
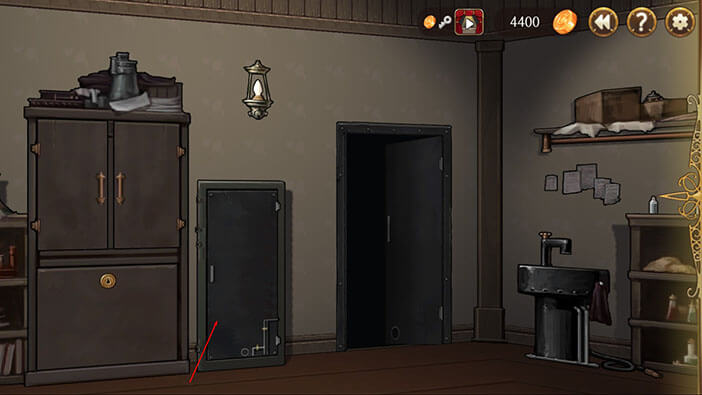
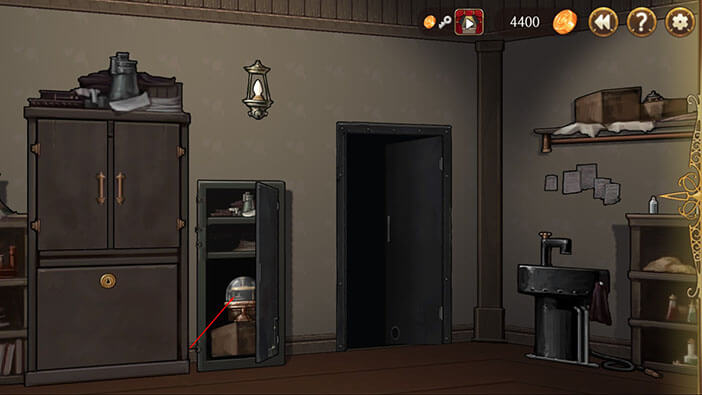
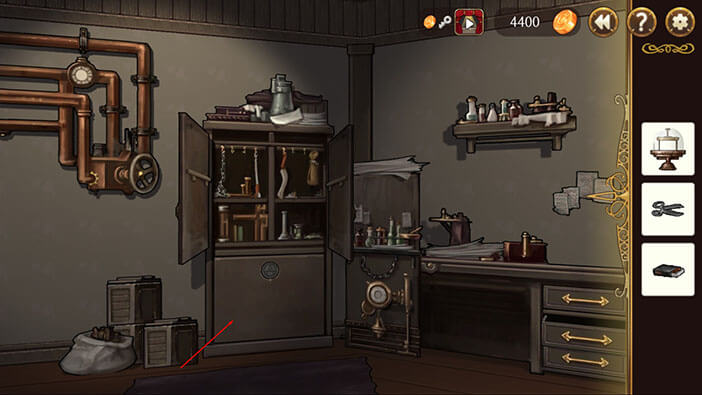
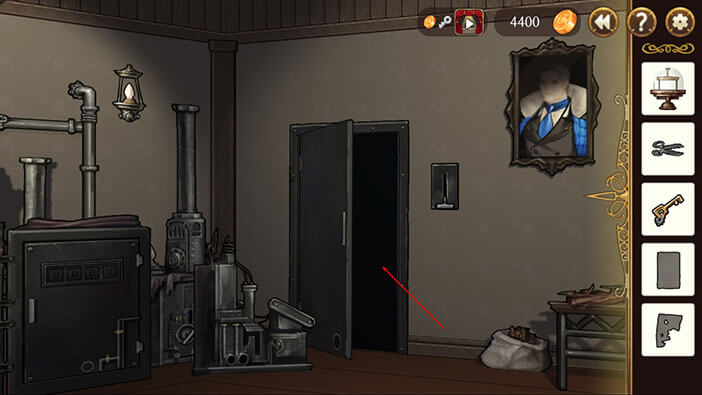
Turn around and you will see a large metal locker. Tap on it to open it, and tap on the crowbar inside to pick it up.

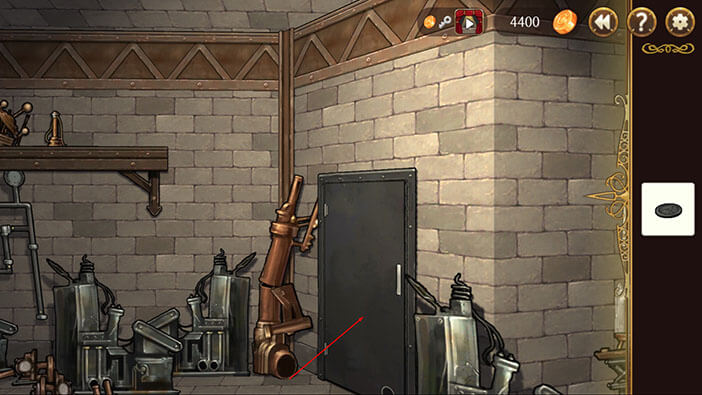
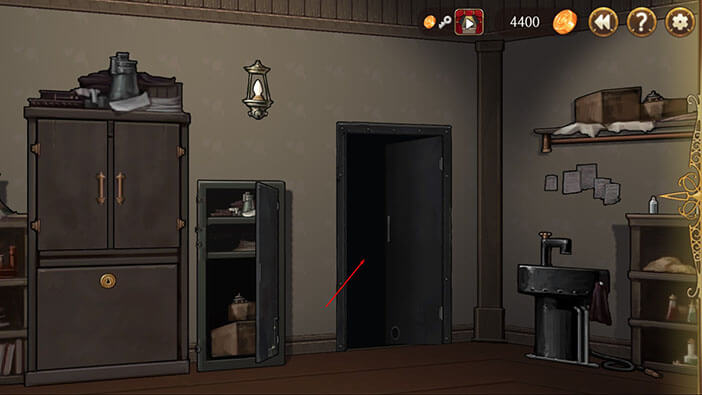
Turn to the left until you see a door blocked by several metal machines. Our character refuses to move the machines with his bare hands, although he could probably do it, due to his superhuman strength. Select the crowbar from the inventory, tap on the machines, and our character will move them aside. Once you clear a path to the door, tap to open it and tap again to enter. 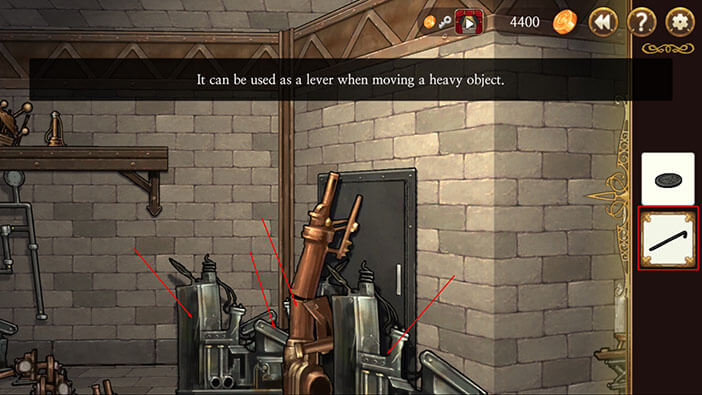
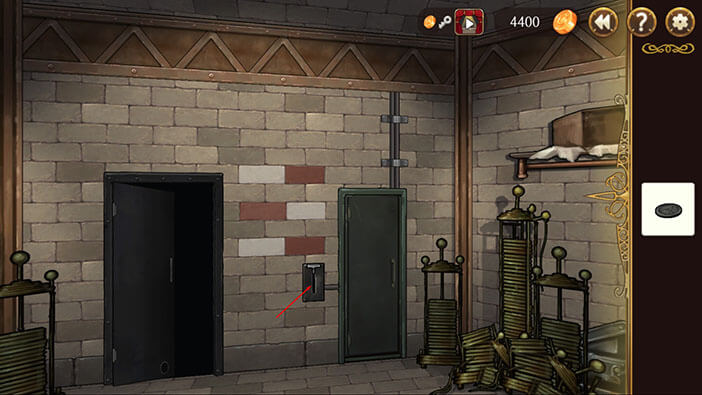
Upon entering this room, you’ll notice six bricks, 3 white, and 3 red, arranged in a 2×3 pattern, between the two doors. Try to memorize this pattern because we will need it in a few moments. 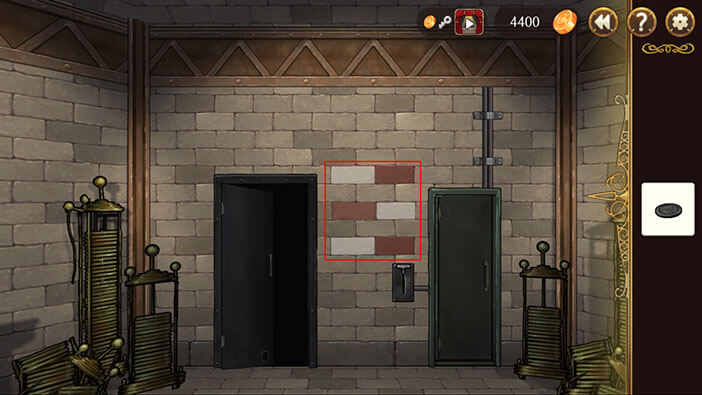
Now, turn around and face the other wall. You will notice a locker, on the left side. Tapping on it will reveal that it doesn’t have a keyhole and it’s probably locked by some kind of secret mechanism. 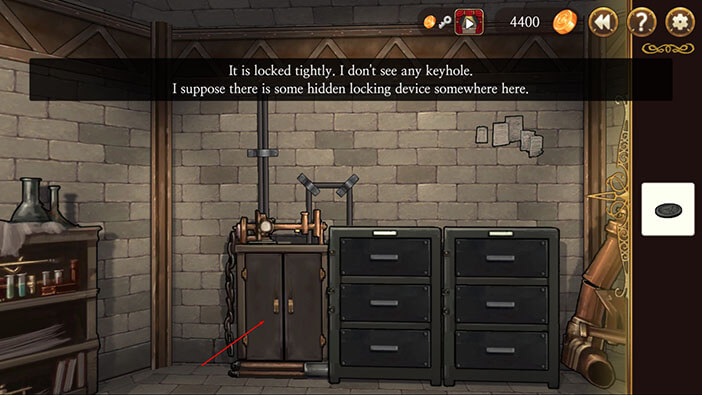
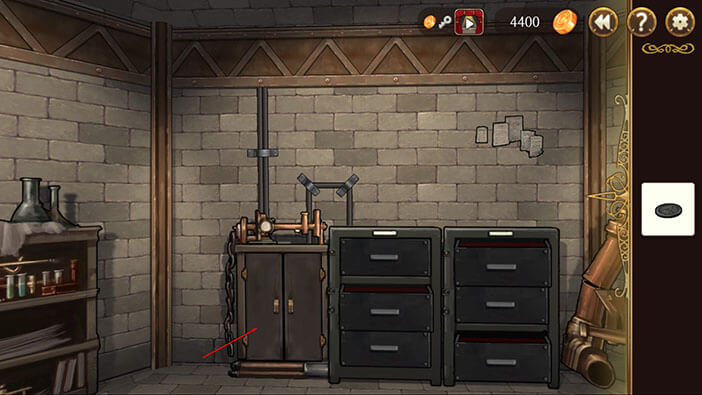
Now, pay attention to the two cabinets with three drawers each, located to the right of the locker. The six drawers form the same pattern as the bricks that we just looked at. Opening a drawer will reveal that the inside compartment is red. So, let’s open all the drawers that are colored red on the pattern that we saw previously. Those would be top right, middle left, and bottom right drawers. 
Tap on the locker to the left, and our character will now easily open it. Tap on the lever inside to pull it down.

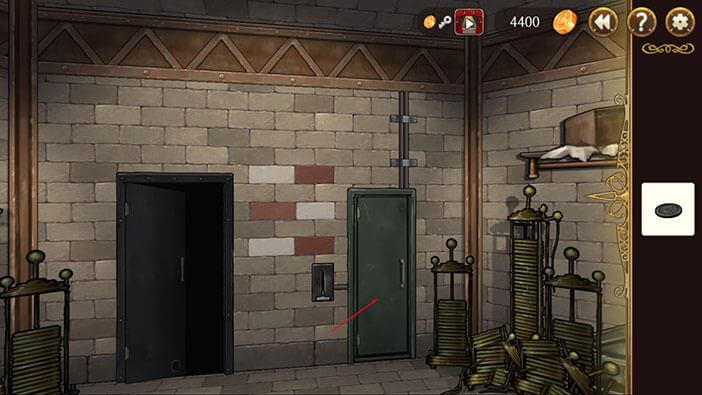
Turn around and pull the other lever, located between the two doors. Pulling both levers will disable the electricity in the doors on the right and we can now safely pass through it. Tap on the door to open it and tap again to enter.
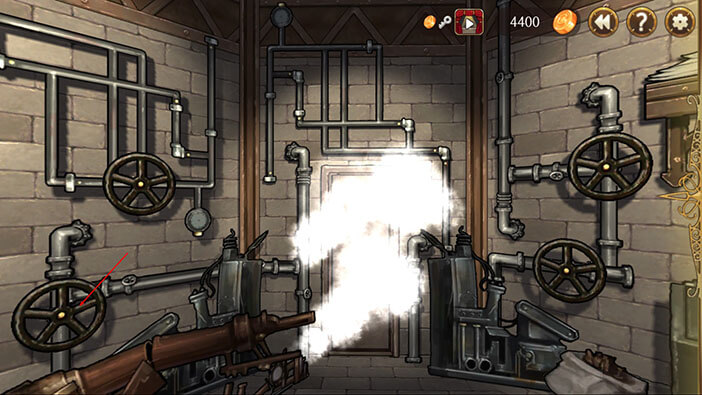
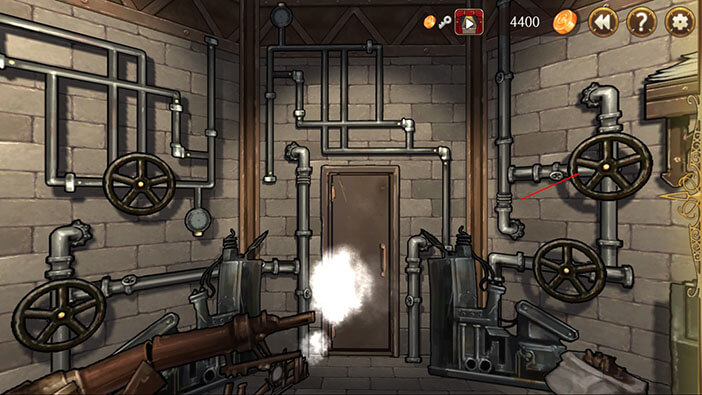
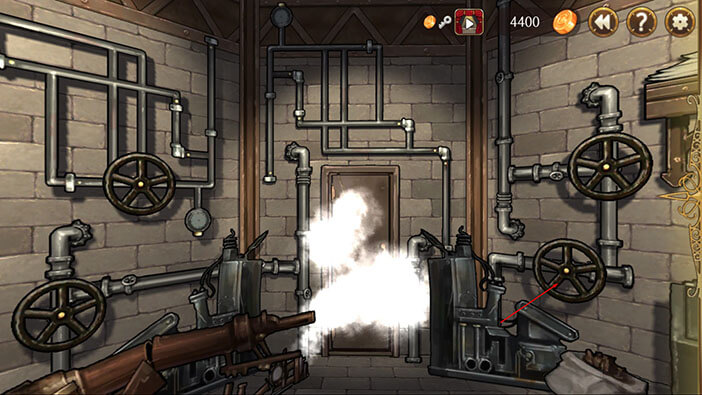
Turn around and you’ll see that steam is leaking through several pipes, blocking our way to the other door. In order to reach that door, we will first have to shut down the steam by using the 4 valves. Tap on the bottom left valve first to turn it. Tap on the upper right valve next, and finally, tap on the lower right valve to completely shut down the steam. The path is now clear and we can proceed.
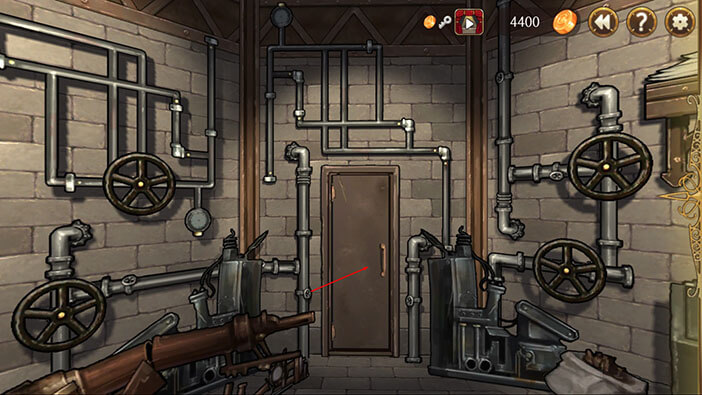
Tap on the door to open it, and tap again to enter.
This room should be very familiar, since we climbed up the stairs here, during the first stage of this chapter. Now, our character climbed down into the room, using the same stairs.
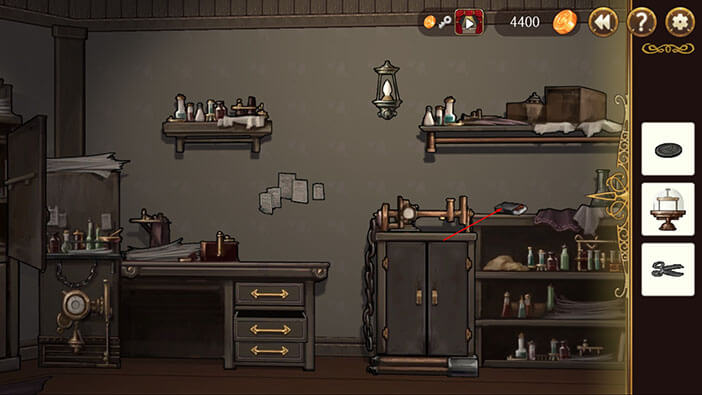
Turn to the left and you’ll notice a metal locker, next to the open door. Tap on the locker to open it, and tap on the object inside to pick it up. A “Huge Lamp” will be added to the inventory.
Right now, there’s nothing else of interest in this room, so tap on the open door to proceed into the next room.
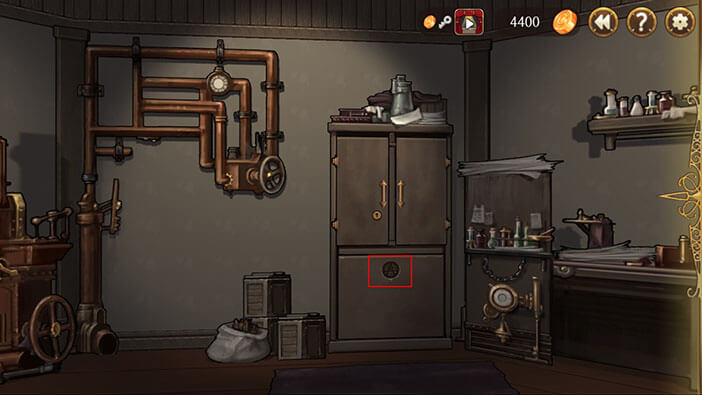
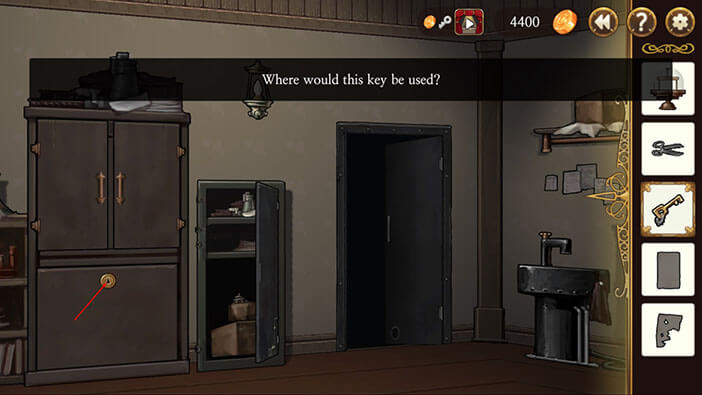
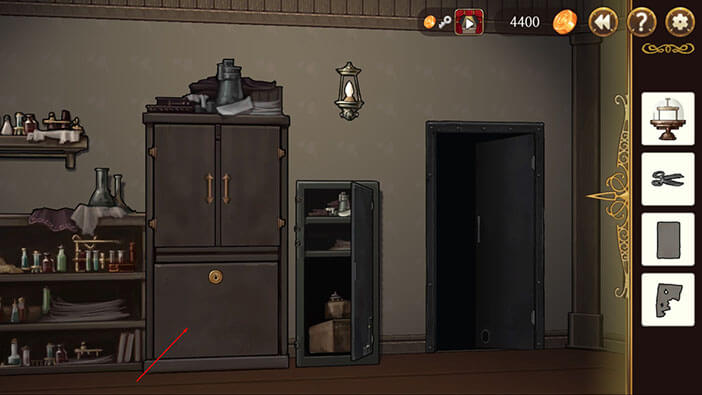
Turn to the right and you will notice a large locker. On the door of its lower compartment, there’s a slot with the same symbol as the one on our medallion. We will come back to it later, let’s first search this room.
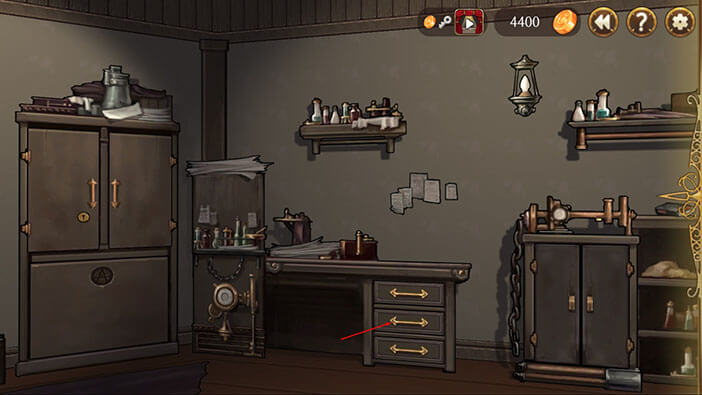
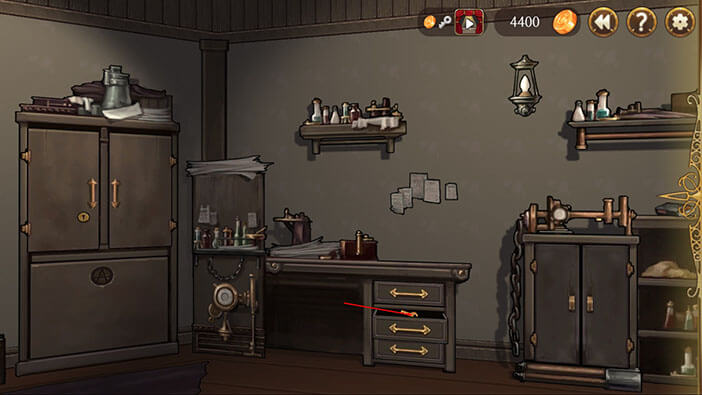
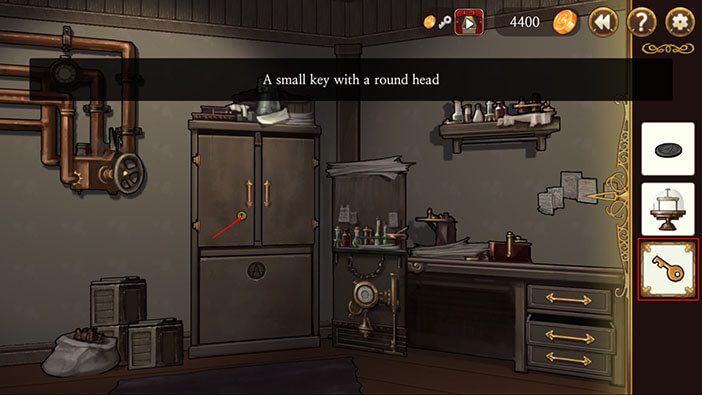
Tap on the middle drawer of the cabinet, which is located to the right of the aforementioned locker. After opening the drawer, tap on the key inside it to pick it up.
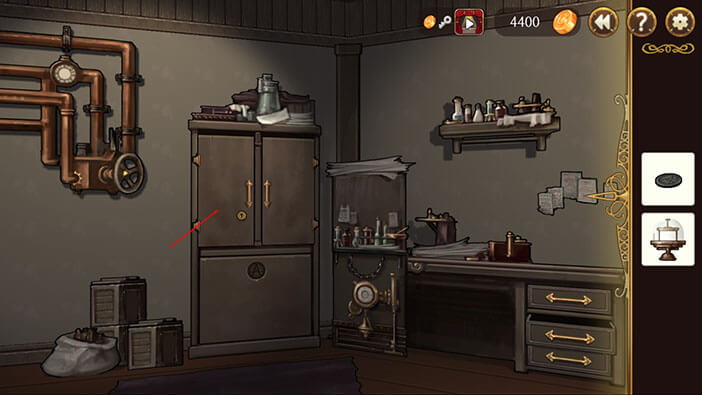
Select the key from the inventory, and tap on the keyhole on the upper compartment of the locker.
Tap to open cabinet doors, and tap on the scissors inside the left compartment to pick it up.
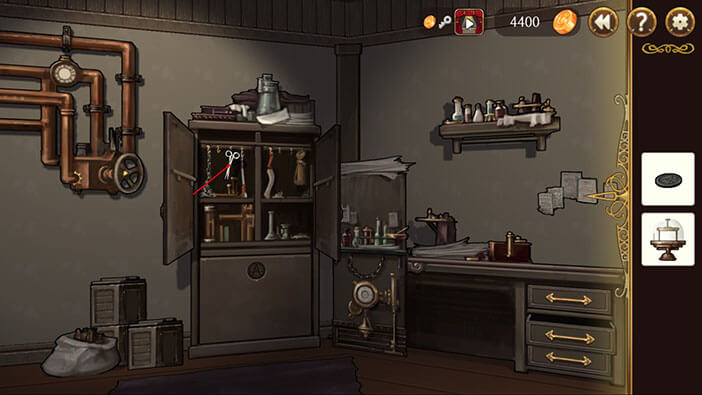
Turn a bit more to the right and you’ll notice a box of matches on top of the shelf. Tap on it to pick it up.
OK, we can now go back to the locker. Select the medal from the inventory and tap on the slot on the lower part of the locker to insert it.
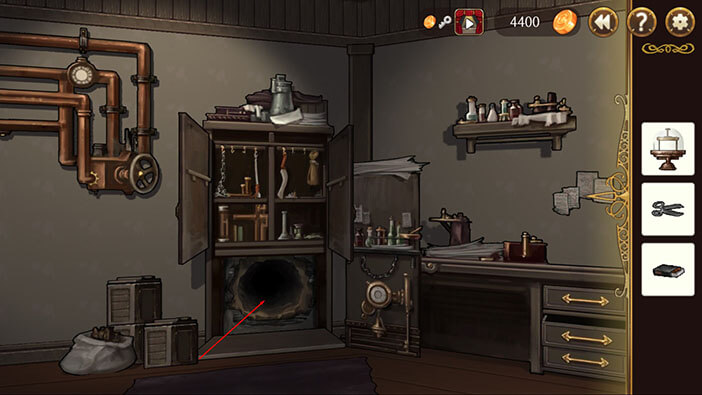
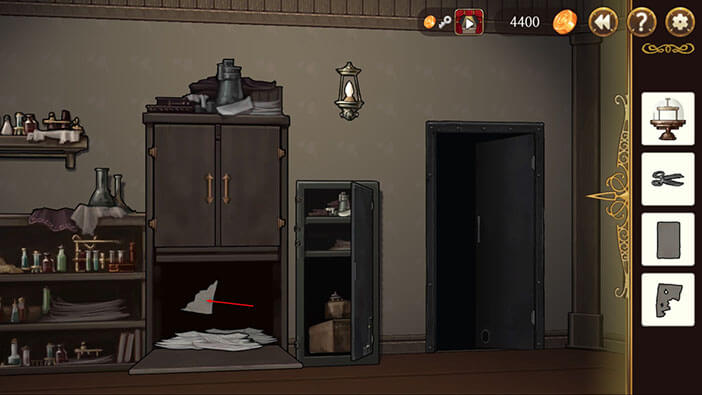
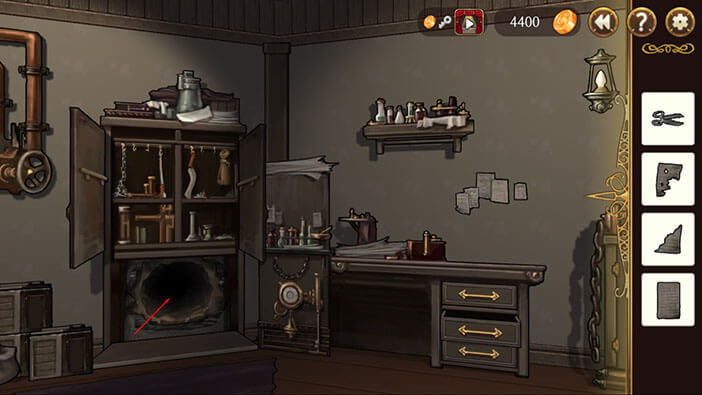
Tap on the lower compartment, and it will fall down revealing a narrow tunnel that was hidden previously.
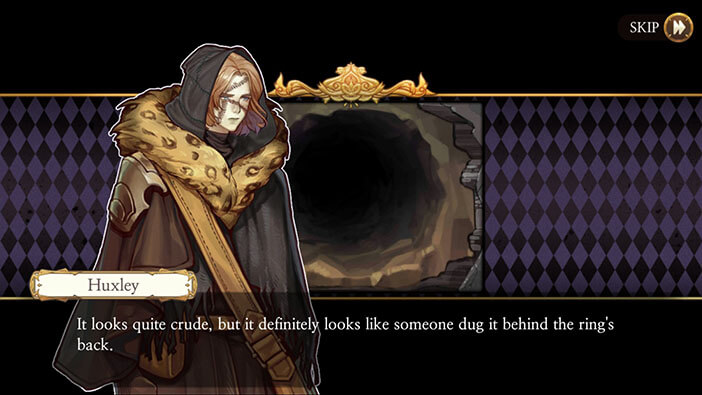
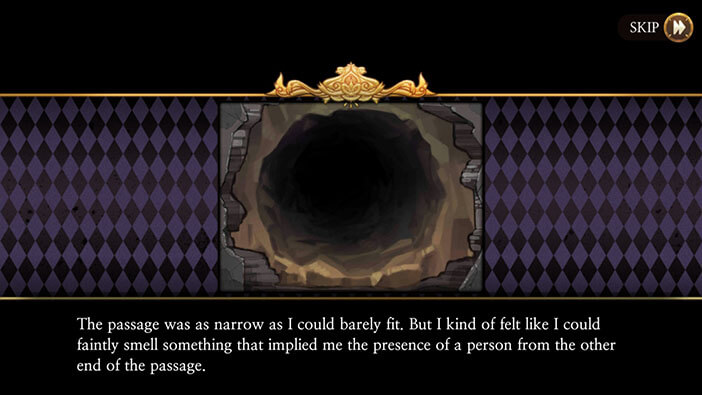
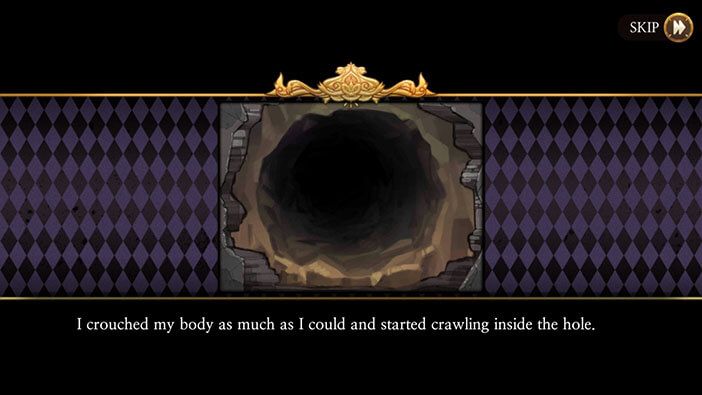
Tap on the tunnel. Our protagonist believes that this tunnel was made by Victor so that he has a secret escape route in case of trouble. The tunnel is fitting for an average-sized person, but Huxley MK II is a bit larger than that. He decides to go in, anyway, and after some difficulties, manages to squeeze through to the other side.

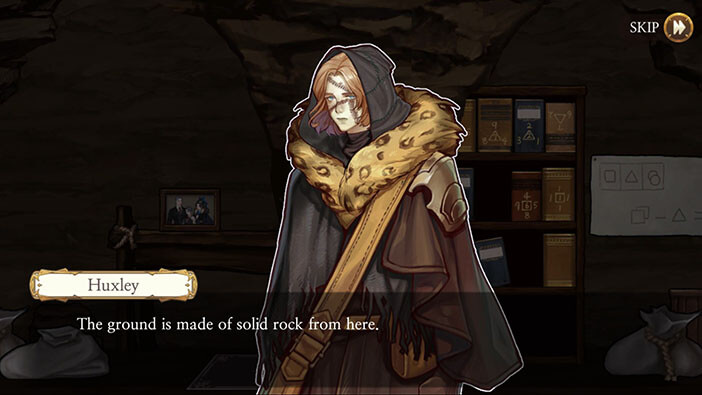
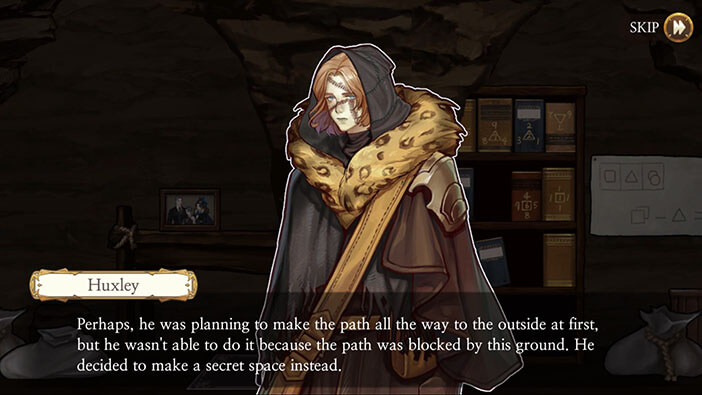
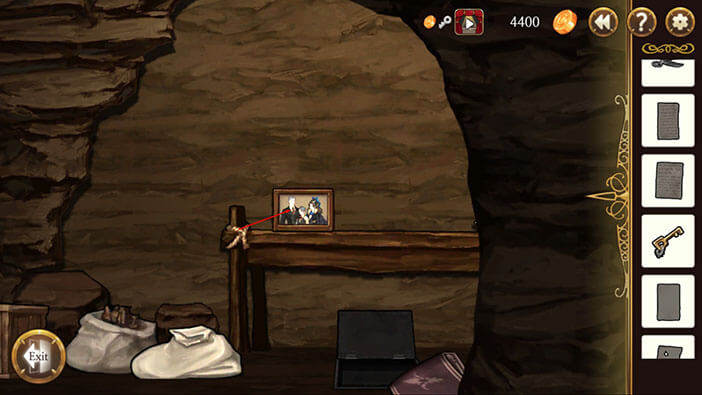
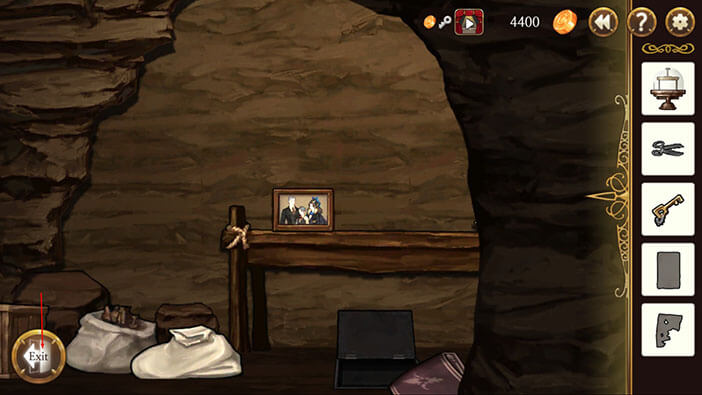
Our protagonist reaches the small room, with the rough cave-like walls. The room is carved into solid rock, and he concludes that Victor probably wanted to make an escape tunnel, but couldn’t dig through the rock. Therefore, he decided to make a secret room, in which he could continue his work, in secret.
The room is dark because there’s no light source inside it. However, there’s a candle on the desk, just to the left of the bookshelf. Select the matches from the inventory and tap on the candle to light it up and illuminate the room.

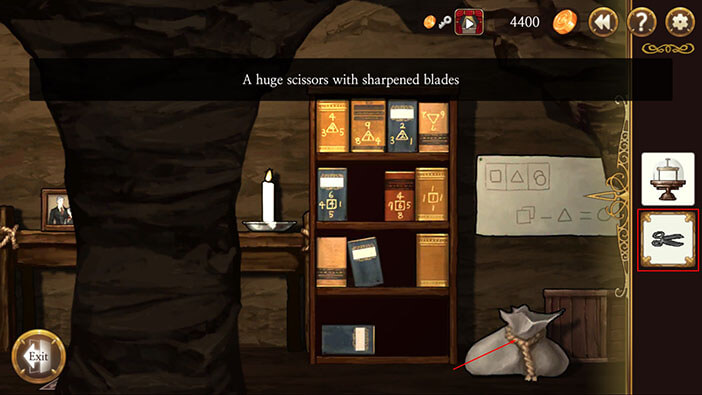
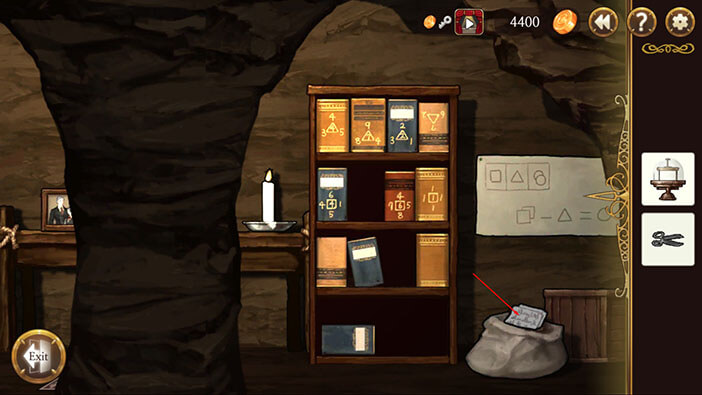
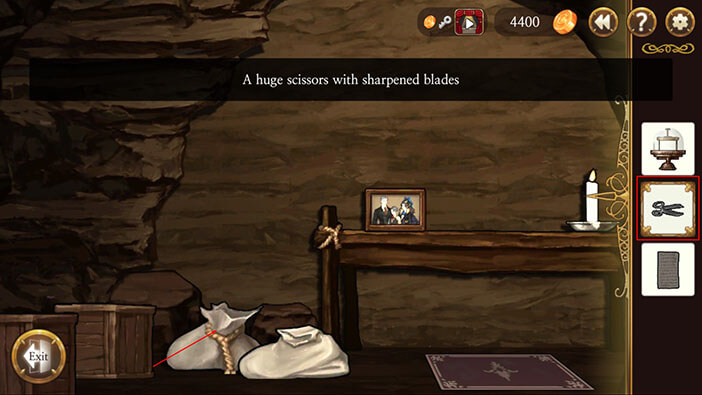
Select the “Scissors” from the inventory and tap on the sack to the right of the bookshelf to cut it open. Tap on the document inside to pick it up. “Victor’s Memo 3” will be added to the inventory.
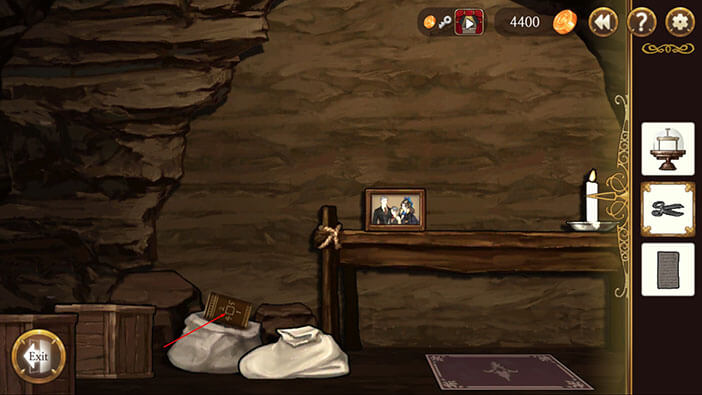
Turn to the left, select the “Scissors” from the inventory, and tap on the other sack to cut it open. Tap on the book inside it to pick it up.
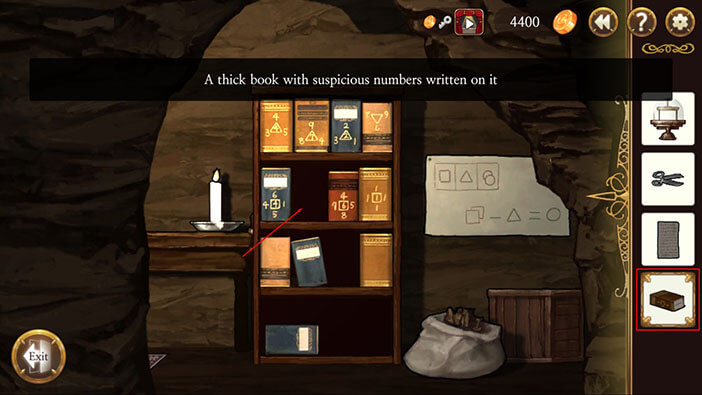
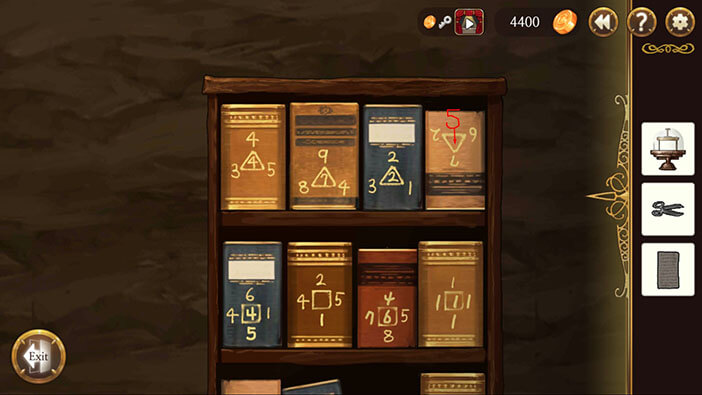
Turn to the right and face a bookshelf. You will notice that the books on the top two shelves are marked with numbers, but one of the books is missing. Select the book from the inventory and tap on the empty space. Tap again to place the book.
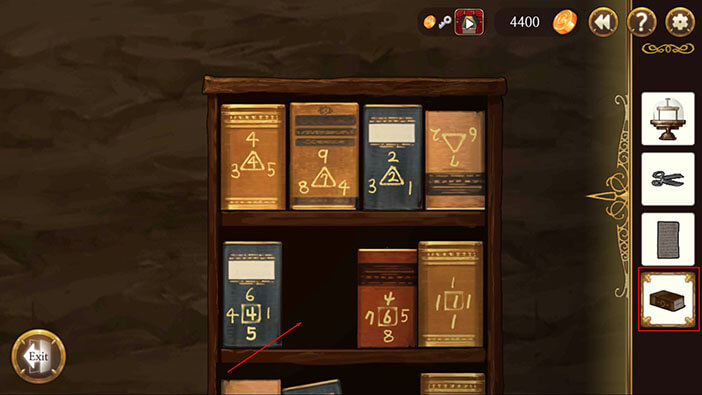
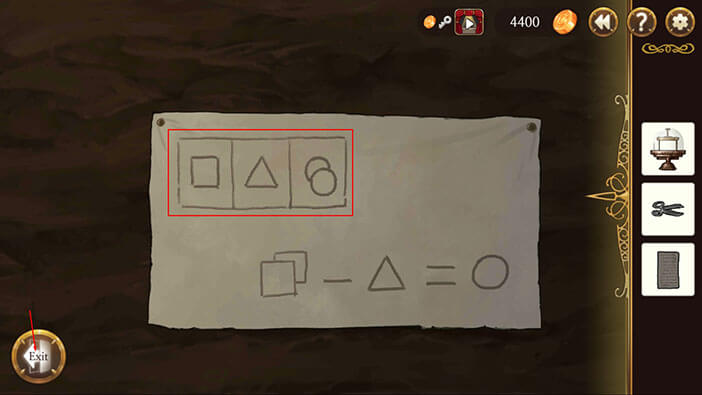
Looking at the books on the top shelf, we can see that the three books have a number inside a triangle and three more numbers around it. The book on the far right is turned upside down, and space inside the triangle is blank – there’s no number inside it. Our task is to figure out how to calculate the number inside a triangle.
Let’s take a look at the first book.
By adding the numbers outside of the triangle we will get: 3+4+5=12
The number inside the triangle is 4. 12 / 4 = 3
So, the number inside the triangle is calculated by adding the three numbers outside of the triangle and dividing the sum by 3. In other words, the number inside the triangle equals the arithmetic mean of the numbers outside of the triangle.
Looking at the examples on the covers of the second and third books, we can confirm this theory.
Second book. 8+9+4= 21. 21/7=3
Third book. 3+2+1=6. 6/2= 3
Now we know how to calculate the number inside the triangle on the far right, so let’s do it.
6+2+7= 15
If we divide the 15 by 3 we will get the number inside the triangle.
So the number that we’re looking for is 5. Memorize it. 
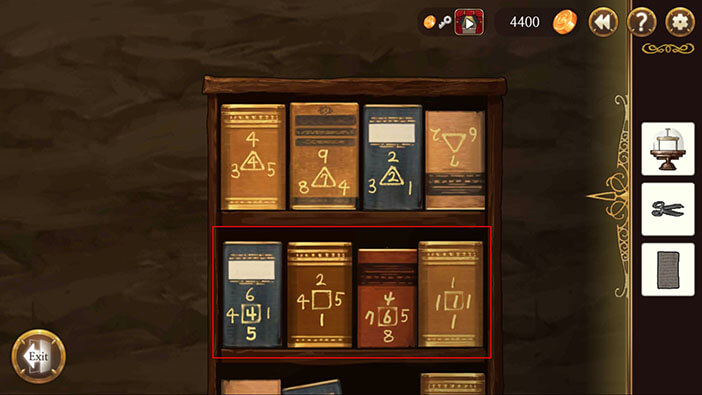
Let’s now take a look at the books on the shelf below. Books on this shelf have four numbers outside of a square, and a single number is written inside the square. It seems that the number inside the square equals the arithmetical mean of numbers outside the square, just like in the previous example with triangles. Let’s quickly check.
The first book. 4+6+1+5= 16. 16/4= 4
The third book. 7+4++5+8= 24. 24/6=4
The fourth book. 1+1+1+1=4. 4/1=4
OK, that confirms it. So, let’s calculate the number inside the square on the cover of the second book.
4+2+5+1= 12
12 / 4 = 3
So, the number that we’re looking for is 3. Memorize it.
Tap on the “Exit” button.


Tap on the scheme on the wall, located to the right of the bookshelf.
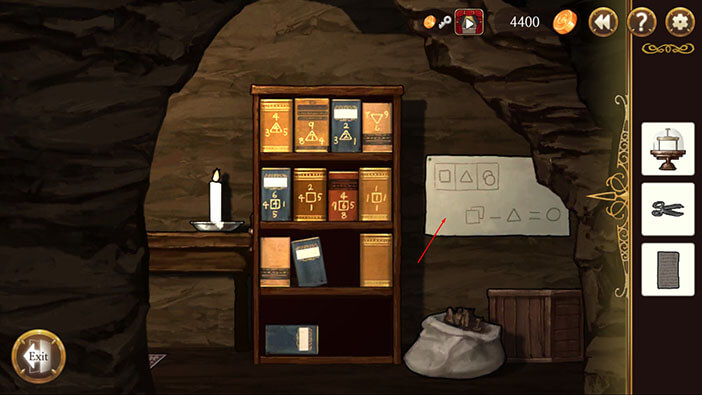
Here we can see how to calculate the circle.
The circle = two squares – triangle. OK, we already calculated the values for the square and triangle by solving the bookshelf puzzle.
Triangle = 5
Square = 3
Let’s calculate the numerical value of the circle.
2×3(Square) – 5 (Triangle) = 1
So, circle = 1
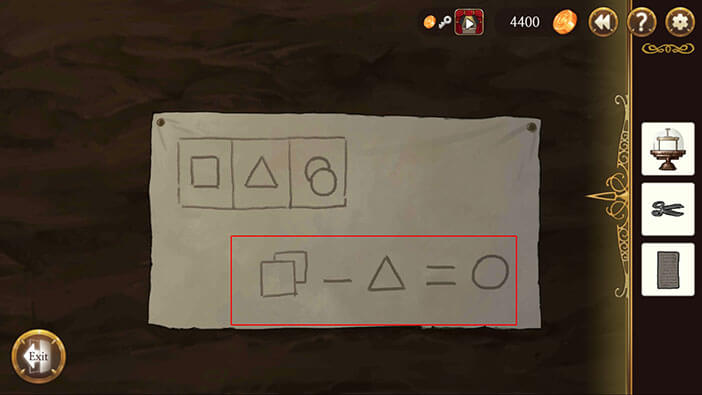
However, if we take a look at the upper left corner of the scheme, we will see that the solution to the puzzle is a square, a triangle, and TWO circles.
So, the solution is:
3 (Square)
5 (Triangle)
2 (2x Circle).
Memorize the solution “352”, and tap on the “Exit” button.
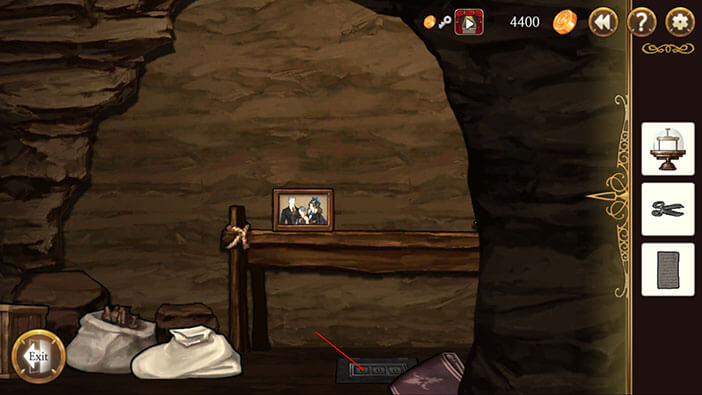
Sweep a bit to the left, and tap on the small rug, located below the table, to move it aside.

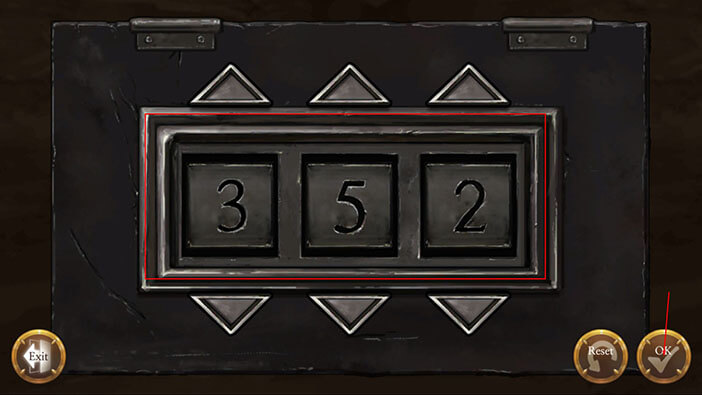
After we moved the rug, we can see a small safe with the numerical lock that was hidden below it. Tap on the numerical lock.
It’s protected by a three-digit combination. We already discovered this combination by solving the previous puzzle, so enter “3,5,2” and tap on the “OK” button to confirm.
Tap on the safe to open it and tap on the documents inside it to pick them up. “Victor’s Memo 4, 5, and 6” will be added to the inventory, as well as the “Unidentifiable Key”. However, “Victor’s Memo 5 and 6” are unreadable since the letters on these documents are barely visible, and a part of the page of the sixth document is missing.

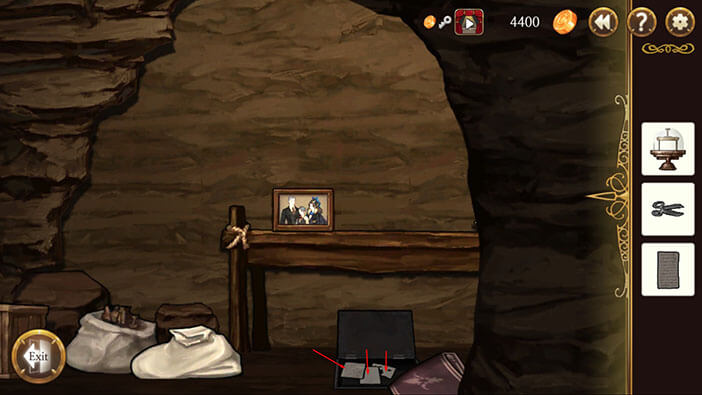
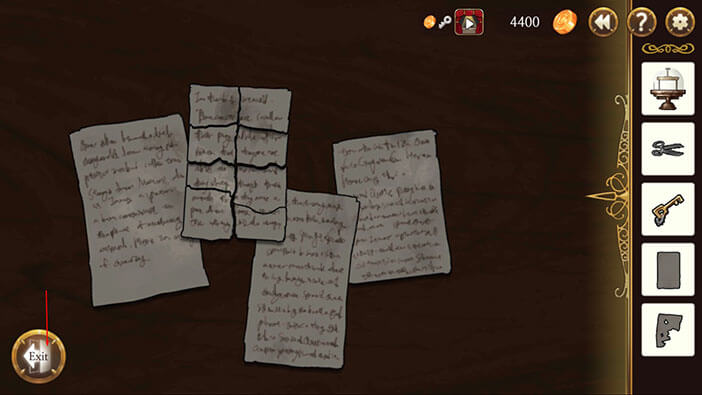
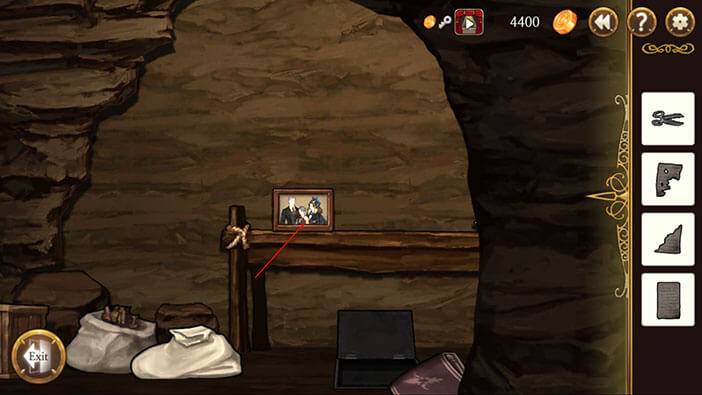
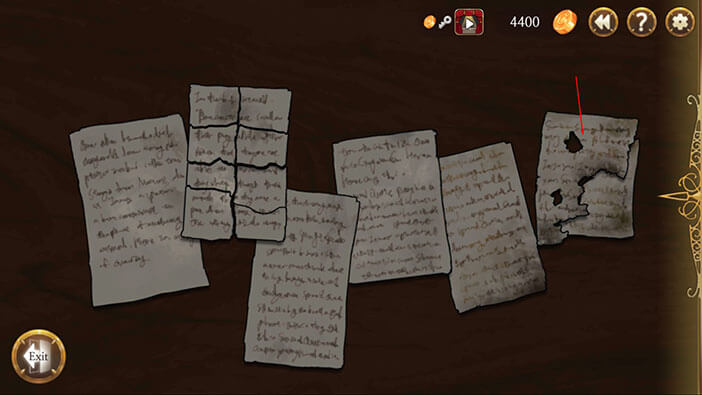
Let’s tap on the picture of, presumably, Victor and his family to start the interaction. Tap on the pieces of paper to assemble them. There are now two notes on the desk and these are the first two pages of victor’s diary.
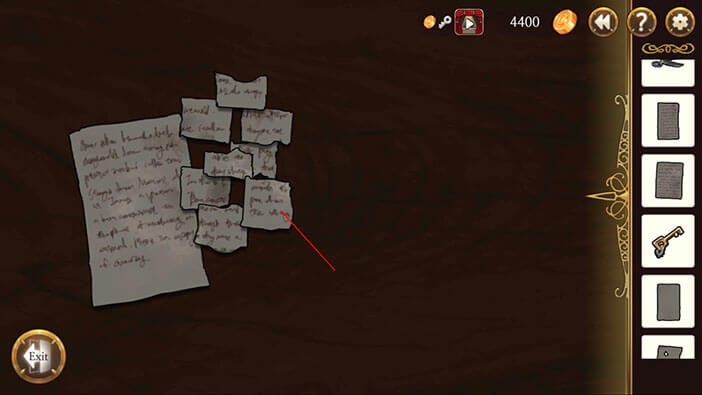
Ok, select the “Victor’s Memo 3 and 4” from the inventory and tap on the table, to place them next to the other two documents. Documents 5 and 6 are unreadable, for now, and we will have to find a way to decipher them.
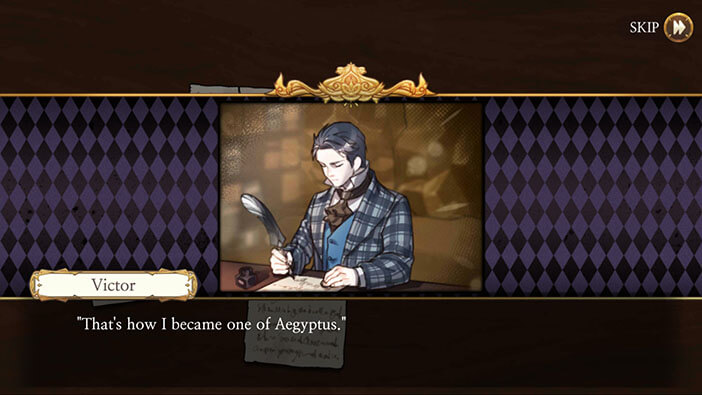
Let’s tap on the first document, and read the first page of Victor’s diary. As we presumed, the stranger that met with Victor upon his return to Bayern, was indeed Samuel. Victor was in huge financial problems, as we already know, and Samuel offered to finance his research. The offer was too good to pass by, and the young scientist accepted, becoming one of the members of the Aegyptus. Well, this is very interesting, with financial backing from Samuel, Victor could finally resume his research, in better conditions than he ever had. Why would the head of one of the largest criminal organizations show interest in reanimating the dead is, in my opinion, a rhetorical question. An organization such as Aegyptus could use this technology and knowledge for so many different purposes, and would certainly gain an enormous advantage over the rivals, which would quickly enable it to become the most powerful organization in the entire world.


Ok, we will have to decipher the other two documents, to find out what happened next, so tap on the “Exit” button.
Tap on the “Exit” button again to go back to the previous room.
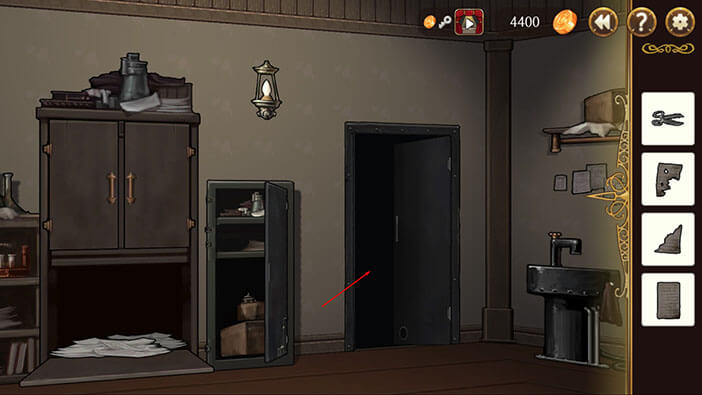
Tap on the door to proceed into the next room.
Select the “Unidentifiable Key” from the inventory and tap on the keyhole, on the lower part of the cabinet in front of you.
Tap again to open the lower compartment of the cabinet, and tap on the piece of note inside to pick it up. The letters on this piece of paper are unreadable, but it looks like this is the bottom right corner of the note that we have.
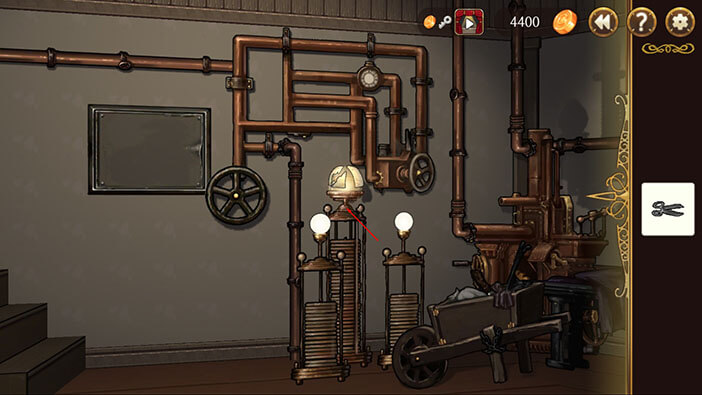
Turn around and face the machine with two light bulbs. Select the “Huge Lamp” from the inventory and tap on the top of the middle pillar to place it.
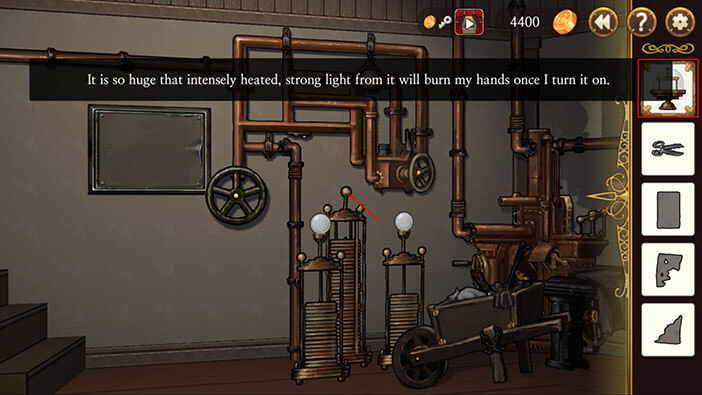
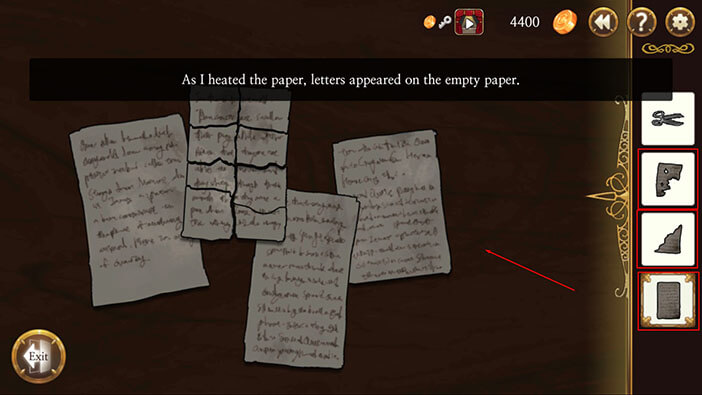
Now, select all three pieces of notes and stick them on to the “Huge Lamp”. After we turn on the electricity, the huge light bulb will heat up the documents and that should make the ink more visible.
NOTE: Placing all three notes on the light bulb can be quite challenging. Try to place them on the different parts of the light bulb – left, right, and middle.
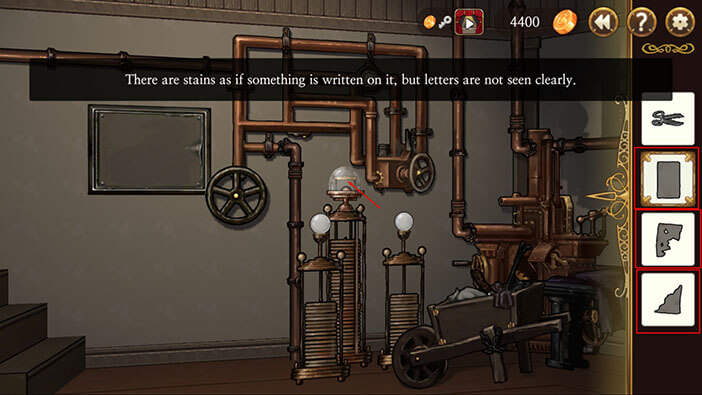
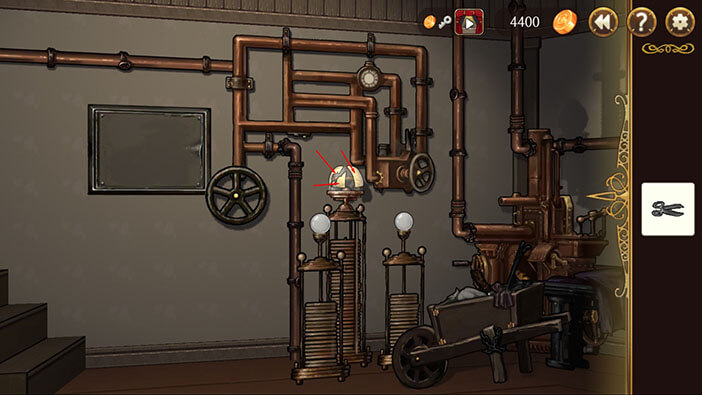
Tap on the middle column to turn on the electricity.

Tap on the middle column again to turn off the electricity, and tap on the pieces of paper (now, heated) to put them back into the inventory.
Go back to the “secret” room – through the door, and through the secret tunnel in the other room.
Tap on the table (or picture) to start the interaction.
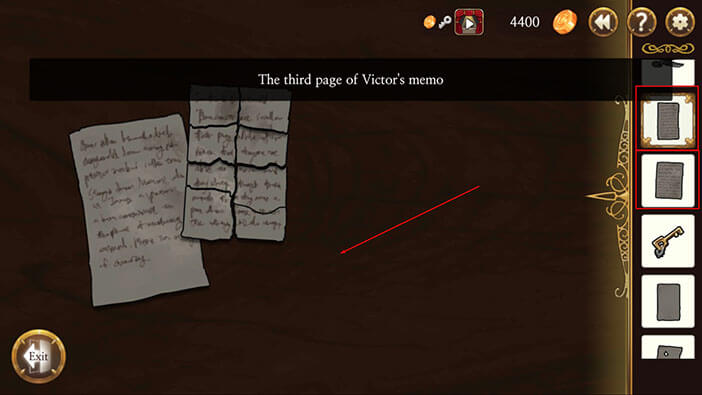
Select the three “Heated Pieces of Paper” from the inventory and place them at the table, one by one.
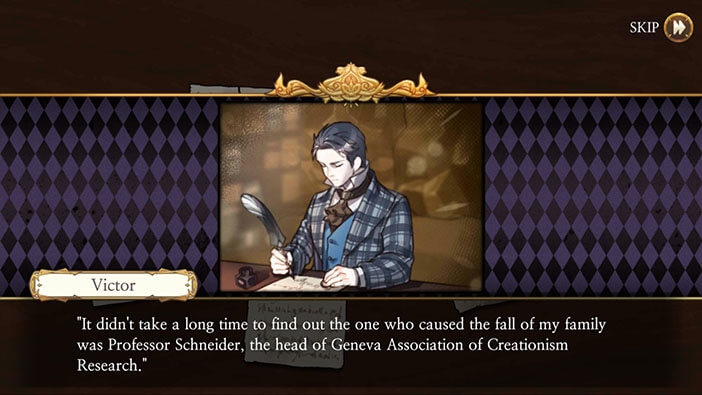
OK, let’s now read all the pages from Victor’s diary. Tap on the second page. Victor was impressed with how quickly Aegyptus can gather information. The organization quickly discovered that professor Schneider sabotaged the public experiment conducted by Victor’s father. To quickly refresh your memory, Schneider was the first character that we played in Chapter 0-1. Apparently, Victor avenged his father and did something to Schneider, although we don’t know what. I somehow doubt that the justice was served in the court of law since I doubt that there would be any evidence left for the prosecution after more than 10 years have passed. Besides, most people didn’t really like Victor’s father, and wanted him to fail…


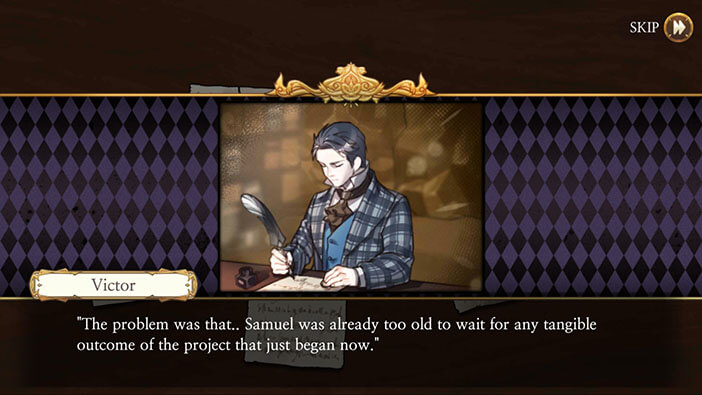
Tap on the third page. It seems that Samuel was slowly infiltrating the members of the Aegyptus into the governments all over the world, with the final goal of bringing down religious and legal systems. However, this is a very long process, and Samuel, already an old man, was running out of time.


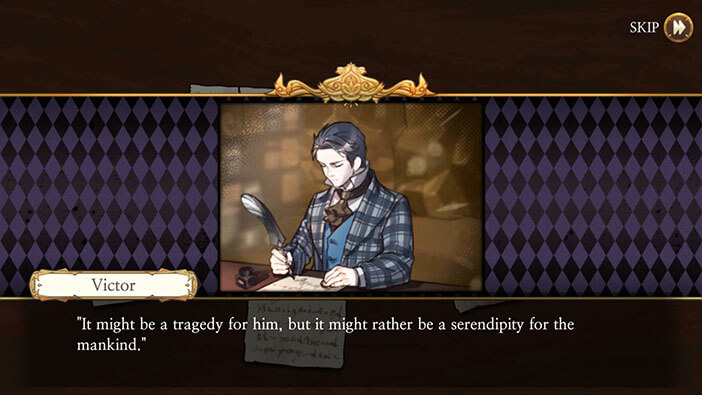
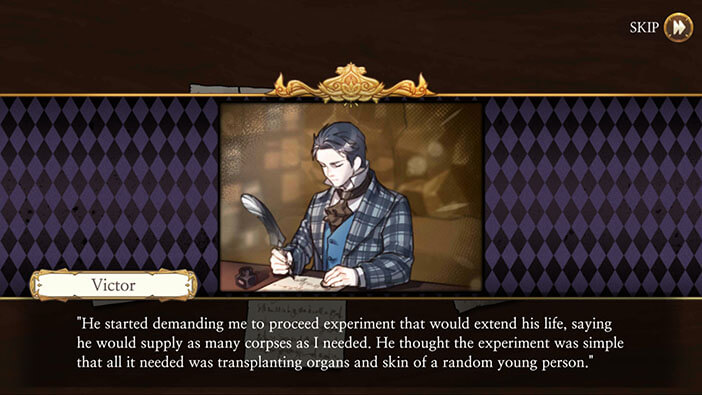
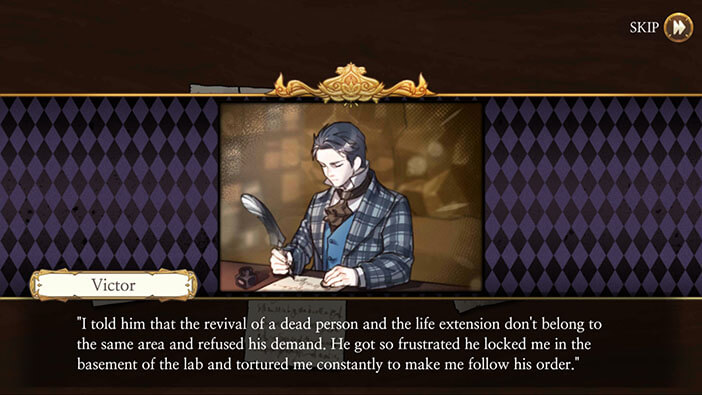
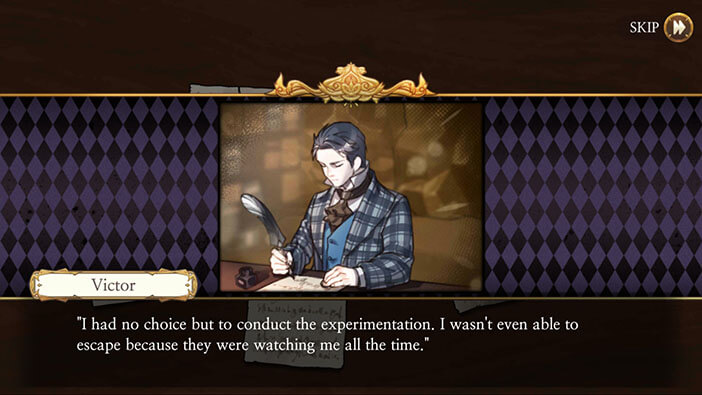
Tap on the fourth page. After helping out Victor, Samuel now demanded something in return. He wanted to make Victor extend his own life, by switching his research from reanimation of the dead. Victor tried to explain that these are two completely different areas of study, but Samuel was adamant, claiming that the two areas can’t be very different. After he refused, Victor was locked up in the basement and tortured until he finally agreed to the terms. He couldn’t run away and was constantly under the watchful eye of Samuel’s guards.


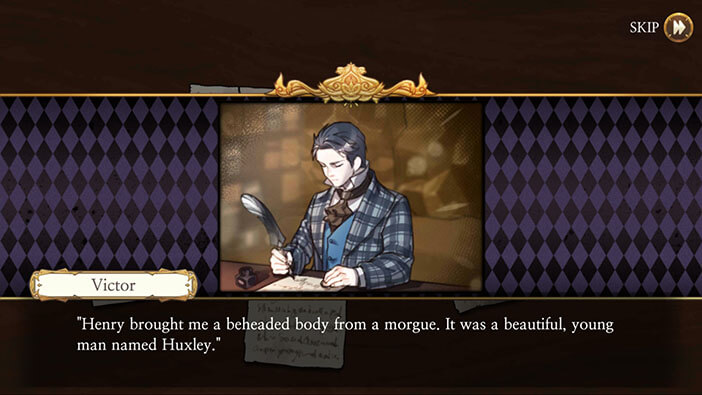
Tap on the fifth page. Here, we discover that Samuel brought in Huxley’s body. Apparently, getting the body of the young and beautiful young man was the only reason for the Lavenza murders, and everything else surrounding that case. So, it seems we were wrong on this one. However, I can’t understand why Samuel would bother to set up Huxley, by killing two members of a prominent family, when the powerful organization such as Aegyptus could easily just kill/kidnap Huxley, a poor artist, with little to no problems – quicker and cleaner solution.
Anyway, Victor really wanted to stop Samuel, but he didn’t have the power to do so…


Tap on the sixth page. Interesting. So, Henry was one of the guards that were watching Victor, and he decided to turn his back on Samuel and help out the young scientist. A brave move, I would never expect this from Henry. Since he was now guarded by Henry, Victor was able to continue his research on reanimation, while pretending to work on life extension for Samuel.
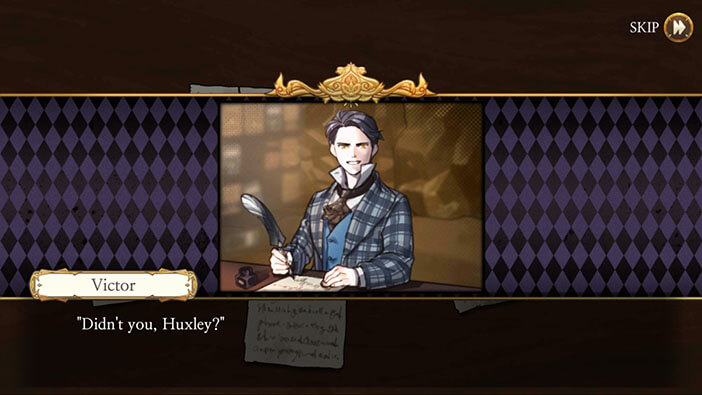
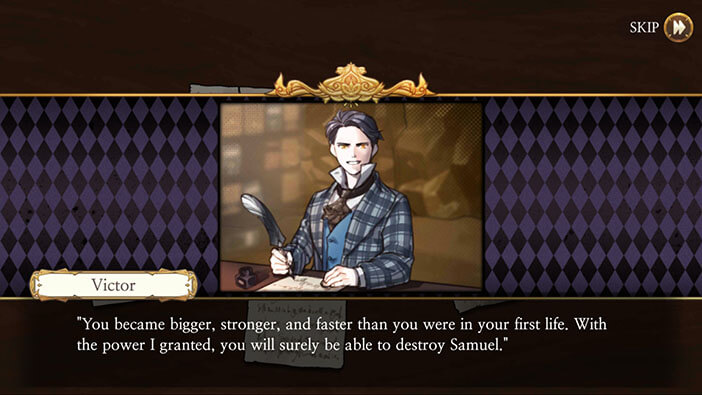
The young scientist used Huxley’s head, but attached other body starts of the strongest humans that he could find. He wanted his creation to have superhuman strength. And he succeeded.
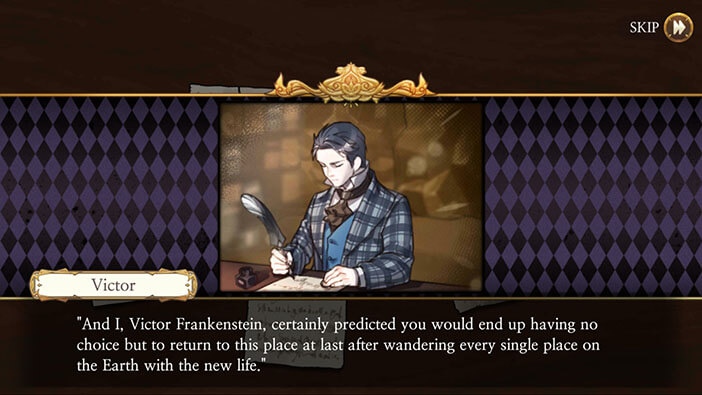
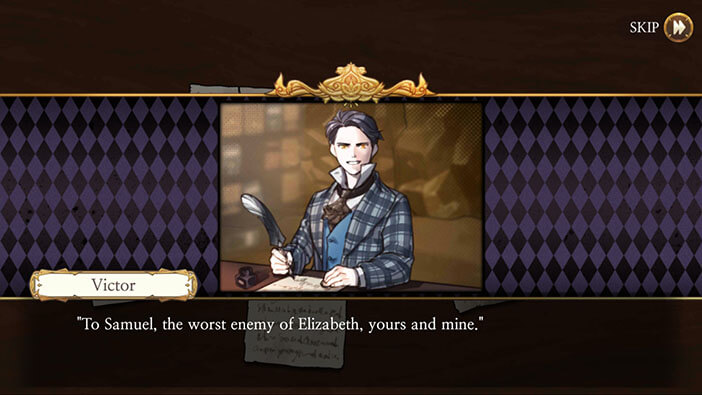
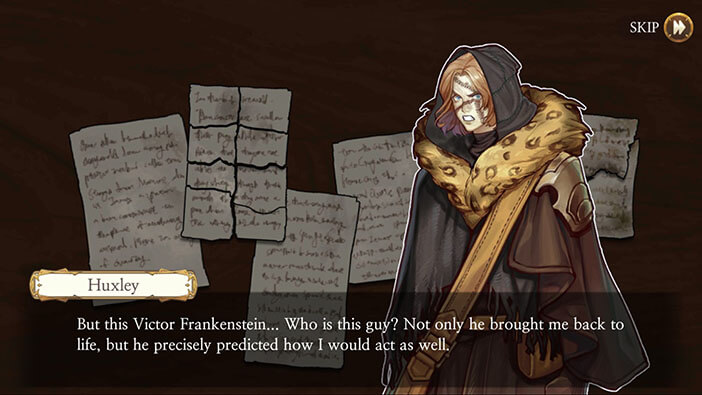
Victor also predicted that Huxley will come back to the lab in search for answers, and left this diary for him to find and read it. The final instructions were simple, find and kill Samuel, since he is the enemy of both Victor, Huxley’s creator, and Elizabeth, his loved one.


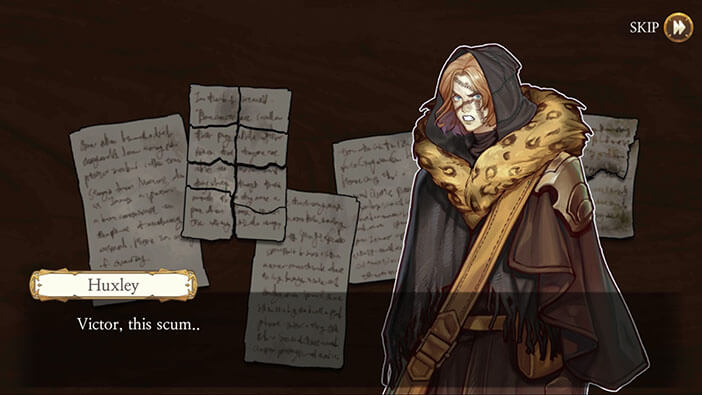
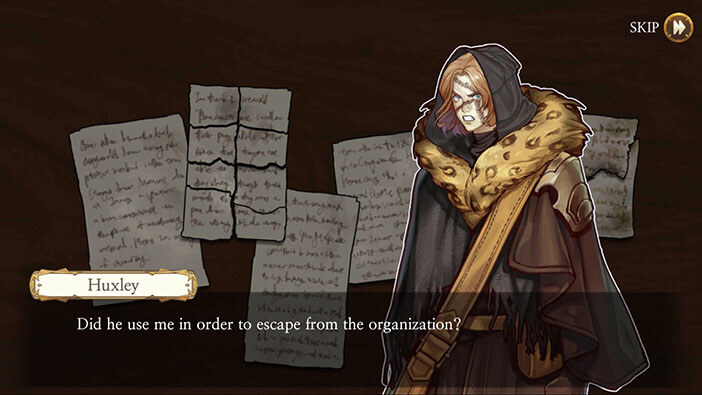
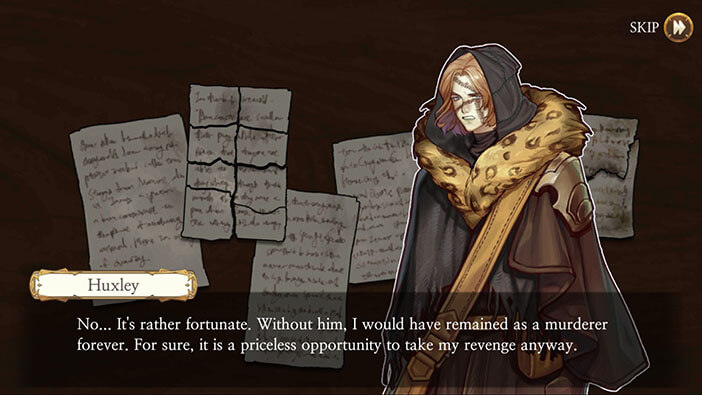
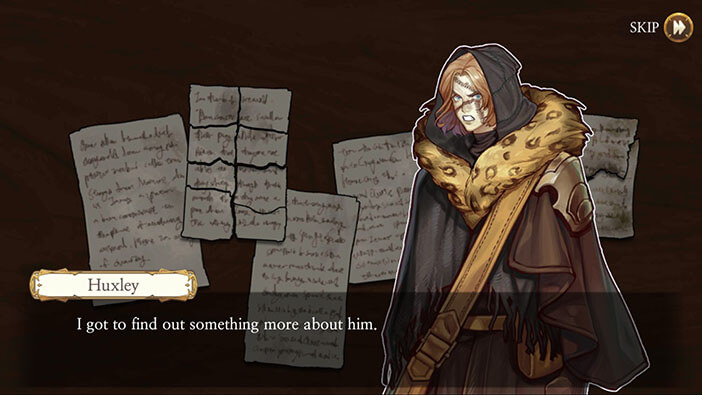
After reading the diary, Huxley is mad at Victor at first but realizes that the young scientist was only trying to help him out and stop Samuel. Huxley MK II is more than willing to go after Samuel, but first, he wants to find out more about the brilliant young scientist that predicted his every move. And decides to go back to the morgue…
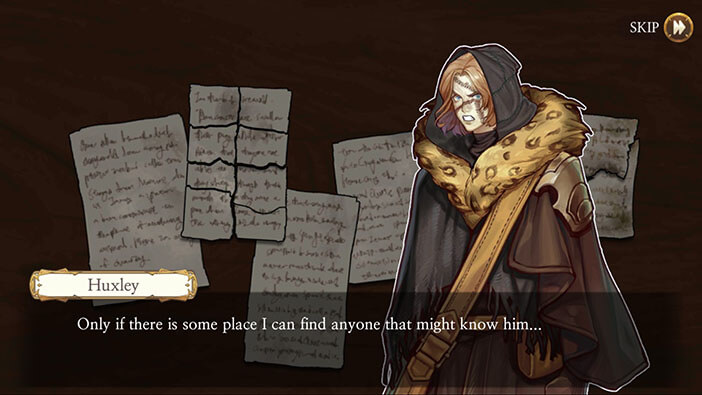
In the next stage, we will be playing as Huxley MK II again, this time as he heads back to the Delphi morgue. Join us in the next stage of the Walkthrough for Frankenstein Room ESC, so we can together discover more about Victor’s past, and the events that occurred while he was working for the Aegyptus. I am also very curious about Henry’s motives, and why exactly did he betray this organization. The following stage might also shed some light on this mystery…
Thank you for reading.