Chapter 5-1 Familiar Symbol
Complete Walkthrough
Hello everyone, and welcome to our Walkthrough for the First Stage of Chapter 5 for the Frankenstein Room ESC adventure game. In this stage, we will be playing as Elizabeth, and our main goal is to find Samuel, but to do that we will first have to find Henry.
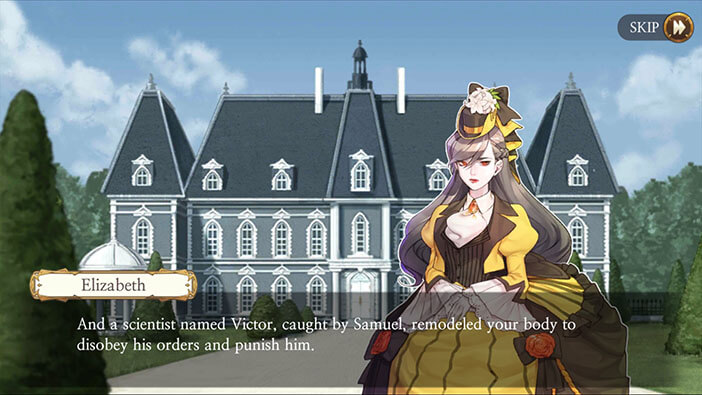
Before the start of our story, Huxley MK II returns to Elizabeth and quickly reveals to her everything that he found out, so far. He explains how Samuel, the head of Aegyptus, set him up for the murder of Elizabeth’s parents, in order to ensure Huxley’s execution and acquire his body. Also, he honestly claims, that this man was a mastermind behind everything. Huxley also explains that he was reanimated by Victor, a scientist that was forced to work for the Aegyptus. Victor thought that he could regain his freedom by reanimating Huxley, making him much more powerful, thus enabling his creation to destroy Samuel. In Victor’s mind, this was the only way for him to regain his freedom.

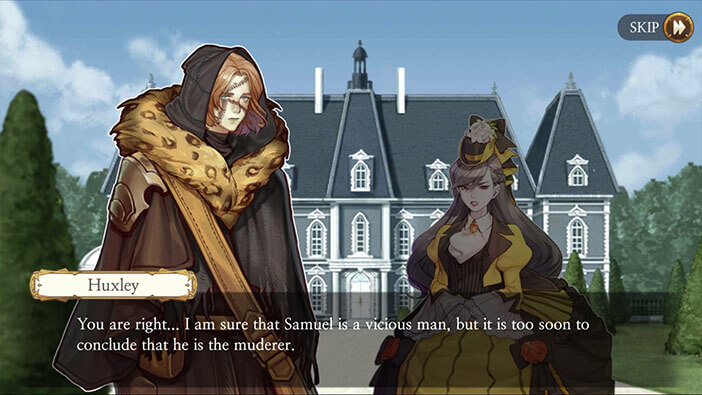
Unsurprisingly, Elizabeth isn’t completely convinced, since it does sound like a pretty far-fetched story. However, she is willing to believe her former lover, if he can prove that Samuel was the one that killed her parents. Remember, at this point, the former couple only knows that Samuel framed Huxley by bribing (and blackmailing) the lawyer, Neumann. They still have no idea what actually happened at the Lavenza mansion, and who killed Elizabeth’s parents.


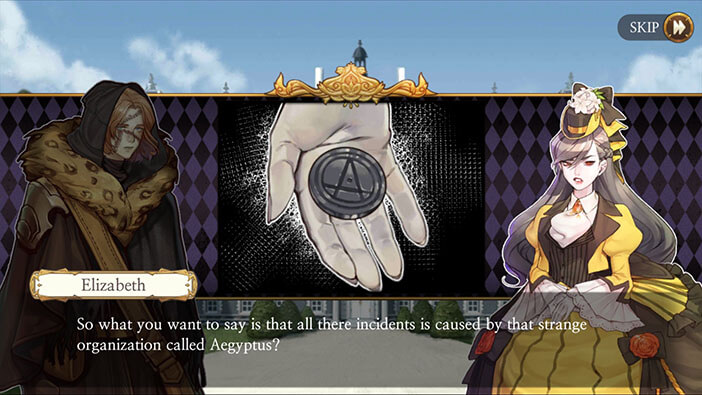
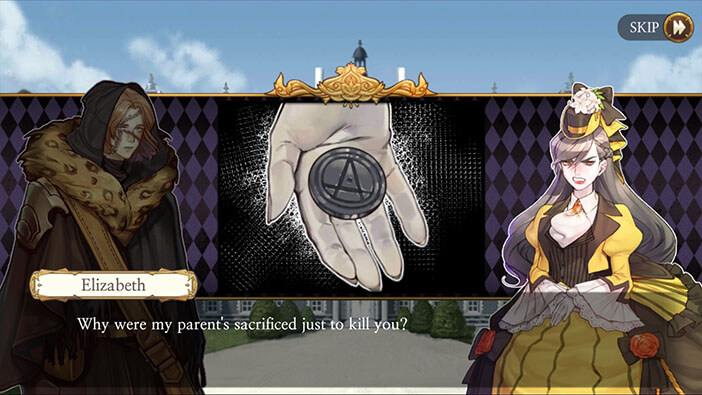
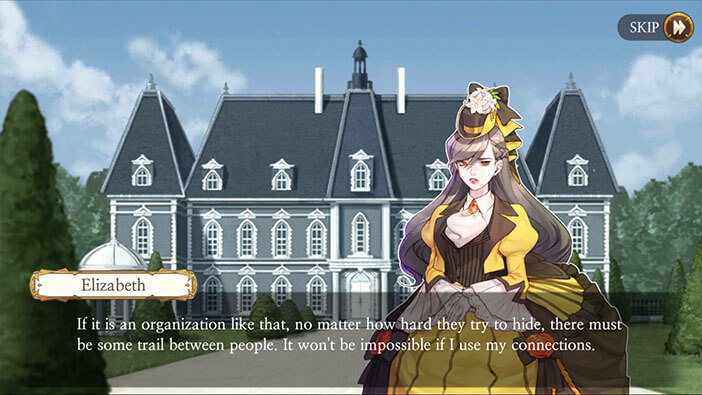
Huxley shows Elizabeth the symbol that he found, and suggests that they should look for Henry since this man often appears in public. Also, at this point, it seems like Henry is Samuel’s right-hand man and could lead them directly to the head of Aegyptus. Elizabeth agrees with this plan but still doesn’t understand why Aegyptus had to kill both of her parents in order to get to Huxley. I don’t get this part either, as I already mentioned in previous stages. It would be much easier for Aegyptus to just go straight for Huxley, and kill/abduct him. Maybe, Elizabeth’s parents were members of the Aegyptus, and they wouldn’t agree with the decision to murder Huxley? I know this is a very strange, and probably incorrect theory, but right now I have no other ideas. Hopefully, we will find out more about the motives for this crime in the following chapters.
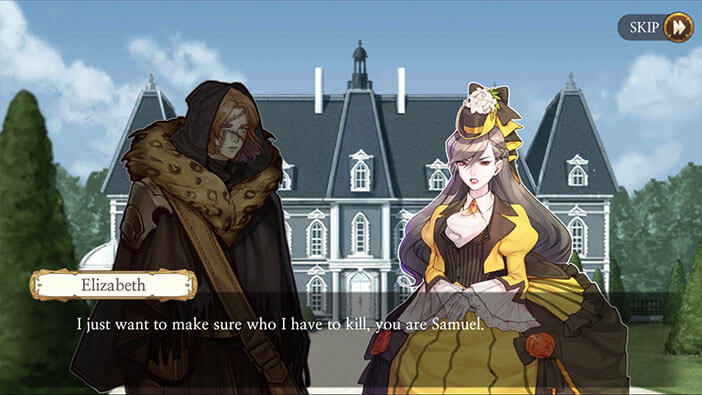
Elizabeth comes up with a plan. She will use her connections in higher circles of society to gather information about the Aegyptus. Huxley is grateful for her help, but Elizabeth states that her main motive is to find out the identity of the person that murdered her parents. I’m not sure about her last statement, but it looks like she wanted to say “I just wanted to make sure who I have to kill, you OR Samuel”.
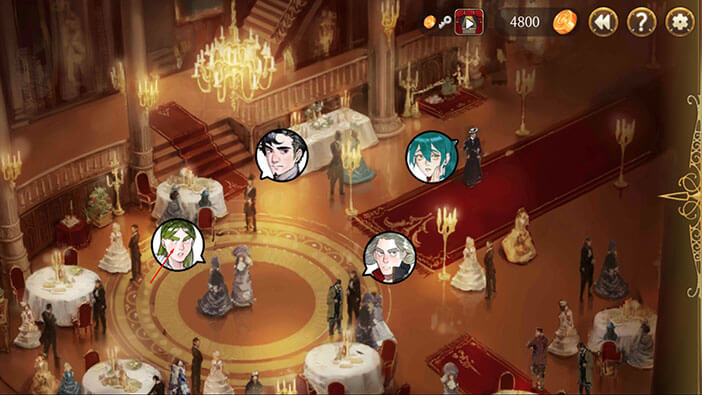
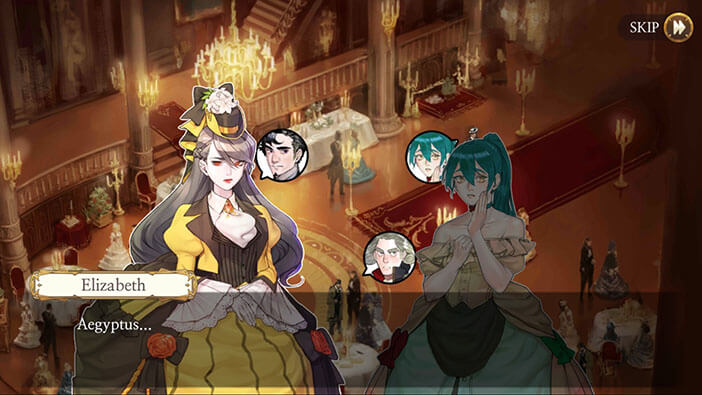
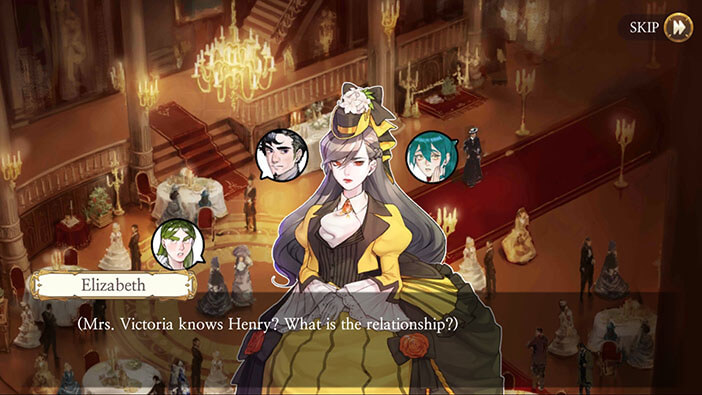
And we finally come to our first task. Our goal is to find out more about Aegyptus, using Elizabeth’s connection within the nobility.
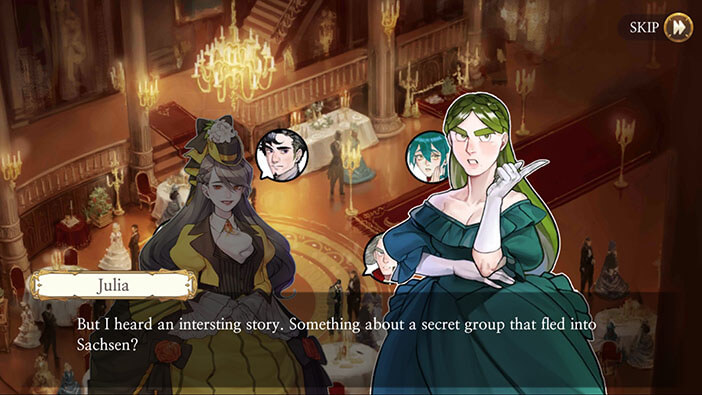
Tap on the woman with the green hair (in the lower-left corner).
After the initial small talk, tap on the second option “Ask about any gatherings she’s in”.
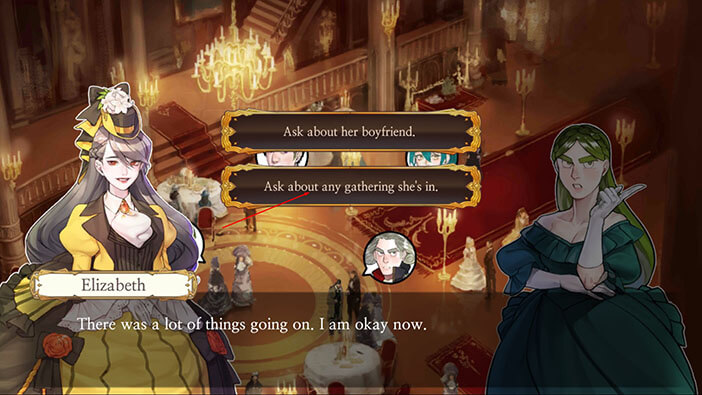
Julia will inform us that she heard a rumor about a secret group that was expelled from Bayern by the Vatican. Apparently, the group relocated to Sachsen. “Refuge Group” card will be added to the inventory after this conversation.

Select the “Refuge Group” card from the inventory and tap on the men in the bottom right corner of the screen.
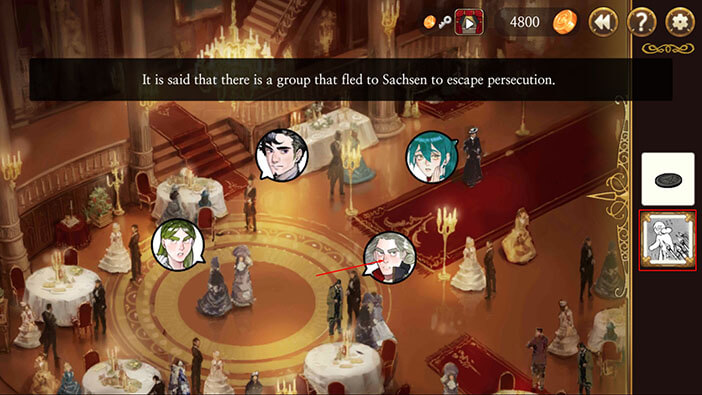
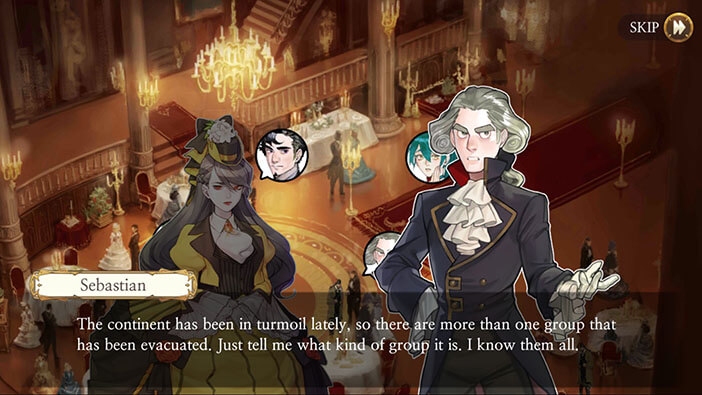
The name of this person is Sebastian, and he claims that he knows every organization that has been forced away from its home territory. However, there’s a lot of such organizations, and we will have to come back to him with more information about the organization that we’re interested in.
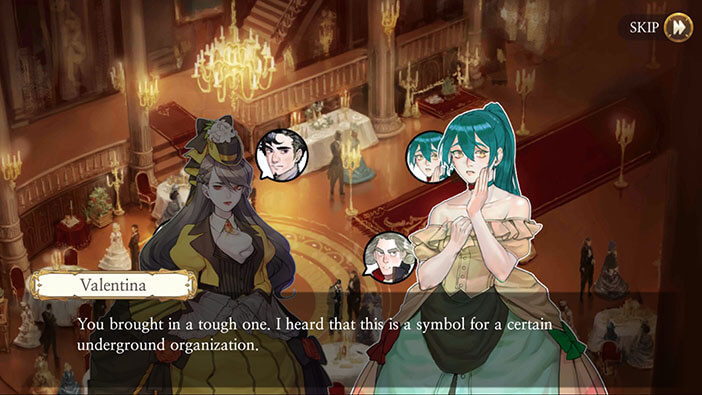
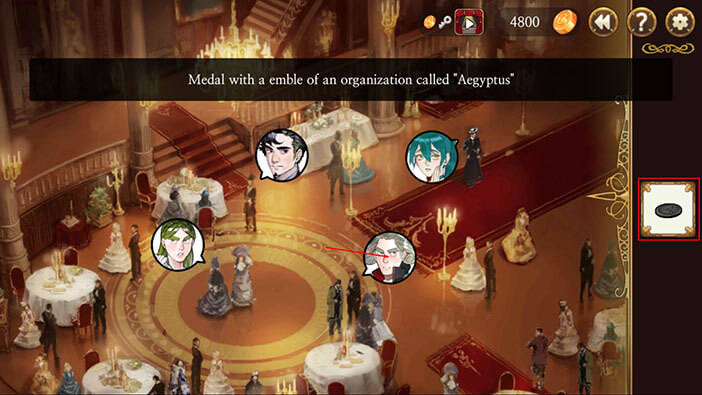
Select the “Medal” from the inventory and tap on the woman with turquoise hair (at the top of the screen).

The woman’s name is Valentina, and she claims that the symbol belongs to an underground organization, and after a short pause she reveals that this organization is indeed the Aegyptus. However, she can’t reveal anything more about this subject.

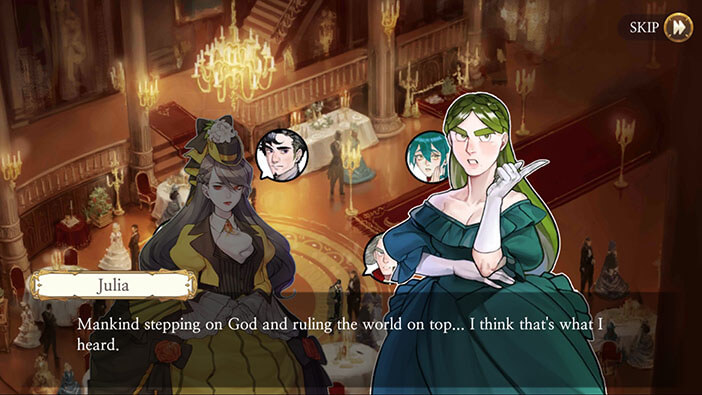
Select the medal from the inventory and tap on the Julia, again.

Julia only knows that the medal is connected to the organization that plans to somehow topple God. In short, this organization seeks to become the most influential in the world by bringing down the Vatican, and the governments of nations across the world – as we know from previous chapters.

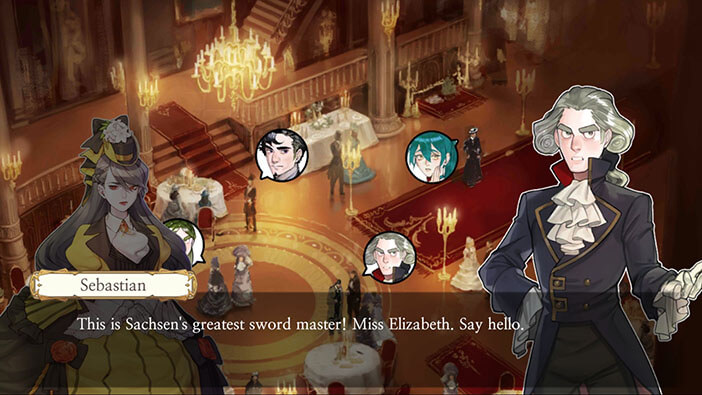
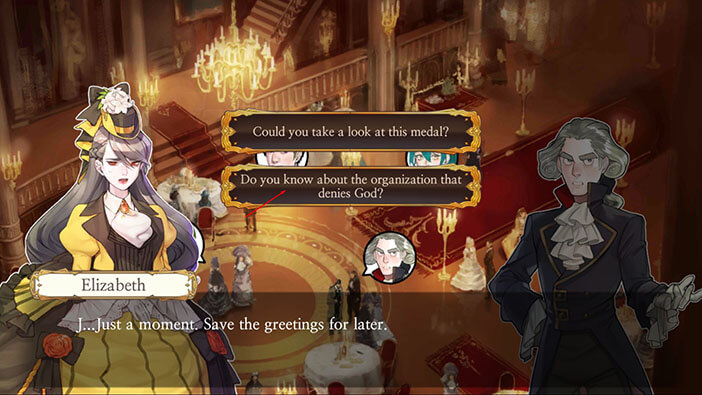
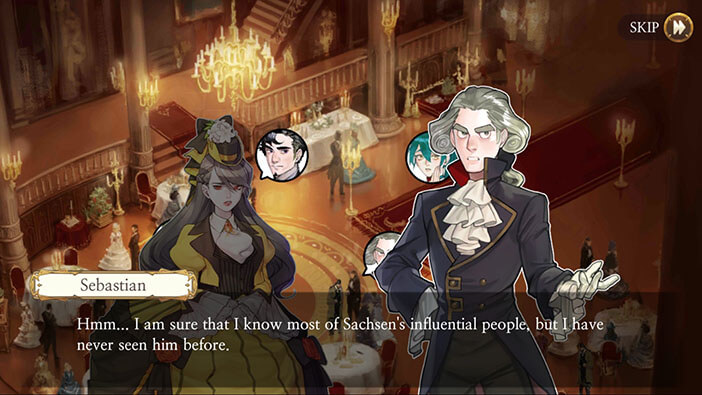
Select the medal from the inventory and tap on Sebastian. He will great us again, saying that Elizabeth is one of the greatest swordsmen.
Tap on the second option “Do you know about the organization that denies God?”
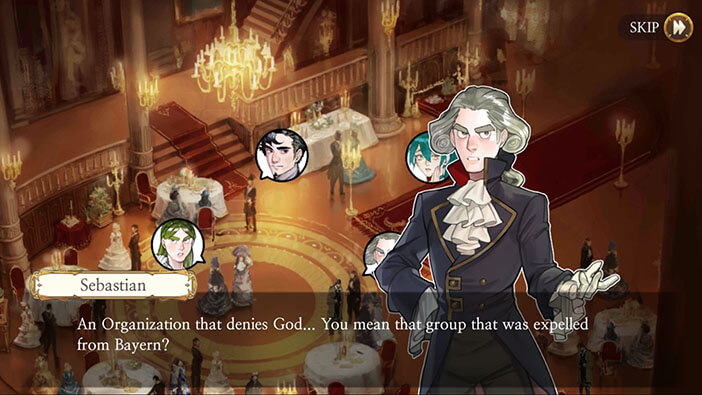
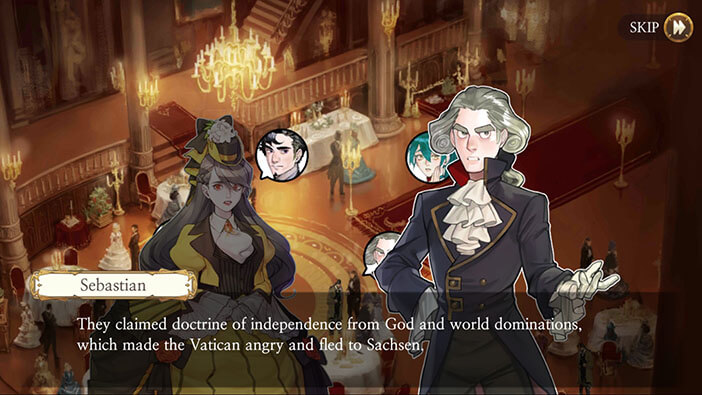
He is wondering if Elizabeth is referring to a group that was expelled from Bayern. After Elizabeth confirms, Sebastian reveals that he is familiar with this organization. After repeating the organization’s goals and why it was expelled from Bayern, Sebastian reveals that the current leader of the organization is Samuel and that he is the second generation – so his predecessor (possibly father) was the first leader of the Aegyptus.

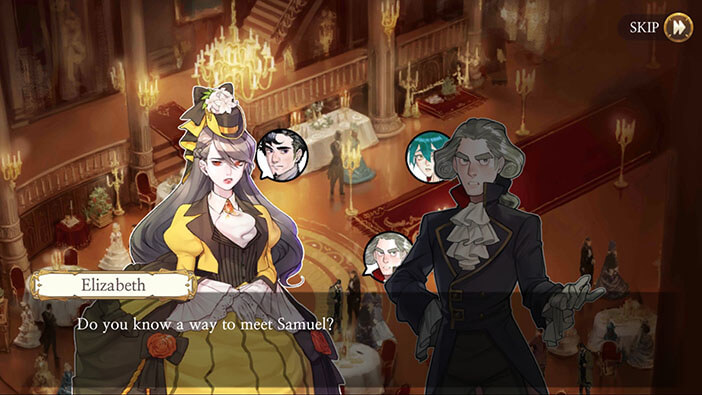
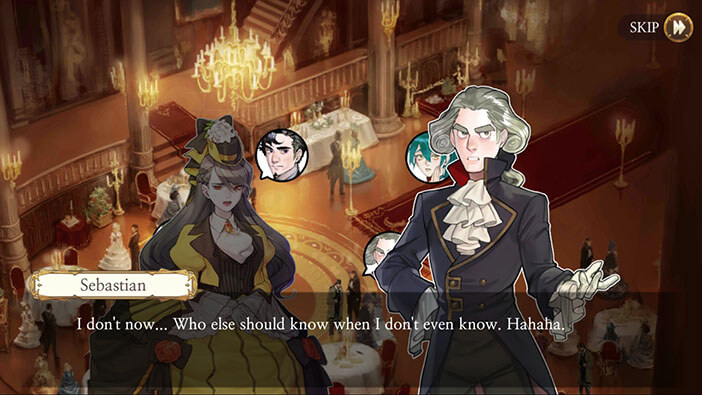
Sebastian doesn’t know how somebody could arrange a meeting with Samuel, and claims that if he doesn’t know it, then nobody else in this room does, either. We got some useful information from Sebastian, but he seems a bit overconfident. At the end of this conversation “Samuel” card will be added to the inventory.
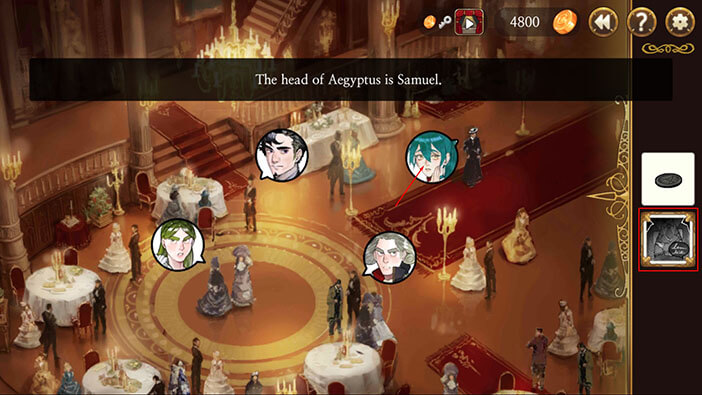
Select the “Samuel” card from the inventory and tap on Valentina, the woman with turquoise hair. She does know Samuel. Hmm, interesting.
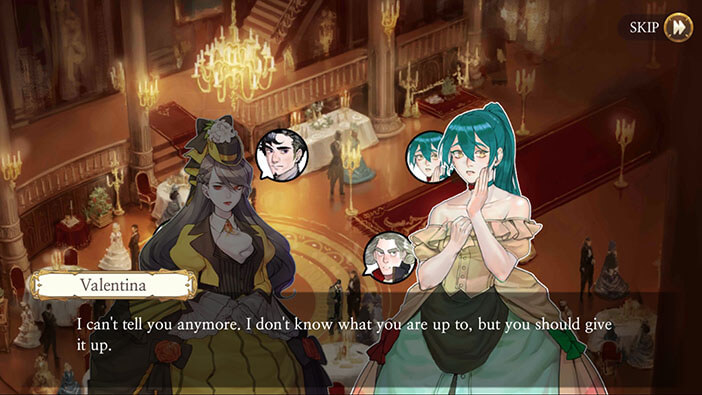
Tap on the first option “How can I meet him?”
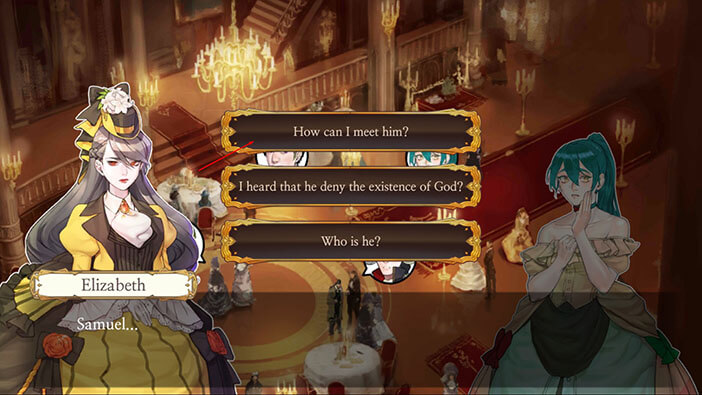
Valentina understandably tries to convince Elizabeth to stop asking around about Samuel, claiming that it’s too dangerous. Reluctantly, she reveals that the only way to meet Samuel is through his henchman, Henry. When asked about Henry, the girl refuses to say anything else. She can’t reveal to us how somebody could set up a meeting with Henry and again advises Elizabeth not to ask any more questions about this organization. “Henry” card will be added to the inventory after this conversation.


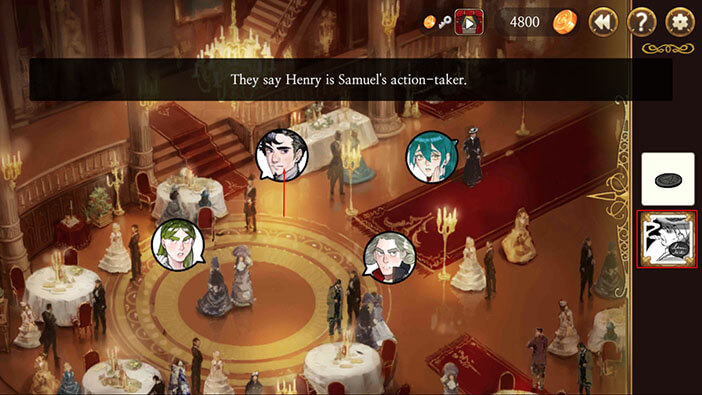
Select the “Henry” card from the inventory and tap on the black-haired man.
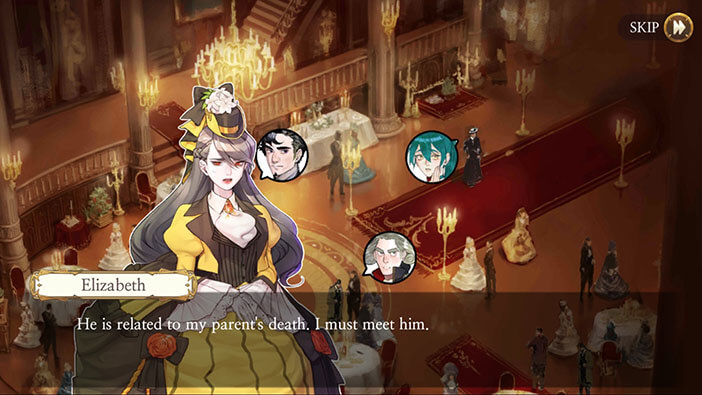
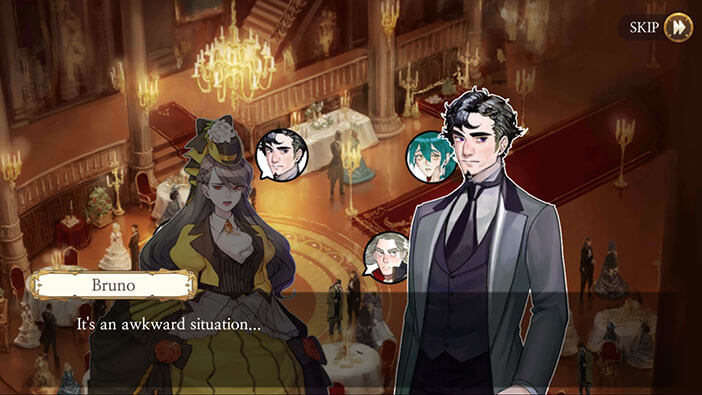
The name of this person is Bruno, and he seems willing to help us out. Tap on the first option “He has a relationship with my parent’s matter”.

After finding out that Henry Cleval is connected with the Lavenzas murders, Bruno agrees to help, claiming that he knows a person that could get in touch with Henry, but that situation might be a bit awkward.

After a few moments, he hands over a letter to Elizabeth and asks if she could hand it over to Mrs. Victoria. Elizabeth is confused at first, but Bruno reveals that Victoria should know more about Henry. He also asks Elizabeth the deliver the tulips, along with the letter.


Elizabeth concludes that she found out what she could, and decides to head to Mrs. Victoria, in an attempt to discover more about Henry. The “Letter” and the “Tulips” will be added to the inventory.
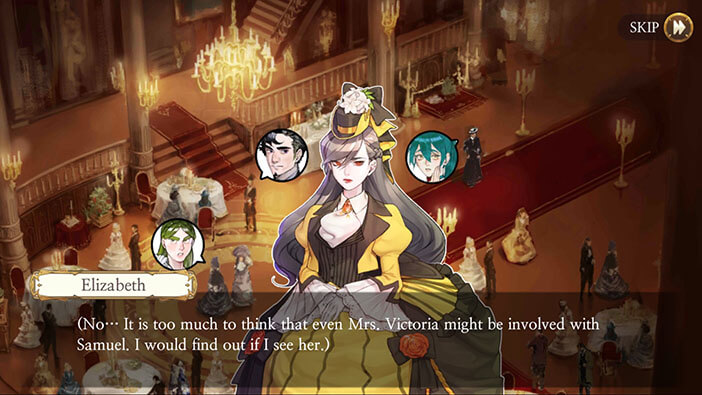
Upon arriving at Victoria’s house, she will serve some tea, and Elizabeth will thank her for the hospitality, and apologize for the sudden visit. Victoria will smile at this, saying that she has a “special connection” with the Lavenza family… Was Francis Lavenza a bit naughty and had an affair with Victoria, or is she referring to Bruno?


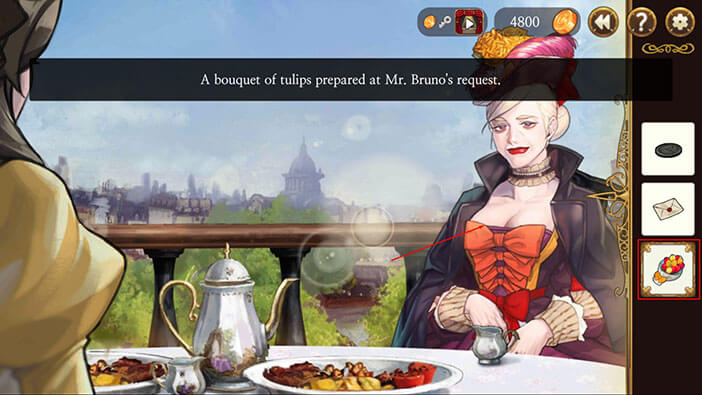
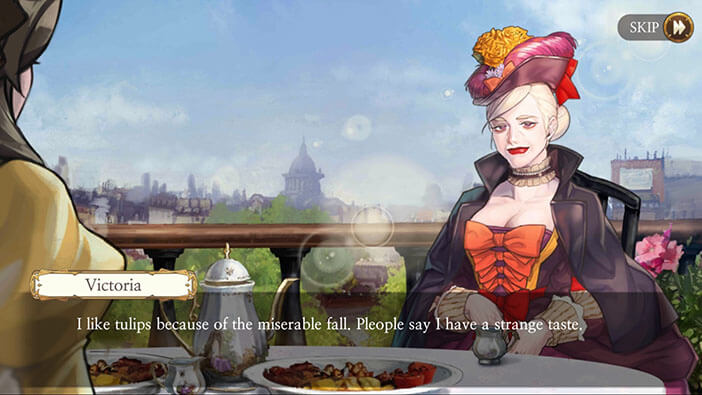
Select the “Bouquet of tulips” from the inventory and tap on Victoria to hand it over to her. The woman quickly realizes that tulips were sent to her by Bruno, presumably her former lover. Victoria claims that Bruno is the only person that ever understood her, and isn’t surprised that he remembered that tulips are her favorite flowers.

Select the “Letter from Bruno” from the inventory and tap on Victoria to hand it over. The woman will politely ask you to give her a few moments, so she can read it.
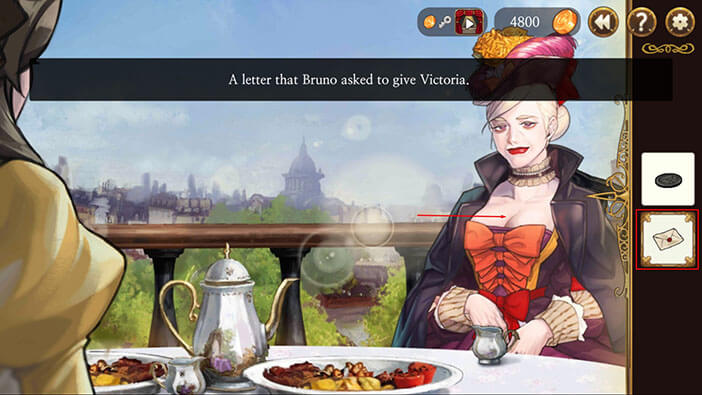

There’s nothing important for our own quest inside the letter. Apparently, Bruno wrote this letter over a week ago but didn’t have the courage to hand it over to Victoria himself. The two are the ex-lovers, and Bruno would like to reignite the old flame.
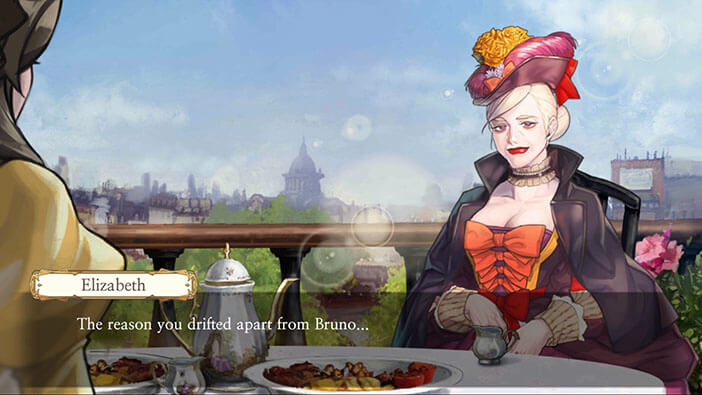
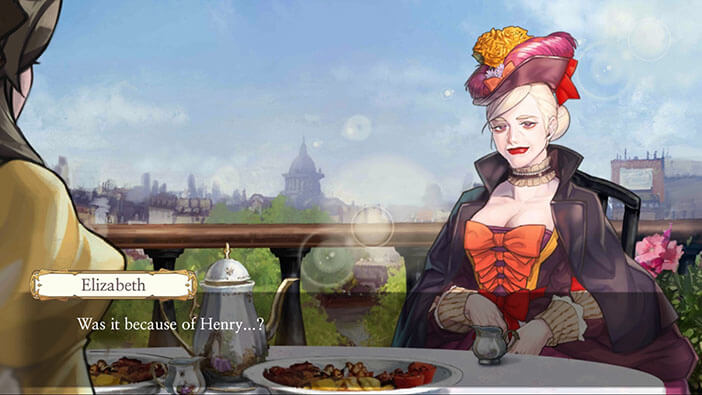
However, after a short pause, Elizabeth will ask if Victoria and Bruno drifted apart because of Henry – that was pretty straightforward. At this point, Victoria wants to take another look at the medal.
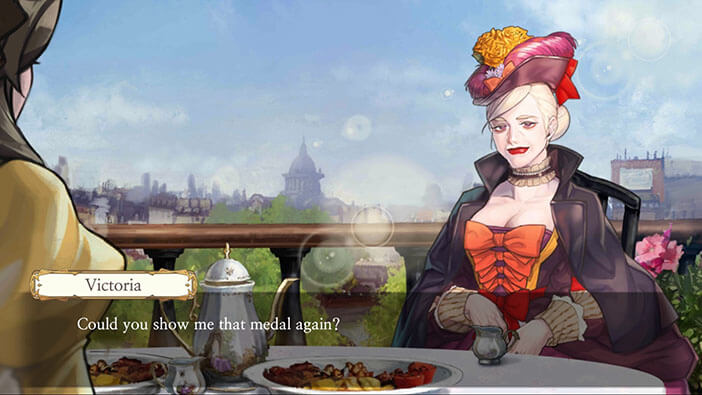
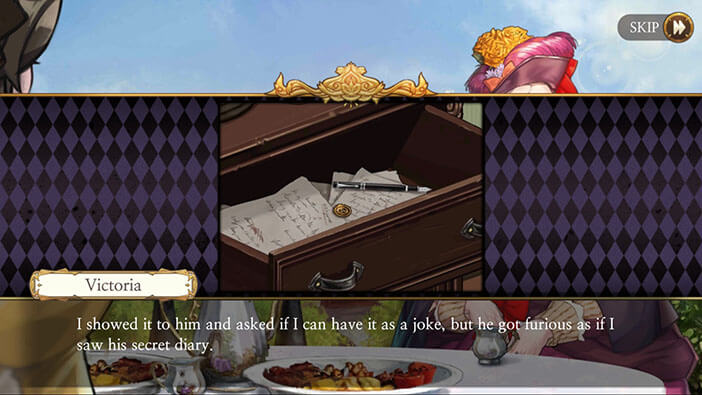
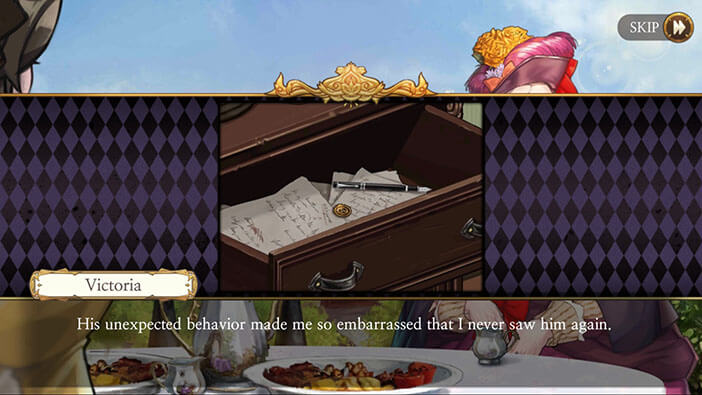
So, select the “Medal” from the inventory and tap on Victoria. After taking a look at the medal. Victoria remembers that she saw this item before, during the short affair that she had, at the same time as she was dating Bruno. One night, while she was in the room of this mysterious man, she saw this medal inside one of the drawers. Apparently, the man wanted to keep this medal hidden, since he suddenly became very angry, when Victoria asked him about it. The name of this man was Henry, but Victoria never saw him again after this incident.


Victoria agrees to reveal Henry’s address, and gives “Secret Solution” to Elizabeth, saying that this item will be necessary if our protagonist wants to meet with Henry. Elizabeth is curious and asks about this item, but Victoria sends her away without any explanation. “Secret Solution” looks like some kind of perfume. I hope that the scent isn’t some kind of a secret signal. If that’s the case, Elizabeth might have to pretend that she is one of the mistresses, in order to reach Henry.


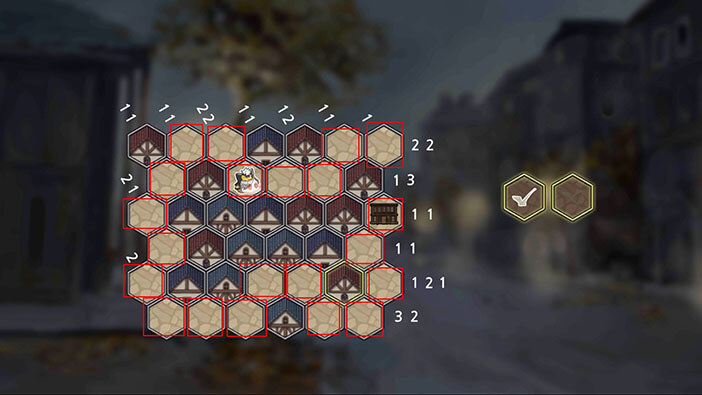
Our next task is to get to Henry’s apartment, by solving the puzzle. You can see the solution for this puzzle in the image below.
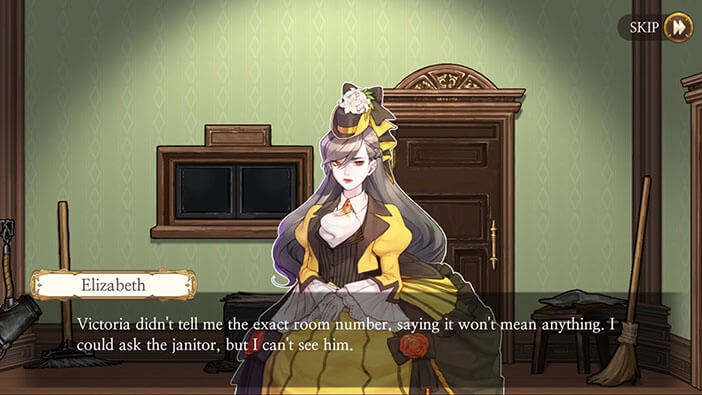
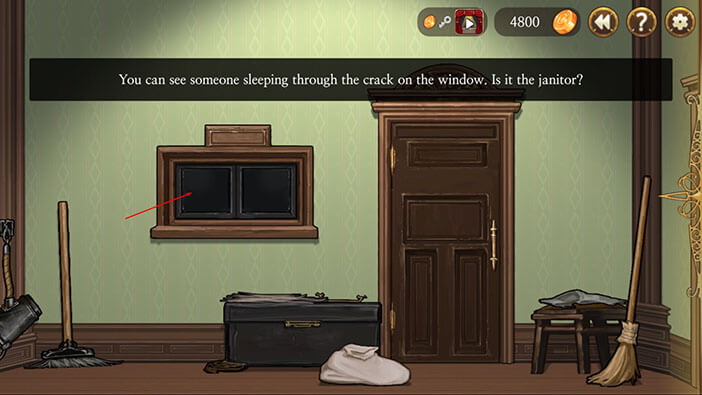
Well, we reached Henry’s building, but we still do not know in which apartment he lives. Also, Elizabeth doesn’t where the janitor is, so there’s no one around that she could ask for directions.
Tap on the small window, and our protagonist will spot someone sleeping inside the small room. That’s probably the janitor, so let’s find a way to wake him up.
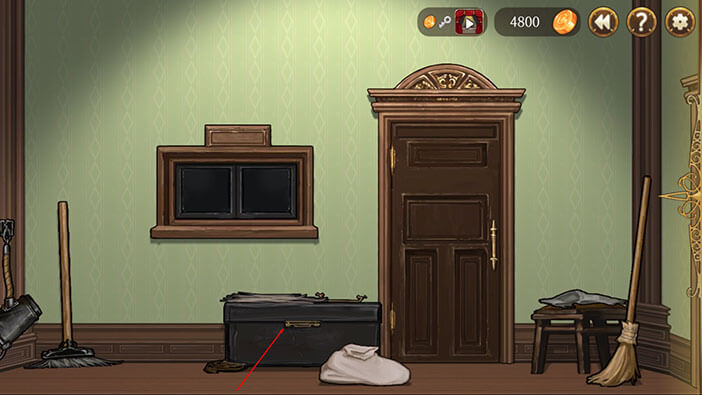
Tap on the large black box in front of you to start the interaction.
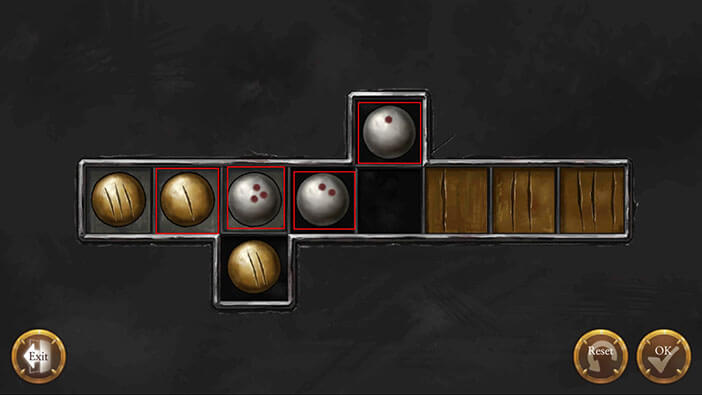
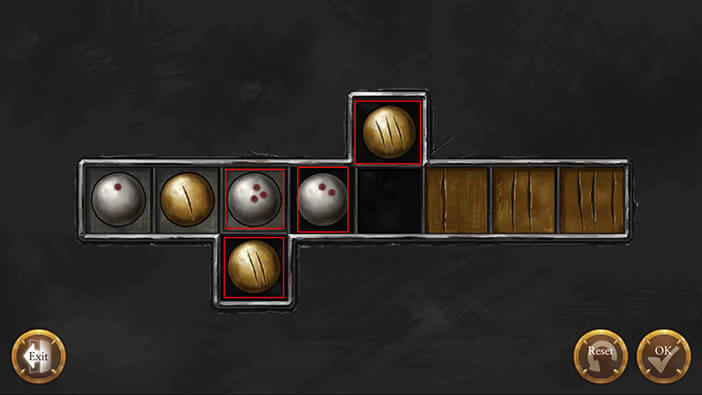
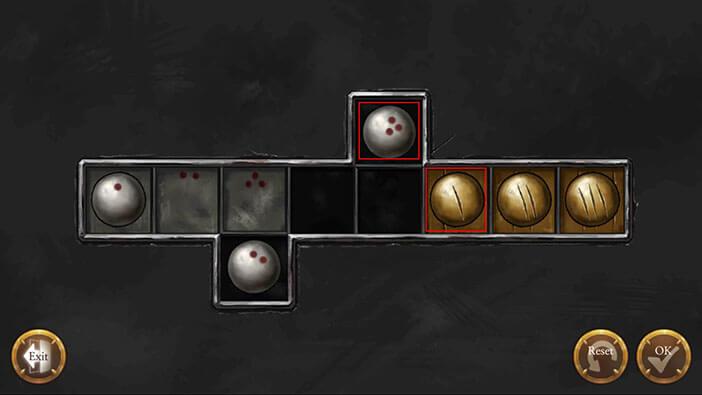
Ok, we have another puzzle to solve, and this one is a bit tricky to explain. Also solving this puzzle will take multiple steps.
If we take a look at the left side we will see three yellow balls marked with one, two, and three lines. We have to place these three balls in the matching fields on the right side – the fields are marked with 1, 2, and 3 lines.
The same goes for white balls, except that these are marked with red dots (1, 2, or 3), and the fields on the left (bellow yellow balls) are also marked with the same number of red dots. So, the three white balls should be placed in the matching fields on the left.
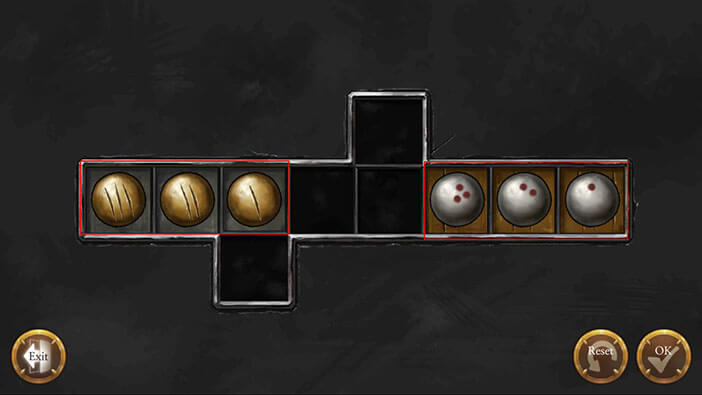
Step 1: Move the yellow ball with a single line one field forward, and move the yellow ball with two lines into the only lower field.
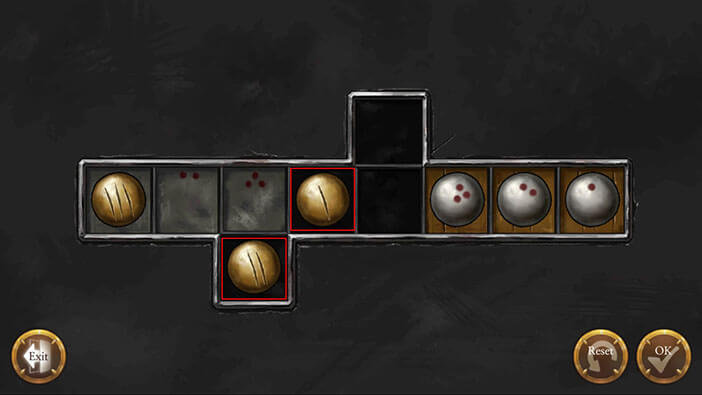
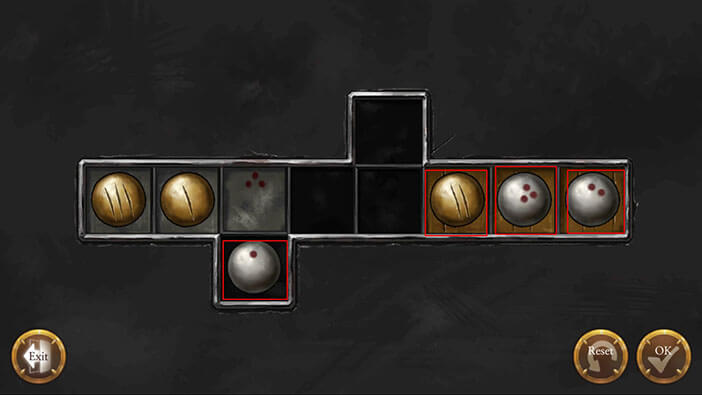
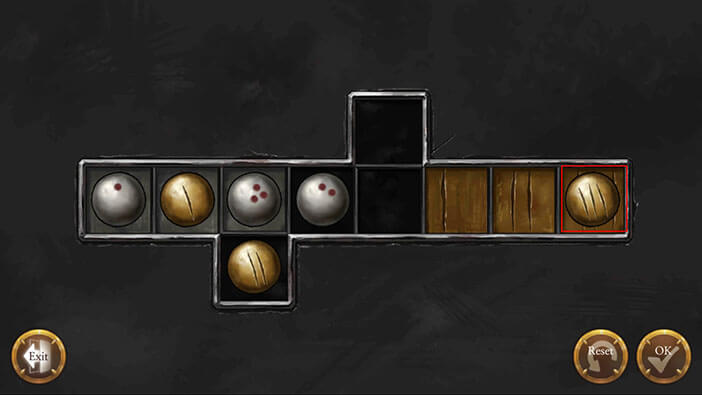
Step 2: Move the yellow ball with a single line all the way to the left, and do the same with the white balls marked with 2 and red dots. This will enable us to move a white ball with a single red dot in the upper slot.
Step 3: Ok, now move the white balls number two and three all the way to the right, and move the yellow ball number two next to them. We can now move the white ball number one into the lower field on the left side.
Step 4: Move the yellow balls number one and three all the way to the right. This will clear the way for the white ball number one, and we can now place it on the field marked with a single red dot (far left side). Finally, we have one ball in the correct position.
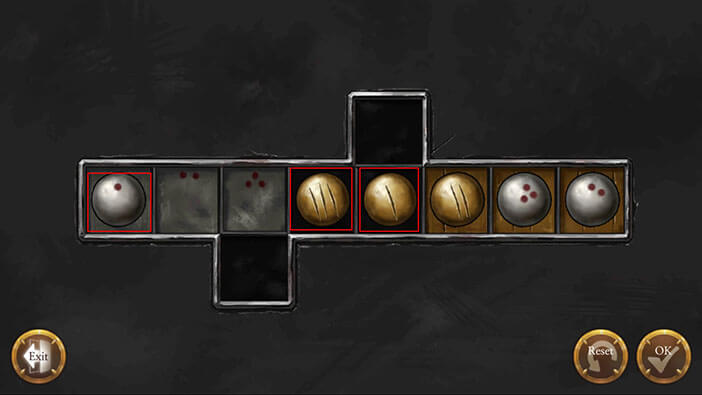
Step 5: Move the yellow ball number three into the lower field, and move the yellow ball number one all the way to the left.
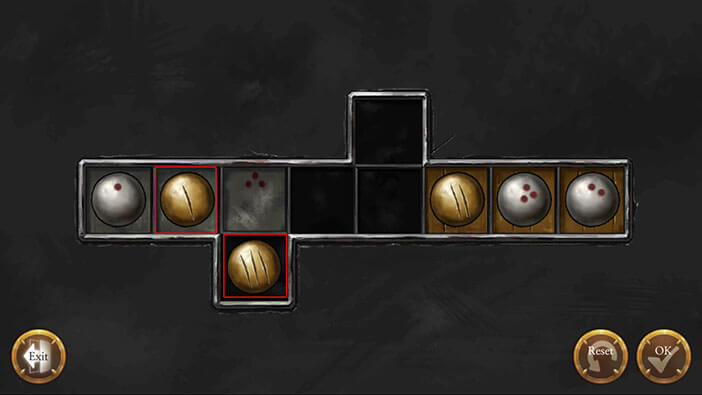
Step 6: Now, move the yellow ball number three into the upper field. We can now move the yellow ball number two into the lower field, and we should also move white balls number three and two all the way to the left.
Step 7: We can now move the yellow ball number three all the way to the right, and with that, we now have two balls in the correct position.
Step 8: Move the white ball number two into the upper field, and move the white ball number three all the way to the right.
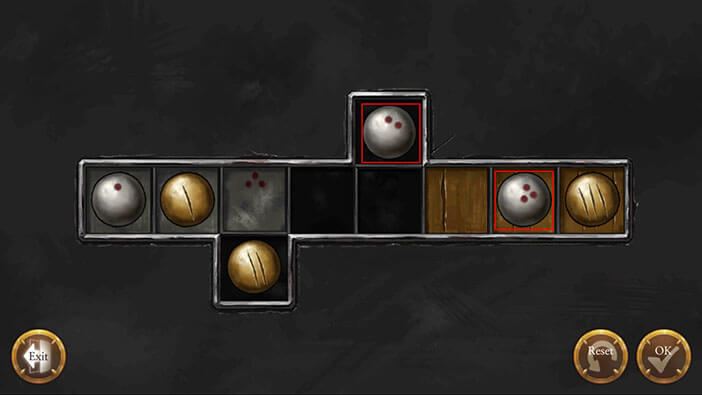
Step 9: Ok, now move the white ball number two all the way to the right, and move the yellow ball number two into the upper field.
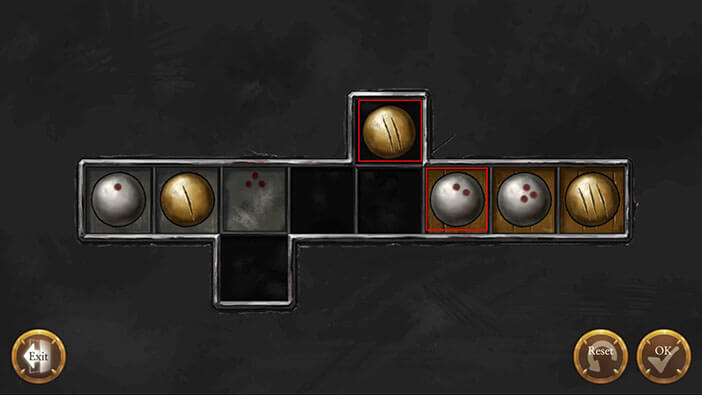
Step 10: Move the white ball number two into the lower field, and move the white ball number three all the way to the left. We can now move the yellow ball number two all the way to the right, and it’s our third ball in the correct position.

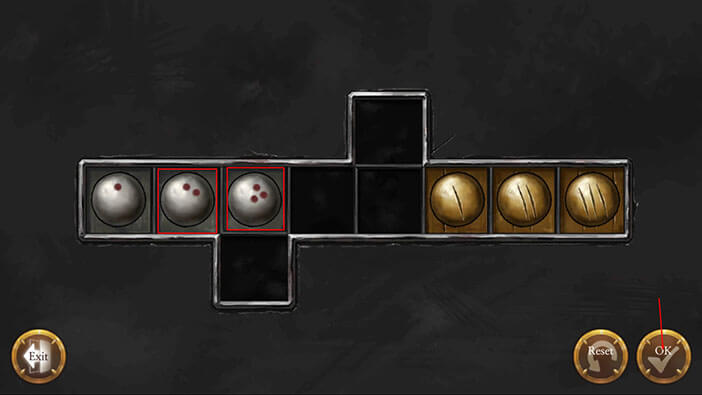
Step 11: Move the white ball number three into the upper slot, and move the yellow ball number one all the way to the right. All three yellow balls are now in the correct position.
Step 12: This is the final step and it should be very obvious what we should do next. Move the white ball number two next to the white ball number one. After that, move the white ball number three next to the white ball number two. Tap on “OK” to confirm.
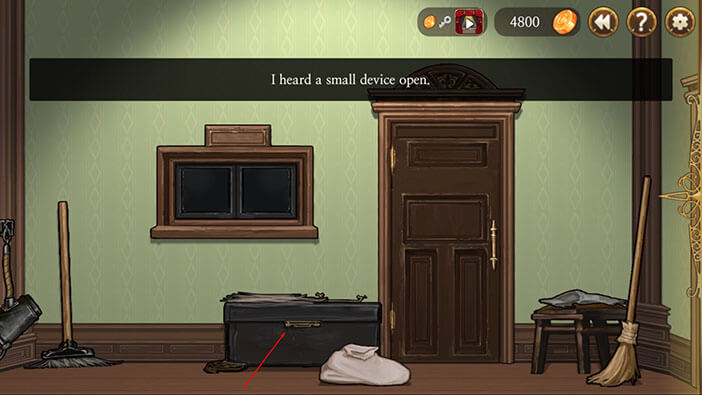
Tap on the large box to open it, and tap again to look inside it.
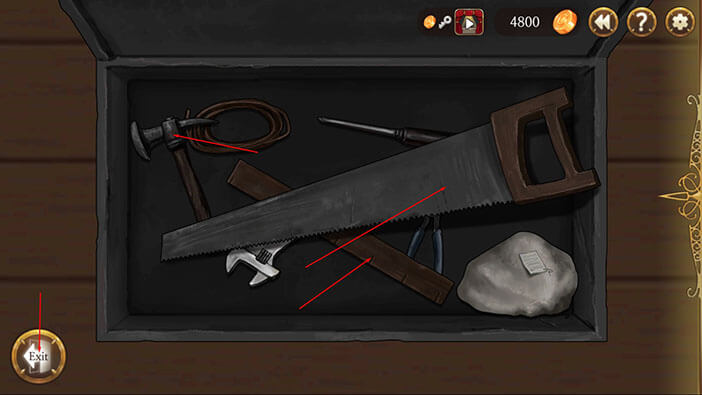
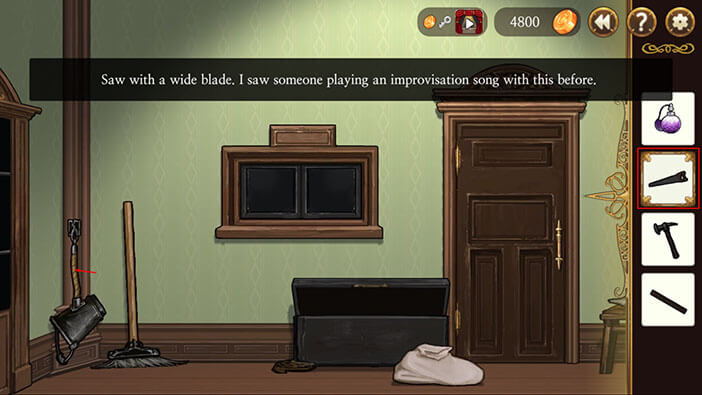
Tap on the “Saw”, “Thin Ruler”, and “Iron Hammer” to pick them up. Once all three items are inside your inventory tap on the “Exit” button.
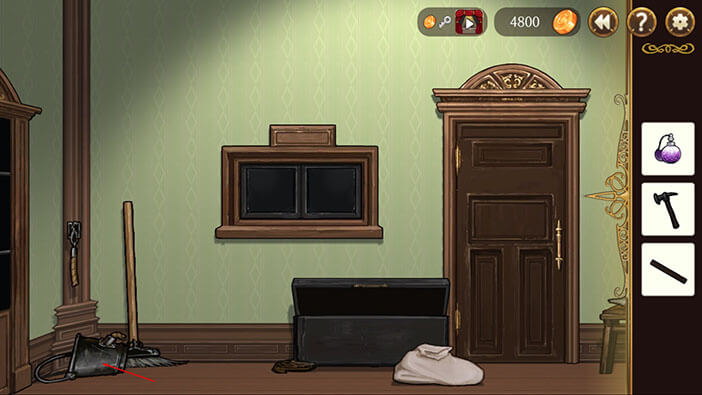
Turn slightly to the left and you will notice a metal bucket hanging from the rope. Select the “Saw” from the inventory and tap on the rope to cut it.
Tap on the metal bucket to pick it up.
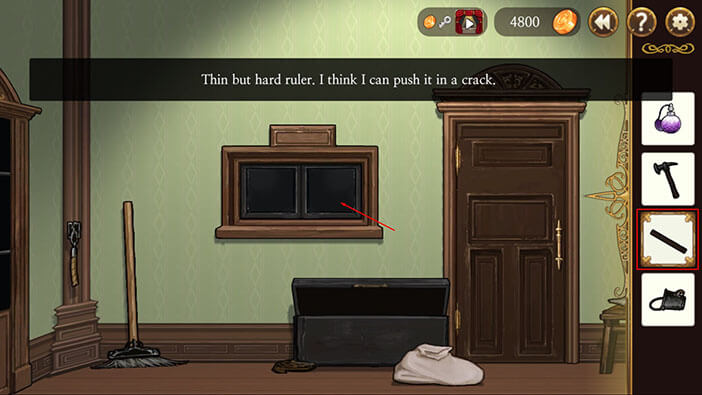
Select the “Thin Ruler” from the inventory and tap on the window to unlock it. Tap on the window again to open it.
Ok, it’s time to wake up the janitor. This should be very funny!
Select the “Bucket” from the inventory and tap on the window to place it.
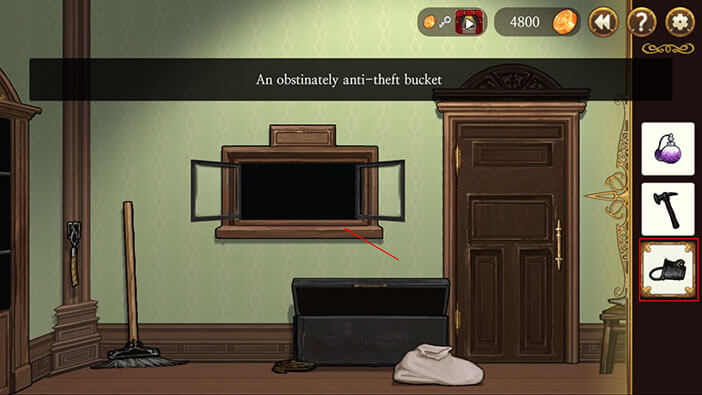
Now, select the hammer from the inventory and tap on the bucket. Elizabeth will strike the bucket with the hammer, waking up the poor janitor. I really like the idea of using the improvised alarm clock. I guess it won’t be that funny to the janitor who is on the receiving end of our improvisation.
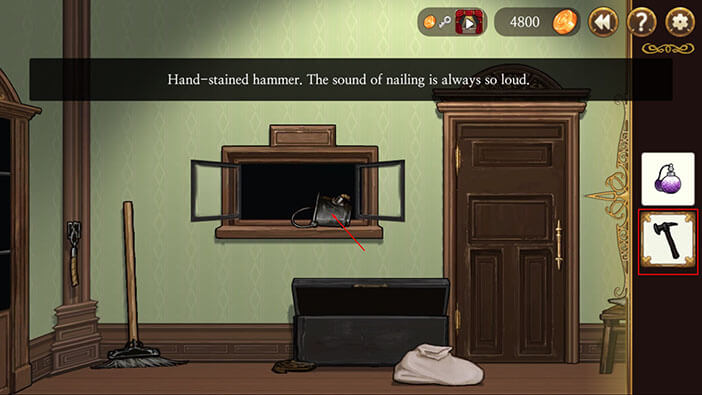

It seems that the janitor is very drunk, and waking him up might not be as easy as we initially thought. Let’s strike the bucket a few more times.


The janitor refuses to get up, but Elizabeth is a very persistent girl. Let’s smash that bucket and finally wake up this drunkard.

After smashing the hell out of the bucket, the janitor finally gets up saying that the door is now open and that we can take whatever we need, but begs us to leave him alone.
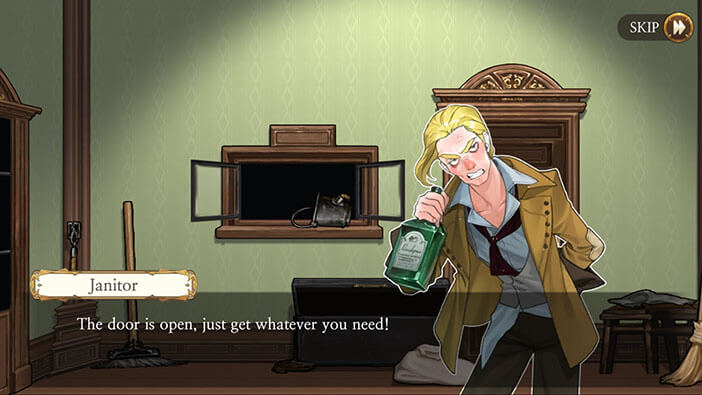

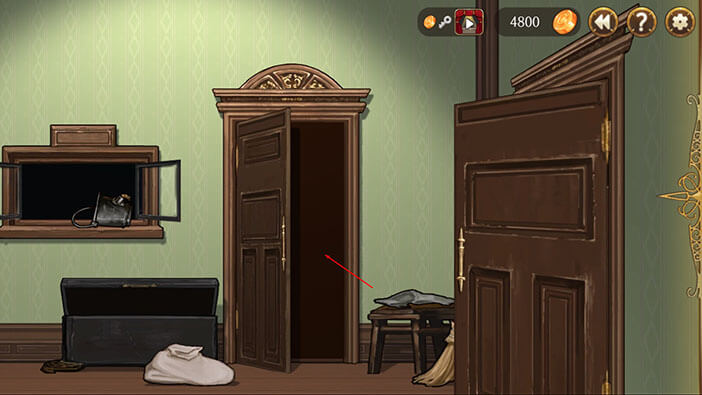
Tap on the door to open it, and tap again to enter.
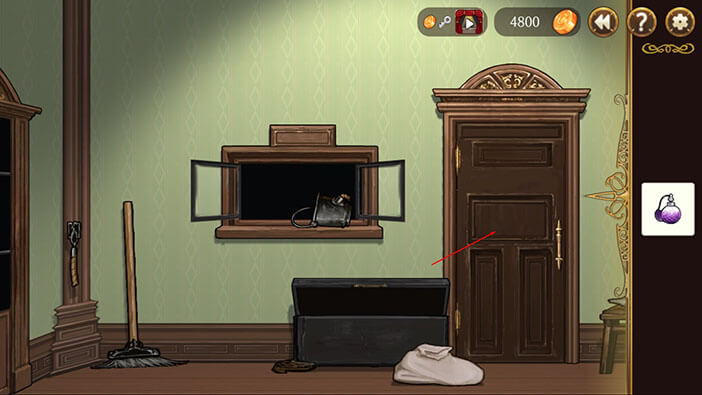
Upon opening the door, the smell of alcohol overcome Elizabeth – shouldn’t she already smell it when she opened the window? The janitor finally wakes up, but he is unwilling to answer any questions and just wants to be left alone. He claims that he is too stressed out because of the problems with residents on the first floor.

Apparently, most of the residents requested to be transferred to the other rooms, because of one reason or the other. The poor janitor couldn’t find a way to please everyone, so he started drinking, in order to take away some of the stress, and forget about this problem.


Elizabeth offers to help in solving this issue and asks the janitor about their requests. However, the man is so sick and tired of this problem that he can’t even provide this simple information. Instead, he advises Elizabeth to go and ask them herself, and unlocks the door.

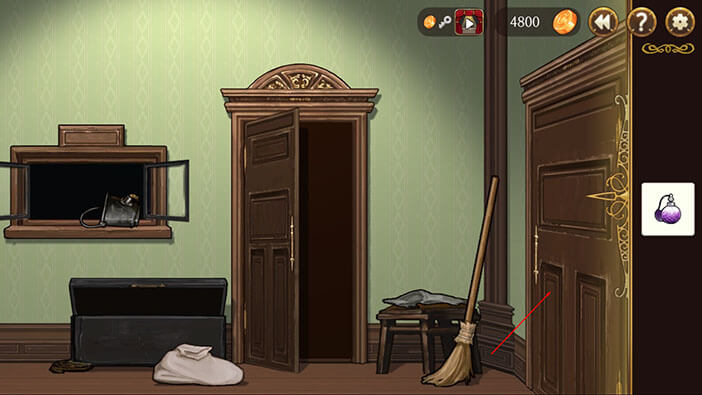
Tap on the door on the right, and sweep to the right to get to the rooms on the first floor.
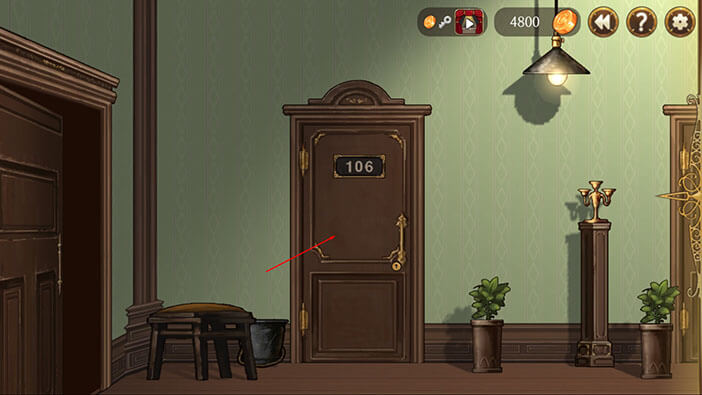
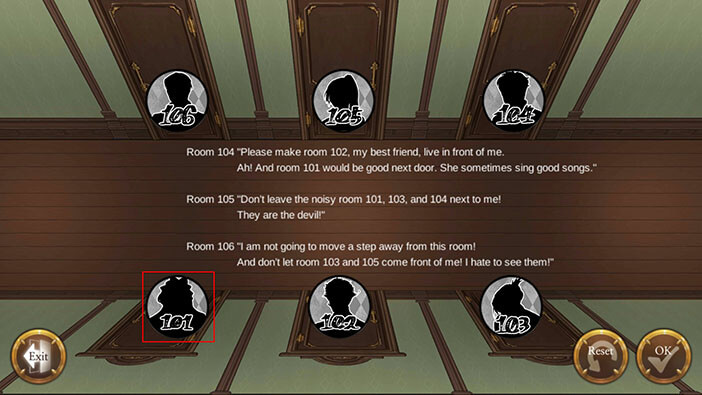
Ok, let’s find out what are the resident’s requests. Tap on room 106, and the person inside will say that he doesn’t want to be moved to another room. He also doesn’t want rooms 105 or 103 to be directly across the hall, because he doesn’t want to see the resident that are living in these rooms.
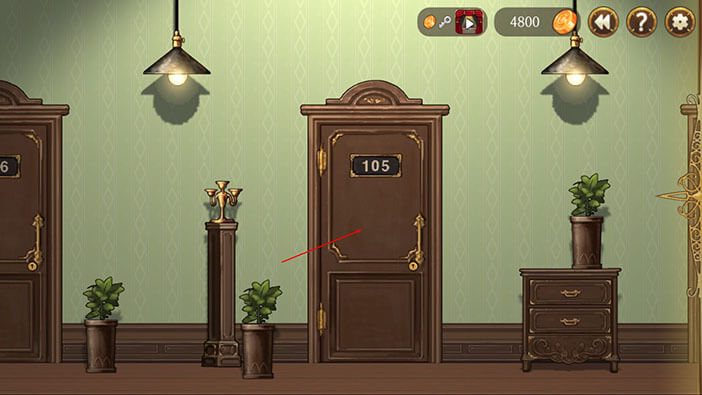
Tap on room 105, and the person inside will say that he doesn’t want to live next to the 101, 103, or 104 because they’re too noisy,
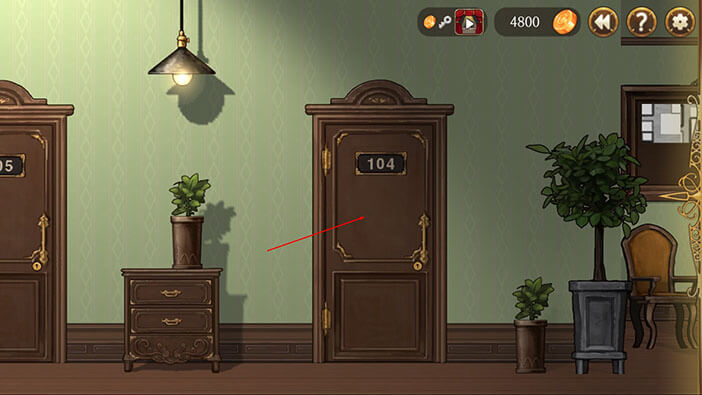
Tap on room 104, and the person inside will say that he would like to have the person from 102, his best friend, to live directly across the hall, and would like the person in 101 to be his next-door neighbor.
Ok, let’s go back to the janitor and try to solve this issue. Sweep to the left and tap on the door that leads into the janitor’s office to initiate the interaction.
Elizabeth claims that she figured out a way to satisfy the wishes of all residents, and advises the janitor to try the following solution…
And that brings us to our next task. We should move around the people in rooms so that all their demands are met. You can see all the demands on the screen, which is nice because memorizing all of them could be a bit tricky. Ok, let’s do this.
The person from room 106 doesn’t want to be moved, and he doesn’t want rooms 105 or 103 to be straight across the hall from him. So, let’s start here, by moving the 101 directly across the hall from 106.
Now, we have satisfied the condition of room number 106. Room 104 would like to have room 101 as the next-door neighbor, so let’s move him next to the 101.
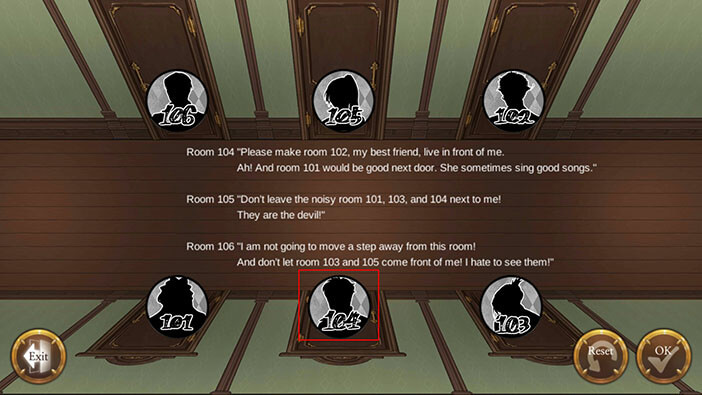
Also, the person in 104 would like to have his best friend directly across the hall from him, so let’s move the 102 into that position. With this step completed, the request from room 105 is automatically fulfilled since he is living next to the 102, and he didn’t want to live next to the 101, 103, or 104.
Tap on the “OK” button to confirm.

The poor janitor is overjoyed since he has been having trouble with the residents for months until Elizabeth came and resolved the issue.

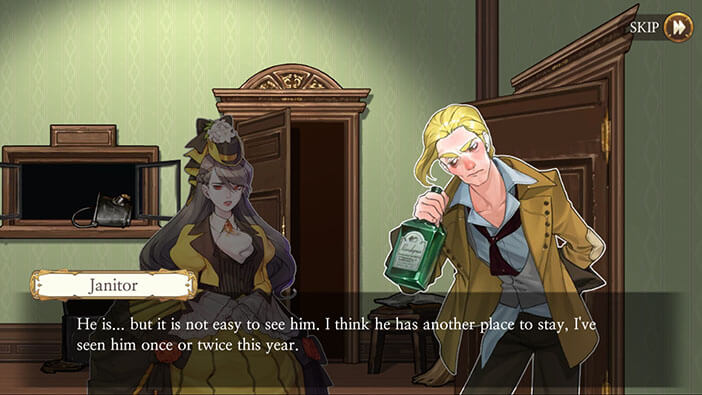
Of course, the janitor is very thankful and agrees to help us with our search for Henry. The janitor says Henry lives on the second floor, probably in room 204. He isn’t sure about the exact room since Henry only comes once or twice a year, and probably lives somewhere else, so he probably isn’t there, at the moment. The janitor was drunk for weeks, so getting any information out of him was very fortunate…
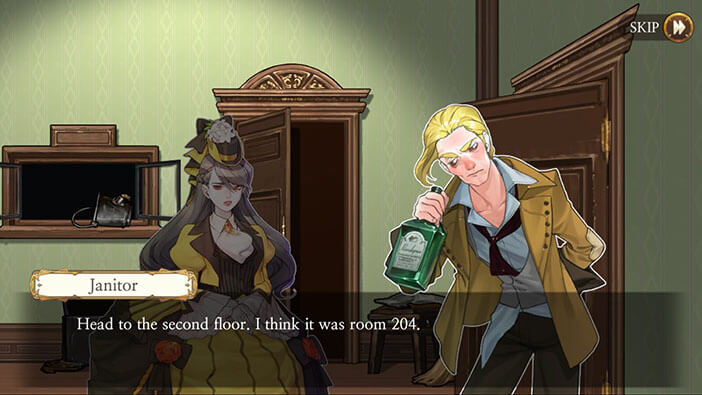
Ok, let’s head to the second floor. Sweep all the way to the right and tap on the stairs.
After reaching the second floor, turn to the left and tap on room 204 to knock at the door.
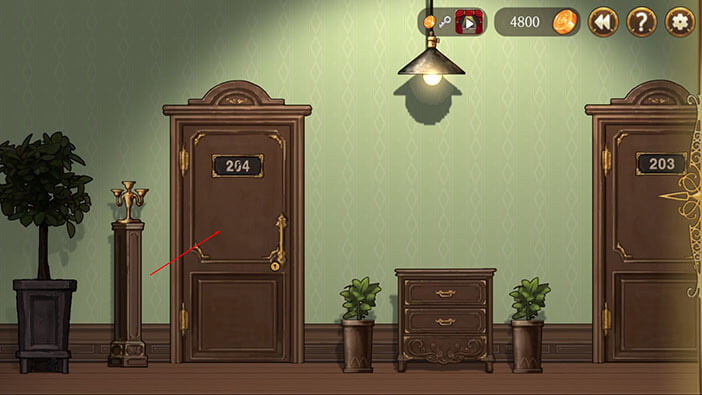
Elizabeth calls Henry’s name, but there’s no answer. As we presumed, it looks like Henry isn’t inside the room. However, Elizabeth remembers that Victoria told her that she will need the “Special Solution” in order to meet Henry. Maybe it isn’t just a perfume? We shall see.
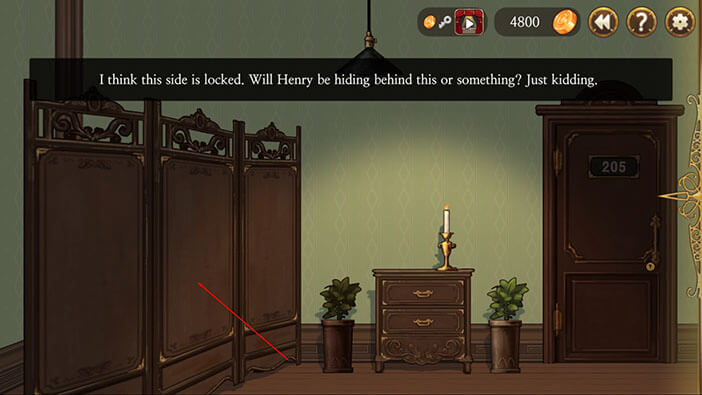
Also, at this point time, Schmitz is hiding behind the screen and decides to start tailing Elizabeth. 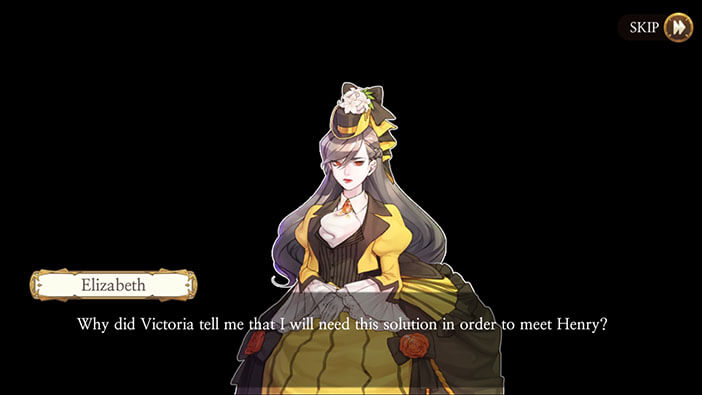
Of course, we can’t change the events that already happened (we already played through this event and saw it through Schmitz’s eyes), so it’s not possible to find the detective that is hiding behind the dressing screen. But I had to try anyway, just to see what will happen.
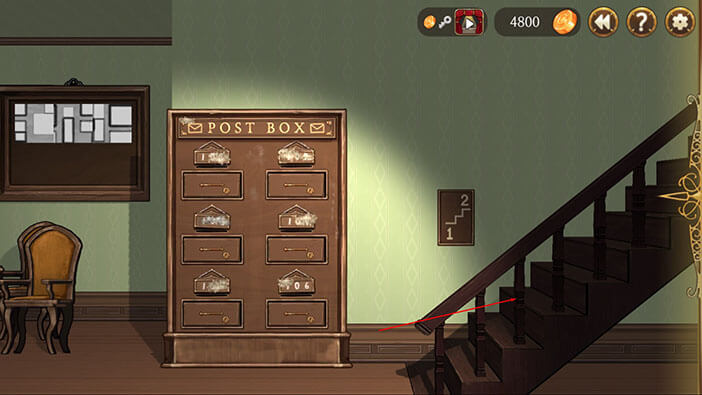
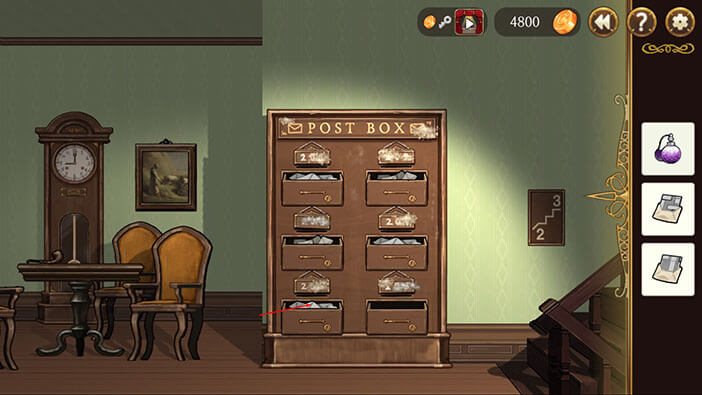
Ok, let’s check the mailbox. Turn all the way to the right, and tap on all compartments to open them.
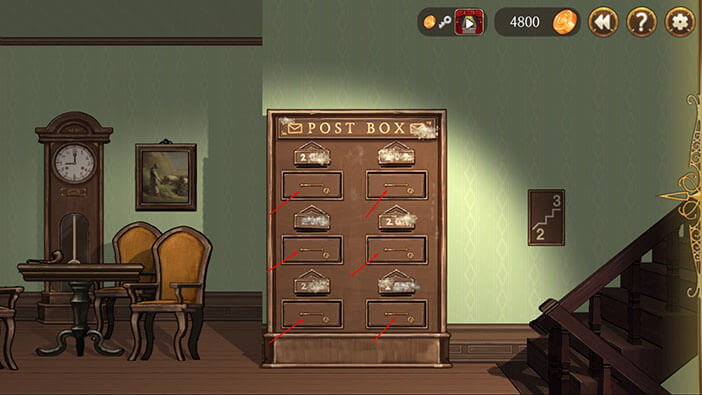
Let’s tap on the compartment in the upper left corner to see what’s inside.
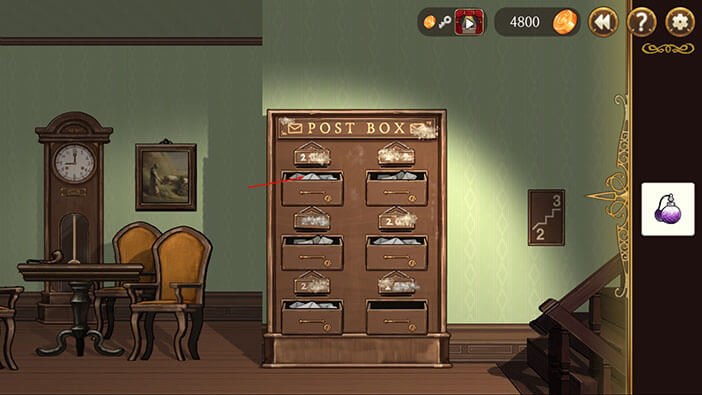
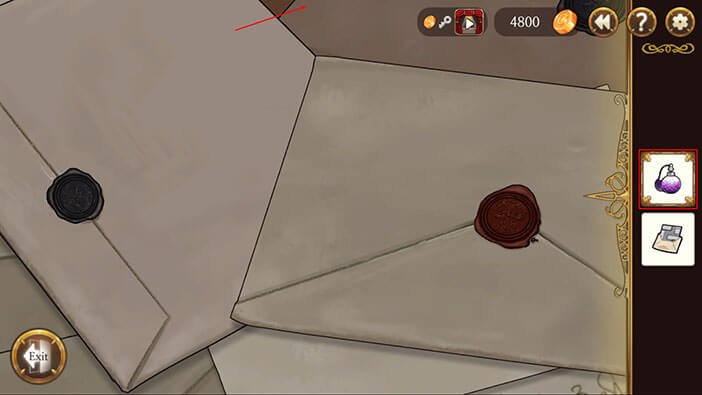
Now, select the “Secret Solution” from the inventory and tap on the letter to the left.
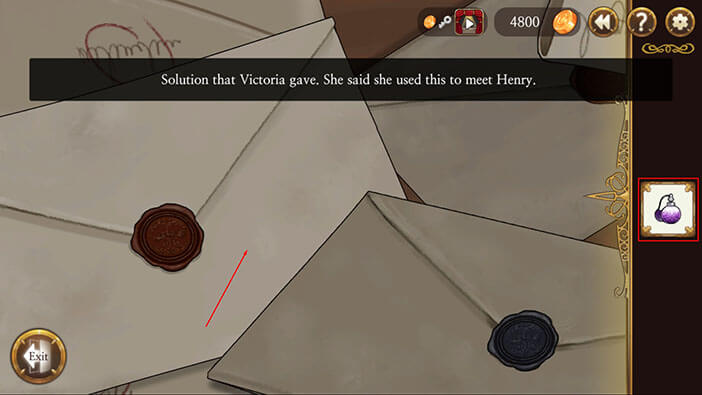
After spraying the solution, the initials “H.C.” will appear. “H.C.” probably stands for Henry Cleval. The letter will be automatically added to your inventory, and it appears that there is some kind of drawing inside it. Tap on the “Exit” button.

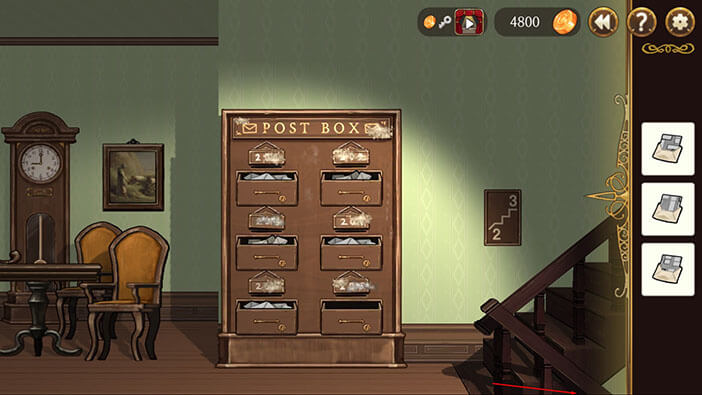
Let’s check the other mailboxes. Tap on the middle right compartment to examine it.
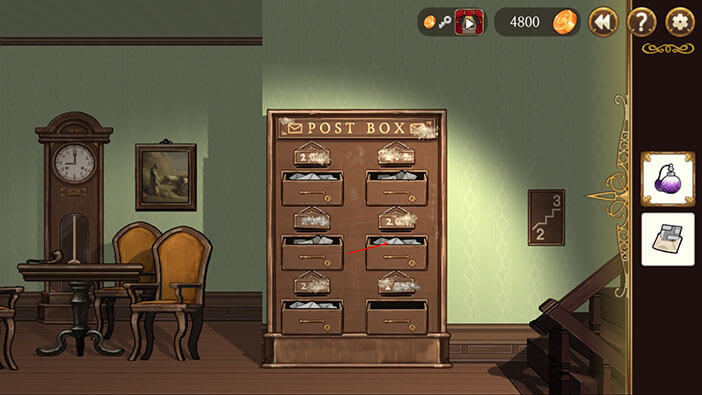
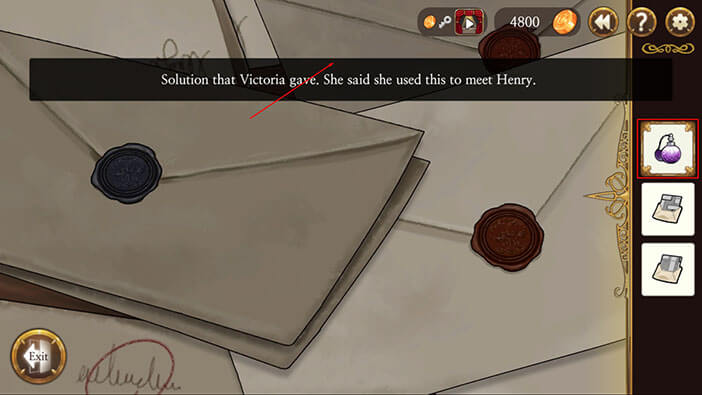
Select the “Secret Solution” from the inventory and tap on the top edge of the screen – this letter can be quite difficult to discover since secret writing is at the very edge of the screen. Another letter will be added to the inventory. Tap on the “Exit” button.
Tap on the compartment in the lower-left corner to examine it.
Select the “Secret Solution” from the inventory and tap on the upper part of the screen. We discovered another “hidden” letter and it will be added to your inventory, for the grand total of three letters. Now we just have to figure out how to use them. Tap on the “Exit” button.
There’s nothing of interest inside the other mailboxes, so let’s head downstairs. Tap on the stairs to go back to the first floor.
Turn slightly to the left select all three “Secret Letters” from the inventory (one by one) and tap on the panel in front of you to place them.
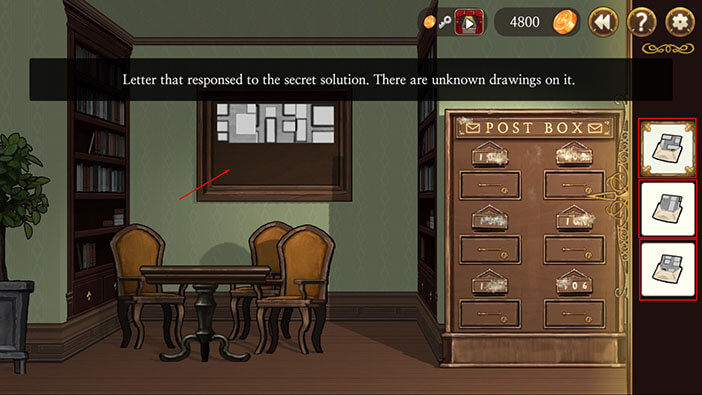
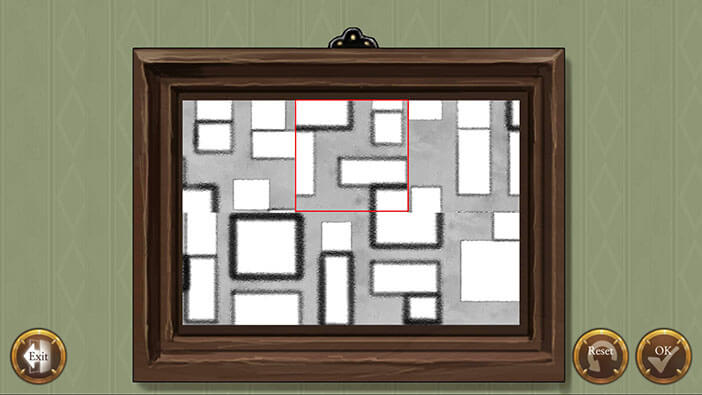
There are 6 pieces of the map in total, located in the six slots. Our task is to rearrange the position of the pieces and assemble the map. I will name the position of slots 1, 2, 3, 4, 5, and 6, starting from left to right, just like we did in the past while solving similar puzzles.
Let’s begin. Drag the drawing number 3 (upper right) and place it into slot number 4 (lower left).
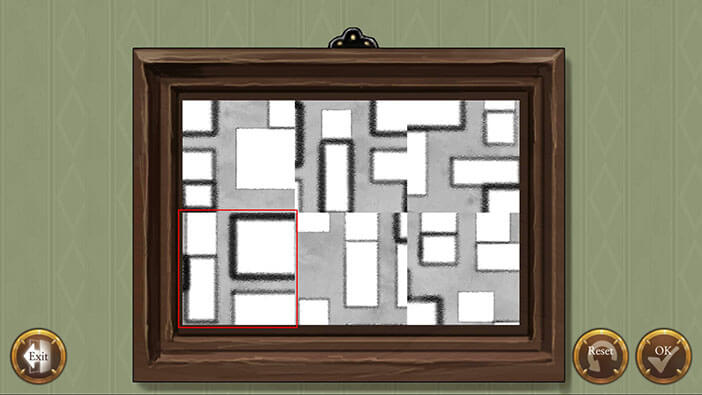
We can see that the line on the left side of drawing number 2 would form a square when combined with drawing number 4. So, drag drawing number 2 (top center) into slot number five (bottom center).
Looking at the drawing at position number 5 (the one that we just placed) we can see that it contains a bottom-left part of the square in its upper-right corner. Also, there’s a half of the square below it. Drawing number 1 would fit in perfectly next to it since it would form the bottom half of the square when combined with the part on the number 5 (in the upper left corner) – it would also form a smaller rectangle and a square below it, so all lines match perfectly. So, take drawing number 1 (upper left) and drag it into the number 6 (lower right) slot. (Next to the number 5).
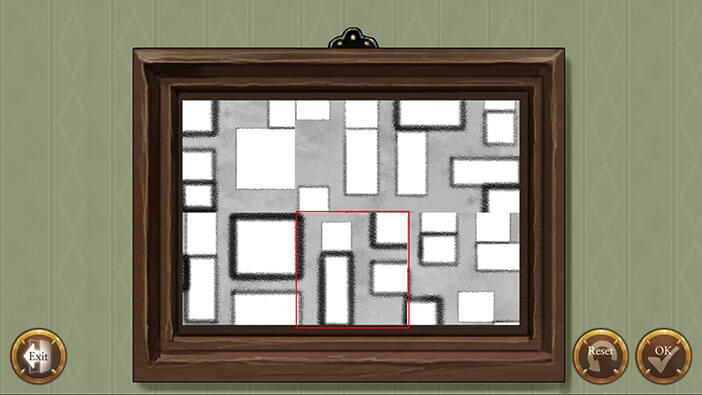
Ok, let’s continue assembling the large square. There are two more parts of the square missing, upper left, and the upper right. Drawing number 3 contains the upper left quarter of the square in its lower right corner. So, let’s drag drawing number 3 (top right) into slot number 2 (top center).
With three-quarters of the square formed, only the upper right quarter is missing, and we can see it in drawing number 1. So, drag the drawing number (top left) into slot number 3 (top right).
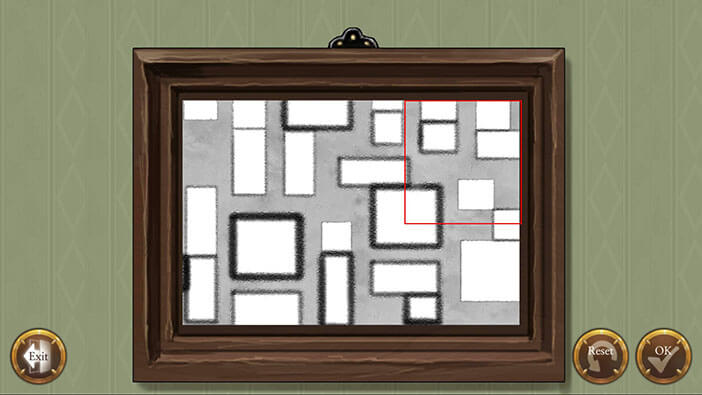
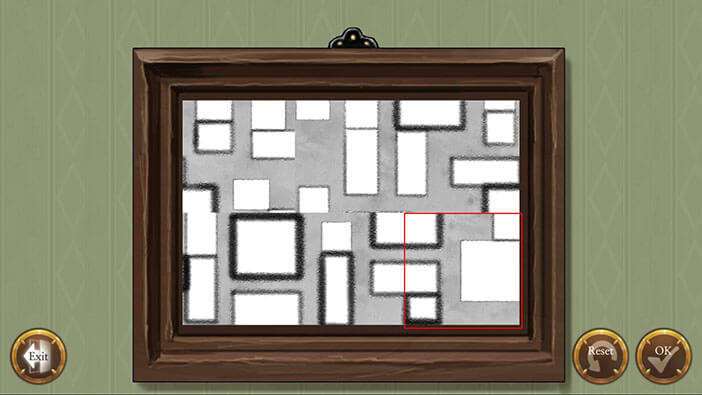
With this step completed, we have assembled the large square, and all other parts seem to be in the correct position. Tap on the “OK” button to confirm.
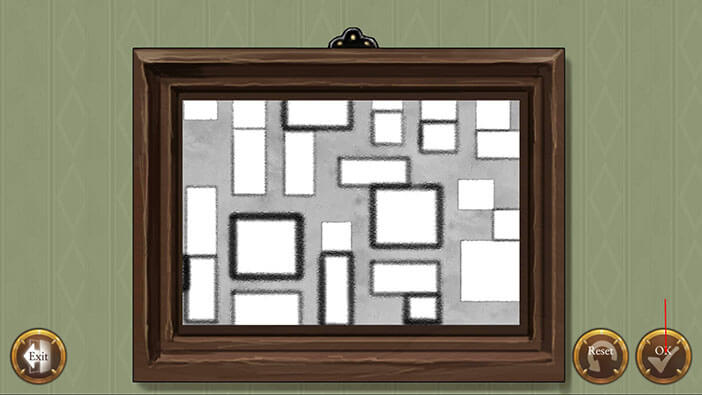
Elizabeth concludes that she correctly assembled the map and thinks that she recognizes the part of the town shown on the map. She thinks that this might be a message from Henry, showing a secret location which he uses to arrange the meetings. Without hesitating for a second, Elizabeth heads toward this location.
Turn all the way to the left, select the map from the inventory, and tap on the front door.
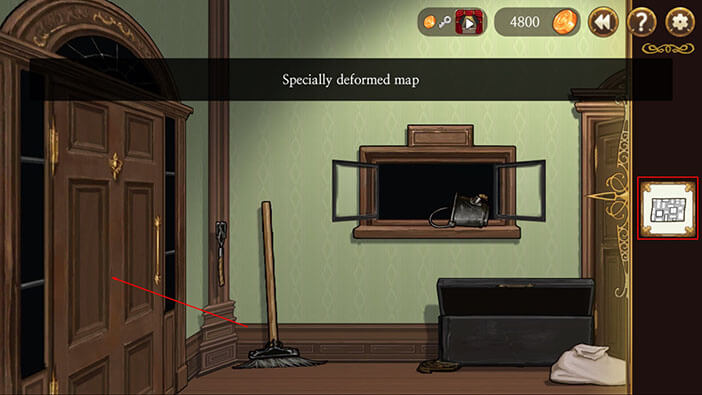
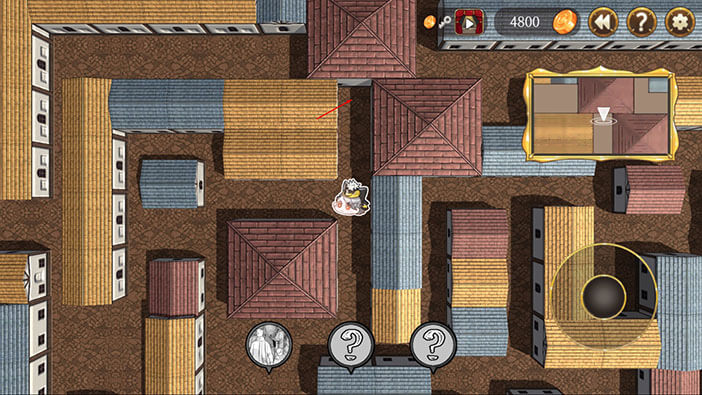
This brings us to another mini-game. In this part, we should navigate through the city and find the position that is represented on the mini-map. Also, this is the part in which Schmitz was tailing Elizabeth for several days, as she wandered around the town. So, there should be three of these tasks in total.
Day 1
The first spot is located in the middle of the map, between a house with a large red roof and a smaller house with a blue roof. It is located just to the south-east (down and to the right) of our starting position.
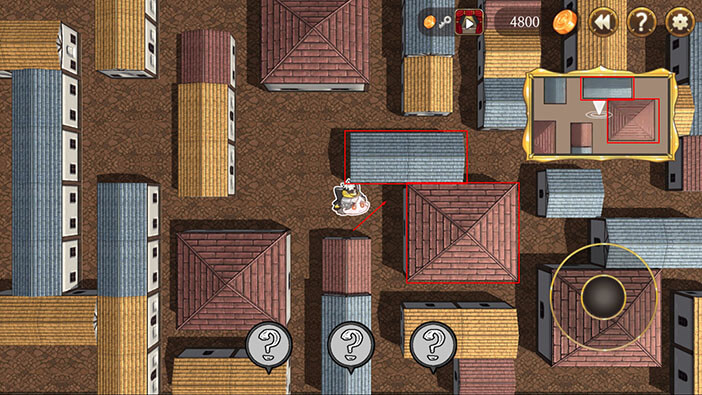
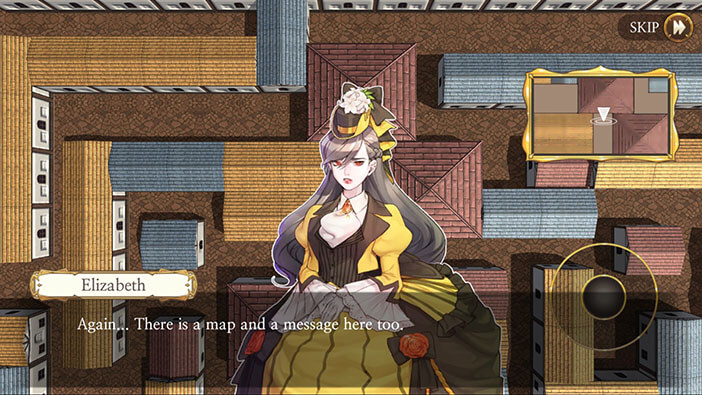
After reaching this position, Elizabeth will find a letter between the bricks, with the same sign on the envelope as the ones that she found at the hotel.
There is another map inside the envelope, and the note suggests that we should go to this location tomorrow. On the back of the note, there is also a short message “Many people gather”.
Elizabeth decides to continue her search tomorrow.

Day 2
The second spot is also located in the middle of the map, and it’s very easy to reach. Head straight to the north-east (up and right) from the starting location and you will easily recognize this spot if you look for two large red roofs and one large yellow roof.
After reaching this position, Elizabeth will find another letter and the map to the new location. On the back of the note, there is another short message “Nobody is here, but everyone is watching”.
Elizabeth decides to continue her search tomorrow.
Day 3
The third spot is located a bit further compared to the other two since it’s on the far right of the map. Head straight to the east (right) from the starting location and you will easily recognize this spot if you look for two large red roofs next to each other and one large red roof diagonally from them.
After reaching this position, Elizabeth will find another note with a short message “Only one who are allowed may enter”.

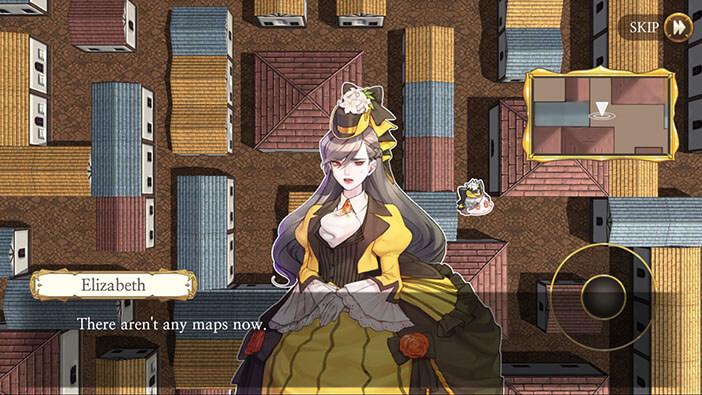
There isn’t another map in here, so we should combine all the messages to discover the secret location.
“Many people gather”
“Nobody is here, but everyone is watching”
“Only one who are allowed may enter”
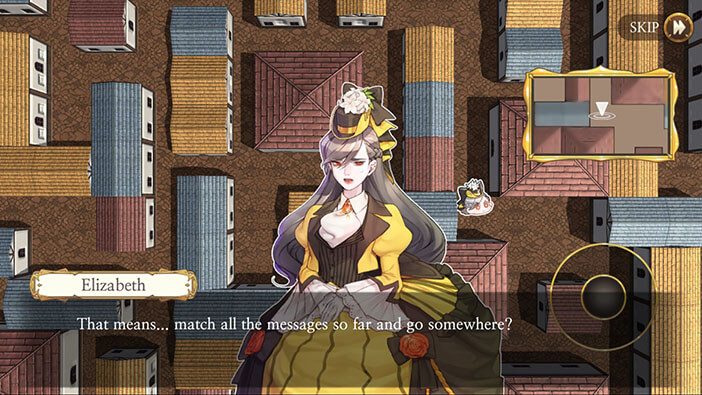

Now, we have a choice between three locations. A ship, a church, and an open theater. We don’t have to bother with the puzzle, since we already know from the previous chapters that Elizabeth met with Henry in the backstage of the open theater, so tap on this building.
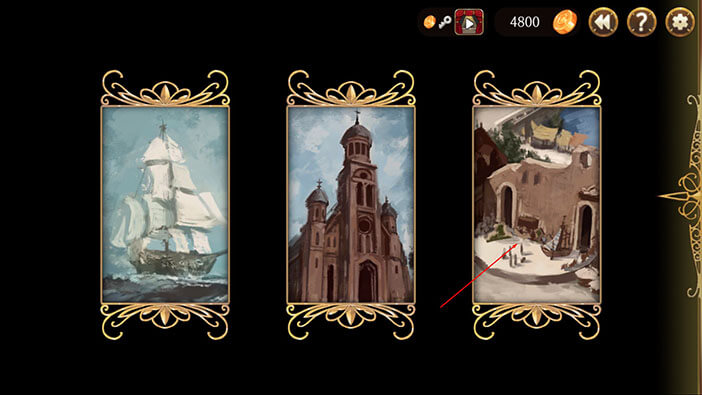
Elizabeth will explain the logic behind her discovery that the theater is the correct location and will head there immediately… And that’s the end of the first stage of the fifth chapter.
In the next stage, we will be playing as Elizabeth again, as she continues her search for Henry Cleval. Join us in the next stage of the Walkthrough for Frankenstein Room ESC, to find out what Elizabeth and Henry were talking about since we couldn’t hear this conversation while playing as the detective Schmitz. I am very curious about Henry’s role in the entire story, and would really like to know if Henry was aware that Frankenstein managed to reanimate Huxley in the form of a superhuman being.
Thank you for reading.