Chapter 5-2 Zero Sight
Complete Walkthrough
Hello everyone, and welcome to our Walkthrough for the Second Stage of Chapter 5 for the Frankenstein Room ESC adventure game. In this stage, we will be playing as Elizabeth, as she tries to set up a meeting with Henry at the theater.
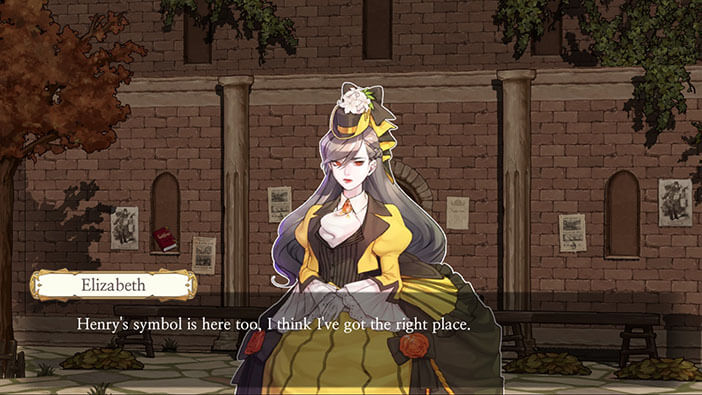
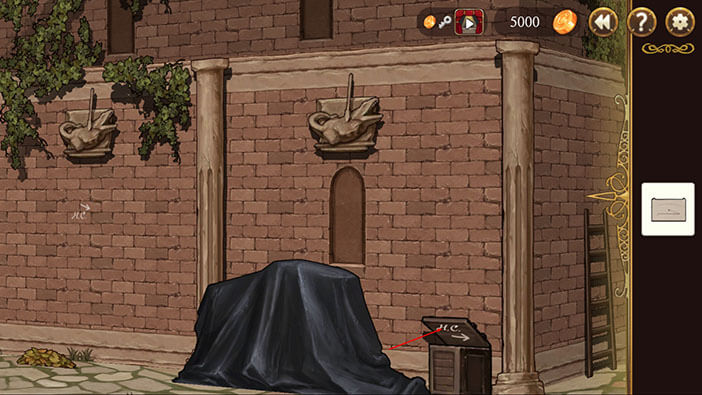
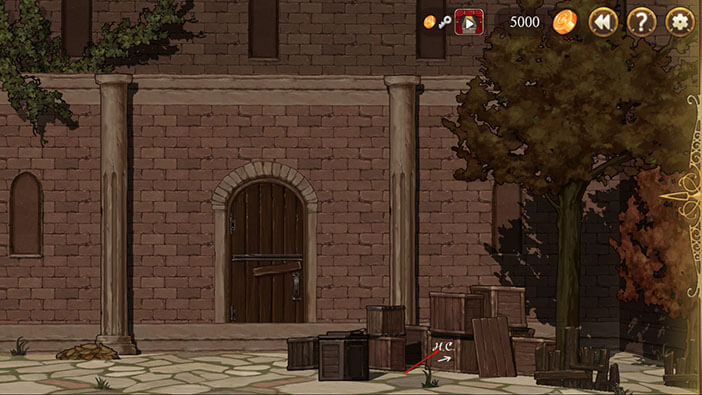
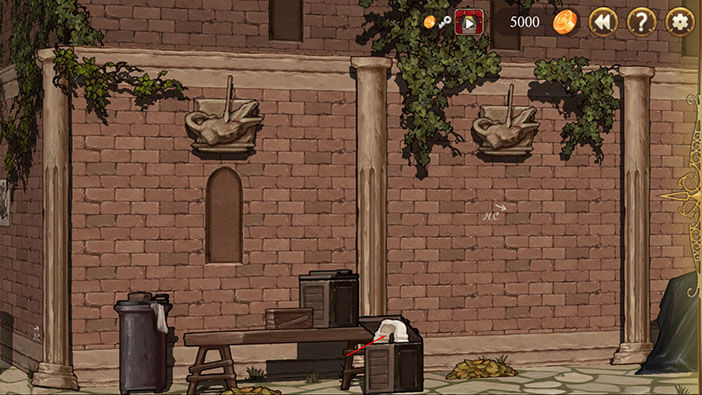
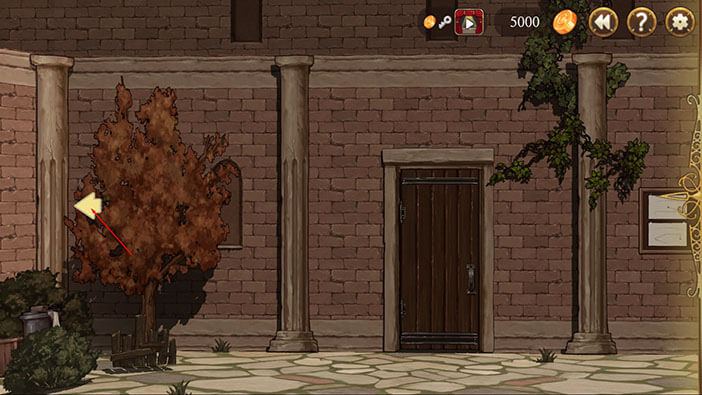
Our story continues at the Outdoor Theater. We are still several days in the past, compared to the latest events that we witnessed. Elizabeth has just arrived at the theater, hoping to finally meet with Henry and talk to him. A conversation with this mysterious figure might shed some light on the death of her parents, at least that’s her expectation.
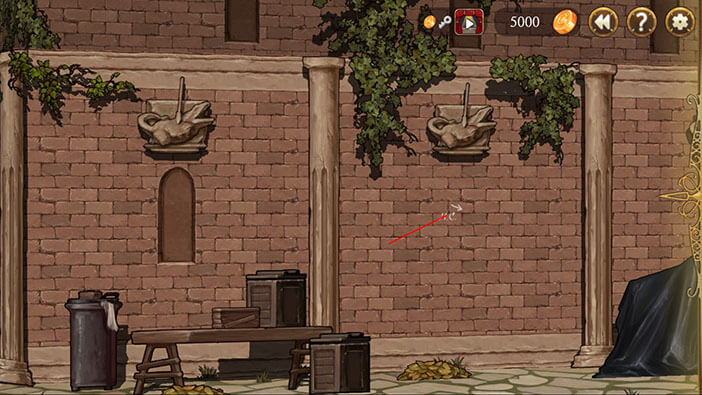
Tap on the “H.C.” initials located above the door. These are, of course, Henry’s initials, and that confirms that Elizabeth is at the right place. There’s also an arrow below the initials, and it’s pointing down and to the right. It looks like Henry left another set of clues, and most likely puzzles, that we will have to solve in order to meet him.

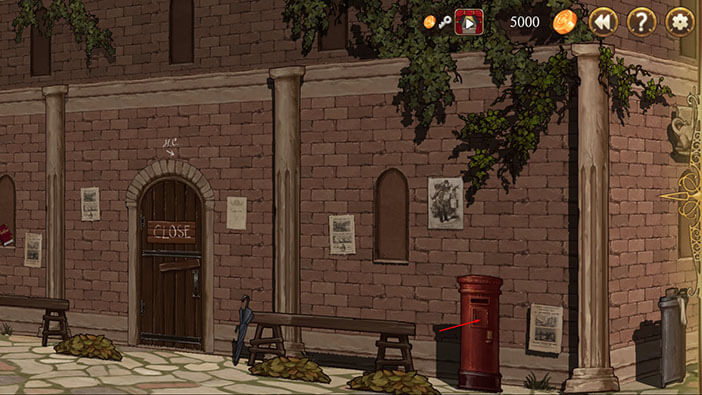
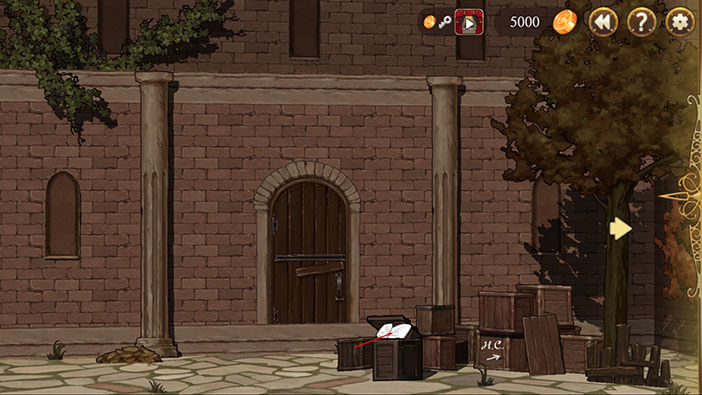
Turn slightly to the right and you will notice a red mailbox. Tap on the small door on this mailbox to open it, and you’ll see a key inside it. Tap on the key to pick it up.

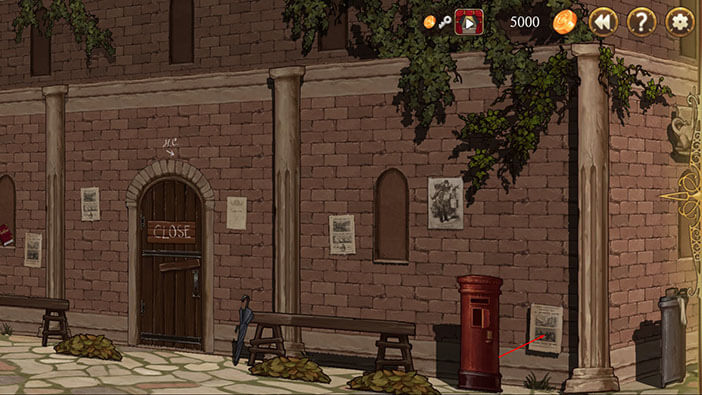
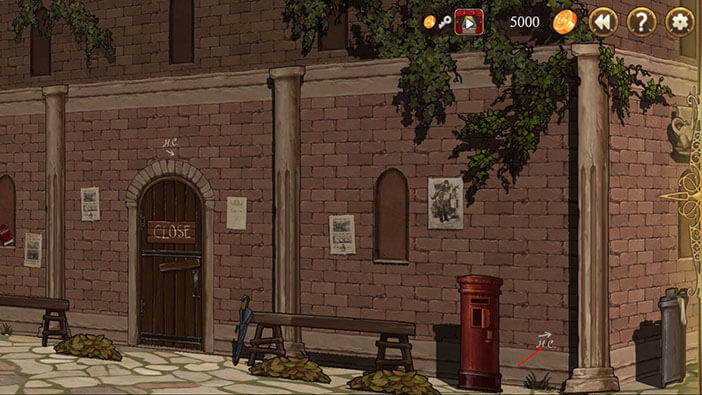
Tap on the poster located slightly to the right of the mailbox. Our character will tear it down revealing another hidden “H.C.” sign. Tap on the initials. You will notice that this arrow is pointing to the right and slightly upwards. Looks like we will have to find all of these hidden signs and follow them if we want to meet with Henry.
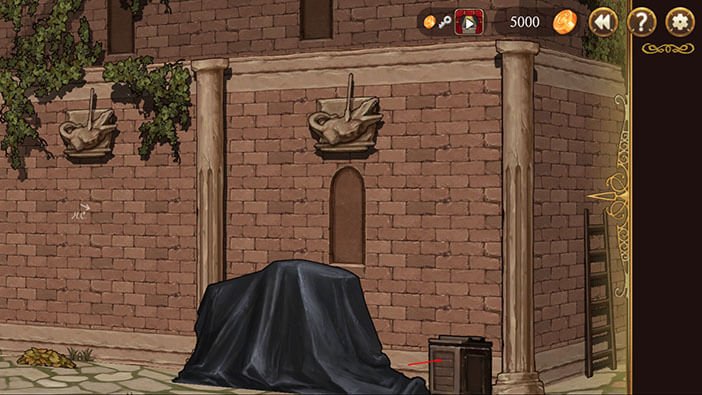
Turn to the right and tap on the vine plant below the middle statue. Elizabeth will tear down the plant revealing another “H.C.” sign. Tap on it.
The arrow below the sign is pointing down and to the right so we should keep moving in that direction.

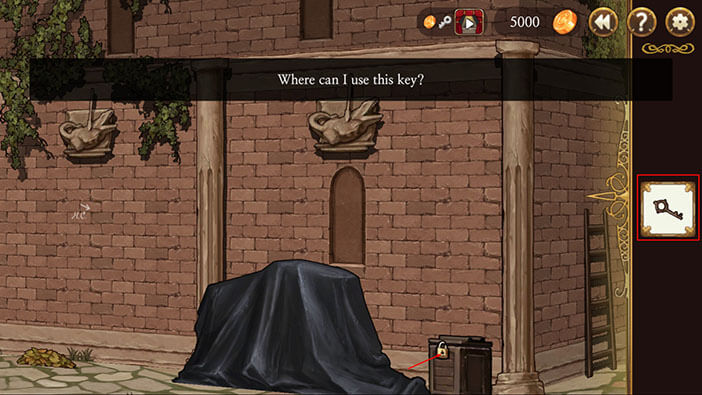
Turn slightly to the right and you’ll notice a locked box. Select the key from the inventory and tap on the padlock. Tap on the box to open it.
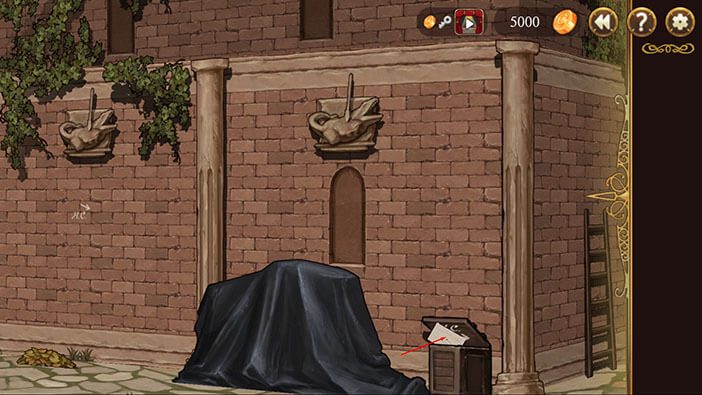
There’ some kind of note inside the box. Tap on it to pick it up. There’s another “H.C.” sing on the inner part of the box lid. Tap on it.
The arrow below the sign is pointing to the right, so let’s keep moving in that direction.
Turn to the right and you will notice one of the theater employees. Tap on him to initiate a conversation.
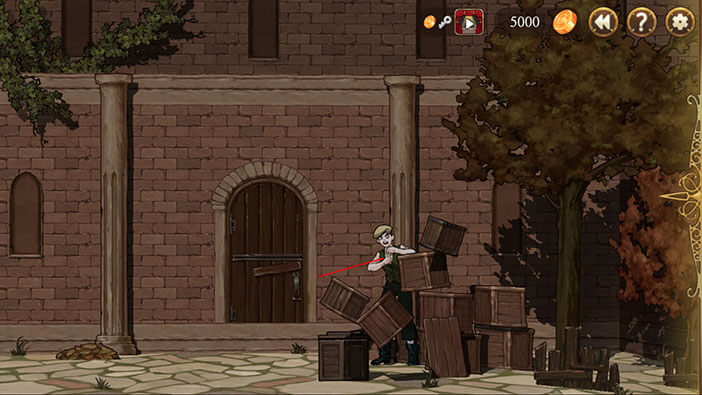
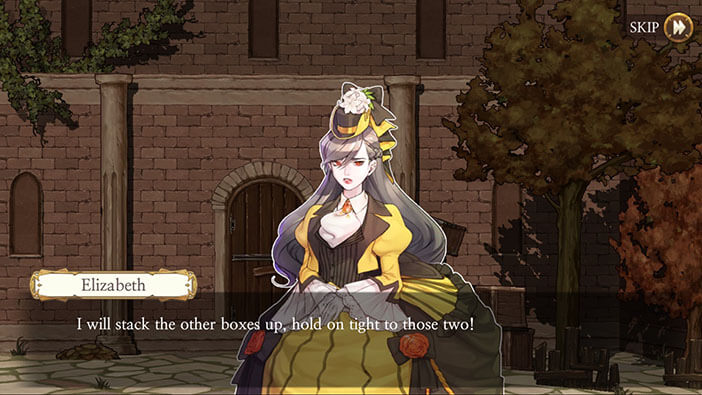
The theater work is about to get crushed by the stacked up boxes, and Elizabeth decides to help him out.
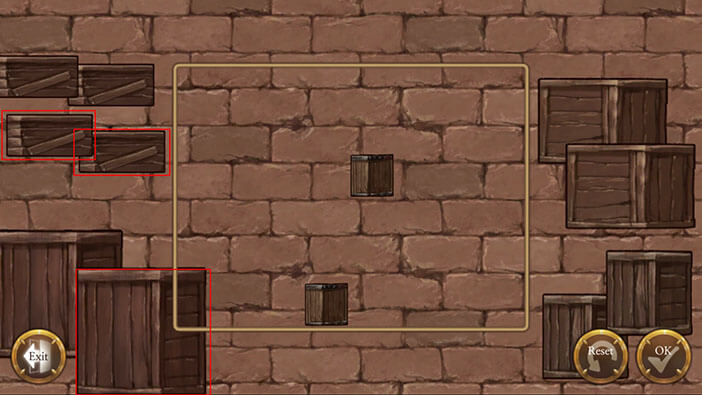
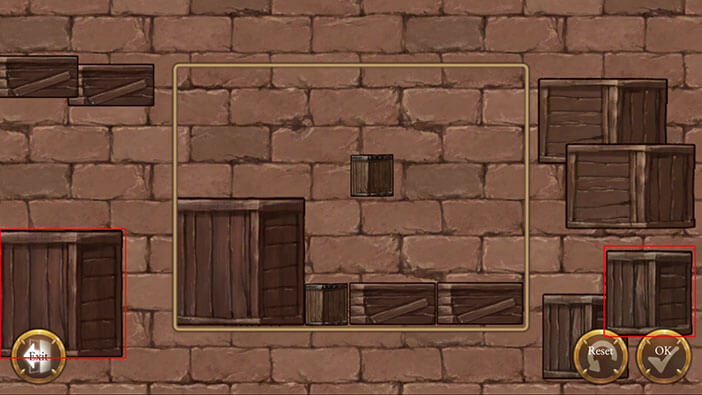
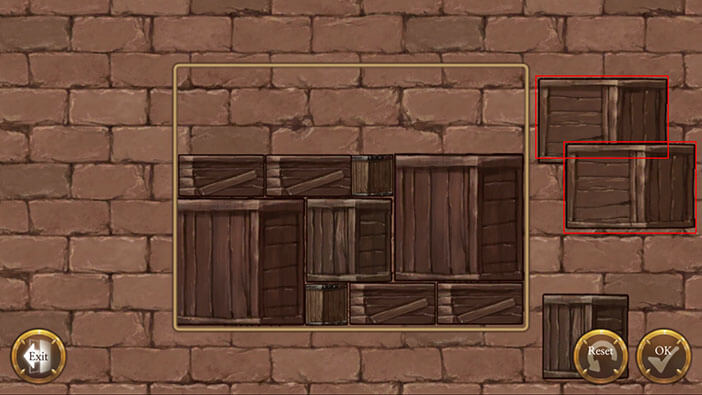
That brings us to our next task. There are two boxes inside the field marked with the yellow line. These two boxes can’t be moved. There’s a total of 10 boxes that we have to arrange inside the field, but we can’t leave an empty space between them.
On the left, we have two large and four small boxes.
On the right, we have two medium-large (upper-right corner) and two medium-small (lower-right corner) boxes.
Step 1
We will start by dragging one of the large boxes on the left into the lower-left corner of the field.
After that, we will take two small boxes from the left and place them into the lower-right corner of the field.

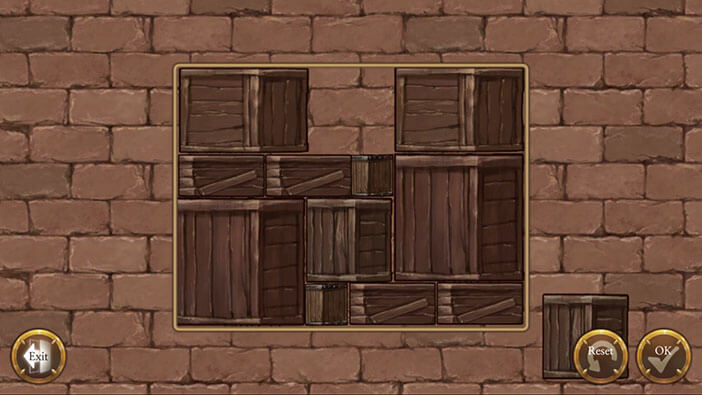
Step 2
Take one of the medium-small size boxes (lower-right) and place them on top of the lower box that can’t be moved, and next to the large box that we moved in the previous step.
Ok, now take the other large box from the left and place it next to the box that we just moved (on top of the small box in the lower-right corner).
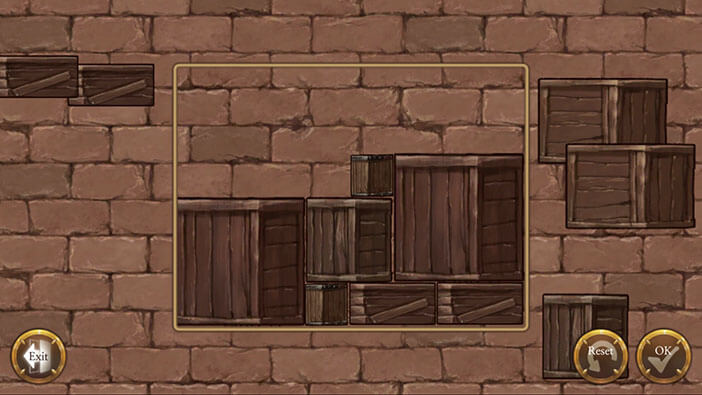
Step 3
Take the other two small boxes on the left side, and place them to the left of the upper box that can’t be moved.
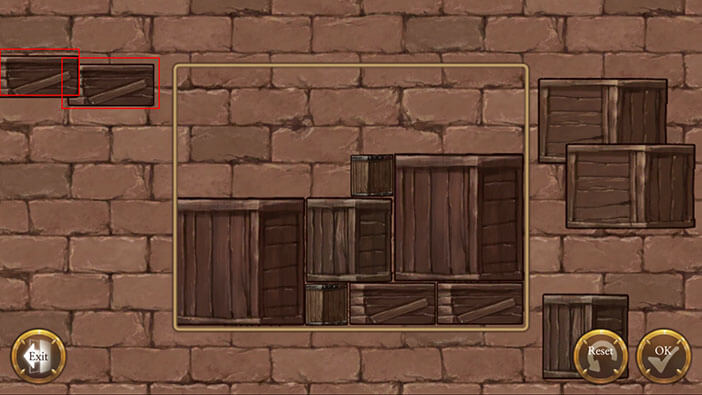
Step 4
Take one of the medium-large boxes on the right (top-right) and place it into the top right corner of the field.
After that, take the other medium-large box and place it into the top-left corner of the field.
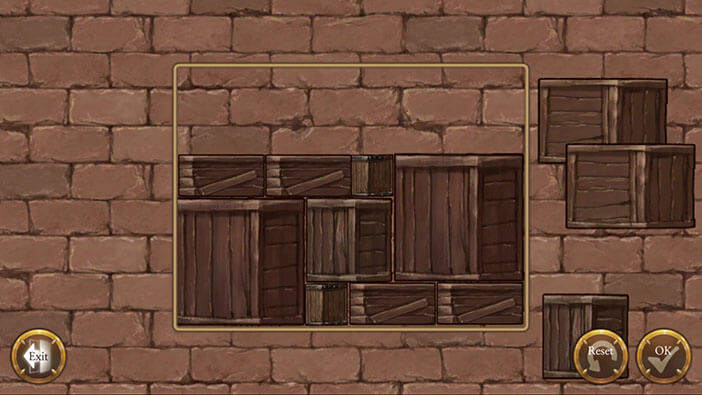
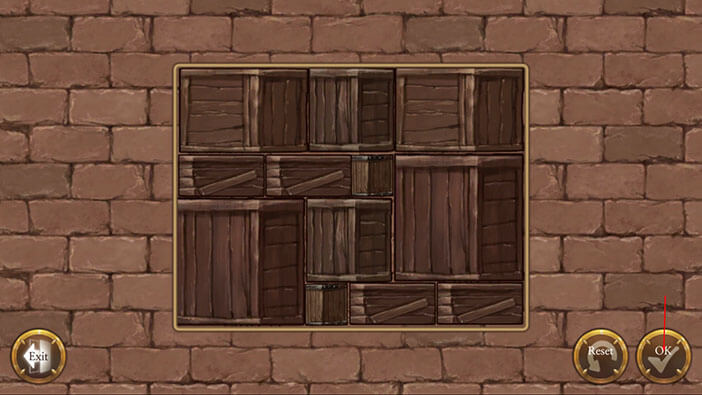
Step 5
The final step is obvious, take the last remaining box and place it between the two medium-large boxes. Tap on “OK” to confirm.
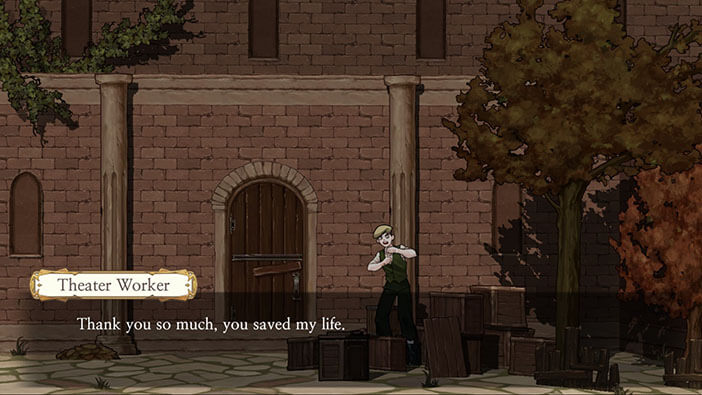
Naturally, the theater worker is very grateful for our help, claiming that we saved his life. On a side note, it seems that all the theater workers in this game are quite incompetent and can’t do their jobs without help from random people that are passing by the theater.
Tap on the wooden board that is located below one of the boxes, and our character will move it aside, revealing another “H.C.” sign.
Tap on the “H.C.” sign. The arrow below the sign is pointing to the right and upwards.

After tapping on the arrow below the sign, another yellow arrow will appear on the screen. Tap on it to transition into the next area. 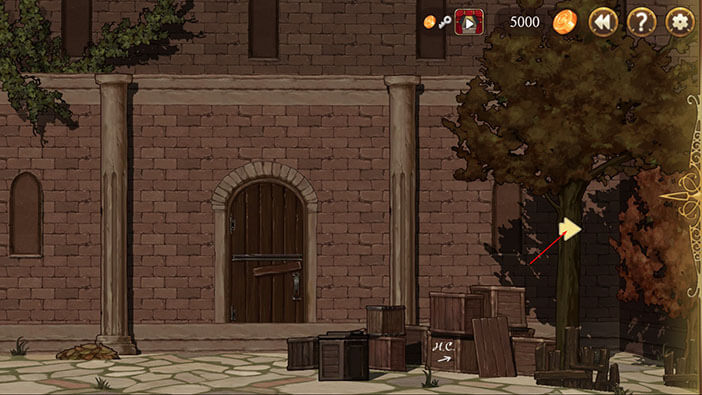
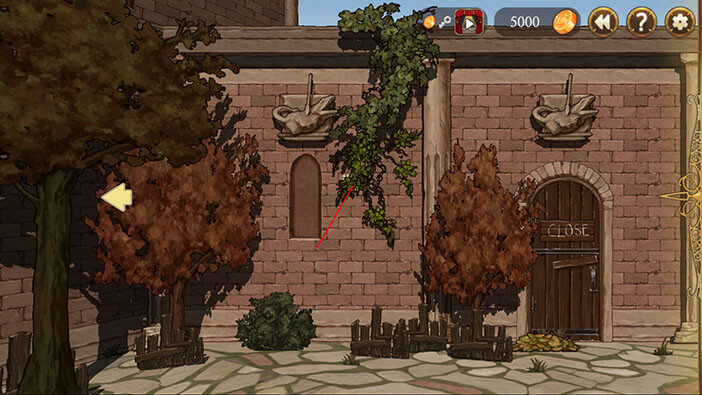
Tap on the vine located to the right of the walled-off window, and Elizabeth will tear it down revealing another “H.C.” sign.
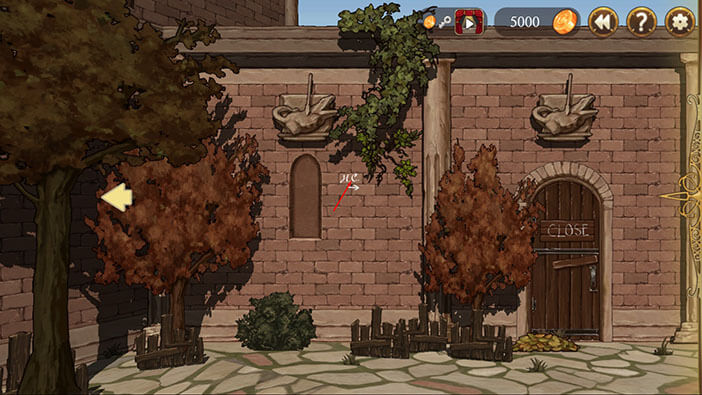
Tap on the “H.C.” sign. The arrow below the sign is pointing to the right and very slightly downwards. It seems to be pointing to the ticket box.
Turn slightly to the right and you’ll notice a key hanging from one of the statues. Tap on it and our character will comment that the key is hanging too high above the ground and we will need a ladder in order to reach it. Luckily, we saw a ladder in the previous area, so let’s go back there. 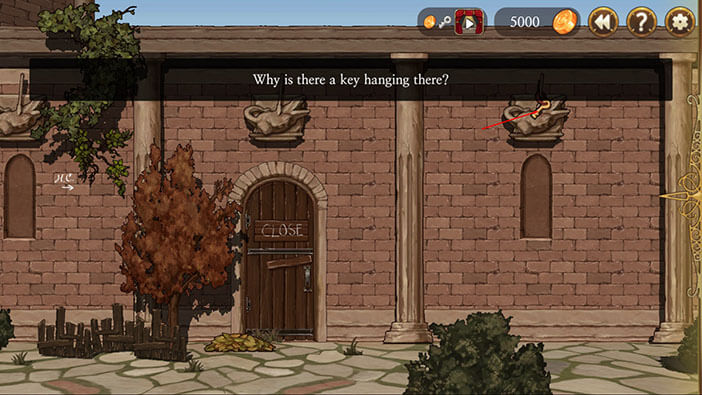
Turn all the way to the left and tap on the yellow arrow. 
After reaching this area, turn a bit to the left and you will notice a ladder. Tap on it to pick it up. 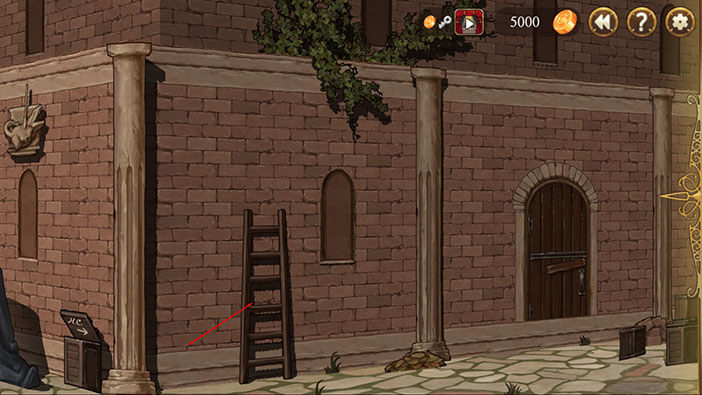
Let’s get back to the key. Turn all the way to the right and tap on the yellow arrow. 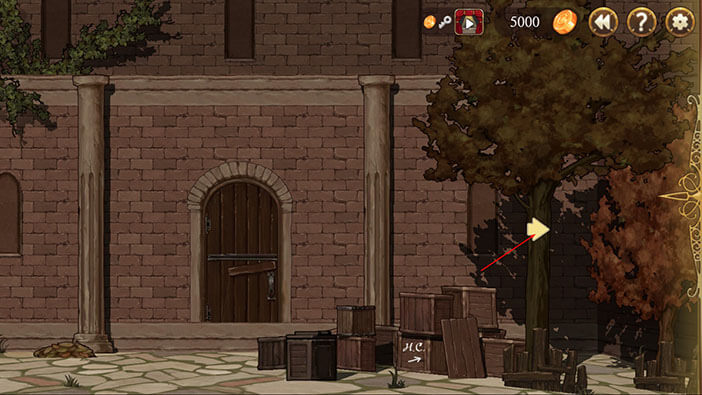
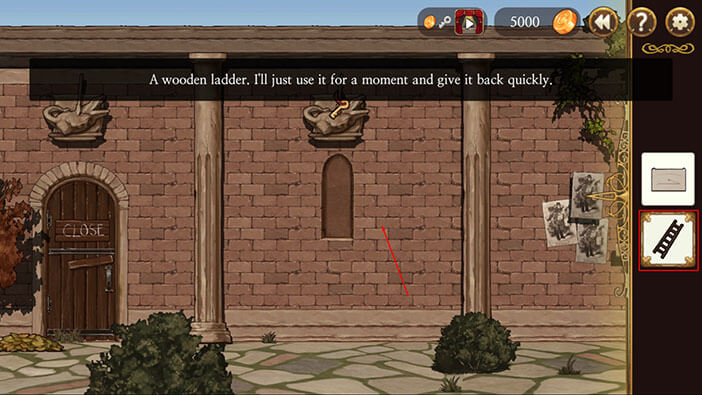
Turn to the right until you see a key. Select the ladders from the inventory and tap on the wall below and slightly to the right from the walled-off window, to place the ladder.
Tap on the key to pick it up.

Ok, we can now continue to follow Henry’s leads. Turn to the right and tap on the ticket seller. 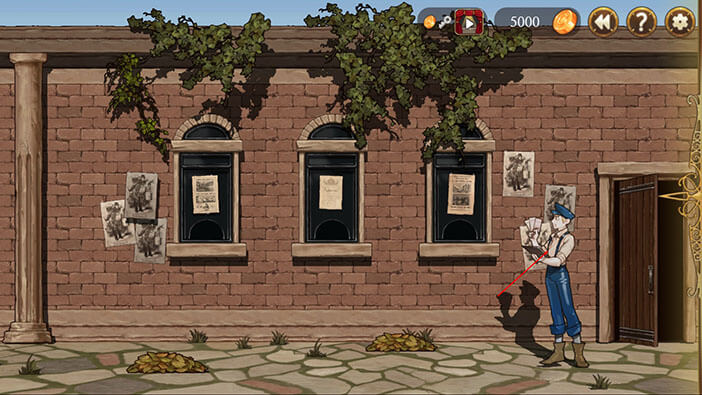
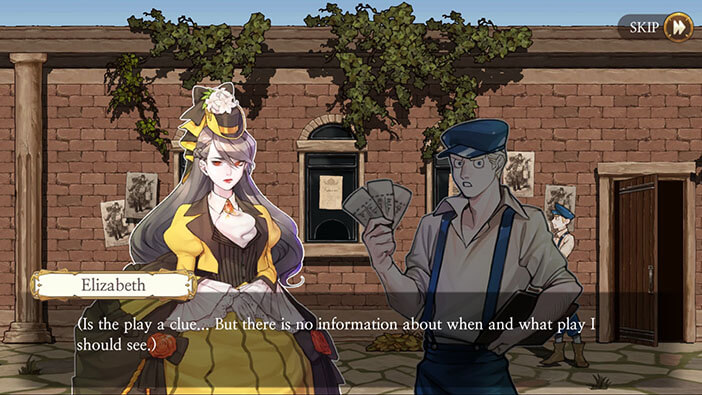
The seller will ask us for the name of the play, and also the time and date. Elizabeth thinks that buying a ticket for the play and watching it is the next step in order to meet with Henry. However, she has no idea what is the correct play, nor the time of the performance. So, we will have to discover these two facts before buying the ticket. 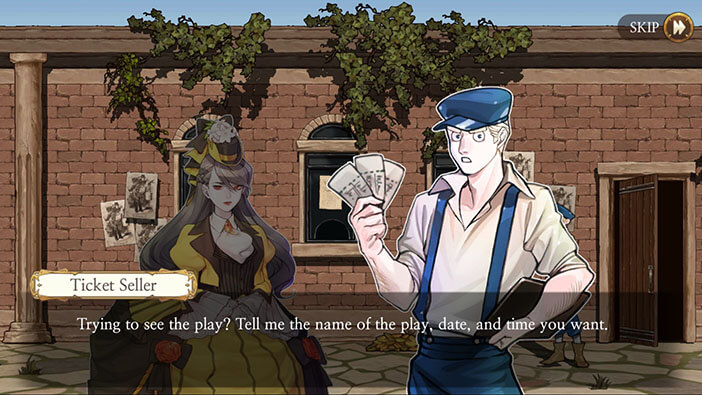
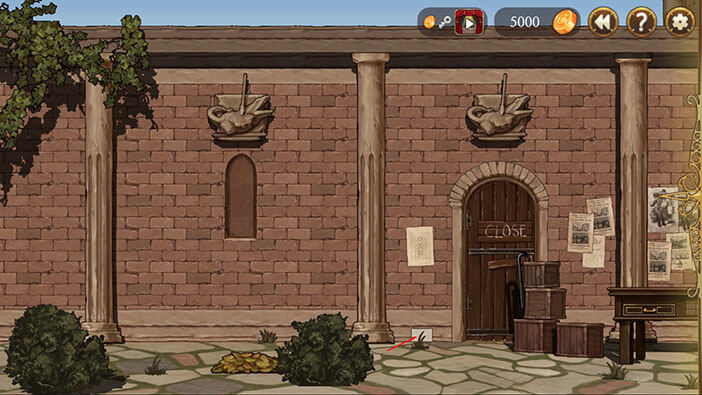
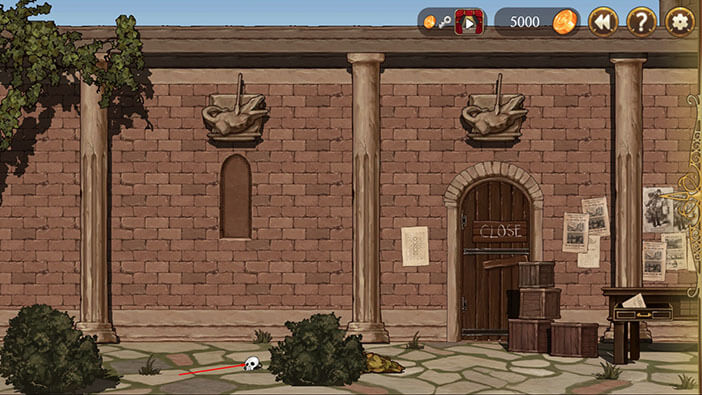
Ok, turn to the right and you will see a notice, located to the left of the door with a “Close” sign. Tap on it and a note will fall down.
Tap on the note to pick it up.

Turn to the right and tap on the yellow arrow to transition into the next area. 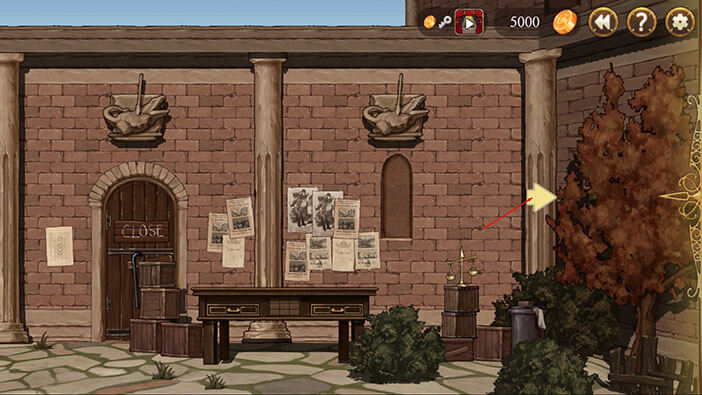
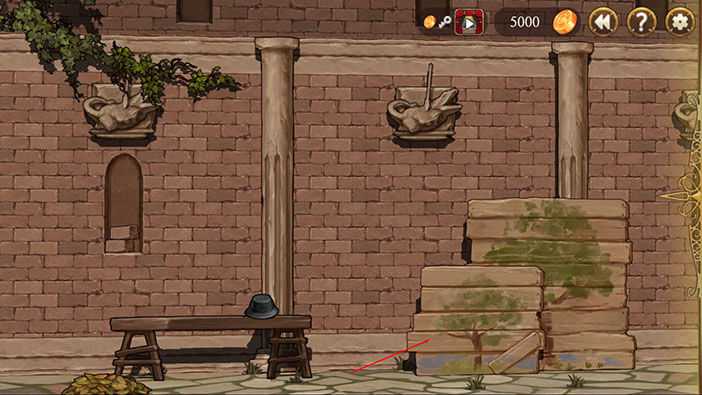
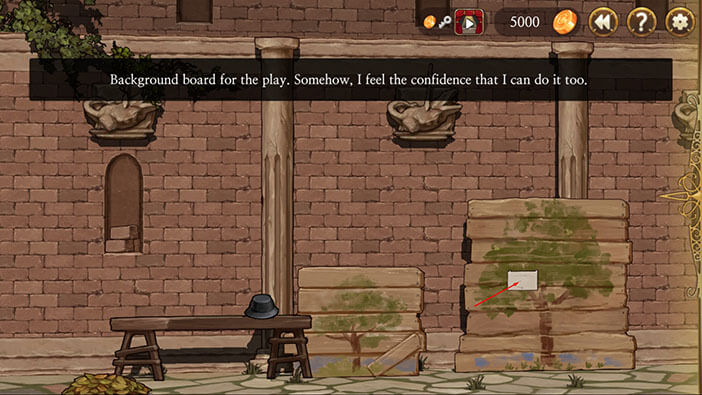
Turn to the right until you see two boards with a tree painted on each of them. Tap on the smaller board to move it aside, revealing another note.
Tap on the note to pick it up.
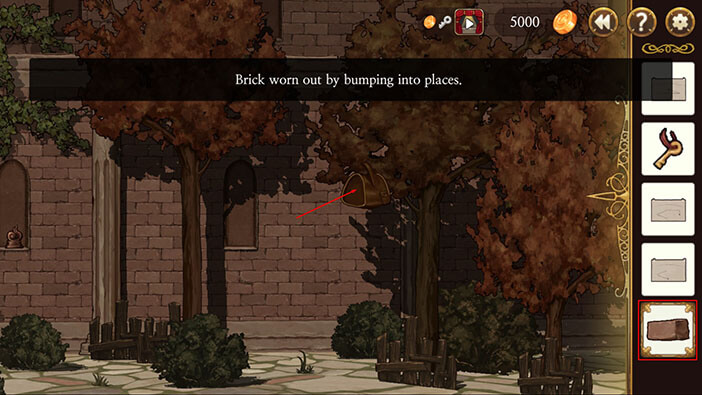
Turn all the way to the right and you’ll notice a bag hanging from the tree. Tap on the bag and we will discover that we could bring down the bag if we hit it with something. 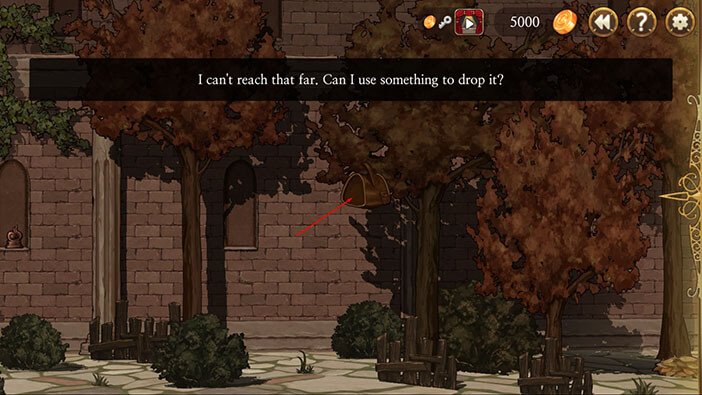
Ok, turn to the left until you see a window with several bricks. Tap on one of the bricks to pick it up. 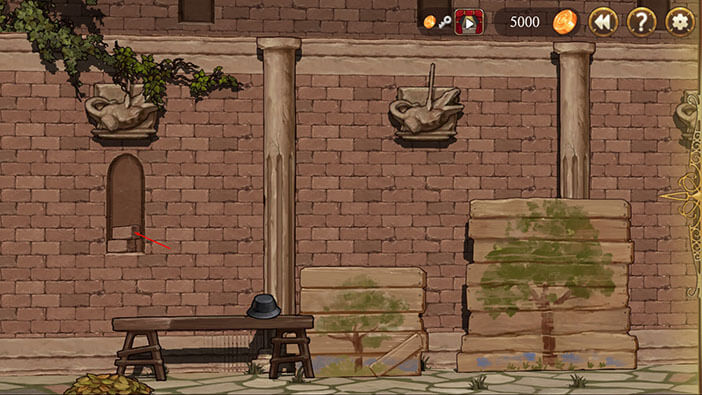
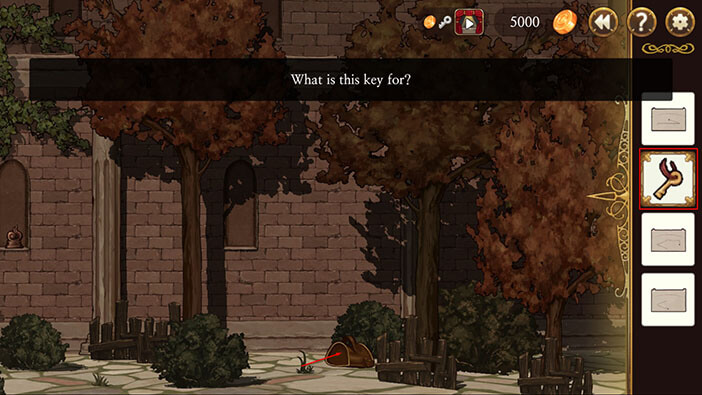
Let’s go back to the bag. Turn all the way to the right. Select the brick from the inventory and tap on the bag.
Ok, we brought down the bag, but we still can’t open it because it’s locked.
Select the key from the inventory and tap on the bag. As a side note, we acquired this key by picking up the ladder, and placing it below the statue, in order to reach it. It’s fortunate that we did this earlier, otherwise, we would have to go all the way back to pick up the ladder…
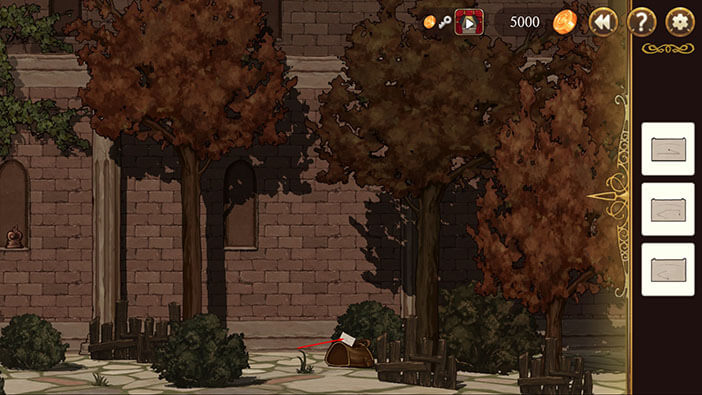
Tap on the note to pick it up. Now we have a total of four notes.
Turn to the left until you see some kind of a notice board. Tap on it to take a closer look. 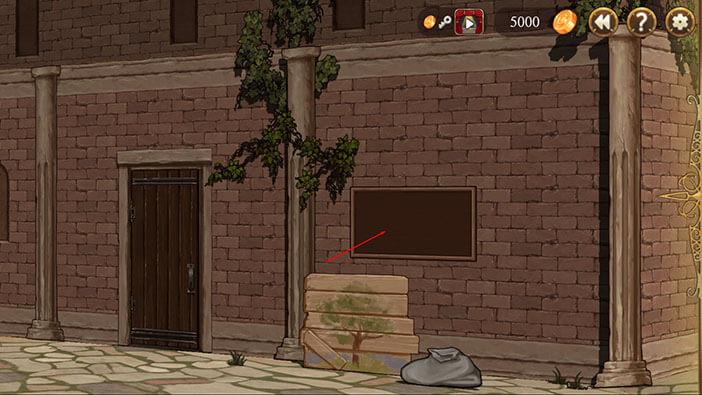
Select all four notes (one by one) from the inventory and tap on the notice board to place them. 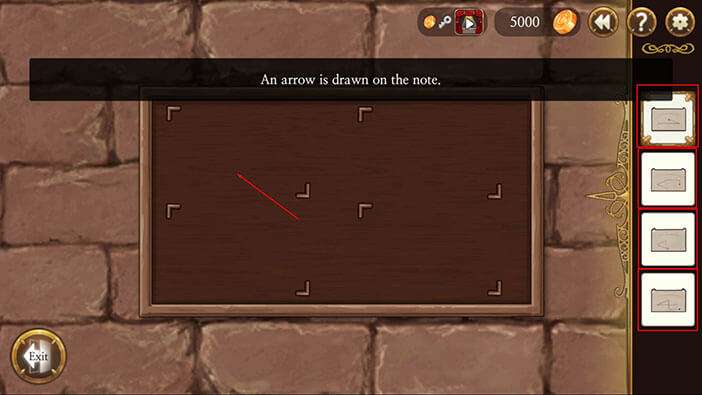
Well, the following part is a bit tricky because we should memorize the direction and path of the arrows… Tap on the “Exit” button. 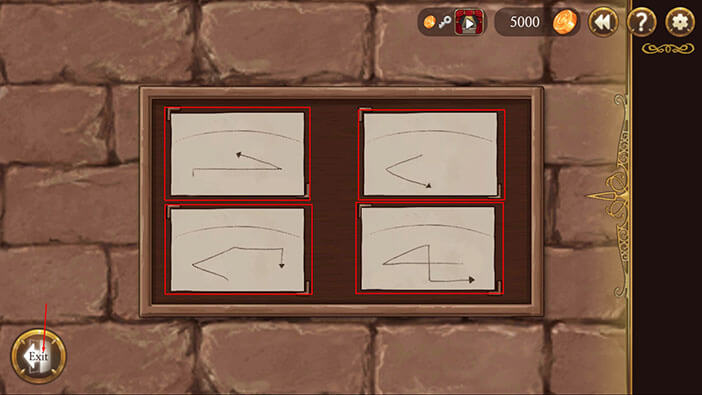
Turn all the way to the left and tap on the yellow arrow. 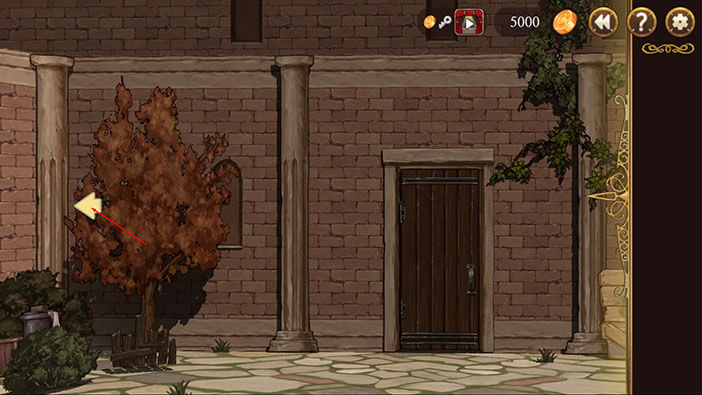
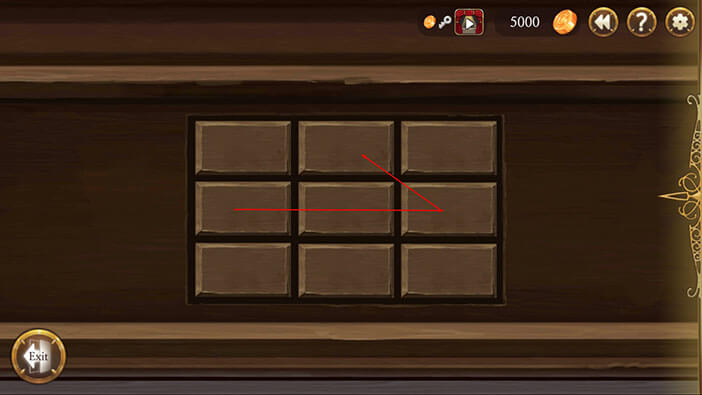
As we transition to this area we can see a desk straight in front of us. There’s some kind of grid between two drawers. Tap on the grid. 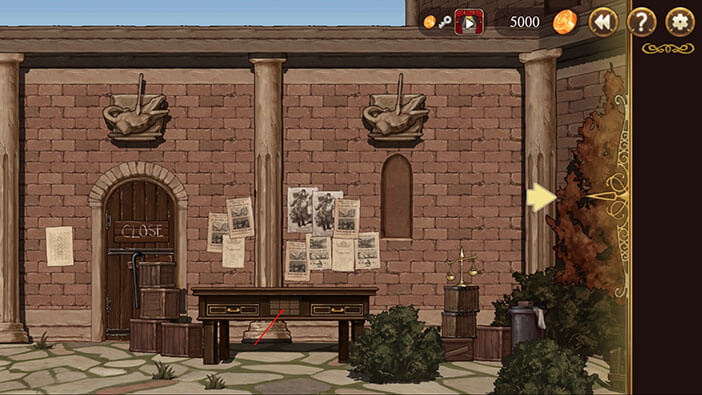
And here is one of the most difficult puzzles, because in order to solve it we will have to use the notes with arrows, which are quite difficult to memorize. Let’s start.
The first arrow was pointing all the way to the right (two slots), and then one slot upwards and to the left. That would be a middle slot in the top row. Tap on it.
The second arrow was pointing one slot downwards and to the left, and then one slot downwards and to right. That would be a middle slot in the bottom row. Tap on it. 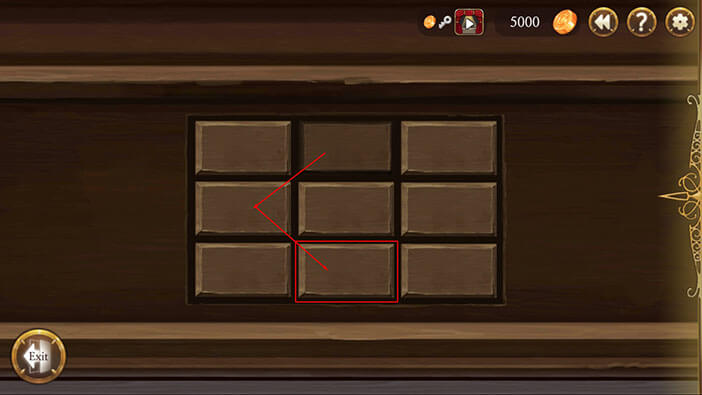
The third arrow was pointing one slot upwards and to the left, one slot upwards and to the right, then one slot to the right, and finally one slot down. That would be the right slot in the middle row. Tap on it. 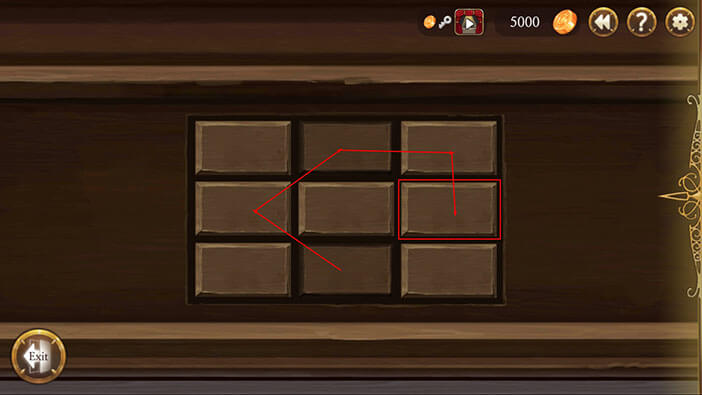
The fourth arrow was pointing three slots to the left, one slot upward and to the right, two slots down, and finally one slot to the right. That would be the right slot in the bottom row. Tap on it. 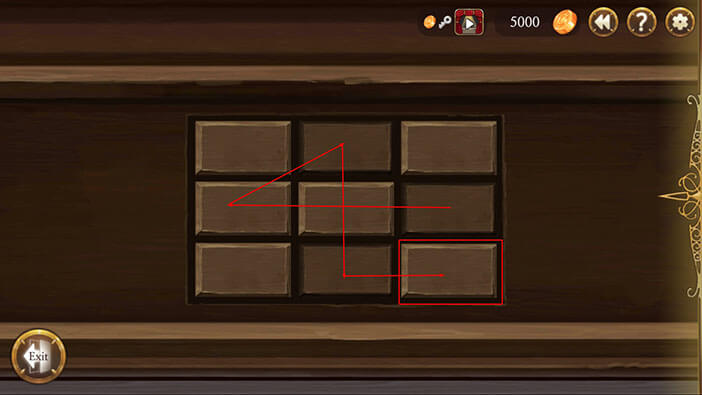
Tap on the drawer on the right to open it. Tap again to examine the note. 

Here, we can see four clocks on the left note, divided into two pairs, and two clocks o the right note.
Ok, let’s take a look at the first pair on the LEFT NOTE. The hour hand is pointing at the 11, and the minute hand is pointing at 2 (10 minutes).
There’s also an arrow pointing to the clock on the right. Here, the hour hand is pointing at 8, and the minute hand is pointing at 5 (25 minutes).
So, how are these two clocks related?
If we extend the minute hand on the clock on the left it would point to 8, and it actually represents the HOUR HAND on the clock on the right.
If we extend the hour hand on the clock on the left it would point to 5 (25 minutes), and it represents the MINUTE HAND on the clock on the right.
So, we should use the clock on the left to calculate the time on the clock on the right.
If we take a look at the other pair on the left we will come to the same conclusion.
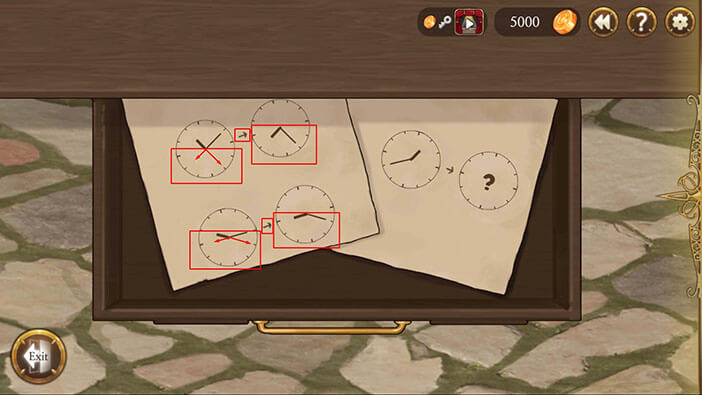
So, the two “pairs” of clocks on the left note are examples that we should use to calculate the time on the clock on the note on the right.
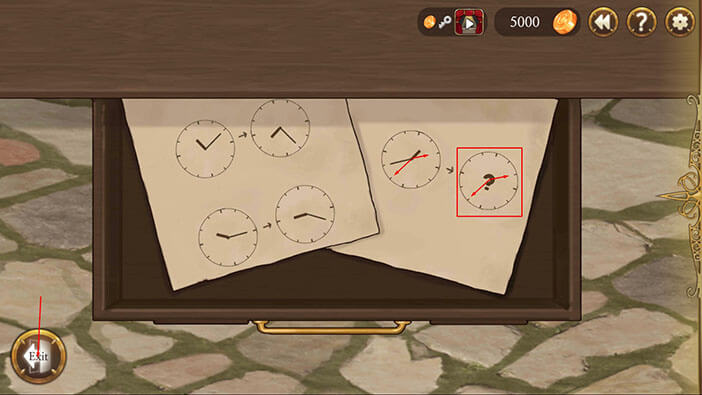
The hour hand on the clock on the left is pointing to 1. If we extend the hour hand, it will point to 7 (35 minutes), and it becomes the MINUTE hand on the clock on the right.
The minute hand on the clock on the left is pointing to 8 (40 minutes). If we extend the minute hand, it will point to 2, and it becomes the HOUR hand on the clock on the right.
So, the time of the show is 02:35.
Tap on the “Exit” button.
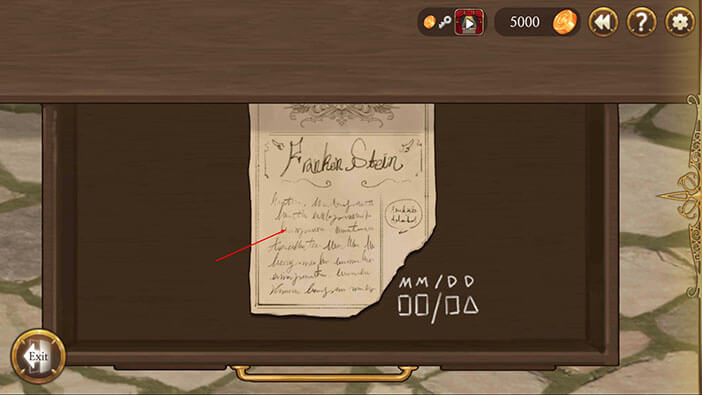
Tap on the drawer on the left to open it. Tap on the note inside to examine it. 

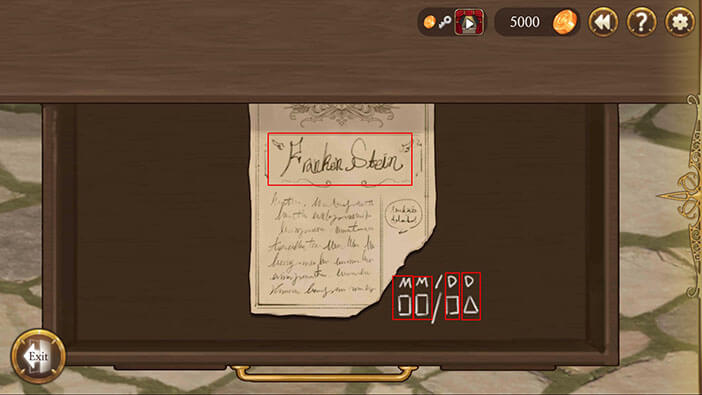
From here we can see that the name of the show is “Franken Stin”. Ok, we’re getting somewhere, we know the time and the name of the show, now we just have to determine the date.
Looking at the bottom right corner of the note we can see that there are three squares and a single triangle drawn below the MM/DD time format. So, our task is to find a number that represents a square, and also to find a number that represents a triangle.
Tap on the poster and Elizabeth will conclude that Henry left the poster and the other clues so that she can determine what play to watch by solving the puzzles.
Tap on the “Exit” button.


The question mark will appear above the play schedule. Tap on it. 
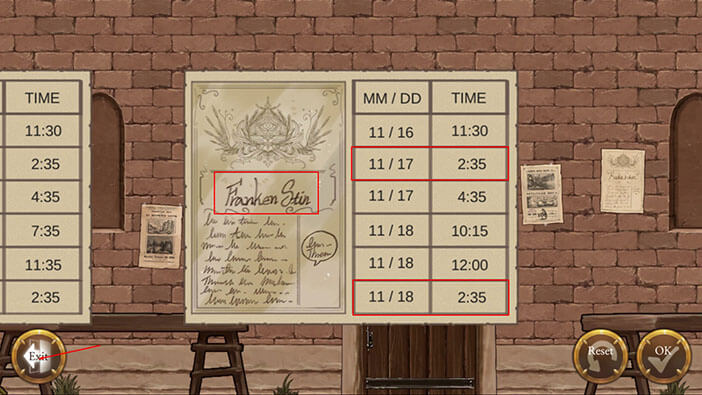
Well, there is a schedule for three plays, and the “Franken Stin” is on the right. However, it can be seen at 02:35 on 11/17 and on 11/18 at the same time. So, we need to find the correct date.
Tap on the “Exit” button.
Tap on the note on the left of the doors with the “Close” sign. 
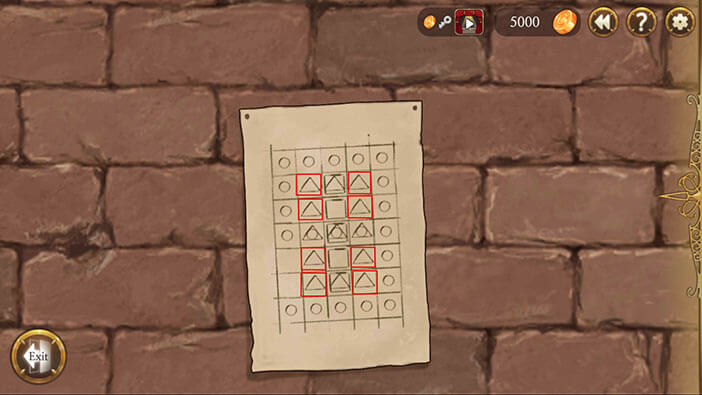
We can now see the note with a lot of triangles, squares, and circles. Remembering the date format we know that the show is either on 11/17 or 11/18.
Our date format is square, square / square, triangle.
So, SQUARE = 1 (it just can’t be any other value)
NOTE: Besides both of the dates of the play having 1 as the first three numbers, the square couldn’t be 2, for example, because the 22nd month doesn’t exist (there are only twelve months in the year, of course)
Looking at this note we can see that there are 8 triangles in total.
So, TRIANGLE = 8.
That means that the date of the show is 11/18.
Tap on the “Exit” button.
Tap on the question mark above the schedules, again. 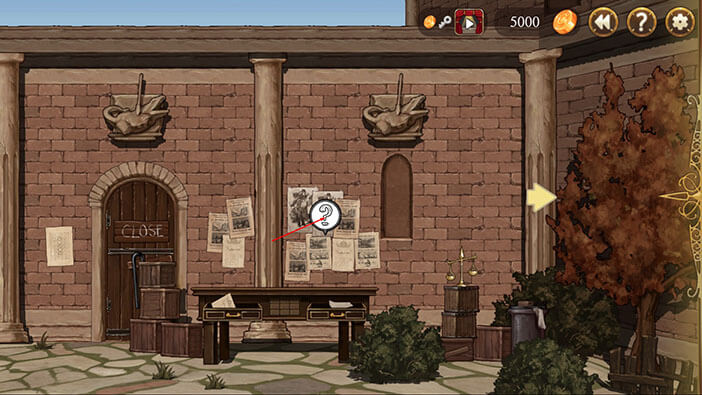
Select the “Franken Stin” show that will be played, on 11/18, at 02:35 and tap on the “OK” button to confirm. 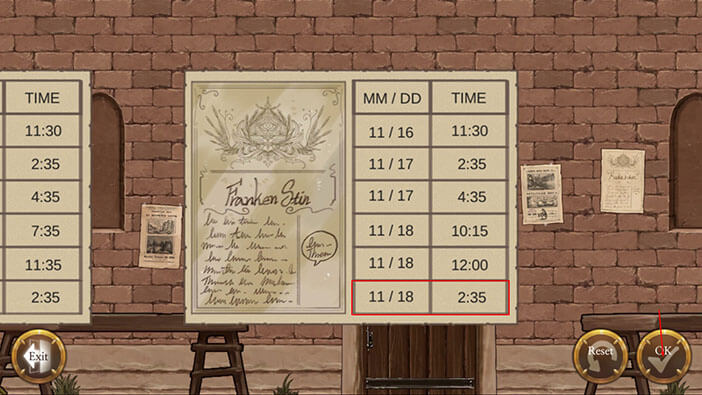
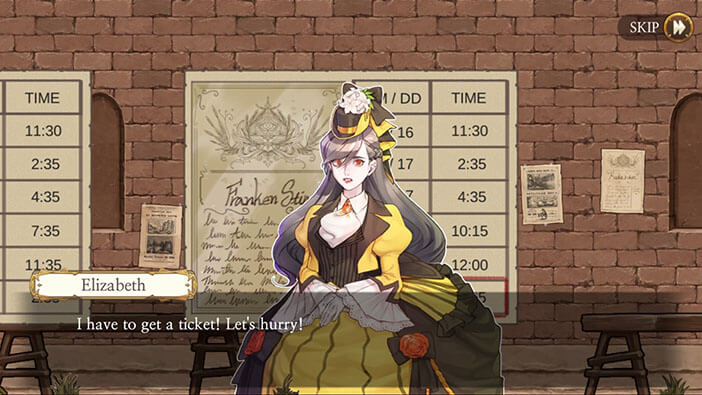
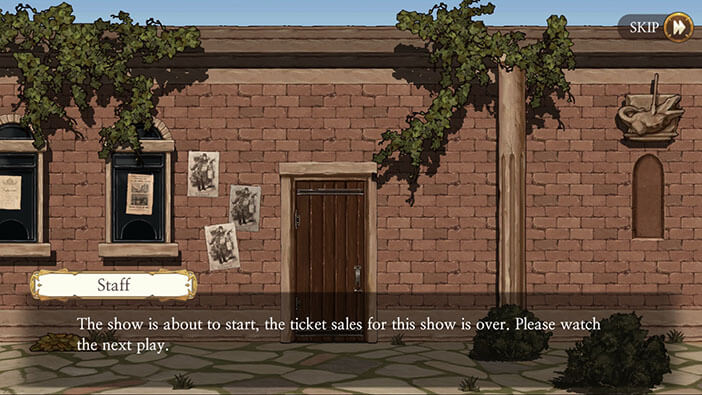
Elizabeth knows that November 18th is today, but by looking at the time she suddenly realizes that the play is about to start and that she has to hurry up and buy the ticket otherwise she’ll miss the show all this effort will be wasted! 
Turn to the left and you’ll notice that the ticket seller has left. Tap on the door. 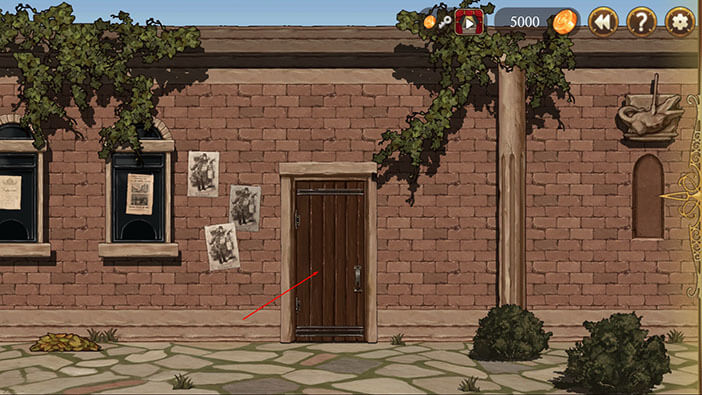
Elizabeth wants to buy a ticket for the show, but it seems that she’s too late. After searching for clues around the town for several days and solving all the puzzles at this stage, I hope the poor Elizabeth will find a way to see the show… If she doesn’t, she will have to repeat the process all over again… 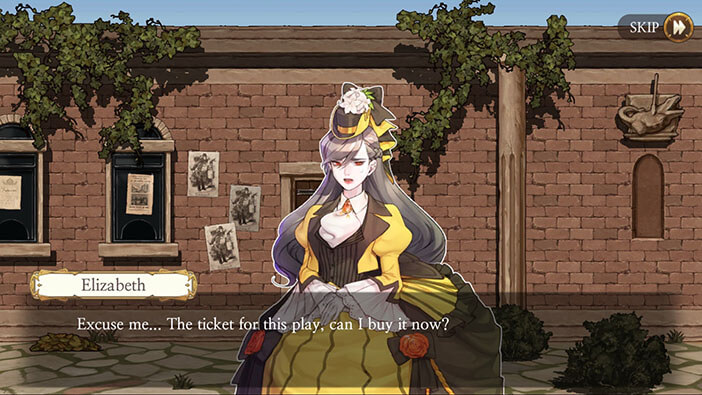
Turn all the way to the right and tap on the yellow arrow to go to the next area. 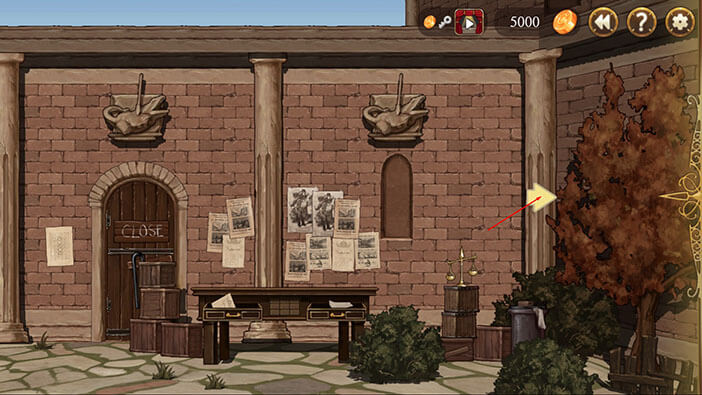
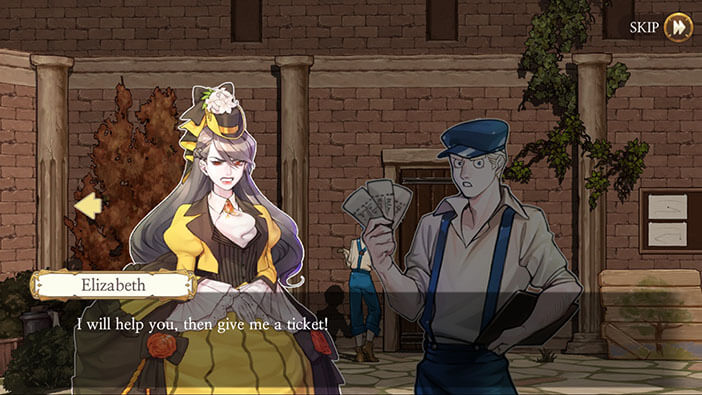
This guy looks like the ticket seller, so there’s still hope. Tap on him to initiate the conversation. 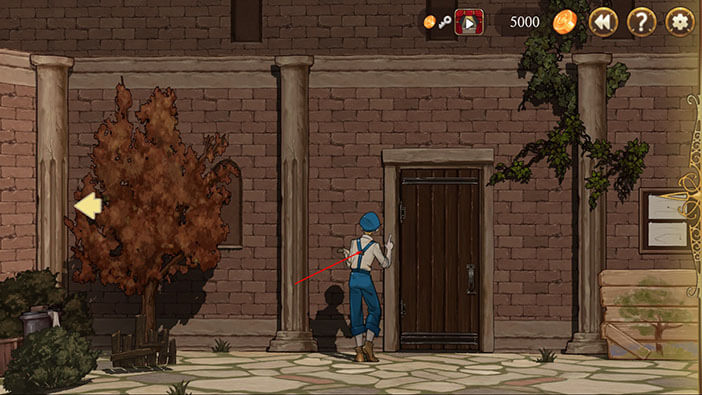
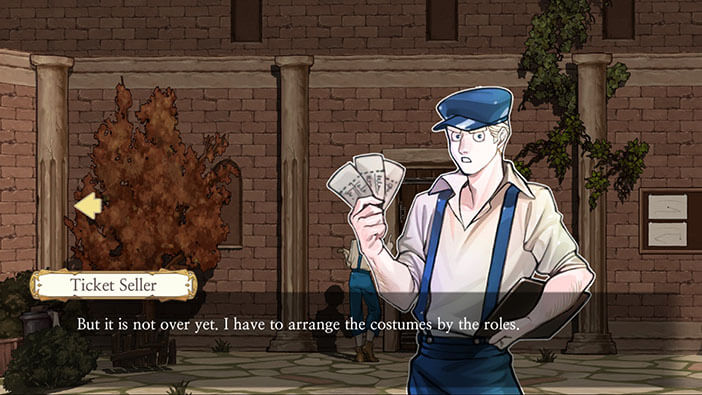
Elizabeth asks for a ticket but the seller refuses to sell her the ticket at first, claiming that the ticket sales are over. However, the seller is in big trouble because one of the workers is sick, and now he has to gather and arrange all the props for the show. Elizabeth offers to help him in exchange for a ticket, and the seller agrees. 


That brings us to the next task. We have to find: a hat, a cane, an umbrella, a wig, a rope, a wooden sculpture, a hand fan, a skull mask, a suit, a court suit, a book, and a scale. So, twelve props in total. 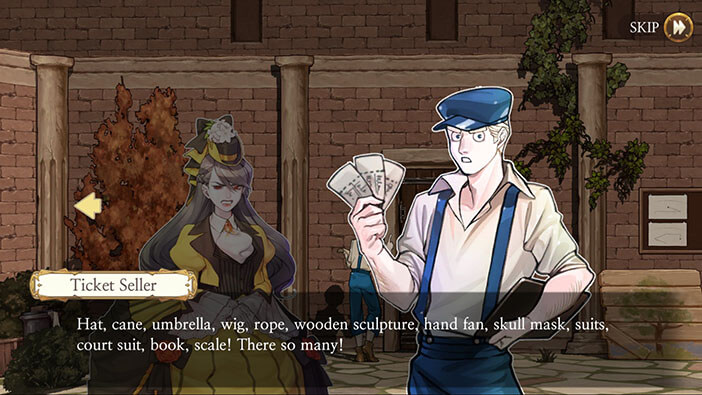
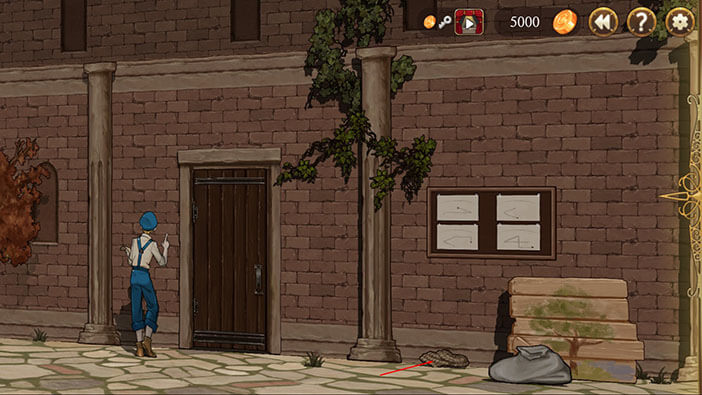
Turn slightly to the right and tap on the board with a drawing of a tree to move it aside, revealing a rope that was hidden behind it. Tap on the rope to pick it up. 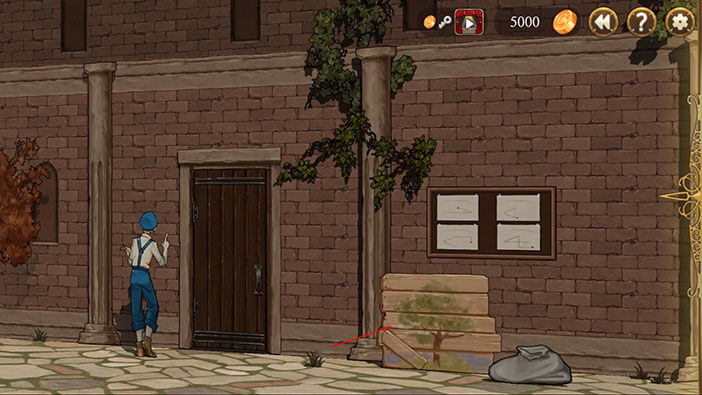
Keep moving to the right and just around the corner, you’ll see a bench with the hat on top of it. Tap on the hat to pick it up. 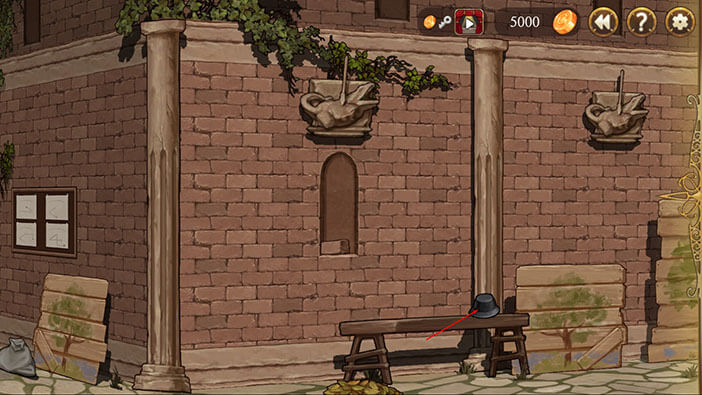
Keep moving to the right until you reach the other corner of the building. There’s a small tree just at the corner of the building. Below it, somewhat hidden by the shadow is the suit that we’re looking for. Tap on the suit to pick it up. 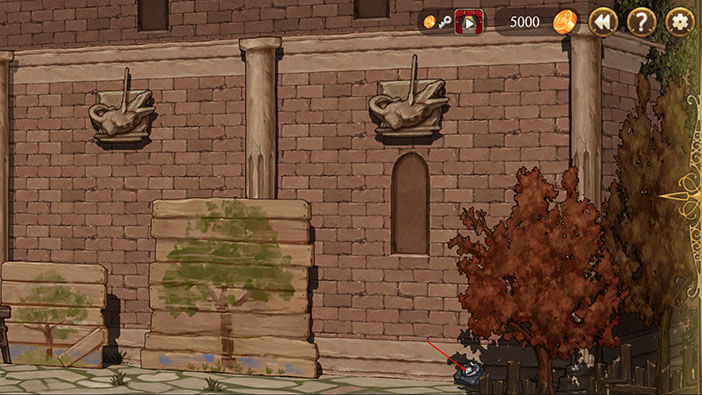
Turn a bit more to the right and you’ll notice a wooden statue on one of the windows. Tap on it to pick it up. 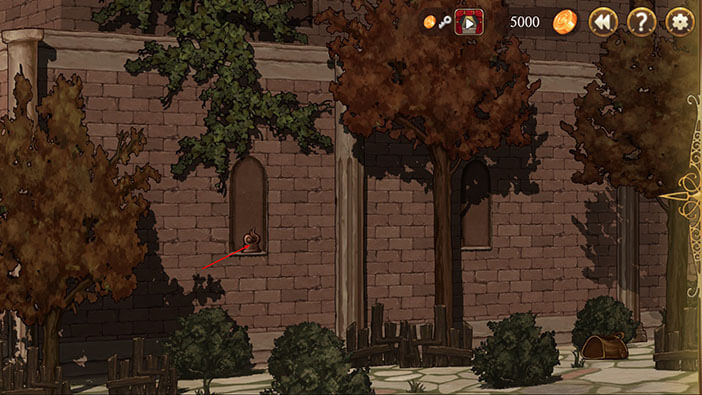
That’s it for this area. You should have four props in total, at this point. Turn all the way to the left and tap on the yellow arrow to go back to the previous area. 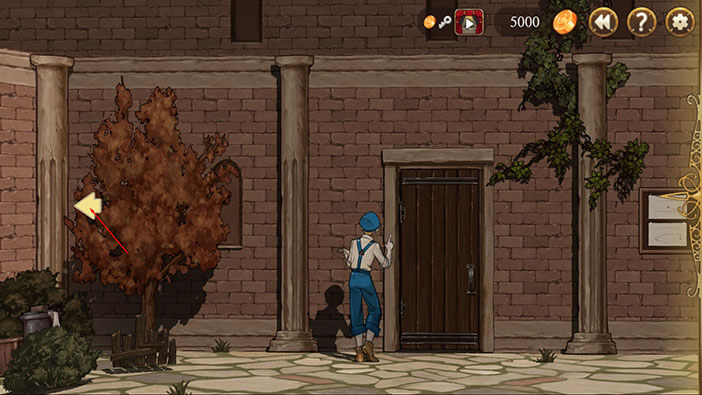
We can immediately see a scale on top of the boxes.
Also, hanging from the door with the “Close” sign is a cane. Tap on both props to pick them up.

Turn slightly to the left and tap on the pile of leaves located to the left door with the “Close” sign. Our character will move the leaves aside revealing a skull-shaped mask. Tap on it to pick it up. 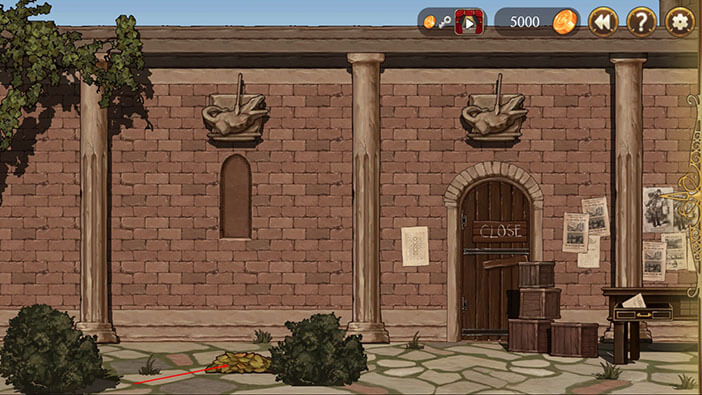
Keep moving to the left and you will notice a hand fan on the third window. Tap on it to pick it up. 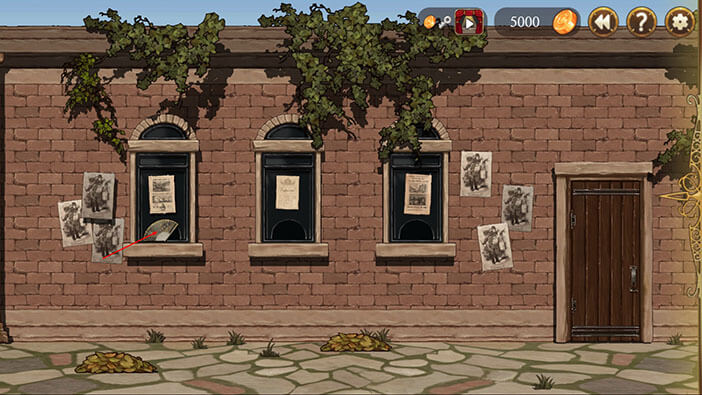
That’s it for this area. Move all the way to the left and tap on the yellow arrow. 
Let’s start from the beginning. Sweep all the way to the left. There’s a book on the window on your left side, and there’s also an umbrella resting against the bench on the right. Tap on both objects to pick them up. 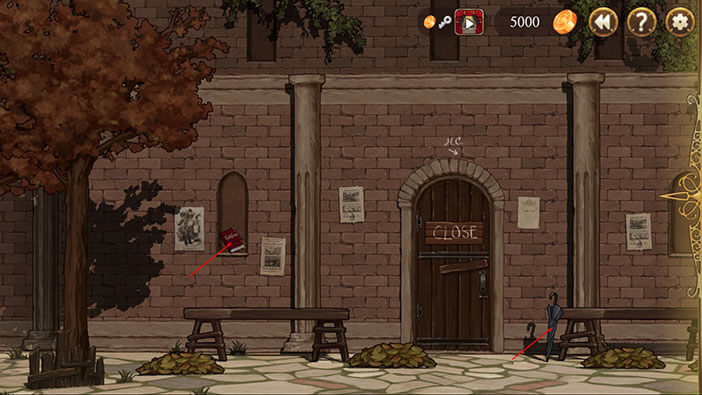
Turn to the right until you see a bench with boxes. Tap on the box to the right of the bench to open it, and tap again to pick up the wig inside it. 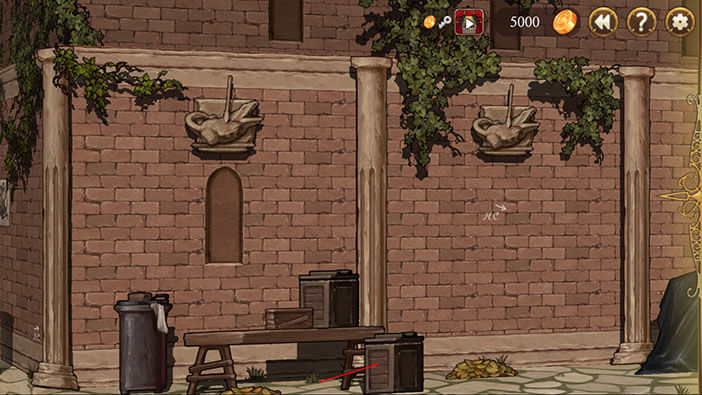
Turn all the way to the right. Tap on the second box from the left to right to open it, and tap again to pick up a court suit. 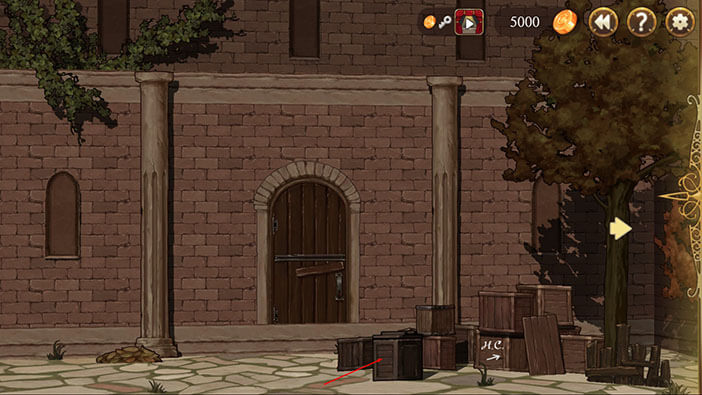
We now have all twelve props, and it’s time to go back to the ticket seller. Tap on the yellow arrow. 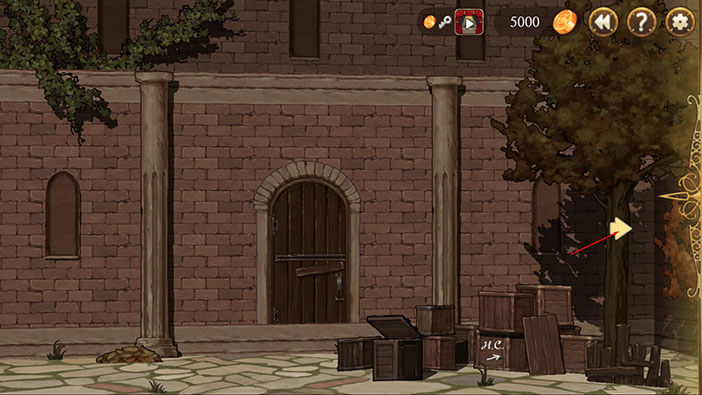
Turn all the way to the right and tap on the yellow arrow, again. 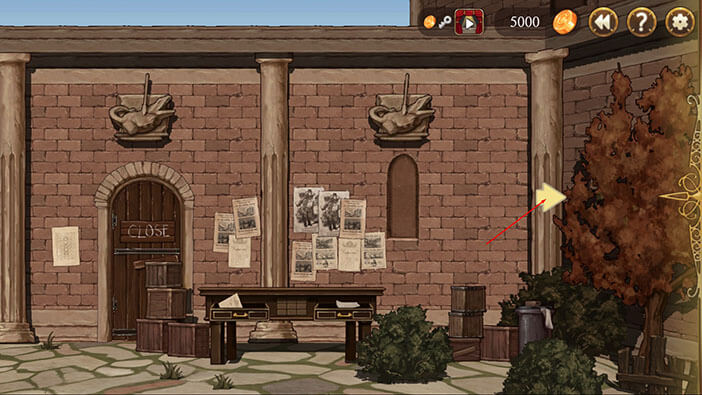
Tap on the ticket seller to hand over the props. Well, even though you found and brought all the props, the ticket seller still has to arrange them. Guess who’s going to do that? Yup, our character again, just like when we played the “theater stage” as the young detective Erich… 
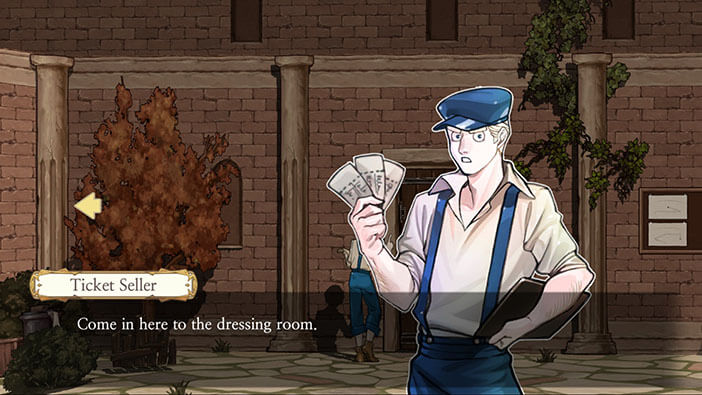
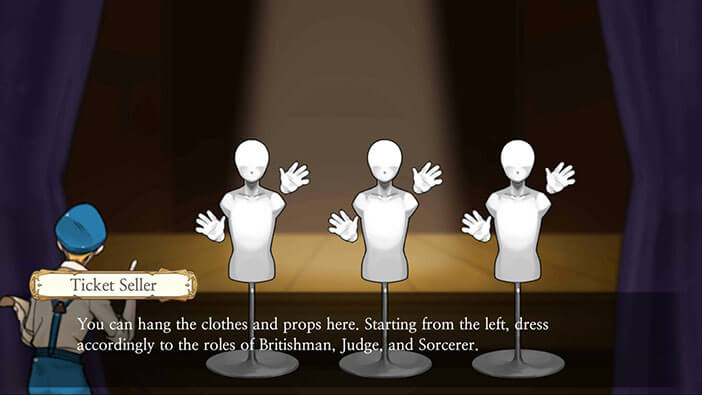
Tap on the door to go to the dressing room. 
Tap on the ticket seller and he will inform you that we should dress the mannequins according to their roles. The first mannequin (from left to right) is a Britishman, the second is a Judge, and the third is a Sorcerer. 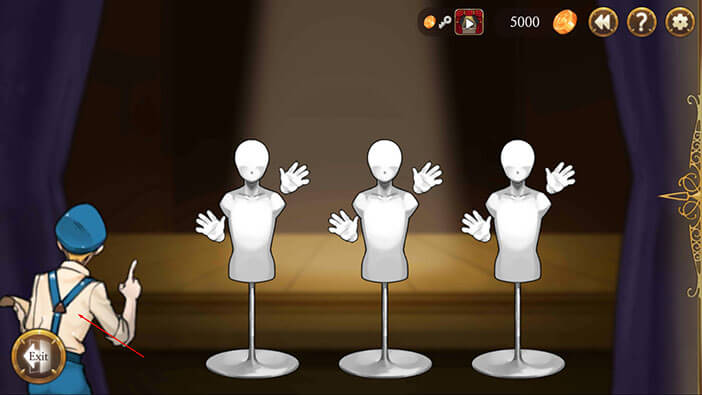
Let’s begin. The first mannequin is a Britishman, and it should have an umbrella, a hat, a suit, and a cane. 
The second mannequin is a Judge, and it should have a wig, a book, a court suit, and a scale. 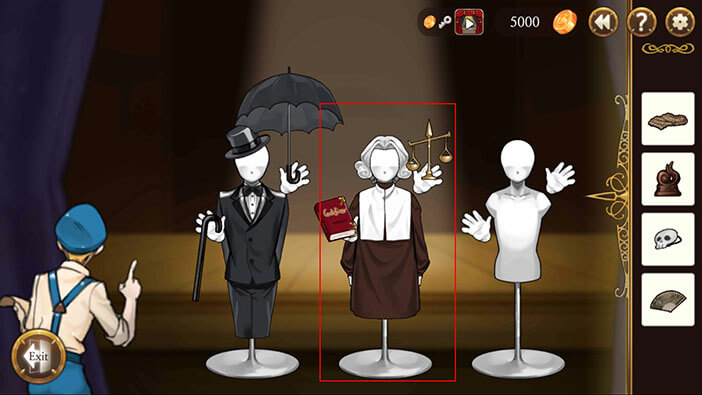
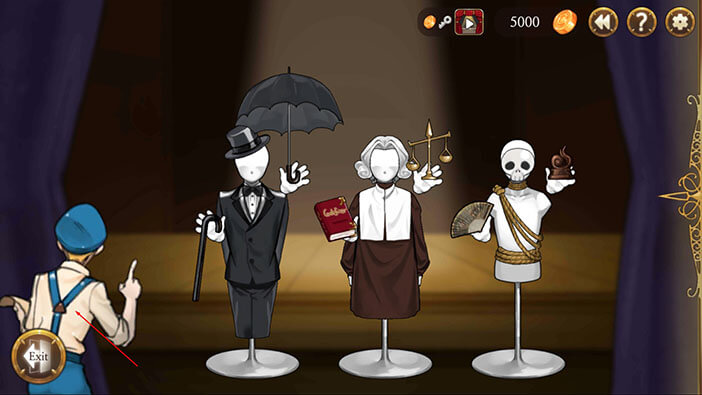
The remaining four objects belong to the sorcerer, so select them from the inventory and tap on the third mannequin.
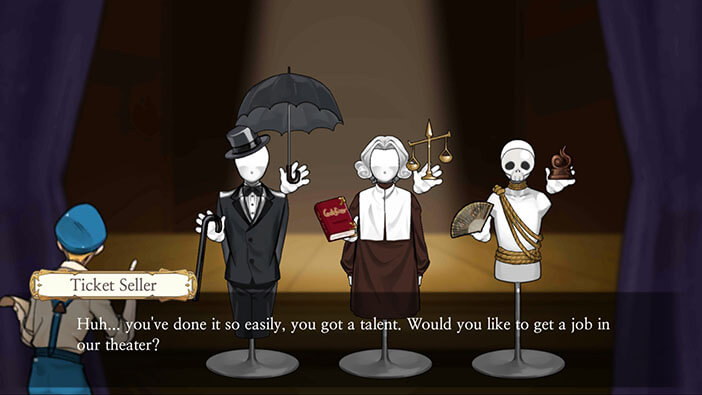
After you’re finished with dressing the mannequins, tap on the ticket seller.

The man is surprised at how quickly we handed this task and offers Elizabeth a job at the theater. She refuses, saying that she only wants a ticket for the show. The ticker seller holds his end of the bargain and hands over a ticket.
Tap on the yellow arrow on the left.

Turn to the left, select the ticket from the inventory, and tap on the theater door. 
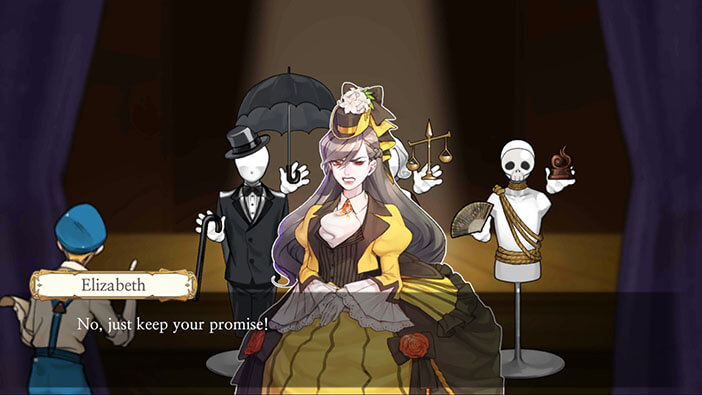
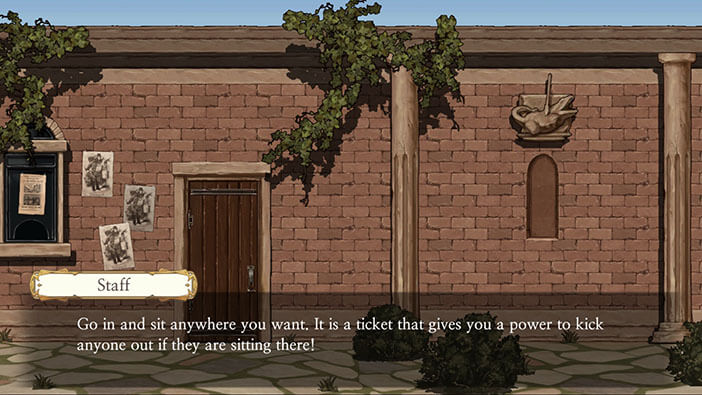
Elizabeth gets just in time because the theater worker was about to leave. He lets her in, saying that she has a “VVIP” ticket that allows her to sit anywhere she wants, and even move the other people from their seats. Well, this “VVIP” ticket is much better than the VIP ticket. It looks like the ticket seller was very grateful for our assistance. 
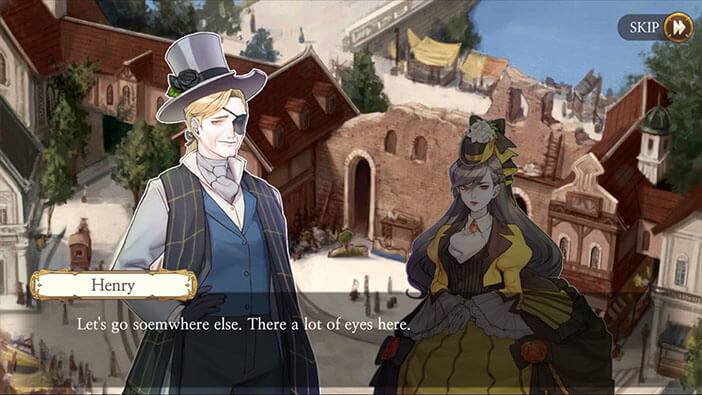
After a few moments, Henry appears saying that he knows that Elizabeth was searching for him. Elizabeth wants to ask him about the Aegyptus, but Henry says that they should talk about this subject in private. With that, the two of them leave. 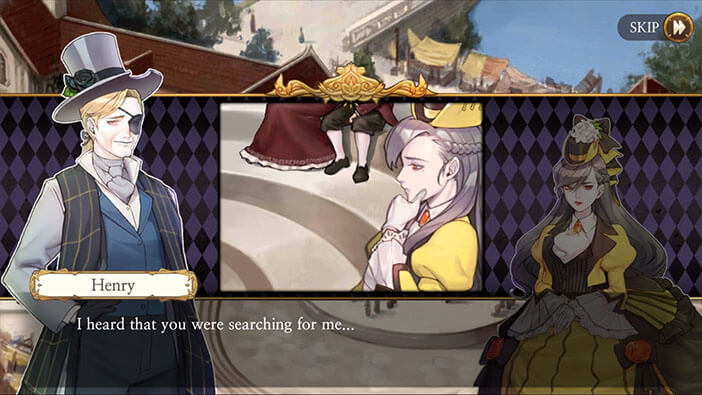
Tap on Henry. He thinks that this place is secluded enough, and the two of you can safely talk here, without being interrupted. 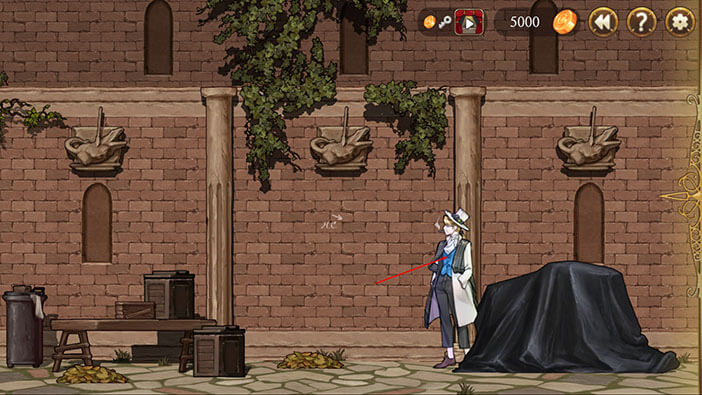

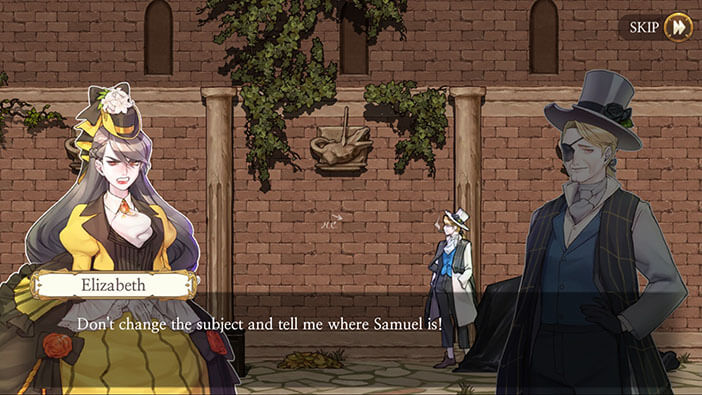
Tap on the first option “I want to meet Samuel”. 
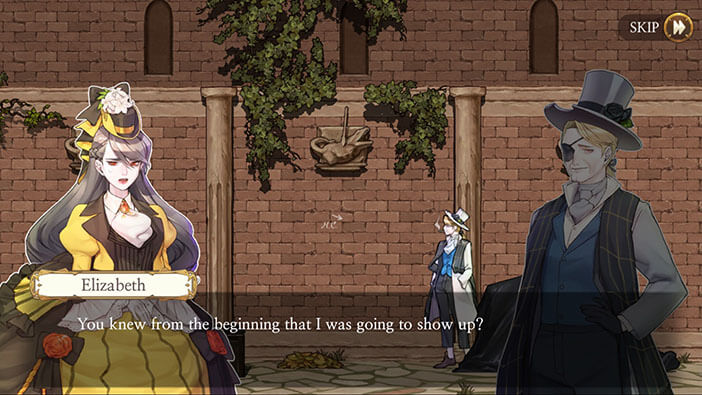
Henry will say that isn’t possible at the moment, and he will also mention how he didn’t expect Elizabeth to show up so soon. As we already know, Henry is working together with Victor, and it seems that the two have planned far ahead of time. After this statement, Henry will say that Elizabeth wants to kill his boss. Since he knows about Huxley’s reanimation, he is probably familiar with entire Victor’s plan, so lying to him is pretty much pointless. 


With that in mind, I chose the option “Admit”, but strangely enough that would end this conversation… Ugh! Again, as illogical as Elizabeth’s interrogation at the Police Station… So, tap on the second option “Back out”. 
Elizabeth plays dumb, but Henry doesn’t want to waste any time and he gets straight to the point, saying that he will tell the young woman the truth. 
I chose the option “Hear him out”. 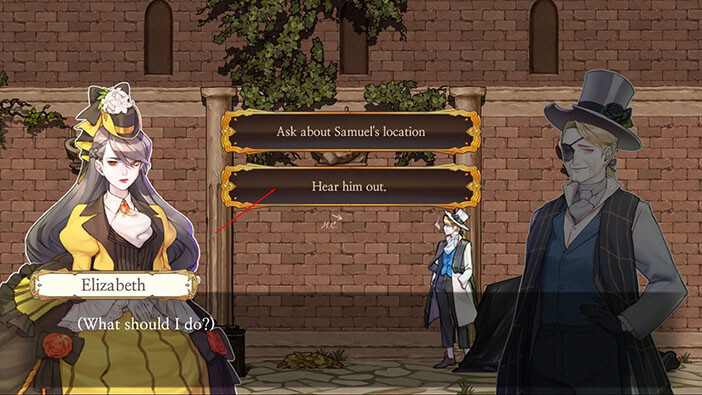
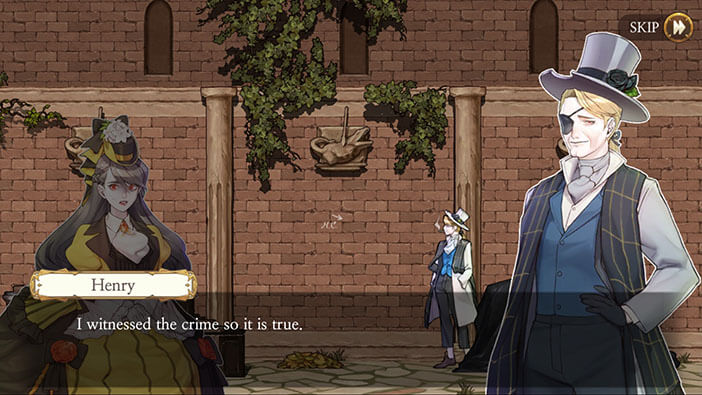
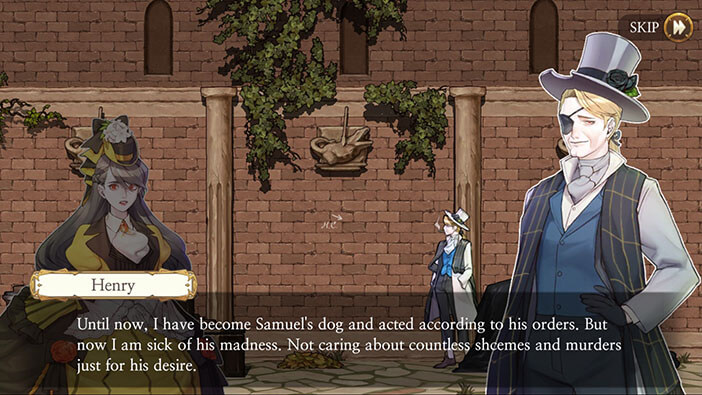
Henry admits that Samuel killed her parents, he is sure of it because he was also there. Henry also honestly says, that Samuel has set up Huxley for the murders. 
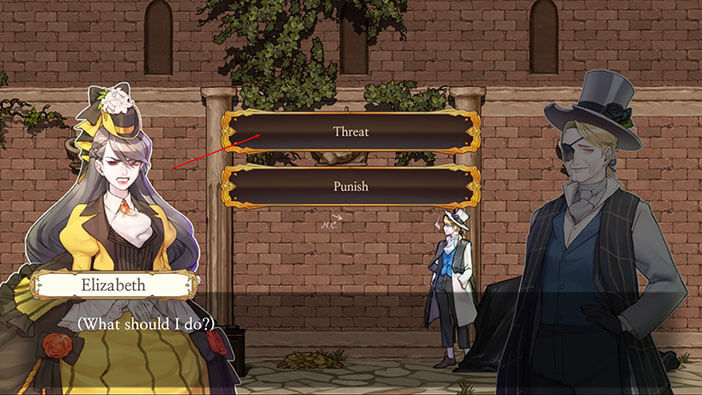
At this point, Elizabeth draws her sword and places the blade under Henry’s chin. The enraged woman says that she’ll kill both him and Samuel.
Now we can choose one of the two options “Threat” or “Punish”. Since we already know that Elizabeth only threatened Henry and didn’t physically harm him (and knowing that we can’t change the past no matter how hard we try), I chose the option “Threat”.
Elizabeth threatens Henry saying that she will slice his throat since he’s the accomplice in the murder of her parents. However, the experienced criminal and more importantly negotiator Henry remains calm, saying that he is Elizabeth’s friend and asks the woman to hear him out. 

I chose the “Let’s hear him out option”. 
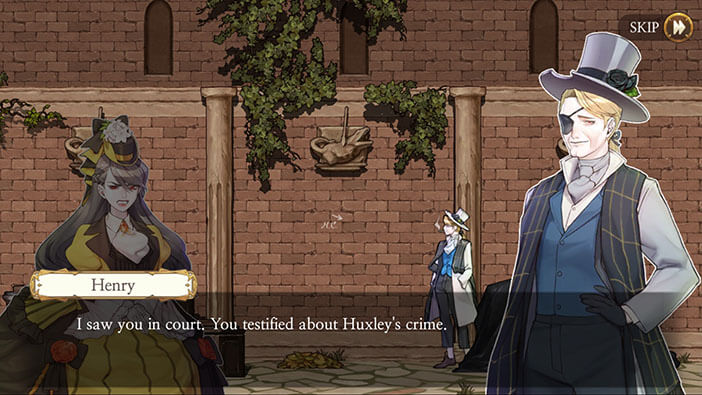
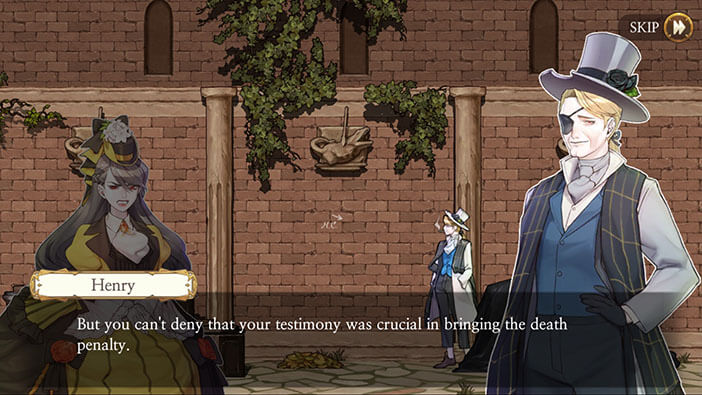
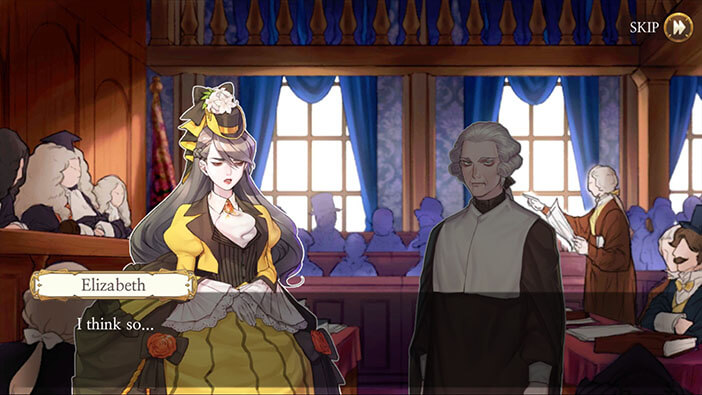
Henry, again honestly says, that Elizabeth wasn’t sure who she should blame for the murders until a few moments ago Henry discovered that Samuel is the one who committed the crimes. More importantly, Henry mentions how Elizabeth testified during Huxley’s trial, and that her testimony one of the most important factors that contributed to convicting the young man to the death penalty. Hmmm, interesting, I didn’t know until now that Elizabeth testified… 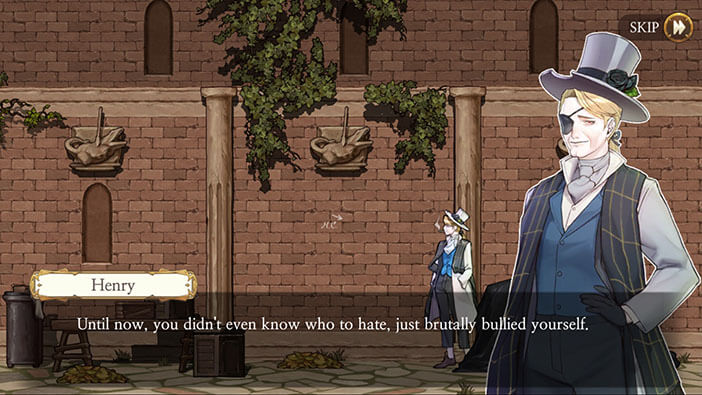
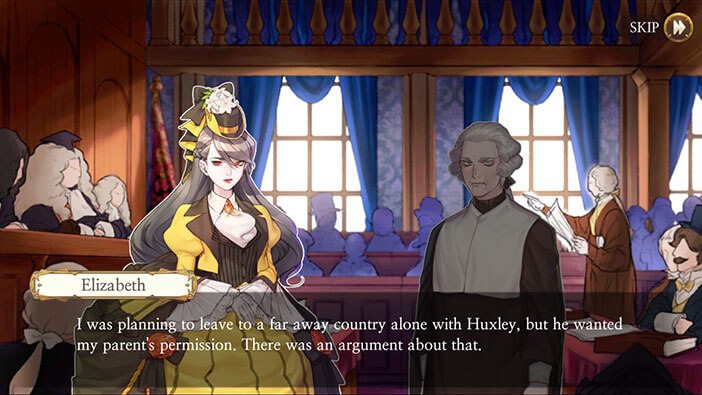
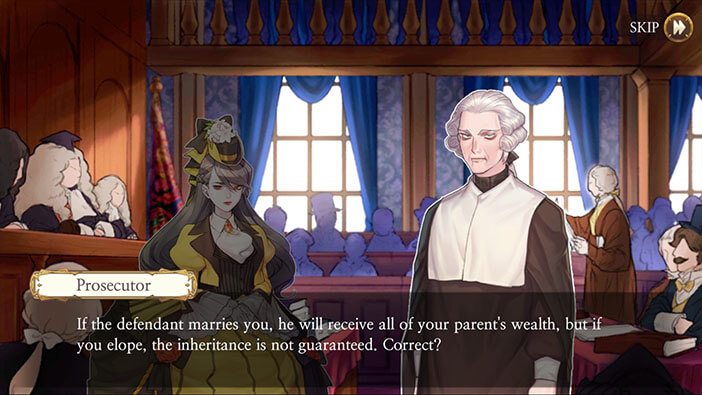
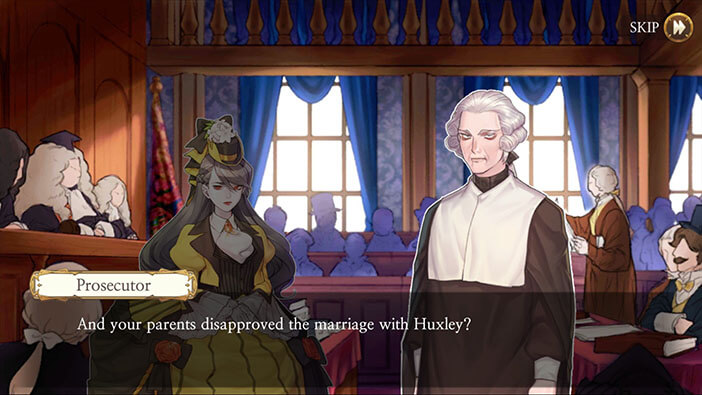
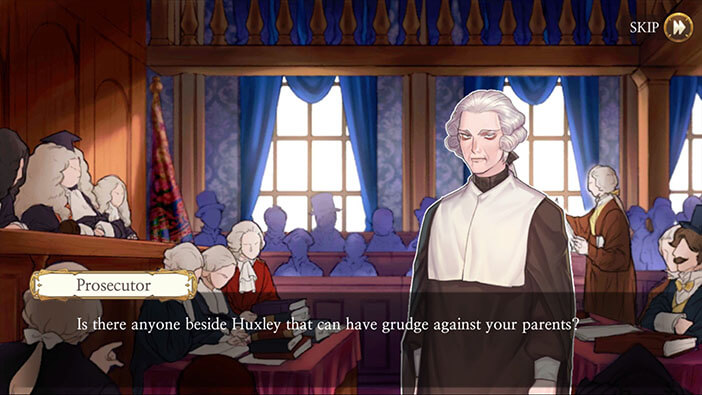
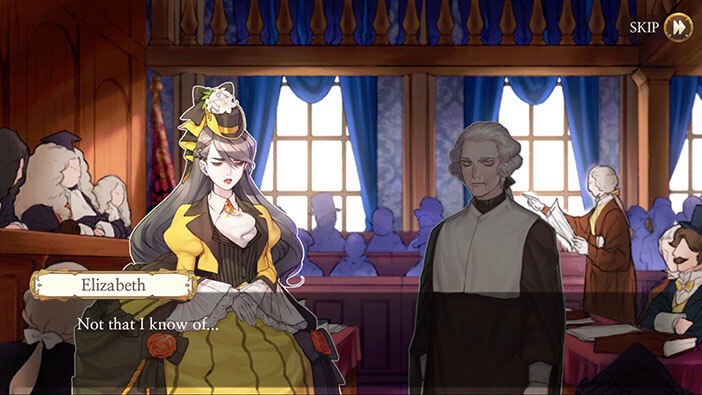
Elizabeth now remembers the trial. She didn’t actually do or say anything wrong during the trial. She just confirmed that there was an argument in the Lavenza mansion concerning her relationship with Huxley and that she’s the only child which makes her the sole heir of Lavenza’s wealth. However, since her parents were against the marriage, if she ran away from home and married in secret, she could lose the right to her family wealth. She also confirms that Huxley could hold a grudge against her parents because of their disapproval and that her parents didn’t have any enemies… So, basically, her testimony confirmed that Huxley was after her wealth which would give him a motive to murder her parents… Again, she didn’t say anything wrong or incorrect except that Huxley might be mad at her parents, which isn’t true of course. I have no idea why would she do that… 


Tap on Henry to initiate the conversation, again. He wants to know why Elizabeth didn’t testify in Huxley’s favor. 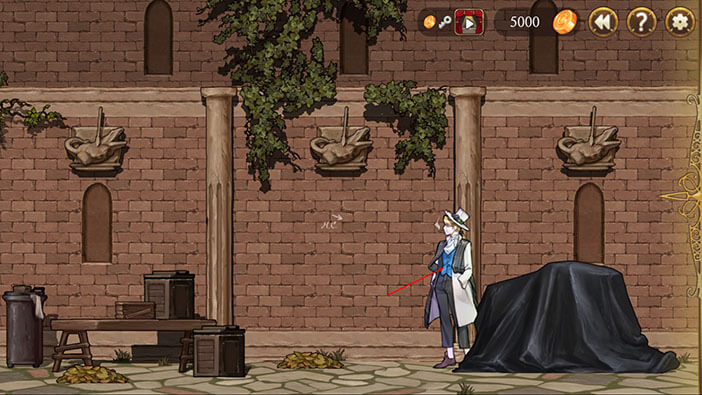

I chose the first option “I don’t have anything to say”. 
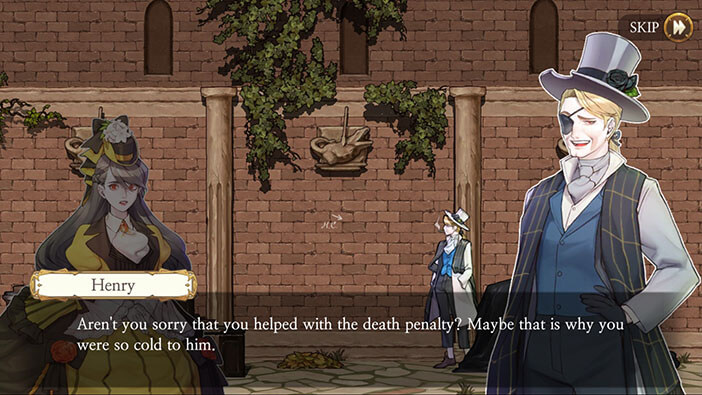
Henry, basically, claims that it was easier for Elizabeth to see Huxley convicted, as opposed to nobody answering for the murder of her parents. Elizabeth grows angry at this statement and again demands to know where Samuel is, but Huxley quickly calms her down, saying that he is here to help her. 


The next question caught Elizabeth completely off guard. Henry asks was she afraid or happy once she saw Huxley at her doorstep, sometime after his execution. Naturally, Elizabeth is shocked because she didn’t know that Henry was aware of the existence of Huxley MK II. The one-eyed man would also like to know why Elizabeth was so cold to Huxley and is her reaction related to her testimony. 
I chose the option “Admit”. 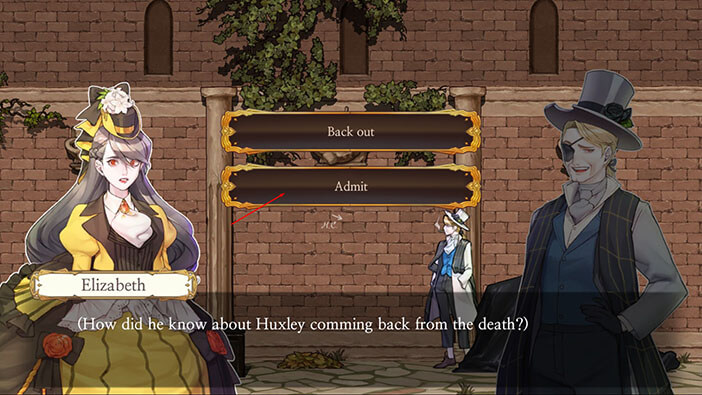
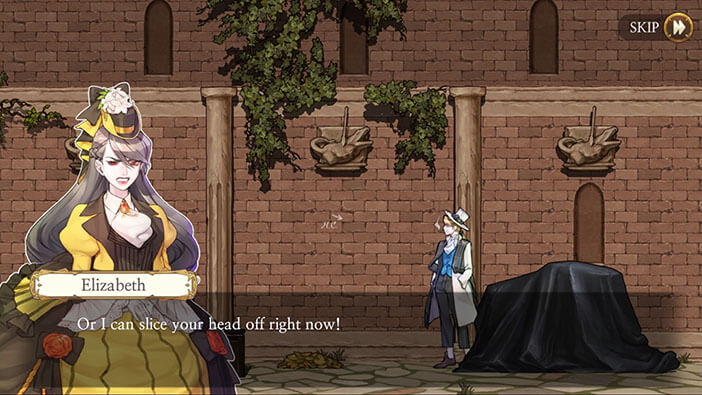
Elizabeth will say that Huxley is more powerful than ever and that he could easily rip Henry’s head off… Or that she could just slice his throat, right now.
At this point, Henry asks Elizabeth to calm down and reveals that he is working with Victor Frankenstein. Besides that, he also helped Victor whit Huxley’s reanimation. Henry also states that he could no longer tolerate Samuel’s brutality and that he decided to turn his back on the former master.
It was Victor’s idea to reanimate Huxley, and both of them hoped that the undead giant would seek revenge and kill Samuel. They didn’t see any other way to dispose of the powerful leader of the Aegyptus.


I chose the option “Continue”. 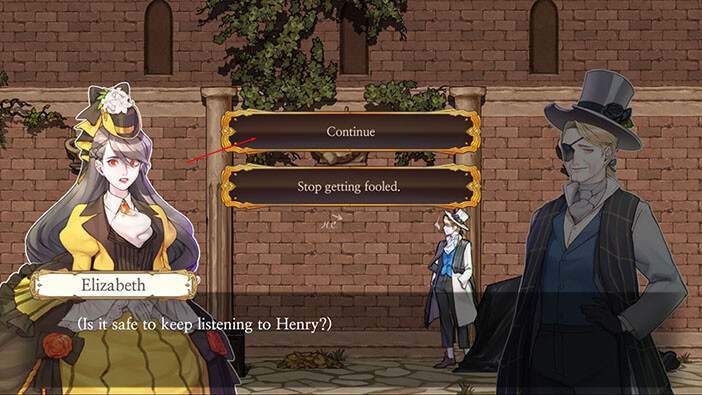
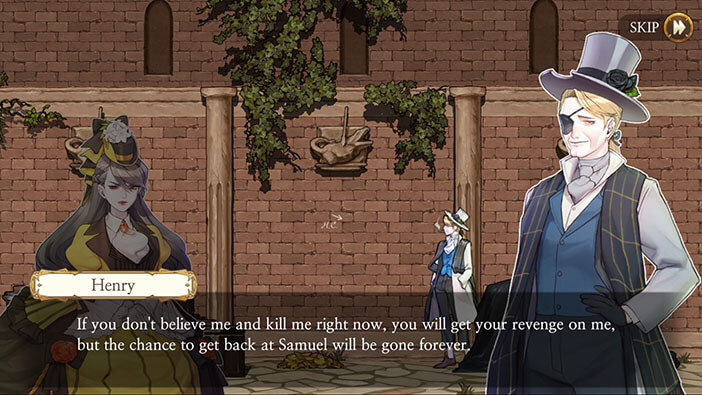
Henry goes on, explaining how other members of the Aegyptus realized that something was wrong and imprisoned Victor, but Henry managed to escape and he is now a fugitive. With this explanation, he wants to convince Elizabeth that Samuel is the only one to blame for everything that happened. He also promises to arrange the meeting with the head of the Aegyptus, if Elizabeth swears that she and Huxley will do whatever it takes to kill him. Henry finishes by saying that Elizabeth can kill him right now if she doesn’t believe him, but, in that case, it will be almost impossible to reach Samuel. 


Henry didn’t lie, and he wants to get rid of Samuel, just like Elizabeth and Huxley, so we share the same goal. With that in mind, I chose the option “Promise”. On the other hand, Henry might also have some other motives, like taking over the Aegyptus once Samuel is gone. However, even if such a plan did exist, Schmitz murdered Henry shortly after this meeting, so we will never know. 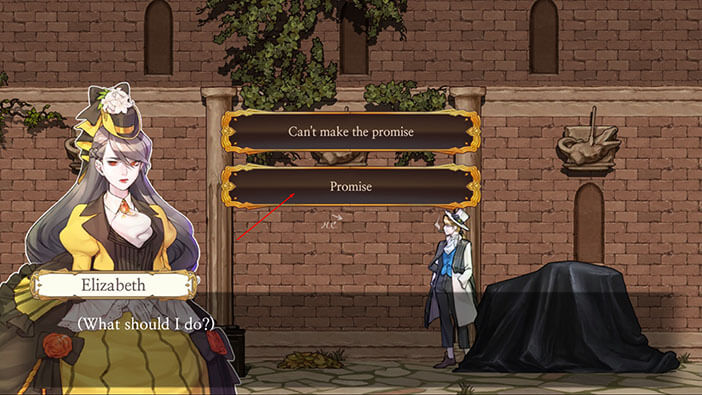
Elizabeth promises to take revenge on Samuel and asks what she could next in order to achieve this goal. She finally starts to listen to Henry and take his advice seriously. That is a very good idea since it seems that he and Victor very carefully planned everything, before setting this plan in motion. Henry states that Victor is now imprisoned at Babel, where the scientist is forced to finish his study. 
Research is probably about Samuel’s desire to achieve immortality, so I chose the first option “Ask about Babel”. 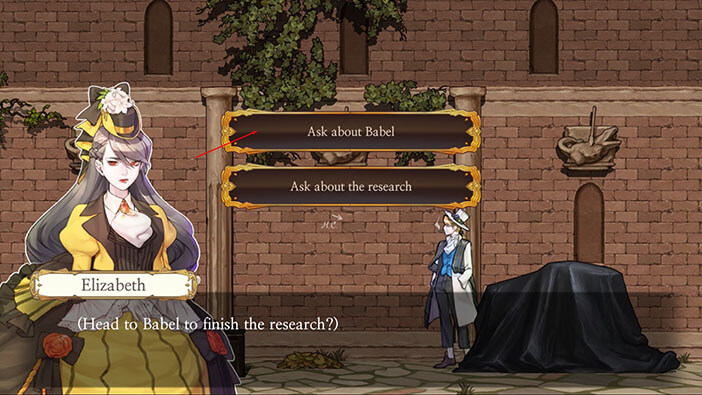
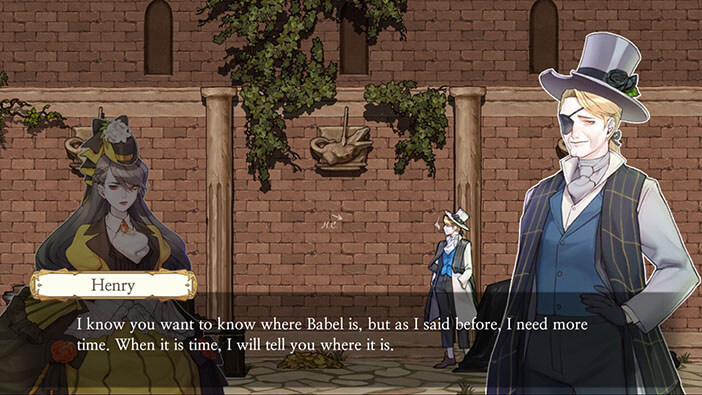
Henry explains that he can’t reveal right now where the Babel is, because the time is not right. He and his partner are probably waiting for some other events to play out, in accordance with their plan, before they reveal this location.
On the side note, this explains why Elizabeth was so interested in Babel when Schmitz mentioned it, during her time in jail (that should happen tomorrow if I’m not mistaken).
Well, Henry won’t tell us where Babel is, so I chose the second option “Ask about the time”. 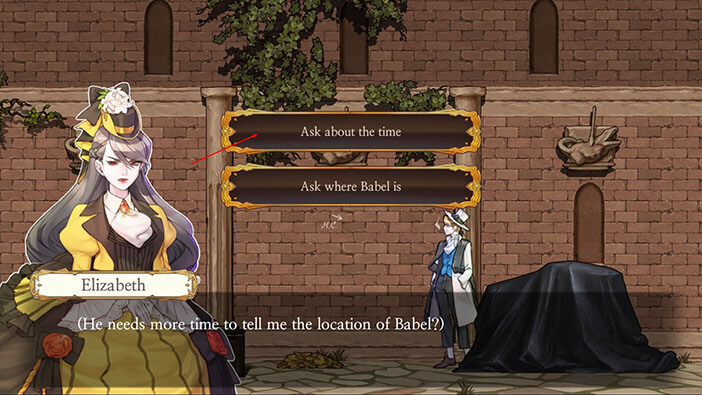
Henry explains that he will need approximately five more days to set up everything, and instructs Elizabeth to show up with Huxley the next time they meet. He also says again that Elizabeth can kill him right now if she doesn’t trust him… 

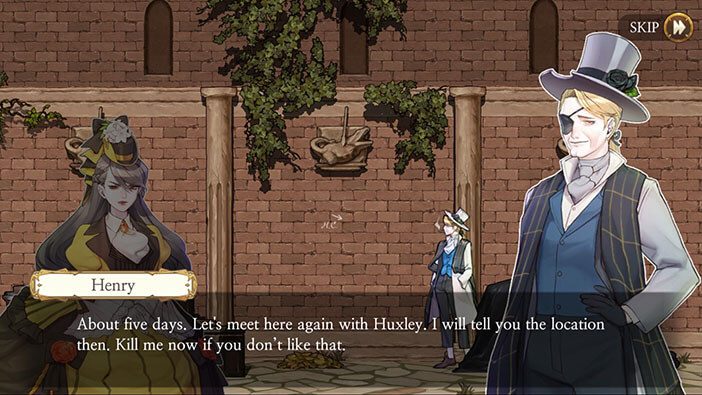
I chose the option “Trust him”. 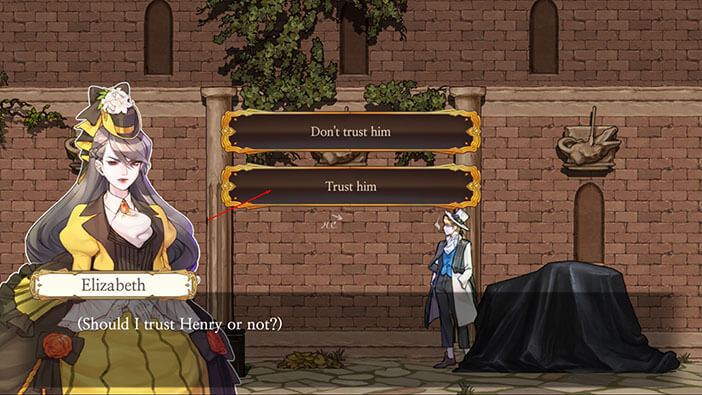
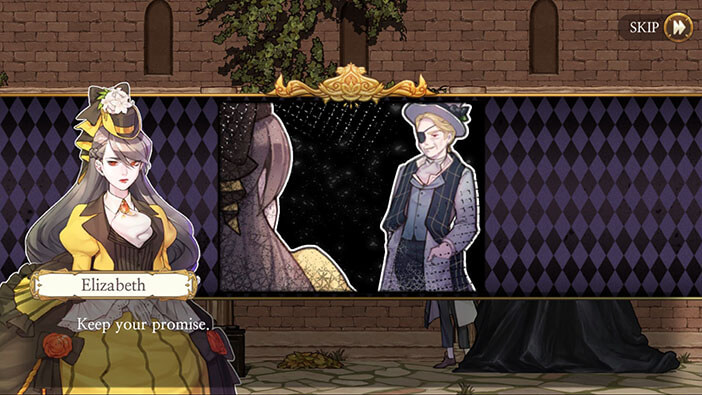
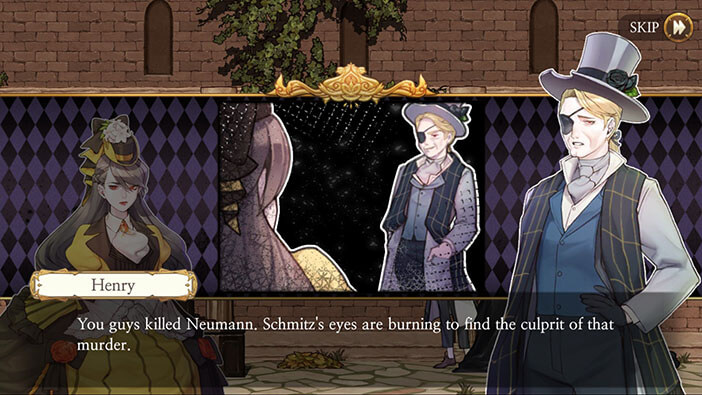
With that Elizabeth lowers her sword and warns Henry to keep his promise. Before the two part their ways, Henry warns Elizabeth that Schmitz will be looking for her and Huxley because she’s investigating Neumann’s murder. Why Henry didn’t say to Elizabeth that Schmitz knew that Huxley was innocent, well before his execution, we will never know…
Maybe they (Henry and Victor) expected the detective to do something, but Schmitz chose a more irrational and unpredictable approach and murdered Henry, spoiling their plans? Well, this seems logical, but it’s just another one of my theories, so it may or may not be true…
Of course, Schmitz so the two of them meet, but didn’t hear what they were talking about.

In the next stage, we will be playing as Elizabeth again, as she gets arrested, and accused of murdering Neumann, and Henry. Join us in the next stage of the Walkthrough for Frankenstein Room ESC, to find out how exactly Elizabeth escaped from prison, and what was she thinking about while she was locked up.
Thank you for reading.