Chapter 5-3 Jailbreak
Complete Walkthrough
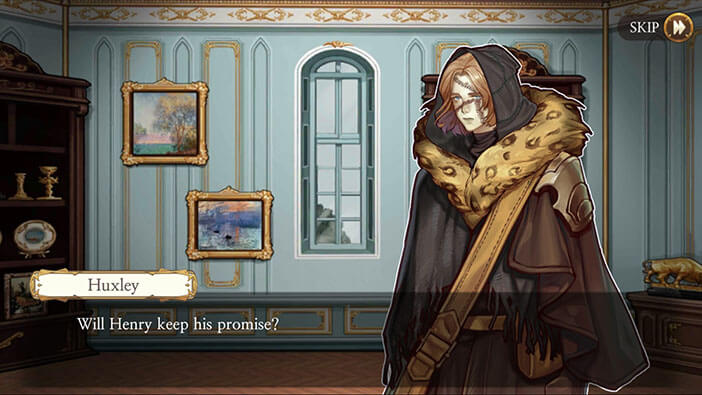
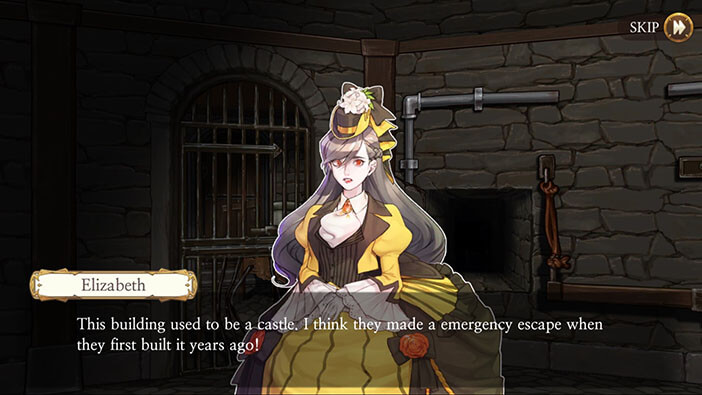
Hello everyone, and welcome to our Walkthrough for the Third Stage of Chapter 5 for the Frankenstein Room ESC adventure game. In this stage, we will be playing as Elizabeth, once more, as she goes back to the Lavenza mansion, where Huxley is impatiently waiting for her arrival.
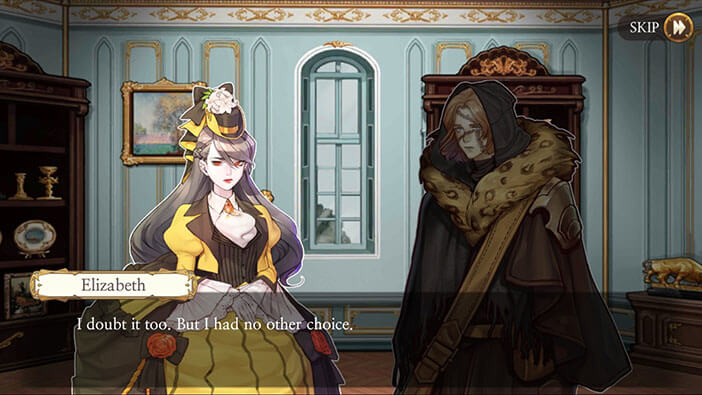
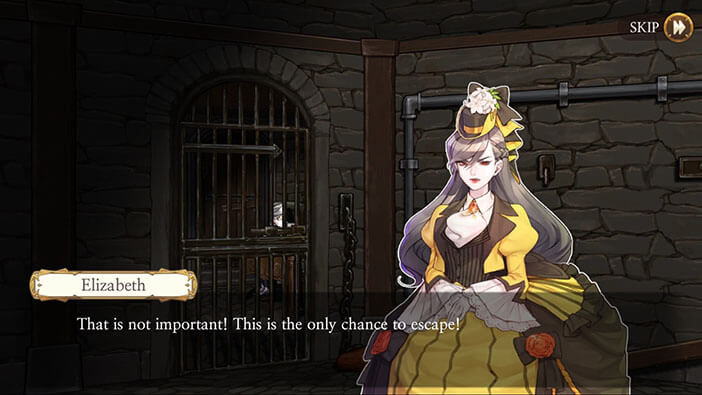
Elizabeth returns after meeting with Henry and informs Huxley about everything that she found out. After finishing her story, Elizabeth adds that she doubts that Henry will keep his promise, but she had no other choice and had to play along.
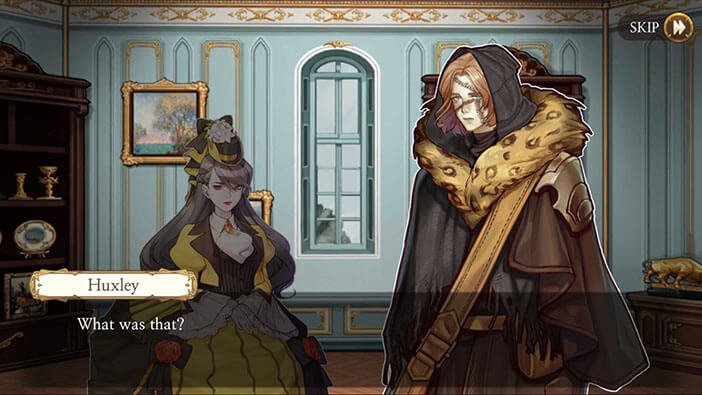
At this moment, the couple hears some kind of commotion outside. Elizabeth walks up to a window and sees a lot of police officers in her front yard. She suspects that Schmitz is looking for Huxley because of Neumann’s murder. With that in mind, Elizabeth orders him to hide somewhere inside the house, while she talks to the police. Her goal is to persuade them not to search the house…

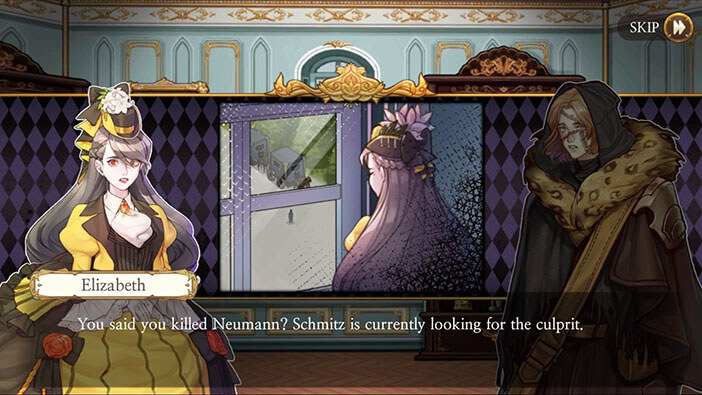

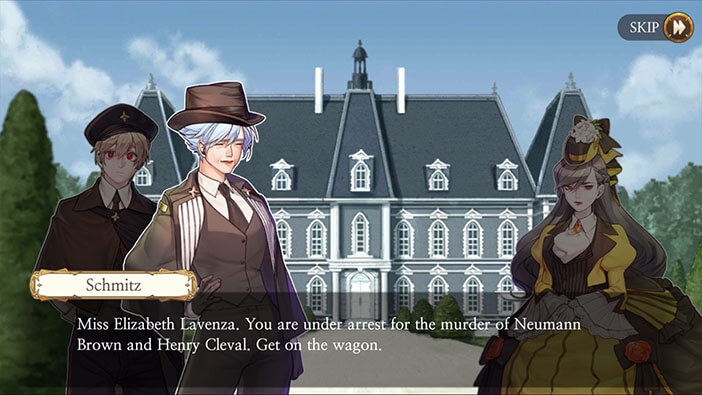
Elizabeth is completely shocked when Schmitz informs her that she’s arrested and that she’s accused of murdering both Neumann and Henry. There’s suddenly a wave of unanswered questions going through her head… She realizes that Henry is dead, and with him, her best chance for finding Samuel is gone…
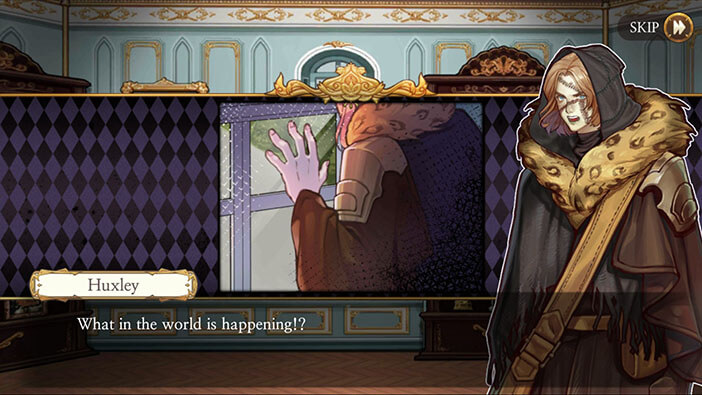
Huxley is even more confused, as he observes the scene in the front yard. He sees, Elizabeth being arrested, loaded into the wagon, and taken away by the police…


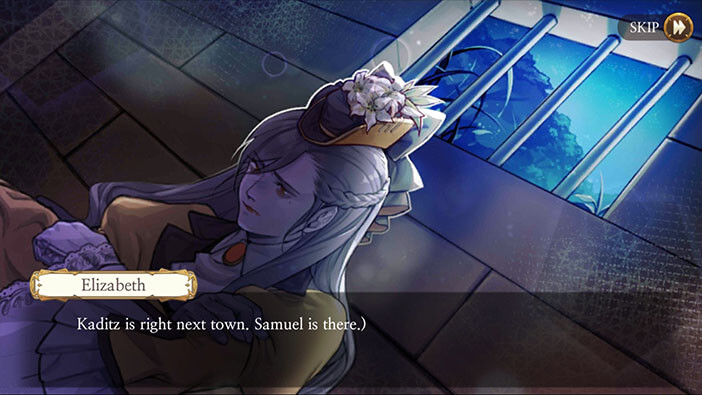
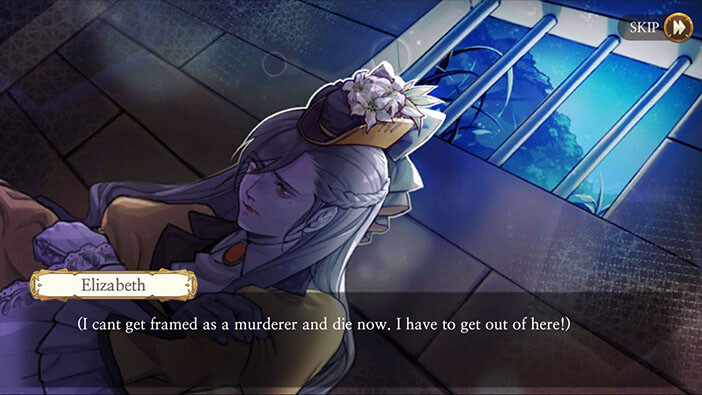
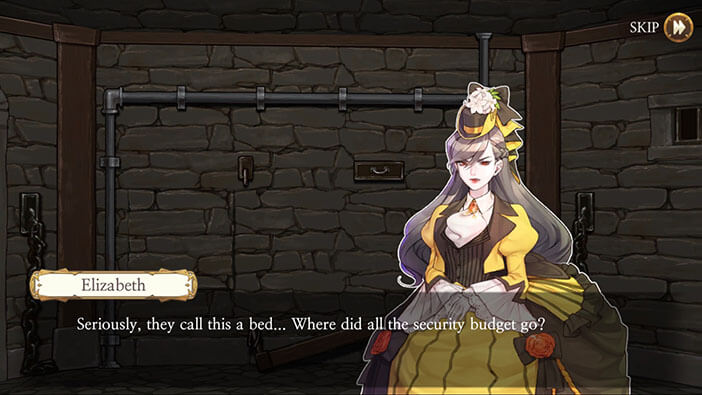
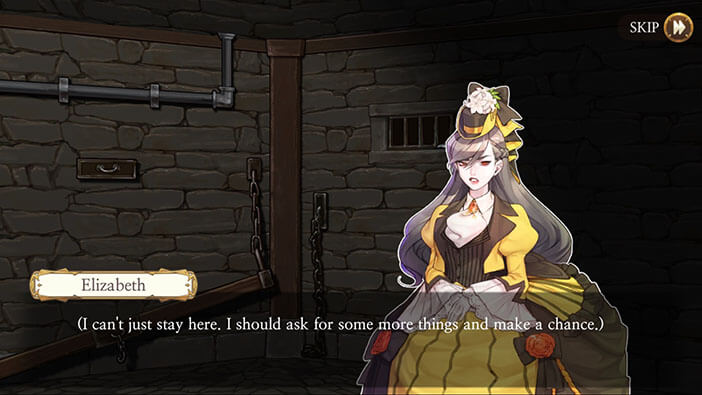
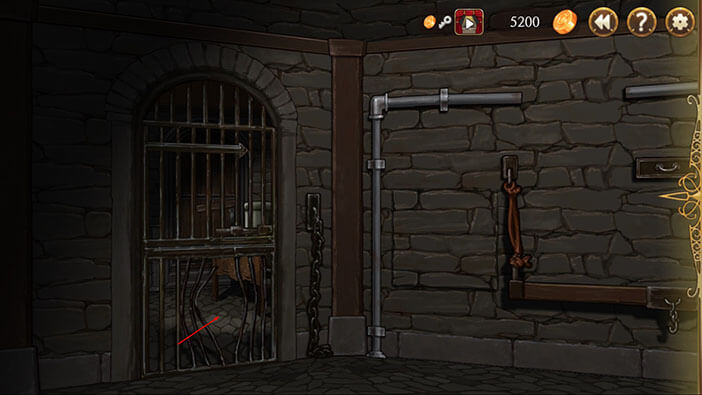
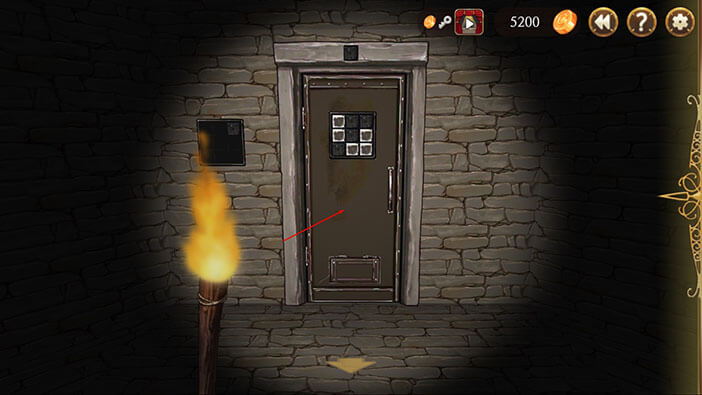
After skipping through Elizabeth’s interrogation and Schmitz mocking her about Babel street, our story continues with Elizabeth inside the prison cell. She realizes that Kaditz (Babel) street is fairly near and that Samuel would be within her reach if she could just find a way to get out of this prison cell. If she gets convicted, she will never be able to exact revenge on Samuel. With this thought in mind, she firmly decides that she will break out of jail, no matter the cost. However, she still has absolutely no idea how to do it…
Tap on the broken bed.
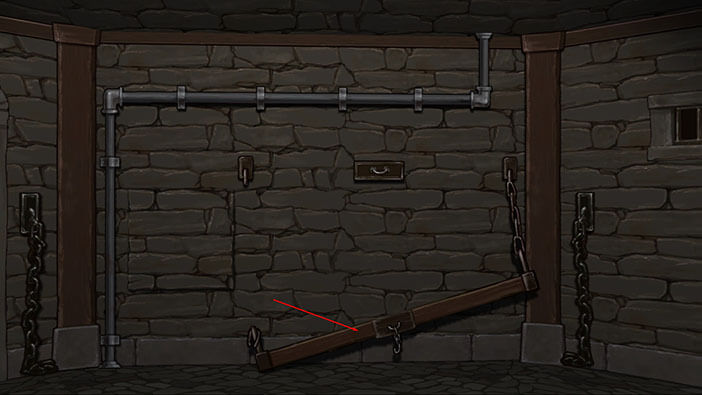
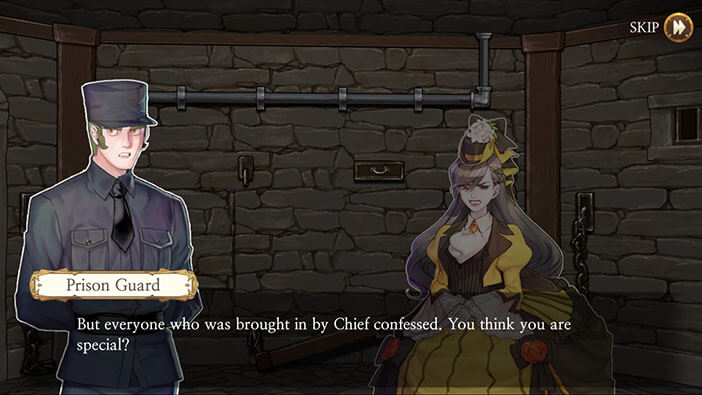
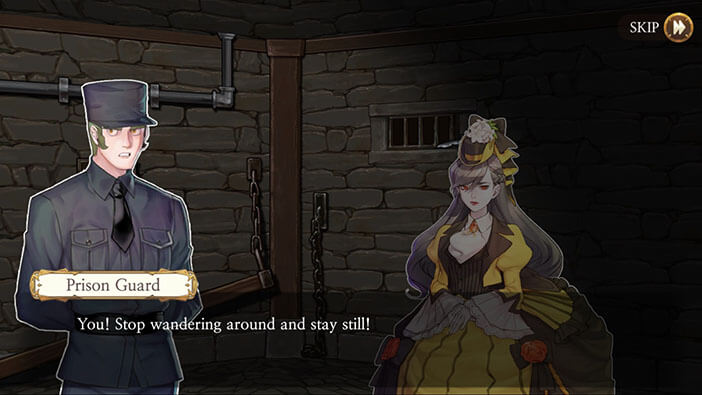
Elizabeth complains out loud about the broken bed, but the guard quickly tries to shut her up. She requests to be moved to another cell, but the guard refuses, saying that they’re inside the prison, not a hotel. Elizabeth shoots back at him, saying that she’s innocent until proven guilty, but the guard just replies that every suspect that Schmitz brought in confessed, eventually. Well, considering that she got the confession every time, I suspect that Schmitz was using some of the “not-so-legal” methods…


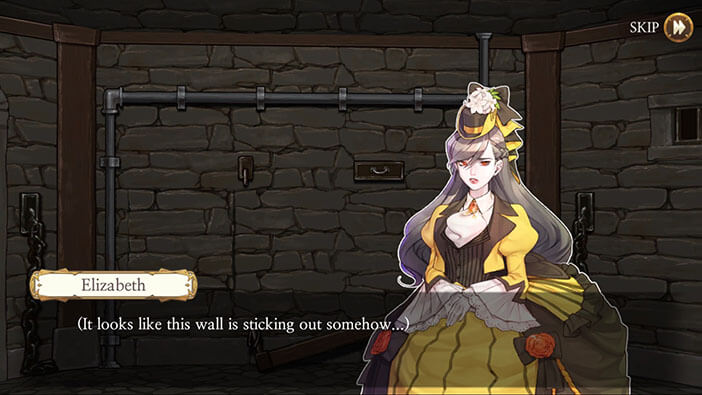
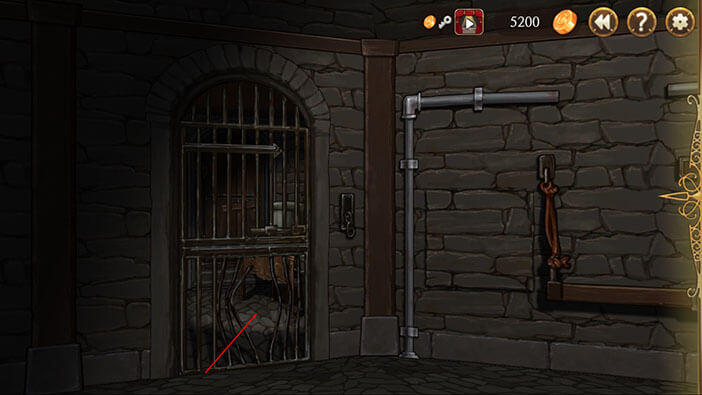
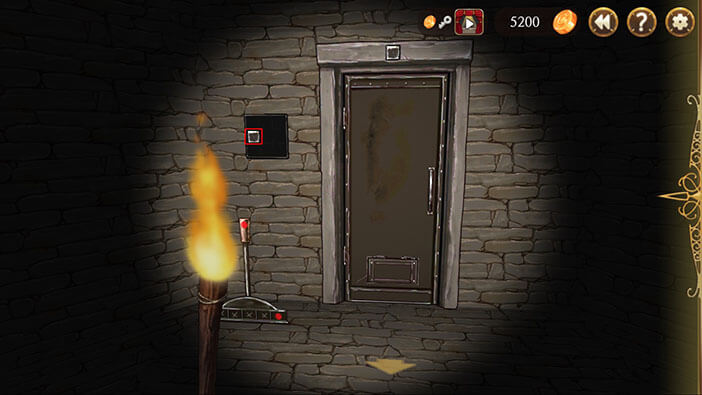
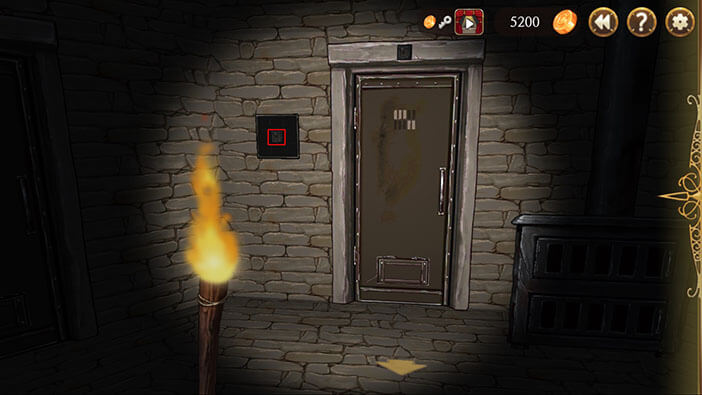
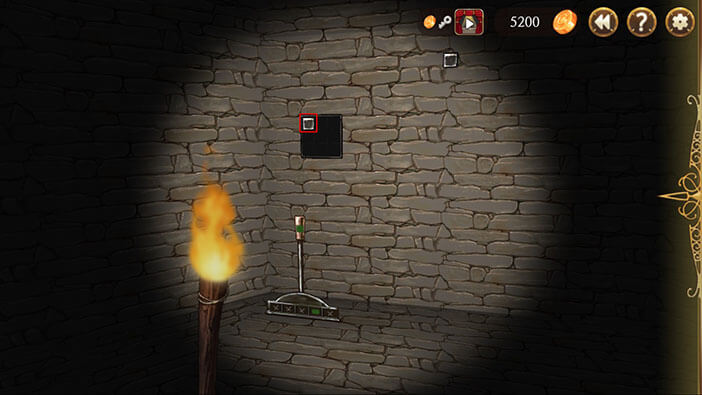
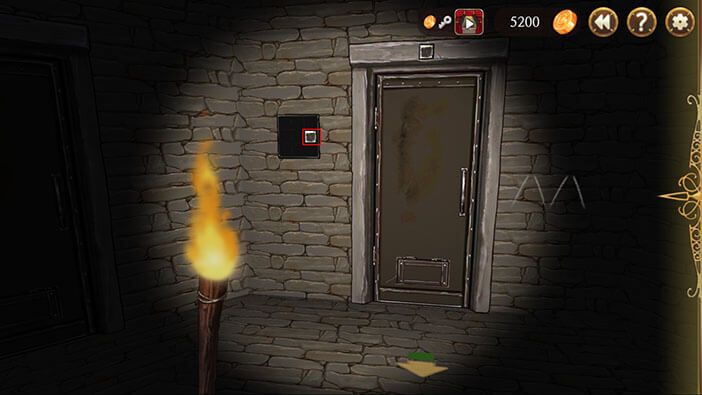
Tap on the part of the wall that seems a bit different – a square portion just to the left of the broken bed.
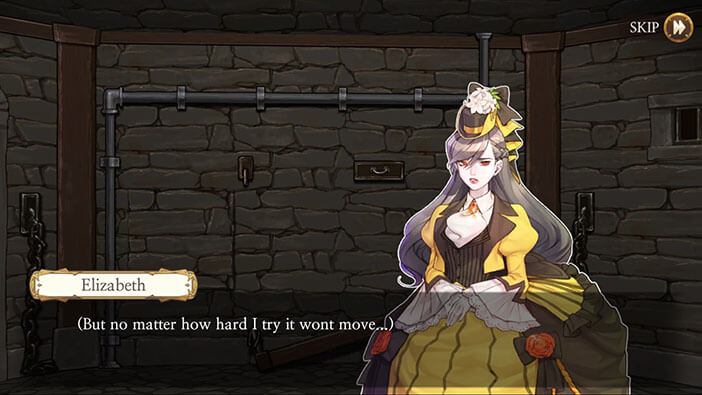
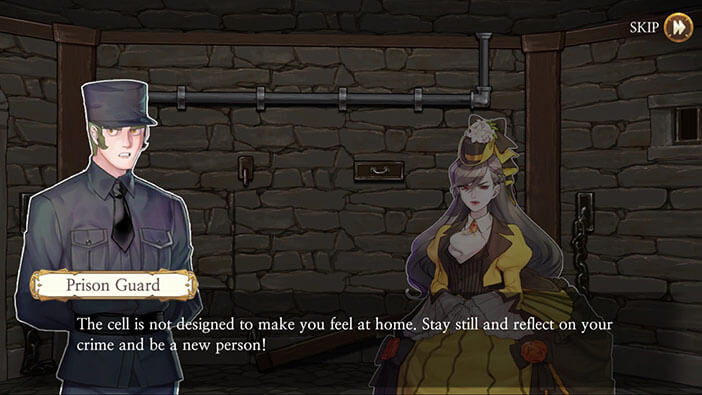
This portion of the wall is sticking out a bit, but Elizabeth was unable to move it, no matter how hard she tried. At this point, the guard intervenes saying that Elizabeth should stop moving around. He advises her saying “stay still and reflect on your crime and be a new person!” I sincerely doubt that this ever worked, and his choice of words is very questionable (even for a police officer).

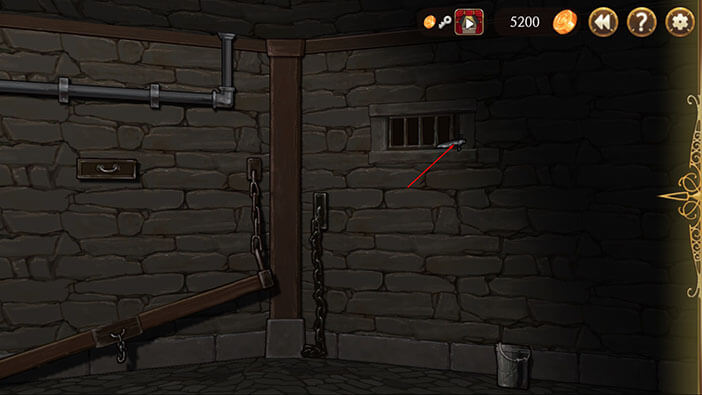
At this point, somebody throws something into the cell through a small barred window that is looking outside. I guess this is the moment when Schmitz threw in a key, which means the fire should break out in a few minutes.
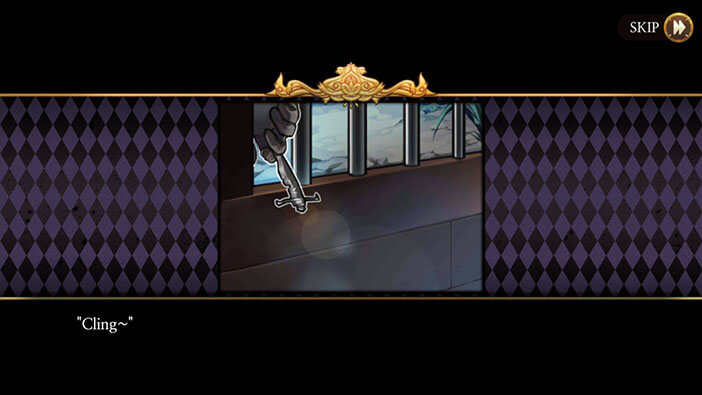
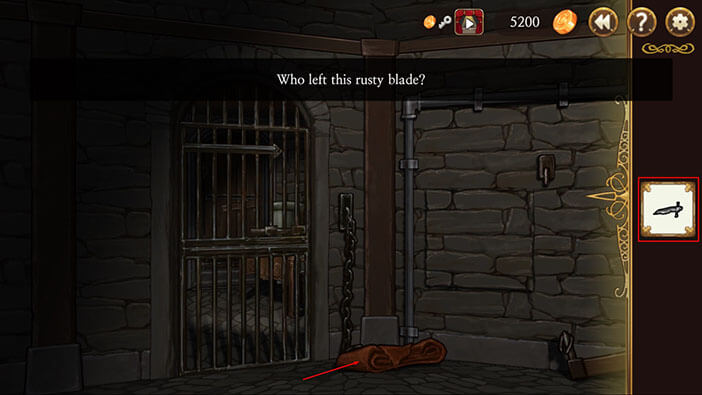
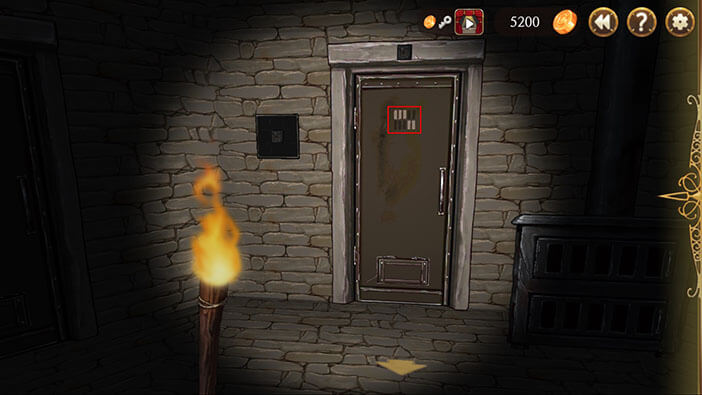
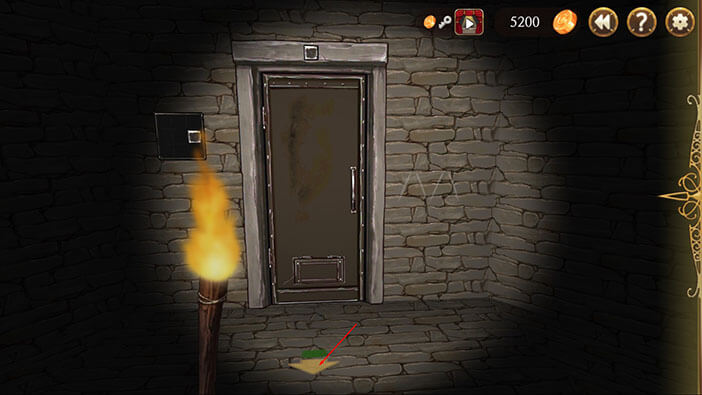
Turn to the right and tap on the object on the window.
It turns out that Schmitz didn’t throw in a key, but a blade… Hmmm, this is weird. How could Elizabeth escape without the key? Starting a fire wouldn’t do her any good, as she would just stay locked up inside the cell. I might have overrated Schmitz when we played this event from her own perspective since it seems that she made some very questionable choices… Without providing Elizabeth with a key her entire plan is completely flawed, and it is a miracle that it somehow worked…
Anyway, the guard will again warn Elizabeth to stay still. Our protagonist realizes that she doesn’t have any time to waste. She decides to ask the guard to bring her something, and then try to make her escape. Maybe she’s hoping to stab the guard once he opens the jail cell? It’s not a perfect plan but it’s better than nothing. After this scene, a “Rusty Blade” will be added to your inventory.

Turn around and tap on the guard to initiate the conversation.
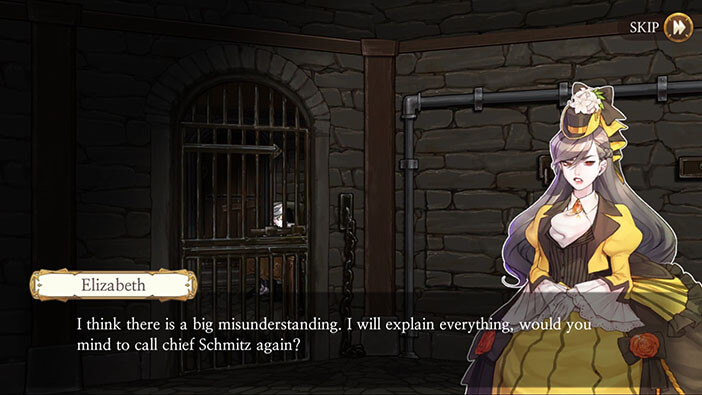
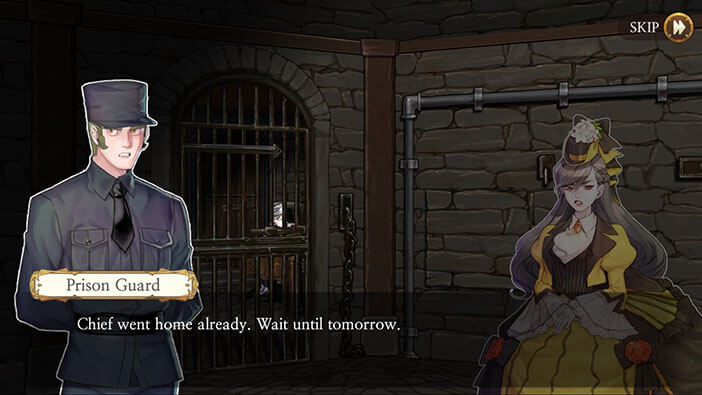
Elizabeth asks to see chief Schmitz because she wants to tell her something, but the guard informs her that the detective has left the building. She then asks to see the police captain, but the guard refuses to say that captain has no time for her.
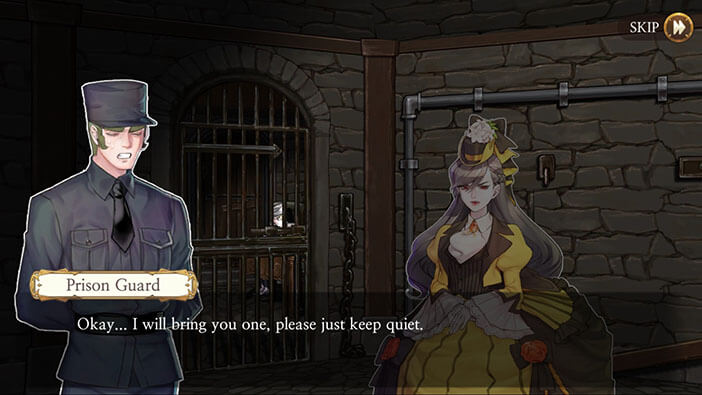
Tap on the first option “At least give me a blanket”.
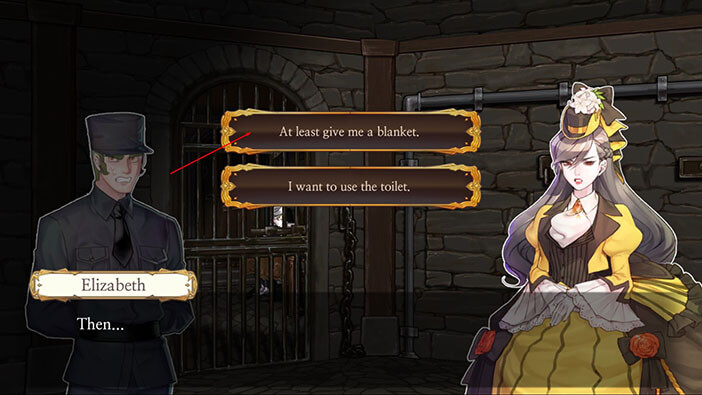
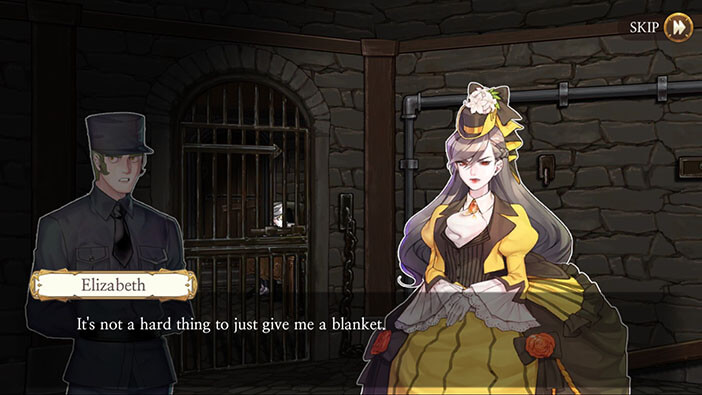
The guard will refuse at first, reminding Elizabeth to stay still and reflect on what she did. However, when Elizabeth asked again he grudgingly agrees, and throws in the blanket, asking her to be quiet. So, he just threw in the blanket without opening the cell, denying us the opportunity to stab him and run away… This is bad.
Tap on the blanket.
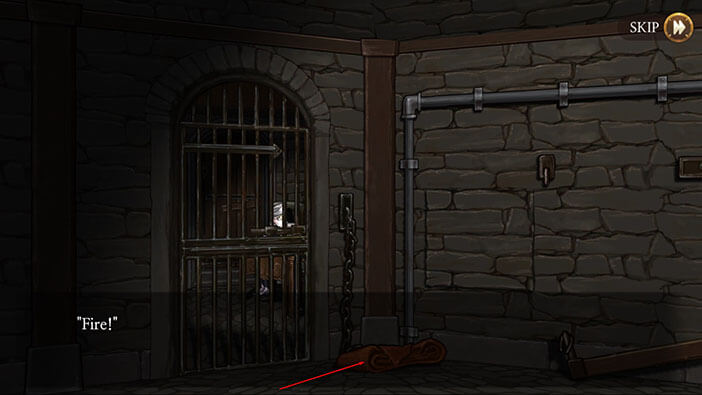
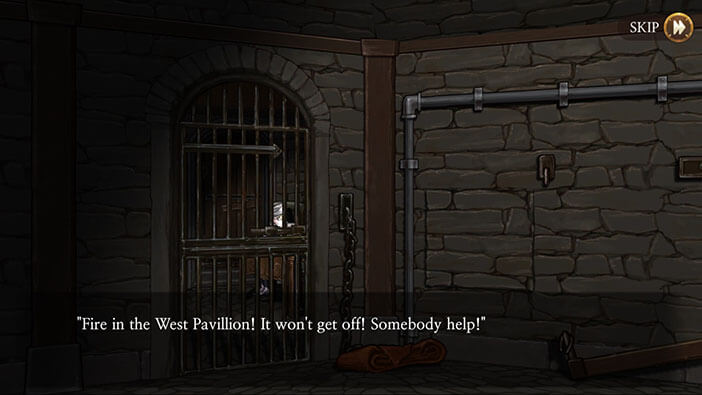
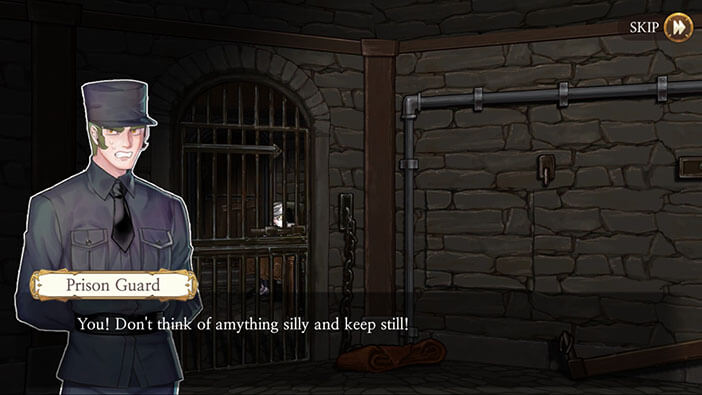
As soon as Elizabeth touches the blanket, somebody starts yelling “Fire”. After a few moments, another guard can be heard yelling that fire has broken out in the western part of the building, and that he needs help to put it out. Elizabeth’s guard warns her not to do anything else and runs off to help the other guard. Elizabeth realizes that she won’t get a better chance to escape, so she has to do something now!
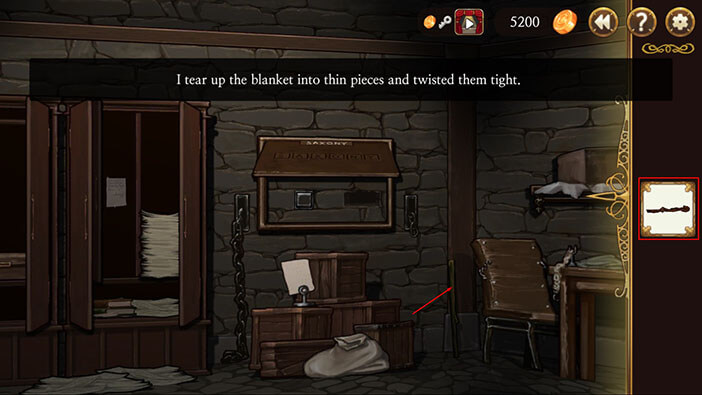
Select the “Rusty Blade” from the inventory and tap on the blanket several times. Elizabeth will cut it into a few pieces, which she will use to make an improvised rope. Tap on the rope to pick it up.

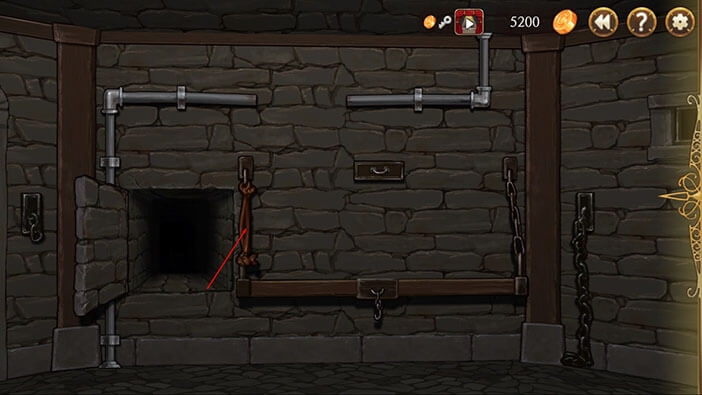
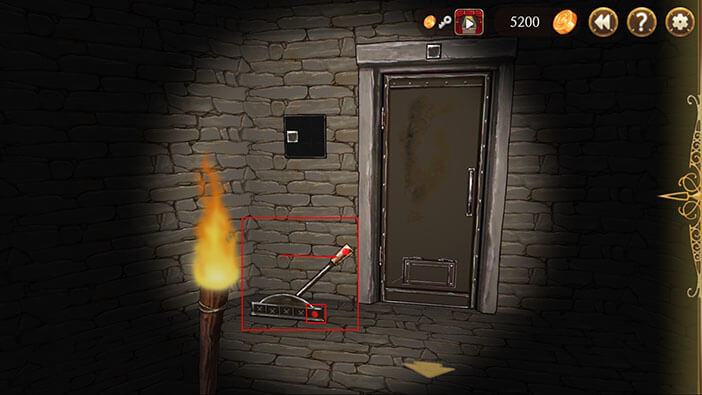
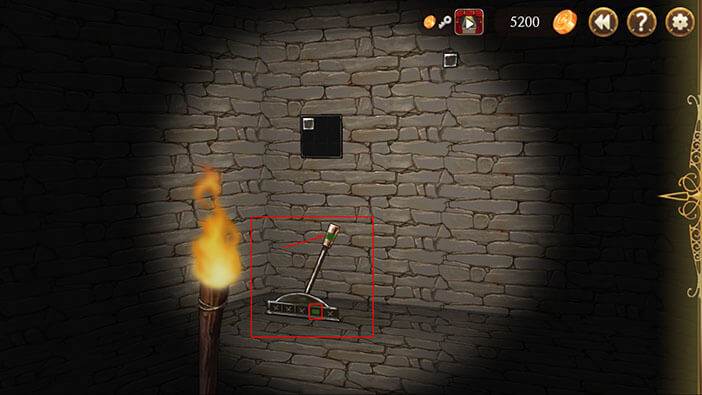
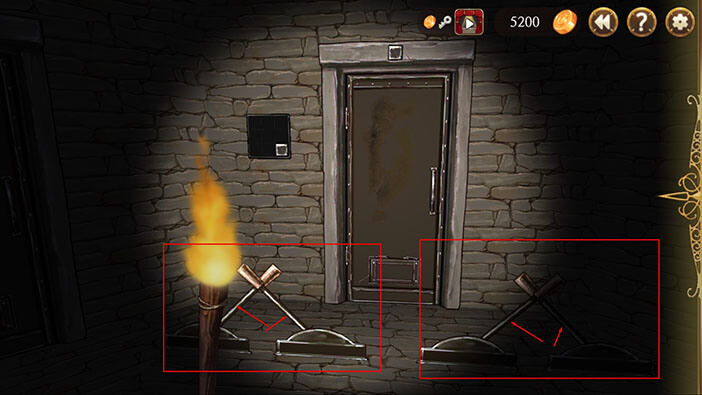
Select the “Rope” from the inventory and tap on the left chain hook to repair the bed.

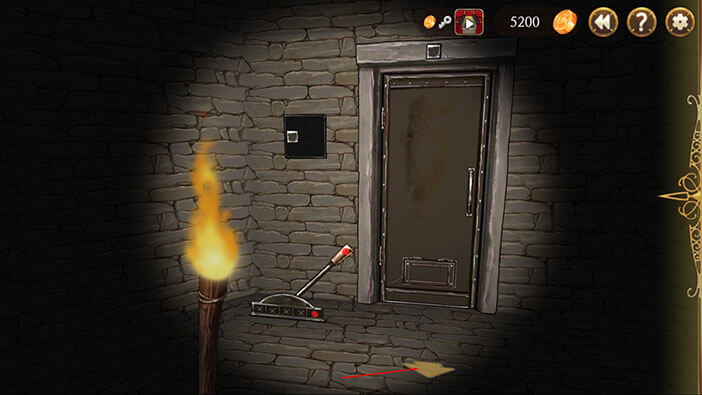
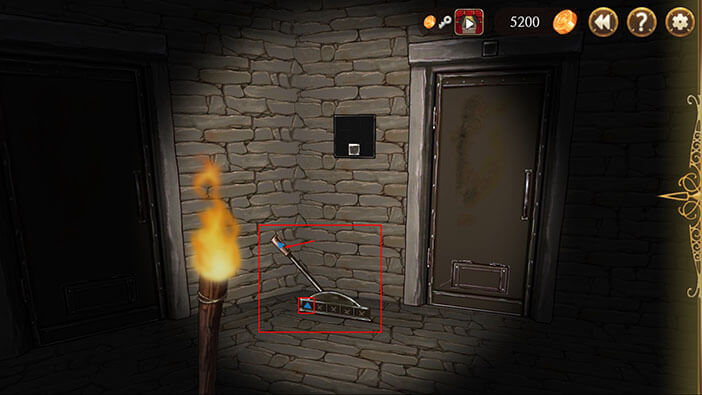
After repairing the bed our protagonist can now reach the pipe above it. Tap on the pipe.
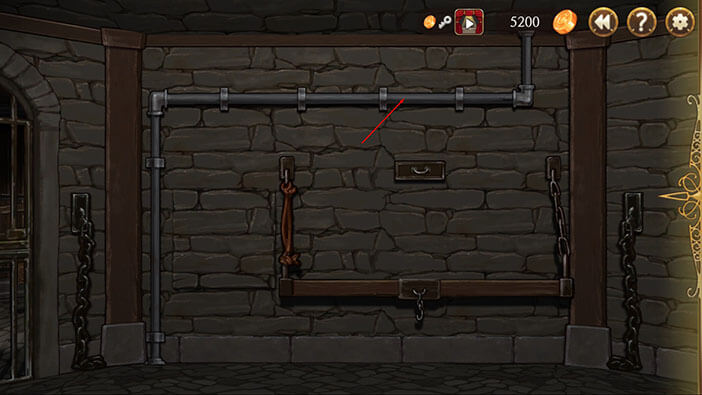
Select the “Rusty Blade” from the inventory and tap on the four screws that are holding the pipe in place.
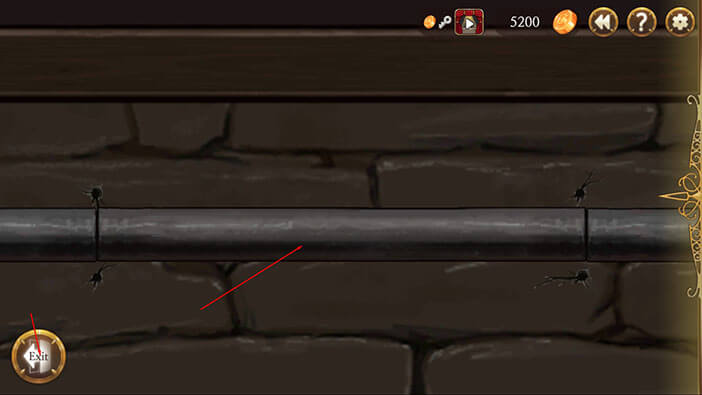
After removing the screws, tap on the two pieces of metal on the right and left to remove them.
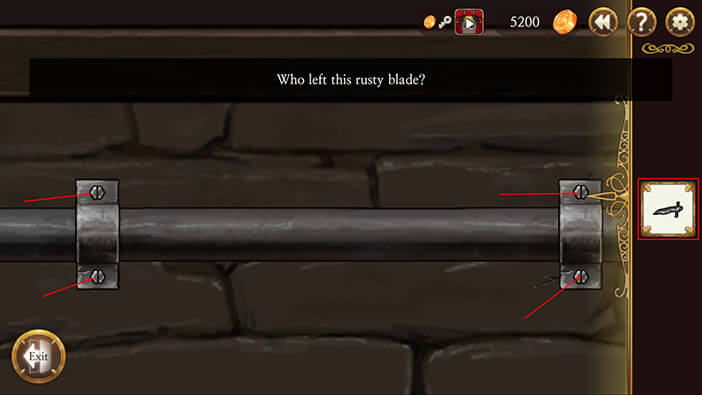
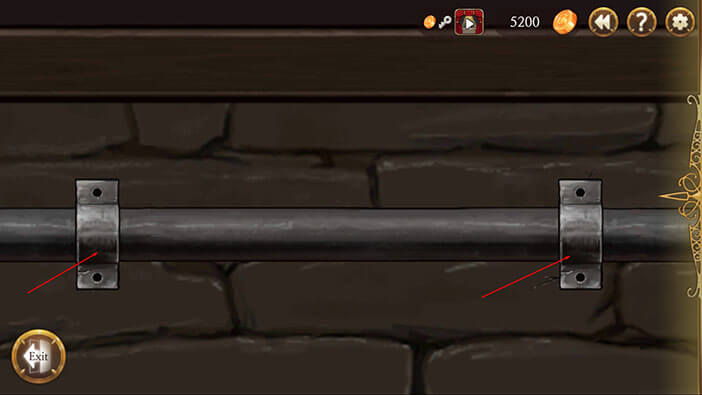
Finally, tap on the pipe to pick it up.
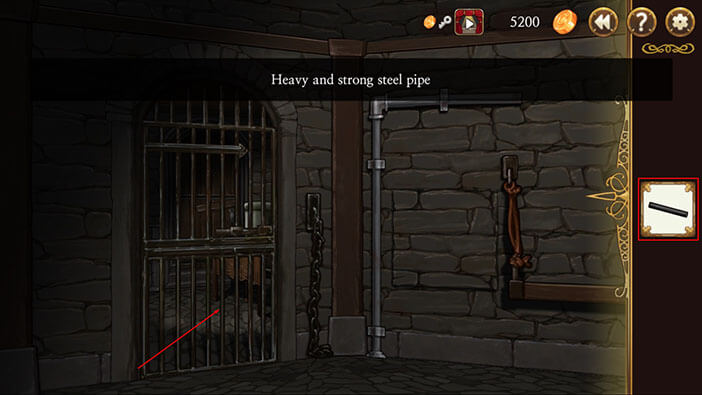
Tap on the “Exit” button.
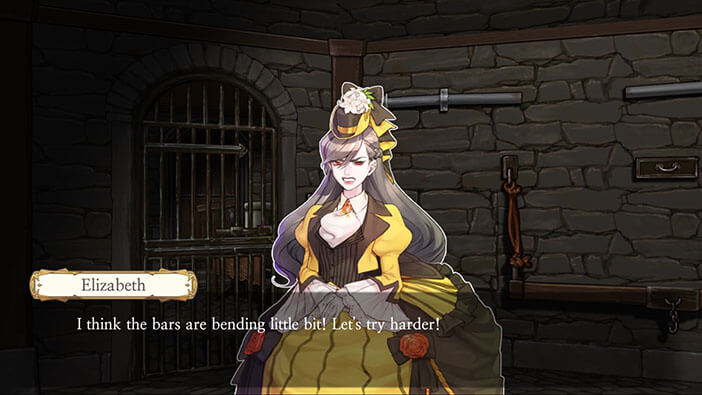
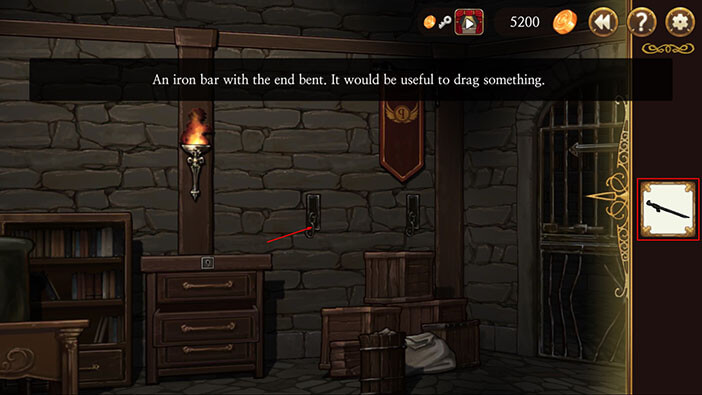
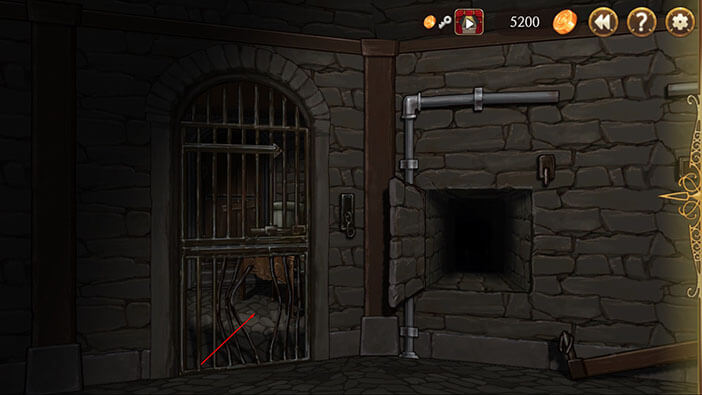
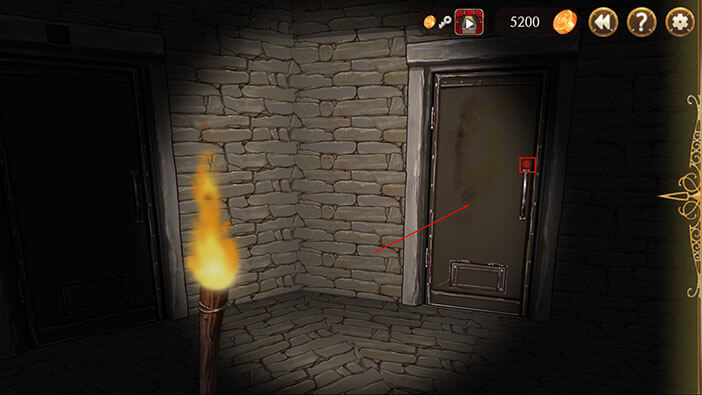
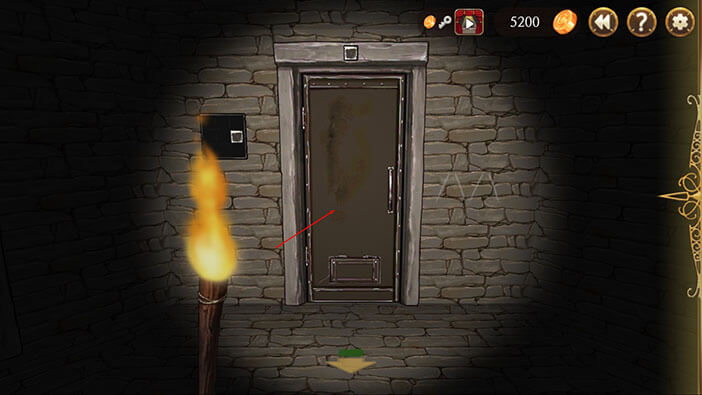
Select the “Iron Bar” from the inventory and tap on the lower half of the cell door. Tap several more times and Elizabeth will bend the bars enough to squeeze through. On a side note, it seems that Elizabeth is much stronger than she looks. Bending the metal bars would require a lot of strength, even with the iron pipe as leverage.
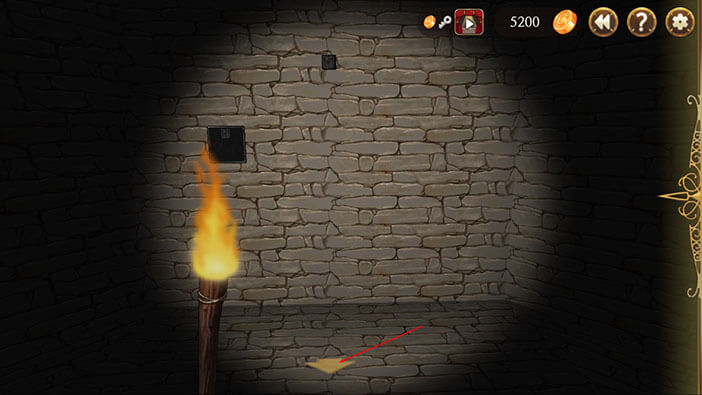
Tap on the hole to get out of the cell.
Turn slightly to the left and you will notice a candle sticking out from the bucket. Tap on the candle to pick it up.
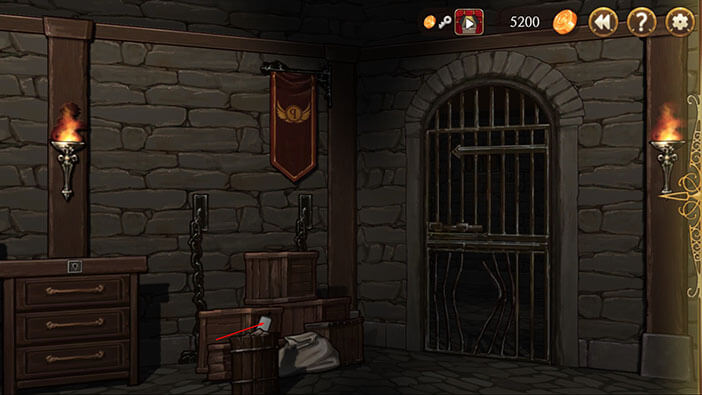
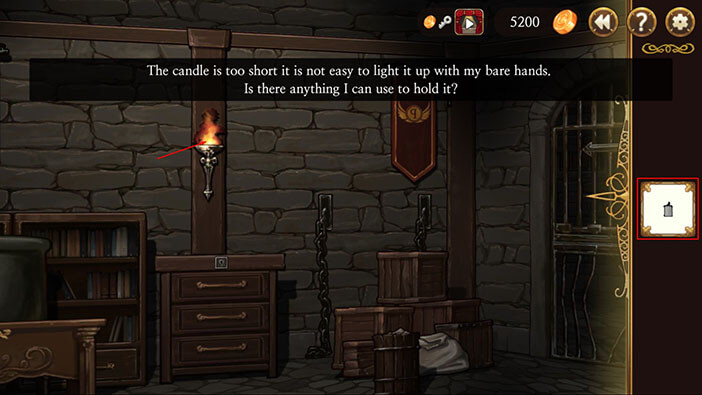
Turn a bit more to left, select the candle from the inventory, and tap on the torch. The candle is too short and our character can’t light it without risking a burn injury. Ahem, she can bend the metal bars but she can’t light the candle… It seems that Elizabeth is an immensely strong person but highly vulnerable to fire…
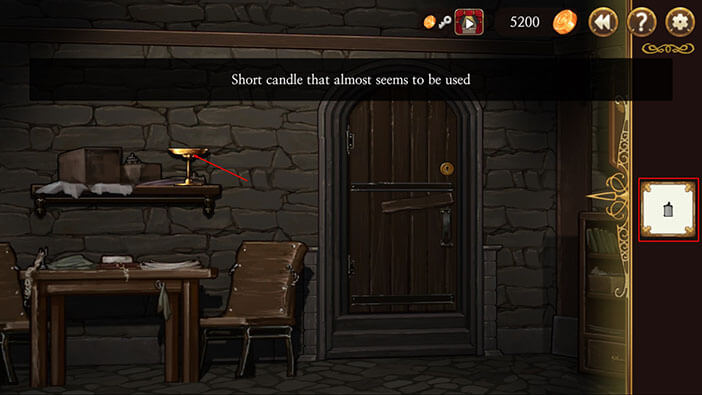
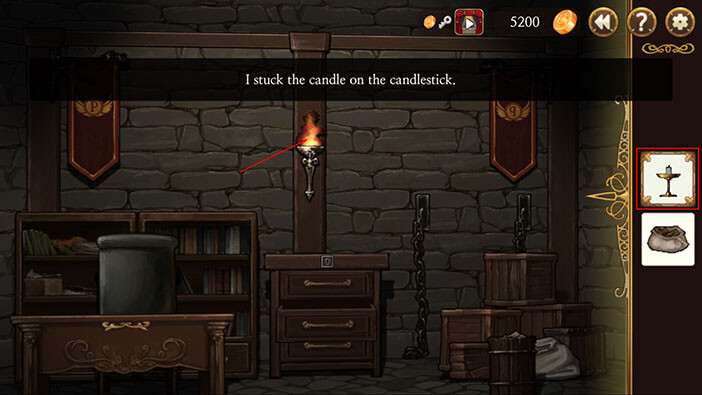
Turn to the left and face the door. You will notice a candlestick on the shelf to the left of the door. Select the candle from the inventory and tap on the candlestick.
Elizabeth placed the candle inside the candlestick and can now safely light it up, but before we do that let’s check the other side of the room.
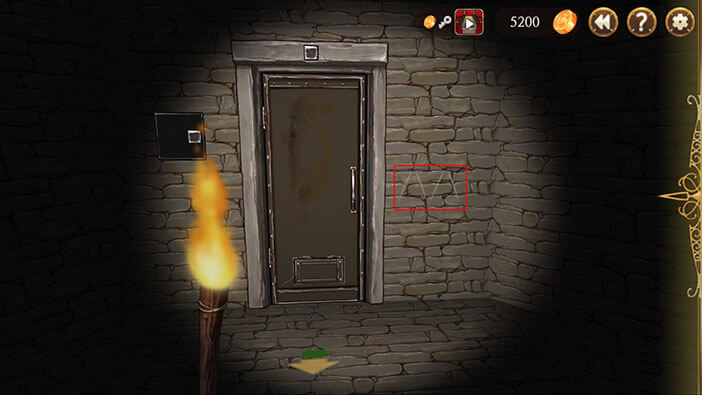
Turn to the left and you’ll see a notice board. Tap on all three notes to tear them down.
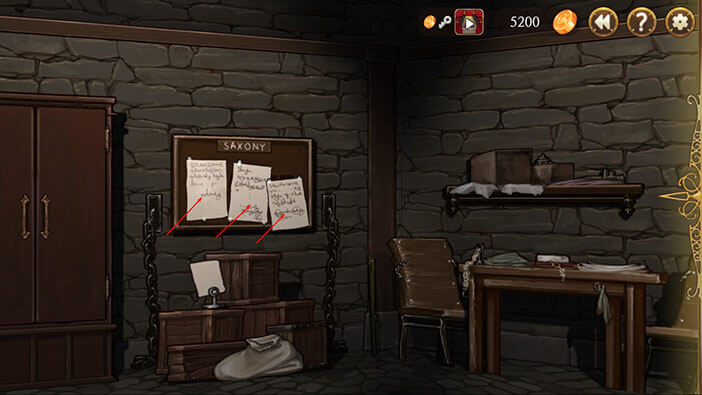
There’s also another note below the notice board. Tap on it, so our protagonist can take a closer look at it.
The letters on this note are barely visible, so we will probably have to use the candle to heat up the paper, and reveal the writing. Tap on the “Exit” button.
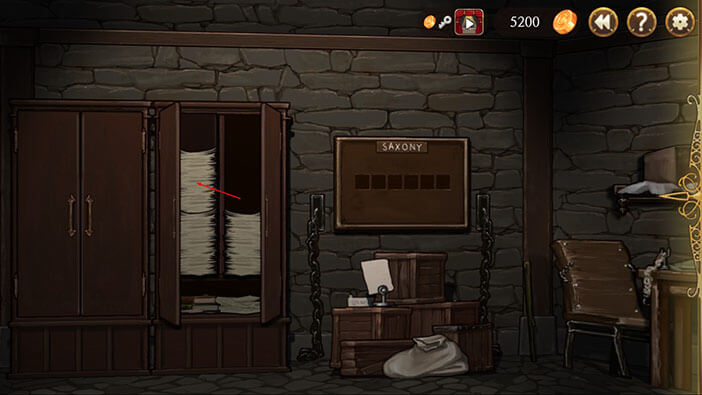
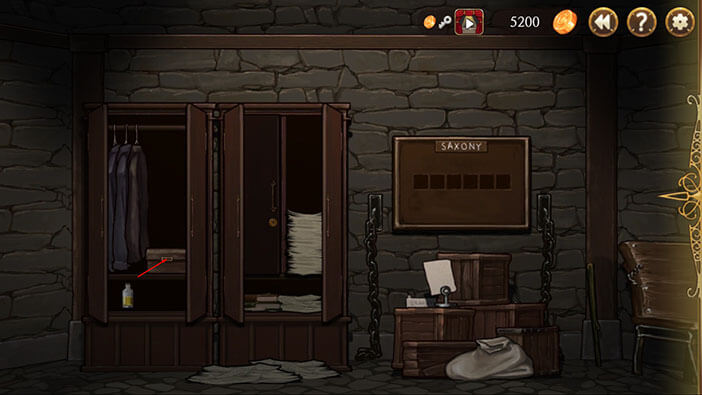
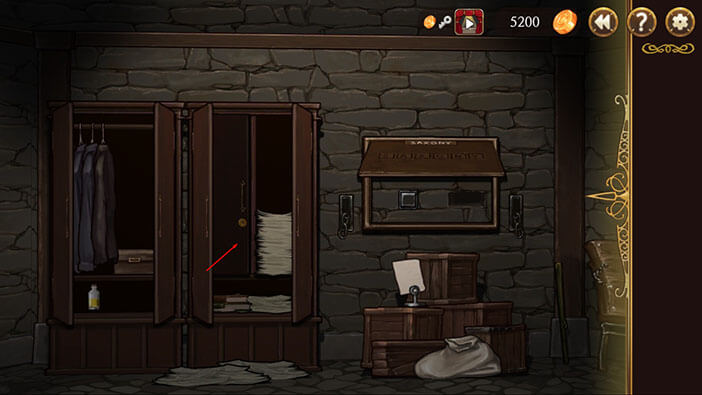
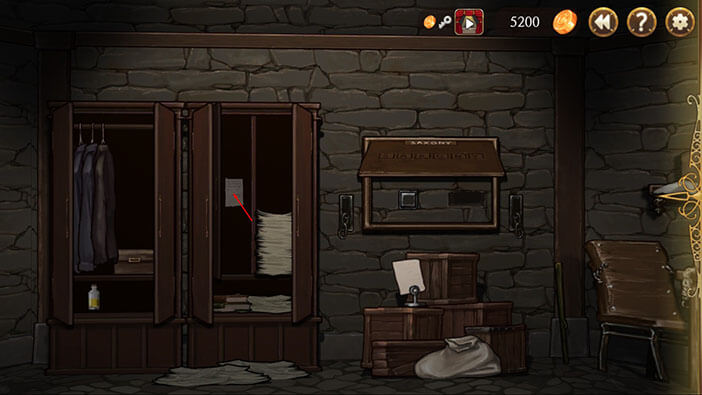
Turn a bit more to the left and you’ll see two cabinets. Tap on the cabinet on your right to open it.
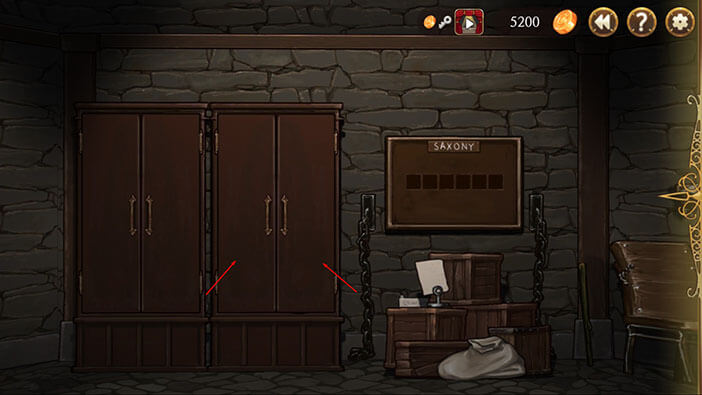
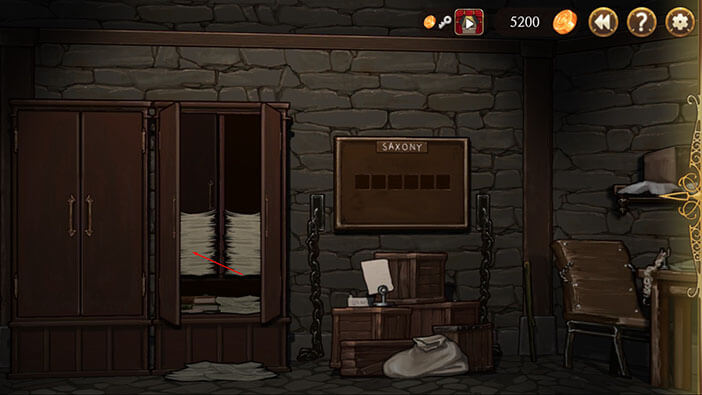
Tap on the upper half of the paper pile on the left to throw it down. Tap on the lower half to also throw it down, and you will reveal some kind of a hidden compartment behind it.
Tap on the other cabinet to open it.
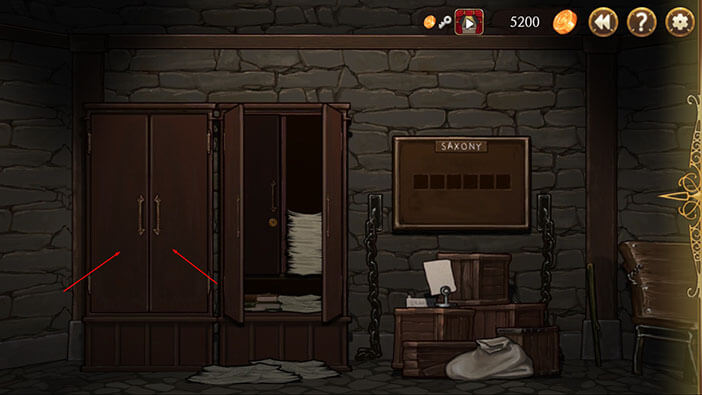
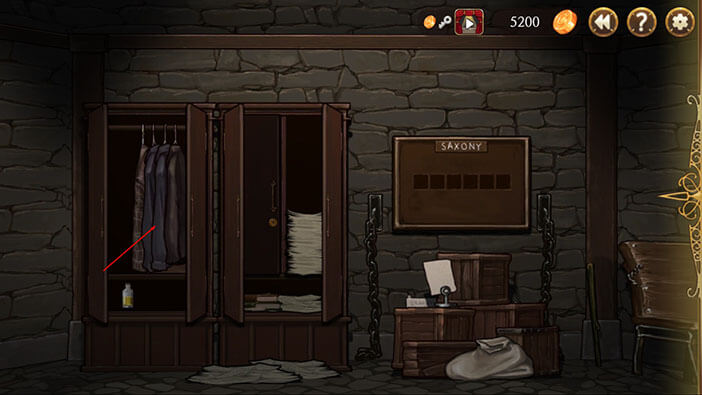
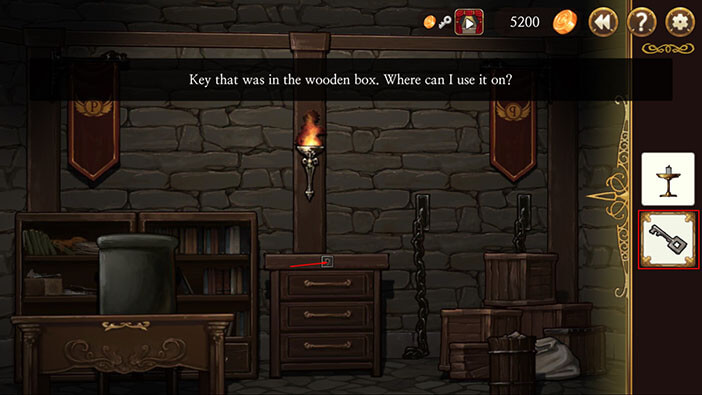
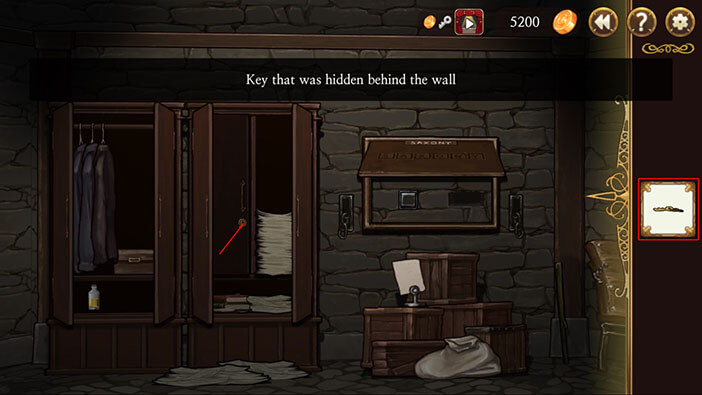
Tap on the clothing to move it aside. Tap on the box that was hidden behind the clothing, and our character will find a key.
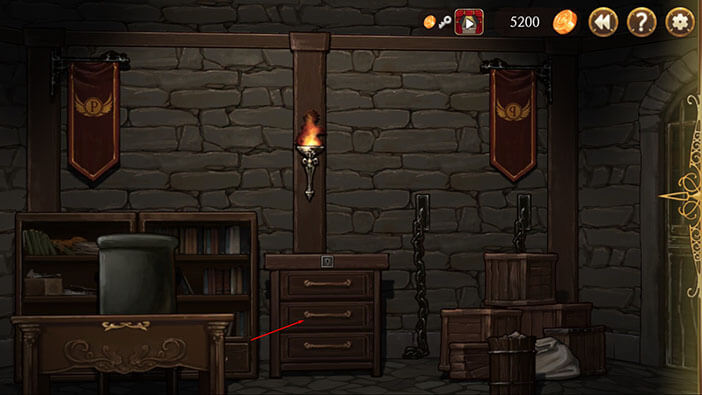
Turn around, select the key from the inventory, and tap on the keyhole on the small cabinet.
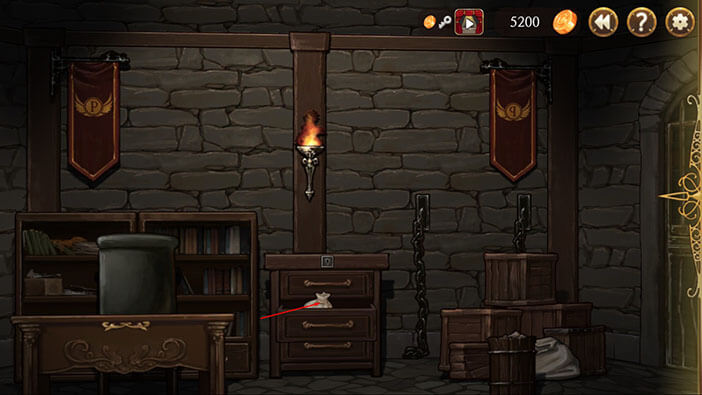
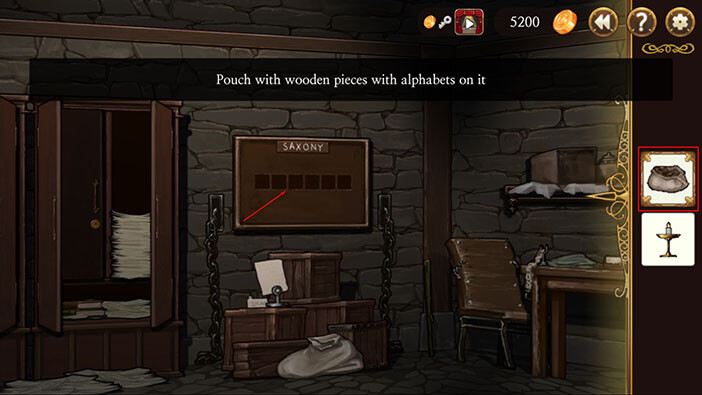
Tap on the middle drawer to open it, and tap again to open the bag inside it. Tap on the bag once more and a “Pouch with wooden pieces” will be added to the inventory.

Select the candlestick with a candle and tap on the torch to light it up.
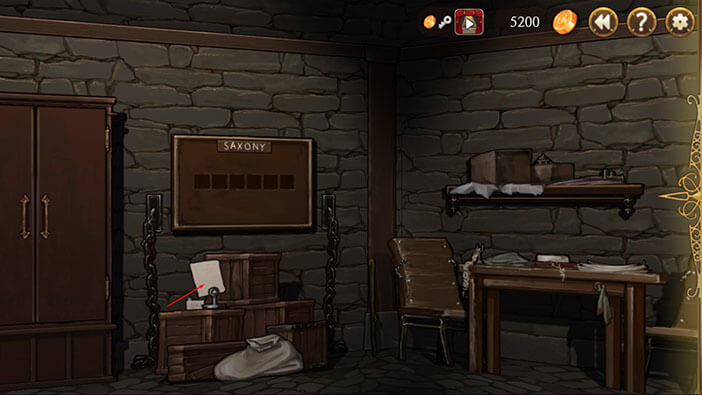
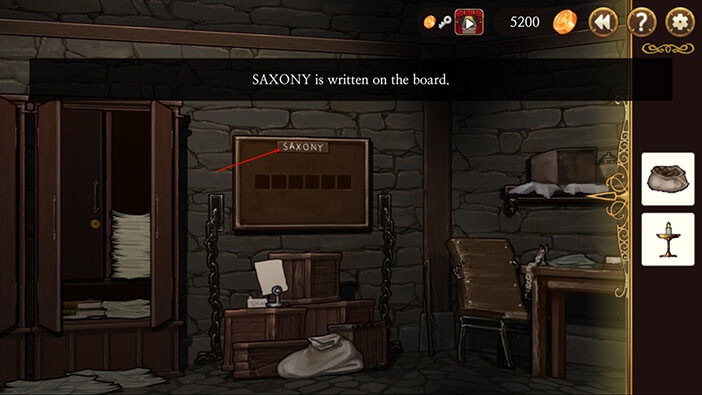
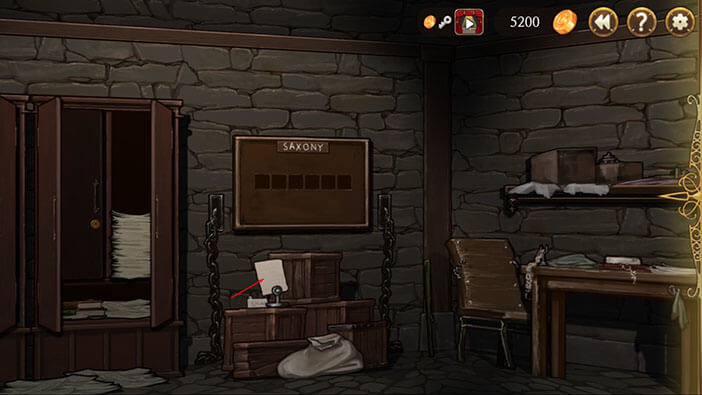
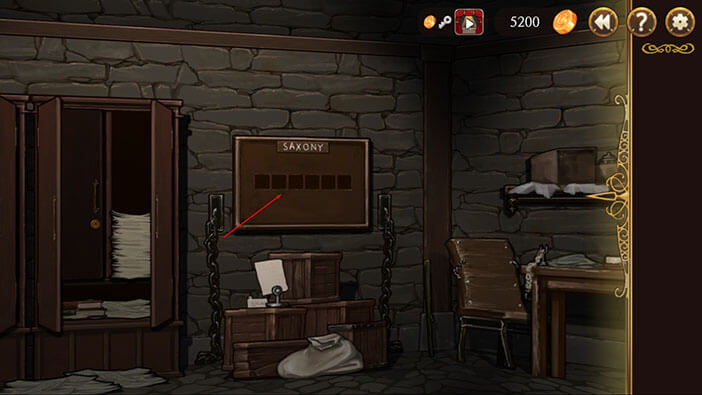
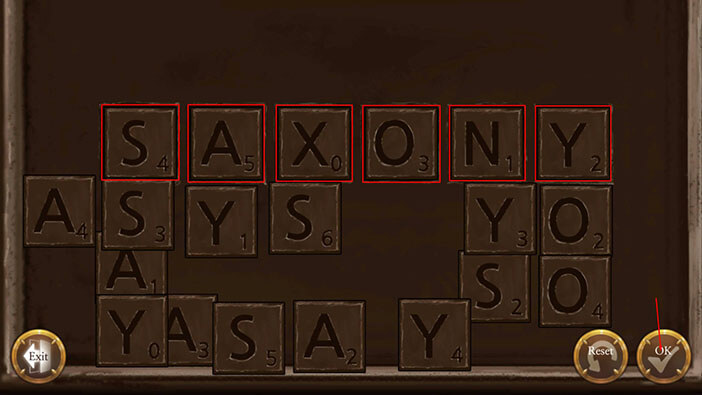
Turn around, tap on the notice board, and Elizabeth will comment that “SAXONY” is written on the board, above the six slots.
Select the “Pouch with wooden pieces” from the inventory and tap on the notice board. Our character has placed the wooden pieces with letters from the word “SAXONY” on them. Upon closer inspection, we can see that there’s also a number below each letter, in the lower-right corner of the wooden pieces.
Tap on the “Exit” button.
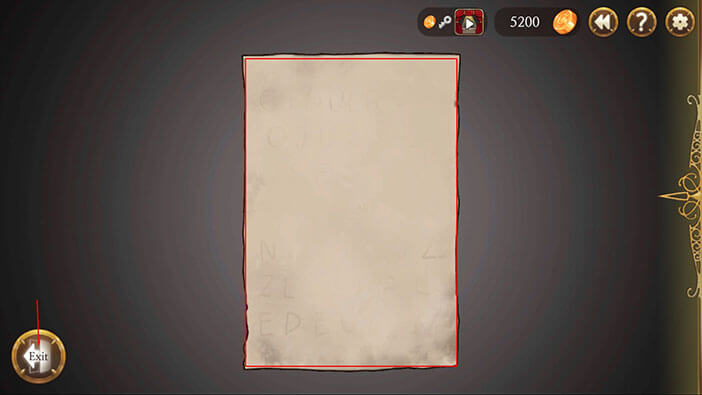
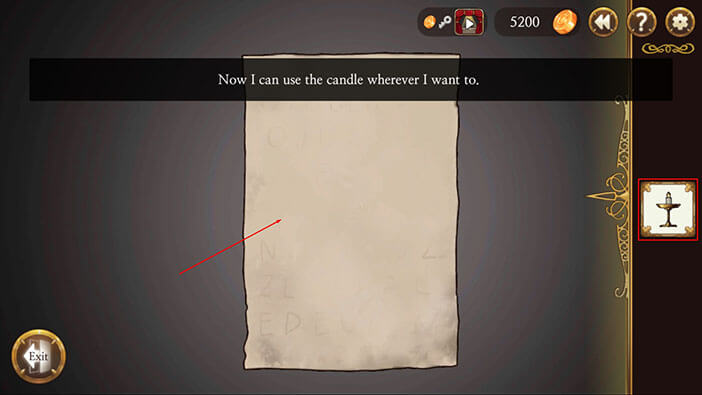
Ok, now we should check out that note. Tap on the note located below the notice board.
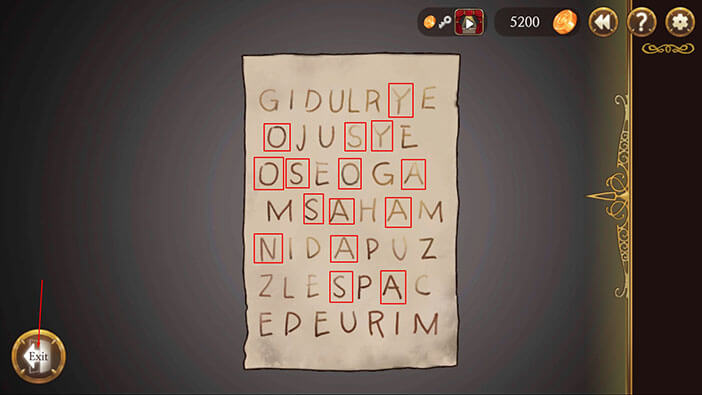
Select the burning candle from the inventory and tap on the note.
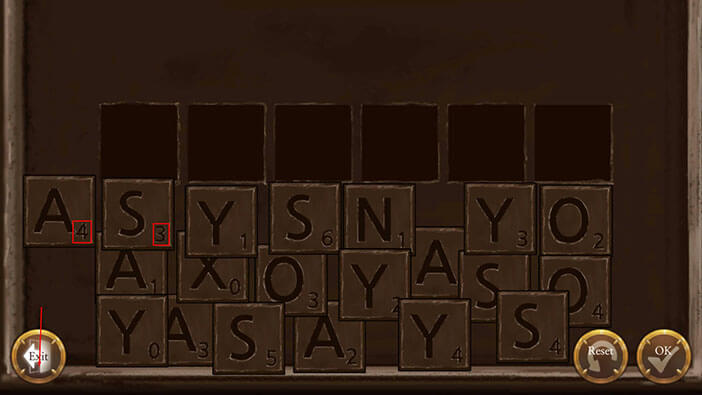
The letters appeared on the note. Let’s count the number of letters on this note. The letters that we’re interested in are the ones found in the word “SAXONY”.
Let’s started with the letter “S”.
There’s a total of four letters “S”. So, “S” = 4
Next is “A”. “A” = 5
“X” = 0
“O” = 3
“N” = 1
“Y” = 2
We should memorize the letters and the numbers. Tap on the “Exit” button.
Tap on the notice board, again.
We should now arrange the letters while paying attention to the number in the lower right corner. SO,
Slot 1 = S – 4
Slot 2 = A – 5
Slot 3 = X – 0
Slot 4 = 0 – 3
Slot 5 = N – 1
Slot 6 = Y – 2
Find the boards with the appropriate letter and number combination and place them into the six slots, forming the word “SAXONY”. Tap on the “OK” button once you’re finished.
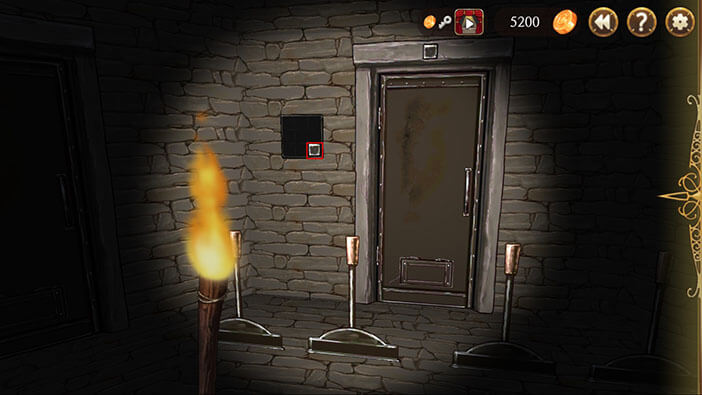
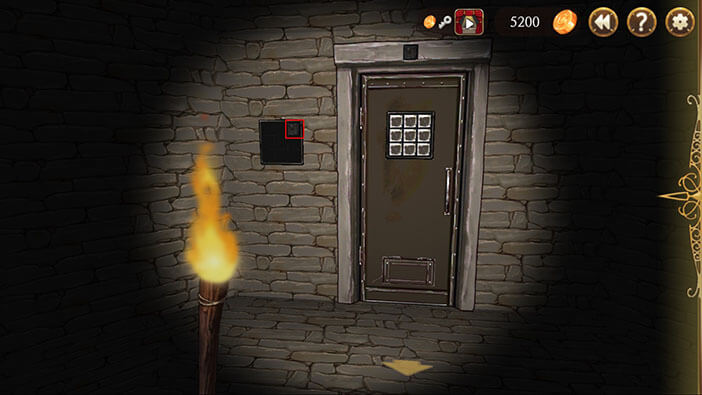
With this task completed, we opened the notice board. Tap on the key inside the hole in the wall to pick it up.
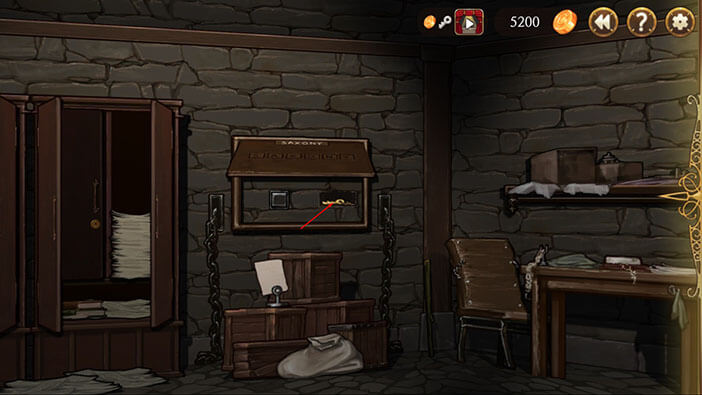
Tap on the button that was hidden below the panel, to start the mechanism that will retract the chains back into the wall.

Now, select the key from the inventory and tap on the keyhole, on the hidden compartment (cabinet on the right).
Tap again to open the hidden compartment, and tap once more to pick up the crowbar.

There is also a note in here, that was hidden behind the crowbar. Tap on the note to examine it.
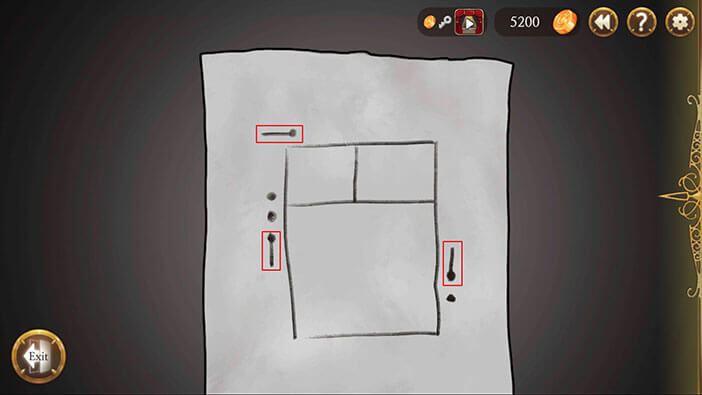
The note represents a simple map of this room, including the jail cells (cells are represented by two squares in the upper part of the map). The lines on the map represent the chains, while the dots represent the chain mounts. We should use the crowbar to extend the three chains that are represented on the map. Try to memorize the map and tap on the “Exit” button.
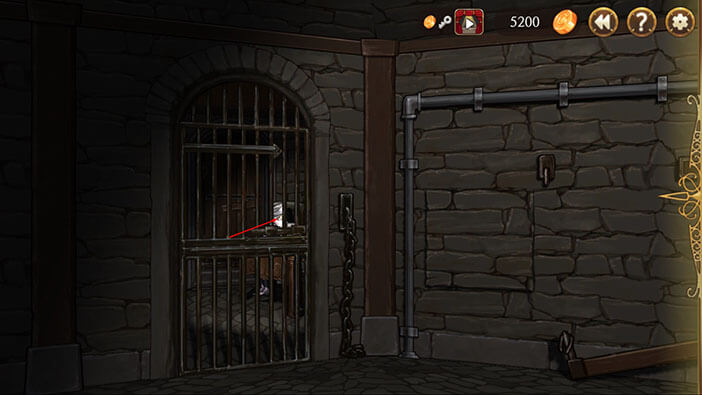
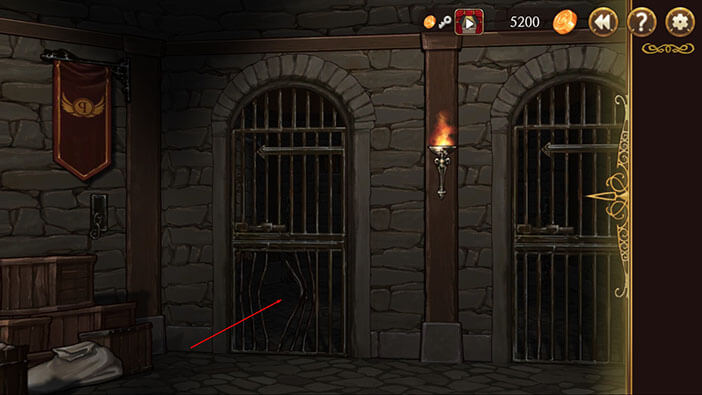
Let’s start with a jail cell. Turn to the left and tap on the hole in the bars to get into the cell.
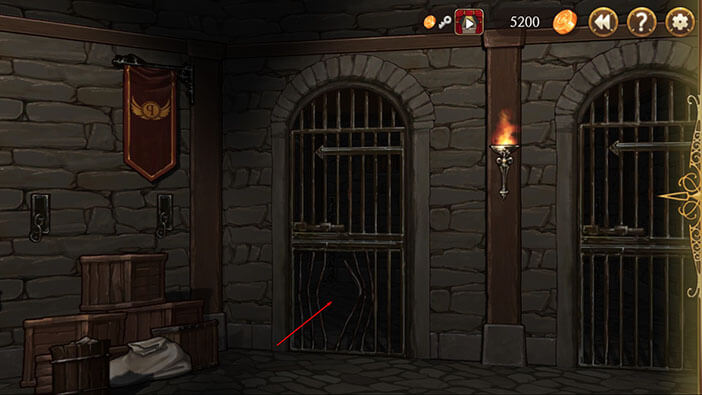
Once you’re inside the cell, turn all the way to the right, select the crowbar from the inventory, and tap on the chain mount (located to the right of the bed) to pull out the chain.
Turn around and tap on the hole in the bars to get out of the cell.
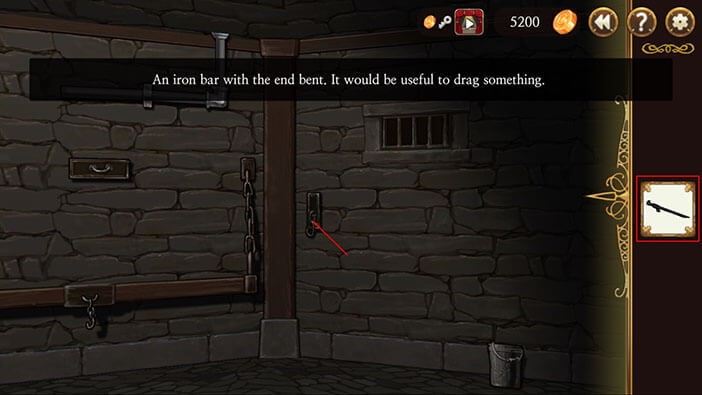
Ok, we are looking at the two chain mounts. There are three chain mounts on the map because the third one is just behind the wall of the jail cell (inside the cell). Ok, same as before, select the crowbar from the inventory and tap on the mount on the left.
NOTE: If you make the mistake and accidentally pull out the wrong chain, you can press the button that was hidden behind the notice board, to retract all chains and reset the process.
OK, turn around and face the notice board. With the crowbar selected tap on the chain mount on the left.

Turn to the left and tap on the hole in the bars to get into the cell.
We can see that we opened a secret passage in the wall, by pulling the chains. Tap on the hole in the wall.
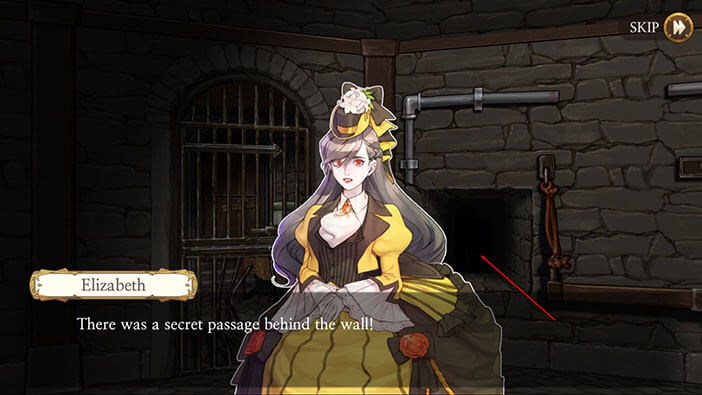
Elizabeth concludes that the secret passage was built a long time ago since the police station is a repurposed castle. She has no other choice but to go through it, even though she has no idea where she’ll end up. However, we will first have to find some kind of a light source, because the passage is completely dark.


Tap on the rope that we made out of a blanket to pick it up.
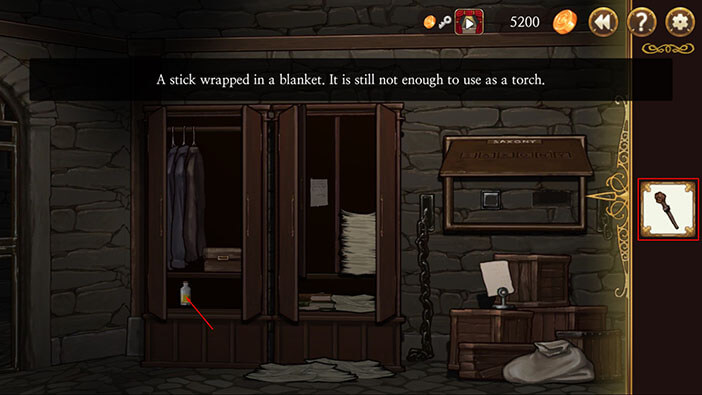
Exit from the cell and face the notice board. You will notice a wooden stick in the corner on the right. Select the “Torn Blanket” from the inventory and tap on the stick to start making a torch. The torch is still incomplete.
Turn to the left and face the two cabinets. Select the “Torch” from the inventory and tap on the yellow bottle, located in the left corner of the cabinet on the left. The bottle was filled with lamp oil, and after applying the oil to our torch it is now ready to use.
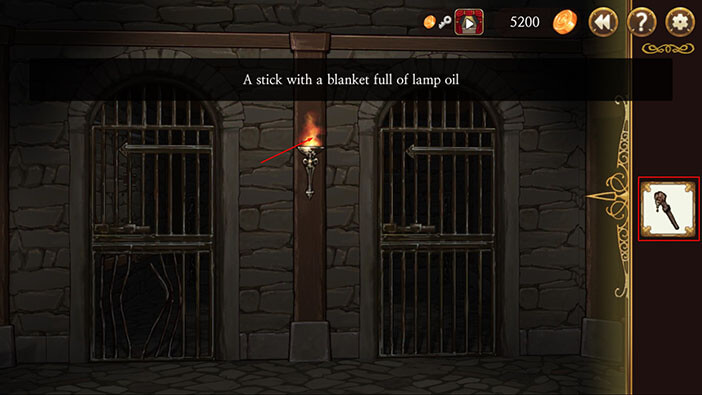
Face the cell entrance, select the “Torch” from the inventory, and tap on the torch on the wall. Now, our own torch is burning brightly and we can go into the secret passage.
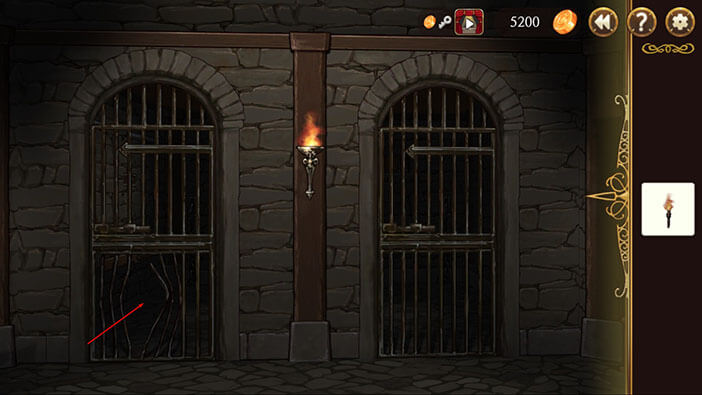
Tap on the hole in the bars to get into the cell.
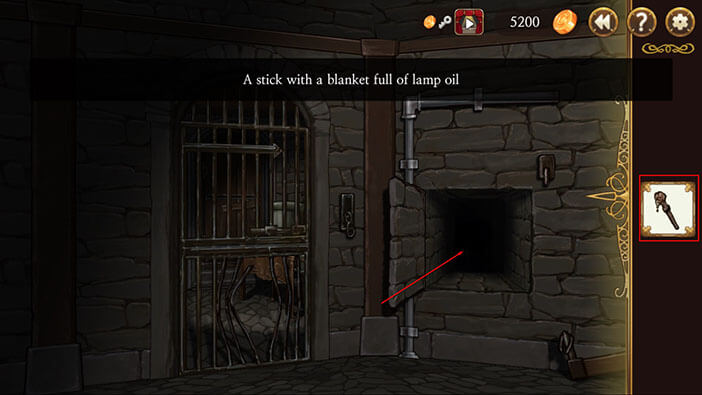
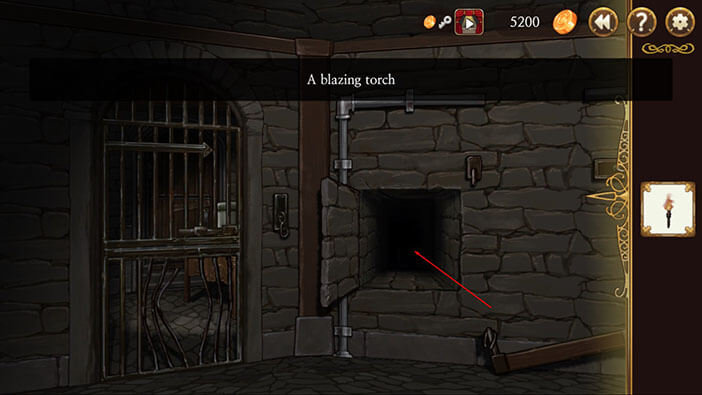
Select the “Burning Torch” from the inventory and tap on the hole in the wall to go down the secret passage. Elizabeth is concerned that her torch might burn out while she is still in the passage, but she gathers the courage and decides to go in anyway since she has no other choice…
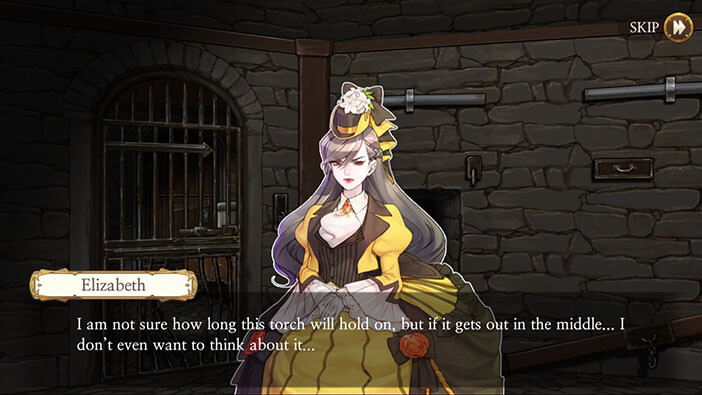

OK, we are now in a small room, and we will have to unlock multiple doors to reach the outside world. I already completed this part of the game before writing the walkthrough, so here’s one simple solution that will save us a lot of time, so we don’t have to travel back and forth several times.
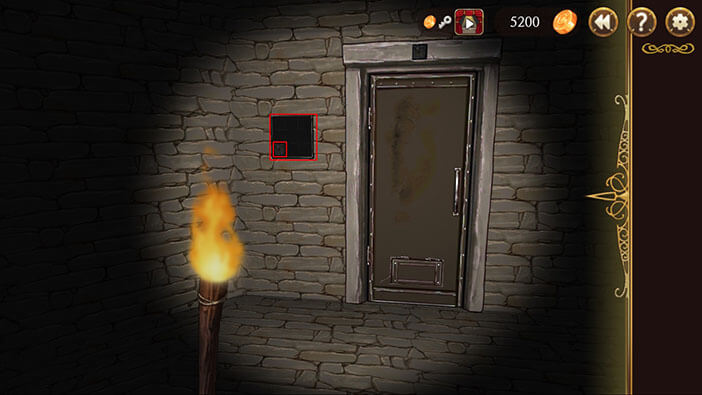
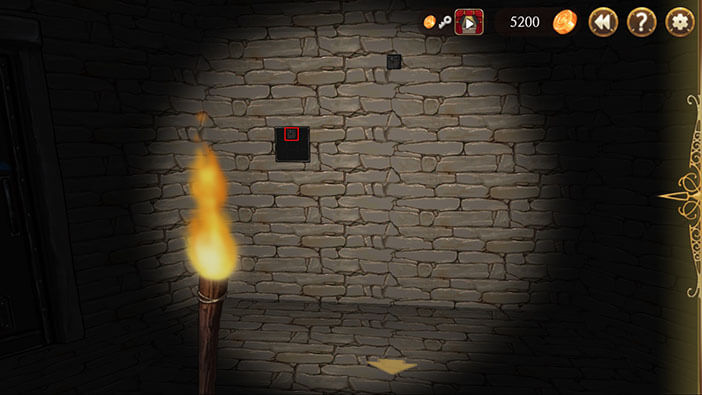
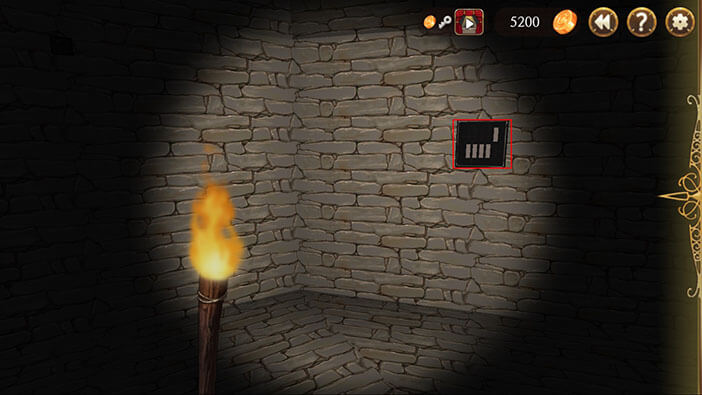
Before we continue, pay attention to the grid to the left of the door. The grid is 3×3, and the first field (left to right) in the bottom row is marked with a dark square. Memorizing this information (or better yet, writing it down) right now is what will save us a lot of time, later on, so we don’t have to go all the way back to the starting room (this room) in order to solve the last puzzle.
So, the first field in the bottom row = Black Square
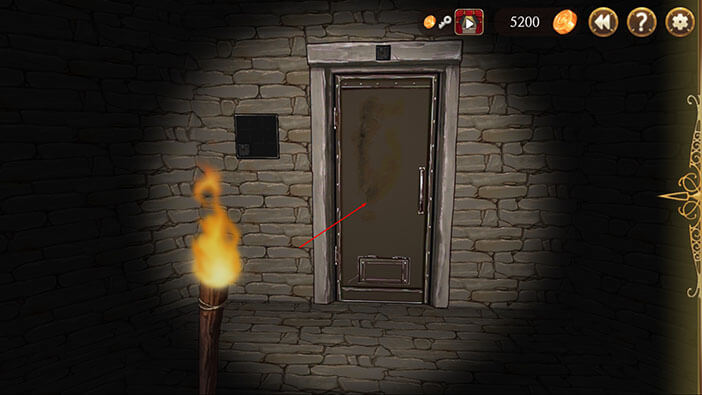
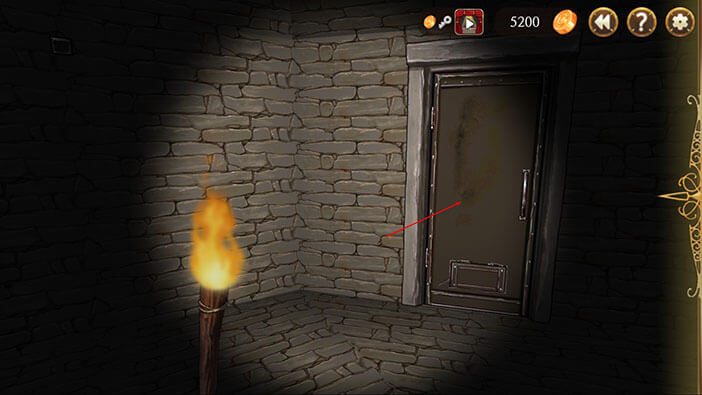
Tap on the door in front of you to open it, and tap again to proceed into the next room.
Before doing anything else, let’s memorize the field on the grid in front of us.
So, the first field in the middle row = White Square
I know it isn’t exactly a white square, but calling it a black square with a white border would just be too long and impractical.
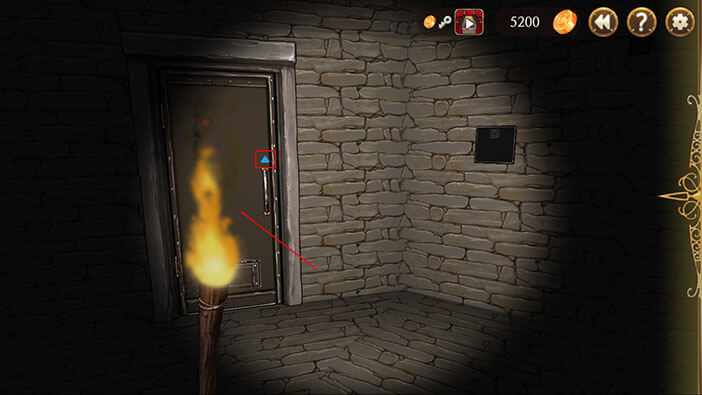
We can also see a lever inside this room. The lever is marked with a red circle, and one of the five positions below the lever is also marked with a red circle. So, tap on the lever a few times, until it is in the position marked with the red circle (far right).
There are two doors in this room, but both of them are locked, so tap on the yellow arrow to go back to the previous room.
Turn to the right and you’ll see a door marked with a red circle, so it should be unlocked because we operated the lever marked with the red circle in the previous room.
Tap on the door to open it and tap again to proceed into the next room.
Ok, let’s first take look at the position of a square on the grid.
So, the second field in the bottom row = White Square

There’s another lever in this room, and this one is marked with a blue triangle. So, tap on the lever twice to pull it on the position marked with a blue triangle (far left).
Tap on the door in front of you to open it, and tap again to proceed into the next room.

As before, let’s first mark the position on the grid.
The second field in the middle row = Dark Square
So far, we know 4 out of 9 positions.
Ok, now take a look at two rows of lines on the door in front of you.
The first, second, and third line in the top row = white
The fourth and fifth line in the bottom row = white
Memorize the positions of the white lines.
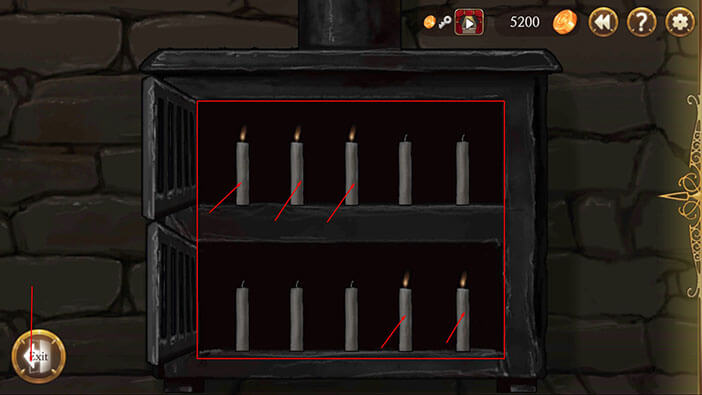
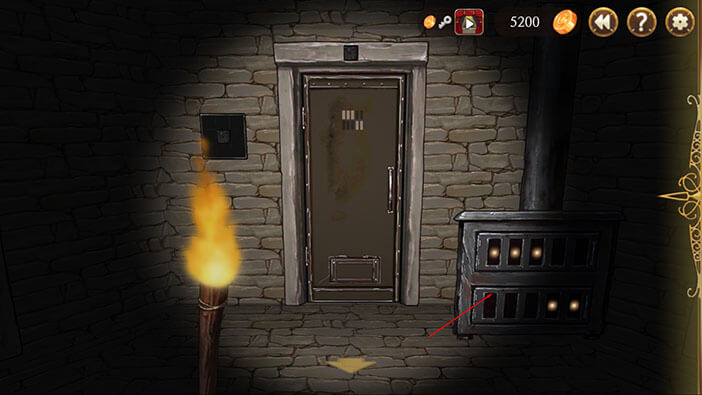
Tap on the furnace on the right to start the interaction.
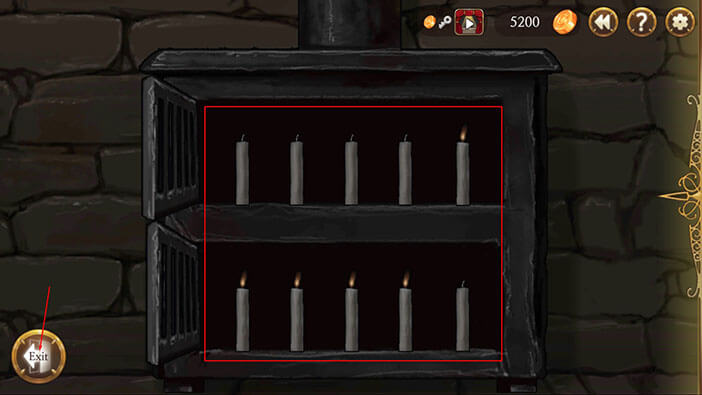
Ok, we can light up the candles by tapping on them. You probably noticed that the candles are arranged in two rows with five candles each – just like the lines on the door.
Let’s light up all the candles that are at the same position as the white lines on the door.
So, the first, second, and third candle in the top row.
The fourth and fifth candles in the bottom row.
Tap on the “Exit” button once you finish lighting up the candles.
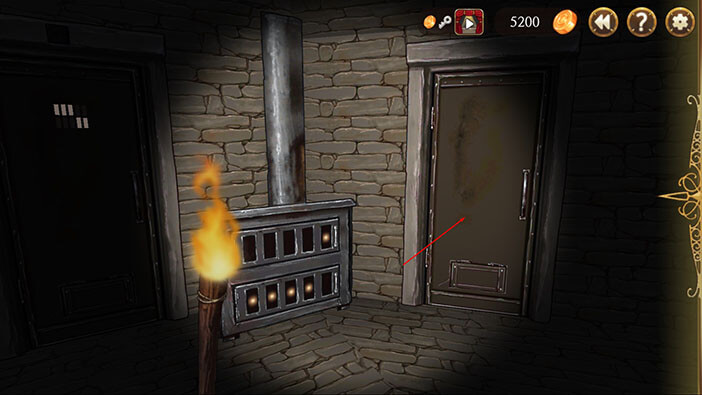
The door in front of our character should now be unlocked, so tap once to open it and tap again to proceed into the next room.
Here we have another grid.
The second field in the first row = Black Square (5/9 positions)
There’s a door marked with a blue triangle in this room, and we already unlocked it when we operated the lever marked with the same symbol. So, tap on the door to open in and tap again to proceed into the next room.
Ok, another grid.
The first field in the first row = White Square (6/9 positions)
There’s also a lever marked with a green square in this room. Tap on the lever four times and placed it in the partial-right position (not the far right) to match the position marked with a green square.
Turn around and tap on the door twice to go back to the previous room.
Ok, turn to the right and take a look at the scheme on the wall.
The fifth line in the top row = white
The first, second, third, and fourth line in the bottom row = white
Memorize the positions of the white lines. When we apply what we found out here by setting the candles in the furnace, we will unlock the door on the right side (the same side as this drawing) in the previous room (furnace room).
Tap on the yellow arrow to go back.
Tap on the furnace to start the interaction, and light the arrows to match the scheme that we saw in the previous room.
The fifth line in the top row = white
The first, second, third, and fourth line in the bottom row = white
Tap on the “Exit” button once you’re done.
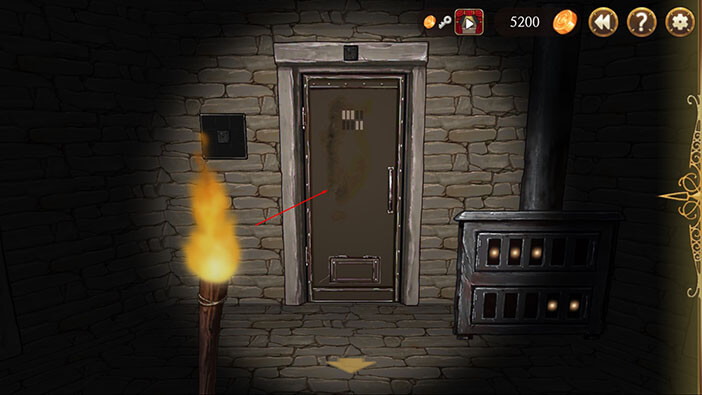
Turn all the way to the right and tap on the unmarked door, which we just unlocked “with candles”. Tap again to proceed into the next room.
Another grid, let’s first take a look at it.
The third field in the second row = White Square (7/9 positions)
Ok, now take a look at the drawing on the right of the door. There are two pairs of “crossed” sticks. We will need this scheme in the next room.
Now, take a look at the yellow arrow on the floor, and you’ll also notice the drawing of the green square. Luckily, we already activated the lever marked with the green square. So, tap on the yellow arrow to proceed into the next room.
Another grid.
The third field in the third row = White Square (8/9 positions).
Ok, now we should arrange the four levers in front of us to match the drawing that we saw in the previous room (that I named “crossed sticks”).
So, the first stick (left to right) should be inclined to the right.
The second stick should be inclined to the left.
The third stick should be inclined to the right.
The fourth stick should be inclined to the left.
Tap on the door twice to proceed once you’re done.

We unlocked the door behind the yellow arrow+green square after arranging the lever. Tap on the door to open them, and tap once more to enter.
Ok, another grid.
The third field in the first row = Black Square (9/9 positions).
Tap on the grid on the door.

Now we reached the final door, but in order to unlock it, we will need to know what squares are in the nine fields of the grid. That’s why I suggested memorizing (or better yet, writing down) all the positions on the grid starting from the first door. If we haven’t done this, we would have to go through all the doors to write down/memorize these fields.
So, by quickly looking at my notes, I can write down which square should be in which field.
(first row, first field) = White
(first row, second field) = Black
(first row, third field) = Black
2-1 (second row, first field) = White
2-2 (second row, second field) = Black
2-3 (second row, third field) = White
3-1 (third row, first field) = Black
3-2 (third row, second field) = White
3-3 (third row, third field) = White
Ok, now let’s use this information to unlock the door. By default, all squares on the door are white, so tap on the squares that should be black (look at our notes).
Tap on the “Exit” button once you’re done.
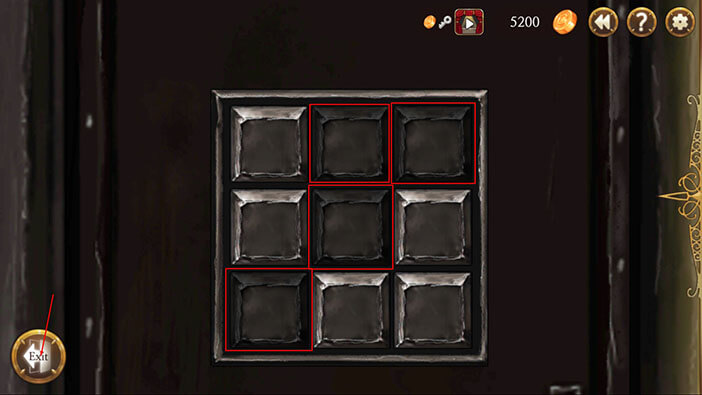
The door is now unlocked so tap once to open it and tap again to proceed.
Elizabeth finally reached the outside world, but the police have already caught up to her and she has to run away from them.
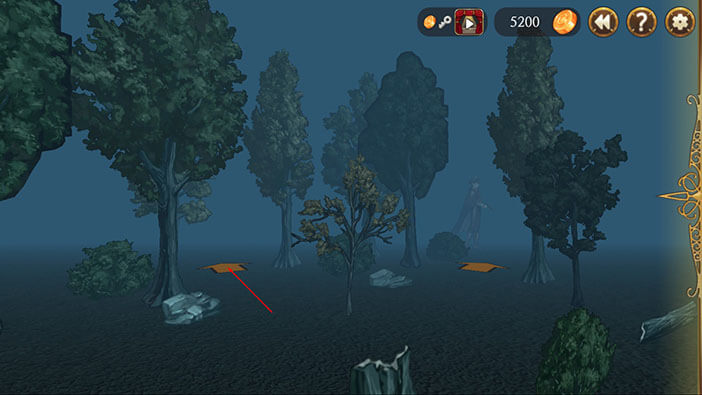
Move forward and tap on the arrow on your left. The police officers are trying to surround Elizabeth, and this is the only possible escape route.
NOTE: For me, the game was a bit “buggy” at this point, and I only managed to escape after Elizabeth was spotted and shot at several times.
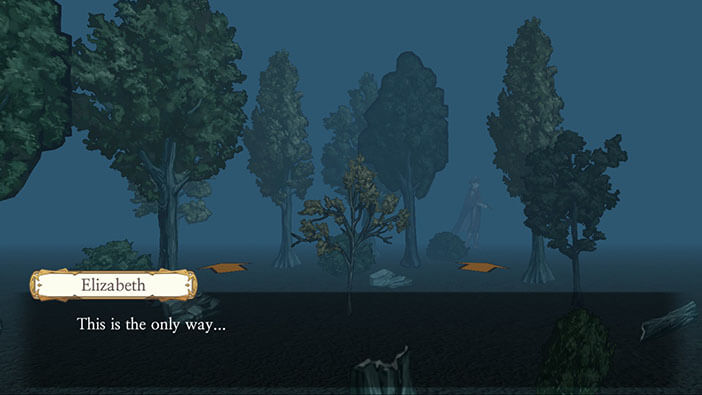
After running through the forest Elizabeth reaches the cliff and realizes that there she has nowhere else to run. At this point, Schmitz caught up with her. But Huxley MK II, suddenly appears out of nowhere, grabs her, and jumps away from the cliff while being fired at by the police. So, we finally reached the present time in the story, after exploring the past from Elizabeth’s and Huxley’s point of view.
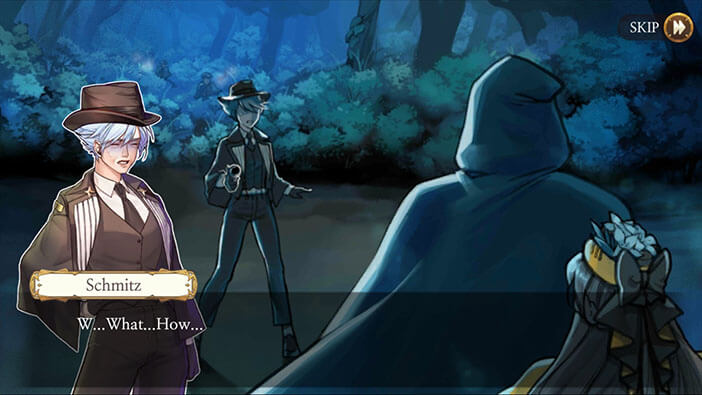
In the next stage, we will be playing as the chief investigator Schmitz, as she tries to figure out what’s going on. She still can’t believe that Huxley has returned from the dead. Join us in the next stage of the Walkthrough for Frankenstein Room ESC, so we can see what the very confused chief investigator Schmitz is going to do next. Judging from the past, I guess she will do something irrational again…
Thank you for reading.