Chapter 7-1 Incomplete Revenge
Complete Walkthrough
Hello everyone, and welcome to our Walkthrough for the First Stage of Chapter 7 for the Frankenstein Room ESC adventure game. In this stage, we will be playing as Elizabeth, as she and her companions make their way toward Babel while avoiding the pirates. We will also play a part of the stage as Victor, and discover a very interesting event that happened in the past…
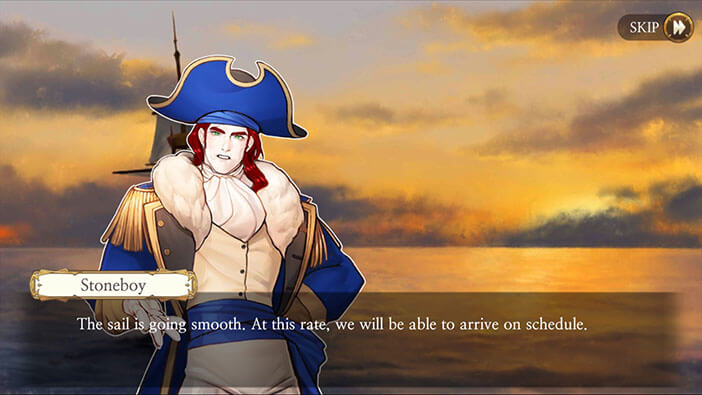
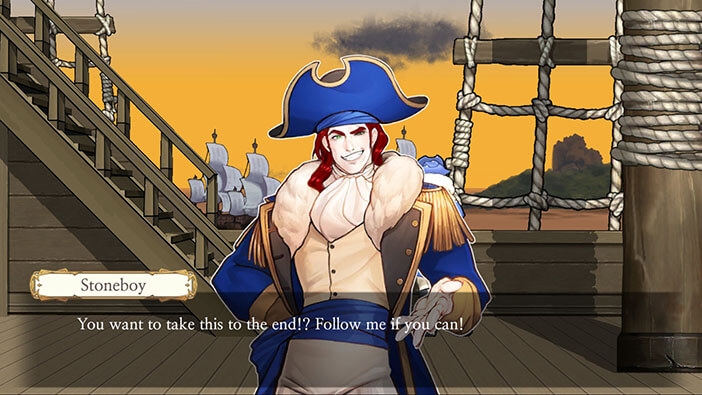
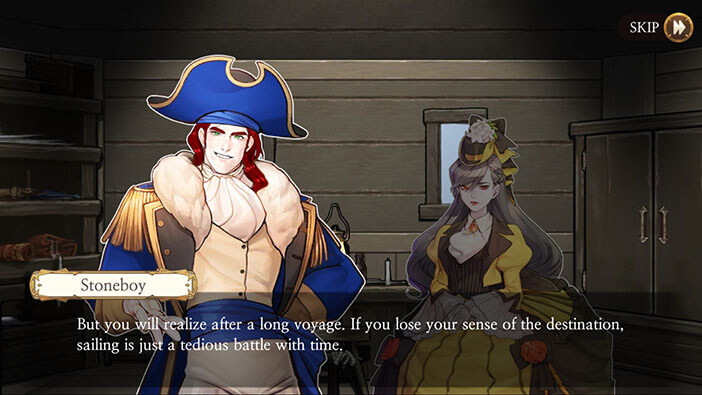
Our story continues on the 5th of December, with 20 days left until the sunspot. Our characters are on board the “Genesis” and are sailing north towards the Arctic. Stoneboy concludes that they should be easily able to reach the Babel in time if nothing unexpected happens.
Stoneboy is curious about Elizabeth’s relationship with Huxley, and she explains that they are engaged. The captain mockingly says that there are women with a very strange taste in this wide world… Which triggers Elizabeth.


However, these two will have to continue their witty conversation later, because Stoneboy just spotted the pirates on the horizon. These are the same guys that chased after our characters in Hamburg. I guess they did decide to sail after us.
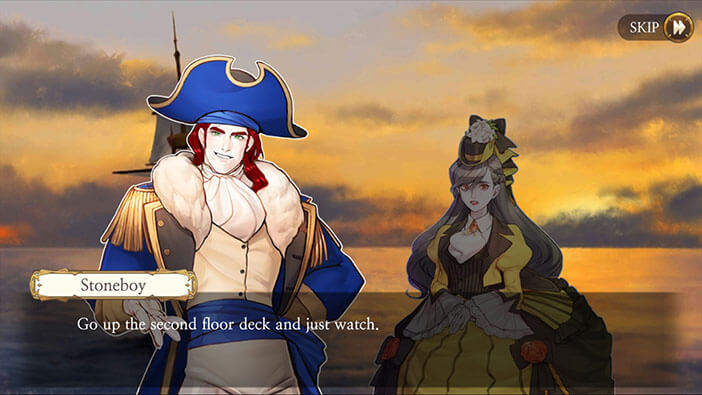
Stoneboy concludes that the “Genesis” will reach the Norwegian coastline soon, and he is hoping to lose the pirates among the numerous small islands near the coastline. Stoneboy orders Elizabeth to go to the upper deck (he is a captain after all), and observe his sailing skills from a higher vantage point. Well, he does seem very confident, let’s see if he can back it up.


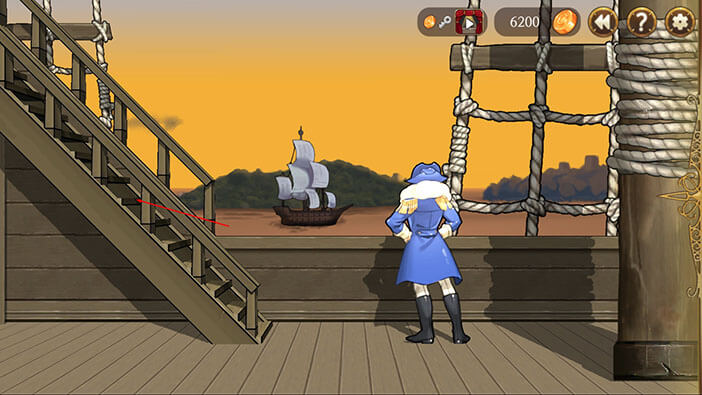
Tap on the stairs on the left.
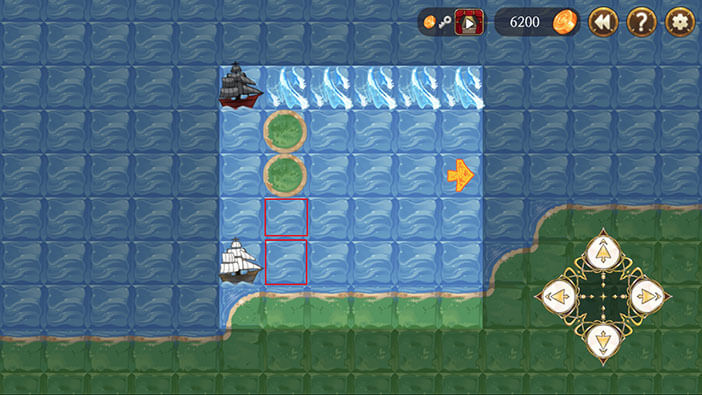
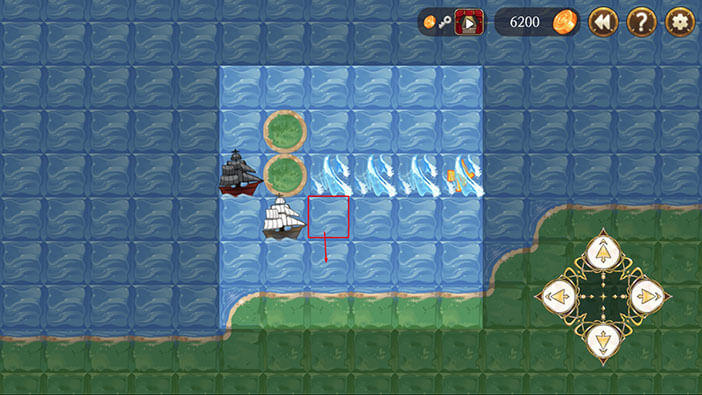
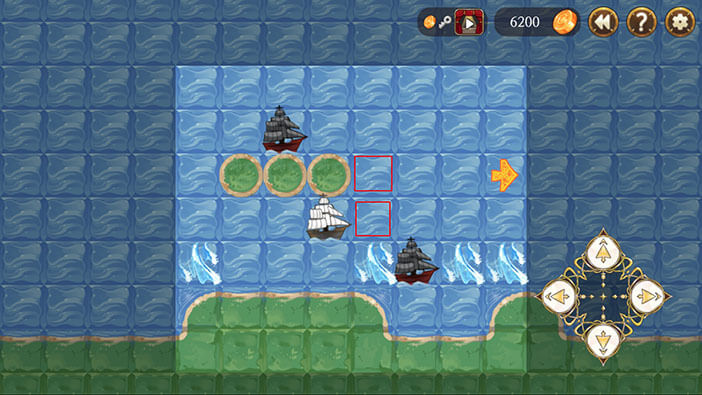
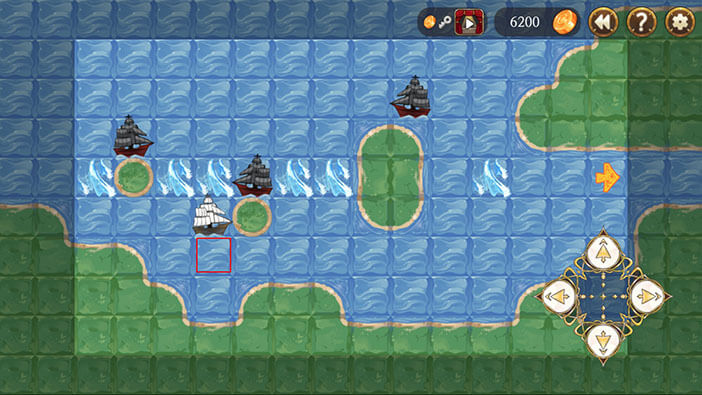
Ok, we have a small mini-game ahead of us. Our goal is to reach the yellow arrow on the right before the pirate ship (upper left corner) can catch us. The waves will descend from the top of the grid, and they will drop your ship one row lower if they hit it.
Step 1
Move one field forward and one field up.
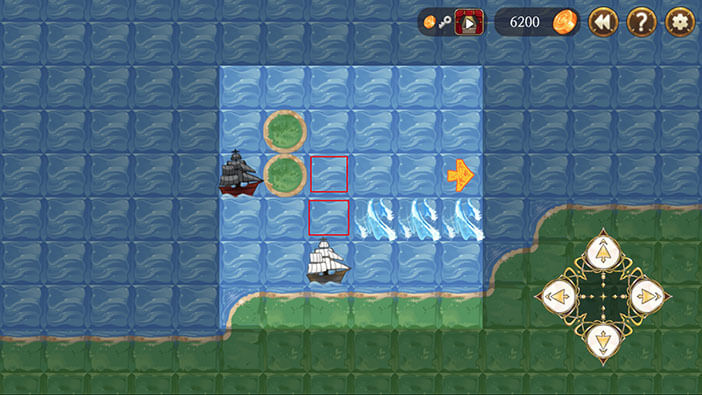
Step 2
Move another field forward – don’t worry about the waves pushing your ship one row lower.
Step 3
Move two fields up.
Step 4
Move three fields forward to get away from the pirates and complete this mini-game. 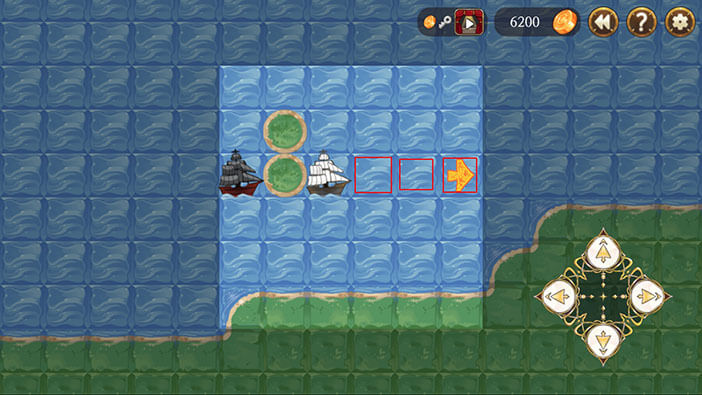
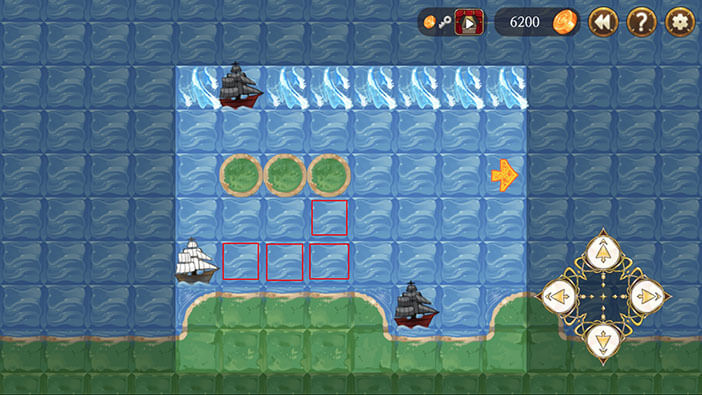
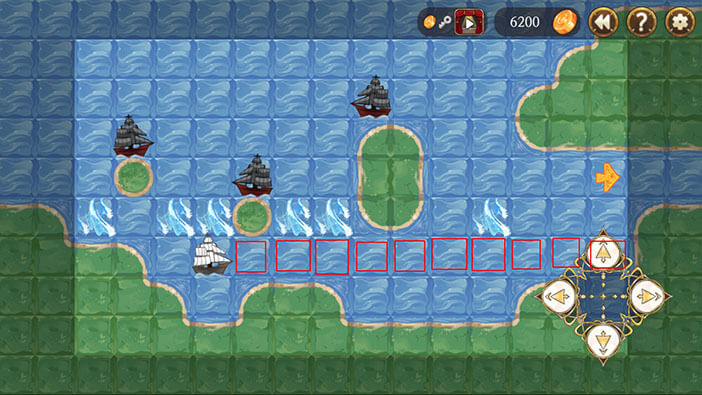
Unfortunately, two more ships are tailing us and Stoneboy will have to take evasive actions, once more.

Step 1
Move three fields forward and one field up.
Step 2
Move one field forward and one field up.
Step 3
Move three fields forward to get away from the pirates and complete this mini-game. 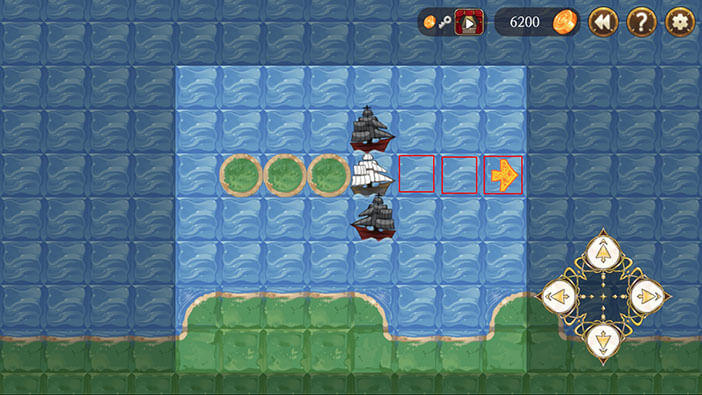
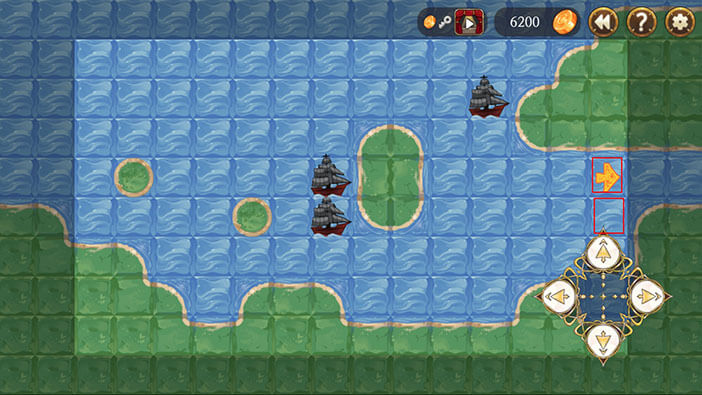
Well, these pirates are very persistent. Three more ships showed up behind us. Let’s go. Round 3.
Step 1
Move three fields forward.
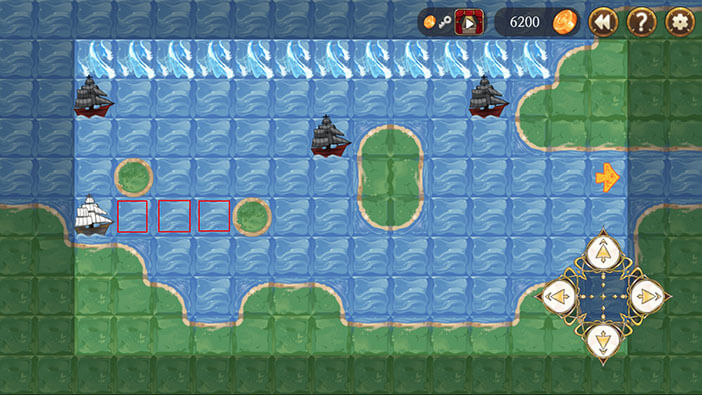
Step 2
Move one field down.
Step 3
Move 10 fields forward – go all the way to the right edge of the map.
Step 4
Move two fields up to escape from pirates.
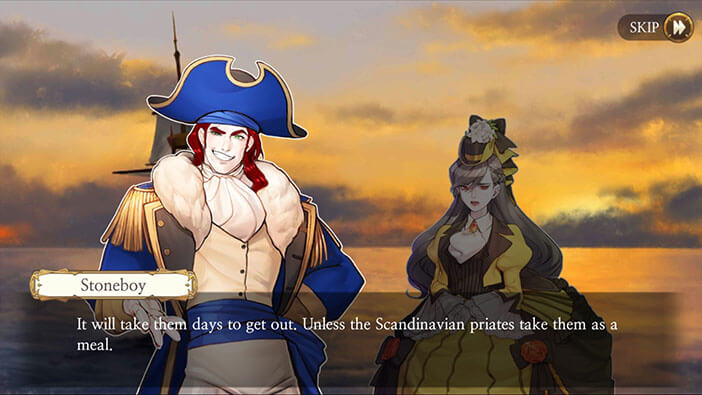
Stoneboy is convinced that they managed to lose the pirates for good. He claims that it will take them days to get out of the maze of the small islands, and the Scandinavian pirates might also attack them, so it looks like we’re safe. Unsurprisingly, Elizabeth is impressed with Stoneboy’s skills, and she probably doesn’t regret hiring him as her captain.
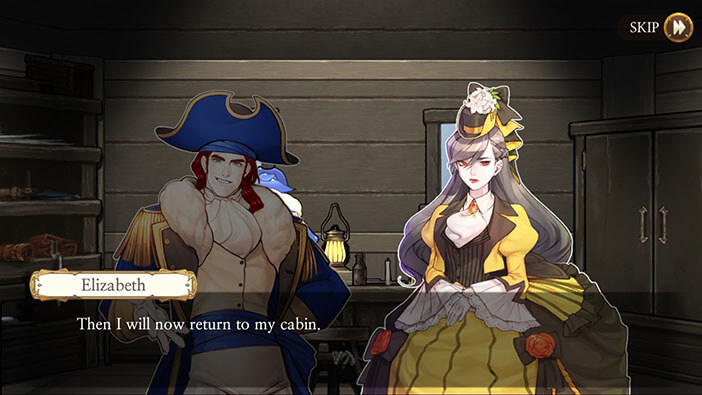
Our story continues the next day, with Stoneboy reporting to Elizabeth. Elizabeth says that he doesn’t have to report to her every day., He explains that sea voyage can be quite uneventful, and he wants her to know how far they are from their destination, by reporting the progress on the daily basis.
Elizabeth seems bored and decides to return to her cabin.
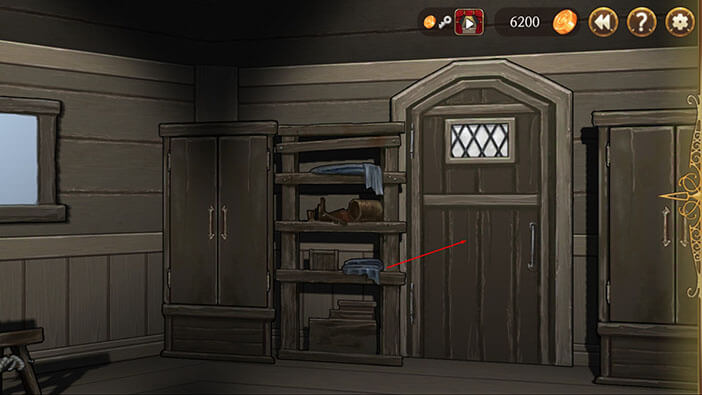
Turn to the right and tap twice on the door to open it and go into the next room.
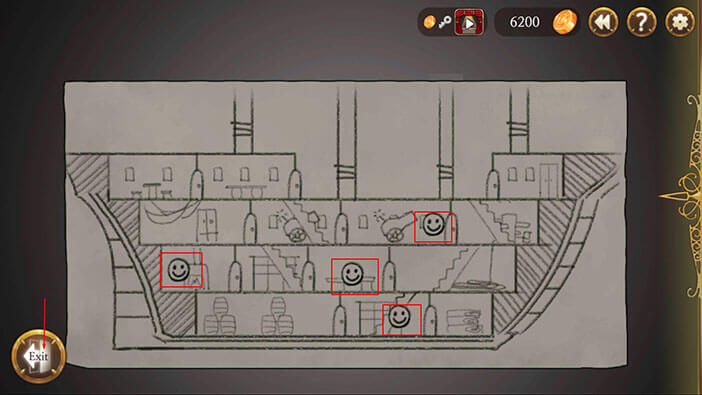
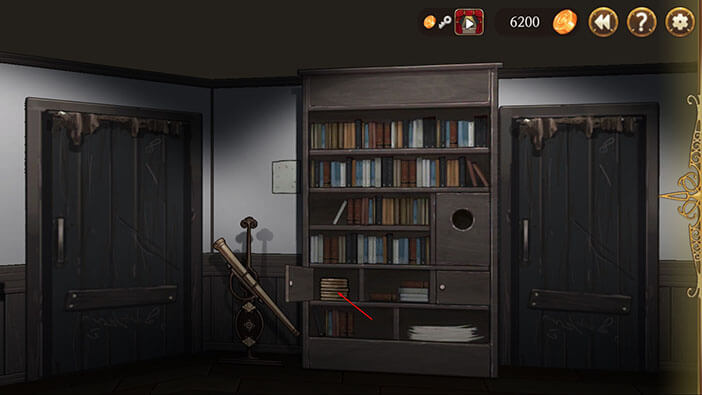
Turn to the right and tap on the ship’s blueprint that is posted on the wall.
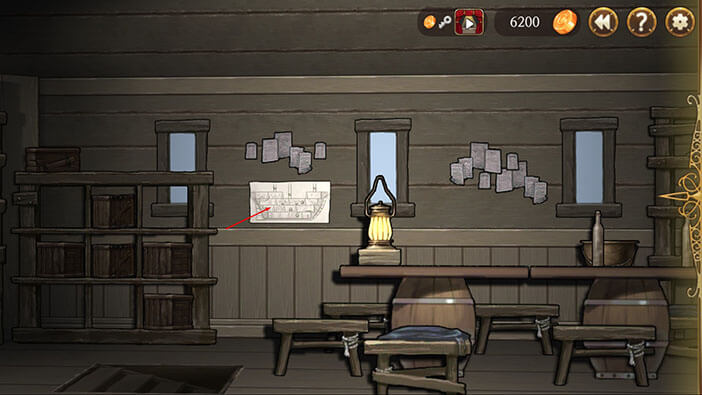
Well, we can see smile faces drawn on all compartments of the ship. I guess that means that the crew is happy, so far. Let’s hope their mood won’t change… A mutiny would be the last thing that our characters need…
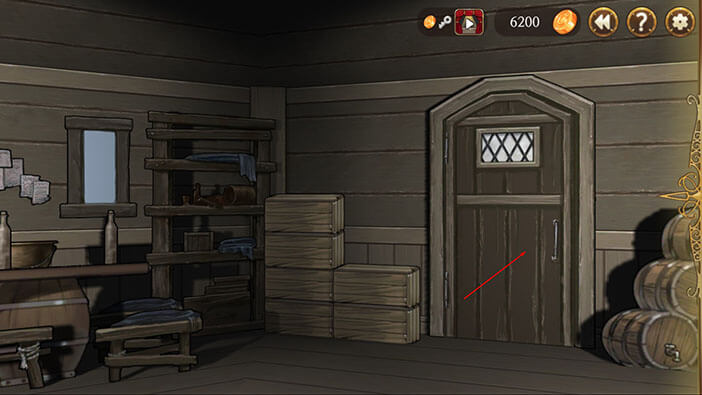
Tap on the “Exit” button.
Turn to the right and tap twice on the door to exit.
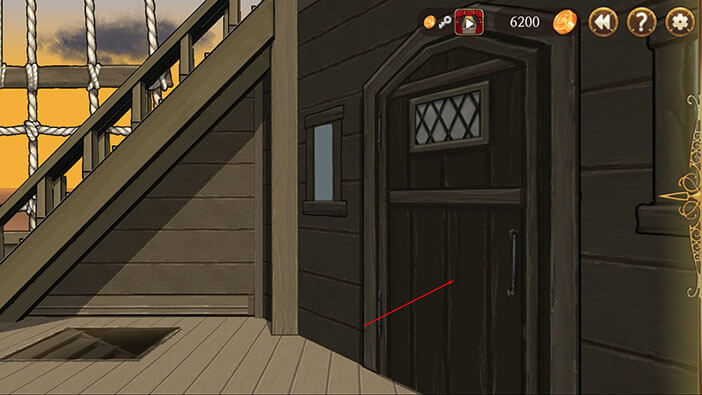
We are now at the main deck. Turn all the way to the right and tap on the door twice to go to Elizabeth’s cabin.
Once there, turn to the right and tap on Huxley to initiate the conversation.
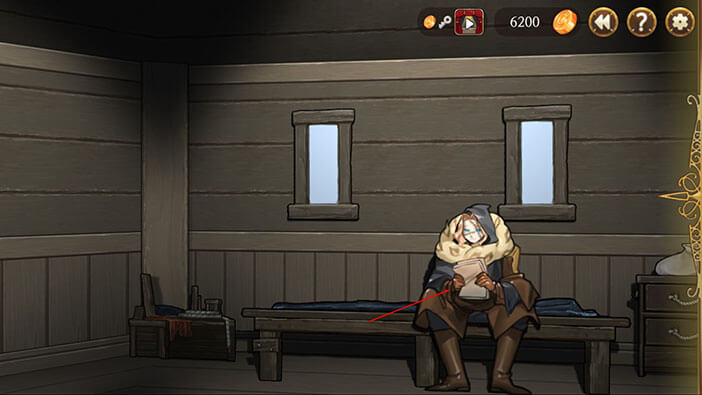
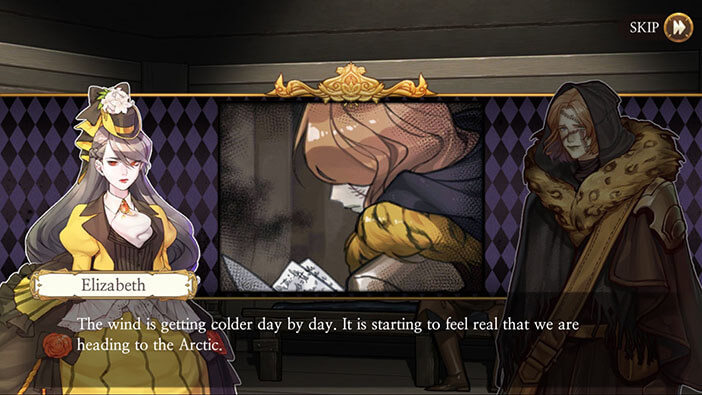
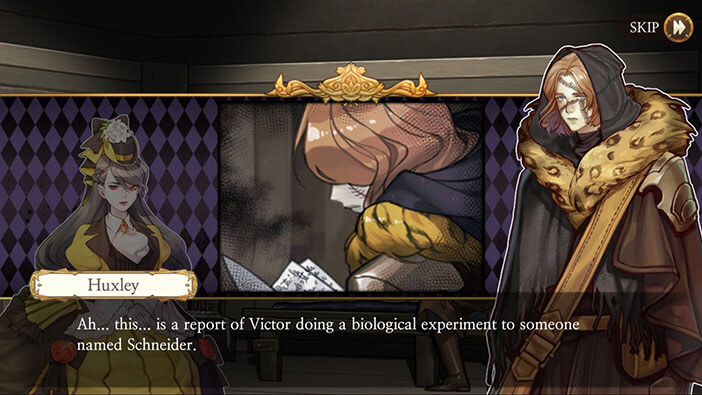
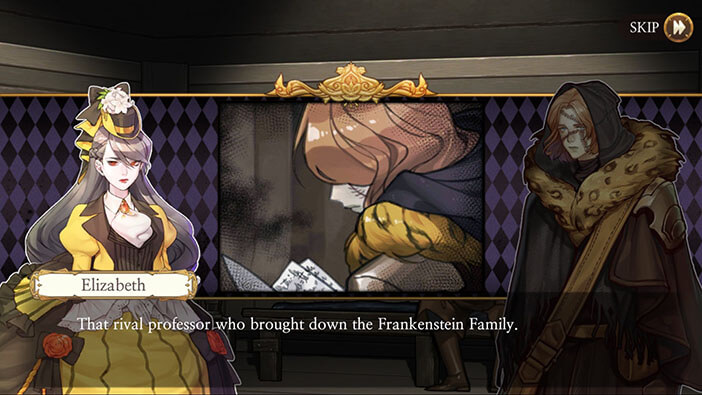
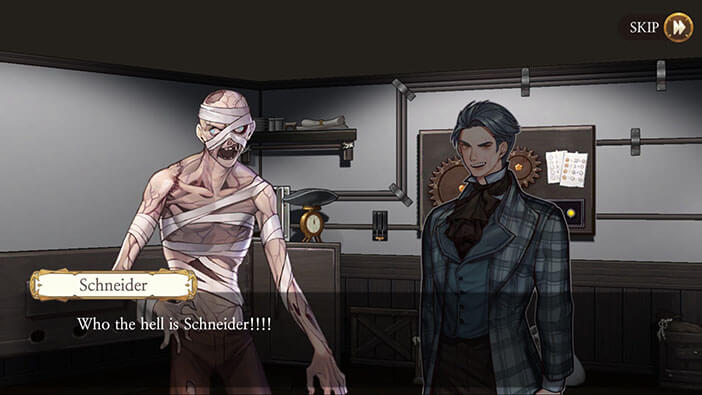
Elizabeth comments how the weather is getting colder every day, so they must be approaching the Arctic. She sees that Huxley is reading some kind of report and asks what is it. Huxley explains that he is reading Victor’s report about the experiment that he performed on Schneider. Elizabeth remembers that Schneider was the guy that sabotaged the experiment conducted by Victor’s father.
Huxley seems worried, and says that there’s something very concerning in the report…
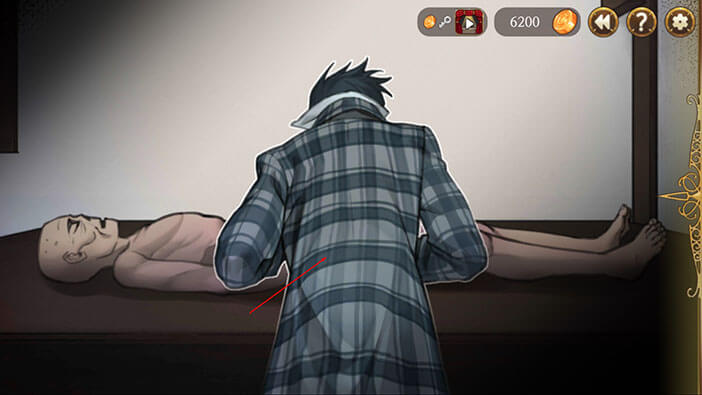
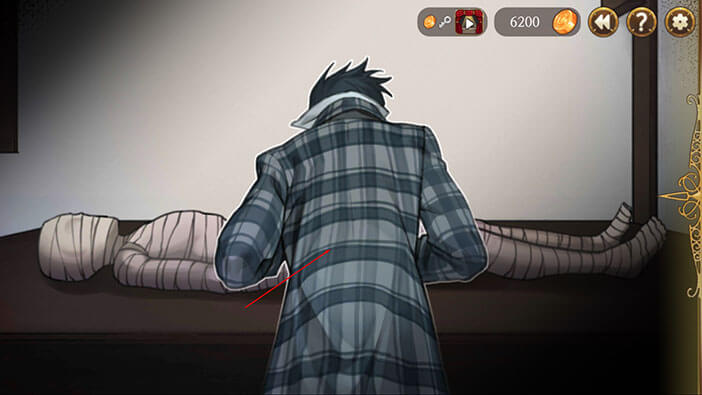
We now go back to the past. More specifically, to a time when Victor experimented on Schneider.
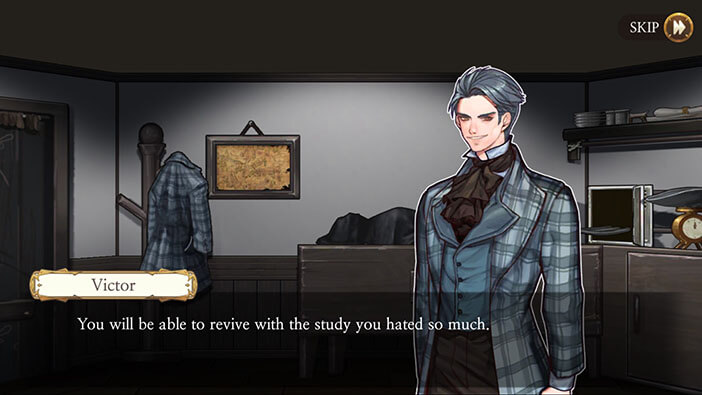
We can see that the young scientist is mad because Schneider died before he could see the success of Victor’s experiment. With that said, Victor gets a brilliant, if a little morbid idea. The young scientist is going to revive Schneider, so he can witness Victor’s success, firsthand.
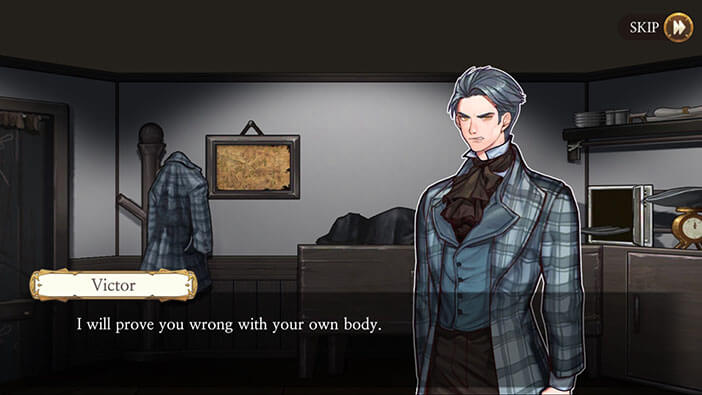
Victor thinks that Schneider will beg him for death… Well, this man did ruin the Frankenstein family, so the revenge is understandable. But Victor might be taking it a bit too far.
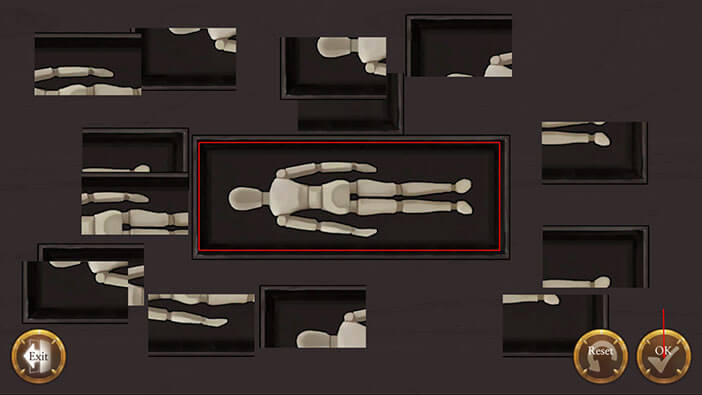
Tap on Victor to start the experiment.
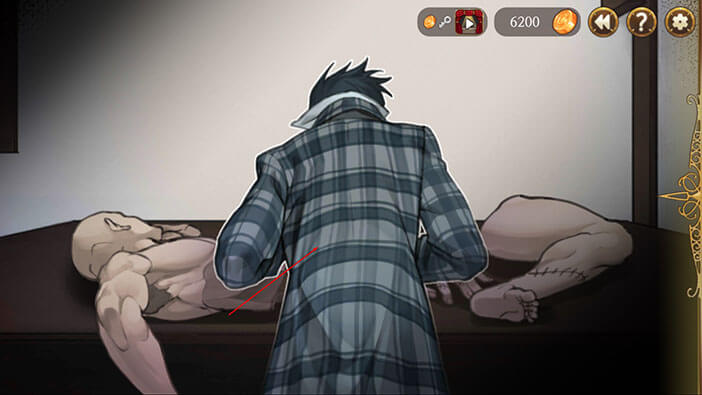
Our task is to match the different body parts. There are six slots in total.
Two for the left and right part of the head (plus neck and shoulders)
Two for the left and right part of the torso (and arms)
And two parts for the left and right leg
You can see the assembled body in the image below. Once you’re done tap on the “OK” button.
After successfully completing the previous task, tap on Victor to continue with the experiment.
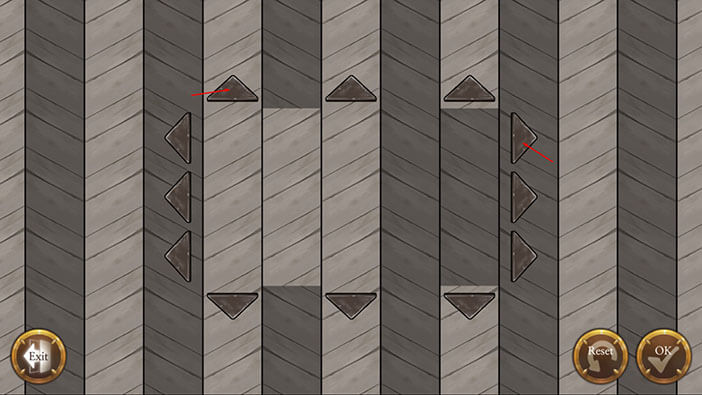
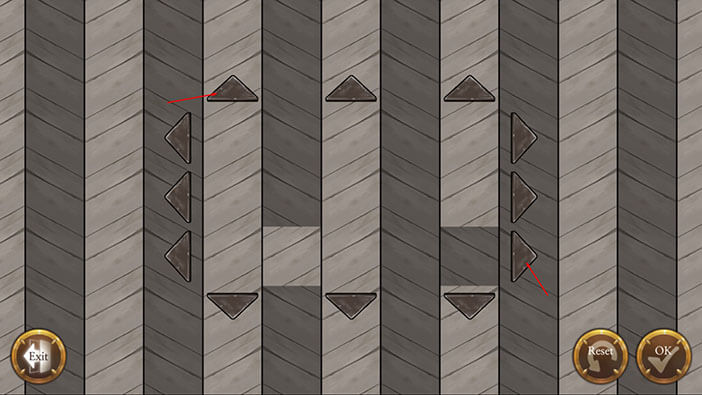
Our next task is to match the lines in five columns. The second column (left to right) should have “darker” fields, but it is currently filled with “light” fields.
The fifth column should have “light” fields, but it is currently filled with “darker” fields.
Parts in the Second and Fourth column, can’t be changed vertically (no up and down arrows).
Parts in all columns can be changed horizontally (left and right arrows).
Let’s begin.
Step 1
Tap on the “Right” arrow of the first row twice.
Tap on the “Up” arrow of the first column once.
Step 2
Tap on the “Right” arrow of the first row once.
Tap on the “Up” arrow of the first column twice.
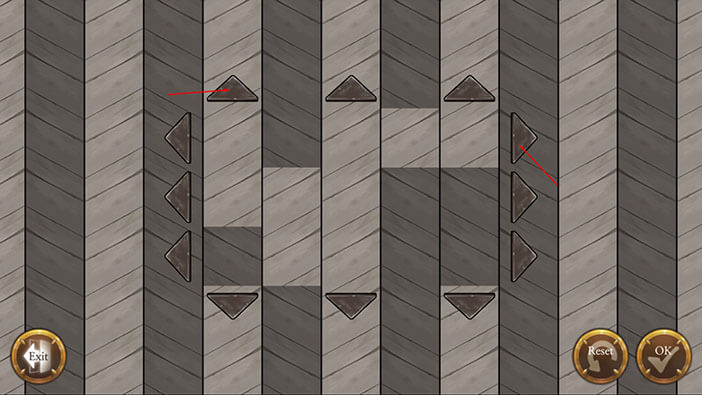
Step 3
Tap on the “Right” arrow of the first row once, and the pieces in the first row will fall into place.
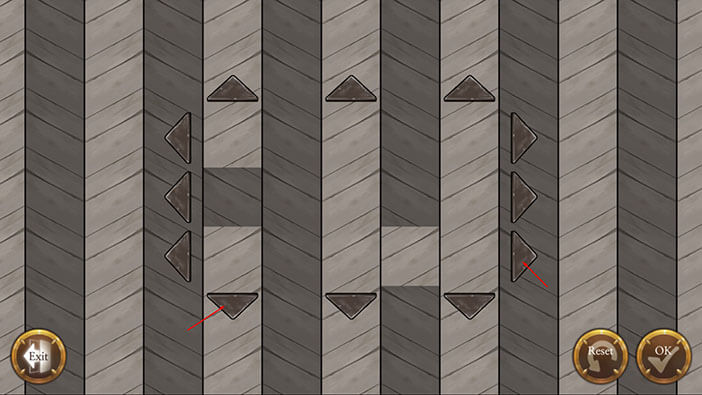
Step 4
Tap on the “Right” arrow of the second row twice.
Tap on the “Up” arrow of the first column twice.
Step 5
Tap on the “Right” arrow of the second row once.
Tap on the “Up” arrow of the first column once.
Step 6
Tap on the “Right” arrow of the second row once, and the pieces in the second row will fall into place.
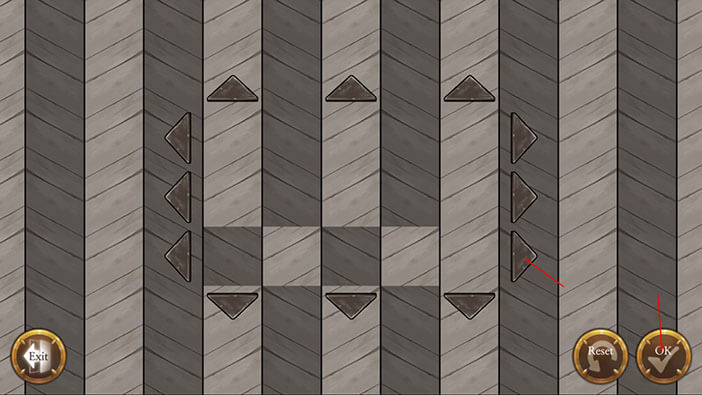
Step 7
Tap on the “Right” arrow of the third row twice.
Tap on the “Up” arrow of the first column once.
Step 8
Tap on the “Right” arrow of the third row once.
Tap on the “Down” arrow of the first column once.
Step 9
Tap on the “Right” arrow of the third row once, and with that, we will successfully complete this puzzle.
Tap on the “OK” button to confirm.
Tap on Victor to continue with the experiment.
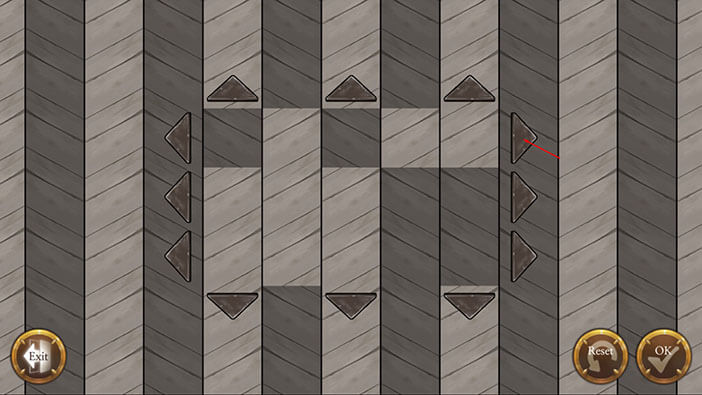
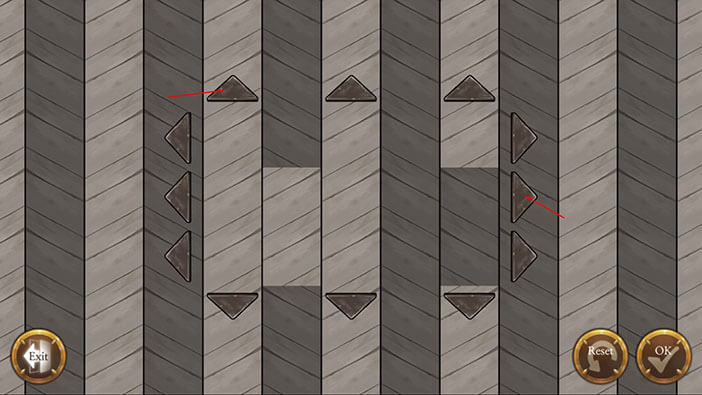
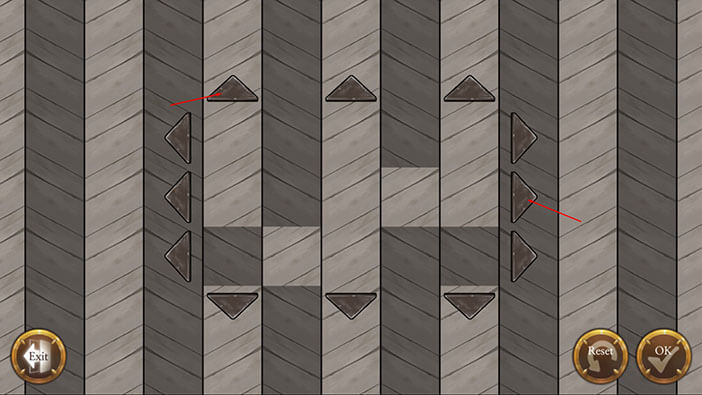
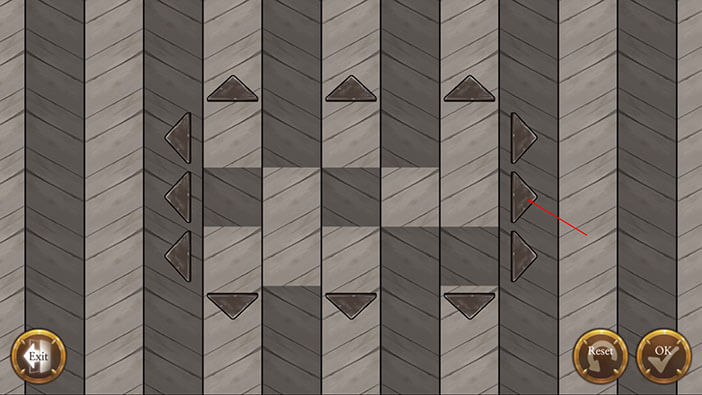
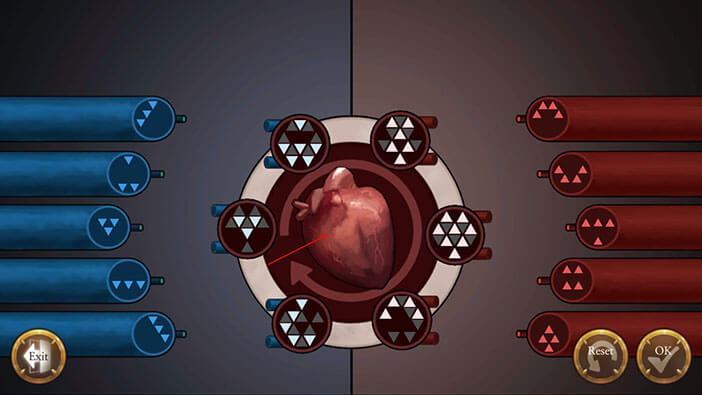
Our next task is to connect the pipes (three on the left and three on the right) with the slots on the circles in the middle. The goal is to get the shape that matches the one in the circle.
However, there are only 5 pipes per side, and they have to form the shapes inside the 3 circles on their sides. Meaning that the shapes inside two of the circles on each side must be assembled by combining the two pipes, while one of the pipes must match the shape inside one of the circles on its side.
I know this sounds confusing at first, but everything will be much clearer once we start solving this puzzle so let’s do it.
Step 1
First, tap on the heart five times to rotate it.
Step 2
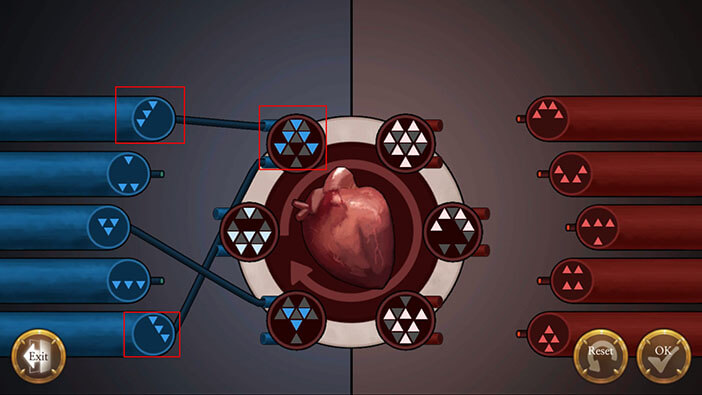
Ok, we can see that the third (top to bottom) blue pipe matches the symbol in the lower circle on the left. So, let’s connect them.

Step 3
Let’s connect the first and the fifth blue pipe with the upper circle on the left. When combined the two shapes from the two blue pipes will perfectly match the shape inside the circle.
Step 4
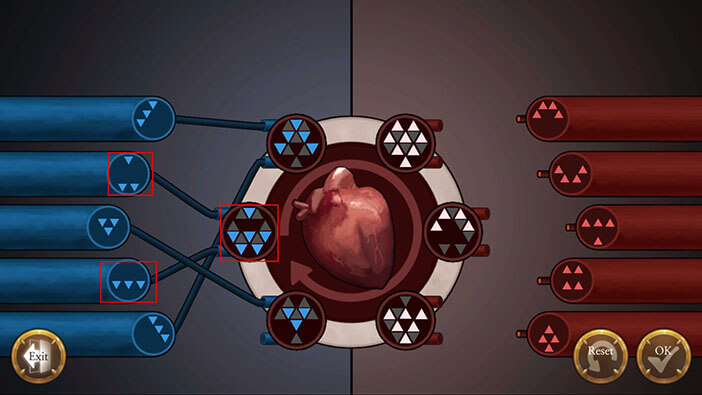
Let’s connect the second and fourth blue pipe with the circle in the middle (left side).
Step 5
Let’s now solve the puzzle on the right. Connect the first red pipe with the circle in the middle (right side).
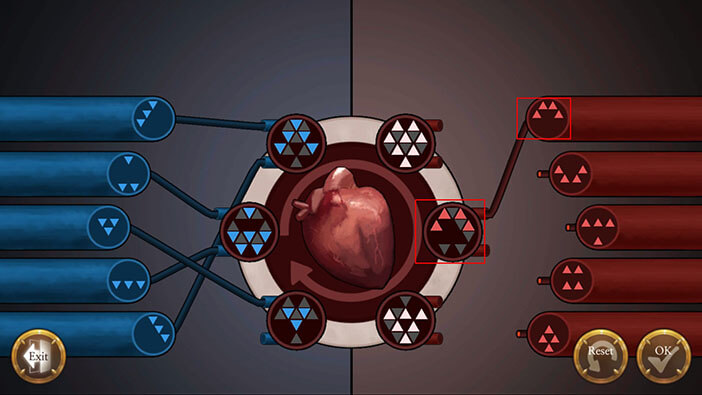
Step 6
Let’s connect the third and fourth red pipe with the upper circle on the right. 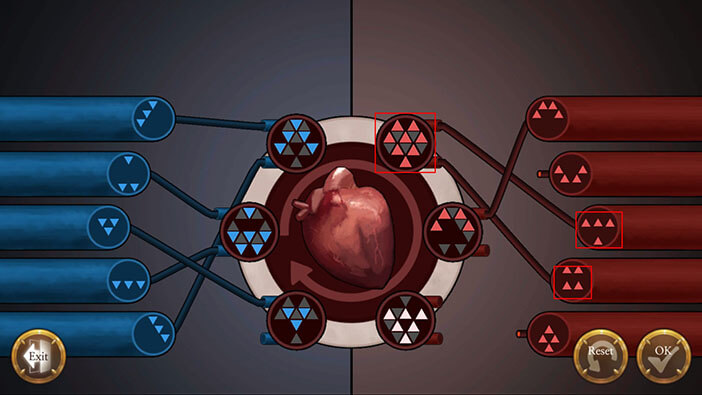
Step 7
Finally, connect the second and fifth red pipe with the lower circle on the right. Tap on the “OK” button to confirm.
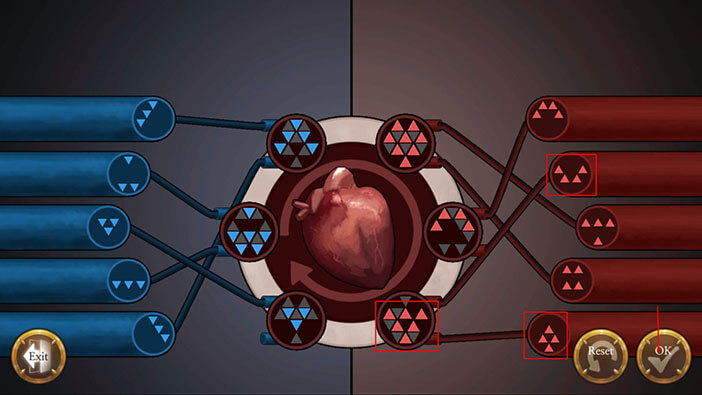
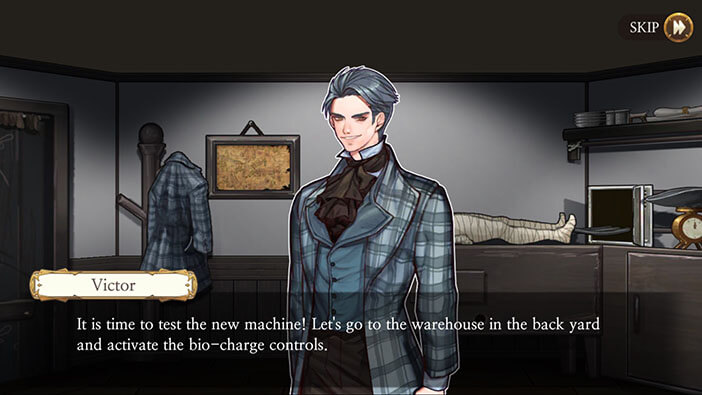
With everything connected, Victor can continue the experiment. Victor concludes that his previous attempt to revive the dead body failed because of the chemical reaction. However, with Samuel’s support, Victor was able to make a new machine that can overcome this obstacle, by giving him complete control over bioelectric charge. The machine is located in the warehouse around the back, and Victor is anxious to try it.


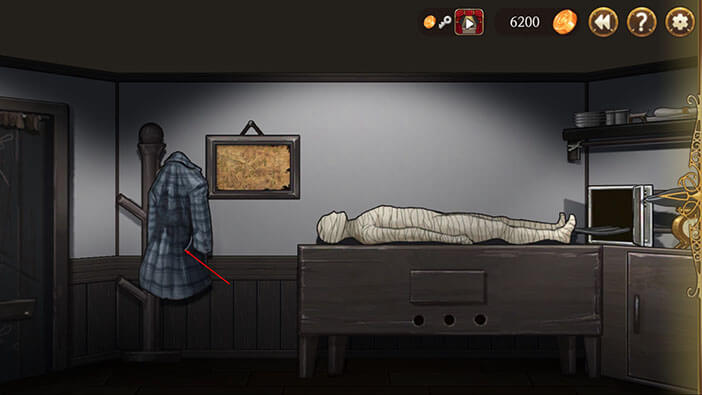
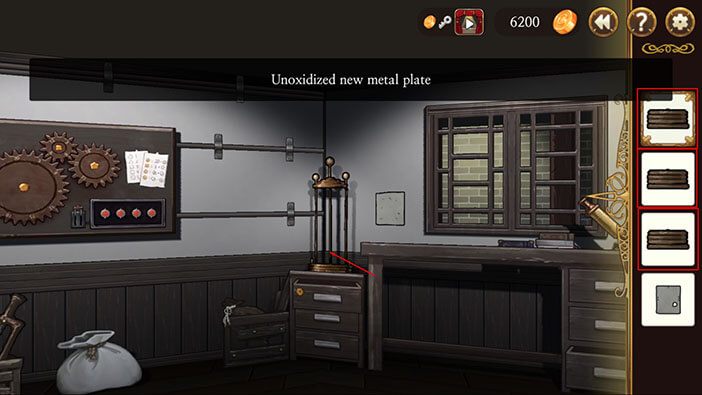
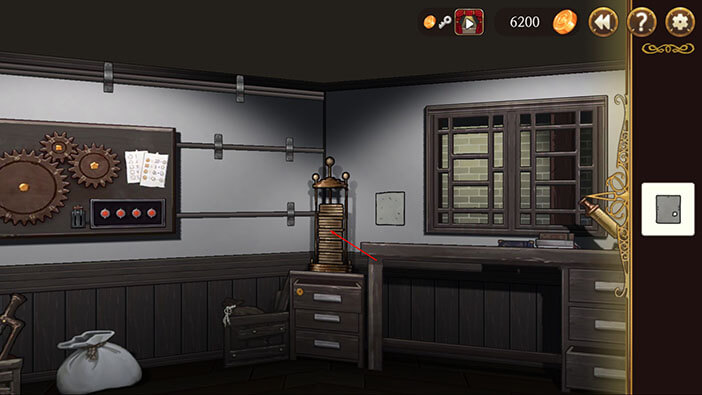
Turn to the left and tap on the coat, located just to the right of the front door, and Victor will pick up a “Key” from one of his pockets.
Turn around, select the key from the inventory, and tap on the keyhole on the top drawer to unlock it.
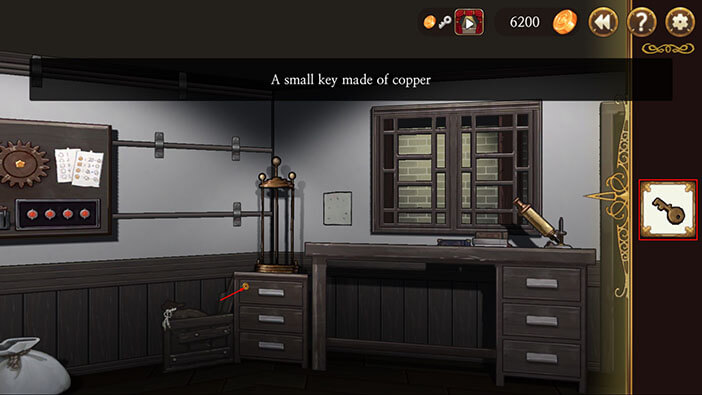
Tap on the drawer to open it, and tap on the note inside to pick it up. A “Decode Paper” will be added to the inventory.
Ok, tap on the note on the wall above the drawer to examine it.

Select the “Decode Paper” paper from the inventory and tap on the note.
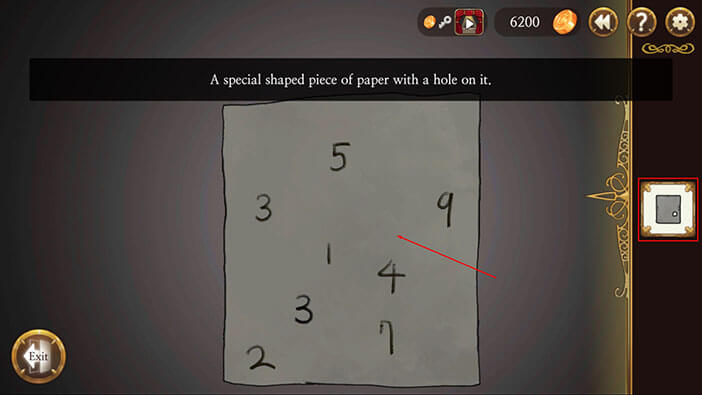
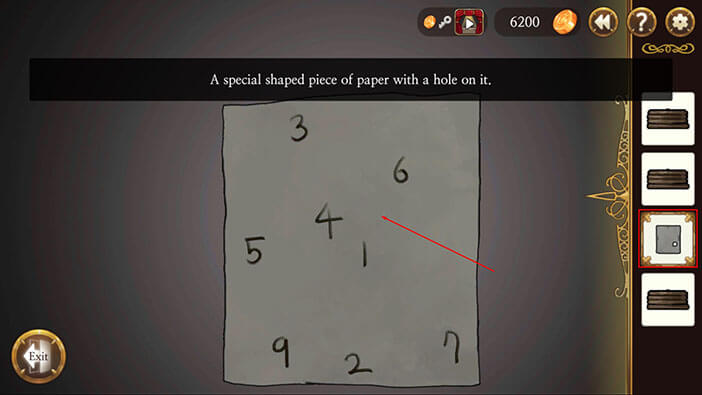
Tap once on the decode paper to rotate it.

We can see the number “3” in the hole on the paper. By looking at the top of the decode paper we can see that there are two dots. The number of dots probably represents the order of the number, so that means that the number 3 should be the second number in the code. Also, there should be only three numbers, since there are three 1, 2, and 3 dots on the “Decode Paper”.
So, the second number = 3. Memorize or write down this information.
Tap on the “Decode Paper” a few more times to pick it up, and tap on the “Exit” button once it’s back in your inventory.

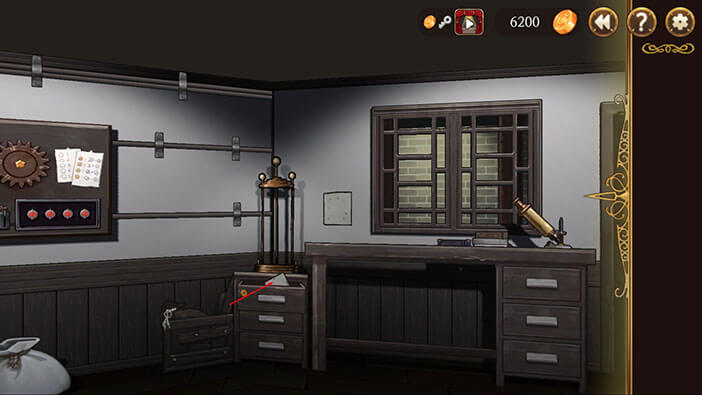
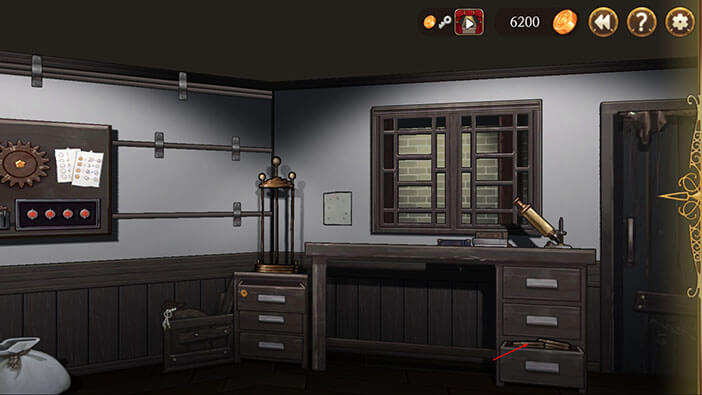
Now, tap on the bottom drawer on the right to open it, and tap again to pick up a battery inside it. This battery looks almost the same as the ones that we saw in the “Secret Laboratory” while playing as Huxley.
Turn to the right and face the bookshelf. Tap on the compartment on the left to open it, and tap once more to pick up another battery.
Tap on the note on the wall, located to the left of the bookshelf.
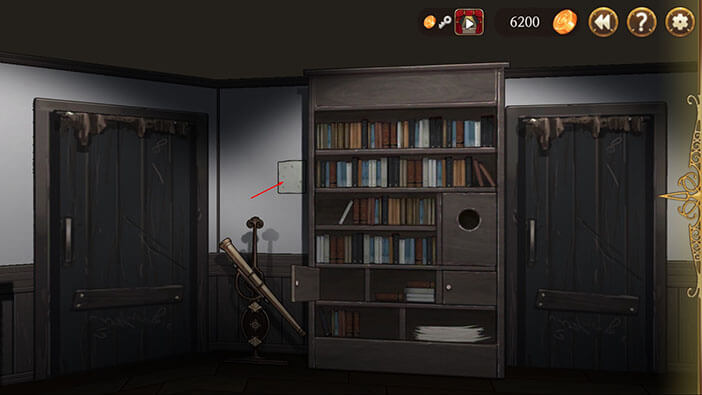
Select the “Decode Paper” paper from the inventory and tap on the note.
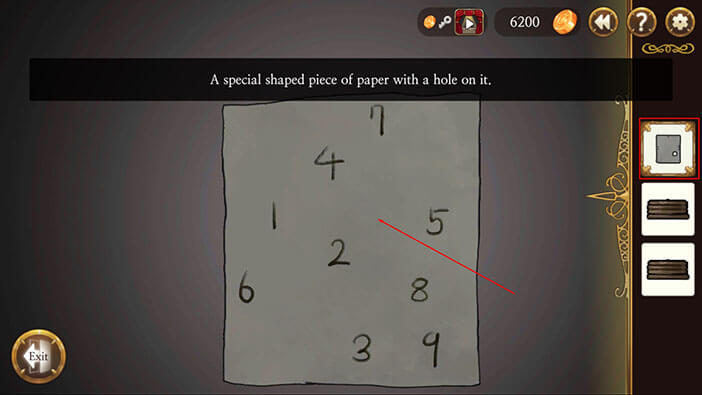
Tap twice on the decode paper to rotate it.
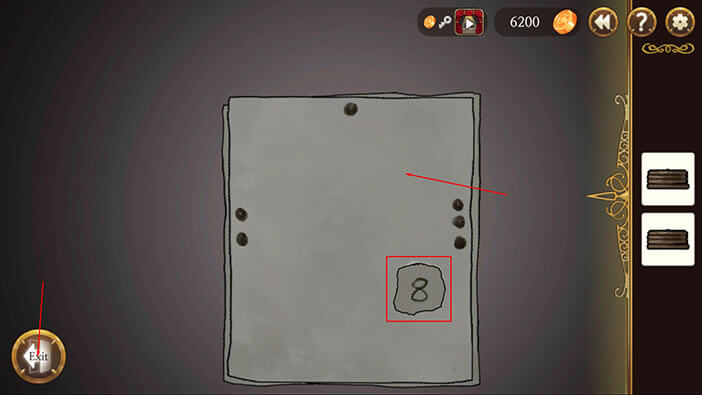
We can see the number “8” in the hole on the paper. By looking at the top of the decode paper we can see a single dot.
So, the first number = 8. Memorize or write down this information.
Tap on the “Decode Paper” a few more times to pick it up, and tap on the “Exit” button once it’s back in your inventory.
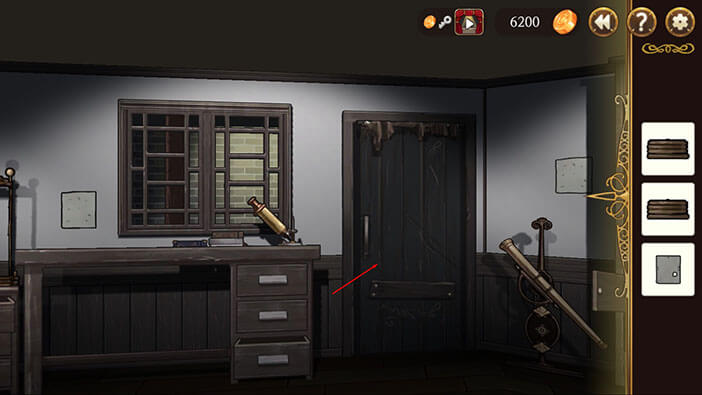
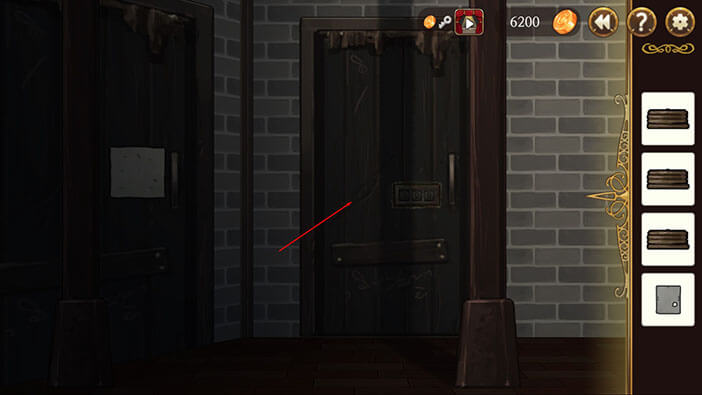
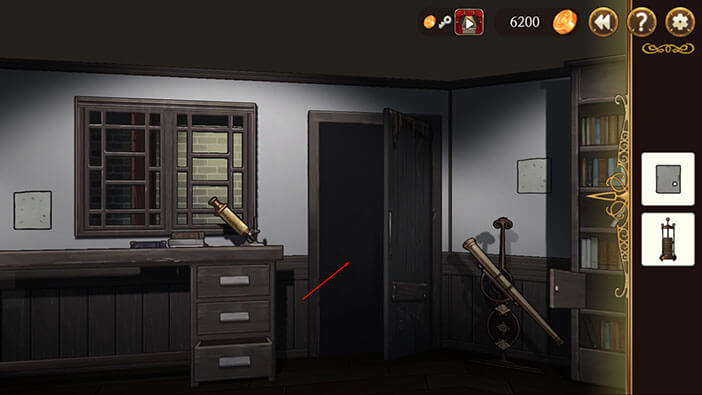
Turn slightly to the left and tap on the door twice to open it and proceed into the next room.
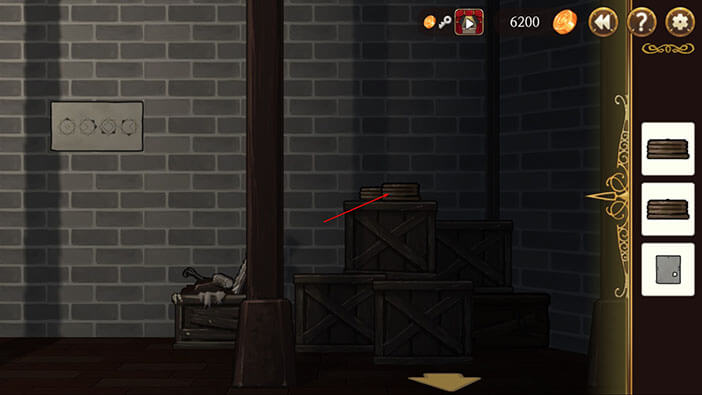
Tap on the battery in front of you to pick it up.
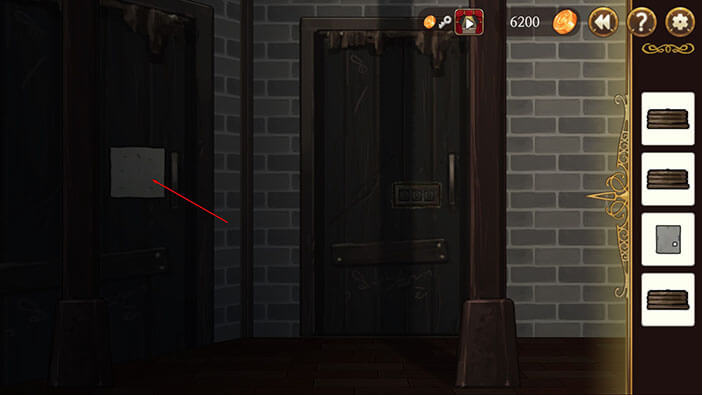
Turn all the way to the left and tap on the note on your left.
Select the “Decode Paper” paper from the inventory and tap on the note.
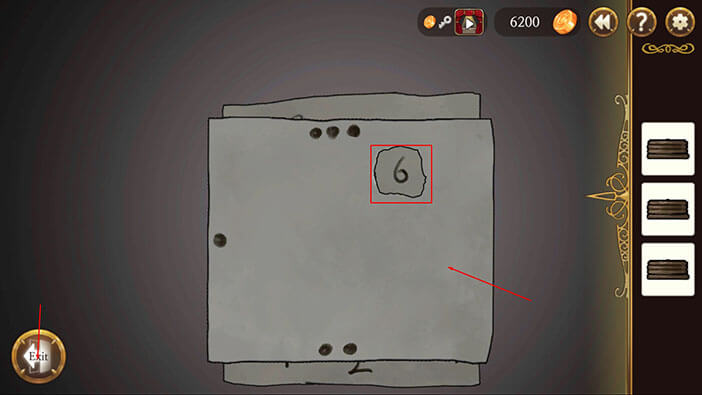
Tap on the decode paper three times to rotate it.
We can see the number “6” in the hole on the paper. By looking at the top of the decode paper we can see three dots.
So, the third number = 6.
When we put it all together our code is “836”. Memorize or write down this information.
Tap on the “Decode Paper” a few more times to pick it up, and tap on the “Exit” button once it’s back in your inventory.
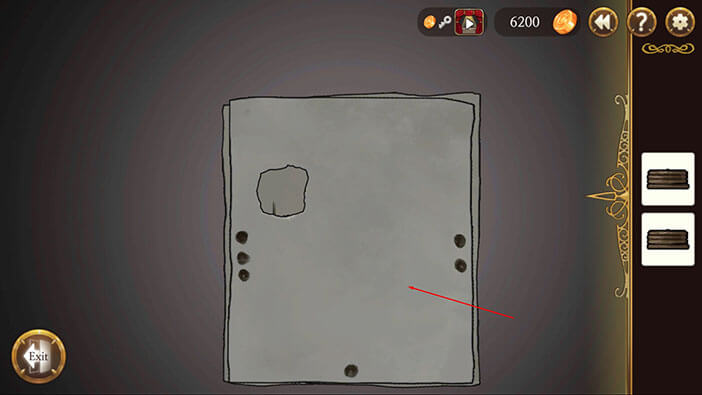
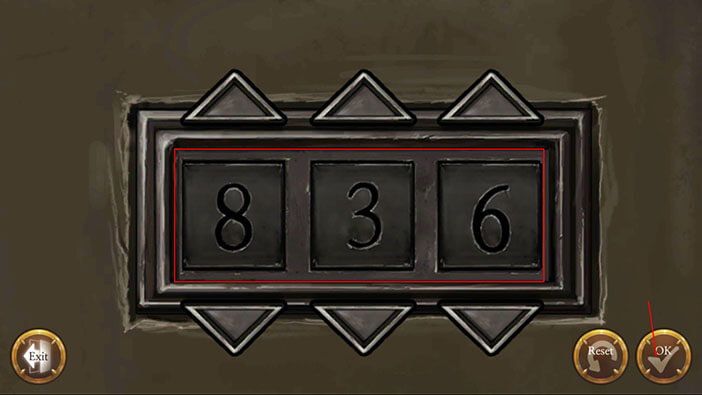
Let’s now use the code that we discovered with the “Decode Paper”. Tap on the numerical lock on the door in front of you.

Enter the code “836” and tap on the “OK” button to confirm.
Tap on the door to open it, and tap once more to enter.
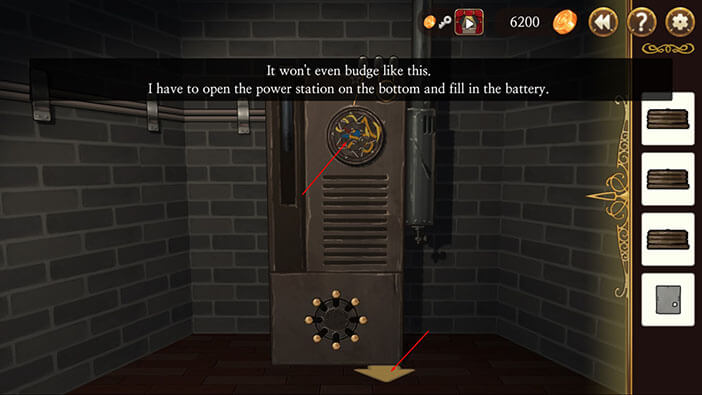
Tapping on the symbol on the machine will reveal that we first have to place the battery before we can use it (logically). So, let’s quickly go back to the first room and place the batteries. Tap on the yellow arrow to go back.
Turn all the way to the right and tap on the yellow arrow on the ground to go back to the first room.
Turn to the left, select all three batteries from the inventory, one by one, and tap on the machine above the drawer with the keyhole to place them.
Tap on the machine to pick it up, and a “Measured Battery” will be added to the inventory.
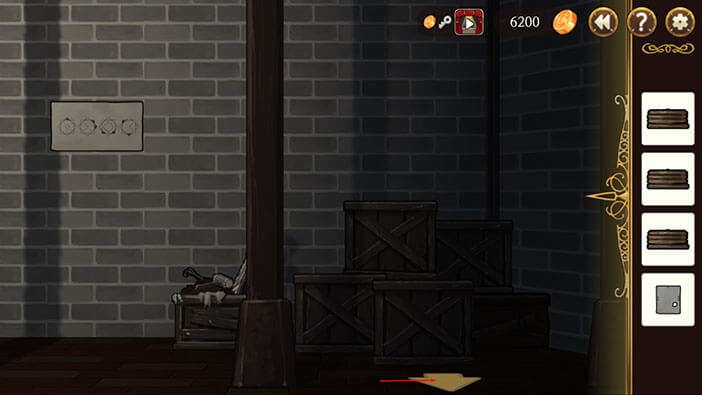
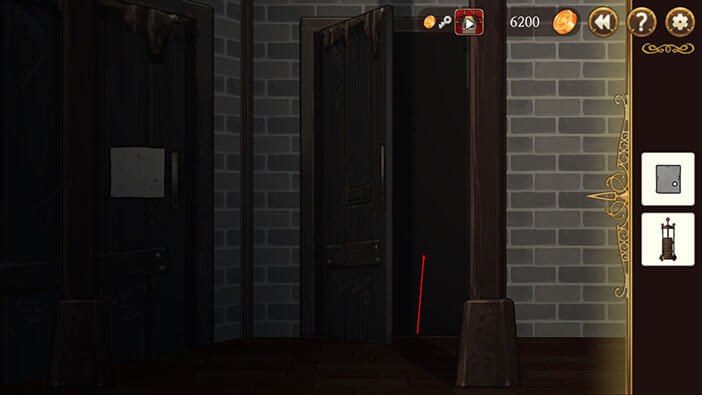
Let’s go back. Turn to the right and tap on the door to go to the storage room.
Once there, turn all the way to the left, and tap on the door to go into the small room.
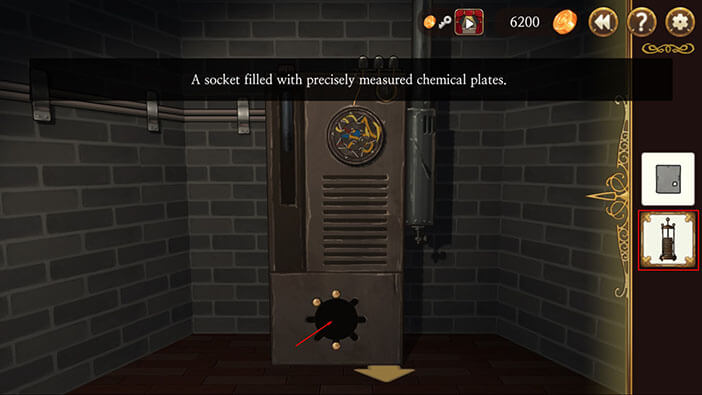
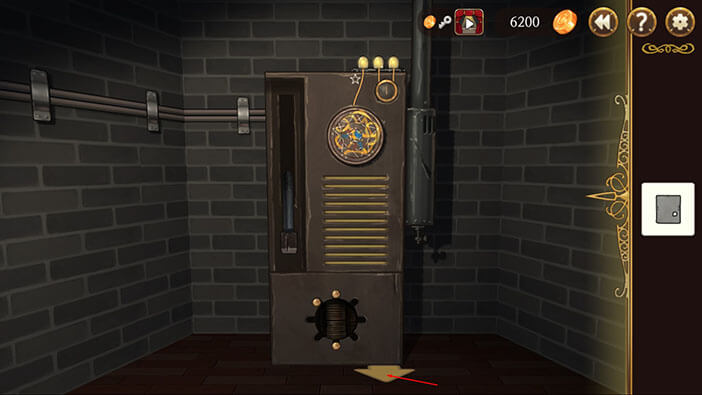
Tap on the bottom part of the machine.
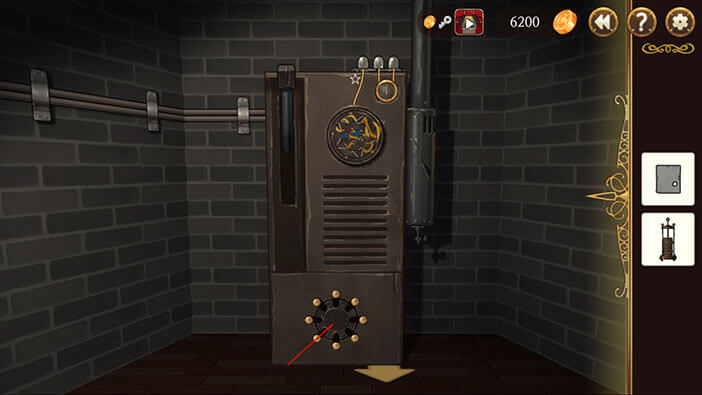
Pay attention to the drawing in the middle of the circle. I think I saw a similar drawing in the previous. Memorize the shape inside the circle and let’s go back to the previous room. Tap on the “Exit” button.

Tap on the yellow arrow on the ground.

Turn to the right and tap on the scheme on the wall to examine it.
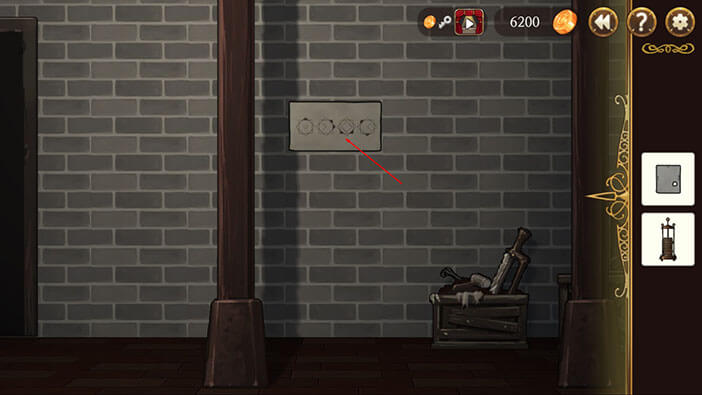
We can see that the first and the last drawing (left to right) match the shape inside the circle of the machine perfectly. Let’s memorize (or write down) where the “shaded” arrows on the drawings are pointing.
First = Up
Second = Upper left
Third = Bottom
Tap on the “Exit” button.
Let’s go back to the machine. Turn to the left and tap on the door to enter.
Tap on the bottom part of the machine.

Ok, let’s tap on all the metal balls to lower them, except those three that we saw in the previous room. So, skip the Up. Upper left, and Bottom ball. Tap on the other five.
Once you’re done, tap on the drawing inside the circle.
Ok, now select the “Measured Battery” from the inventory and tap on the lower part of the machine.
We can see that the machine is powering up. However, all three lights on the top of the machine are still off.
Tap on the circle that is connected with the two light bulbs on the top right side of the machine.

We can see that this actually a clock. Tap on the “Exit” button.
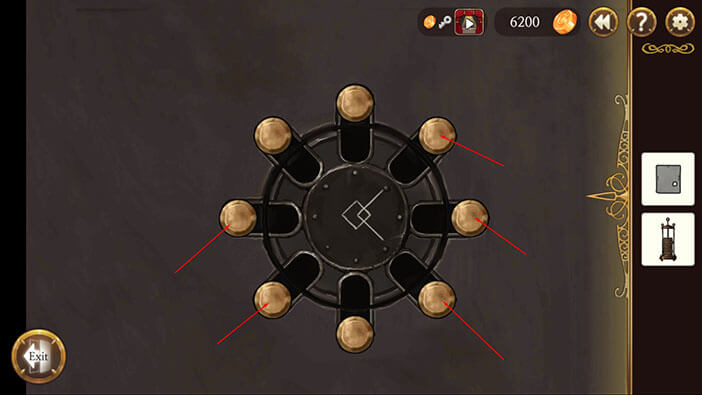
Tap on the symbol on the machine.
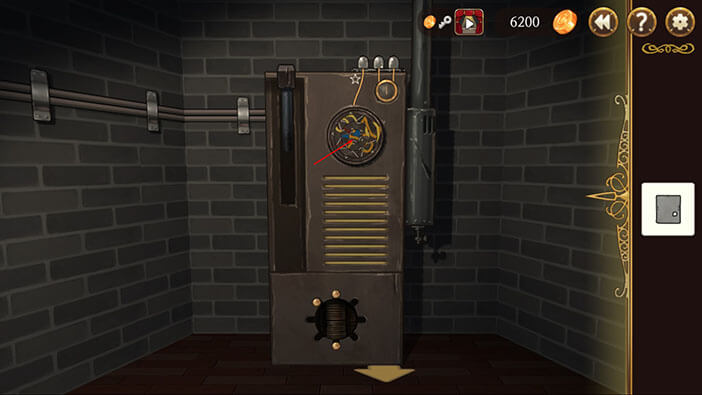
We can see some kind of drawing that doesn’t make much sense at first. We can rotate the four rings on the machine by tapping on them.
Let’s rotate the rings and try to align the blue and yellow lines.
NOTE: I think this was one of the most difficult puzzles, so far.
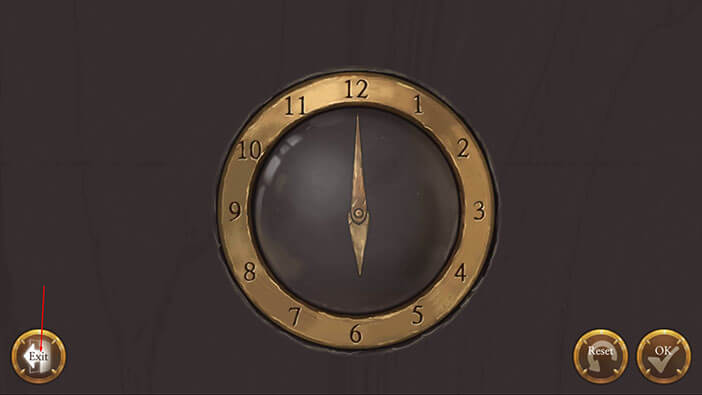
After aligning the blue and yellow lines you should see the same image like the one below.
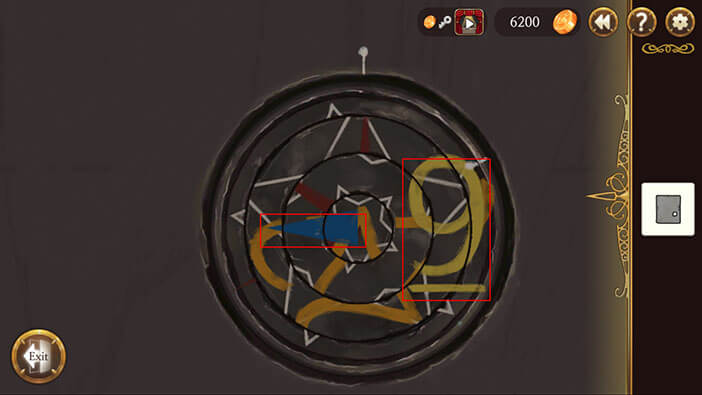
By looking at the image, we can see yellow number 9. Besides that, if the blue arrow was the hour hand of a clock it would be pointing at 9. So, we should set the hour hand at 9, but we still have to discover where the minute hand should be pointing.
Ok, let’s now rotate the rings and try to align the red and orange lines.
After aligning the red and orange lines you should see the same image like the one below.
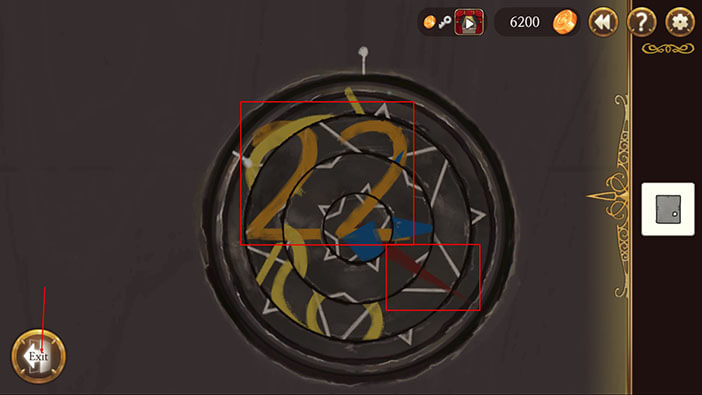
By looking at the image, we can see orange number 22. Besides that, if the red arrow was the minute hand of a clock it would be pointing at 22. So, we should set the hour hand at 9 and the minute hand at 22. Memorize this information and tap on the “Exit” button.
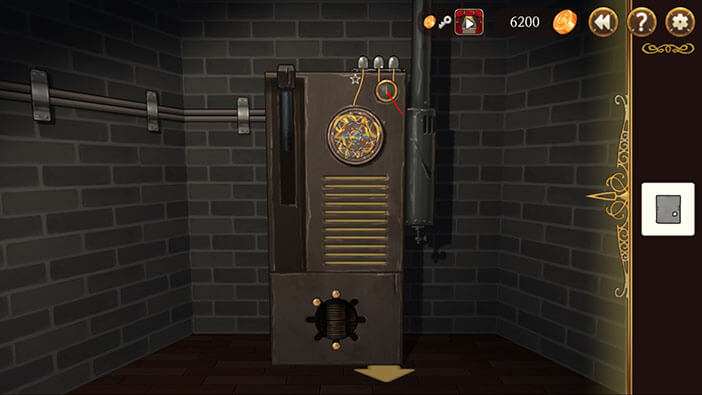
Tap on the clock to start the interaction.
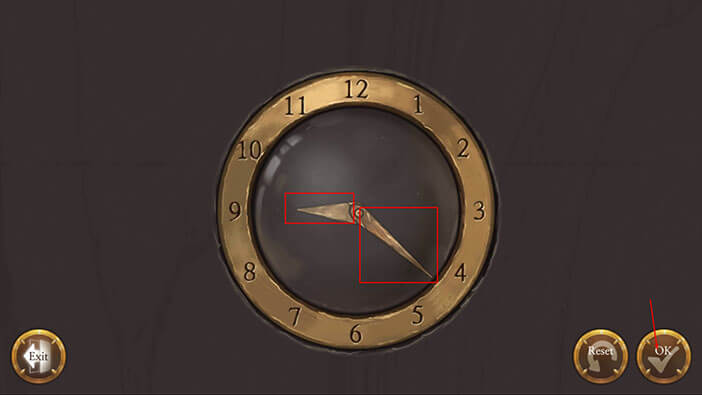
Set the hour hand at 9 and the minute hand at 22, and press the “OK” button.
We can see that two of the light bulbs above the clock are now on, so only one more and we’re done here.

Tap on the symbol on the machine.

Rotate the rings and try to align all white lines.
After aligning the white lines you should see two white stars (one large and one small) just like in the image below. If that’s the case, tap on the “Exit” button.
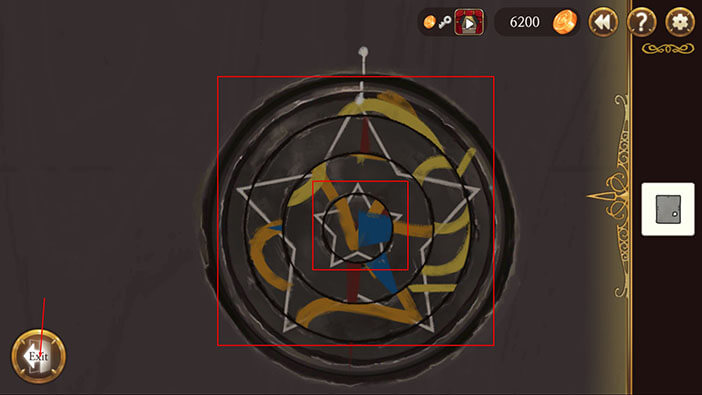
After “drawing” the two white stars, the third light bulb (with a small white star below it) will also turn on. Great!
Now, tap on the lever on the left side to pull it.

The biometric machine is now active, and the only thing left to do is to turn on the electricity and we can revive Schneider.
Tap on the yellow arrow on the floor.
Turn all the way to the right and tap on the yellow arrow to go back to the first room.
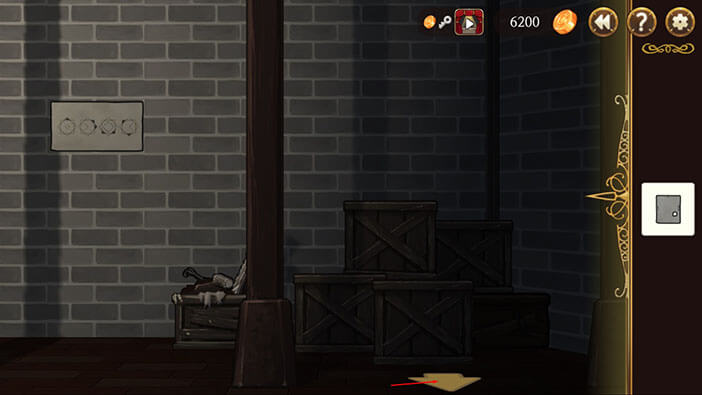
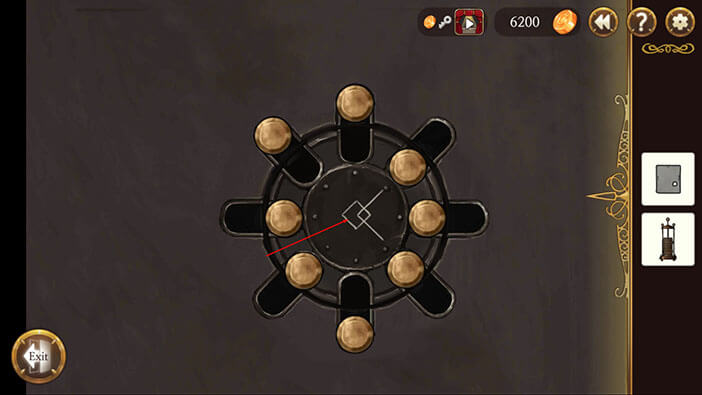
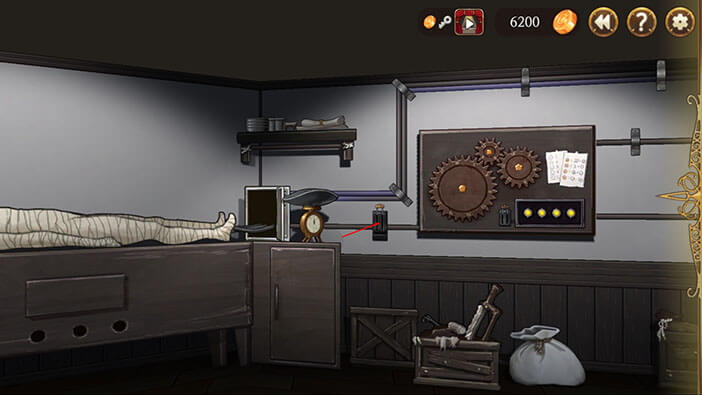
Turn to the left and tap on the three cogwheels on the wall.
We already solved one puzzle very similar to this one, all the way back during one of the first stages of the game.
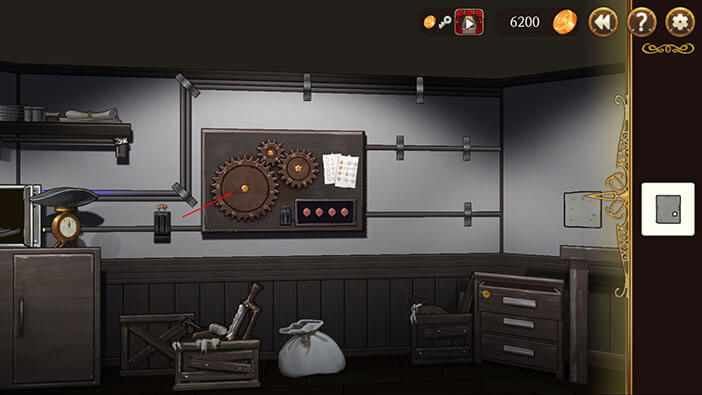
First, let’s take a look at the notes on the right side.
On the first note, we can see five symbols with a single number next to each symbol. Circle = 1, Triangle = 2, Square = 3, Pentagon = 4, and hexagon = 5.
The note on the right has three colored shapes – circle, square, and pentagon. Each shape represents one of the cogwheels to the left of the note.
Circle = The cogwheel on the left side (the largest one)
Square = The cogwheel in the middle (the smallest one)
Pentagon = The cogwheel on the right (the middle-sized one)

The note on the right also represents the mathematical puzzle that will tell us at which position we should place the cogwheel tooth before pulling the lever. Here, we should exchange the symbol with the numerical value that it represents (found on the left note) before.
Let’s start.
First, we will need to interact with the left gear, because its symbol (circle) is the first one on the right note. Here, we will first calculate the position at which we should turn the cogwheel.
Circle = 20 – 2 x 2(Triangle) *Because there are two triangles and triangle = 2 (as we can see on the left note)
Circle = 20 – 4 = 16
So, turn the left cogwheel so that its 16th tooth is pointing in the direction of the white star (like in the image below) and pull the lever. The first of the four lights will light up, meaning that we have successfully completed the first out of four parts of this riddle. Let’s continue.
NOTE: The white star marks the position at which we should place the appropriate cogwheel tooth. 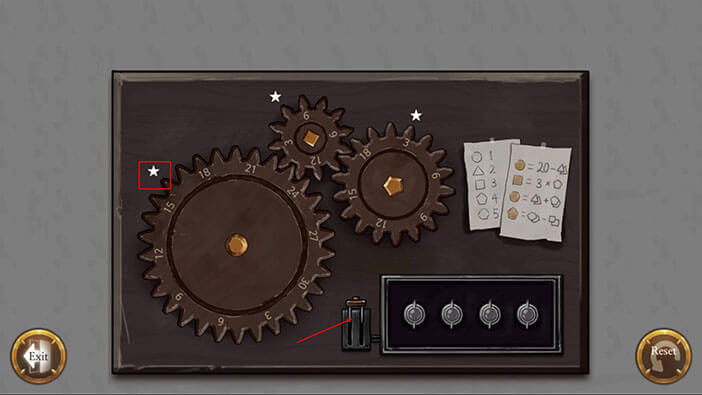
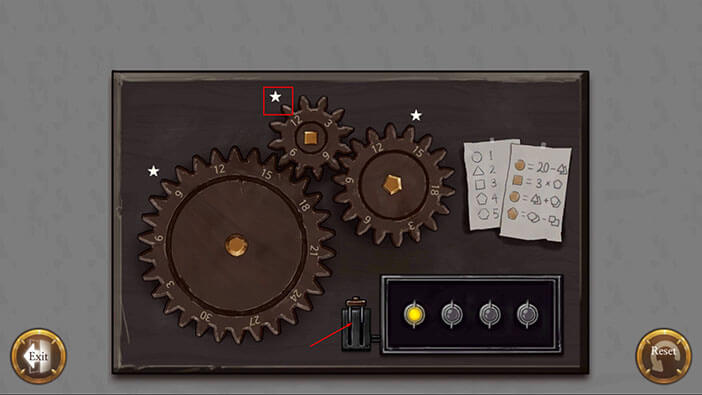
The next on the right note is the square symbol, so we should turn the middle cogwheel because it also has the square symbol. Let’s calculate the position first.
Square = 3 x 4 (Pentagon)
Square = 12
So, we should turn the cogwheel in the middle until its 15th tooth points in the direction of the white star. Pull the lever and the second light will be turned on.
NOTE: Only the left cogwheel (the largest one) can be turned, and by turning it you will also turn the other two cogwheels.
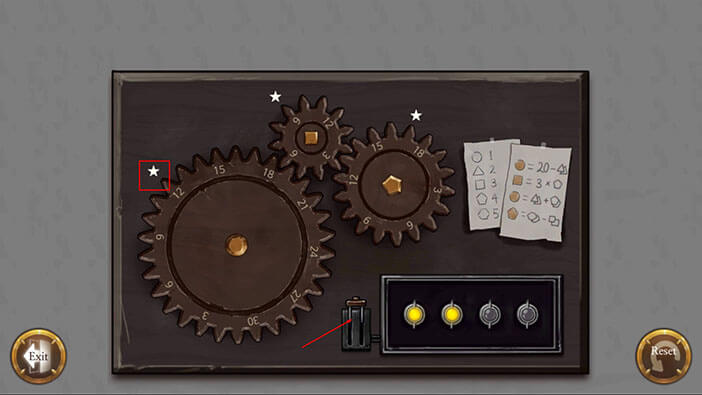
Next is the circle again, so let’s quickly calculate the position.
Circle = 2 x 2 (Triangle) + 2 x 4 (Pentagon)
Circle = 12
We should now turn the left cogwheel until its 12th tooth is pointing in the direction of the white star. Pull the lever and the third light will go up. Three down, one to go!
The last mathematical problem on the right is represented with the pentagon, so we should turn the cogwheel on the right, but first, let’s calculate.
Pentagon = 2 x 5 (Hexagon) – 2 x 3 (Square)
Pentagon = 4
We should now turn the cogwheel on the right until its 4th tooth is pointing in the direction of the white star. Pull the lever and the fourth light will go up. With that, we have successfully finished the puzzle and can start the experiment.
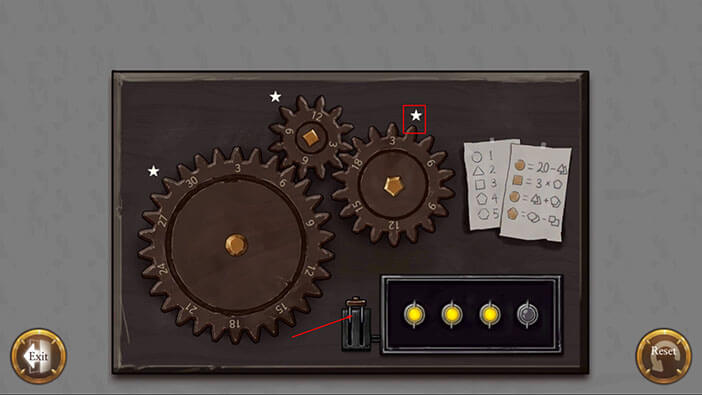
Pull the lever located to the left of the cogwheels to release the electricity and start the experiment.
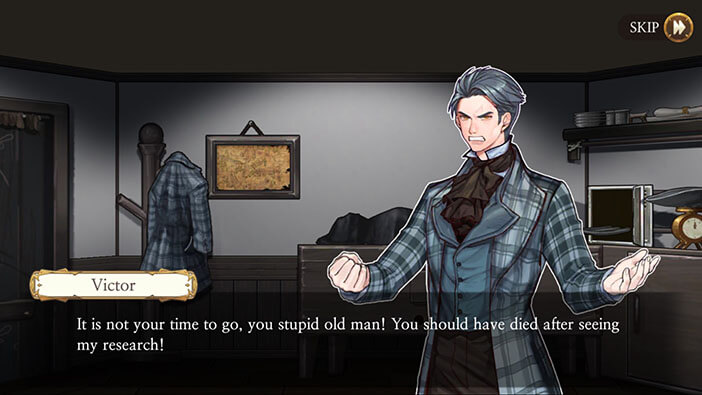
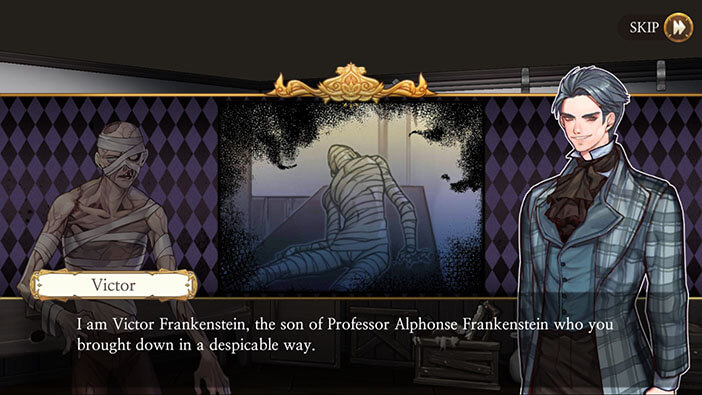
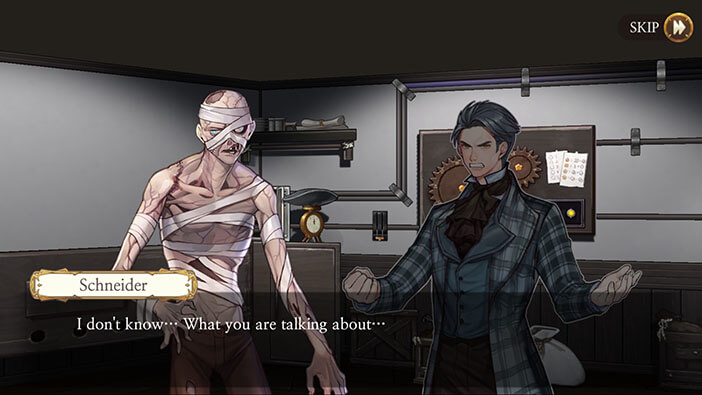
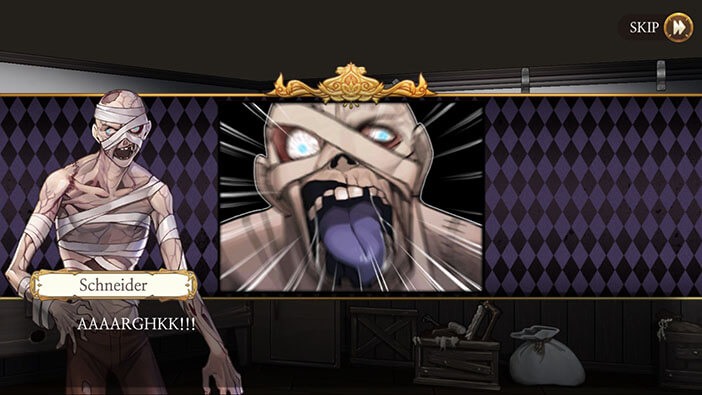
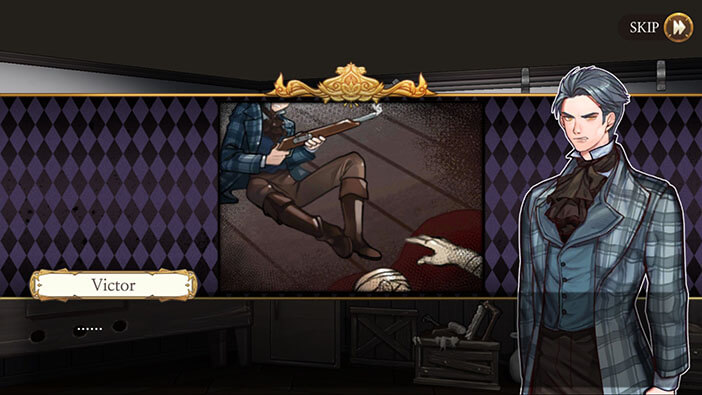
After a few moments Schneider opens his eyes and stands up, but he doesn’t recognize Victor. The young scientist explains that he is the son of Alphonse Frankenstein, the man that was ruined after Schneider sabotaged his experiment.
As a side note, it seems that Schneider was dead for some time before Victor reanimated him since the creature in front of us seems to be in an advanced state of decay…
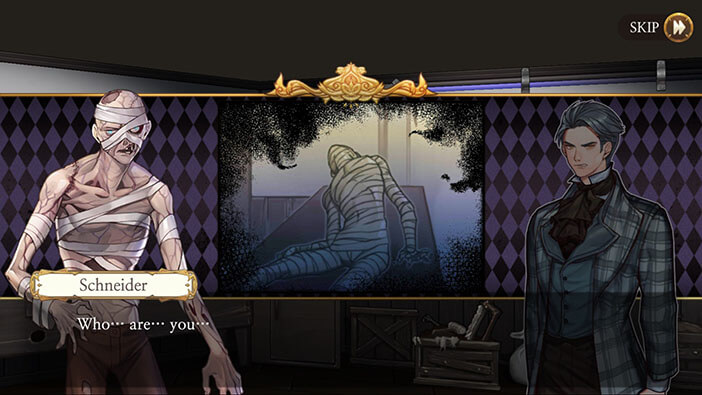
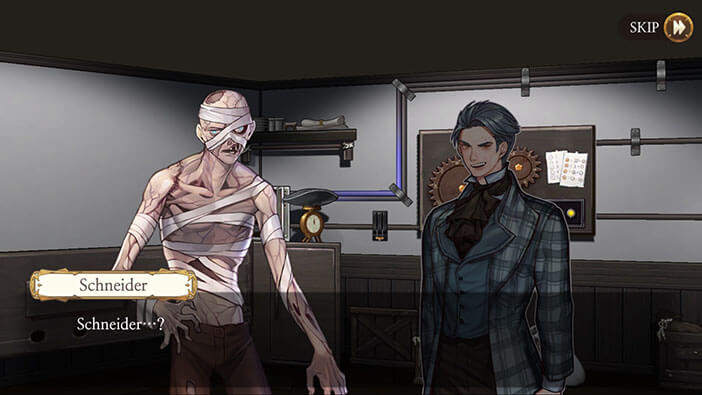
The “creature” seems confused, and Victor suddenly realizes that Schneider doesn’t remember anything.
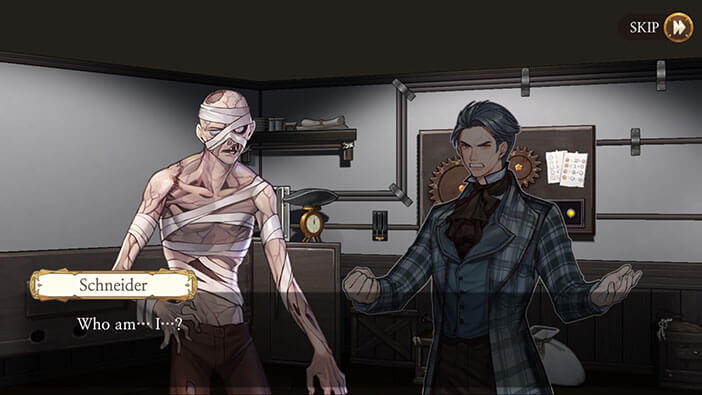
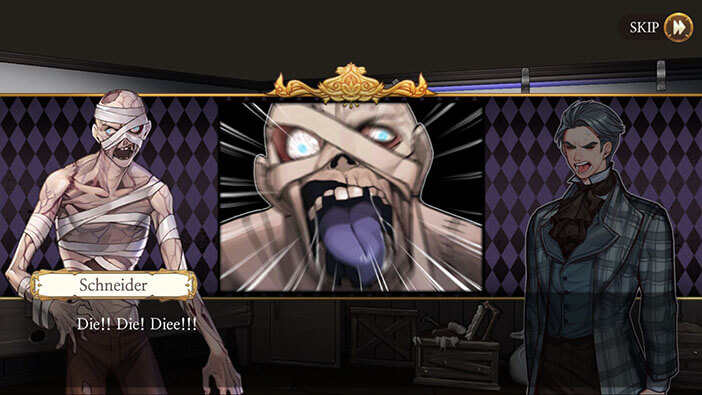
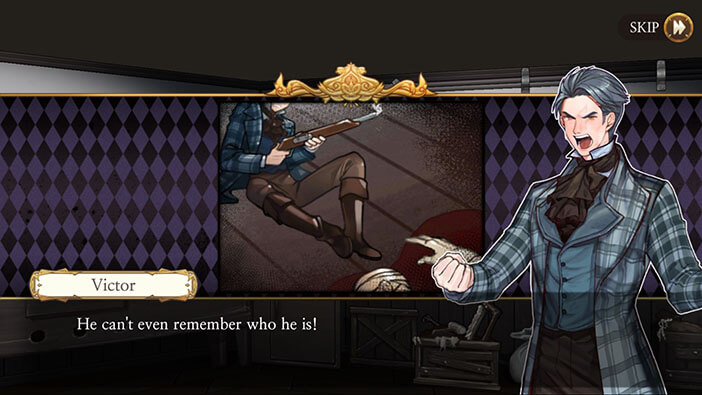
Finally, Schneider says “Who am I?” and Victor is now sure that the mind of this creature is completely blank. Well, at least it did retain the ability to speak. Hmm, that got me thinking. Could it read or write? Or perform some common tasks?
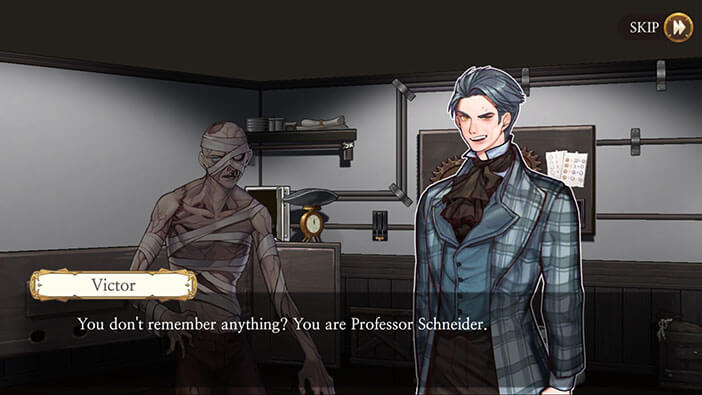
Victor tries to explain to the creature that it was once professor Schneider, but, after a few moments, the creature attacks Victor, and it looks like it was going to bite, and possibly eat him.
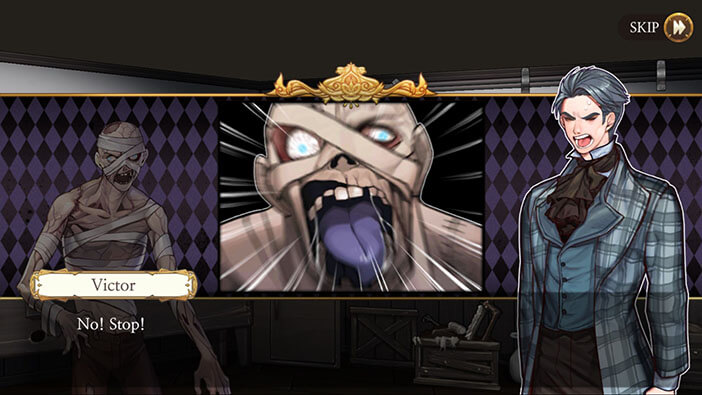
Victor yells at the creature ordering it to stop, but it continued to advance toward him. Realizing that he has no other option, Victor pulls out the double-barrel shotgun (that was probably hidden under his coat) and shots the creature with both barrels instantly sending him back to the land of the dead…
Well, Victor is a very interesting person. He is one of the most brilliant scientists on earth, yet he is also packing a double-barrel shotgun and isn’t afraid to use it…
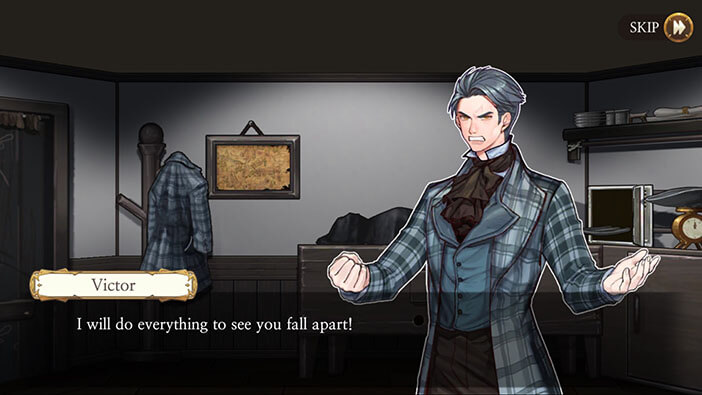
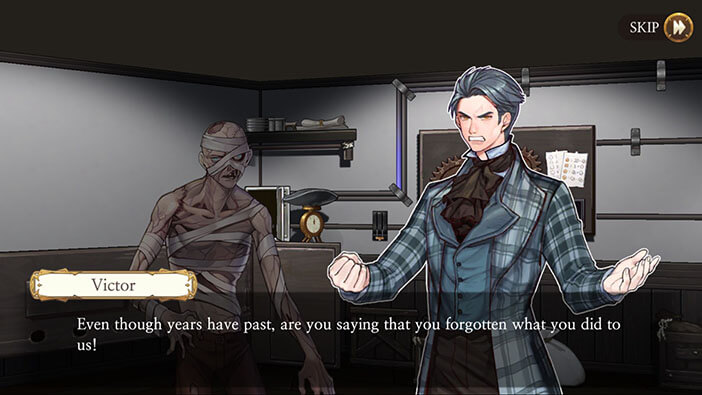
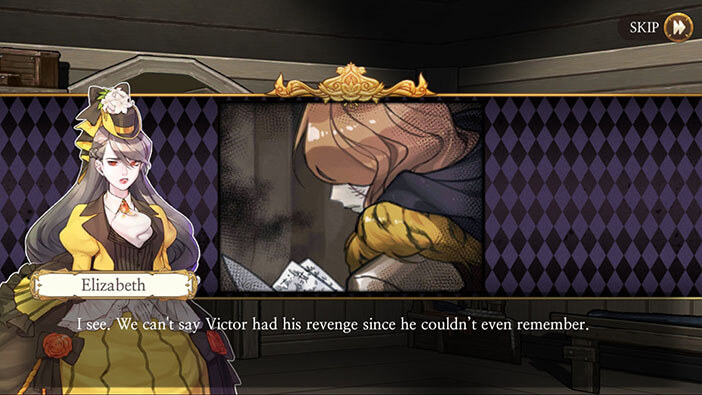
Victor is frustrated because his master plan for the epic revenge failed because the creature couldn’t remember anything from its previous life.
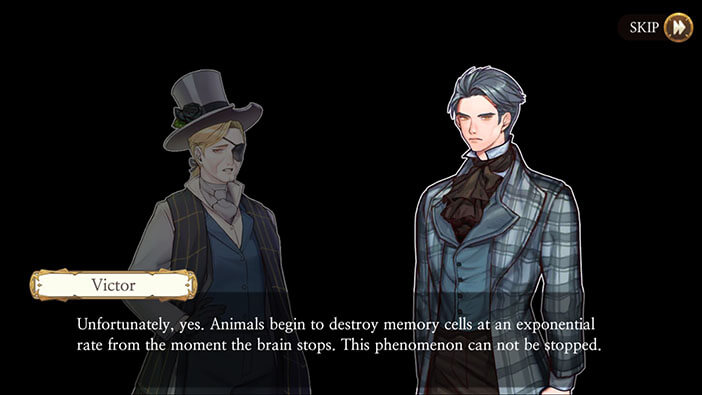
The story continues with Victor and Henry discussing the state of the creature after reanimation. Victor explains that all animals (humans included) start losing memory cells, at a rapid rate, as soon as the brain stops working. This process can’t be reversed or slowed down.
Henry concludes that reanimating a dead body without a memory isn’t a true revival. Victor agrees, saying that the reanimated person would have only the most primal instincts.
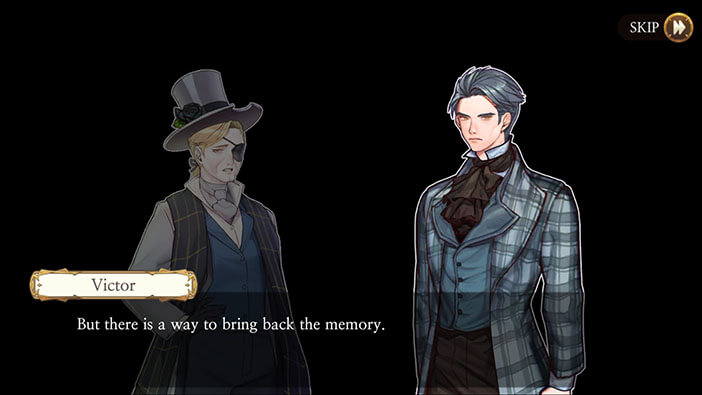


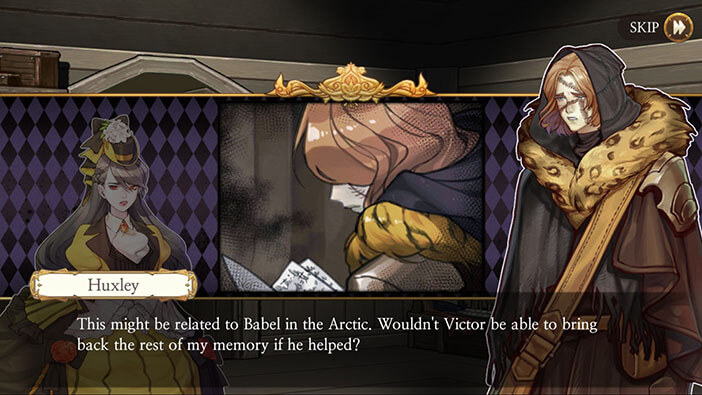
However, Victor explains that he could preserve the memory if he seals the memory cell before the person dies. On the downside, Victor can’t build the machine that could safely release the memory cell back into the mind of the “subject”. On the positive side, he explains that this process could be achieved if he uses the electromagnetic field created by Aurora (polar light). Well, at least in theory.
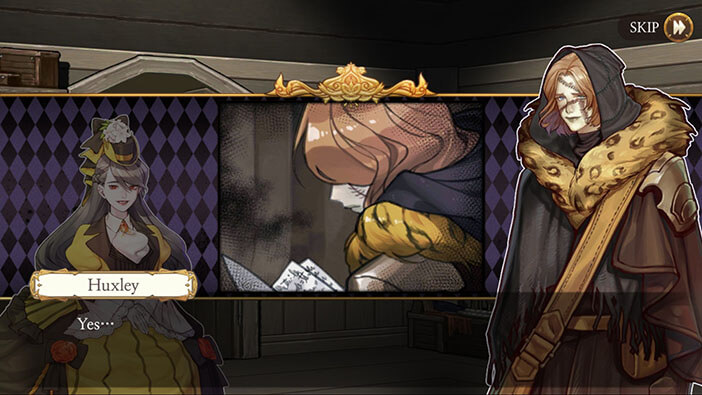
Now, we are returning to the present time, with Elizabeth and Huxley discussing what they found out.
Elizabeth concludes that the same thing must have happened to Huxley, and now they at least know why he doesn’t have any memories. Well, except for the occasional flashback.
Huxley is hoping that Victor might be able to restore his memory, once they reach Babel. Well, that would be possible only if Victor “stored” Huxley’s memories before he died, and I don’t think that’s the case.

Elizabeth doesn’t want to give him false hope. Instead, she cheers him up saying that they already created the most valuable memories by being together since Huxley’s came back to life. Huxley agrees with her, and she did at least manage to put a smile on his face.
And that’s the end of this stage…
 .
. 
In the next stage, we will be playing as Elizabeth once more, as she, Huxley, Stoneboy, and the rest of the crew continue their journey north, towards Babel. Join us in the next stage of the Walkthrough for Frankenstein Room ESC, so we can together discover adventures that await our characters in the icy waters of the Arctic ocean. Let’s just hope that it is too cold and unpleasant for pirates to follow, or our characters might get caught between a hammer and an anvil once they reach Babel…
Thank you for reading.