Chapter 7-2 End of the World
Complete Walkthrough
Hello everyone, and welcome to our Walkthrough for the Second Stage of Chapter 7 for the Frankenstein Room ESC adventure game. In this stage, we will be playing as Elizabeth and Huxley, who have to stock up on supplies before traveling across the frozen Arctic ocean, in search of Babel.
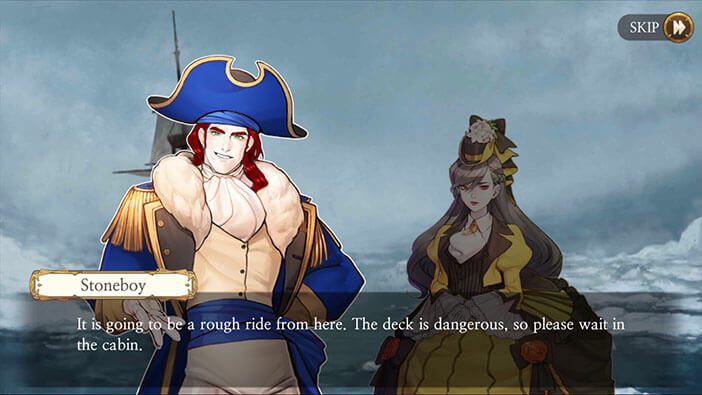
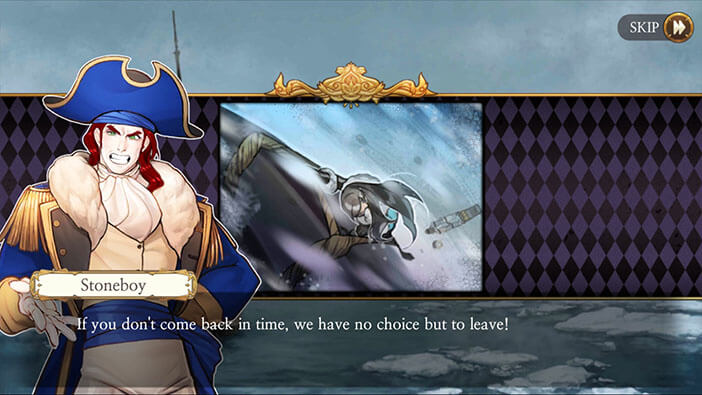
Our story continues on the 19th of December, with only 6 days left until the “Sunspot Explosion Cycle”. After avoiding the pirates, our characters had an uneventful voyage. However, small icebergs can now be seen in the water, which means that we are entering the Arctic ocean. Stoneboy warns Elizabeth that the rest of their journey is going to be much more dangerous, and suggests to her to stay in the warm cabin until they arrive.

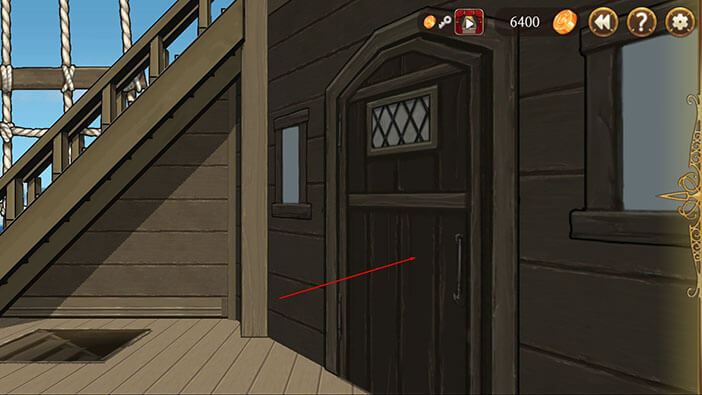
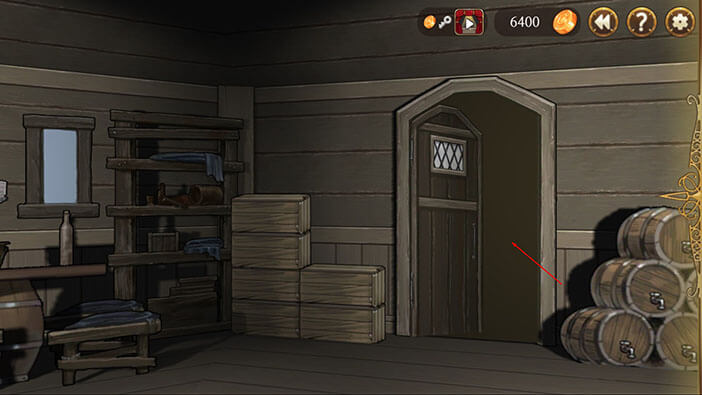
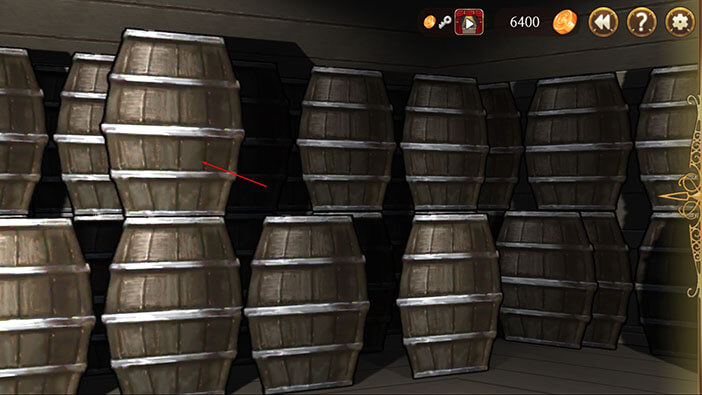
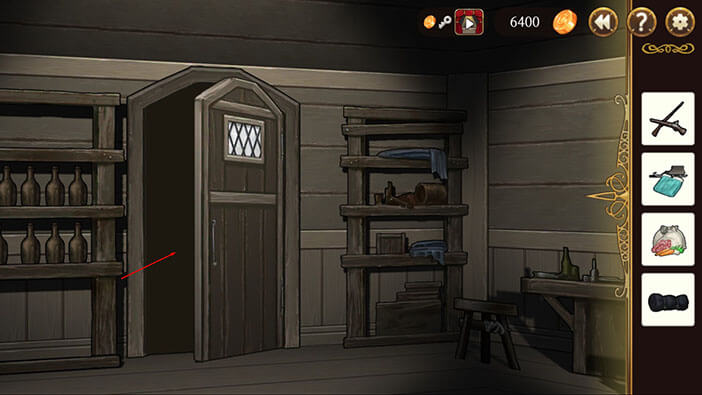
Turn all the way to the right and tap twice on the cabin door to open it and enter.
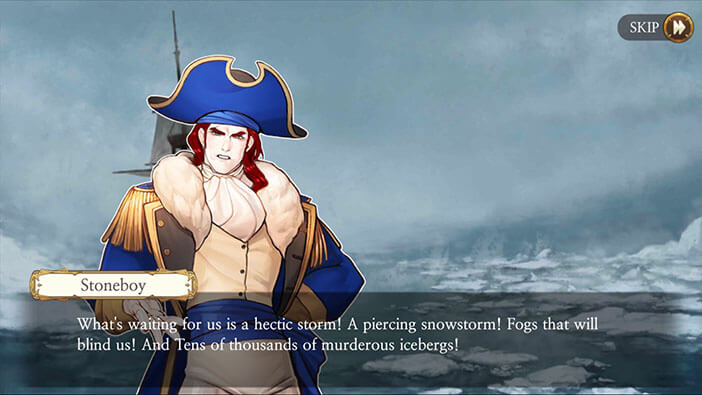
The crew informs the captain, Stoneboy, that all the preparations for the journey through the freezing Arctic are complete. Captain warns them that the rest of the way to Babel will be filled with danger, in the form of icebergs and foggy weather. If they hit one of the larger icebergs, the ship would most likely sink, and everyone aboard will die in the freezing water…
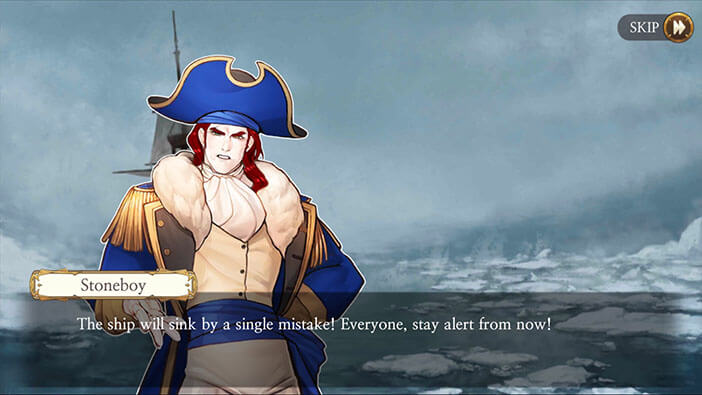
With that said, the entire crew should be on high alert, from now on.
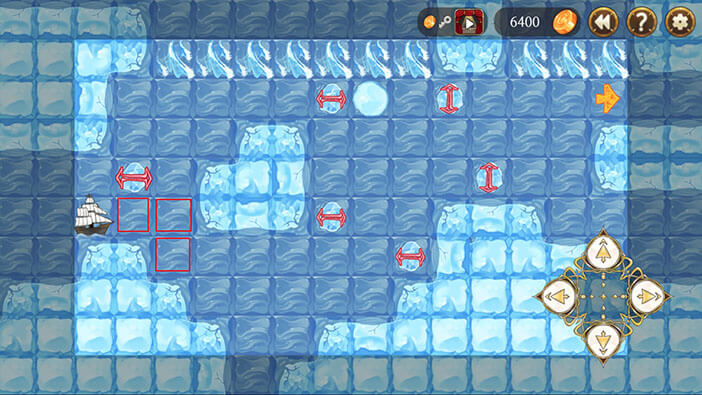
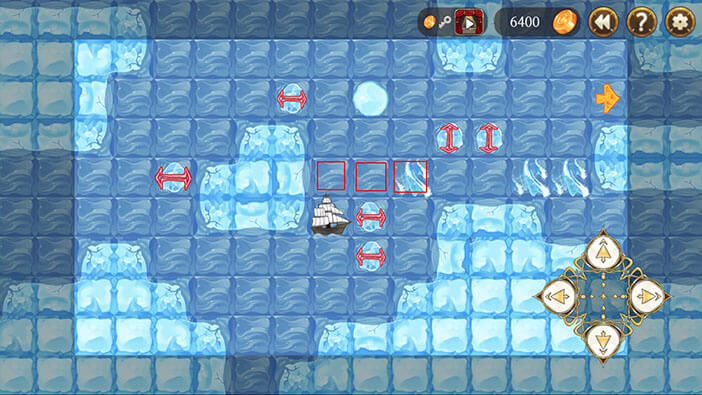
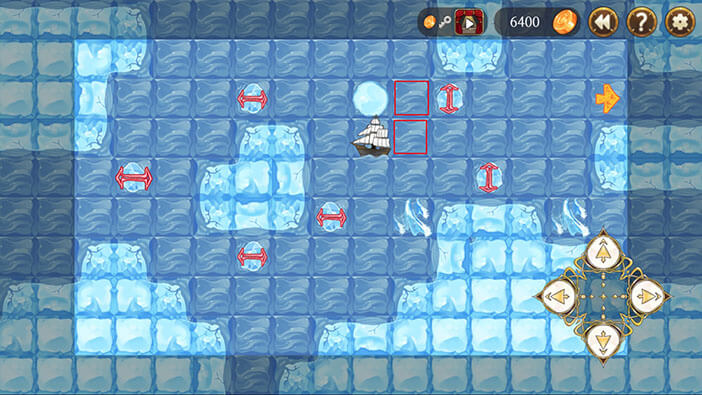
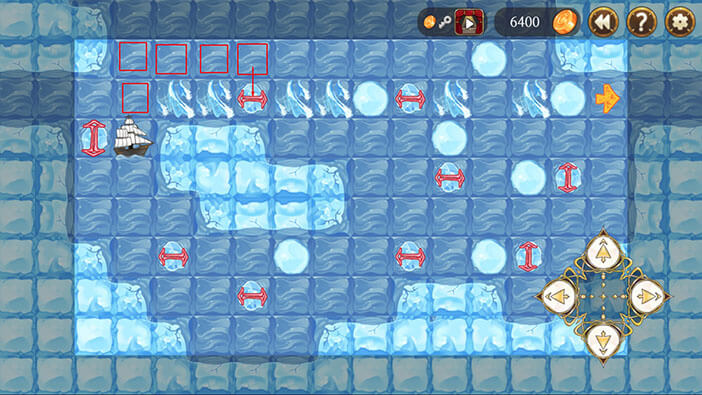
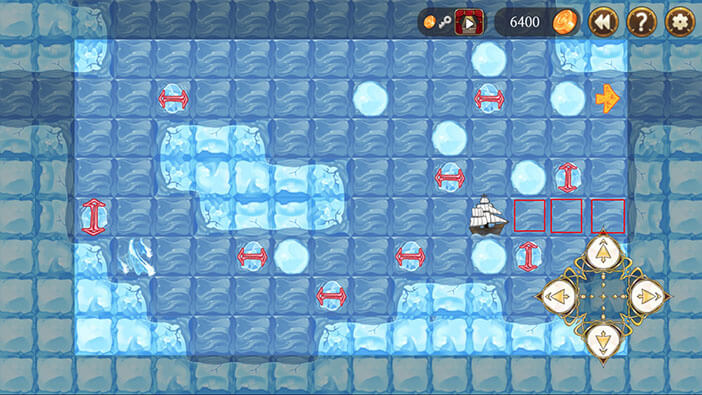
And we come to the first mini-game. Our task is to navigate the ship around the icebergs, just like when we avoided the pirates. The icebergs will move either horizontally or vertically, as indicated by the arrows. Once, the iceberg hits an obstacle, it will start moving in the opposite direction.
Let’s start. PART 1
Step 1
Move two fields forward, and one field down.
Step 2
Move one field forward, and one field down.
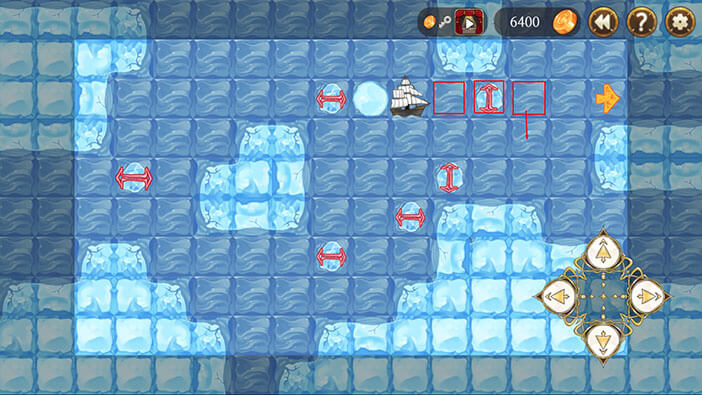
Step 3
Move three fields forward.
Step 4
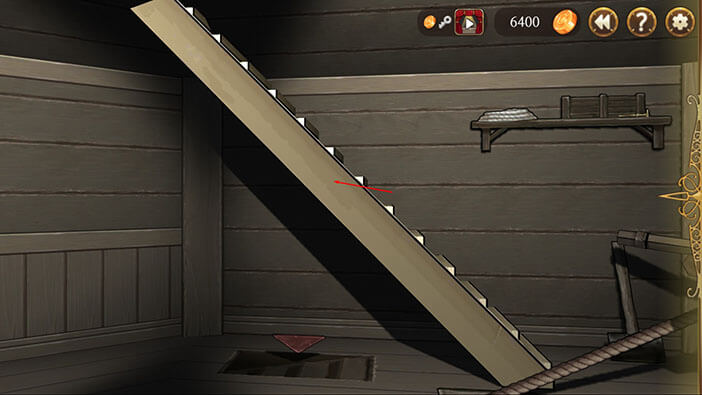
Move three fields up. The wave will drop you one field down, but that’s ok. 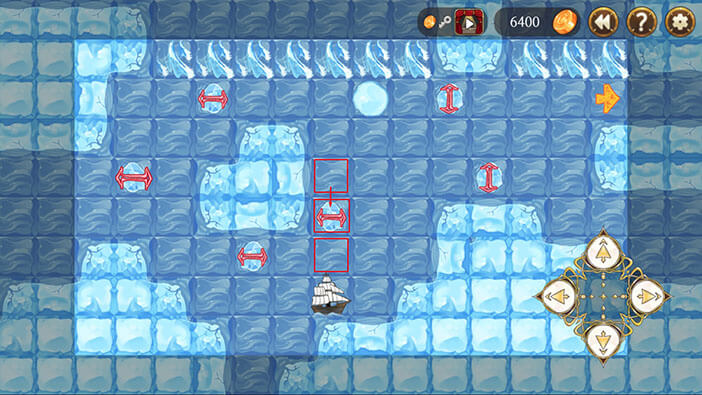
Step 5
Move one field up, and two fields forward.
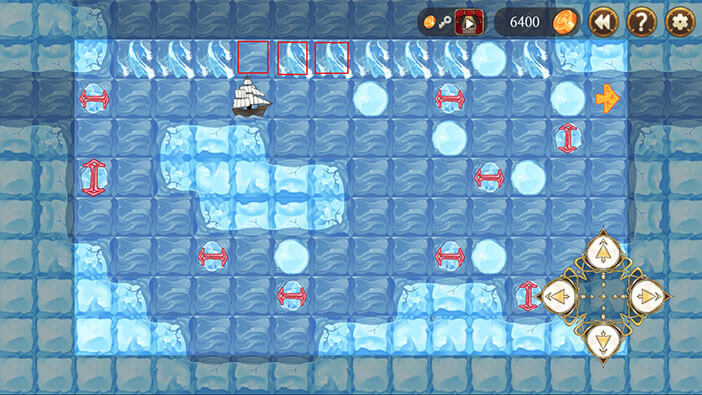
Step 6
Move two fields up.
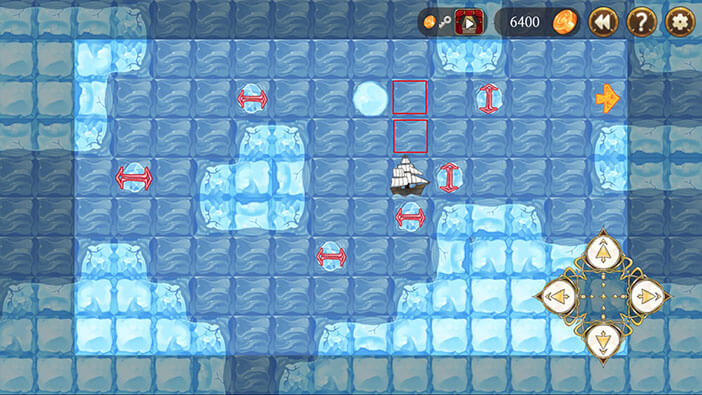
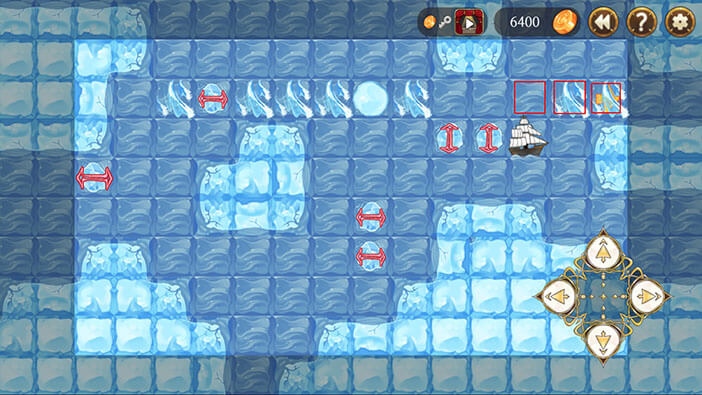
Step 7
Now, we will have to avoid the waves. Move one field down and one field to the left.
Step 8
Move one field down and one field up. This way we will avoid the waves and can now continue towards our destination.
Step 9
Move one field forward and one field up.
Step 10
Move three fields forward. The wave will drop you one field down.
Step 11
Move one field up, and two fields forward. Finish.
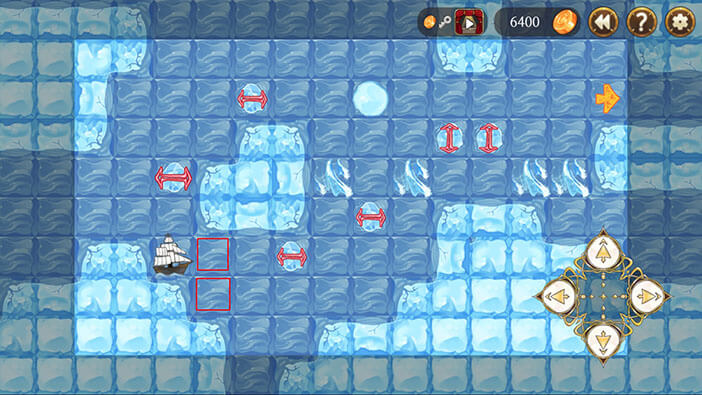
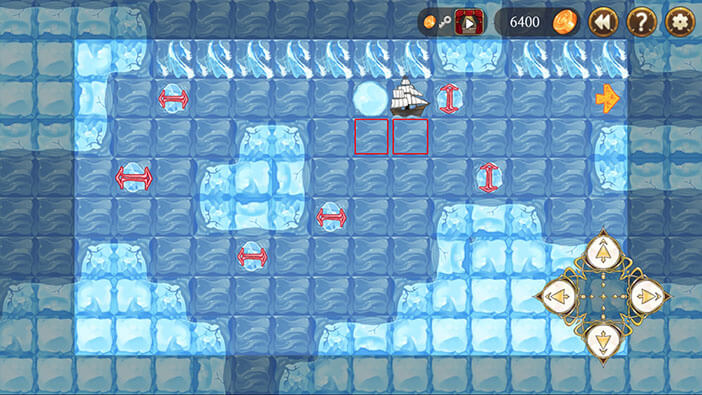
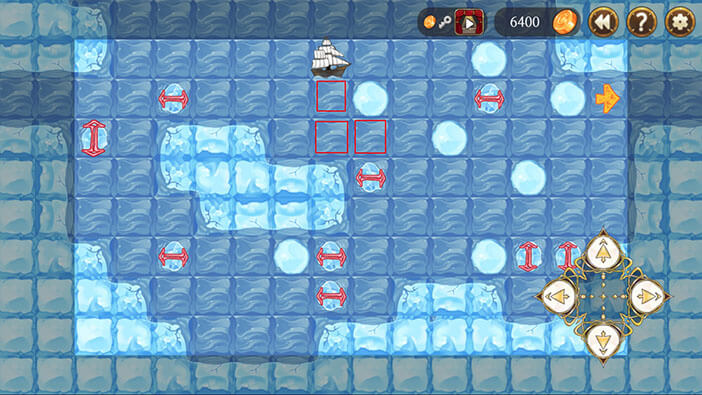
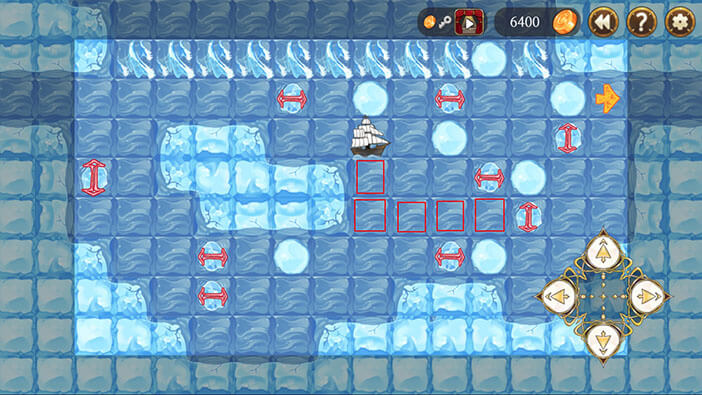
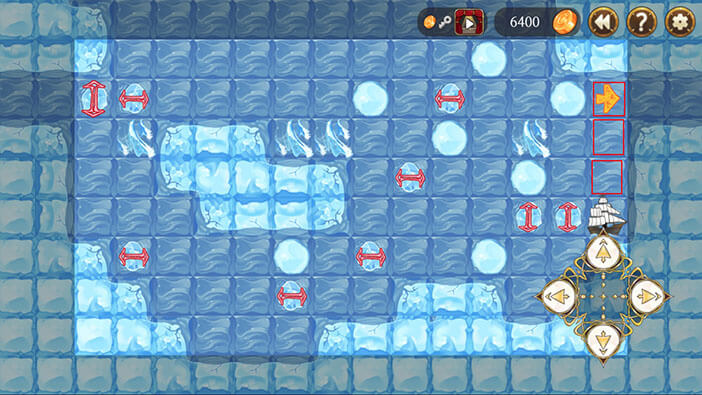
PART 2
Step 1
Move one field forward. The wave will drop you one field down.
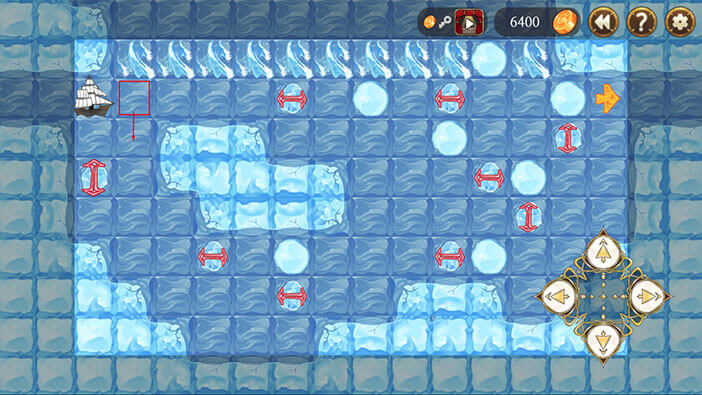
Step 2
Move two fields up and three fields forward. The wave will drop you one field down.
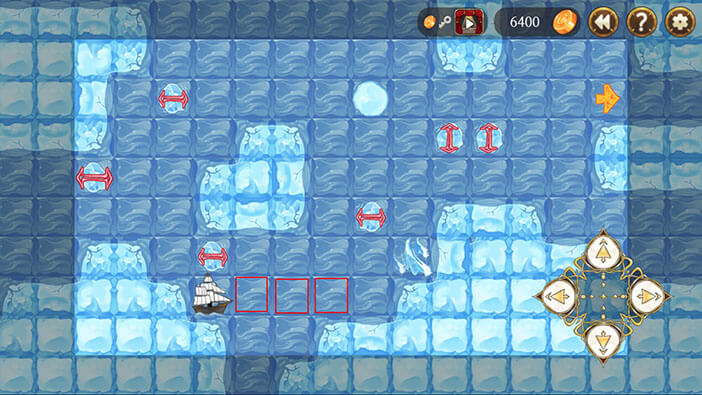
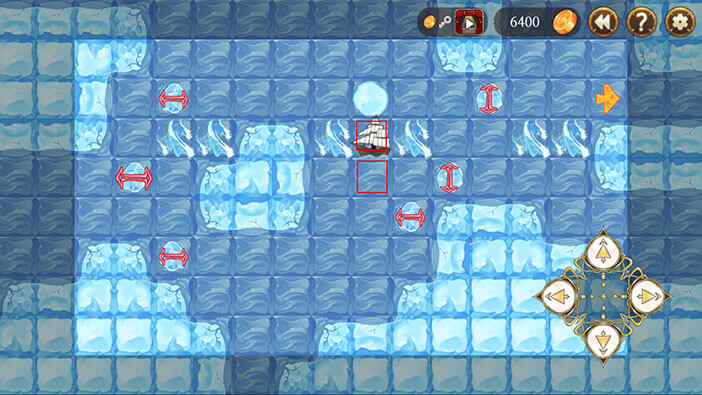
Step 3
Move one field up and two fields forward.
Step 4
Move two fields down and one field forward.
Step 5
Move two fields down and three fields forward.
Step 6
Move three fields forward.
Step 7
Move three fields up. Finish.
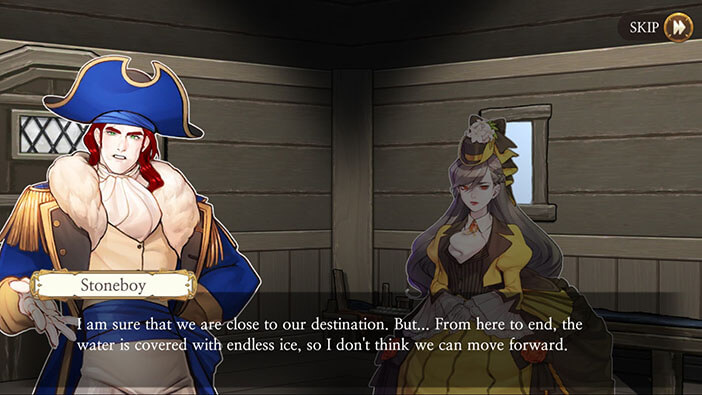
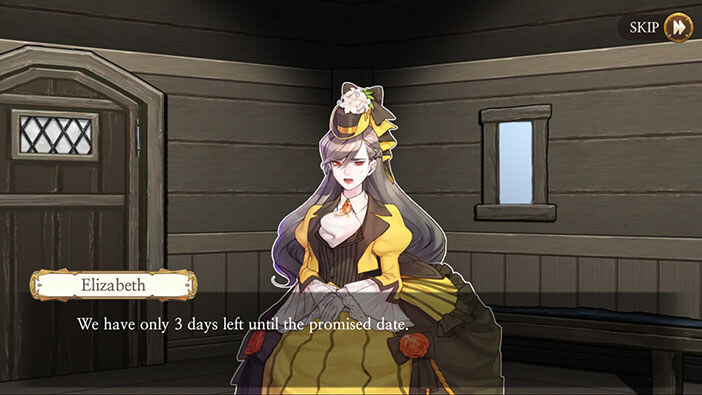
Our story continues on the 22nd of December with only 3 days left until the “Sunspot Explosion Cycle”.
Elizabeth and Huxley realize that ship has abruptly stopped, and wonder what is happening. A few moments later, they hear a knock on the door.

Stoneboy enters the cabin, saying that they have a problem. He explains that the ocean is frozen all the way to their destination and that it is impossible to sail further. Also, the compass seems to be malfunctioning. Interesting, I guess there are strong magnetic fields in this area.

Stoneboy explains that they could only continue the journey if the ice melts, and it could take months. Yeah. The date is the 22nd of December, and I doubt that the ice will melt before March. Elizabeth concludes that they can’t wait, since they only have three days left to reach Babel.
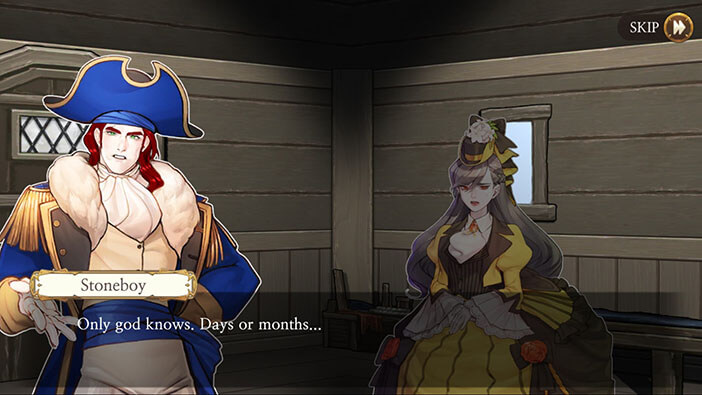
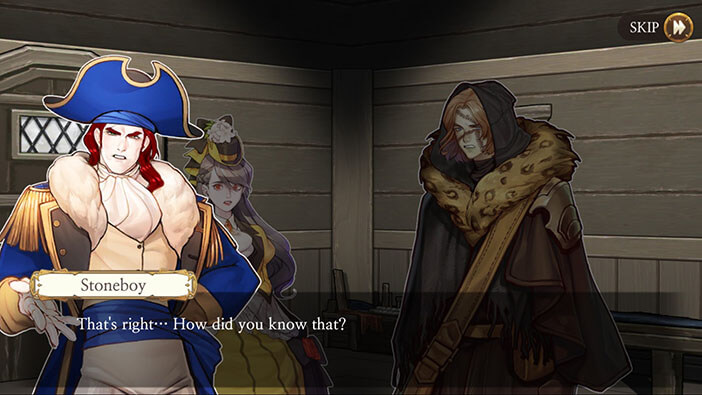
Huxley suggests that they should take the sleds and set off right away because their destination isn’t that far away. He figures that they could reach it in two days if they keep going without taking a break. Stoneboy confirms Huxley’s assessment and both he and Elizabeth are wondering how could have Huxley known that.
Elizabeth concludes that continuing the journey on sleds is the only option they have. She instructs the captain to anchor the ship and wait for them.


Turn to the left and tap on Stoneboy to initiate the conversation.
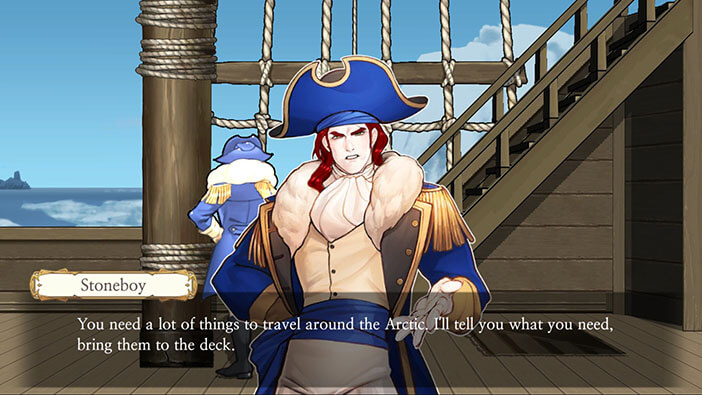
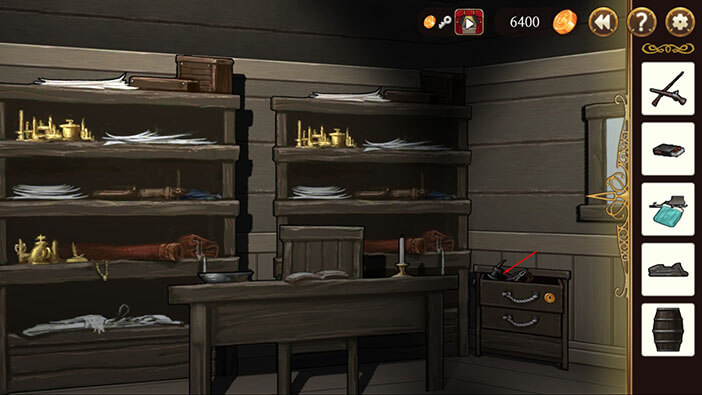
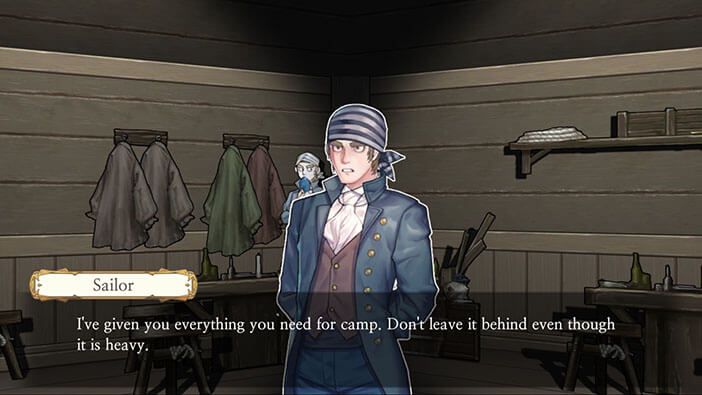
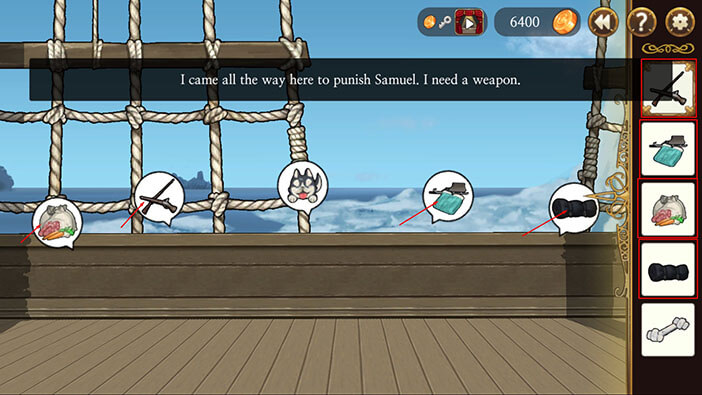
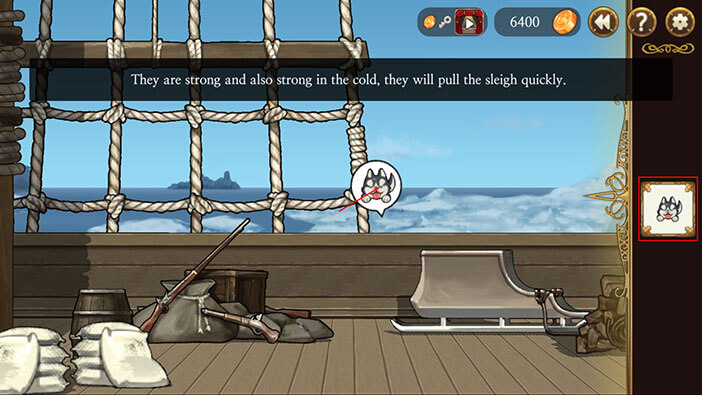
Stoneboy says that they will need supplies for this dangerous journey. After the conversation, we can see five icons to the left of Stoneboy. The icons represent the supplies and equipment that we will have to gather before leaving the ship. So, we will need:
- Food and Water
- Weapons and ammunition
- Dogs
- Sleds
- Bedrolls and warm clothing

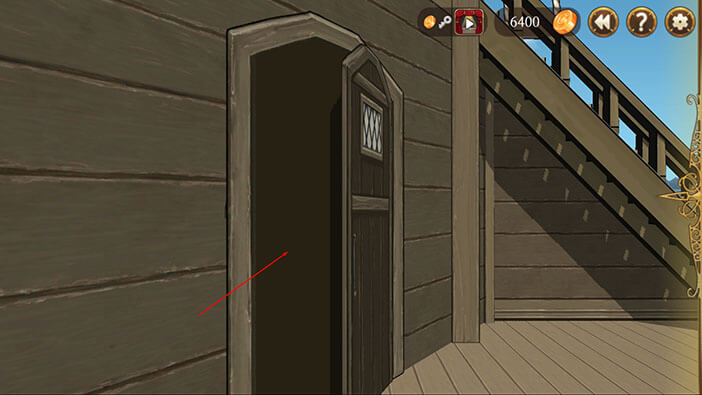
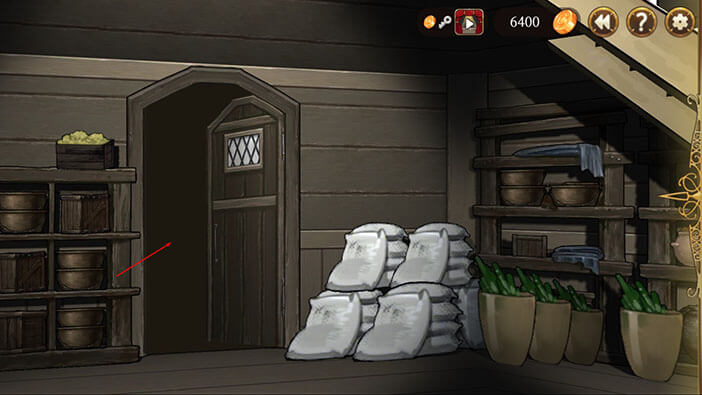
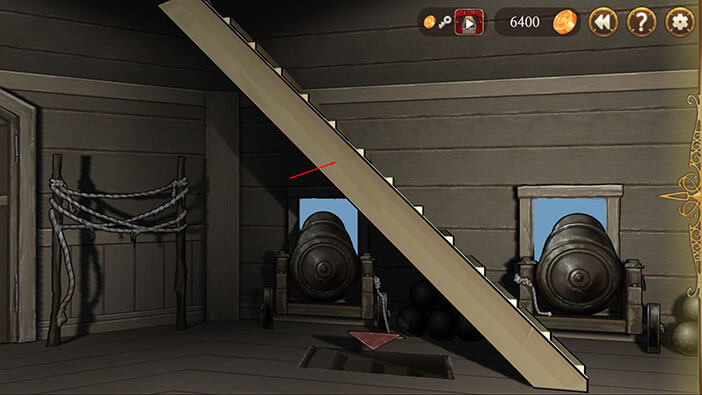
Let’s gather the supplies. Turn all the way to the left and tap twice on the cabin door to open it and enter.

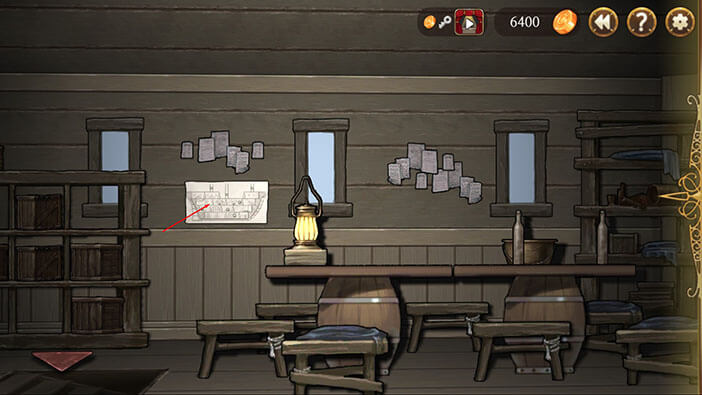
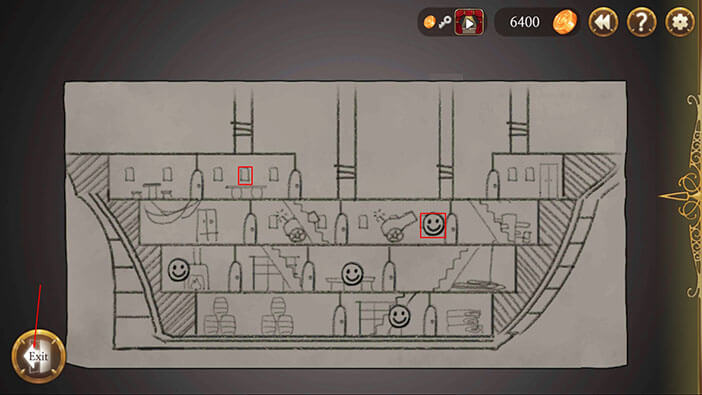
Turn to the left and tap on the ship’s blueprint to examine it.
Ok, we can see that the crew is still in the good mood (smiley faces). We can also see that the ship’s armory is located below us and to the right, so we will first go there and pick up the weapons.
Tap on the “Exit” button.
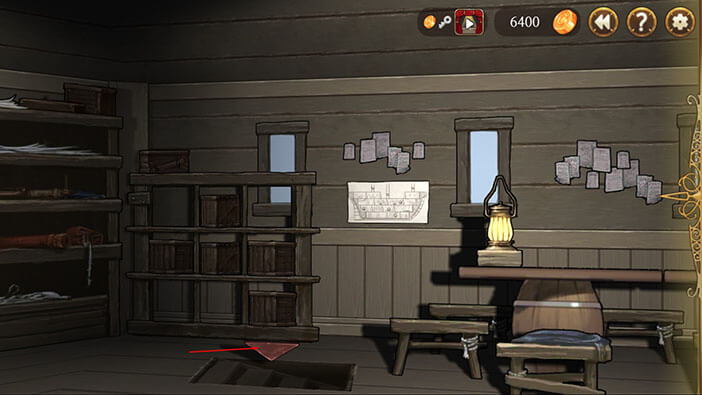
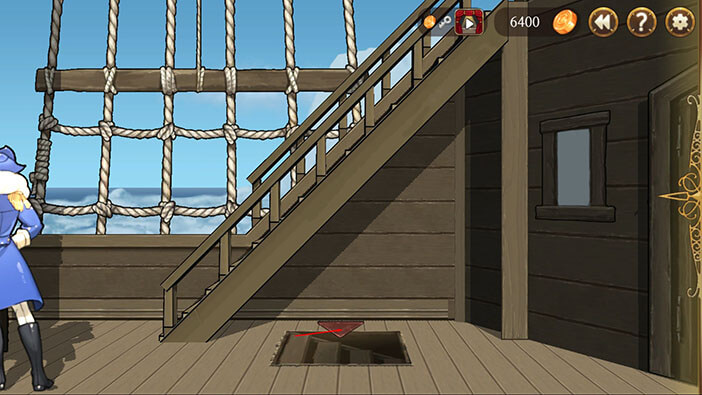
Tap on the arrow to go downstairs.
Turn to the right and tap on the door twice to open it and enter.
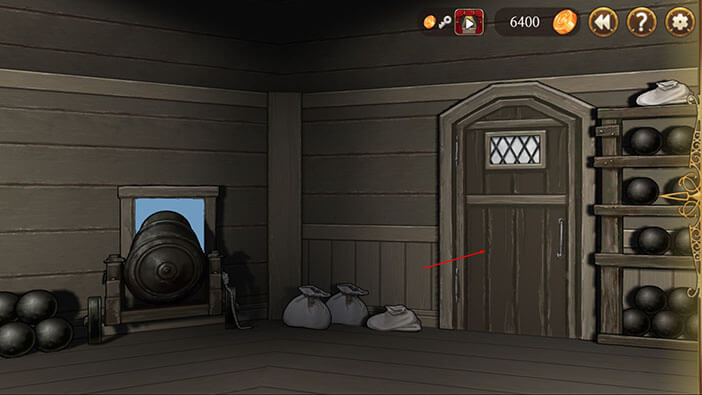
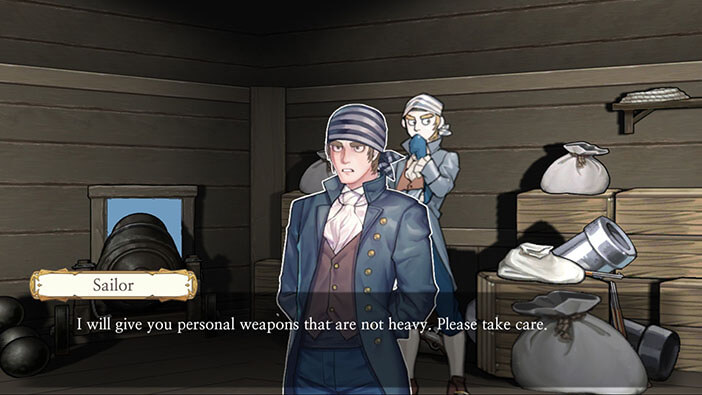
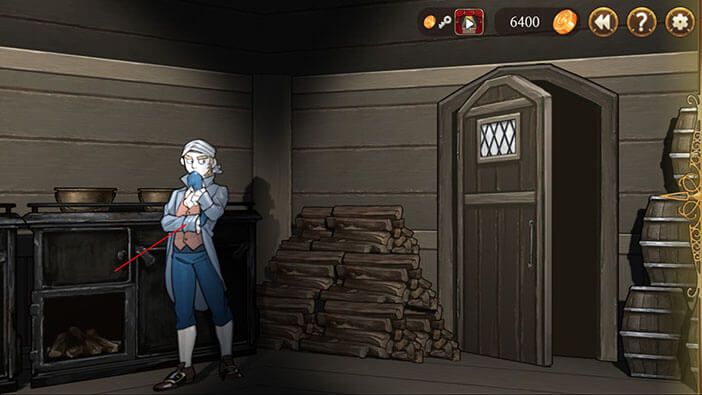
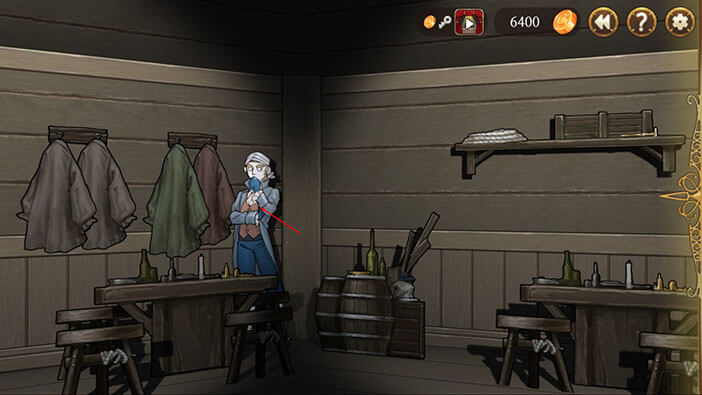
Turn all the way to the right and tap on the sailor to initiate the conversation.
The sailor opens the armory and hands us some rifles (maybe handguns, too) and ammunition. Well, weapons should come in handy. Besides Samuel, the road to Babel itself can be very dangerous, since our characters might run into a polar bear or a pack of hungry wolves.
“Weapons” card will be added to the inventory, after the conversation.

Turn to the left and tap on the door to exit.
Turn to the left and tap on the arrow to go downstairs.
Turn to the left and tap on the door twice to open it and enter.
Tap on the sailor to initiate the conversation.
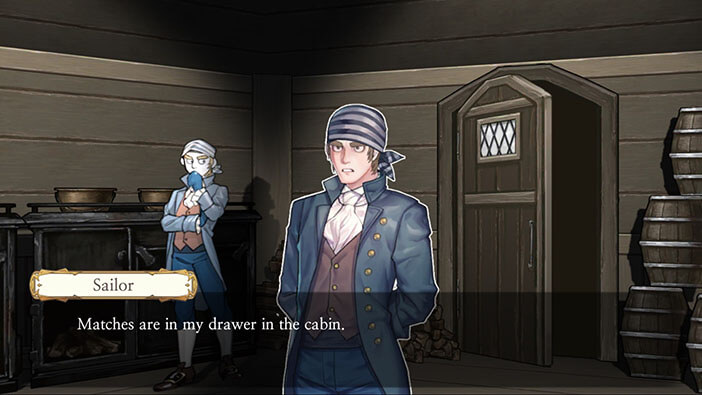
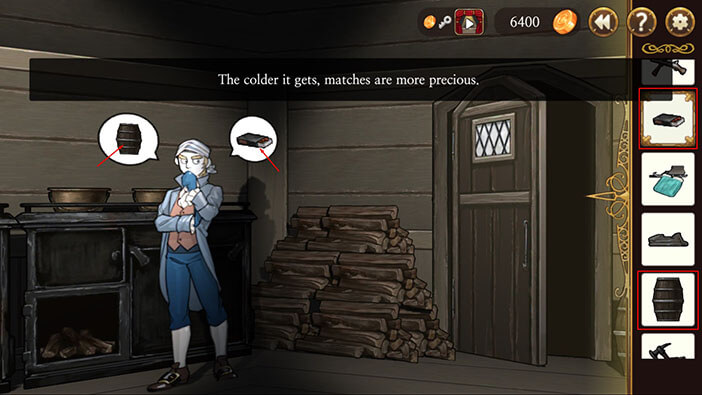
The ship’s cook says that he will start preparing the food for your voyage as soon as you bring him the matches and water. Matches are in his cabin, so we will have to go up to get them. I have no idea where the water is stored. Ok, I guess we will come back later.

Turn all the way to the right and tap on the door to go back to the previous room.
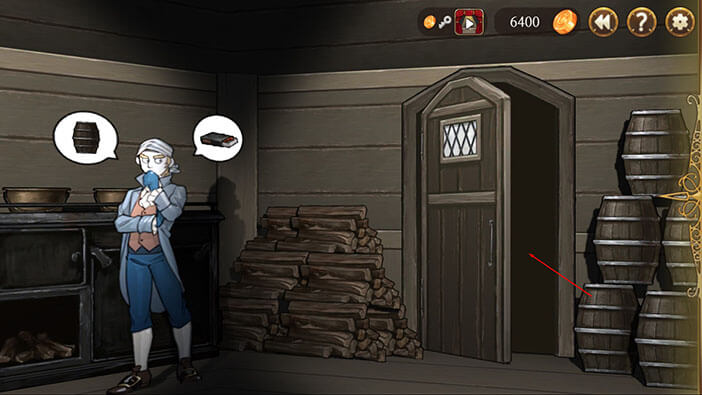
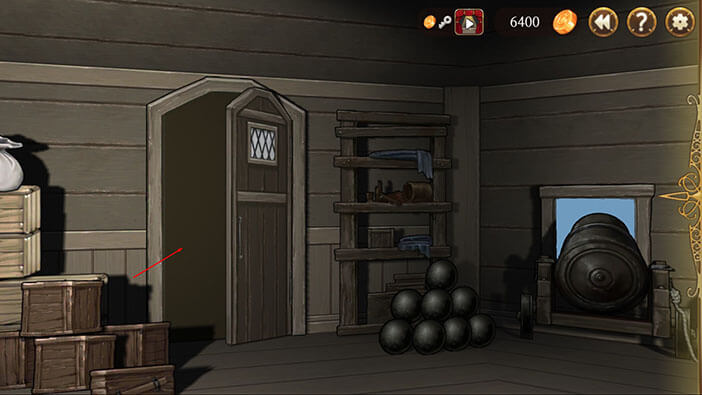
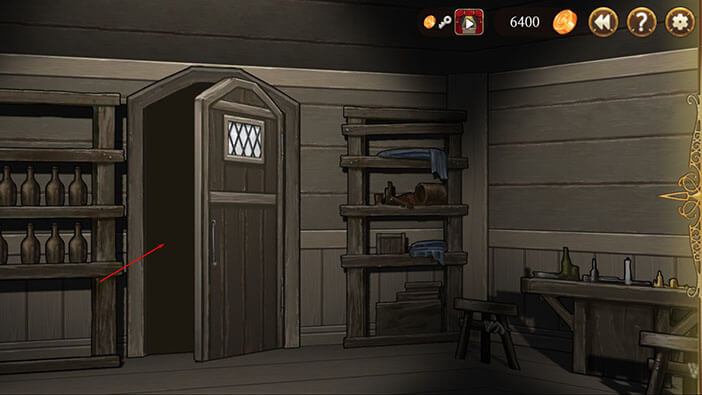
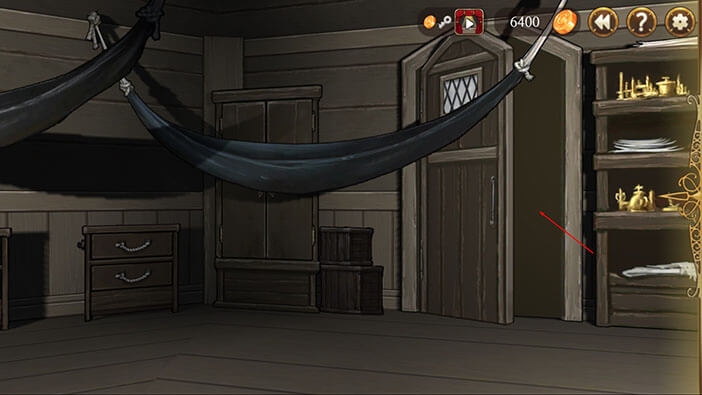
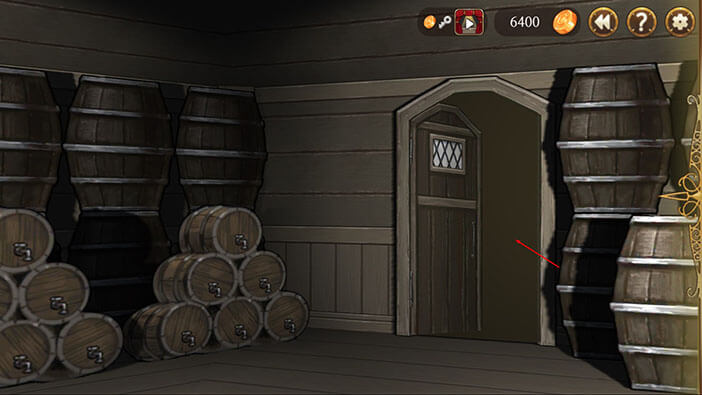
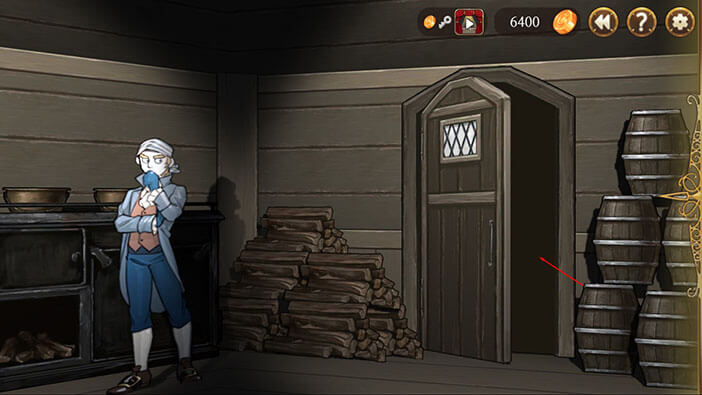
Ok, let’s check the room on the right before going back upstairs. Turn to the right and tap on the door twice to open it and enter.
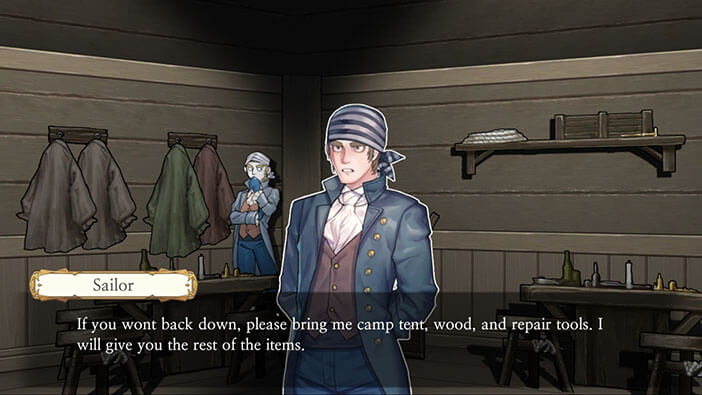
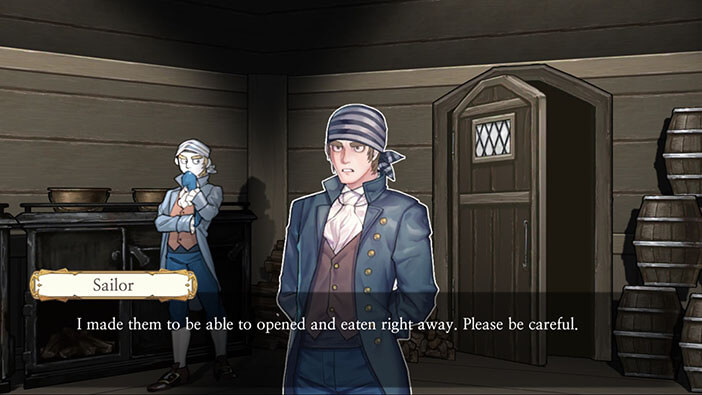
Turn to the right and tap on the sailor to initiate the conversation.
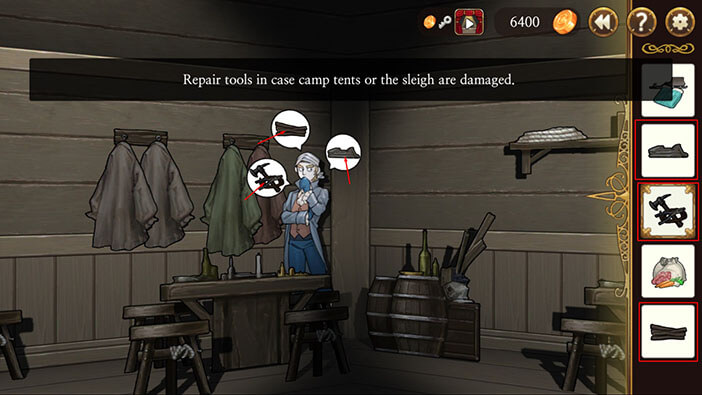
The sailor needs a camp tent, wood, and repair tools – looks like this guy is the quartermaster. He will give us the rest of the items for the journey once we bring these three.

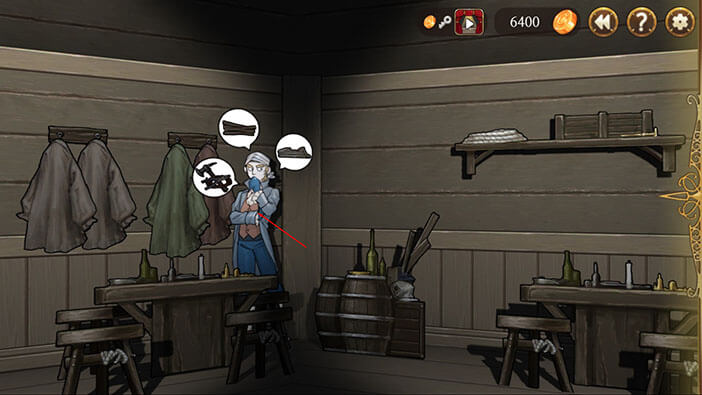
Tap on the quartermaster again.
Ok, now he will tell us where we can find the items that he needs.
- Captain has the “Repair Tools”.
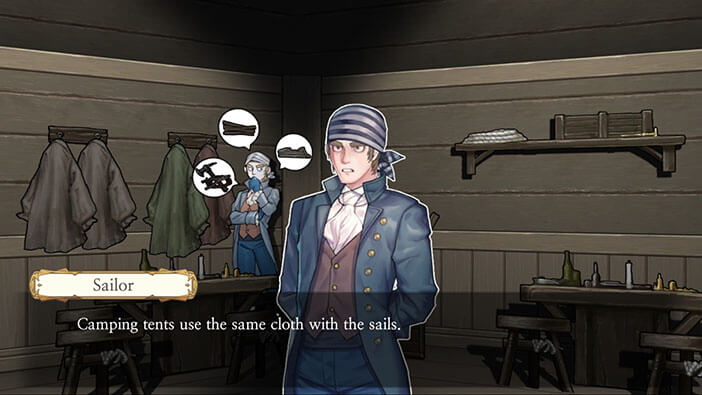
- Camping tents use the same cloth as ship sails (I guess he will craft us a camping tent once we bring the sails)
- The wood is in the kitchen.

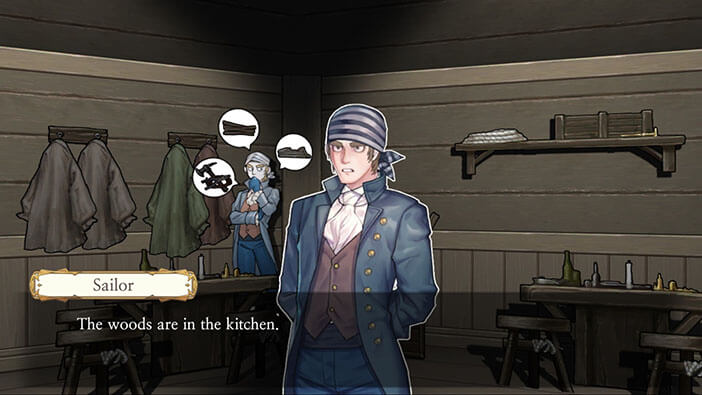
We are close to the kitchen, but the other two items are all the way on the other side of the ship, so here’s the plan. Let’s gather everything else that we need for the cook and quartermaster, and once we go back to see the cook we will pick up the wood from the kitchen. It will save us some time, so we don’t have to unnecessarily travel back and forth as much.
Turn to the left and tap on the door to exit.
Tap on the stairs to go up.
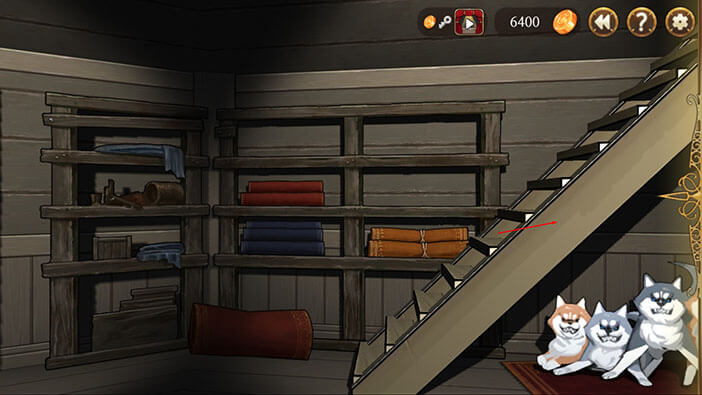
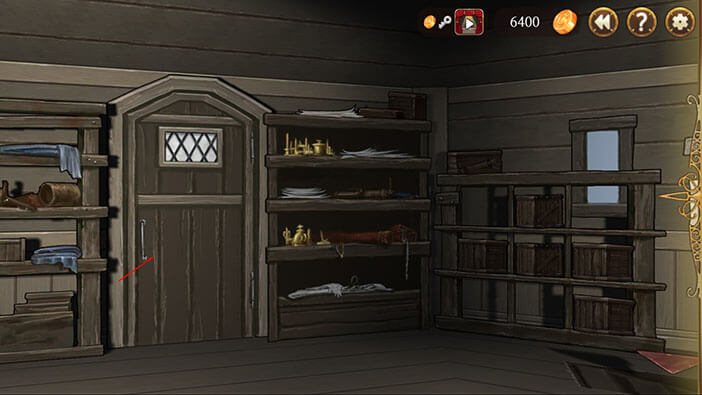
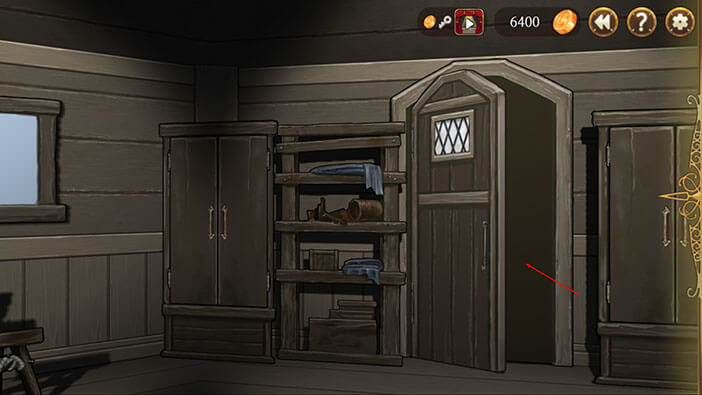
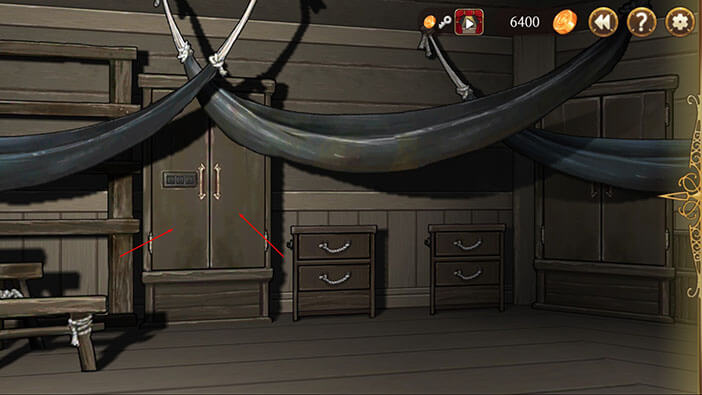
Turn to the left and tap on the door twice, to open it and enter.
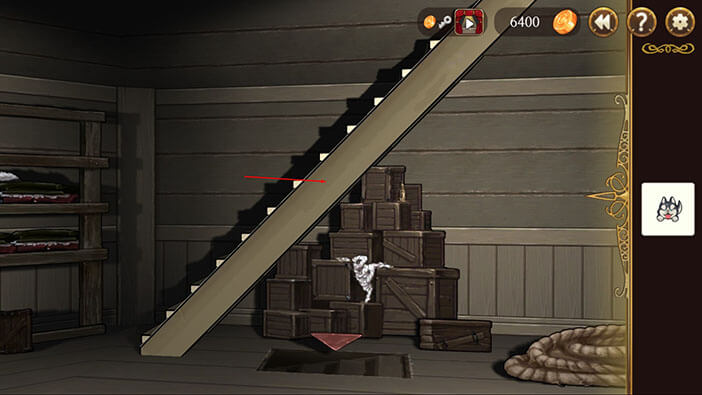
Turn to the left and you will see a locker with a numerical lock. We can open it right now, but this information could be useful later.
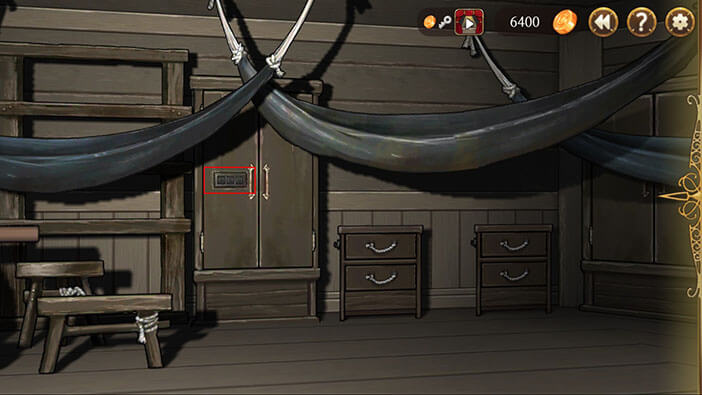
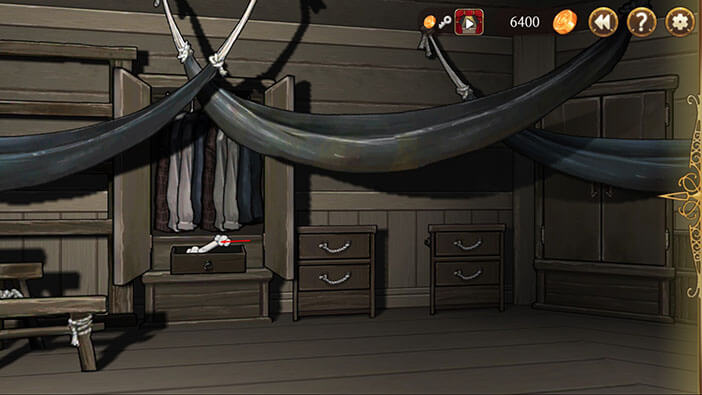
Turn all the way to the left and you will see a small cabinet in the corner of the room. Tap on the top drawer to open it, and tap again to pick up the matches inside it.
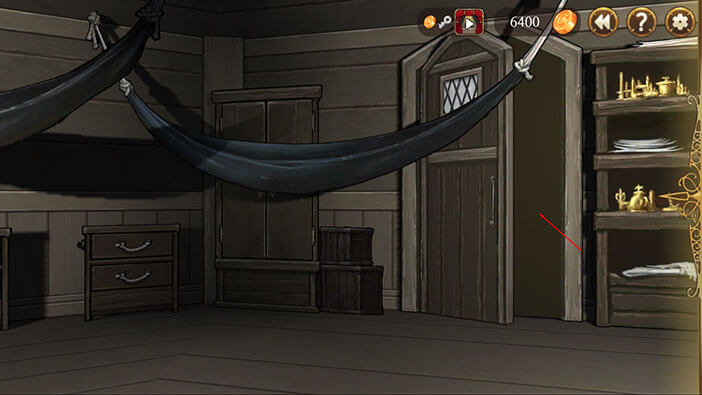
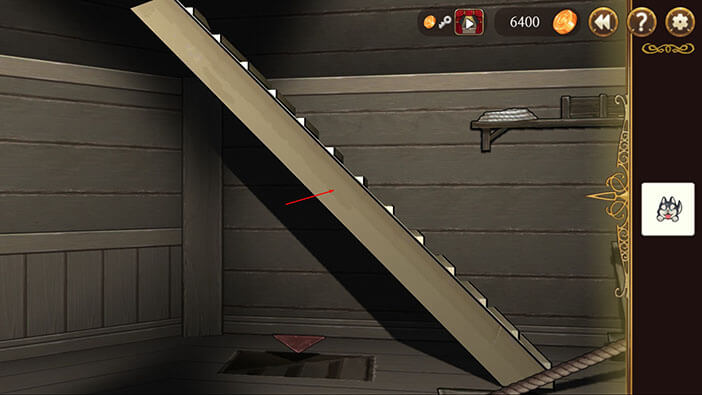
Turn all the way to the right and tap on the door to exit.
Tap on the stairs to go up.
Turn all the way to the right and tap on the door to go to the main deck.
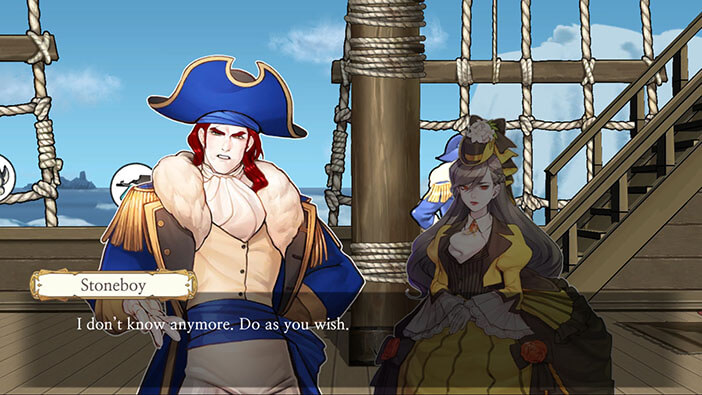
Turn to the right and tap on Stoneboy to ask if him for the “Repair Tools”.
He says “I don’t know anymore” and hands us over a “Captain’s Key”. Weird… Well, I guess the “Repair Tools” are in his cabin (to the left), but I really don’t want to go back right now. Let’s pick them up on our way back to the cook and quartermaster.
Turn to the right and tap on the arrow to go downstairs.
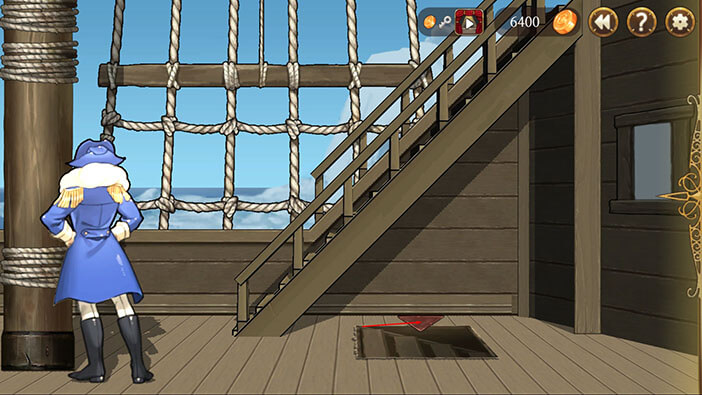
Tap on the arrow to go downstairs, once more.

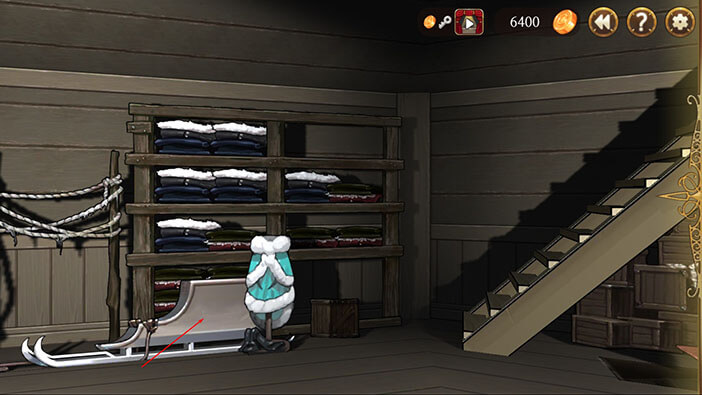
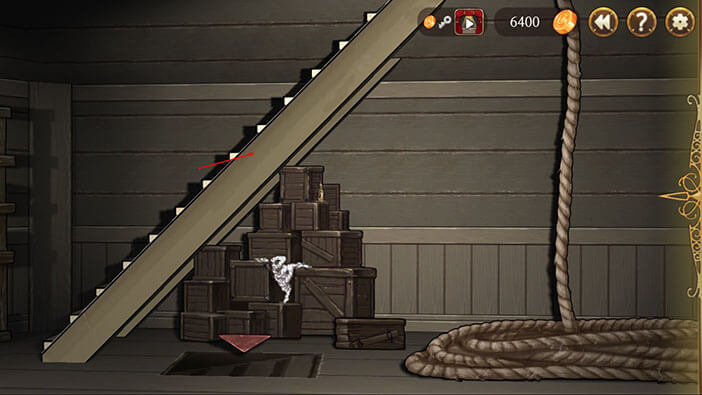
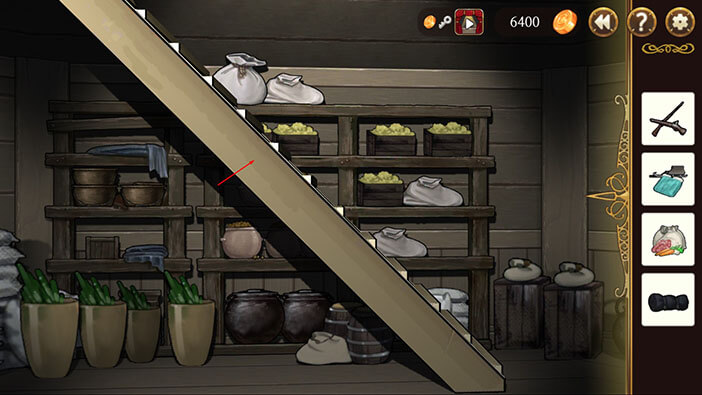
Turn to the left and tap on the sled to pick it up. The “Sled” card will be added to the inventory.
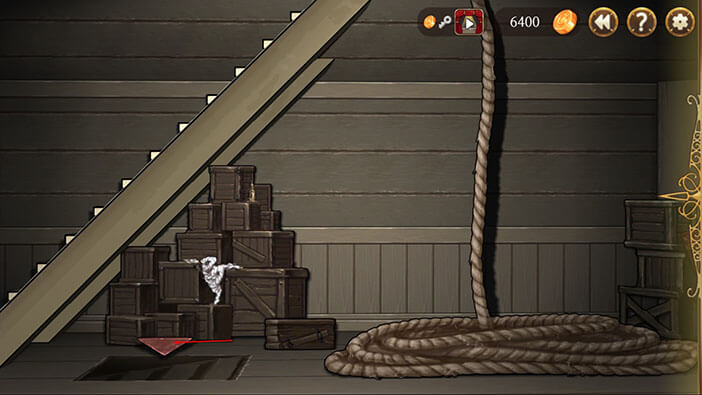
There’s nothing else in this room, so let’s keep going down. Tap on the arrow.
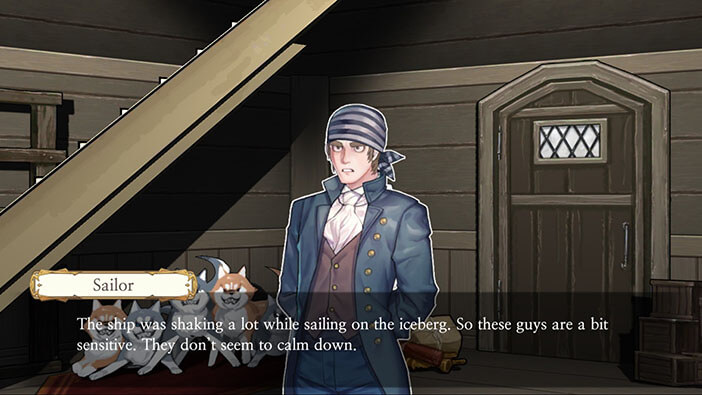
Turn to the right and tap on the sailor to initiate the conversation.
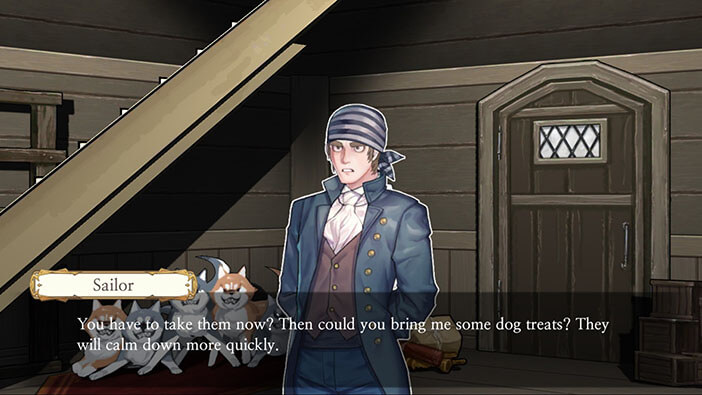
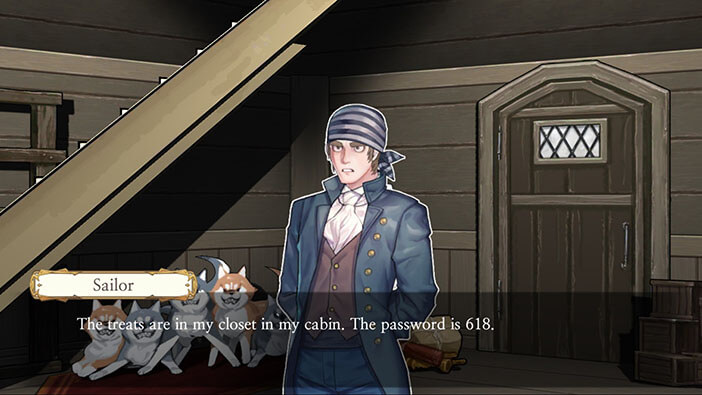
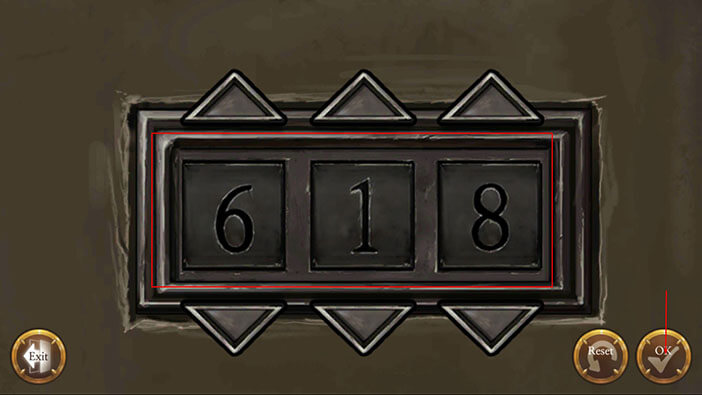
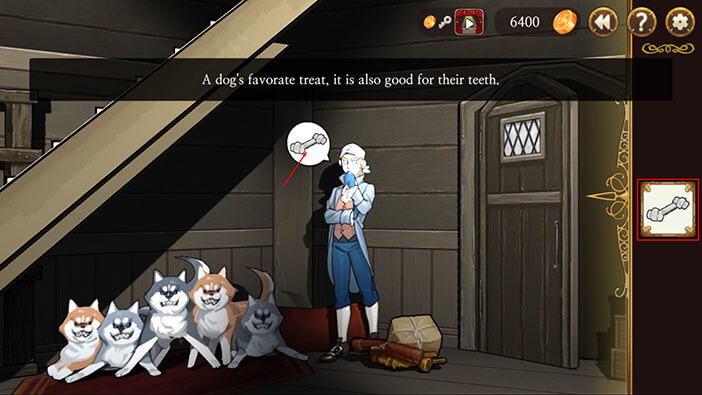
The sailor informs us that the dogs are very nervous after spending so much time at sea. Well, they look hostile, that’s for sure. He says that the “Dog Treats” would calm – a good idea. He left the treats in his cabin and the code for his locker is “618” (memorize it). This should be the locker that we saw earlier, in the room where we picked up the matches.
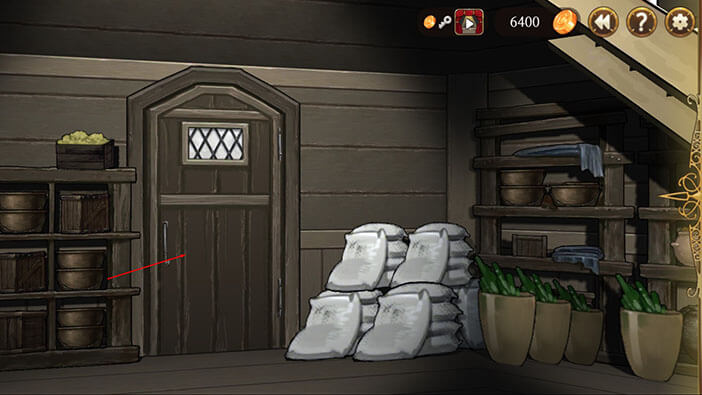
Turn to the right and tap on the door twice to open it and enter.
Tap on the sails and the “Camp Tent” will be added to the inventory. Ok, we will grab the “Repair Tools” on our way back through the Captain’s cabin, and “Firewood” once we go back to the kitchen to see the cook. Well, at least we know where to find all the items for the Quartermaster. Now, we just have to find the water for the cook.

Turn to the left and tap on the door to exit.

Turn all the way to the right and tap on the door twice to open it and proceed into the next room.
Turn all the way to the left and tap on the water barrel. “Drinking Water” will be added to the inventory.
Ok, we can now finally go back to see the cook and the quartermaster. Turn to the right and tap on the door to exit.
Tap on the stairs to go up.
Again, tap on the stairs to go up.
And again, tap on the stairs to go up.
Turn all the way to the left and tap on the door to go to the Captain’s cabin.
Let’s pick up the “Repair Tools” before we go down to the lower levels. Turn all the way to the left and tap on the door twice to open it and proceed into the next room.
Turn to the left and you will see a small cabinet in the corner of the room. Select the “Captain’s Key” from the inventory and tap on the keyhole to unlock the top drawer.
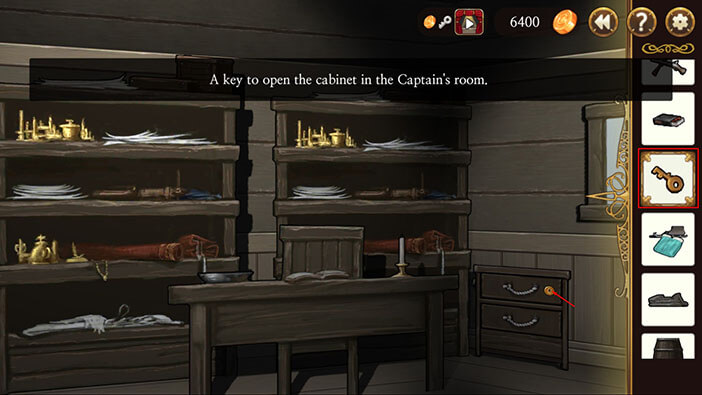
Tap on the drawer to open it and tap once more to pick up the “Repair Tools”.
Turn to the right and tap on the door to exit.
Tap on the arrow to go downstairs.
Again, tap on the arrow to go downstairs. I didn’t forget about the “Dog Treats”, we will pick them up on our way back.
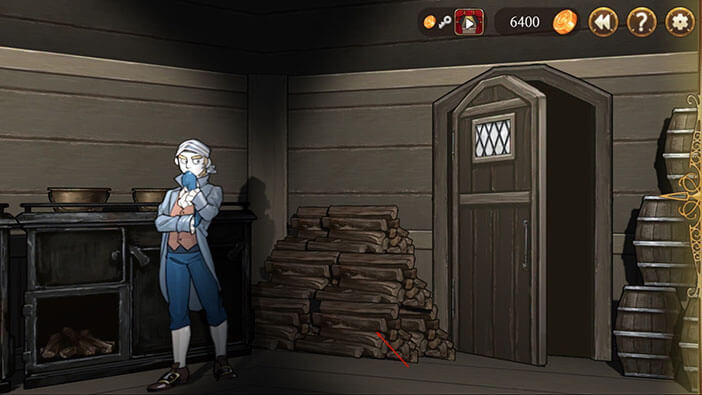
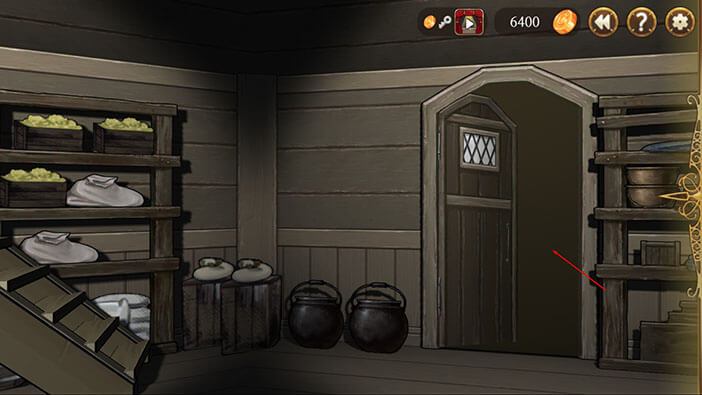
Turn to the left and tap on the door to go into the kitchen.
Select the “Matches” and “Drinking Water” from the inventory and tap on the icons above the cook.
The cook quickly prepares and packs the food for the voyage and gives it to Elizabeth. “Food” card will be added to the inventory after the conversation.
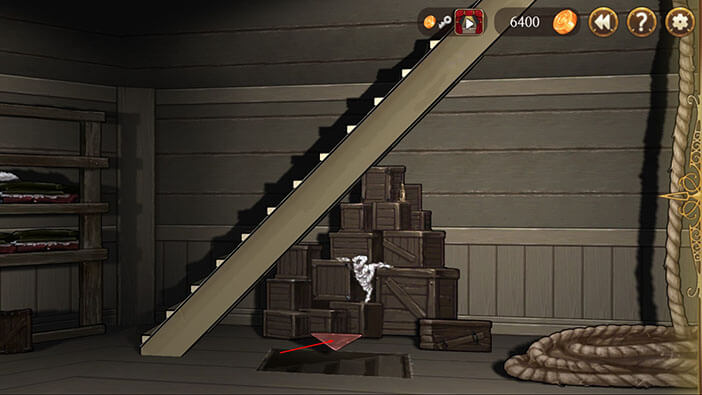
Ok, let’s pick up the wood before visiting the Quartermaster. Tap on the pile of wood behind the cook and “Wood” will be added to the inventory.
Turn to the right and tap on the door to exit.
Turn to the right and tap on the door to enter.
Turn to the right, select the “Repair Tools”, “Camp Tent”, and “Wood” from the inventory, and tap on the icons above the quartermaster.
The Quartermaster gave Elizabeth everything that is necessary to set up a camp. At the end of the conversation “Camp Material” card will be added to the inventory.
Turn to the left and tap on the door to exit.
Tap on the stairs to go up.
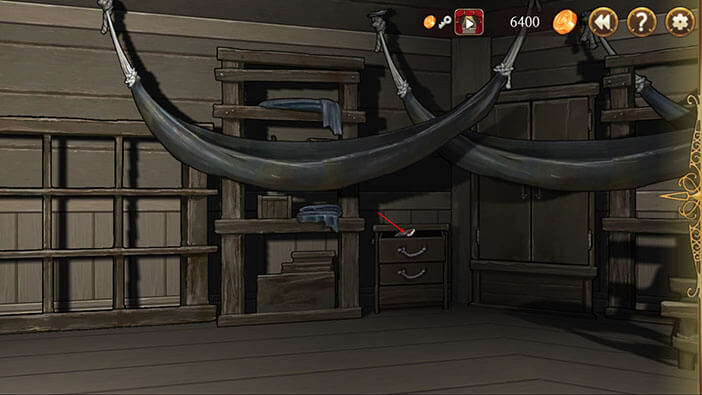
Let’s pick the “Dog Treats”. Turn to the left and tap on the door to enter.
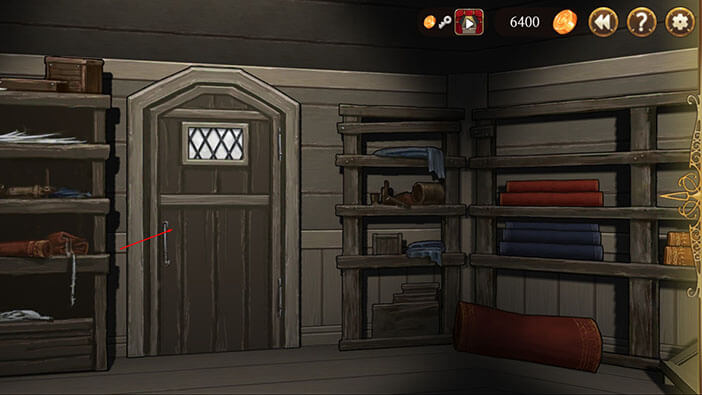
Turn to the left and tap on the numerical lock.
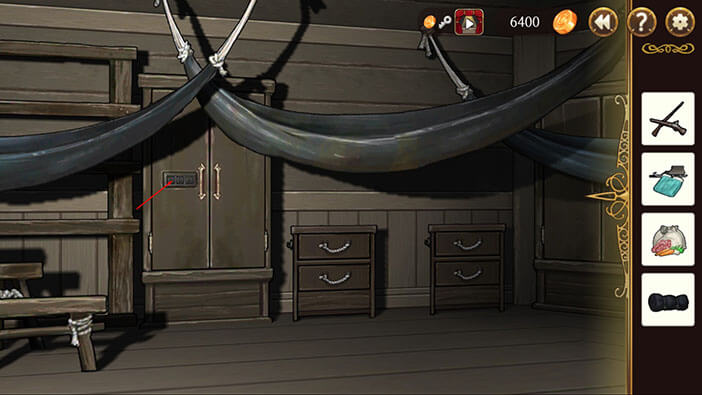
Enter the code “618” and tap on the “OK” button to confirm.
Tap on both locker doors to open them.
Tap on the drawer to open it, and tap once more to pick up the “Dog Treat” inside it.
Ok, let’s go back to the dog handler. Turn to the right and tap on the door to exit.
Tap on the stairs to go up.
Turn to the right and tap on the door to go to the main deck.

Let’s unload the supplies that we gathered so far since we’re already at the main deck. Turn to the right, select the “Weapons”, “Sled”, “Food”, and “Camp Material” from the inventory, and tap on the matching icons to unload the supplies and equipment.
Ok, we are almost ready. Let’s pick up the dogs and hurry back, so our characters can finally start their adventure. Turn to the right and tap on tap on the arrow to go downstairs.
Again, tap on the arrow to go downstairs.

And, once more, tap on the arrow to go downstairs.
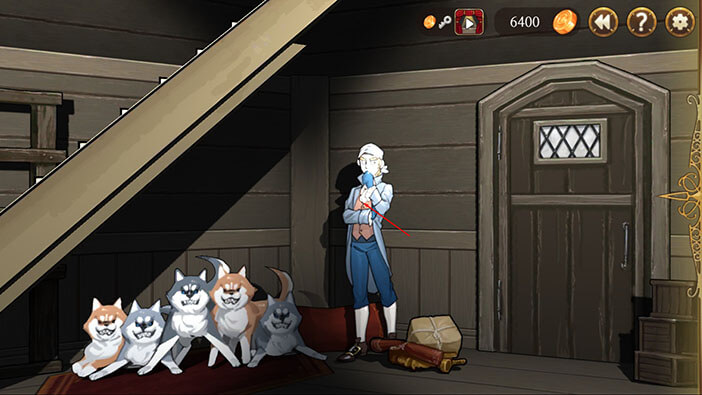
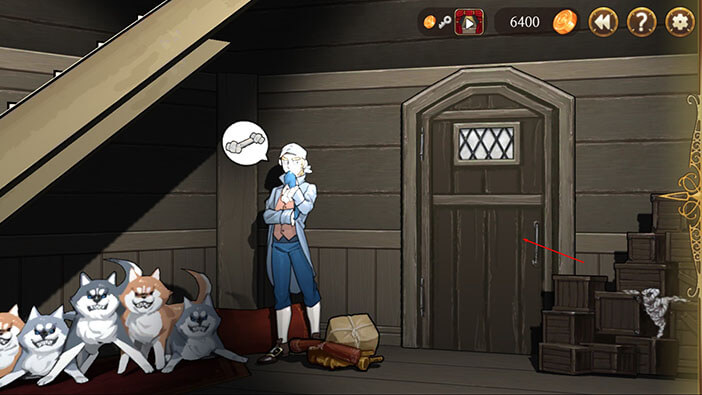
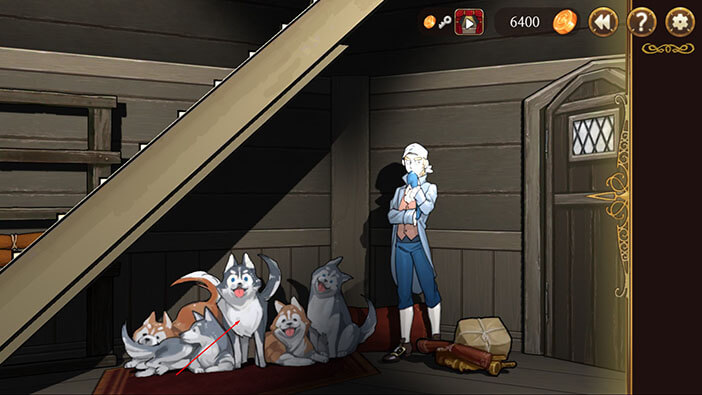
Turn to the right, select the “Dog Treats” from the inventory, and tap on the icon above the dog handler.
The dogs quickly calmed down, and no longer have a mean look on their face. Dog Handler says we can take them now, and advises Elizabeth to take good care of them.

Tap on the dogs to “pick” them up, and “Sled Dogs” card will be added to the inventory.
Ok, let’s go back up to the main deck… Tap on the stairs to go up.
Again, tap on the stairs to go up.
And, once more, tap on the stairs to go up.
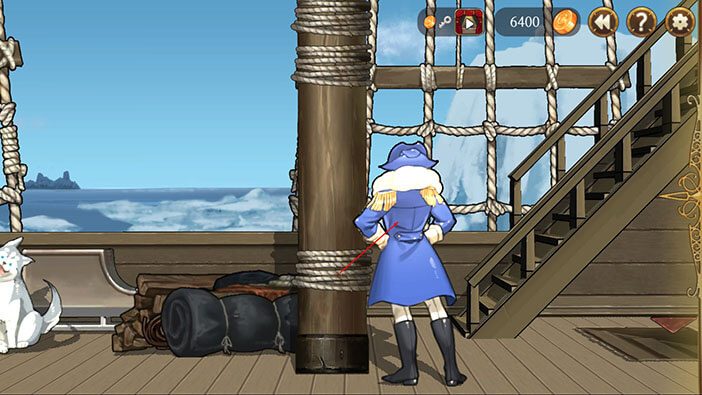
Turn to the left, select the “Sled Dogs” from the inventory, and tap on the dog icon.
We have now gathered all the equipment and supplies that we will need for the voyage to Babel, across the frozen wasteland. Let’s talk to Stoneboy before we leave.
Turn to the right and tap on Stoneboy to initiate the conversation.
Elizabeth informs Stoneboy that they are ready for the journey, and the pair disembarks from the ship. Stoneboy thinks that their journey is going to be very risky, but he also realizes that they don’t have any other choice…
Stoneboy warns them about the dangers of traveling through the frozen Arctic, one last time. After that, he informs them that he and the crew will wait for them aboard “Genesis” for exactly one week. After that, they will have to leave – probably because of the supply situation.
So, Huxley and Elizabeth will have to return to the ship in one week. If it takes three days to reach the Babel, and the return journey to Genesis takes the same amount of time, that means that they will have only a single day to sort things out in Babel…

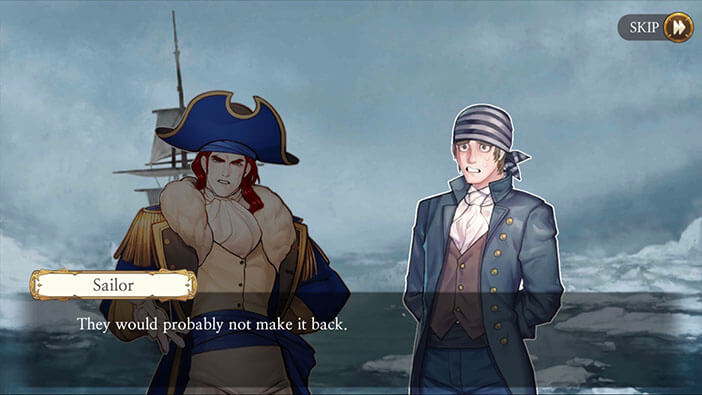
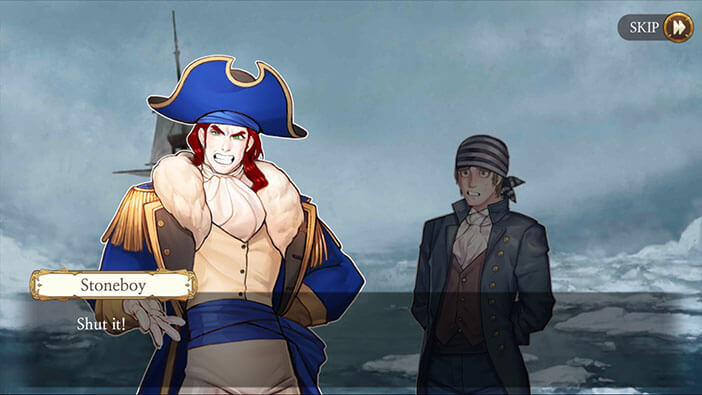
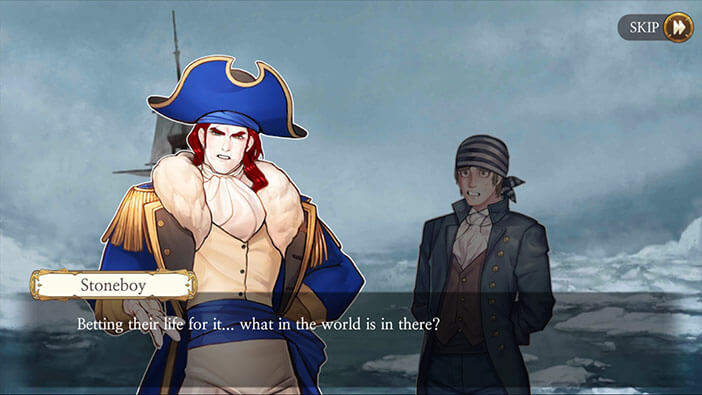
After our characters left, one of the sailors approaches the captain, saying that Elizabeth and Huxley probably won’t make it back. Stoneboy quickly shuts him up. The captain is wondering what could be so important to make these two take such an enormous risk…
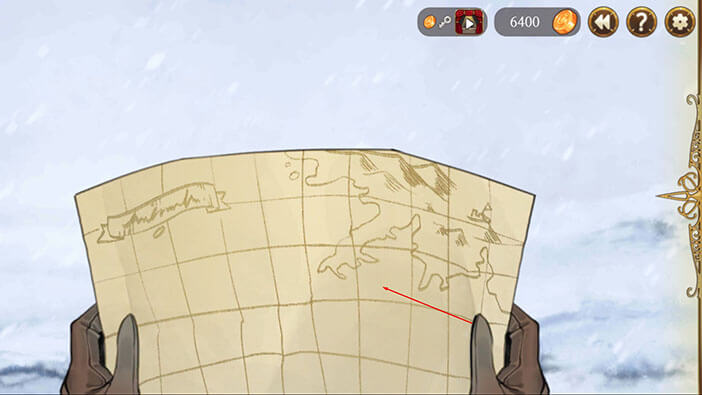
Tap on the map to proceed.
After disembarking, Huxley and Elizabeth climb on the sled without wasting any more time. Huxley slams the reigns, and the dogs start pulling the sleds toward Babel. Both Elizabeth and Huxley are having doubts, thinking they must have been crazy when they decided to set off on this extremely dangerous journey. Regardless, our characters soldier on, and continue towards Babel, hoping to finally exact the righteous revenge on Samuel, and maybe find answers to some unanswered questions, along the way.


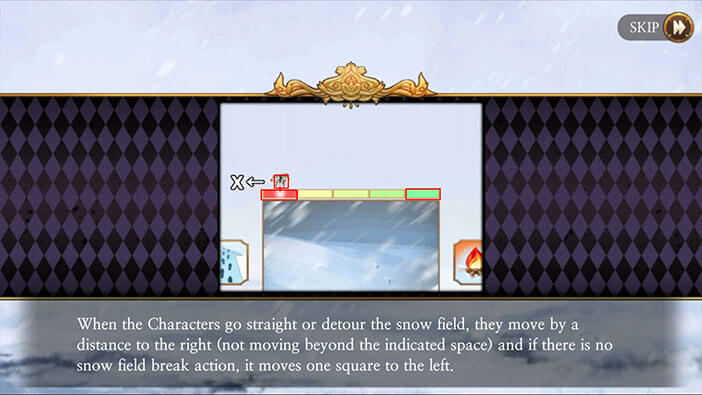
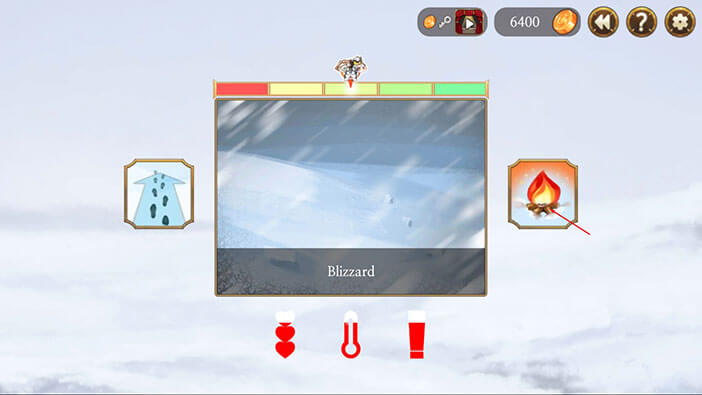
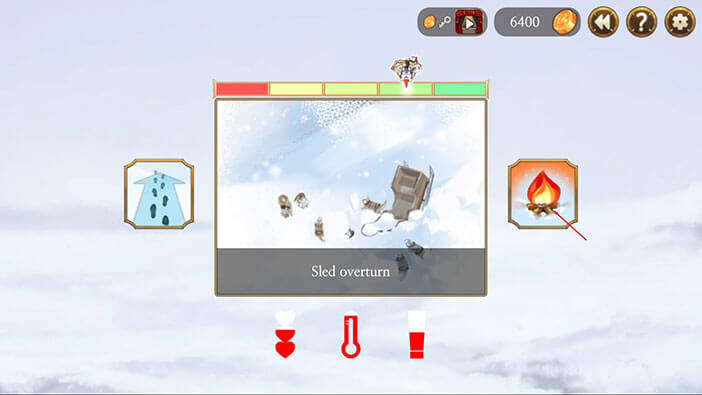
Ok, now we have to play a turn-based survival mini-game.
If our characters move forward or choose to go around some obstacle, the progress bar will move one field to the right (toward the green area).
If they do not move during their turn (setting up camp or doing some other action instead), the progress bar will move one field to the left (toward the red area).
The progress bar represents the progress of the journey.
If the progress bar drops all the way to the left (red field), and our characters fail to move forward on the next turn, they will fail the mission, because that means that they have fallen behind the schedule, and can’t reach the Babel in time.
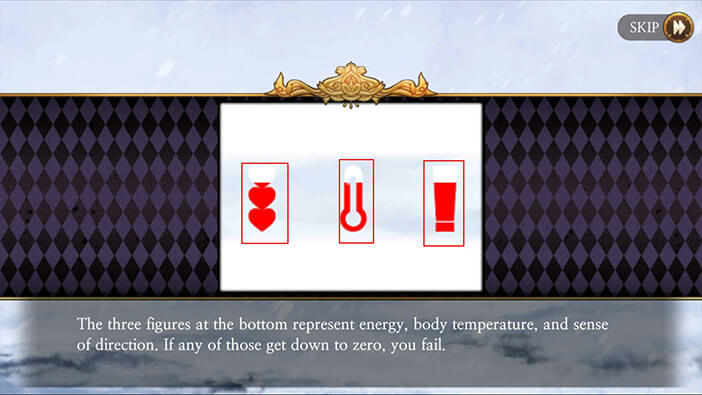
The three symbols represent at the bottom represent the energy (replenished after eating a meal), body temperature, and sense of direction. Our current status is represented by the red color inside the symbols, and if it drops all the way down, we will fail the mission. Because our characters could starve, get lost, or freeze to death.
So we will have to move forward as much as possible while paying attention to our character needs. Got it.
As a side note, I don’t think that you will always get the same “events” during your travel. It looks like the events are randomized, and will be different every time you play this mission. Well, below you can see my experience. Honestly, I really like the design of this mini-game. Good job devs!
Step 1
We are fortunate because our journey starts with clear, sunny weather. On the downside, I don’t have the option to move forward which is really, really weird…
With that said, I chose the option on the left, so Elizabeth and Huxley will at least have a decent meal before the journey.
NOTE: Choosing this option will reduce the hunger rate (fills up the bar on the left), and increase the body temperature (slightly raises the middle bar). On the downside, it will also reduce your progress bar by one field. 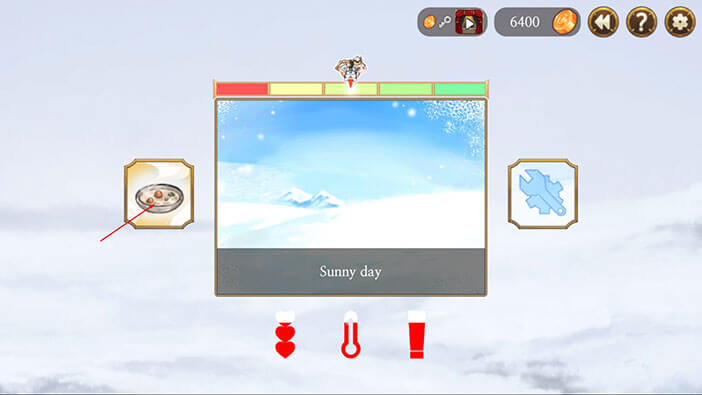
Step 2
Well, looks like I am very lucky because I got the sunny weather again. Naturally, we should use the sunny weather event to move forward, so I chose the option on the left.
NOTE: Moving in sunny weather will completely fill up the progress bar, and will also increase our sense of direction (bar on the right). 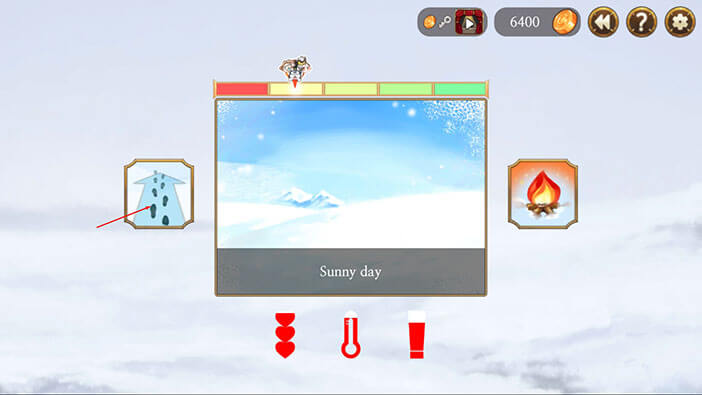
Step 3
Oh, wow. Another sunny day. I played this mini-game once before writing this article, and I wanted to go through it once more to confirm my suspicion that you always get the randomized events. This confirms it. The first time I played the survival challenge, I got two “sunny days”, at most, during the entire journey. It was almost always a blizzard, cracked ice, mountain, overturned sleds, or some other misfortune. Well, I guess the RNG Gods were very kind this time. Three sunny days in a row… Wow!
Well, this is a no-brainer. I chose the option on the left. 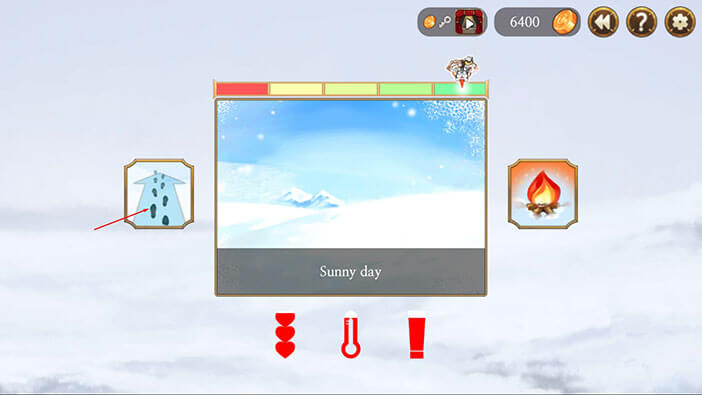
Step 4
Sunny day again… I think my game might be bugged. Oh well, what can you do…
I chose the option on the left. 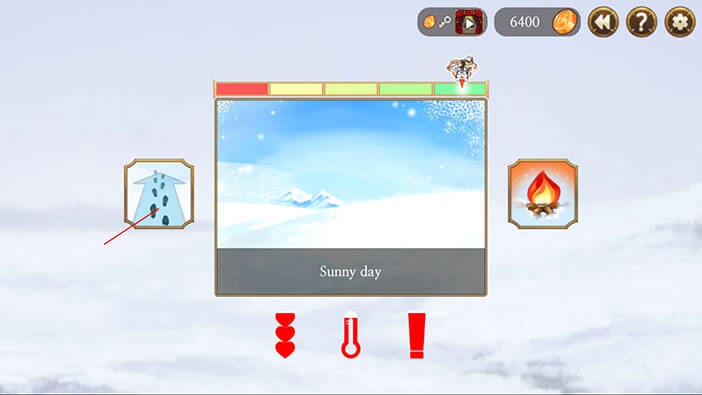
Step 5
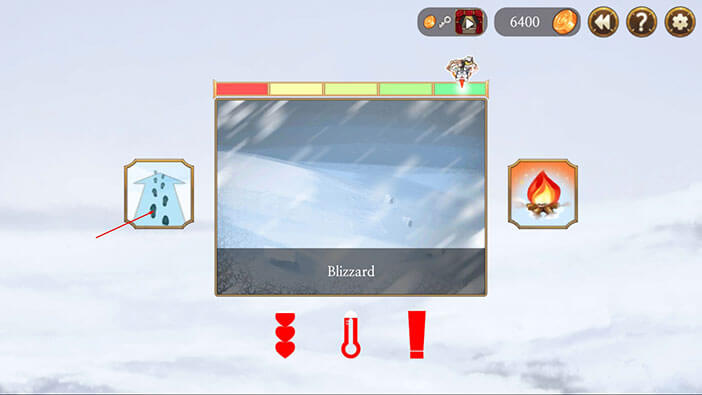
Nope, the game wasn’t bugged. I ran into a blizzard on this turn. Traveling through the blizzard should be avoided, but since all parameters (food, temperature, and sense of direction) were very high, I chose to go forward, anyway. The option on the left.
NOTE: Traveling through the blizzard will reduce all three bars (food, temperature, and sense of direction).
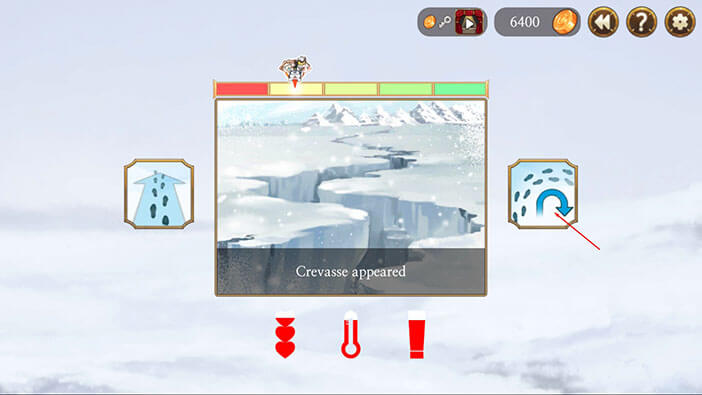
Step 6
On the next turn, I ran into a crevasse. I chose to go around it (option on the right).
NOTE: This reduced the sense of direction and temperature bars. 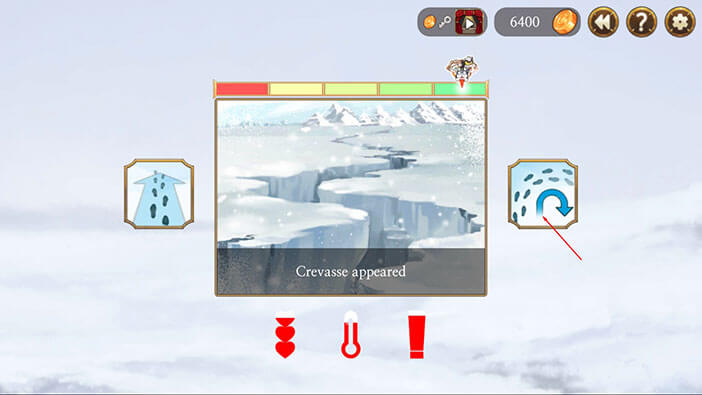
Step 7
On the next turn, I got the “Sled Overturn” event. Since my progress bar was full, and my characters were a bit cold and hungry, I chose to make camp. The option on the right.
NOTE: Camping and resting for a bit will increase all three status bars while decreasing the progress bar by one field. 
Step 8
I got another “Sled Overturn” and accidentally tapped on the camp again because I thought I forgot to tap on the camp button on the previous turn, so no screenshot.
Step 9
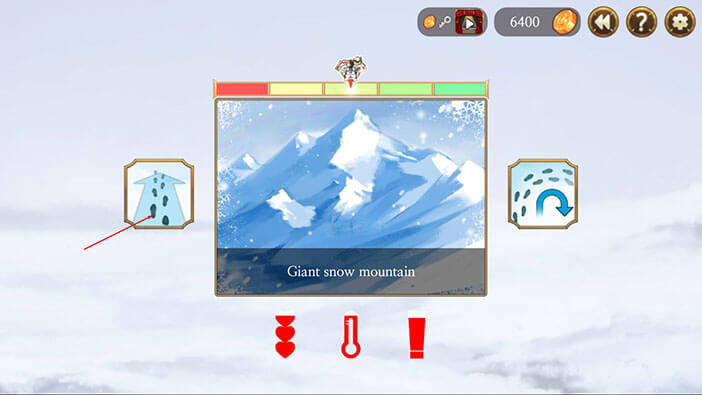
My characters reached a snow mountain. Since all my status bars were high, I chose to go over it.
NOTE: This option will greatly reduce your hunger bar.
Step 10
Another sunny day, so I chose the option on the left, to go forward. 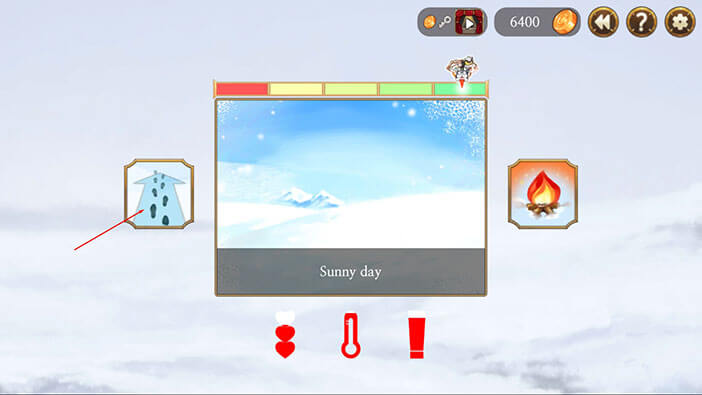
Step 11
Another sunny day, so I chose the option on the left, to go forward. 
And that was the end of the survival mini-game.
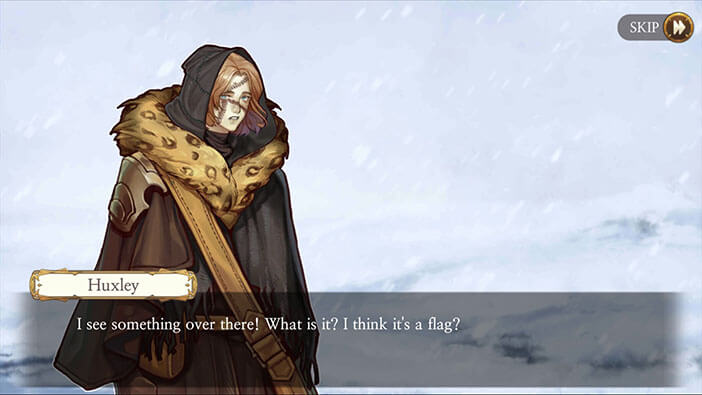
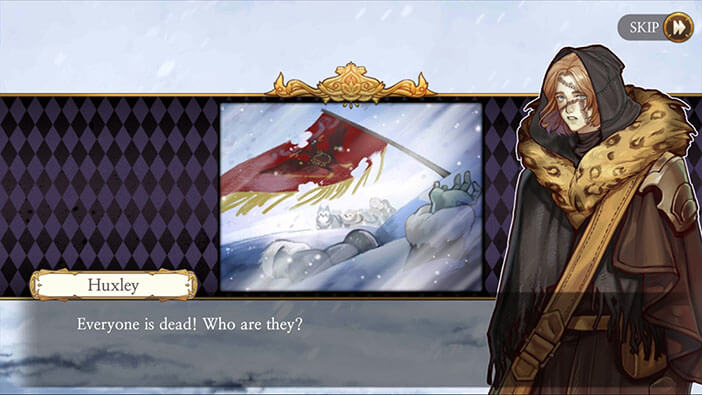
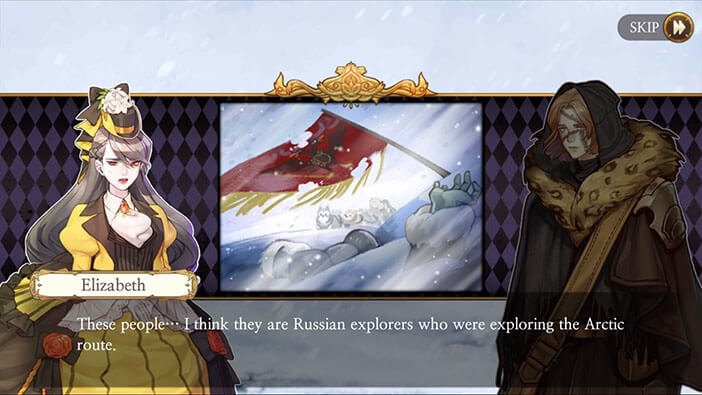
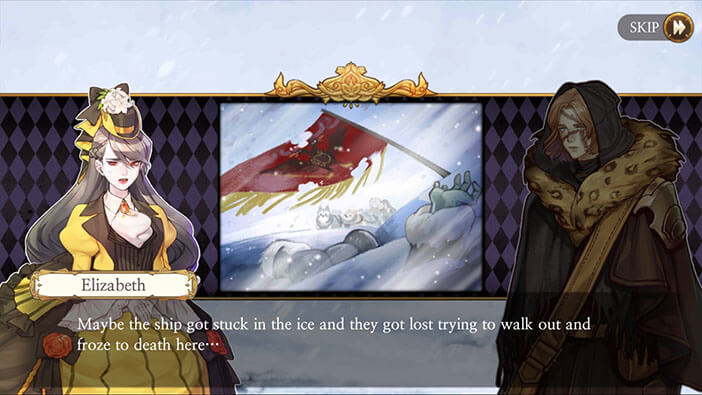
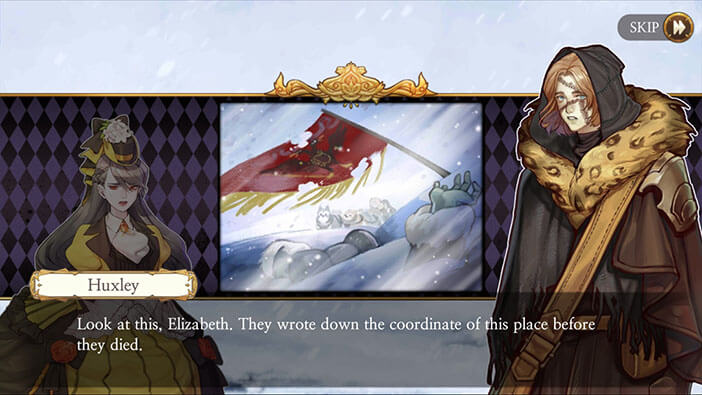
After traveling for some time, our characters spot something in the distance. It appears to be a flag. Elizabeth and Huxley move closer and see a group of men frozen in the snow. The writing on the flag says “Praise Yekaterina. Praise our benevolent mother.” Elizabeth concludes that these men were Russian explorers. She concludes that their ship probably got stuck in the ice, and the men froze to death while trying to escape.
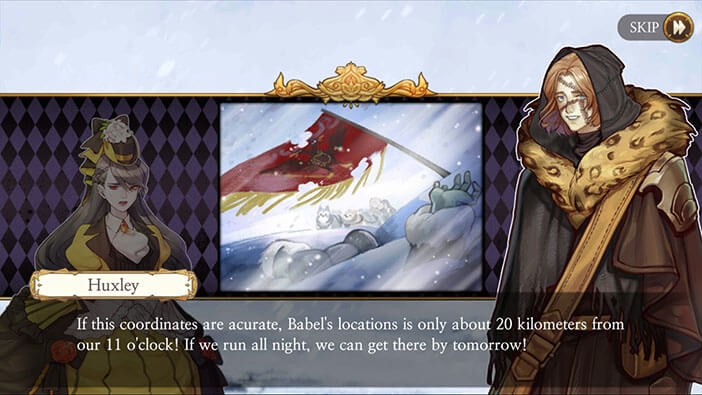
Huxley notices that the men wrote some coordinates before they died. Looking at the coordinates, Huxley realizes that they are just 20 kilometers away from Babel, and could reach it tomorrow if they travel both day and night.
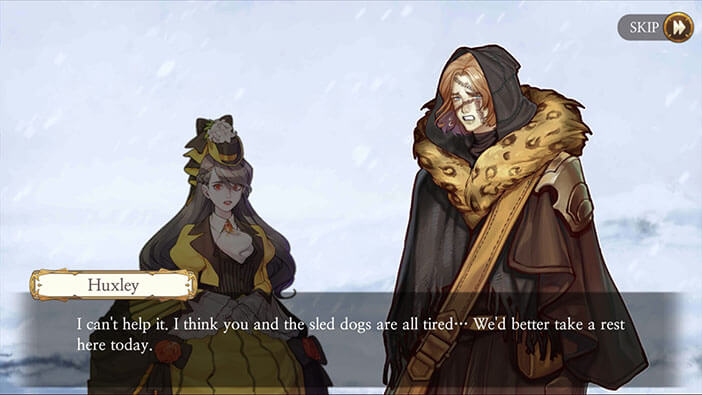
Elizabeth was lost in her thoughts for the moment, and after thinking things through, she decides that setting up camp and continuing the journey in the morning would be the best course of action. The dogs are already tired, and pushing them further would be risky, so I think she made the right call. Besides, our characters should be well-rested before they reach Babel since there’s a good chance that they will have to fight their way in…
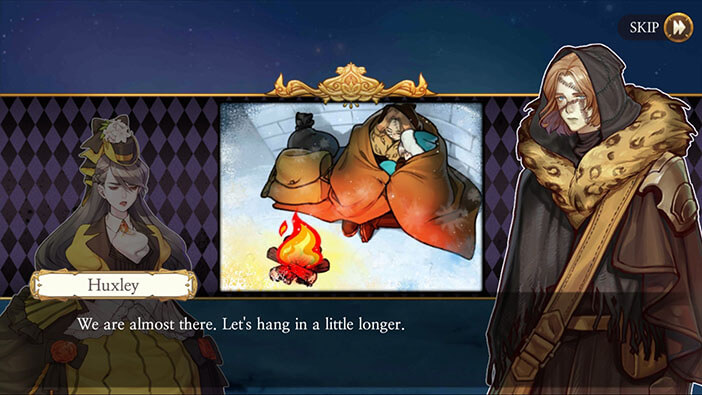
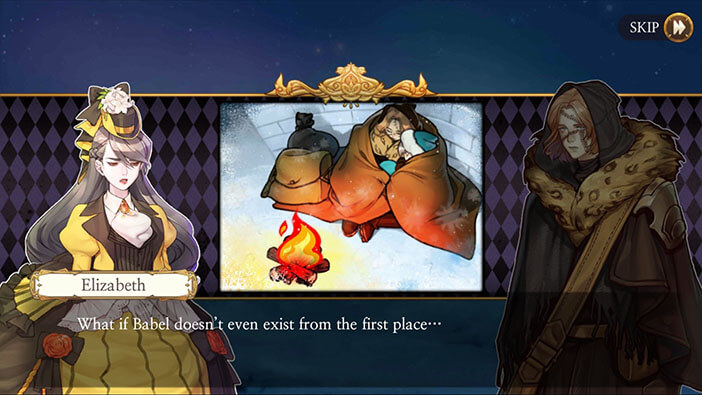
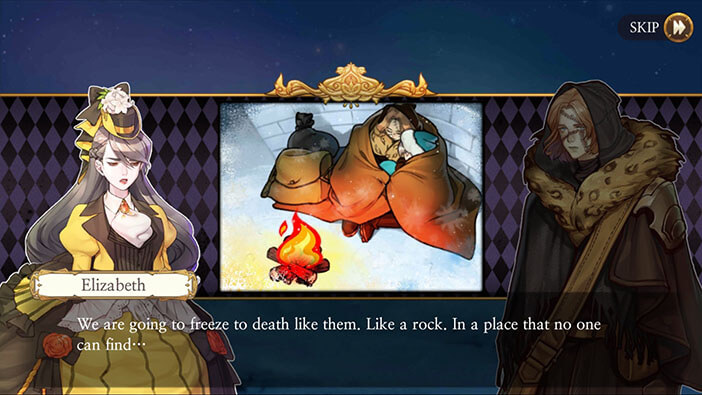
The story continues inside the igloo. Elizabeth and Huxley have started a fire, and are huddled together, trying to keep warm. Elizabeth is having doubts about their mission, but Huxley reassures her, saying that they almost reached their objective, Babel.
Elizabeth is concerned that Babel might not even exist. If that’s the case, our characters traveled all the way to the Arctic, just to freeze to death – that’s a very grim thought.

Our characters continue their journey the following morning.
Step 1
Blizzard… Well, the day could have started better. I chose the option on the right, to make camp.
Step 2
Crevasse. I chose the option on the right, to go around it.
NOTE: This moved by progress bar two fields to the right!
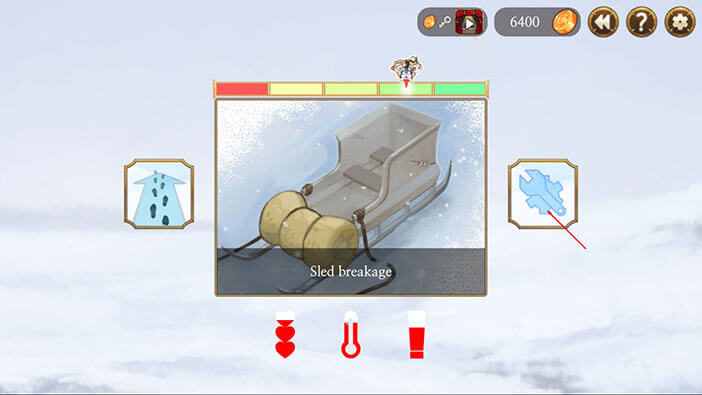
Step 3
“Sled Breakage”. I chose to repair it, the option on the right.
NOTE: This increased temperature and sense of direction status bars while reducing the progress bar by one.
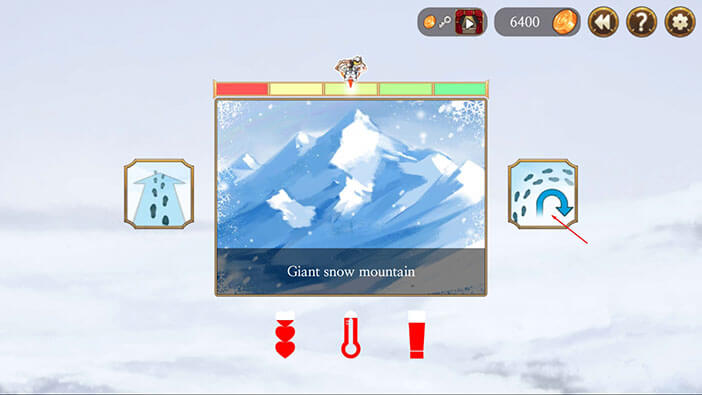
Step 4
“Giant Snow Mountain”. This time I chose to go around it because going over it would greatly reduce the hunger bar. So, the option on the right.
NOTE: My character’s hunger status worsened by choosing this option, but not as much as when I previously chose to go over the mountain…
Step 5
“Crevasse”. I chose the option on the right, to go around it.

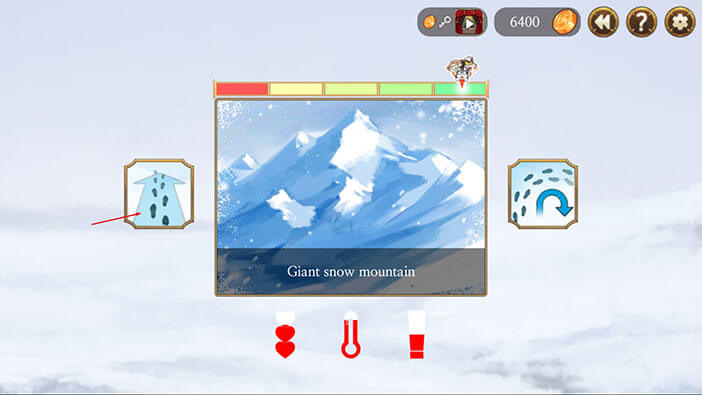
Step 6
“Giant Snow Mountain”. Ah, well, at this point my sense of direction bar was dangerously low, so I chose the option on the left, to go over it.
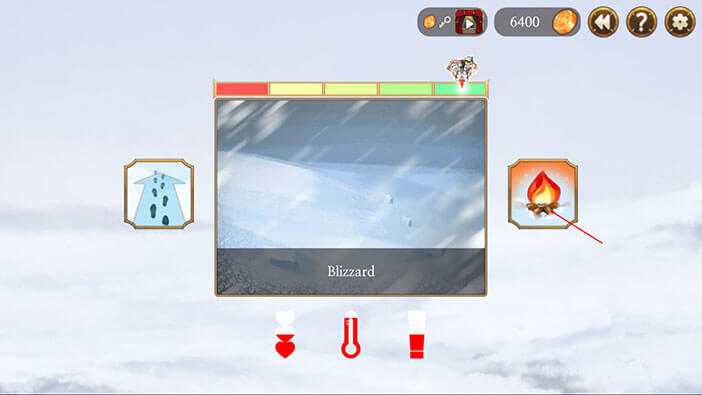
Step 7
“Blizzard”. Since the status bars of my characters were severely depleted, I chose the option on the right to make camp and rest for a bit.
Step 8
“Sled Overturn”. I chose the option on the left, to make camp again since status bars were still quite low.
Step 9
“Sunny Day” and I, of course, chose the option on the left, to go forward.

And that’s the end of the second part of the survival mini-game.
After traveling for some time, Huxley spots a building in the distance! Well, this is very good, since it is now the 25th of December, (the day of the Sunspot Explosion Cycle) and our characters reached Babel in the nick of time. I guess this building is a part of Babel? Maybe an outpost?
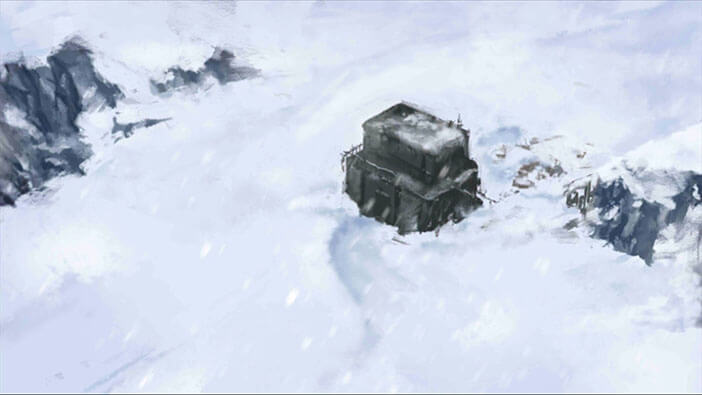
In the next stage, we will be playing as Elizabeth and Huxley once more, as they explore the building that we discovered at the end of this stage. Join us in the next stage of the Walkthrough for Frankenstein Room ESC, so we can together discover what awaits our characters inside this mysterious building. I think it is some kind of an outpost… We shall see in the next stage.
Thank you for reading.