Chapter 7-3 From Geneva
Complete Walkthrough
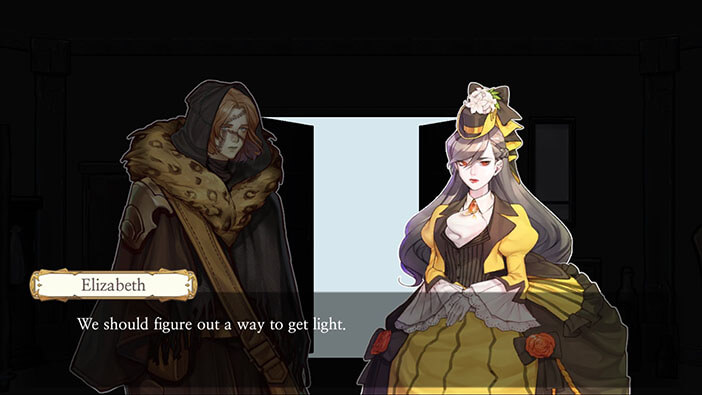
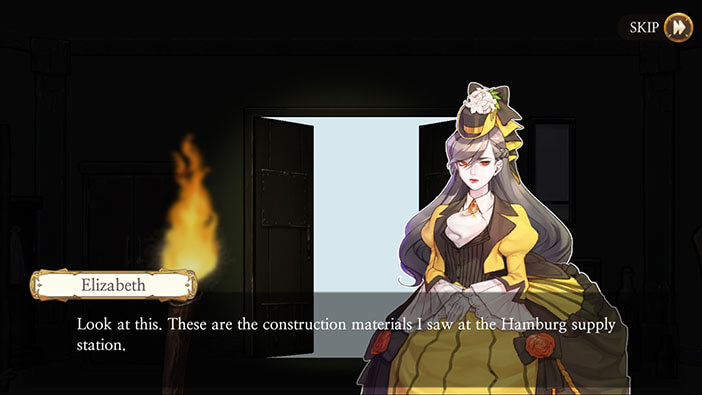
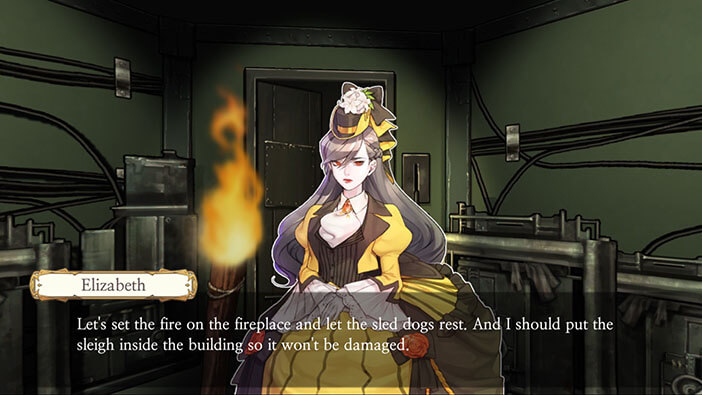
Hello everyone, and welcome to our Walkthrough for the Third Stage of Chapter 7 for the Frankenstein Room ESC adventure game. In this stage, we will be playing as Elizabeth, as she and Huxley explore the mysterious building that they found at the end of the previous stage.
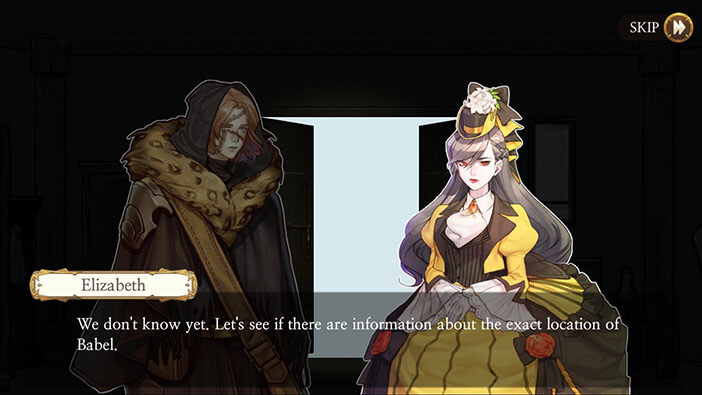
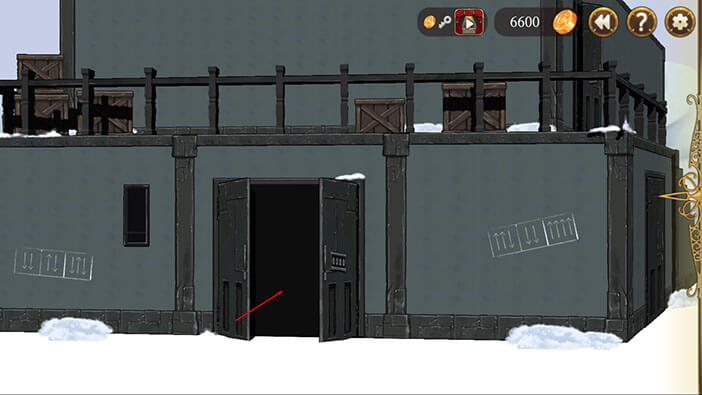
Our story continues right where we left off previously, on the 25th of December, the day of the “Sunspot Explosion Cycle”. Our characters reached the building in the morning, so they have some time to rest, before continuing their journey. When they approached the building, Elizabeth and Huxley realized that this building definitely wasn’t Babel, since it was quite small, and looked deserted. Regardless, they chose to go inside and explore it, hoping to find some clues about the Babel’s true location.
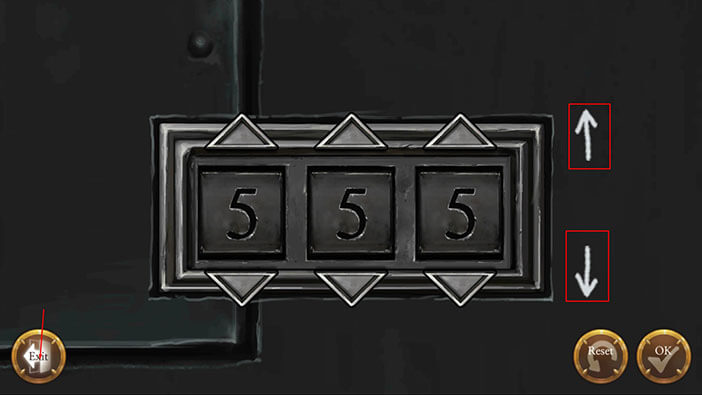
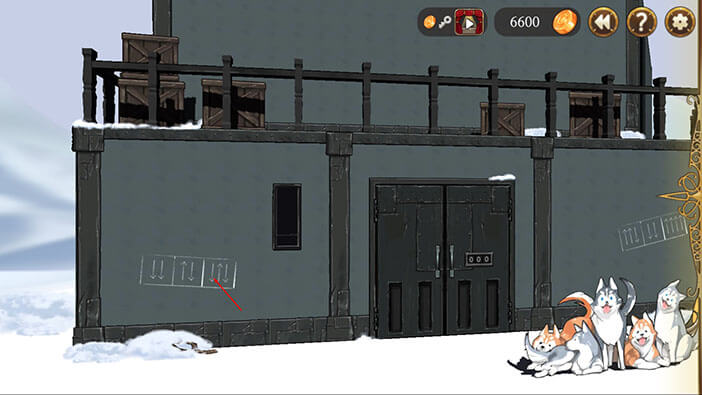
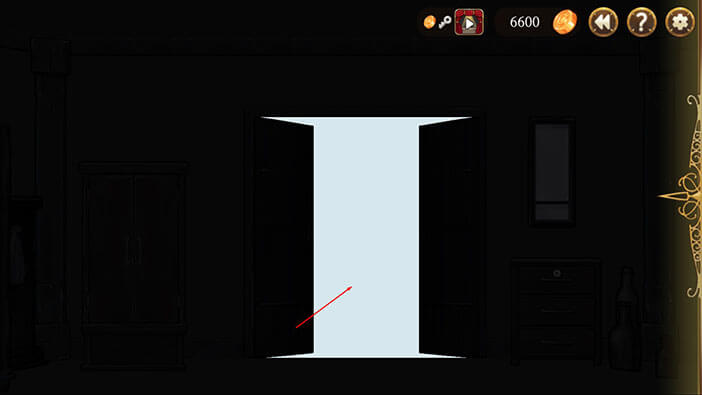
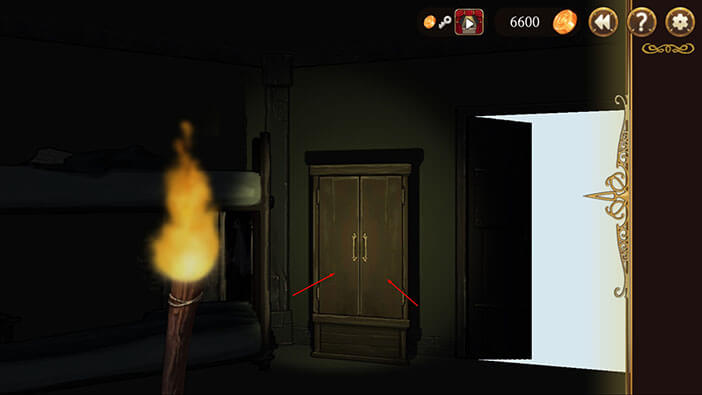
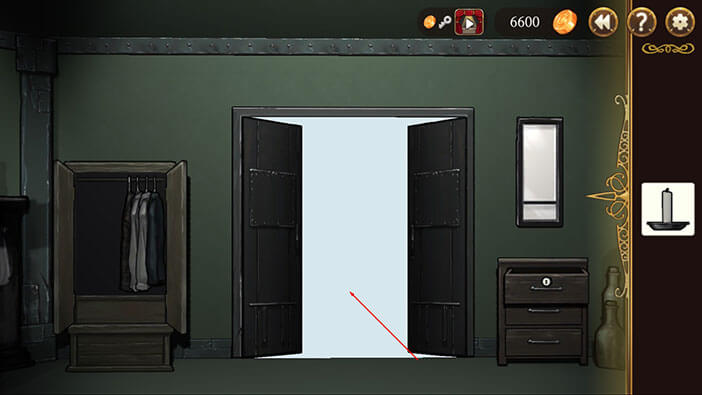
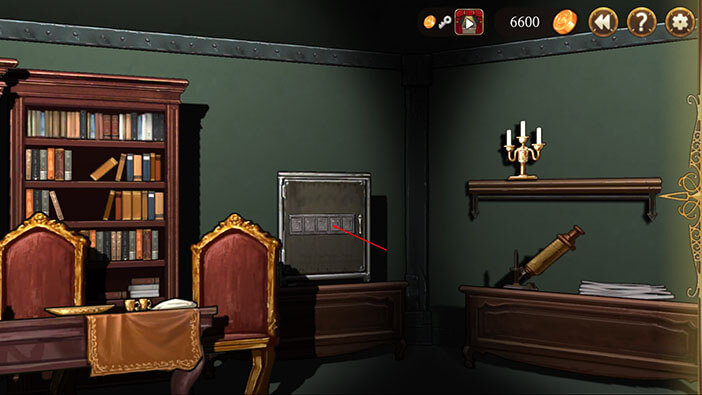
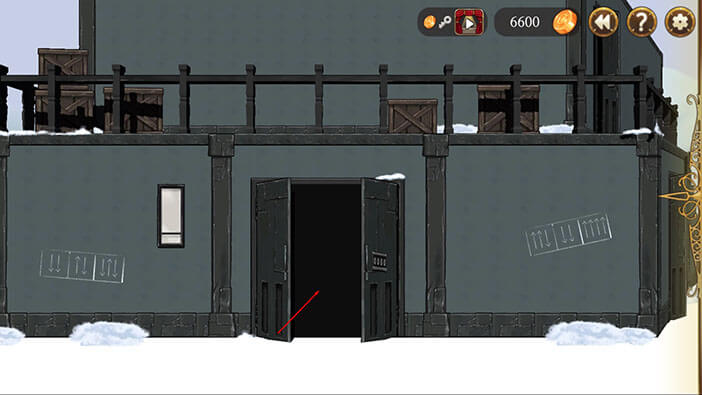
Tap on the numerical lock, on the door in front of you, to examine it.

We can see that there are two arrows (“up” and “down”) to the right of the lock. We can also see that this is a three-digit lock. Tap on the “Exit” button.
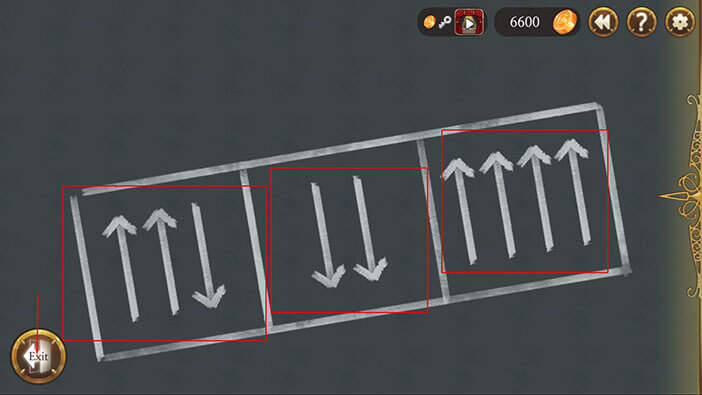
Tap on the drawing on the wall on the right to examine it.

We can see that there are multiple arrows drawn on the wall and that they are grouped inside the three fields. Let’s assume that the first field (left to right) represents the first number on the numerical lock, and the arrows represent “up” and “down” arrows above the digits.
So, first number = 2x “up”, 1x”down” = 1x “up” (2xup – 1x down)
Second number = 2x “down”
Third number = 4x “up”
Memorize or write down this information and tap on the “Exit” button.
Tap on the drawing on the wall on the left to examine it.
It looks exactly the same as the first drawing with the arrows grouped inside the three fields. Let’s take a look at the arrows.
First number = 2x “down”
Second number = 1x “up”, 1x “down” = no change (1x up – 1x down = 0)
Third number = 2x “down”, 1x “up” = 1x down (2x down – 1x up)
Memorize or write down this information and tap on the “Exit” button.

Ok, let’s unlock the door. Tap on the numerical lock.

We’ll start with the first number (left to right).
From the drawing on the right, we know that the first number = 1x “up”
From the drawing on the left we that the first number = 2x “down”
First number = 1x “down” (2x down – 1x up)
So, tap ONCE on the “DOWN” arrow.
SECOND NUMBER.
From the drawing on the right, we know that the second number = 2x “down”
From the drawing on the left we that the second number = no change (0)
Second number = 2x “down”
So, tap TWICE on the “DOWN” arrow.
THIRD NUMBER.
From the drawing on the right, we know that the third number = 4x “up”
From the drawing on the left we that the third number = 1x “down”
Third number = 3x “down” (4x up – 1x down)
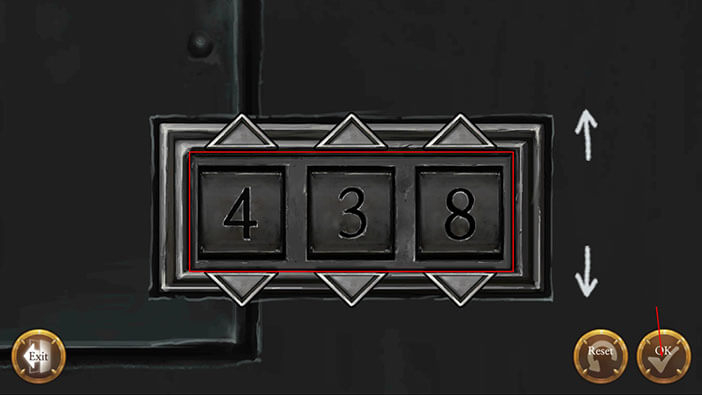
So, tap THREE TIMES on the “UP” arrow.
The final code is “438”. Tap on the “OK” button to confirm.
Tap on the front door to enter the building.
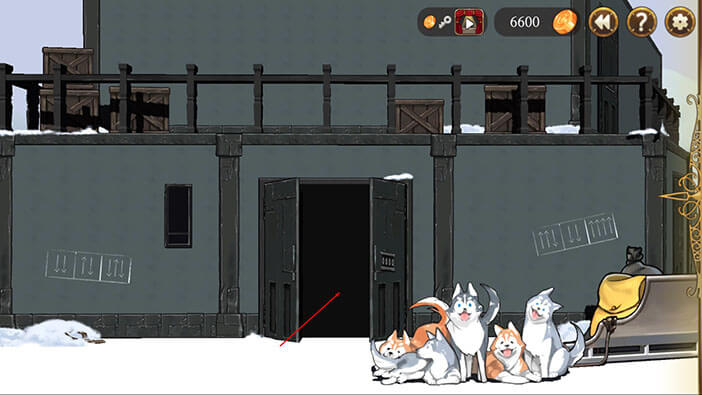
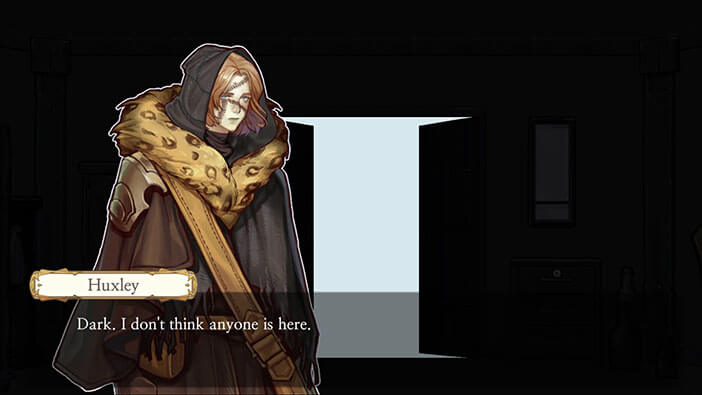
It’s too dark inside the room, and our characters realize that they will have to find some kind of light source in order to explore the building.
Tap on the front door to go outside.
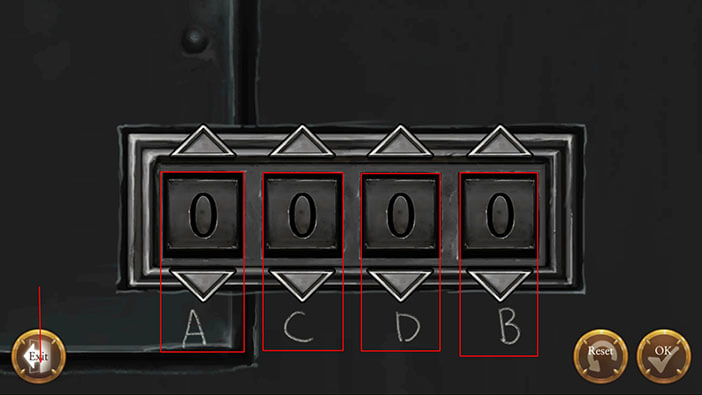
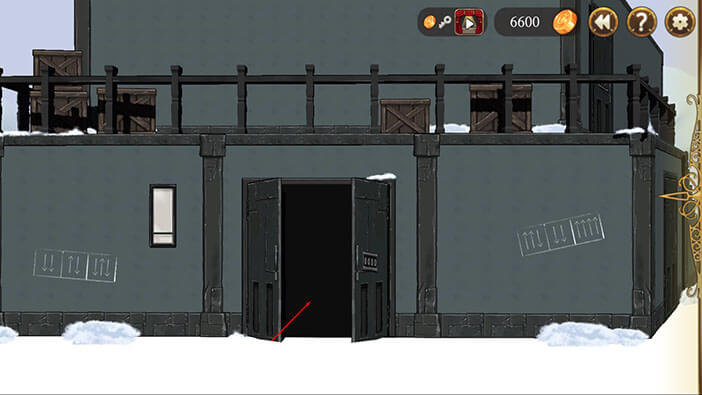
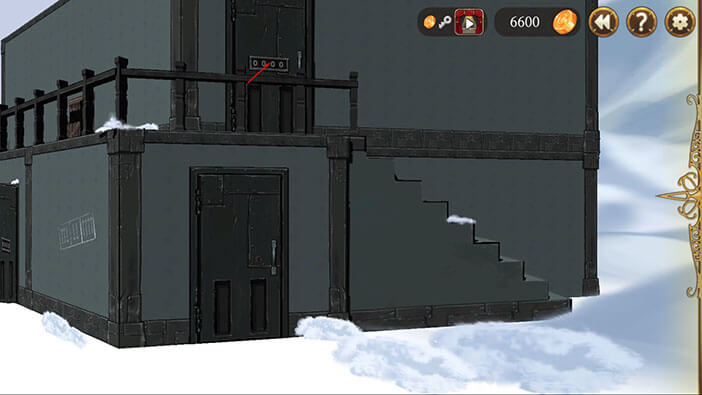
Ok, turn to the right and tap on the numerical lock on the door (second floor), to examine it.

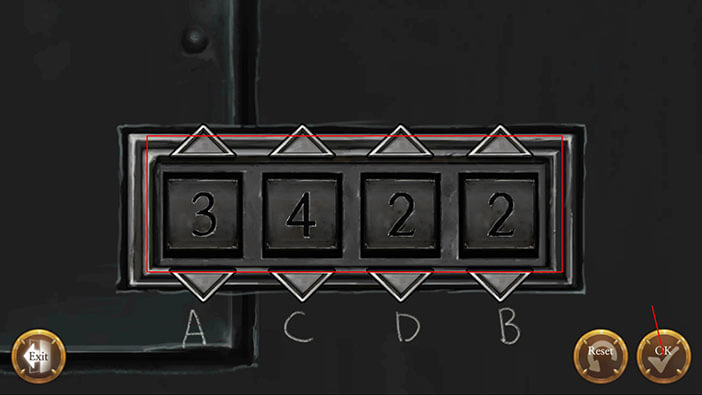
We can see that a single letter (A, B, C, or D) is written below each number. We will get back to cracking this code later. For now, tap on the “Exit” button.
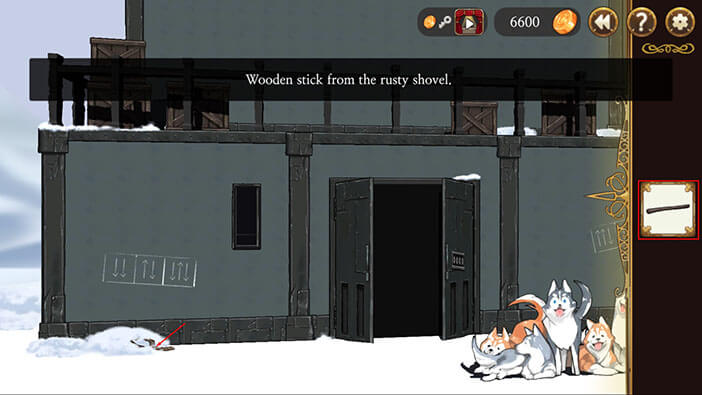
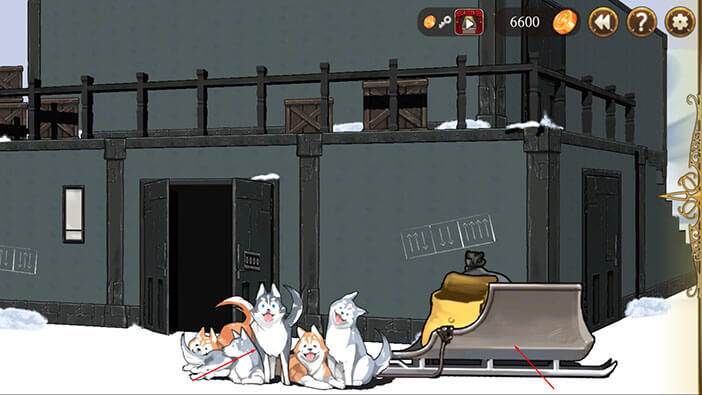
Tap on the shovel, located next to the door on the ground floor, and a “Wooden Stick” will be added to the inventory. Let’s make a torch.
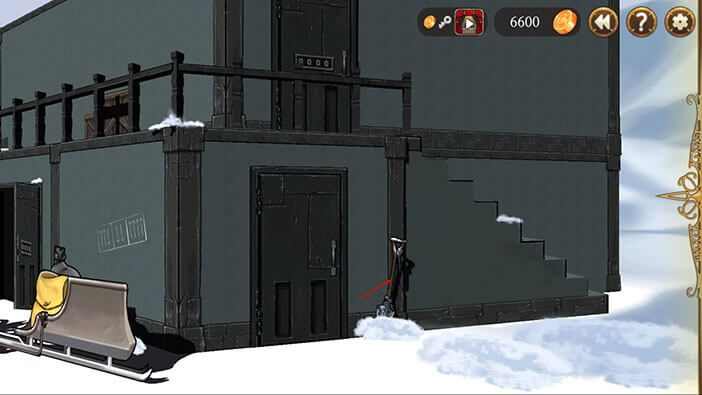
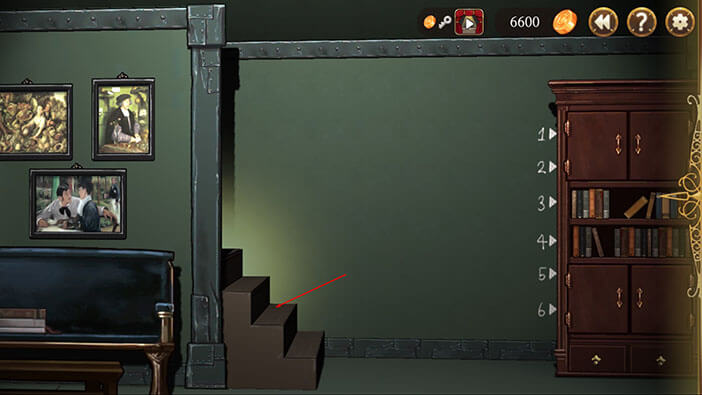
Turn to the left and you will notice a rope, partially buried in the snow (below the arrows on the wall on your left). Select the “Wooden Stick” from the inventory and tap on the rope to combine the two items. “Rope Wound Stick” will be added to the inventory.
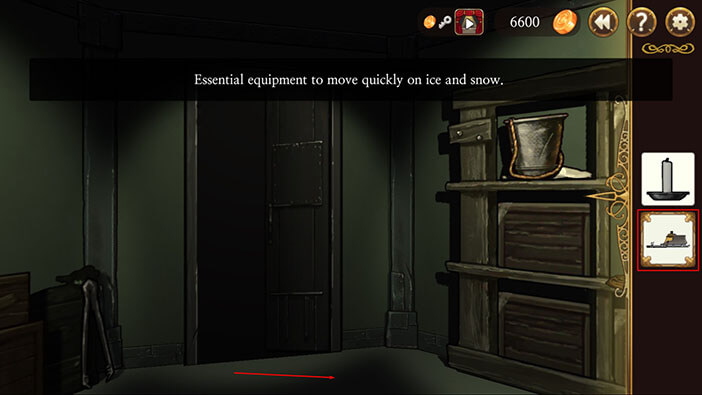
Turn to the right and tap on the yellow bag (on the sled) to open it.
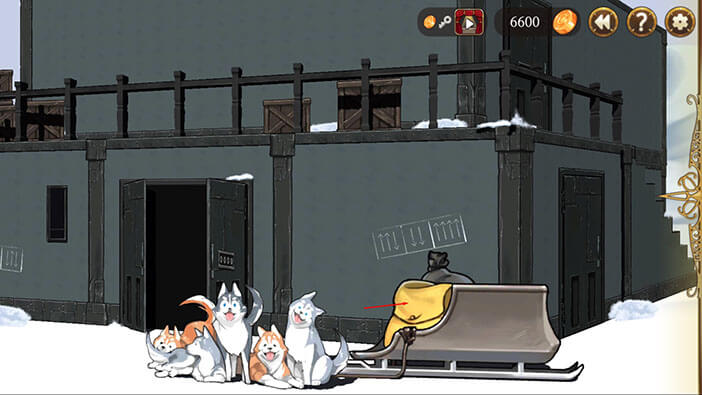
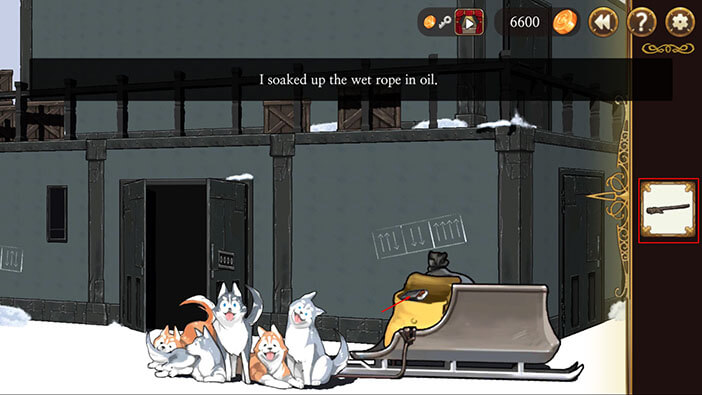
Select the “Rope Wound Stick” from the inventory and tap on the oil bottle to combine the two items. “Oiled Torch” will be added to the inventory.

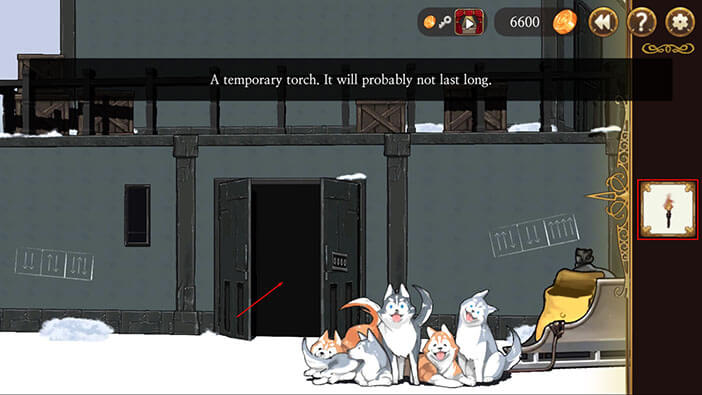
Now select the “Oiled Torch” from the inventory and tap on the matches to light it up. “Temporary Torch” will be added to the inventory.
Ok, let’s get inside. Select the “Temporary Torch” from the inventory and tap on the front door.
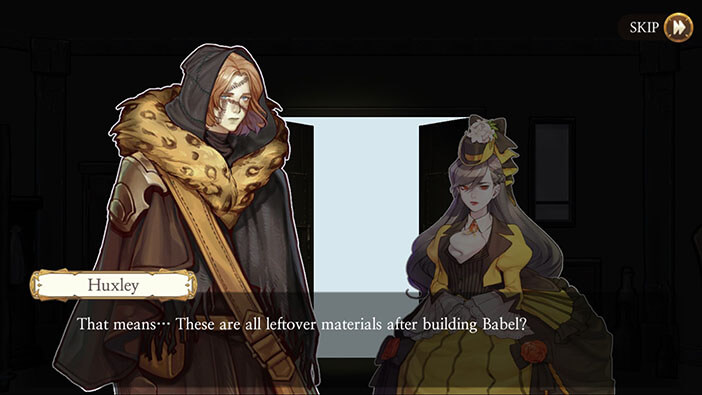
Elizabeth notices that there are some building materials inside, and they look just like the materials that they saw in the abandoned Aegyptus agency in Hamburg. Huxley concludes that these materials were probably used during the construction of the Babel. Well, this is good news. I guess our characters can’t be too far away from their final destination. With that in mind, they decide to search the building, hoping to find some information that could reveal the location of the Babel.
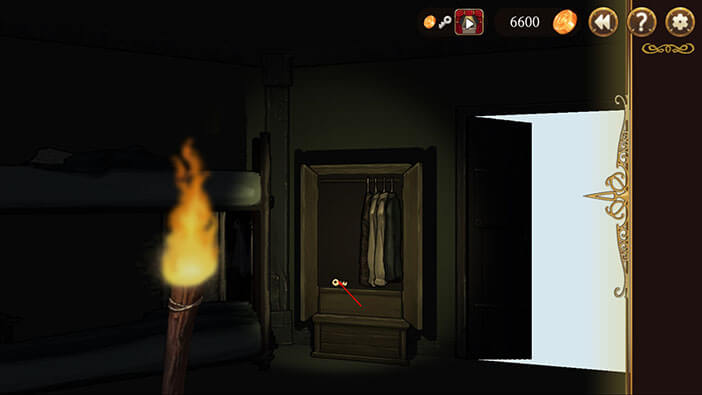
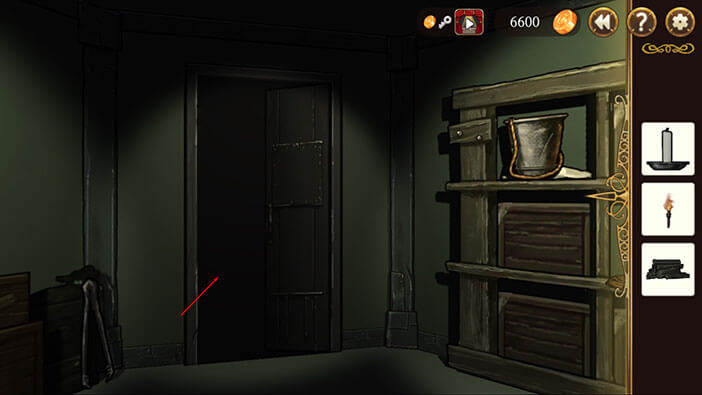
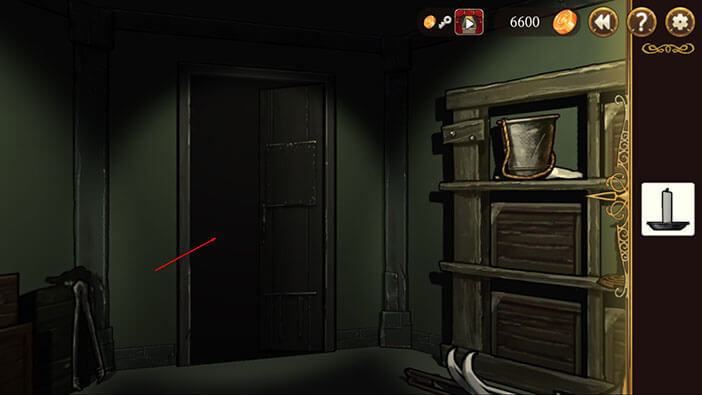
Turn to the left and tap on the closet to open it (located just to the left of the front door).
Tap on the clothing to move it aside, revealing a key. Tap on the key to pick it up.

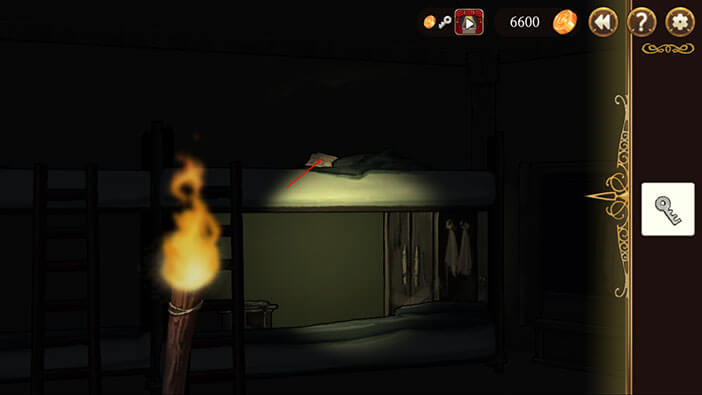
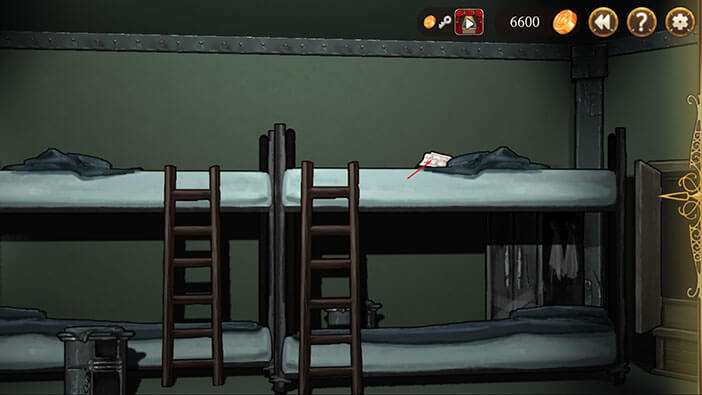
Turn a bit more to the left and tap on the note on the top bed. Unfortunately, Elizabeth can’t read the note because the torch isn’t providing sufficient illumination. Tap on the “Exit” button.
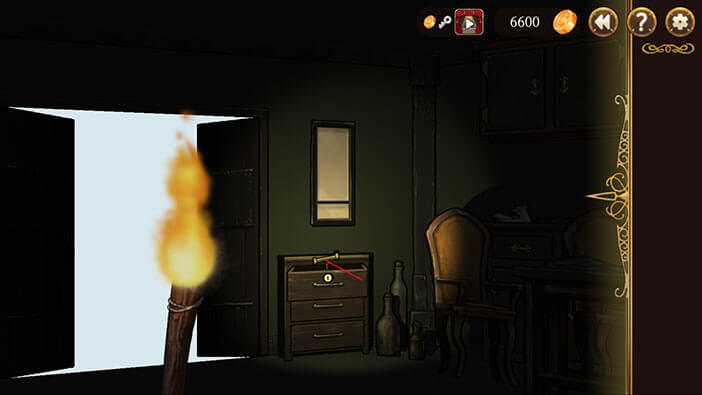
Ok, now turn to the right and you will see a small cabinet, just to the right of the front door. Select the “Key” from the inventory and tap on the keyhole on the top drawer to unlock and open it.
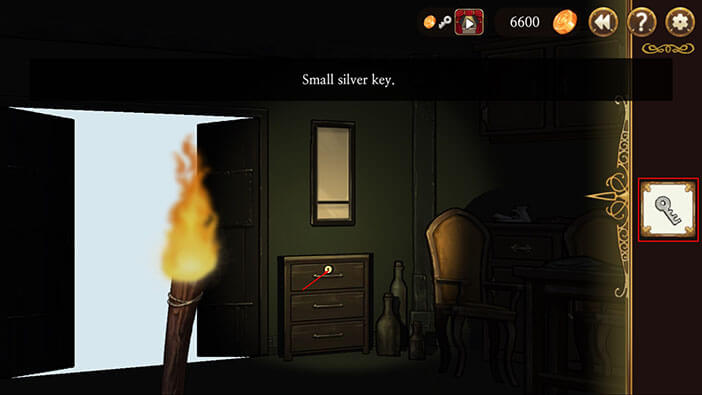
Tap again to pick up the object inside the drawer. A “Lever” will be added to the inventory.
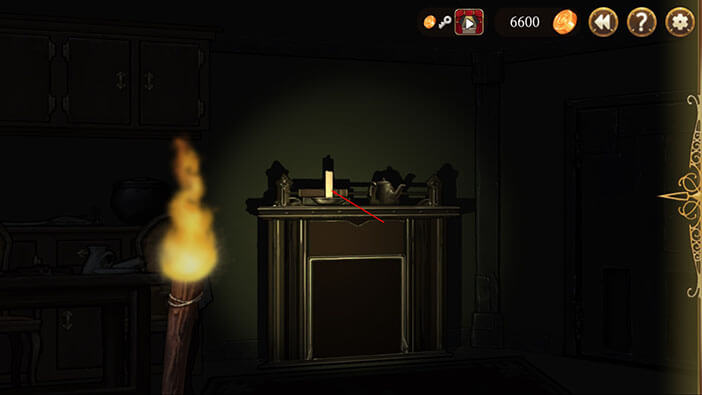
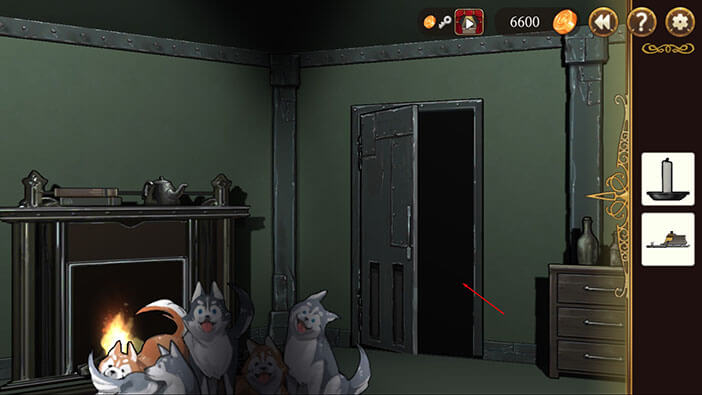
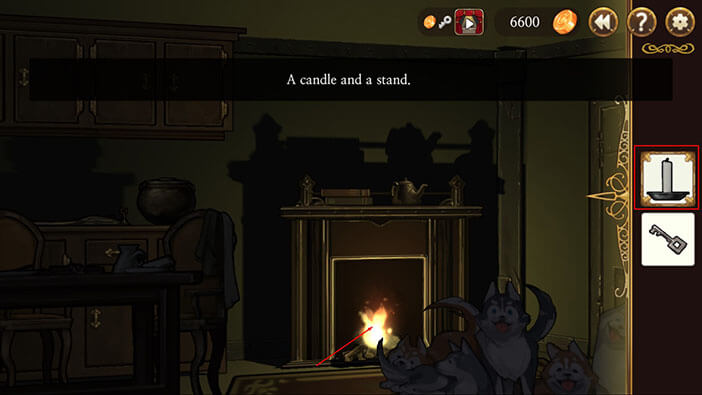
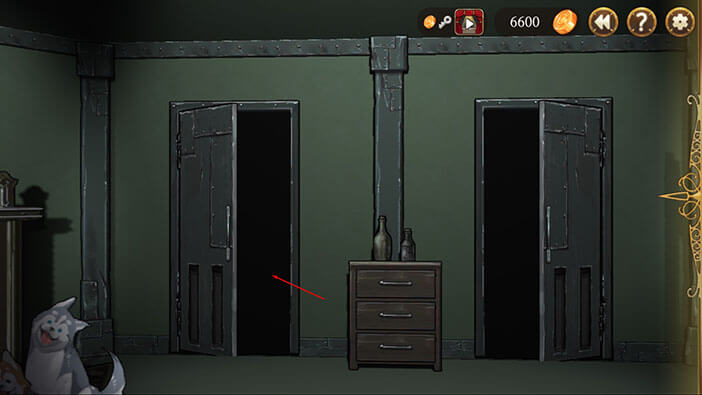
Turn to the right and tap on the candle, located above the fireplace, to pick it up.
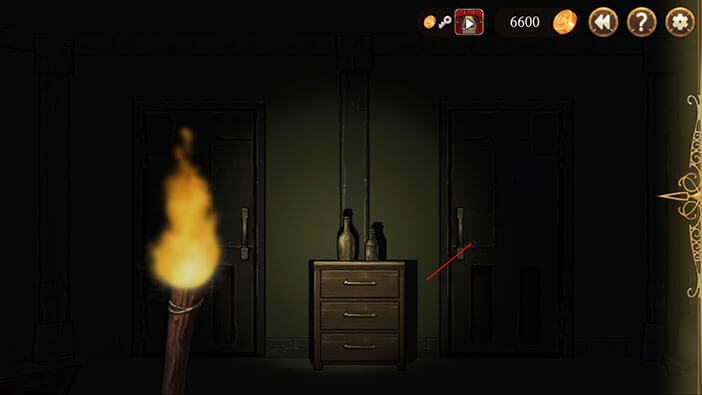
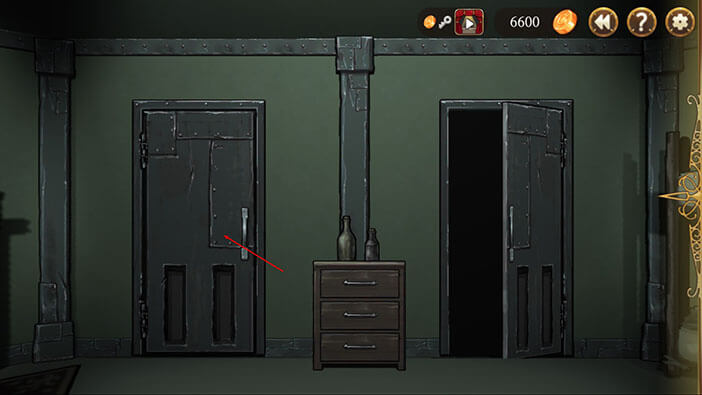
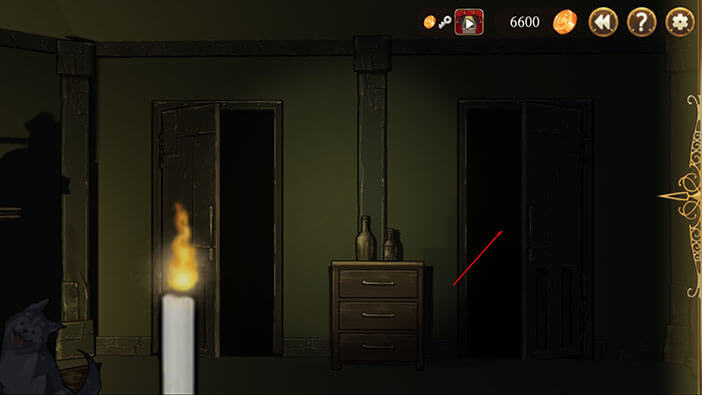
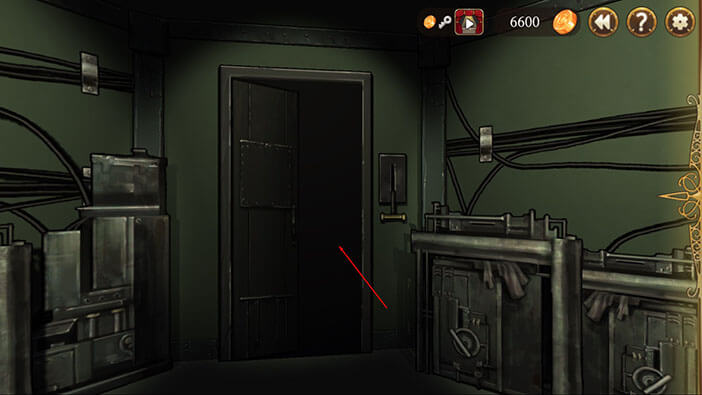
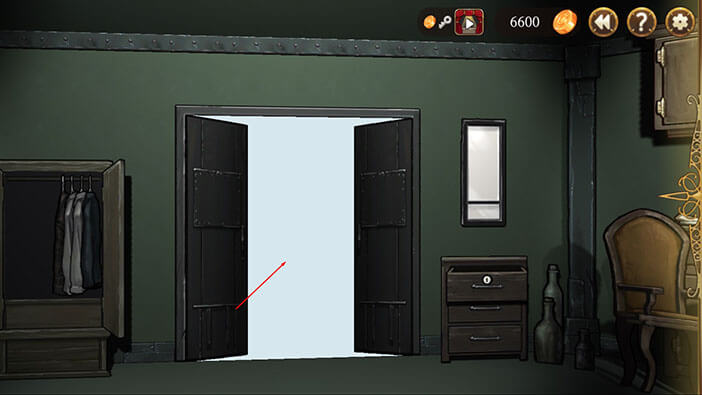
Turn a bit more to the right and you will see two doors. Tap on the door on the right to open it, and tap again to proceed into the next room.
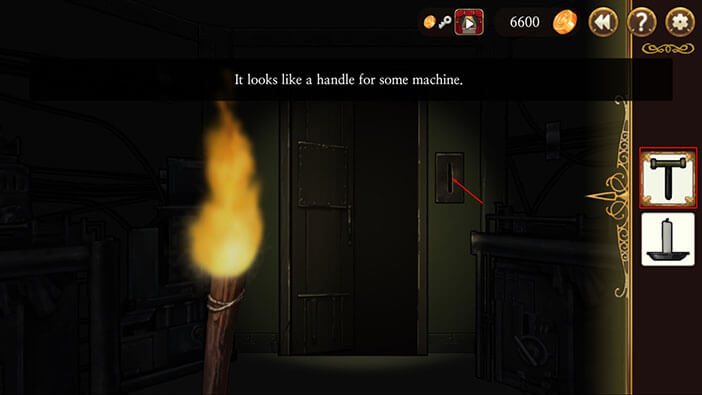
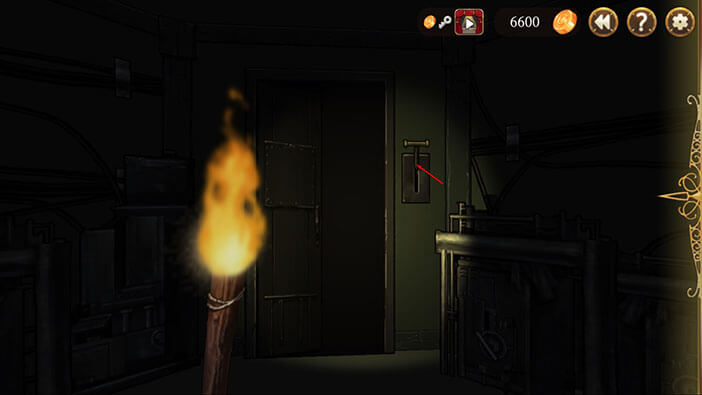
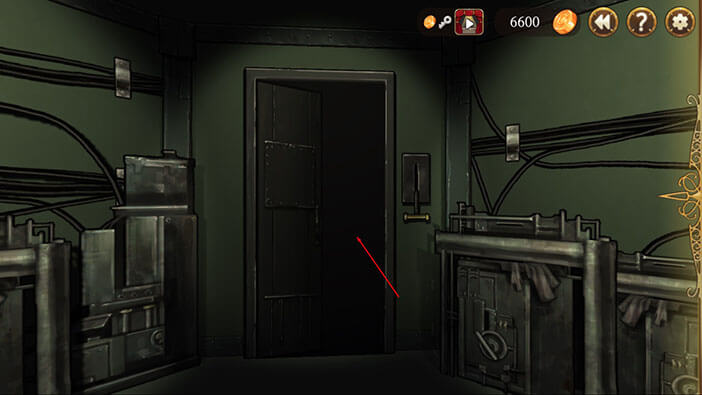
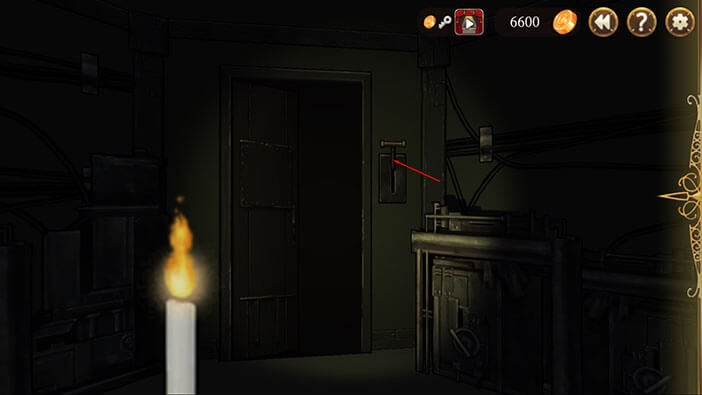
Select the “Lever” from the inventory and tap on the slot, located to the right of the door, to insert it.
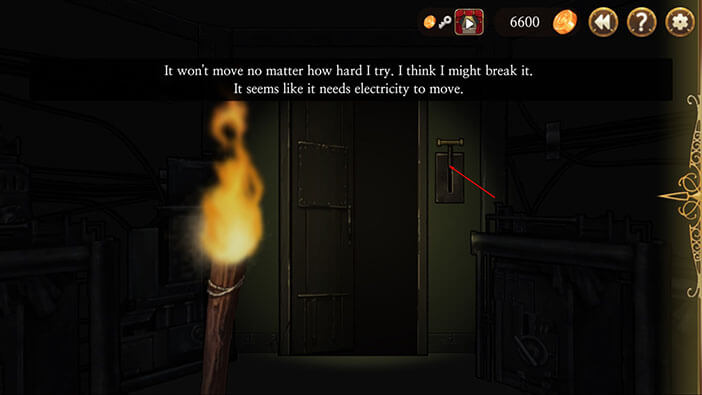
Tap on the lever to pull it, and I character will conclude that pulling on the lever too hard might break it. It looks like we will need electrical power in order to operate the lever.
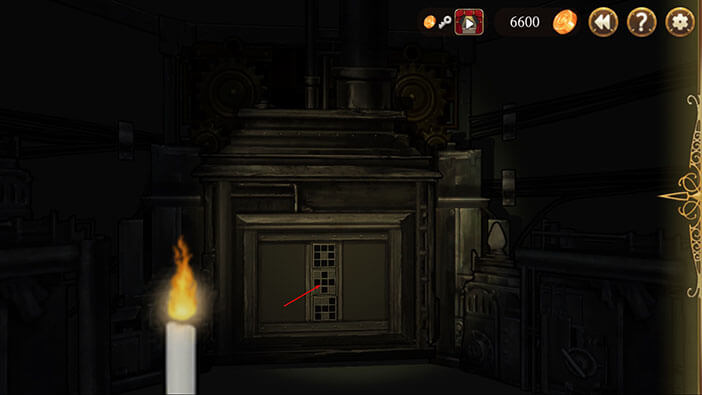
Turn around and tap on the three squares on the other side of the room.
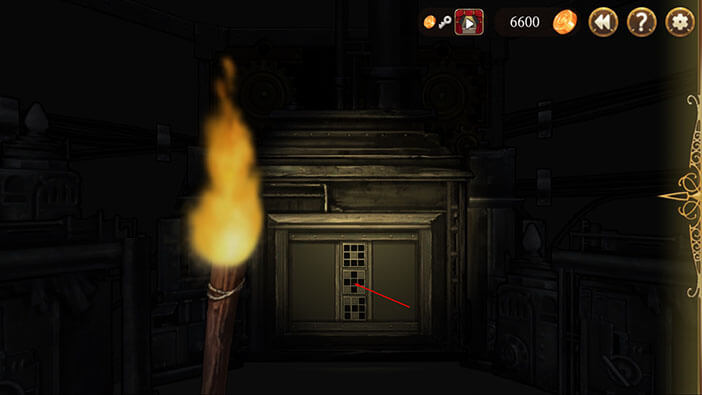
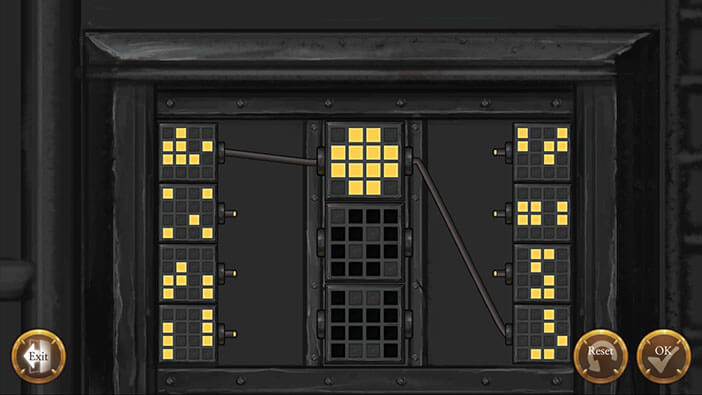
Here, we have a small puzzle to solve. There are four squares with glowing shapes inside them on the left side, and the same thing is true for the right side. In the middle, we can see three squares with darker shapes inside them. Our task is to connect the squares on the left and right with the squares in the middle. The goal is to match the darker shapes in the middle by combining the two glowing shapes (one from the squares on the left and one from squares on the right). Let’s begin.
Step 1
Connect the first square on the left (top to bottom) to the second square in the middle.
Connect the second square on the right to the second square in the middle.
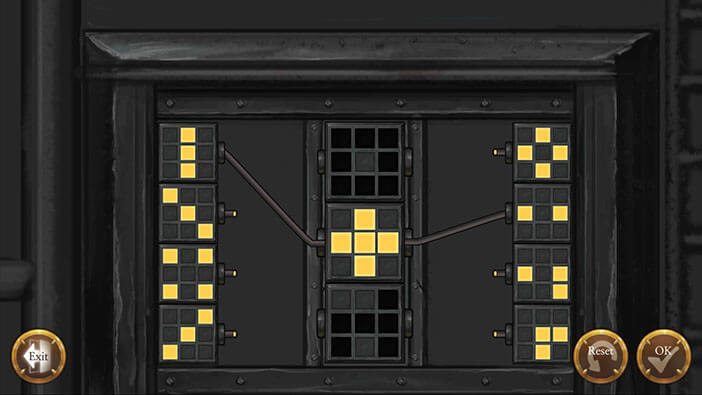
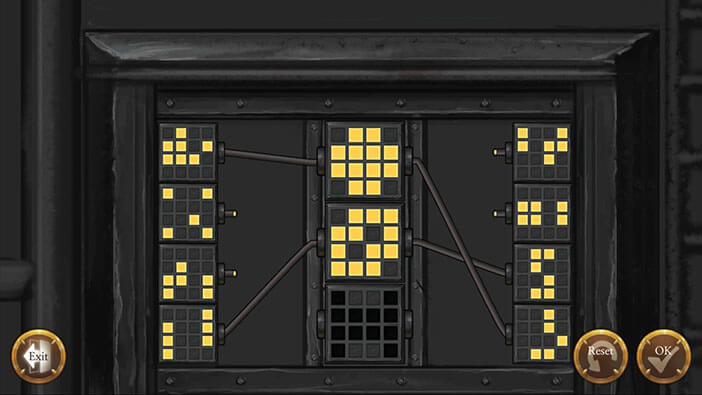
Step 2
Connect the third square on the left to the first square in the middle.
Connect the first square on the right to the first square in the middle.

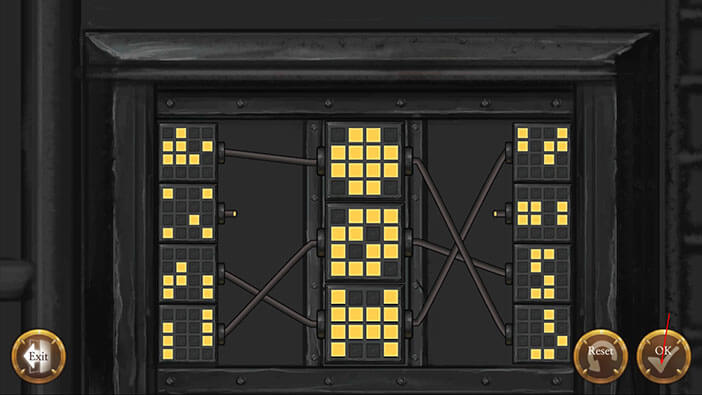
Step 3
Connect the fourth square on the left to the third square in the middle.
Connect the third square on the right to the third square in the middle.
Tap on the “OK” button to confirm.
Our character can hear the engine start, so I guess the power is back on. Turn around and tap on the lever.
After pulling the lever, Elizabeth restores power to the building and the lights are now on. Her next tasks are the following:
- start a fire (we saw a fireplace in the first room), and warm up this place
- get the dogs inside so they can rest
- find the place to store the sled
Tap on the door to go back to the previous room.
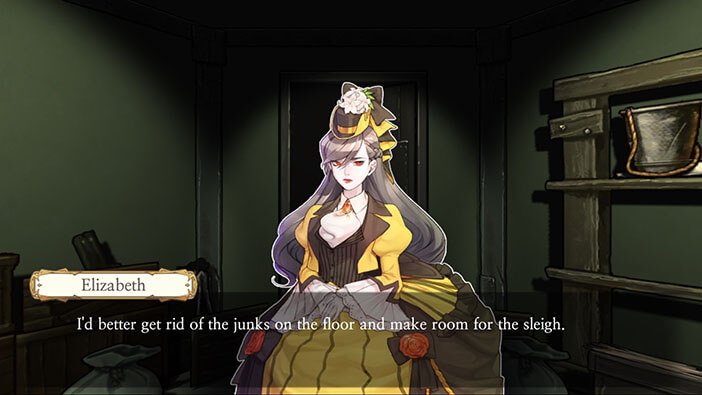
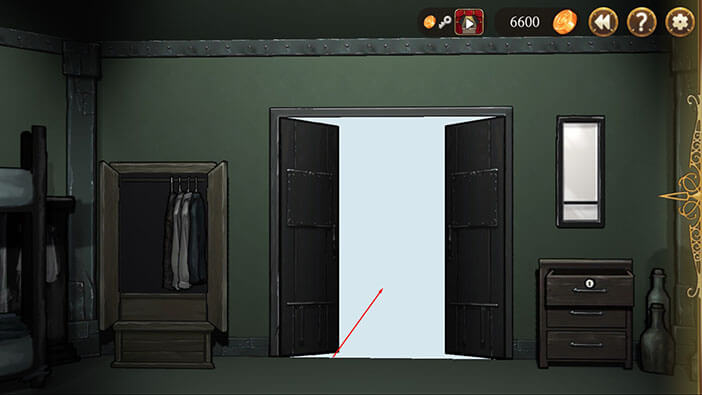
Tap on the door on the left to open it, and tap again to enter.
Elizabeth concludes that this is the only place where she can store the sled. However, she will first have to clear up the room to make enough space for the sled.
Tap on the three sacks in front of you to pick them up. The sacks are full of junk, so we will have to find a place where we can throw them away.
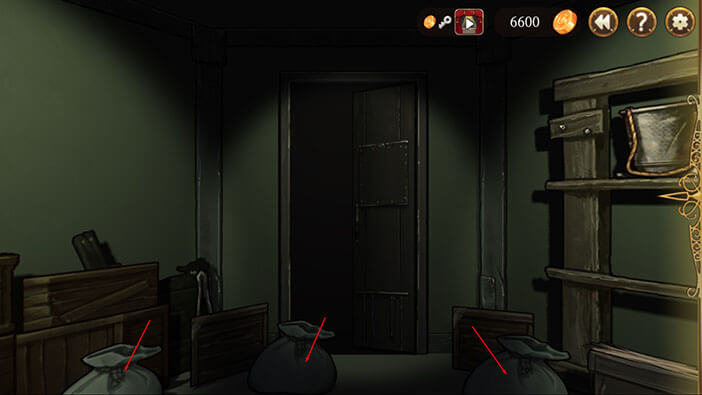
Turn around and you will see four more sacks. Tap on them to pick them up. So, there are seven sacks in total.
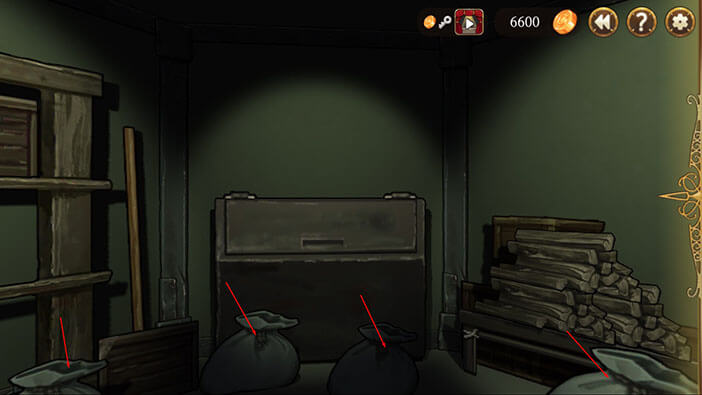
Tap on the container in front of you to open it.

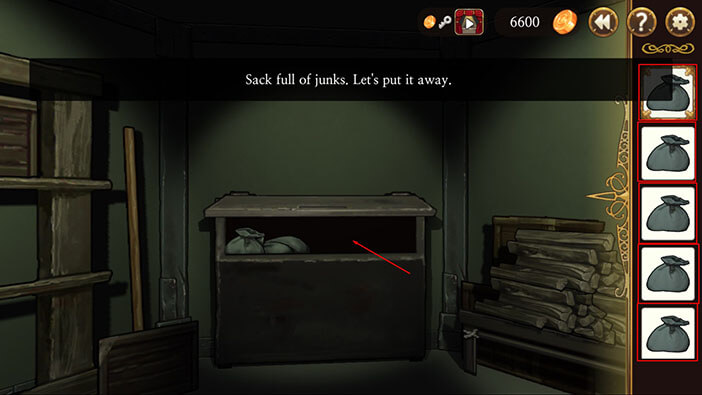
Select the sacks from the inventory, one by one, and tap on the container to throw them away (there should be seven sacks in total).
Tap on the container lid to close it.
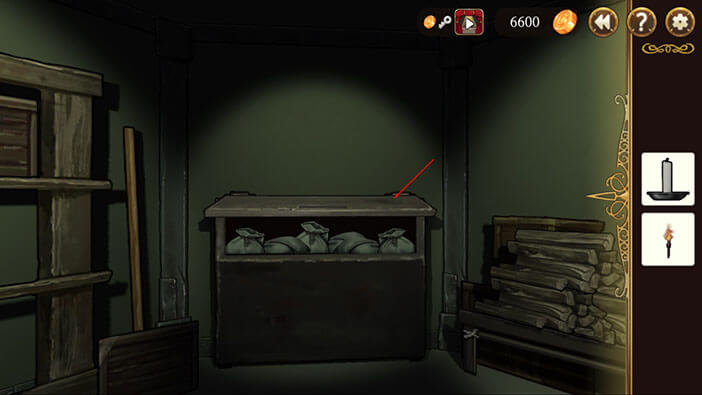
Tap on the woodpile on your right to pick up some firewood.
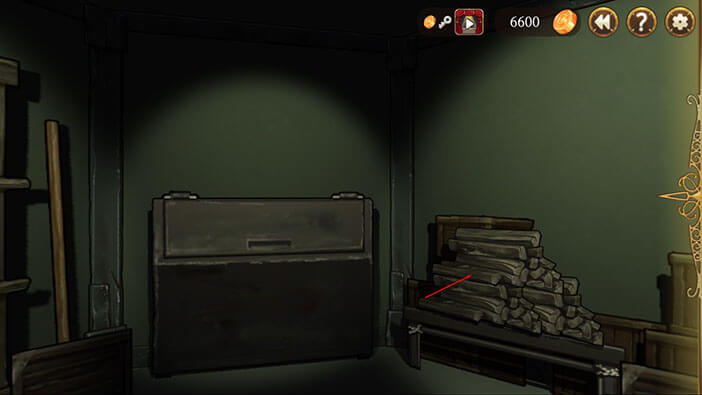
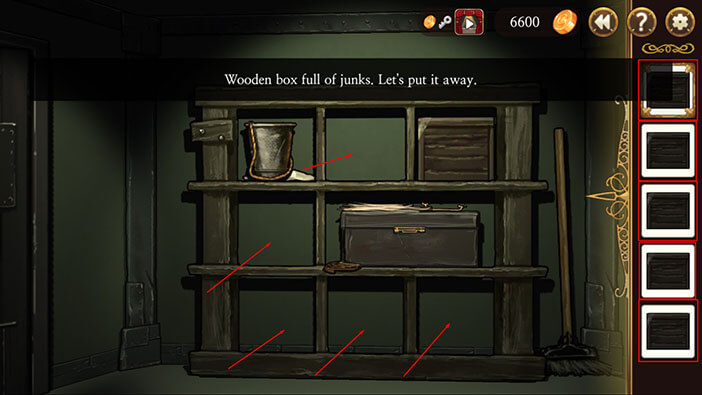
Ok, we have cleared out the trash, but we still have to store the wooden boxes in order to make enough room for the sled.
Turn to the right and tap on the two wooden boxes to pick them up.
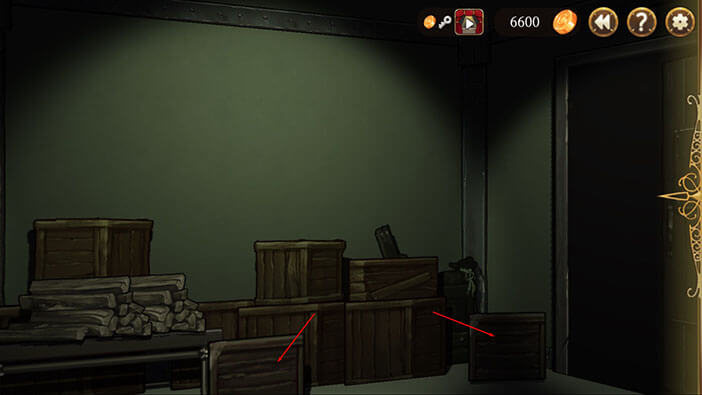
Turn a bit more to the right and tap on the three wooden boxes (so five in total) to pick them up.
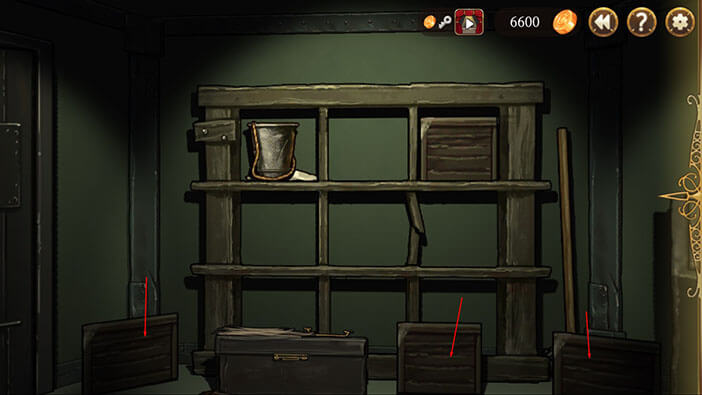
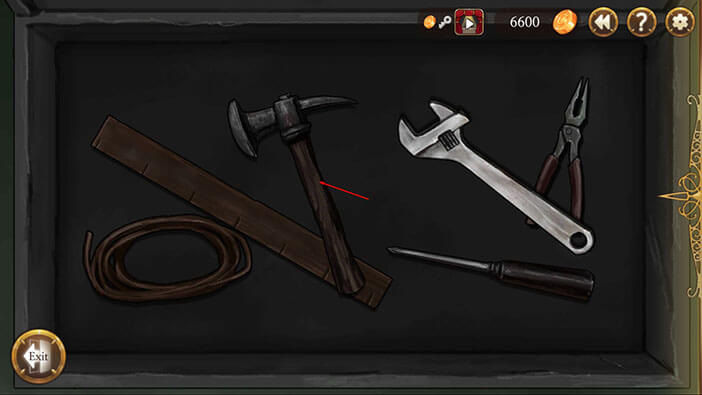
Tap on the chest to open it, and tap once more to see what’s inside.
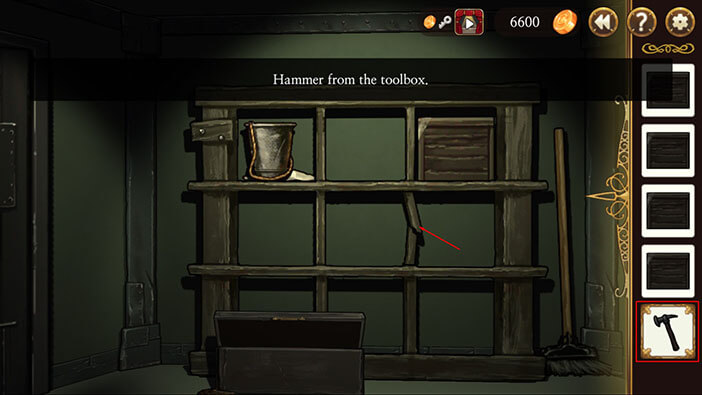
Tap on the hammer to pick it up, and tap on the “Exit” button, after that.
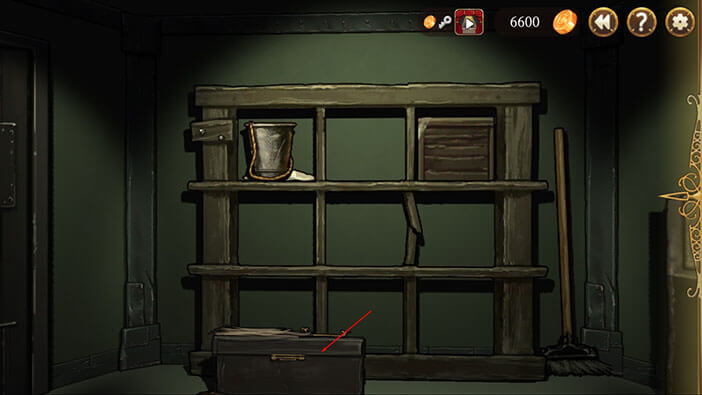
Select the “Hammer” from the inventory and tap on the broken part of the wooden shelf.
Tap on the chest, and the “Toolbox” will be added to the inventory.
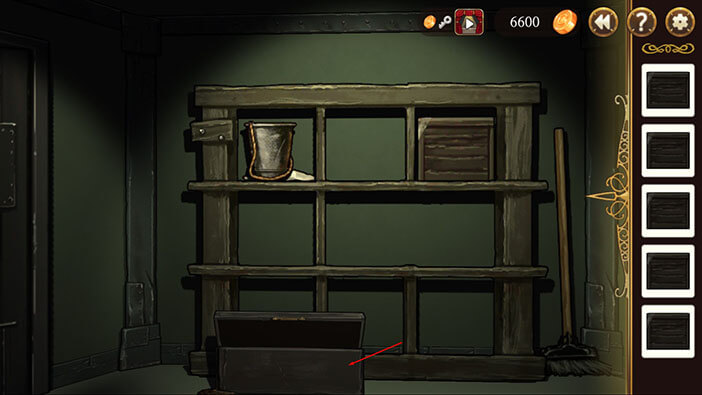
Select the “Toolbox” from the inventory and tap on the larger empty space on the shelf (that we created by breaking one of the boards with the hammer) to store the toolbox.
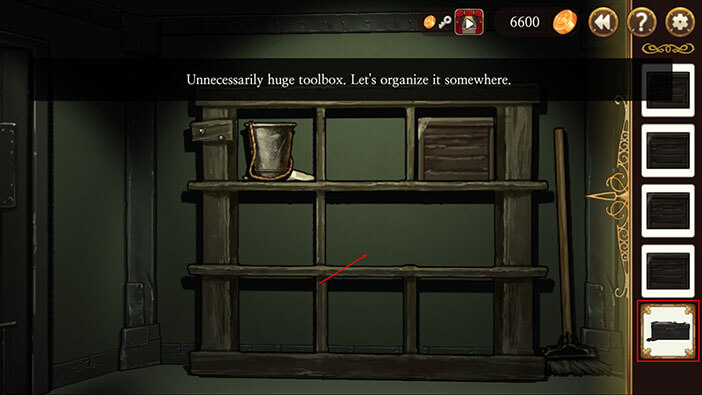
Select the “Wooden Boxes” from the inventory, one by one, and tap on the empty spaces on the shelf to store them (you should have 5 wooden boxes in your inventory).
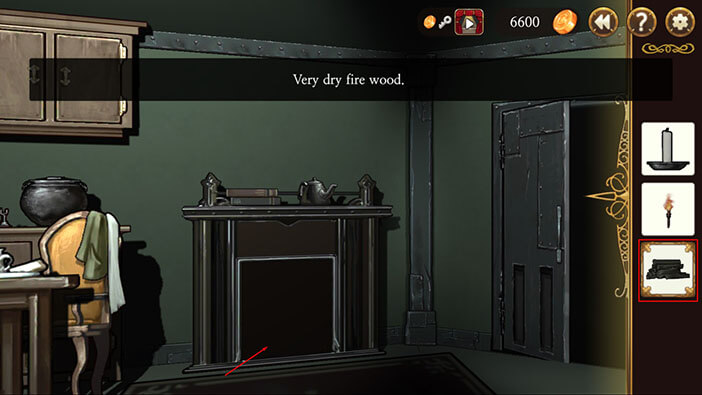
Ok, let’s start the fire. Tap on the door to go back to the previous room.
Select the “Wood” from the inventory and tap on the fireplace to place the firewood.
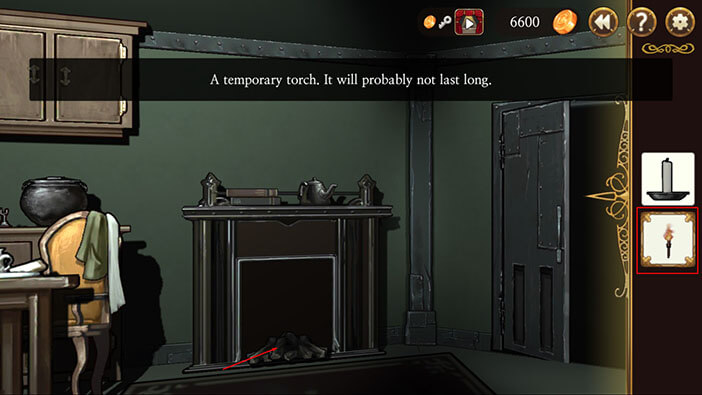
Select the “Temporary Torch” from the inventory and tap on the wood to start a fire.
We can now bring the dogs and the sled inside. Tap on the front door to exit.
Tap on the dogs and sled to pick them up.
Tap on the front door to go back inside.
Face the fireplace, select the “Tired Dogs” card from the inventory, and tap on the area just in front of the fireplace.
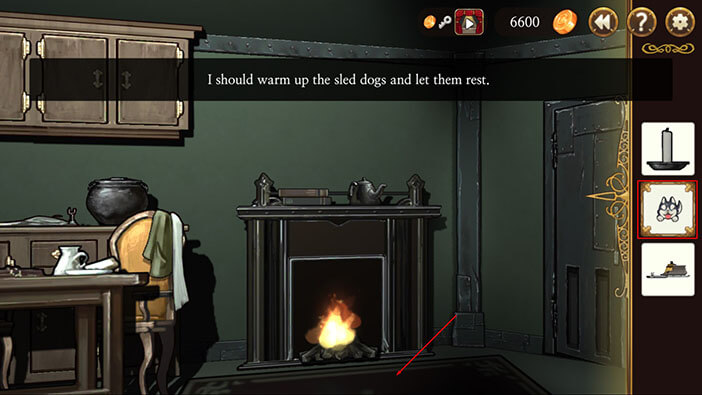
Ok, the dogs look happy, and will surely appreciate the opportunity to warm up and rest for a bit. Tap on the door next to the fireplace.
Select the “Sled” from the inventory and tap on the ground to store it inside the room.
Tap on the door to go back to the main room.
Ok, let’s read the note that we saw previously. Turn to the right and tap on the note on the top bed.
Remember the door with the numerical lock that we saw outside? Below the numerical lock were letters A, B, C, and D – just like on the notes in front of us. We will have to crack this code and determine the numerical value of each letter in order to open the door.
Let’s begin with the note on the left.
Here we can see the examples of how to read this code by looking at the solution at the end of each row. This puzzle is very difficult at first, but to solve it you only have to figure out the two simple rules behind the code.
- We can see that the black dots are the only ones that count toward the score
- In order for the black dots to count, they must have a white dot on each side
I marked the dots that count towards the final score in the image below.

With this knowledge, we can easily determine the values for letters A and B, by looking at their columns.
A = 3 (because 3 black dots have white dots on both ends)
B = 2
You can also see the solution in the image below. Memorize or write down the values for A and B, before we take a look at the note on the right.

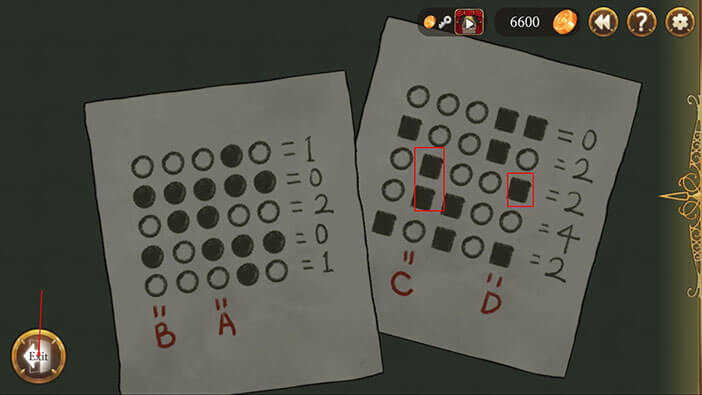
By looking at the note on the right we can see that almost the same rules can be applied here with only a single difference.
Instead of the black dots here we have a black square and instead of 1, each black square has the value of 2 (square = 2).
I marked the squares that count towards the final score in the image below.
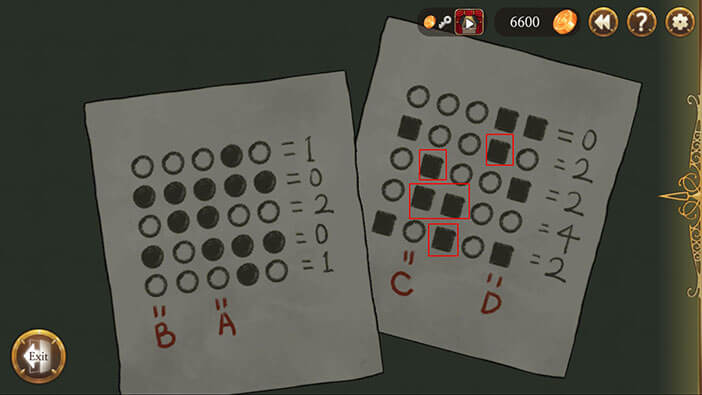
With that said, we can easily determine the values for the letters C and D, by looking at their columns.
C = 4 (2 black squares with white dots on each side)
D = 2 (only one black square with white dots on each side)
You can also see the solution in the image below. Memorize or write down the values for C and D, before we head outside.
Tap on the “Exit” button.
Turn to the right, and tap on the front door to exit.

Turn to the right and tap on the door with a numerical lock on the second floor.
Ok, let’s enter the correct values.
First Number = A = 3
Second Number = C = 4
Third Number = D = 2
Fourth Number = B = 2
Tap on the “OK” button to confirm.
Tap on the door to proceed into the next room.

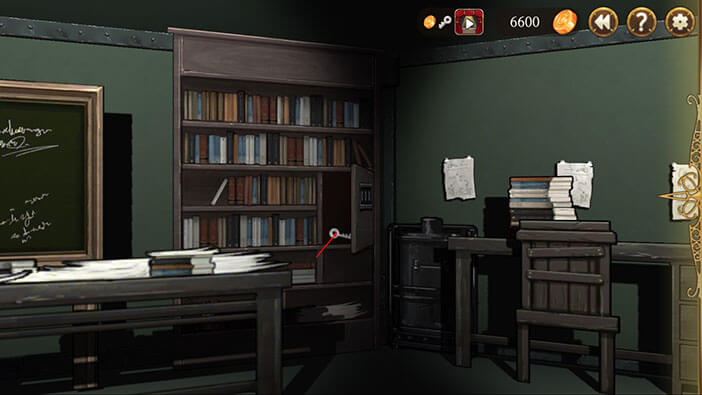
Turn to the left and tap on the numerical lock on the bookshelf.
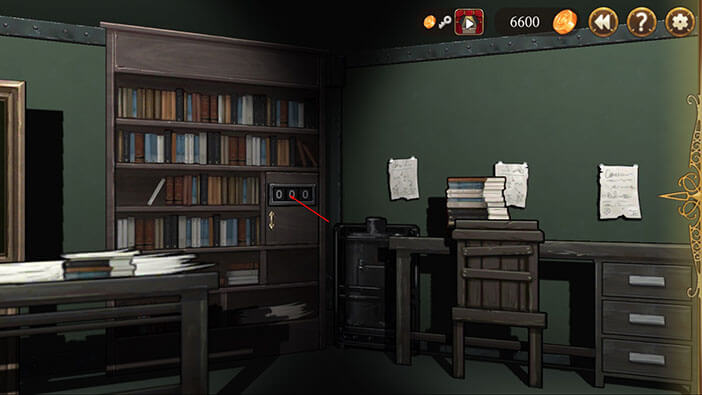
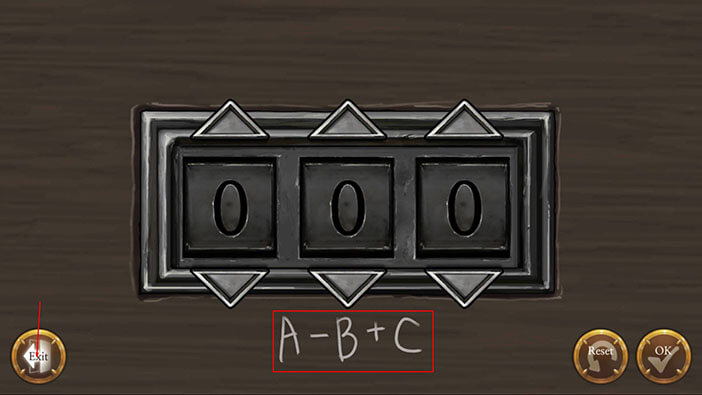
We can see that the code for opening this lock is “A+B-C”. However, we can’t use the values of letters from the previous puzzle to crack this lock. These letters have completely different values, and we will have to solve another puzzle in order to open this lock. Tap on the “Exit” button.
Turn to the left and tap on the graph.
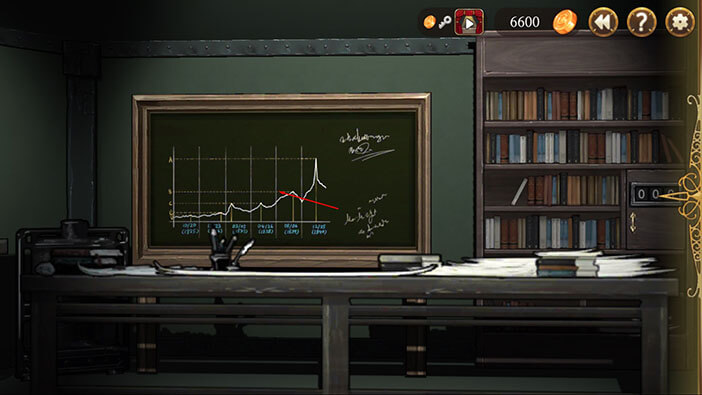
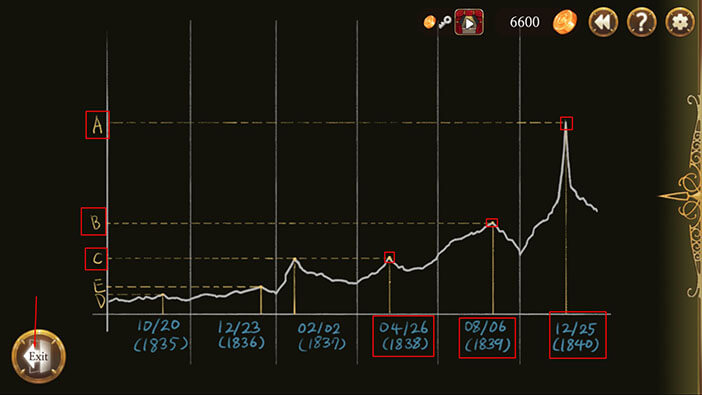
Here we can see a graph and the five letters with each letter having its own date. Let’s write down/memorize the dates for the letters that we need (A, B, and C).
A = 12/25/1840
B = 08/06/1839
C = 04/26/1838
Tap on the “Exit” button.
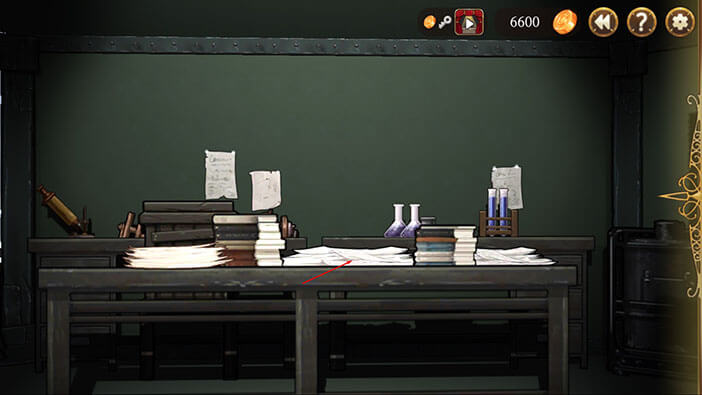
Tap on the table in front of you to examine the documents.

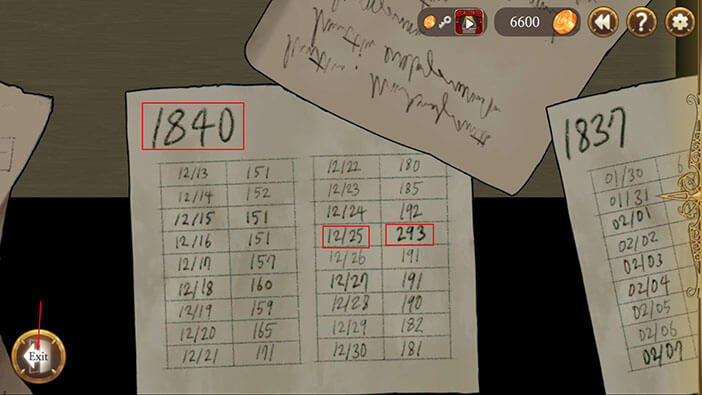
Turn to the right and you will see a document marked with the number “1840”. By looking at the dates, we can find the date we are interested in, 12/25/1840, associated with the letter “A”.
So, A = 293 (the value next to the date)
Memorize or write down the value for the letter “A” and tap on the “Exit” button.
Turn to the left and tap on the other table to examine the documents.
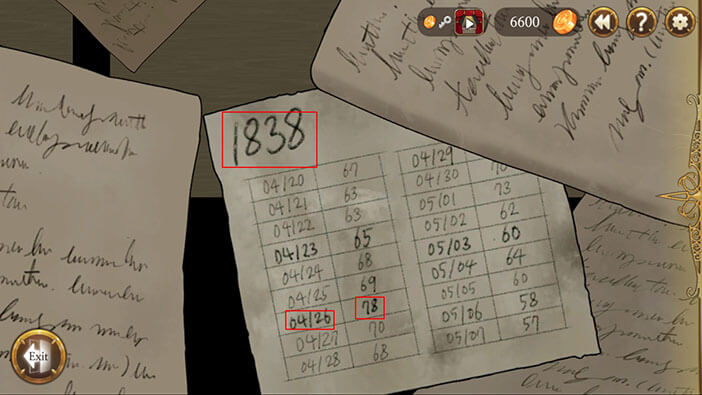
Turn to the right and you will see a document marked with the number “1838”. By looking at the dates, we can find the date we are interested in, 04/26/1838, associated with the letter “C”.
C = 78 (the value next to the date)
Memorize or write down the value for the letter “C”.
Turn all the way to the left and you will see a document marked with the number “1839”. By looking at the dates, we can find the date we are interested in, 08/06/1839, associated with the letter “B”.
B = 117 (the value next to the date)
Memorize or write down the value for the letter “B”, and tap on the “Exit” button.

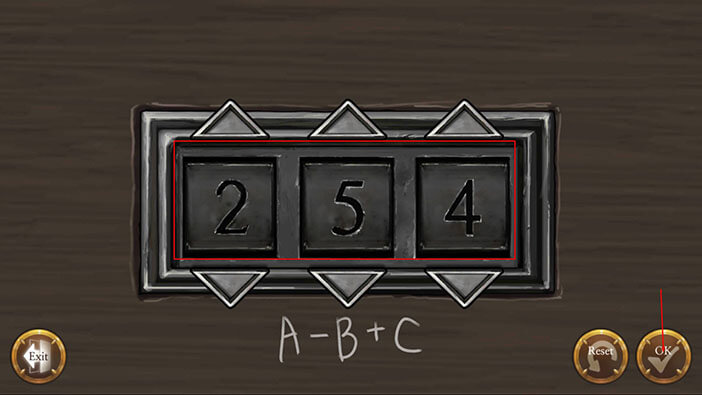
Turn to the right and tap on the numerical lock.

Ok, let’s replace the letters with their numerical values and calculate.
A – B + C
293 – 117 + 78 = 254
And that’s the code for cracking this lock. Enter the number “254” and tap on the “OK” button to confirm.
The compartment behind the lock will open, so tap on the key inside it to pick it up.
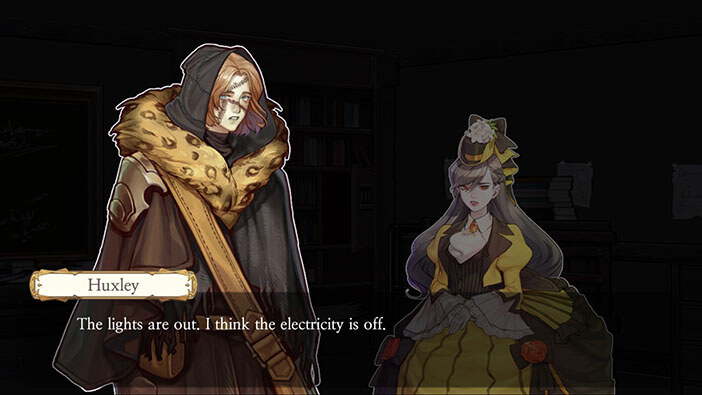
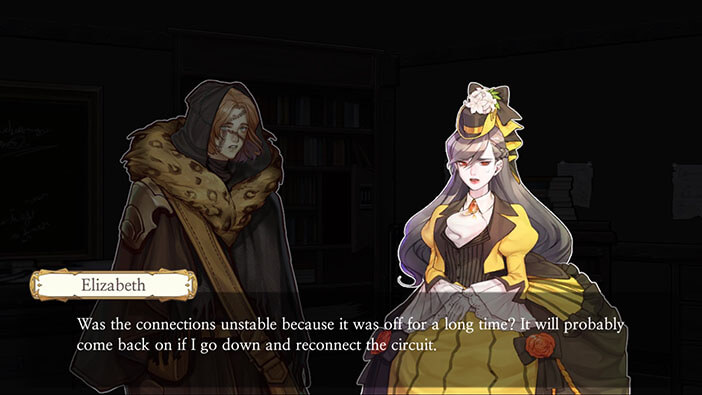
At this moment, the power went off. Elizabeth concludes that the connection cables were probably unstable, and decides to go back and reconnect them.
Tap on the door to go outside.
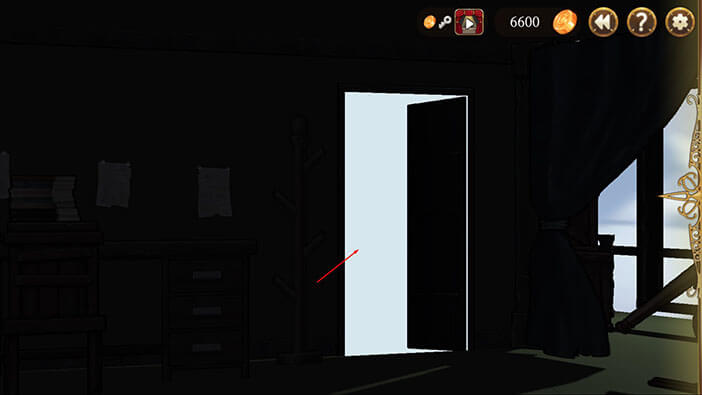
Tap on the front door to go back to the main room.
It is very dark inside, so select the “Candle” from the inventory, turn to the right, and tap on the fire, inside the fireplace, to light up the candle.
Turn to the right and you will see two doors. Tap on the door on your right to go to the room with electric circuits.
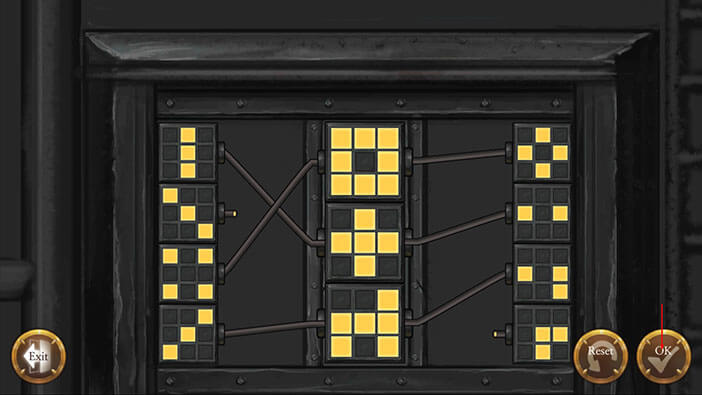
Turn around and tap on the three squares that represent the circuits.
Ok, we already solved this puzzle previously. The only difference now is that we have different shapes inside the circles. Let’s begin.
Step 1
Connect the first square on the left (top to bottom) to the first square in the middle.
Connect the fourth square on the right to the first square in the middle.
Step 2
Connect the fourth square on the left to the second square in the middle.
Connect the third square on the right to the second square in the middle.
Step 3
Connect the third square on the left to the third square in the middle.
Connect the first square on the right to the third square in the middle.
Tap on the “OK” button to confirm.
The engine is running again, so turn around and tap on the lever (to the right of the door) to restore the power.
Tap on the door to go back to the main room.
Turn around, and tap on the front door to exit.
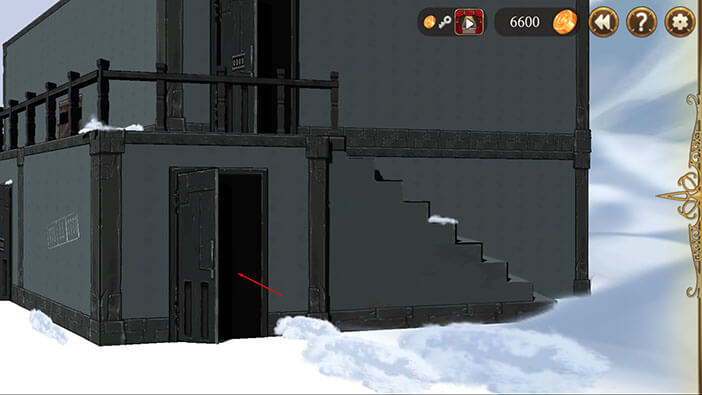
Turn to the right and tap on the other door on the ground floor.
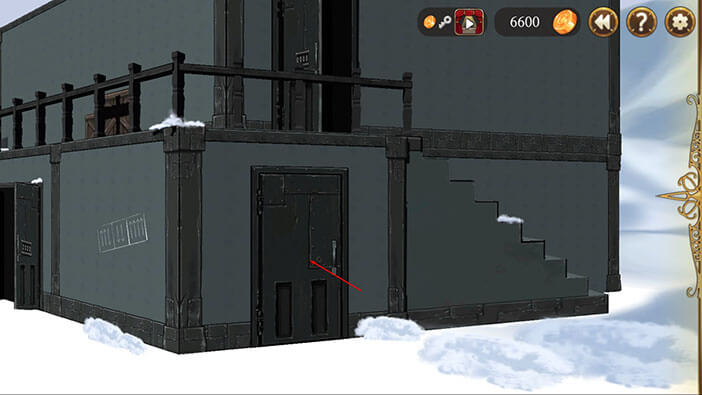
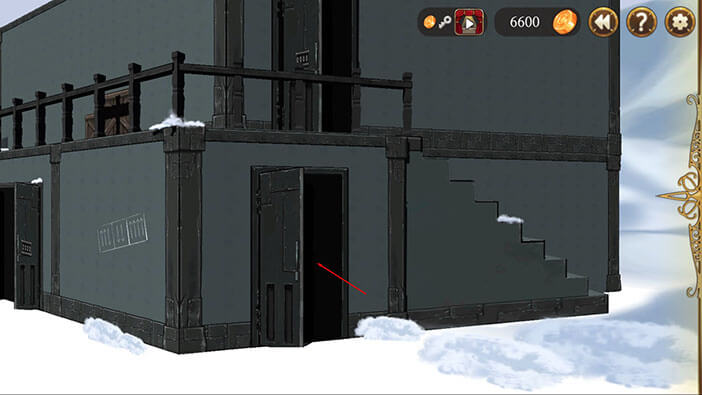
Select the “Key” from the inventory (we found this key just before the power went off) and tap on the keyhole to unlock and open the door.

Tap on the door to proceed into the next room.
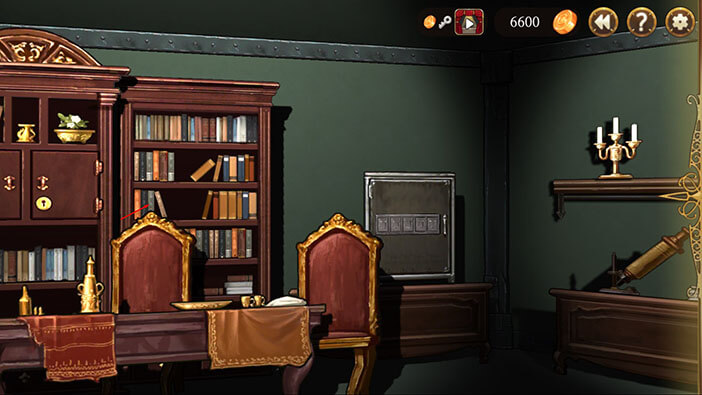
This room looks much better than the other ones with a lot of luxury decorations. Huxley thinks that this was probably room for the high-ranking members of Aegyptus.
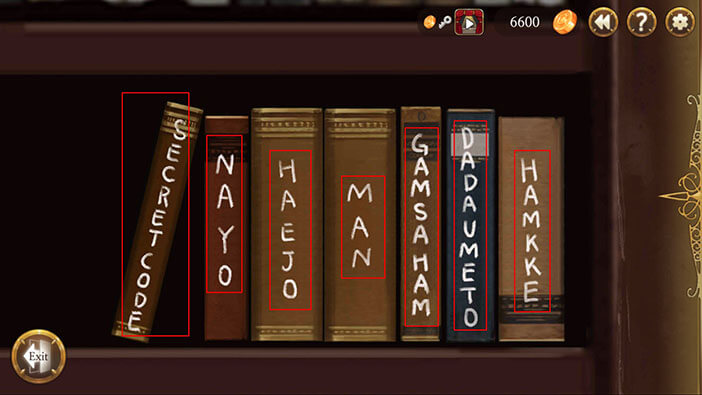
Turn to the right and tap on the bookshelf located just to the right of the locked compartment (the lower bookshelf). Also, take note of the safe locked with a password that requires a certain combination of letters.
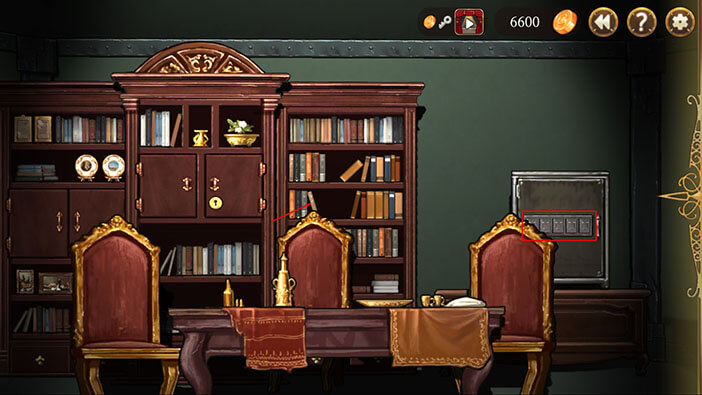
We can see that there are seven books on the bookshelf. Tap on the “Exit” button.
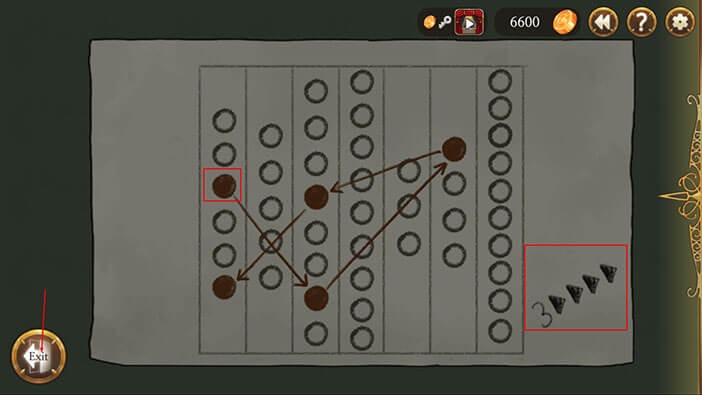
Turn to the right and tap on the note above the fireplace.
Here we can see seven columns with circles inside them, but some of the circles are marked with the red color. There are also arrows drawn between the red circles.
You probably remember that there were also seven books on the shelf. Let’s count the number of circles in each column and write down the position of the red circles. After that, we will compare the circles with the titles of the books (letters).
FIRST column (left to right) = 6 circles
Marked circles = 3rd and 6th
SECOND COLUMN = 5 circles
No marked circles.
THIRD column = 8 circles
Marked circles = 4th and 7th
FOURTH column = 9 circles
No marked circles.
FIFTH column = 3 circles
No marked circles.
SIXTH column = 4 circles
Marked circles = 1st
SEVENTH column = 10 circles
No marked circles.
Ok, let’s compare our notes with the titles of the books that we saw earlier. Tap on the “Exit” button.

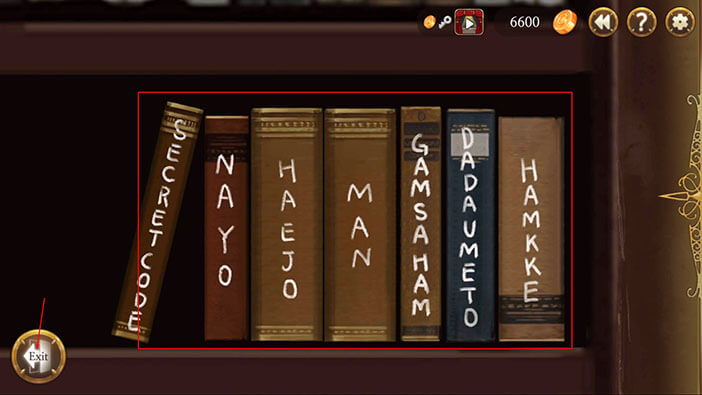
Turn to the left and tap on the bookshelf next to the locked compartment.
Let’s first compare the number of circles in the columns with the number of letters in the title of each book.
By looking at our notes we can see that these two match.
We have seven columns with 3, 4, 5, 6, 8, 9, and 10 circles.
There are seven books on the shelf, and their titles also have 3, 4, 5, 6, 8, 9, and 10 letters.
Ok, let’s now find the letters that we’ll need for the password, by comparing the position of marked circles in each column with the letters of the title. Of course, we are comparing the column with five circles with the book that has 5 letters in the title, etc.
Let’s start with the first column.
FIRST column (left to right) = 6 circles (letters)
FIRST BOOK = “HAMKKE”
Marked circles = 3rd and 6th
Third Letter = “M”
Sixth Letter = “E”
NOTE: We are skipping the columns without the marked circles – we don’t need them. We are just looking for the THREE BOOKS whose titles contain the letters for the password.
THIRD column = 8 circles (letters)
SECOND BOOK = “GAMSHAM”
Marked circles = 4th and 7th
Fourth Letter = “S”
Seventh Letter = “A”
SIXTH column = 4 circles (letters)
THIRD BOOK = “NAYO”
Marked circles = 1st
First Letter = “N”
OK, well this is one very long and complicated puzzle. Write down the information about the three books (columns) that we are interested in and tap on the “Exit” button.

Now, we have to determine the order of the letters. Turn to the right and tap on the note above the fireplace, to examine it, again.
We can see that the first letter of the password should be the third circle in the first column. We can confirm that by looking at the lower right corner of the note (number 3 and four arrows).
Ok, let’s follow the arrows on the note and finally crack this code. Grab your notes and let’s start.
The first letter = 3rd letter of the first column (first book) = “M”
The second letter = 7th letter of the third column (second book) = “A”
The third letter = 1st letter of the sixth column (third book) = “N”
Fourth letter = 4th letter of the third column (second book) = “S”
Fifth letter = 6th letter of the first column (first book) = “E”
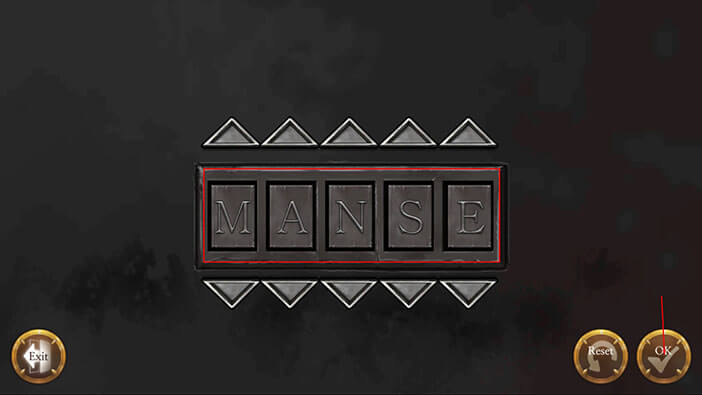
When we put it all together, our password is “MANSE”. Write it down and tap on the “Exit” button.
Turn to the left and tap on the safe.
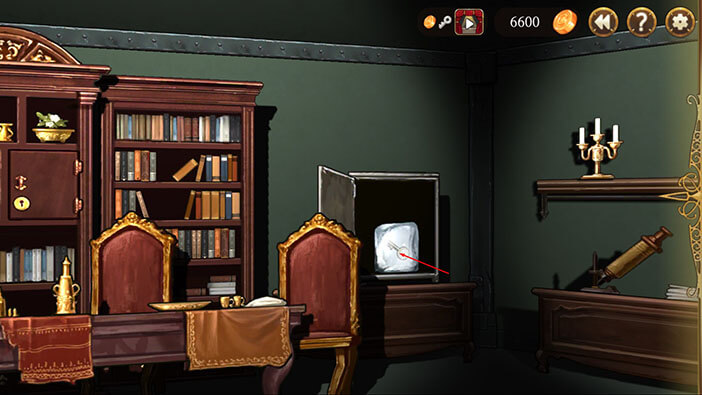
Enter the password “MANSE” and tap on the “OK” button to confirm.
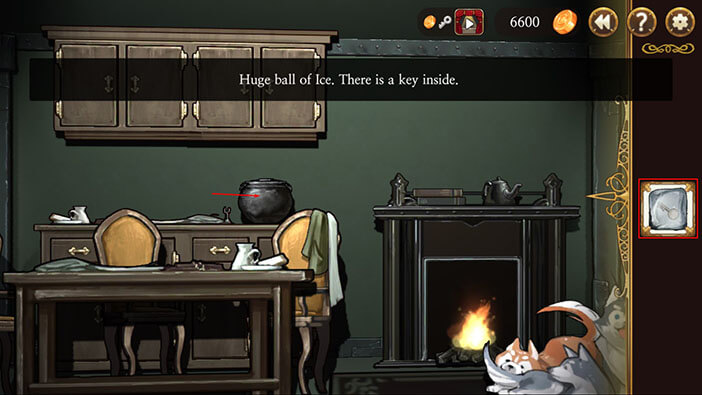
Tap on the key inside the ice block and the “Ball of Ice” will be added to the inventory.
Ok, let’s melt the ice on the fireplace and get the key. Turn to the left and tap on the stairs to exit.
Turn to the left and tap on the front door to enter.
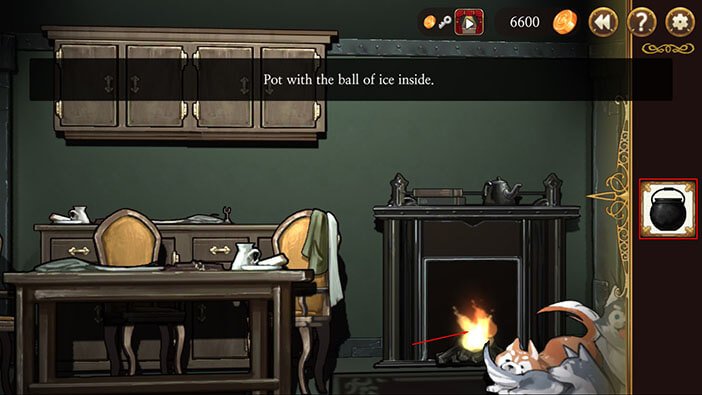
Turn to the right and face the fireplace. Select the “Ball of Ice” from the inventory and tap on the pot on your left to put it inside. “Pot with Ice” will be added to the inventory.
Select the “Pot with Ice” from the inventory and tap on the fireplace.
Tap on the pot, and Elizabeth will say that the water is too hot, and she can’t retrieve the key with her bare hands. Ok, let’s find some tools.
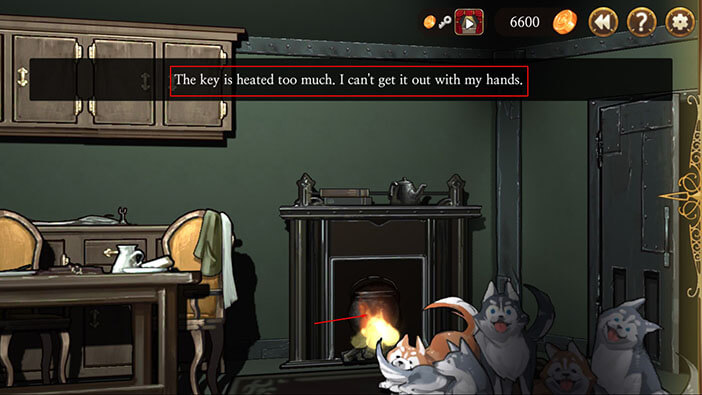
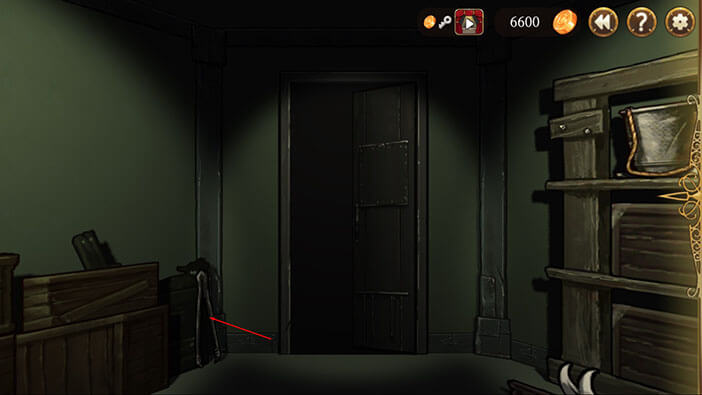
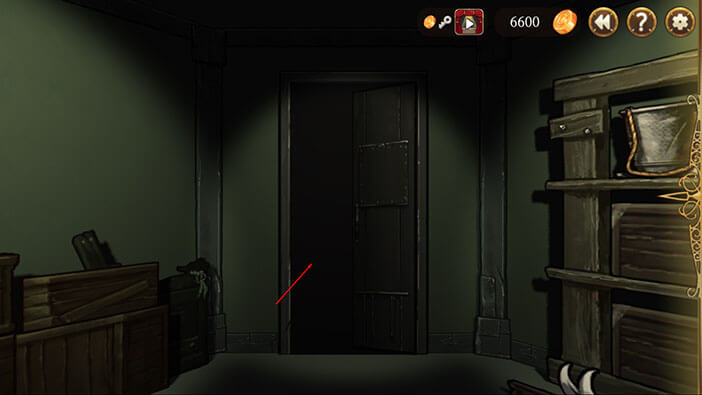
Turn to the right and face the two doors. Tap on the door on your left.
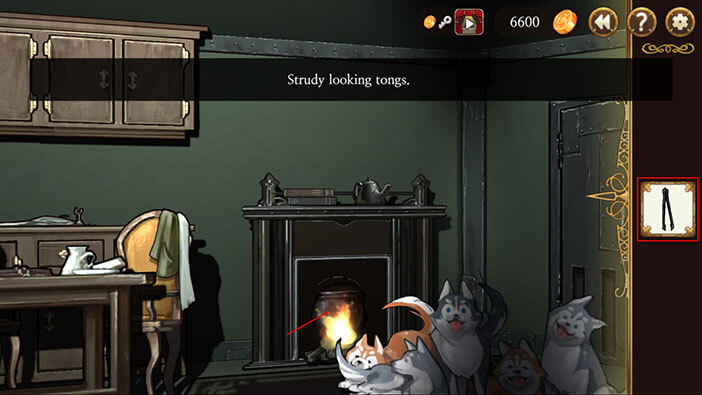
Tap on the tool in the left corner (next to the door), and “Tongs” will be added to the inventory.
Tap on the door to go back to the main room.
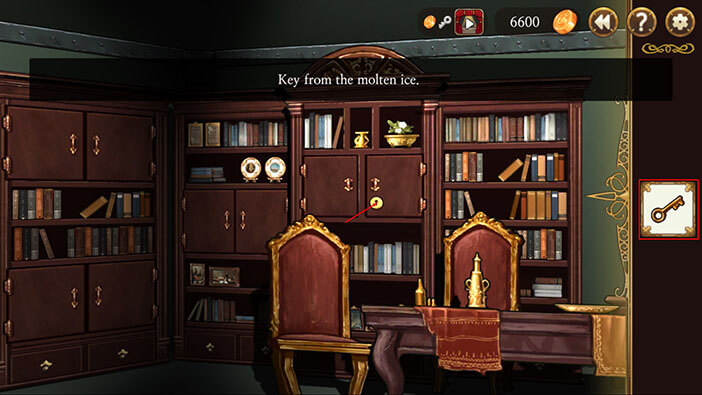
Face the fireplace, select the “Tongs” from the inventory, and tap on the pot. A “Key” will be added to the inventory.
Tap on the front door to go back outside.
Turn to the right and tap on the other door on the ground floor.
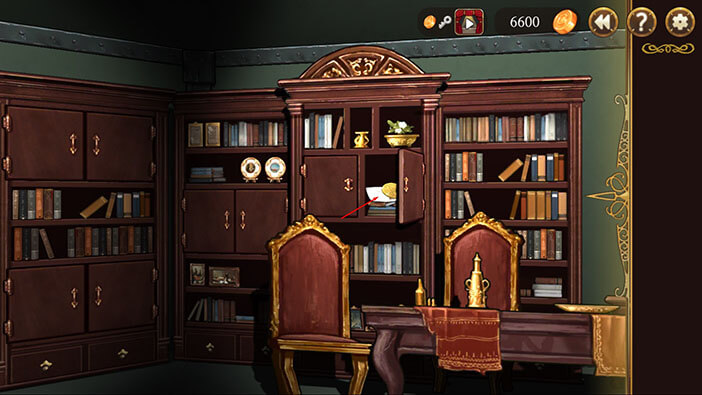
Turn to the right, select the “Key” from the inventory, and tap on the keyhole on the locked bookshelf compartment to unlock and open it.
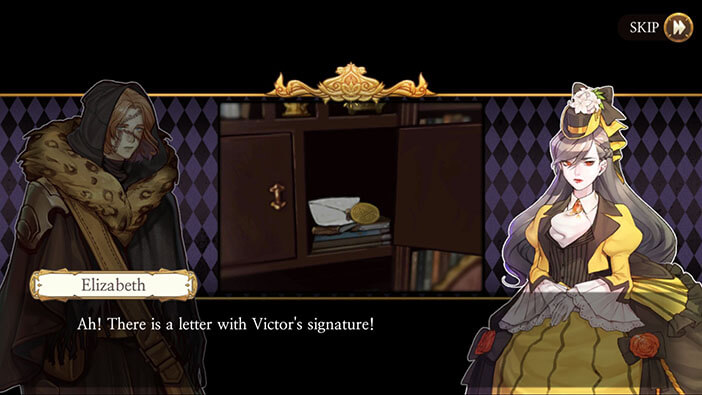
Tap on the note and medal inside the open compartment.
Our characters found the Aegyptus medal and a letter for Huxley and Elizabeth written by Victor! Of course, our characters are very surprised, but I expected something like this, since Victor and Henry did plan ahead. It is logical that they would leave some clue for Huxley and Elizabeth inside the outpost.

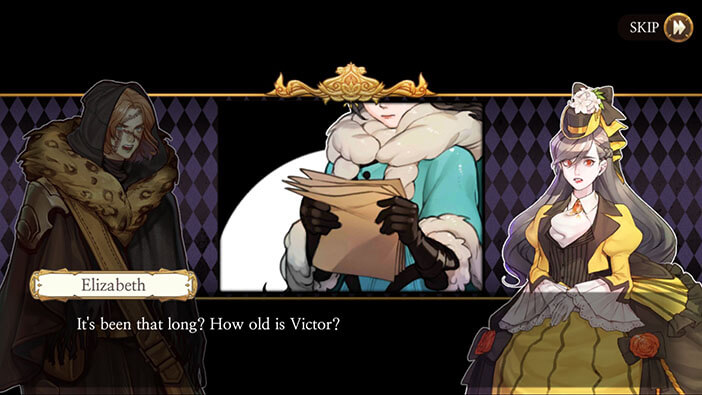
Elizabeth opens the letter and starts reading. Victor congratulates them on reaching the outpost while combating the terrible Arctic weather. He goes on, saying that almost 40 years have passed since his father’s death. All that time Victor was working on his research while also trying to figure out a way to avenge his father. Now, our characters realize that Victor is very old. Hmmm, I haven’t given it much thought, but since now is the year 1840+ (I am not quite sure), and Victor’s father died somewhere around the October of 1793 (the same year as the death of Marie Antoinette), Victor has to be over 70 years old by now. Again, somehow I completely missed this and imagined Victor as a man in his early forties. 
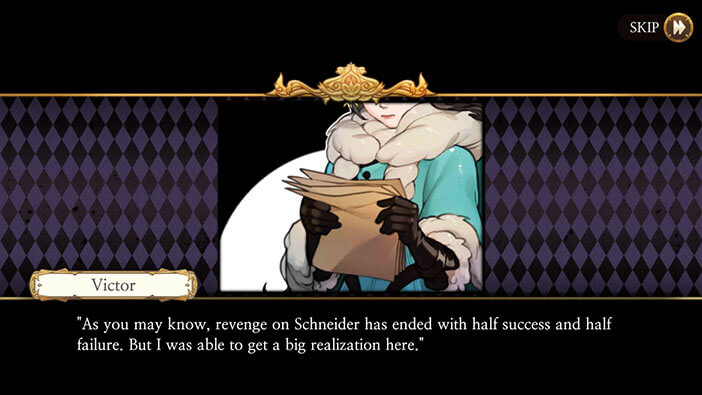
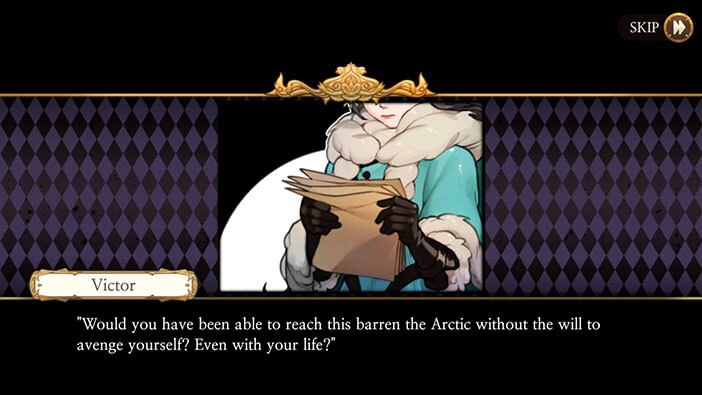
Victor explains how his revenge against Schneider was only, partially successful, but he realized that revenge can be one of the strongest motives, and can push people to perform things that would normally be well outside of their capabilities.
He says that Elizabeth and Huxley are the perfect examples for his theory. Victor claims that our pair of adventures wouldn’t even consider coming to the freezing Arctic if they didn’t have a burning desire for revenge to push them forward. Well, his logic does make sense, and I will have to agree with him on this one.

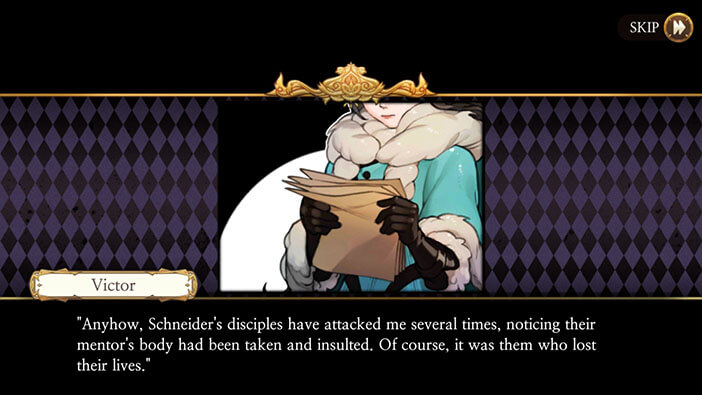
After Victor desecrated Schneider’s body, some of his followers went after Victor, but he was able to dispatch them (well, they probably didn’t expect a scientist that carries a double-barrel shotgun under his coat). Realizing that he was now in danger, he chose to leave the name Victor Frankenstein behind him and chose an alias.

He says that was enough for the introduction, and informs our characters that the Babel is located only 2km to the northwest of this outpost and that they have to reach it by the 25th of December (today). Well, that’s really close. Even if they travel on foot, they could reach it in half an hour.
However, he also says that on this day there will be a coronation for Aegyptus in Babel. Hmm, I presumed that on this day Samuel wanted to try to achieve immortality… Well, guess I was wrong.


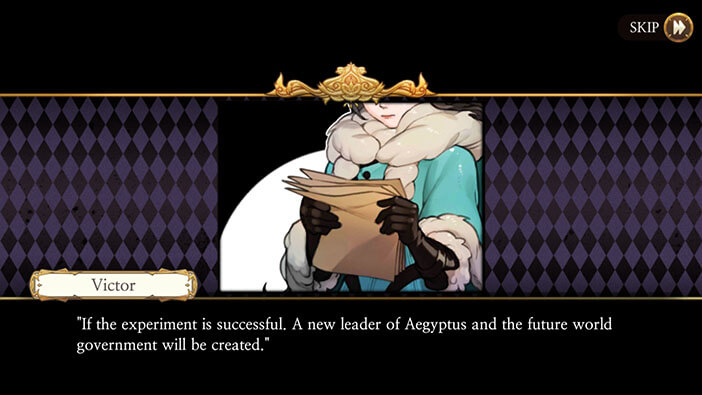
Victor goes on saying that as the Sunspot explodes and aurora lights up the Arctic he will conduct a final test that will determine the future of mankind. If his experiment succeeds a new leader of both Aegyptus and world government will be chosen, and that leader is going to be Huxley! Wait, what!? I really didn’t see this one coming. Why would he choose an insignificant young painter, reanimate him after his death, and chose him to be a new world leader? Surely, he could find better potential candidates. Something doesn’t fit in… 

Victor goes on saying that Huxley will take Elizabeth as his wife at the coronation and that he will become the third leader of the Aegyptus. Samuel and Victor will be waiting for them. Again, I really didn’t see the story developing in this direction. Good job devs! Well, maybe I am a bit too early with congratulations, first we will have to see a logical explanation for this development.

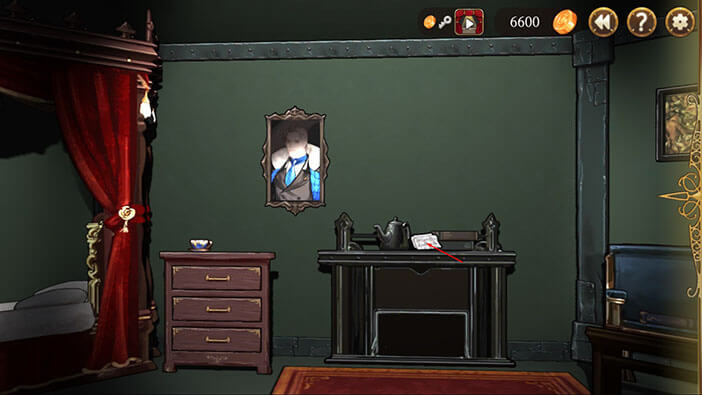
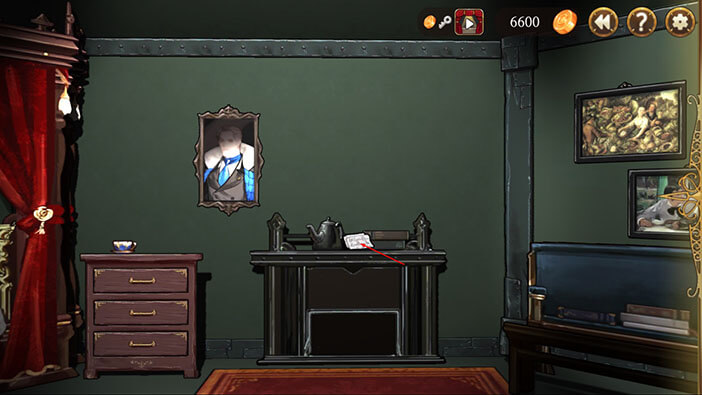
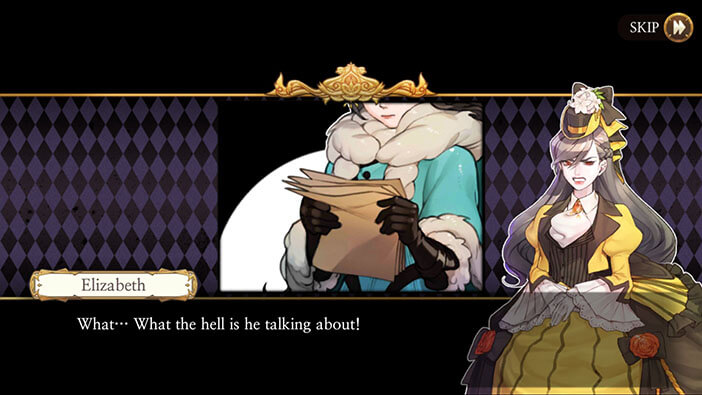
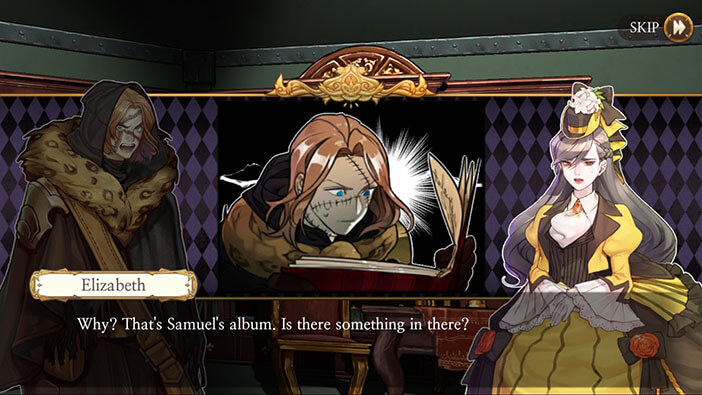
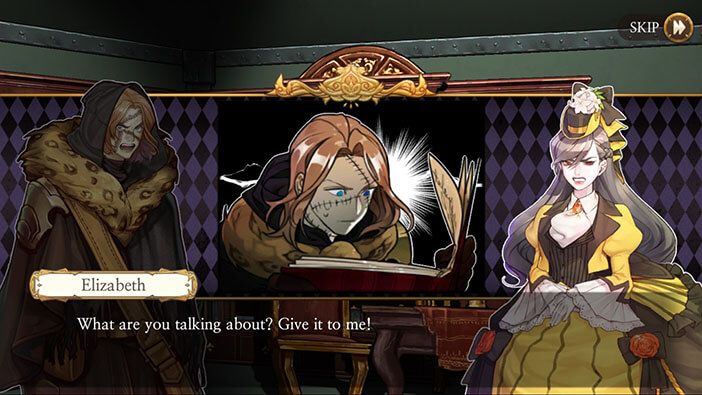
Naturally, Elizabeth is shocked after learning all of this. She asks Huxley why does Samuel want him to become the leader of the Aegyptus. Huxley is as confused as she is. He is going through Samuel’s album and can’t believe what he just saw. Elizabeth grabs the album from Huxley’s hands curious to see what’s inside.
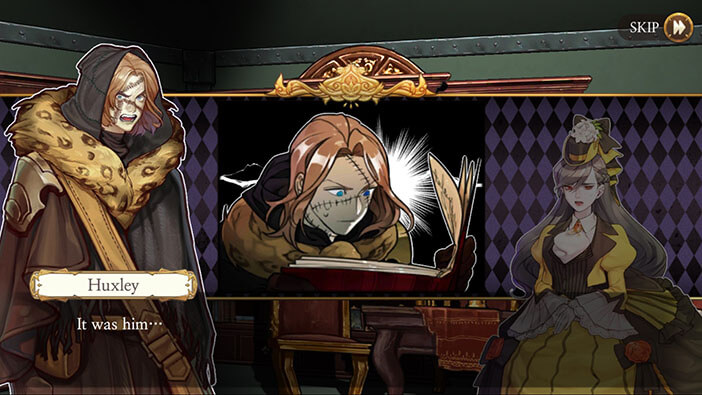
Tap on the album a few times while paying attention to each portrait. I think I get it now…
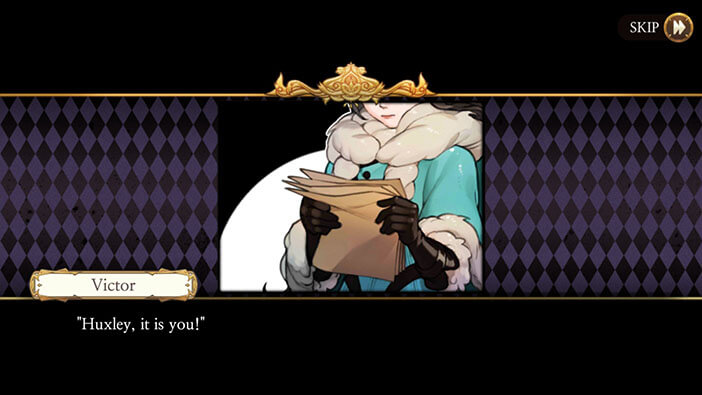
At the end of the album is a portrait of Victor Frankenstein from Geneva. The date is 1796. Yup. It looks like Samuel and Victor are the same persons.
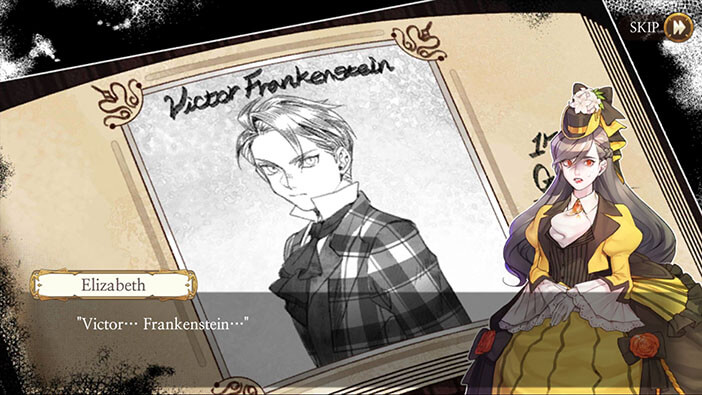
Elizabeth is outraged because she comes to the same conclusion, that Victor and Samuel are the same person. She realizes that he and Henry have set them up, and decides to kill Victor/Samuel (this means that Victor was the one that murdered her parents).
Well, it makes sense that Victor took an alias and became Samuel, that much is obvious. But I still don’t understand one piece of the puzzle. Remember the mysterious man that approached Victor upon his return to the lab?
We presumed that this man was Samuel and that he was the one that financed Victor’s research. If Victor and Samuel are the same person, then who was this guy that gave him money to continue the research? If you recall the stage in which Victor returned to Bayern, you will remember that he was broke (financially) and desperate after seeing his mother living in poor conditions. At this point, Victor’s plan was to work in the mine during the day and continue the research during the night, sacrificing some time that he would normally use for sleeping. Well, this piece of the puzzle is still missing, and I hope that we will get a logical explanation…

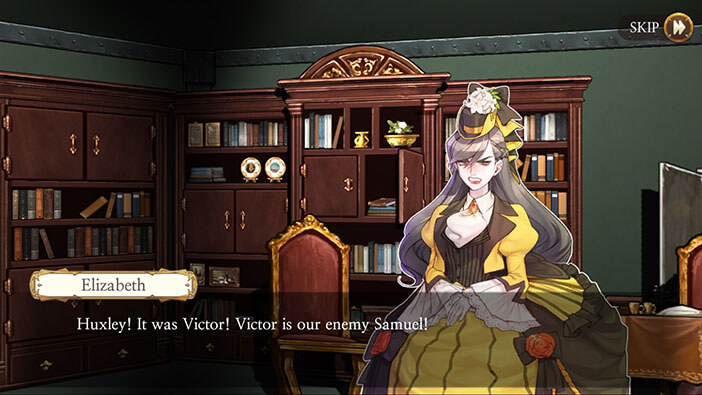

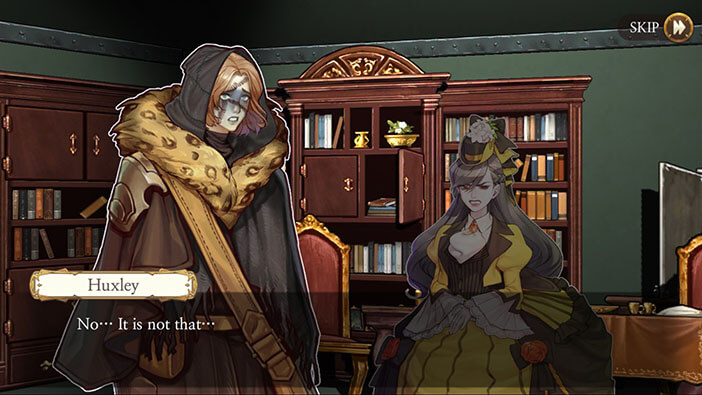
Elizabeth yells Huxley’s name, but at this point, his face turns blue. After seeing this Elizabeth is afraid that Victor might be mind-controlling Huxley, somehow. Huxley says that he is having flashbacks again.

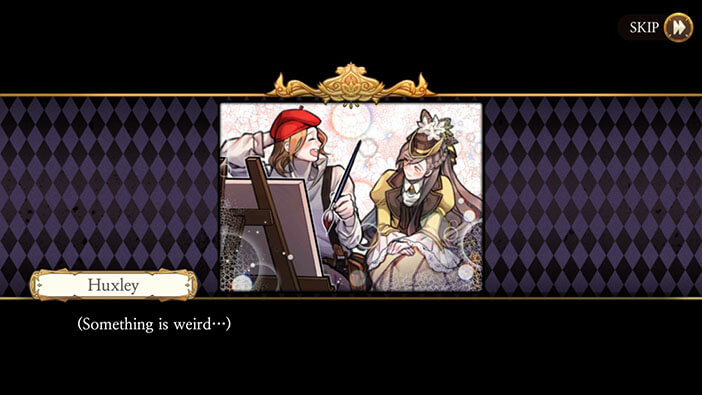
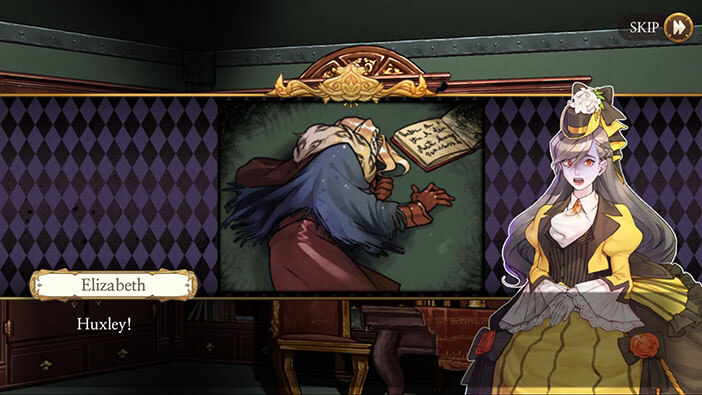
The first flashback is of him and Elizabeth talking and laughing. Huxley realizes that something is wrong with him, and a few moments later falls unconscious, while Elizabeth screams his name… And that’s the end of this stage.
Well, this stage definitely brought some very unexpected plot twists. As I already mentioned, I just hope that there is going to be some logical explanation for everything that we discovered so far. In the next stage, we will be playing as Elizabeth as she decides to leave the unconscious Huxley behind, and heads alone towards Babel (there’s no more time and she has to go). Join us in the next stage of the Walkthrough for Frankenstein Room ESC, so we can together discover what the future holds for Elizabeth and Huxley. I just hope that Huxley will wake up before Elizabeth gets to Victor/Samuel.
Thank you for reading.