Park Escape Chapter 5
Missing child
In the fifth Chapter, the Police investigators get to the Feiyun building by following the clues that the infamous Clown left. In the first part of this Chapter, they need to get to the 9th floor of the building from the foyer.

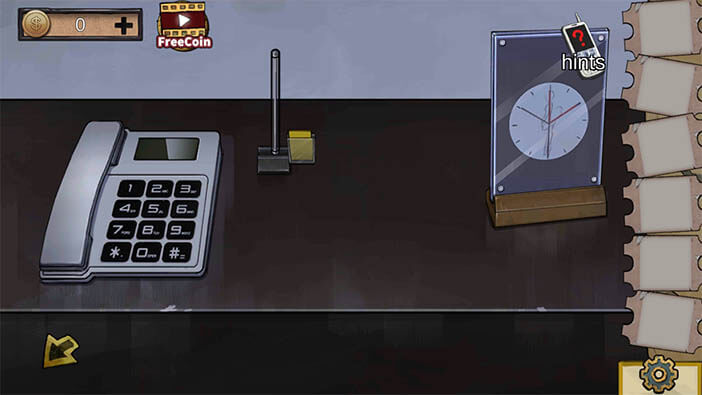
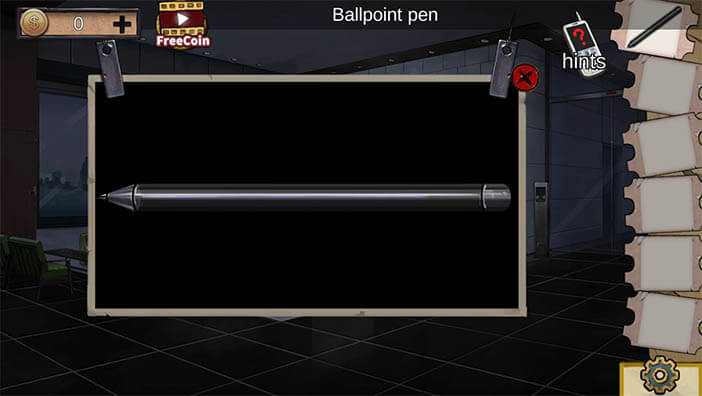
On the reception table, there is a landline telephone, a clock, and a pen. Both the landline telephone and the clock will help you solve future puzzles, keep them in mind. Take the pen and extract the pen core from it.
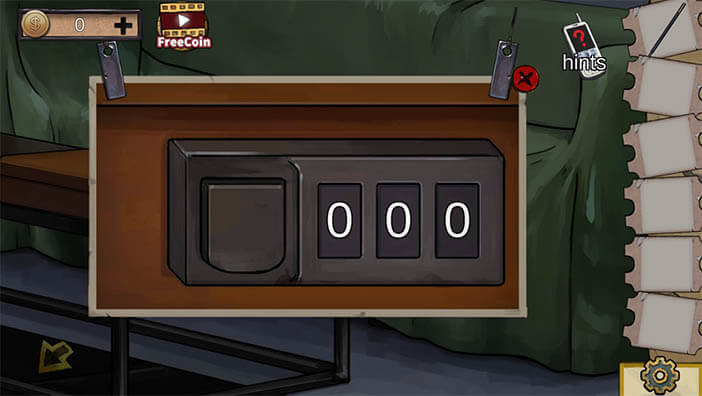
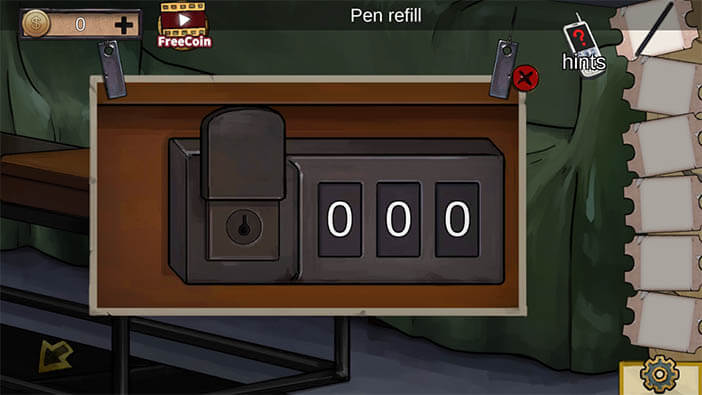
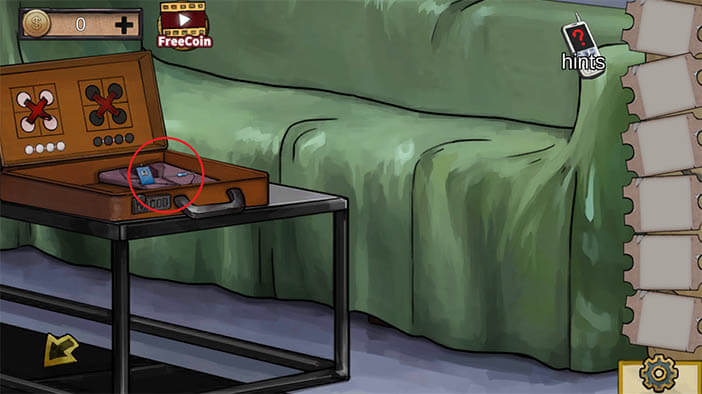
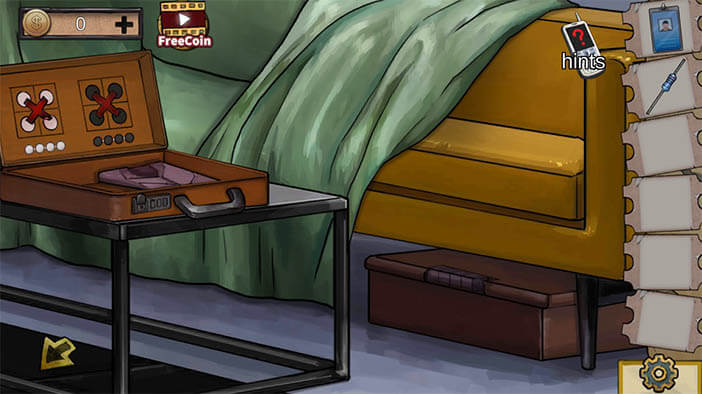
Now go to the left of this segment and zoom in on the table. On the table, there is a briefcase with number dials but you don’t need to solve the combination, open the lid that is right next to the number dials and open the briefcase with the pen core. Take the resistor and the work permit.

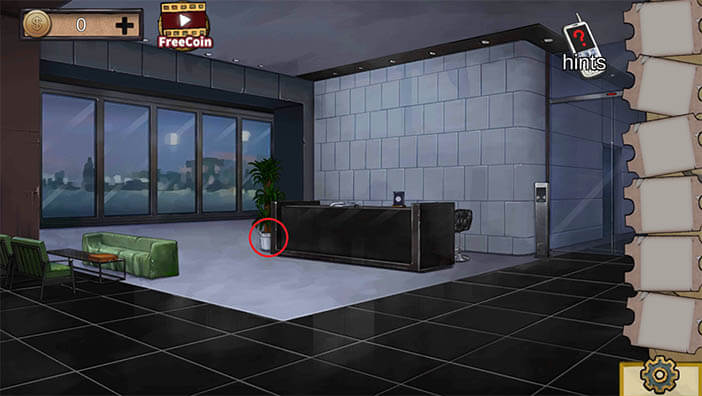
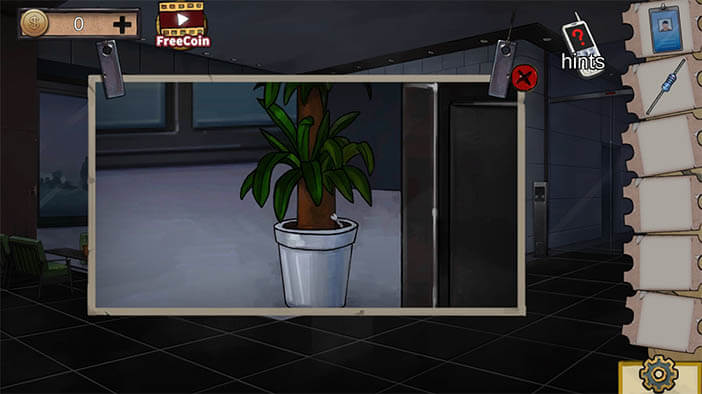
Right next to the reception desk there is a plant, zoom in on it and take the key.
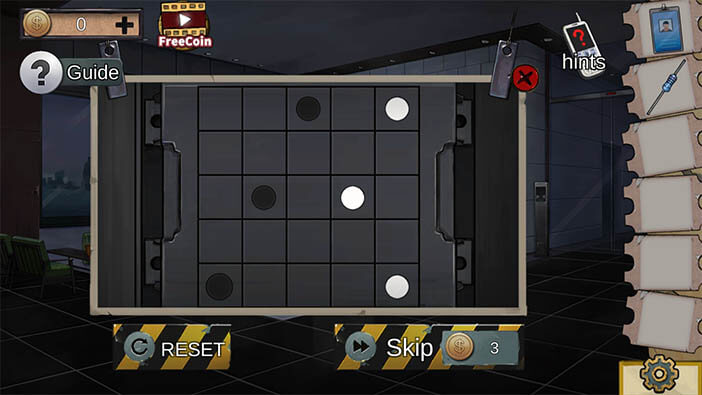
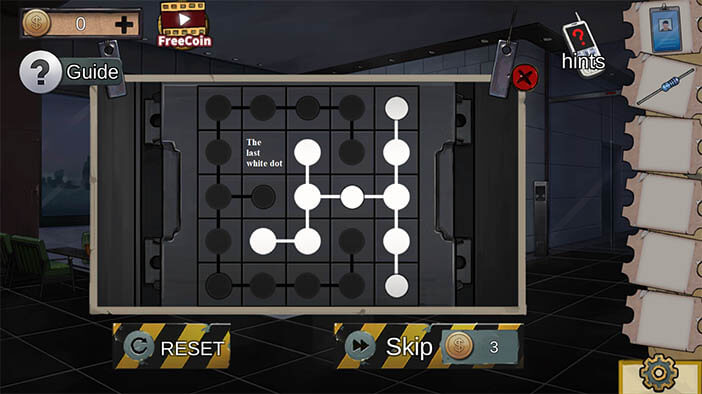
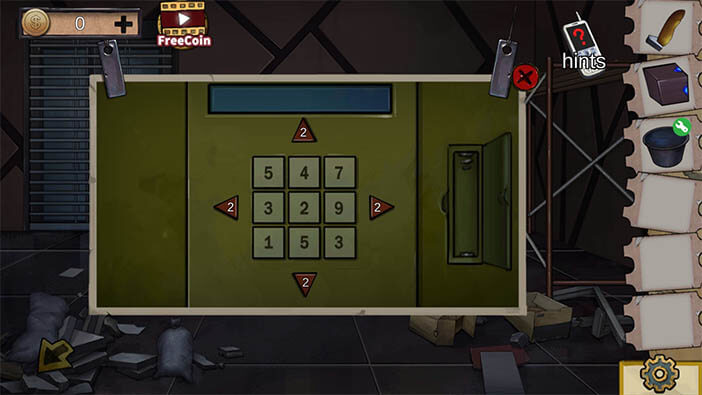
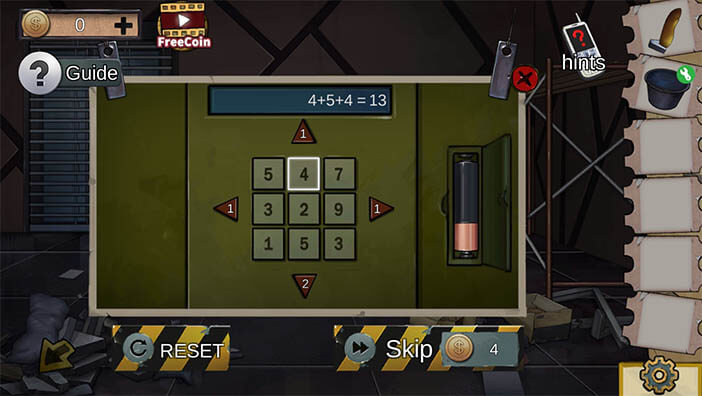
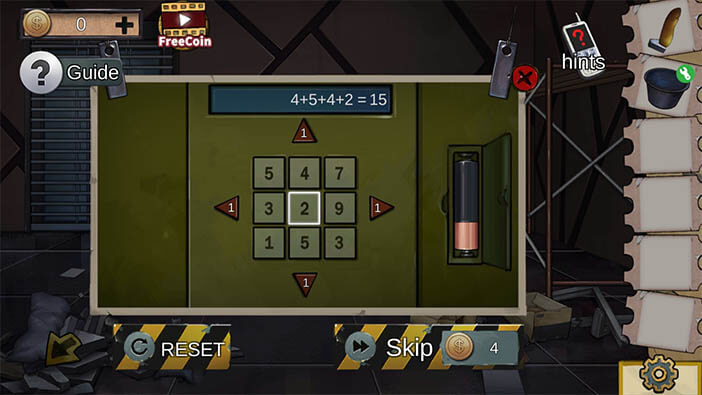
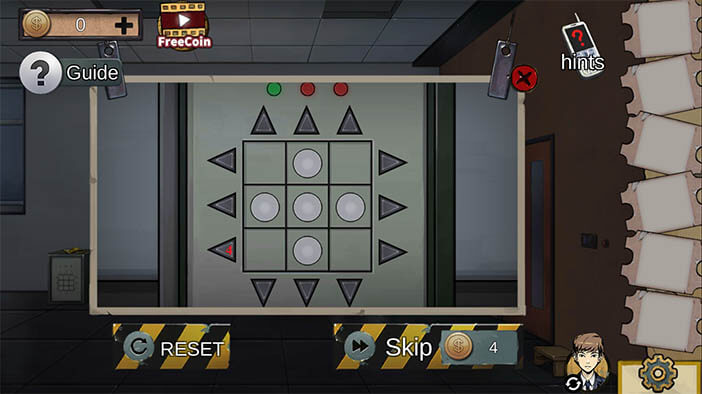
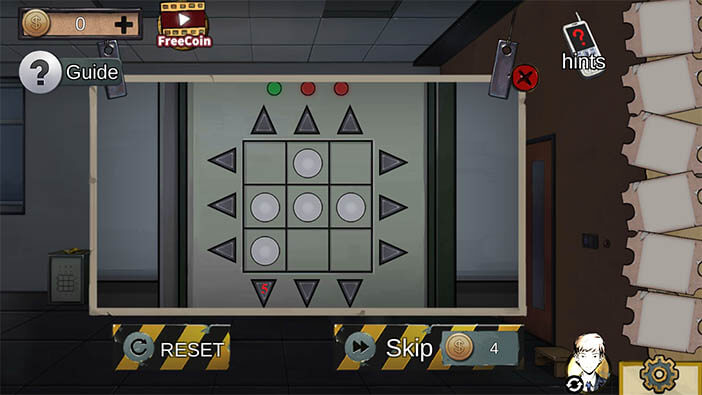
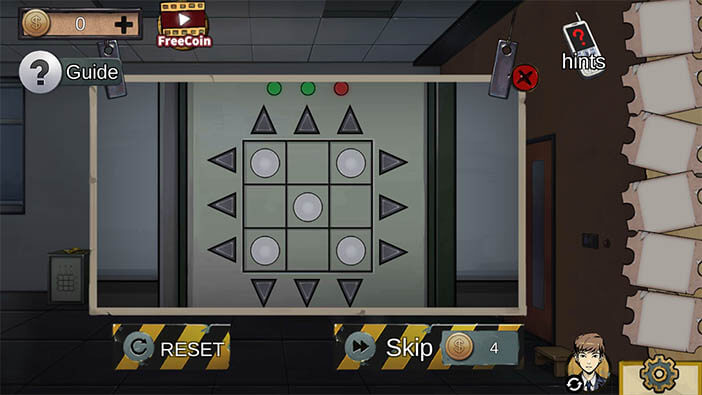
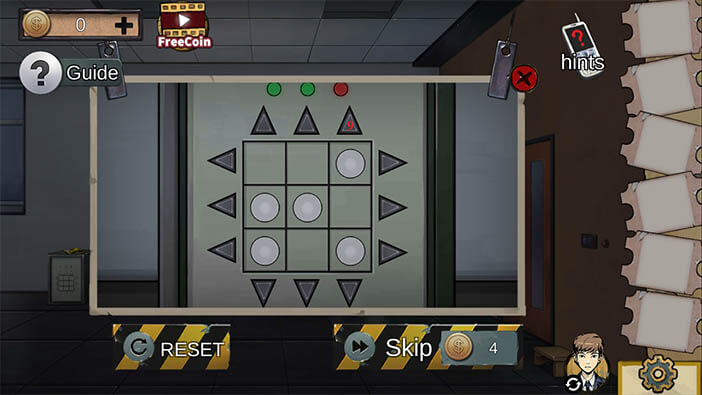
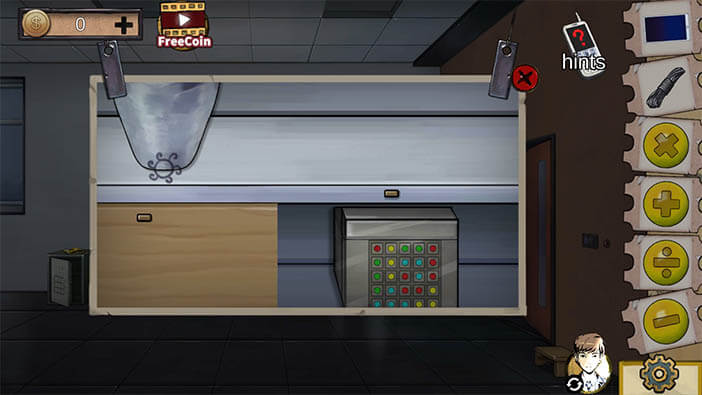
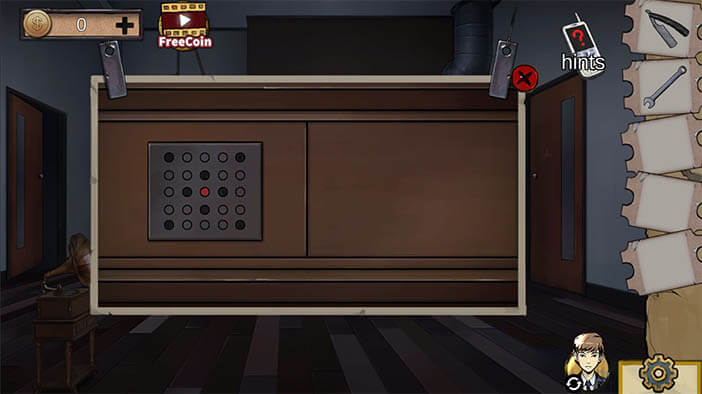
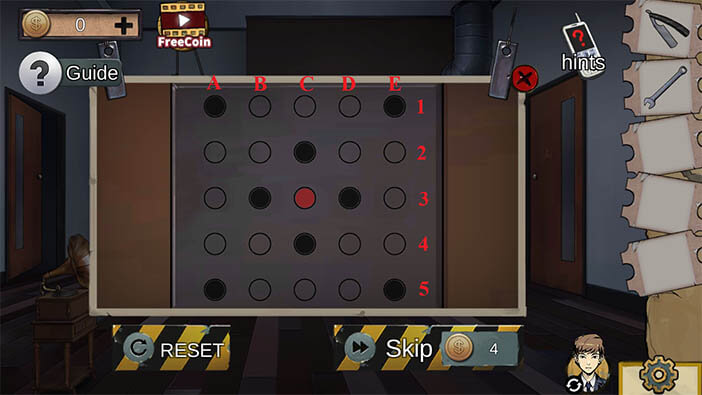
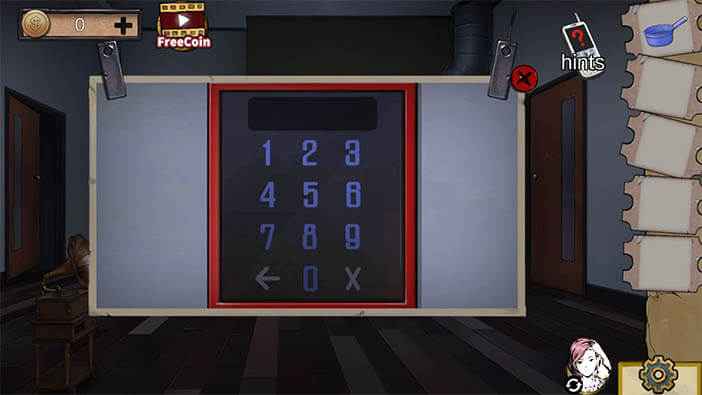
The work permit reader doesn’t work and needs to be repaired, for that you will need the key that you just picked up. Tap on the bottom of the work permit reader and unlock it with the key. If you tap once on each field it will make a black dot. If you tap twice on the same field it will turn into a white dot. The solution to the puzzle is underneath:

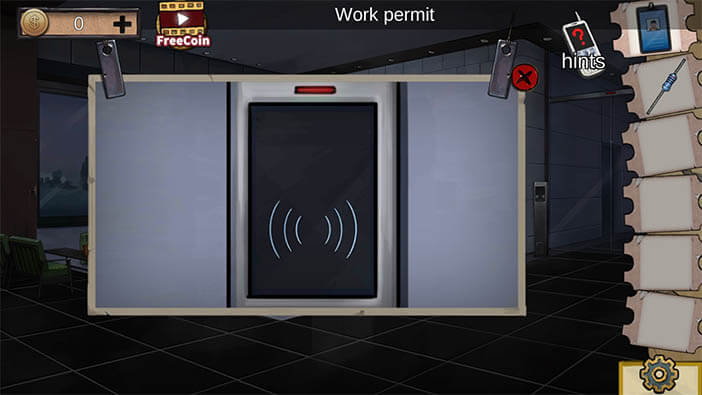
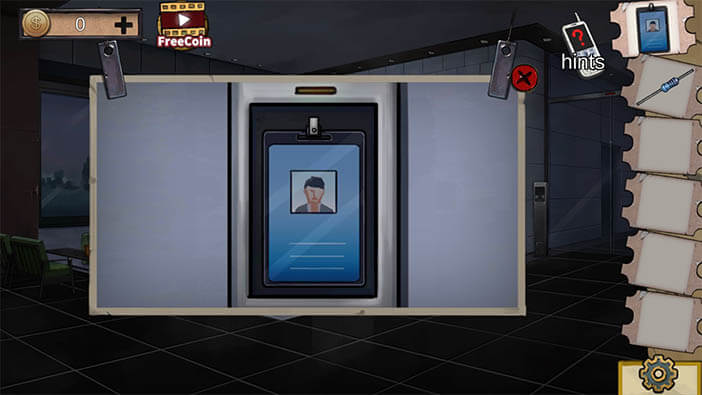
Once you solved the puzzle the machine will work, swipe the work permit and enter into the next room.
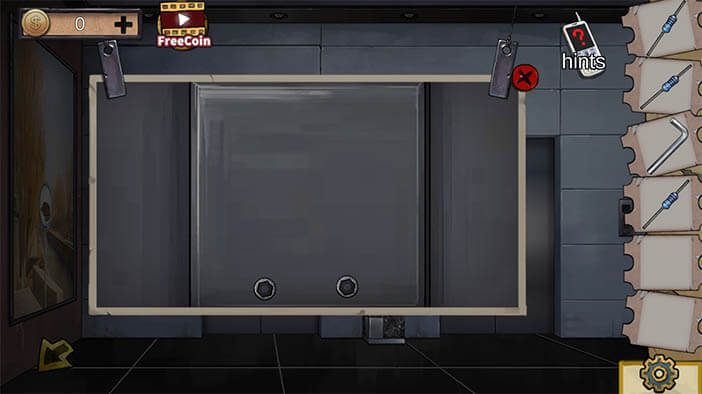
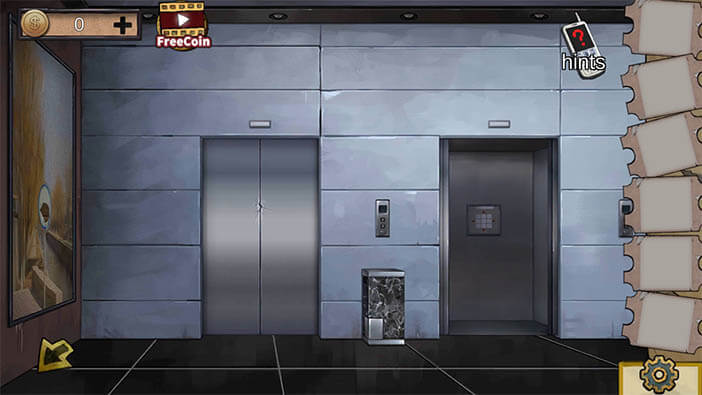
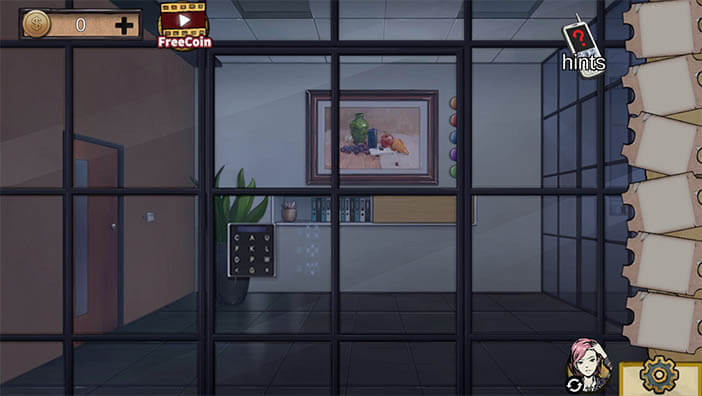
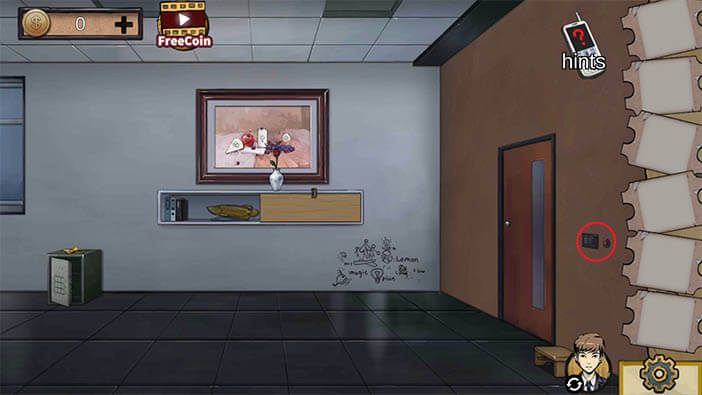
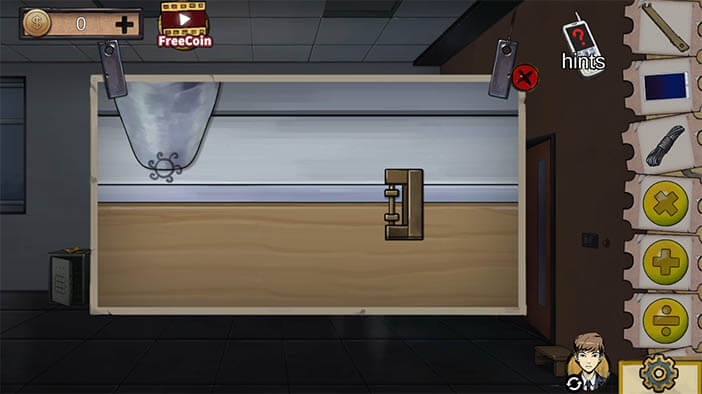
The elevator button doesn’t work and you will need tools to open it.
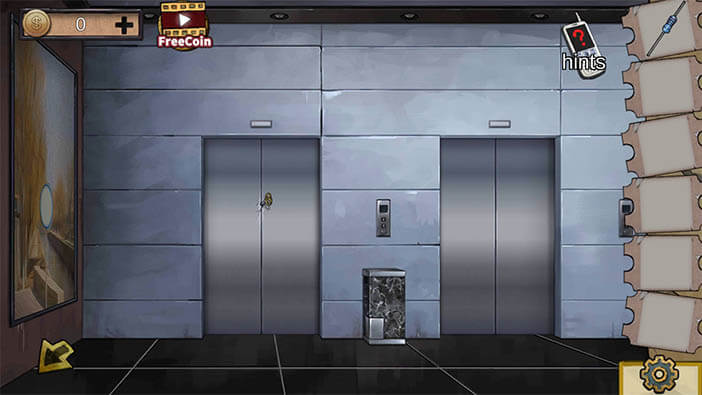
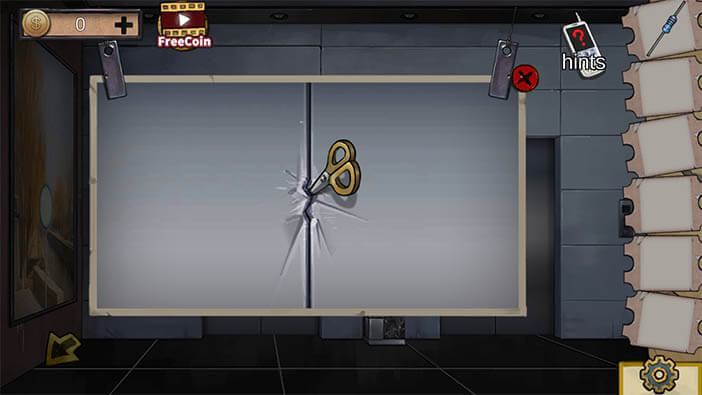
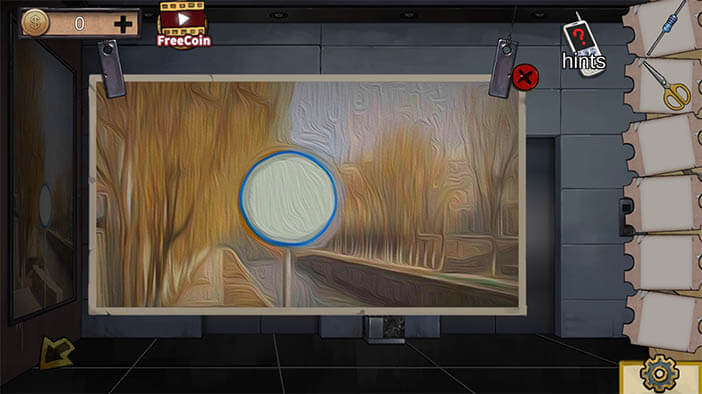
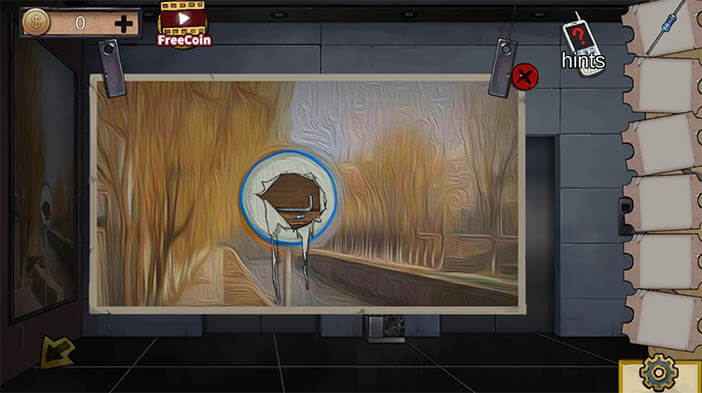
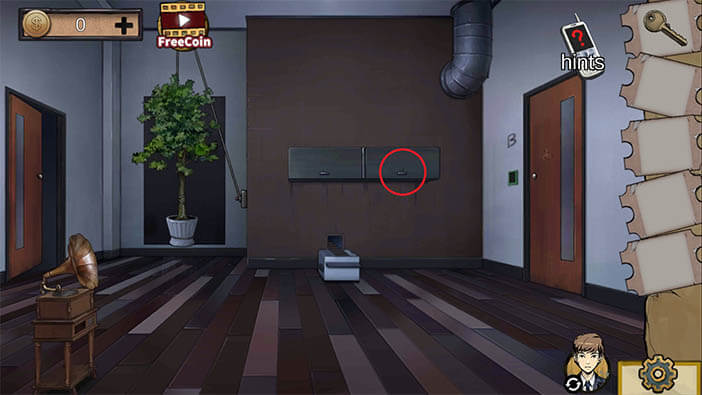
Take the scissors and zoom in on the painting on the wall, tap on the white circle, take the resistor, and the hex key.
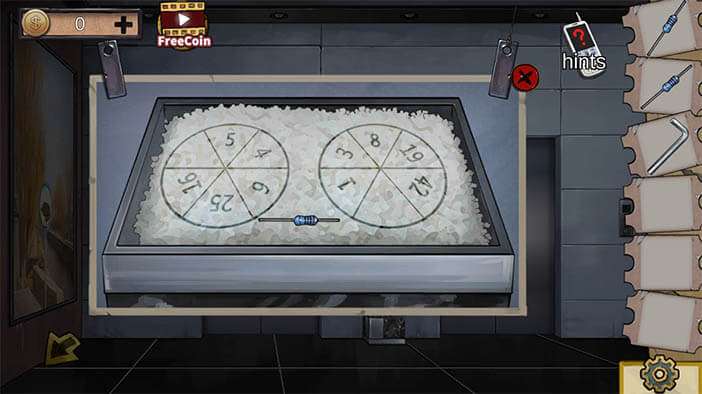
Underneath the elevator buttons, there is a box akin to a trash can filled to the brim with fine white gravel. On the stones there are two circles with numbers that later puzzle, underneath them there is a resistor, take it.
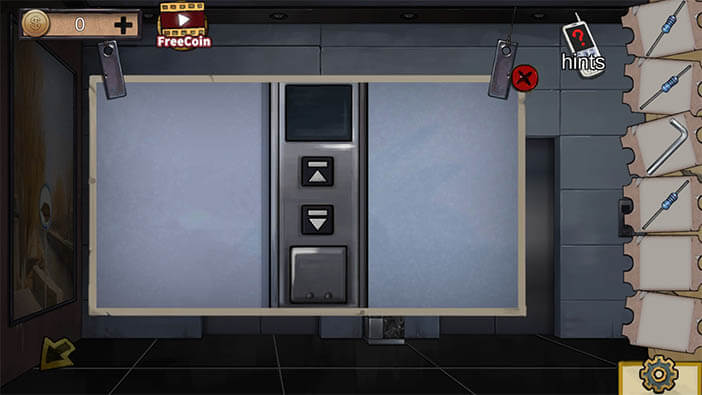
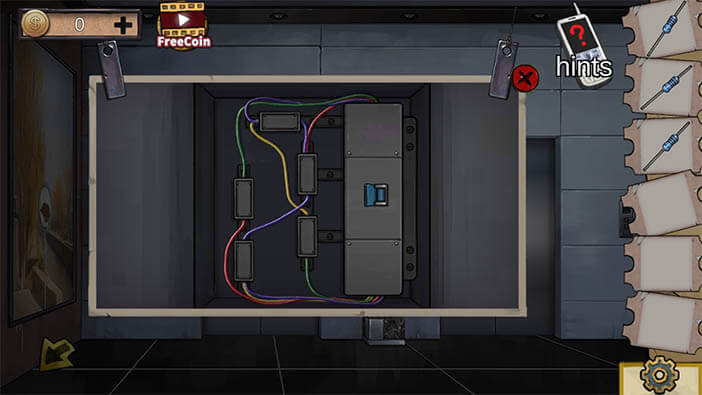
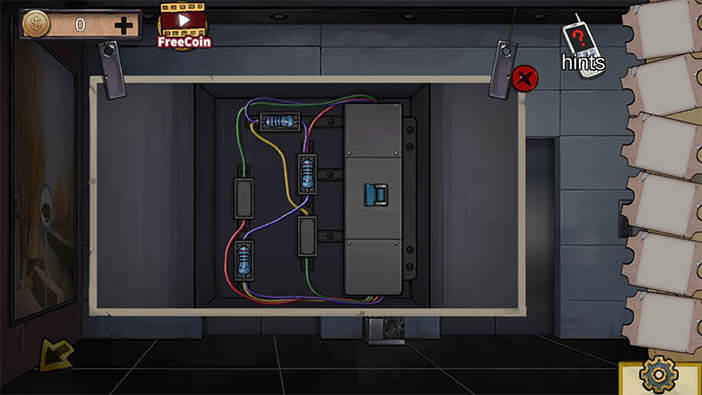
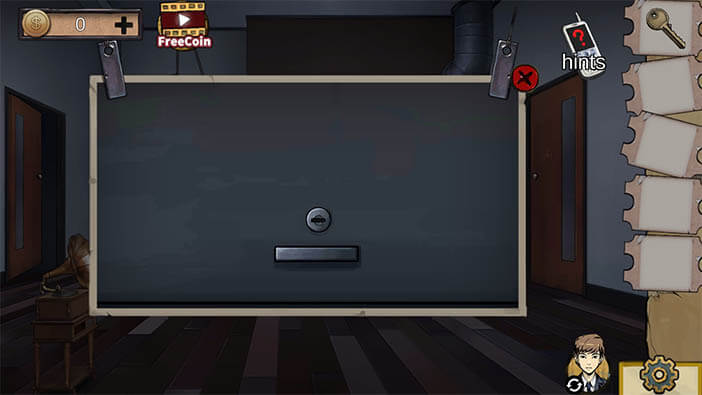
Zoom in on the elevator button and open it with the hex key, connect all the empty fields with resistors and flick the switch, this will return power to the buttons.

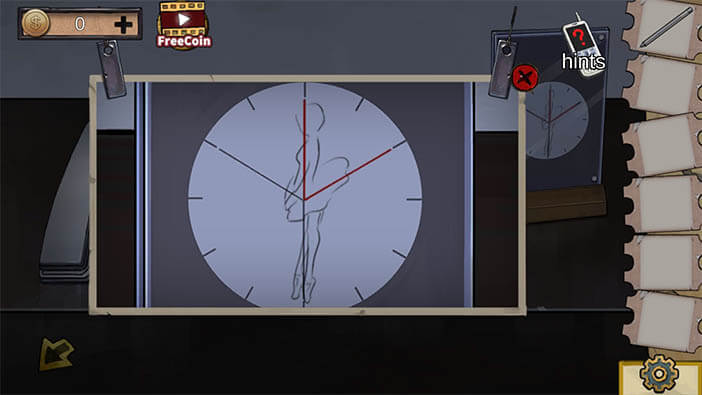
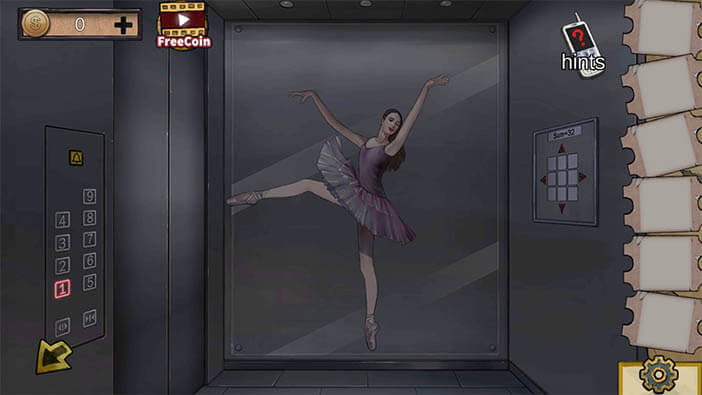
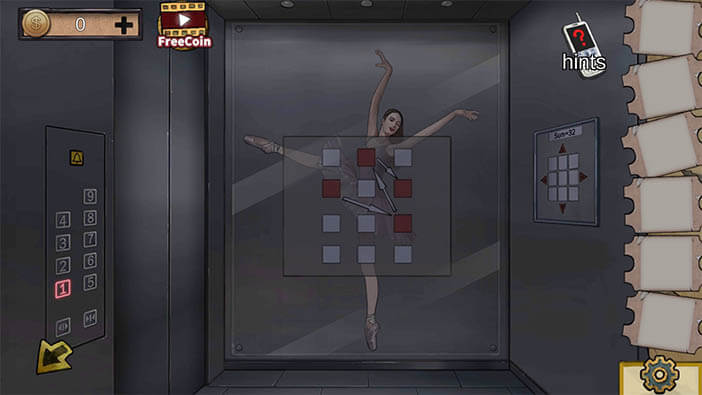
Call the elevator to come. Inside the elevator, there is a picture of a ballerina place her arms and legs according to the clock in the foyer. This will reveal a solution to a latter puzzle.
Go to the ninth floor and enter the room.
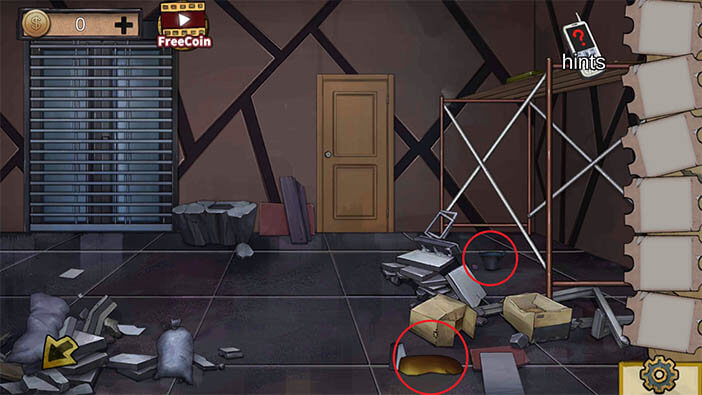
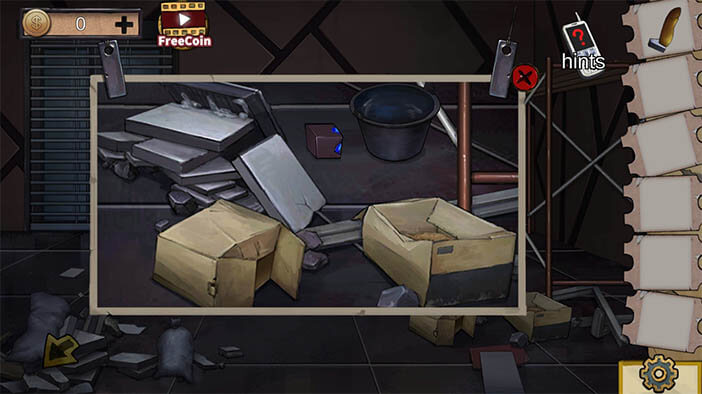
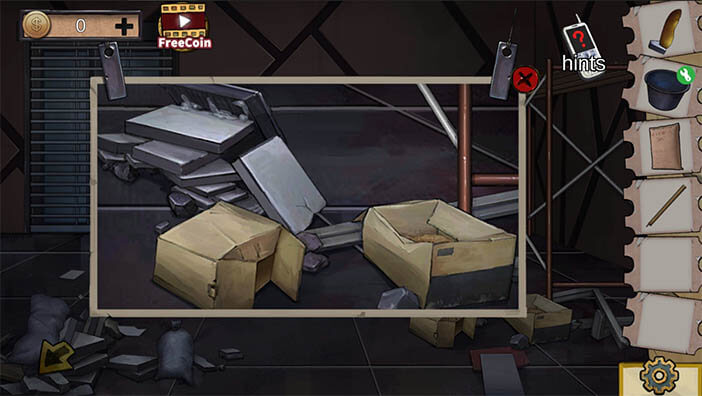
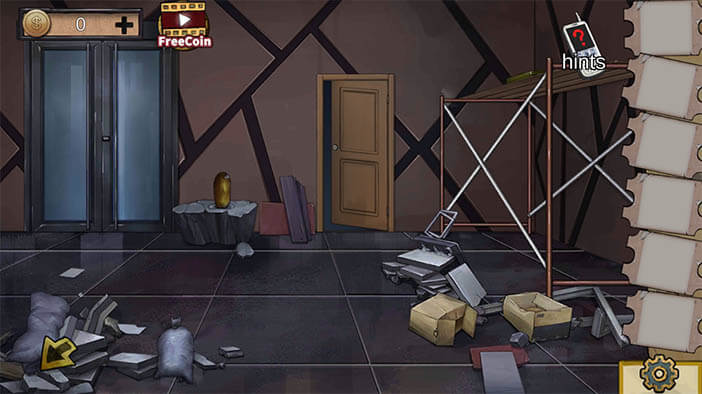
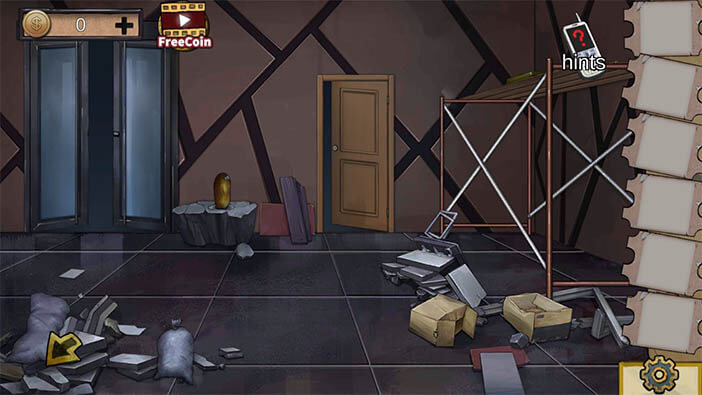
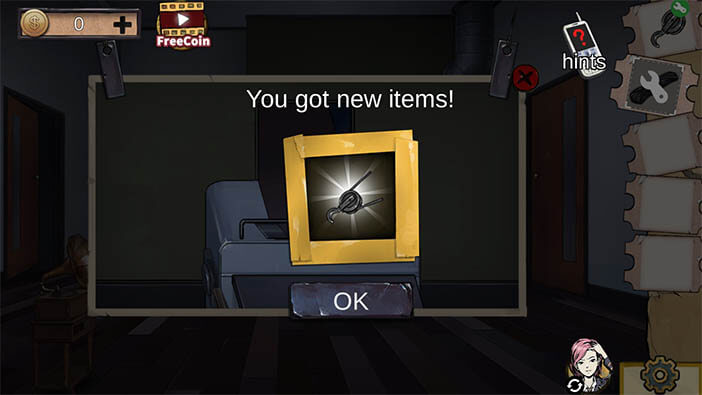
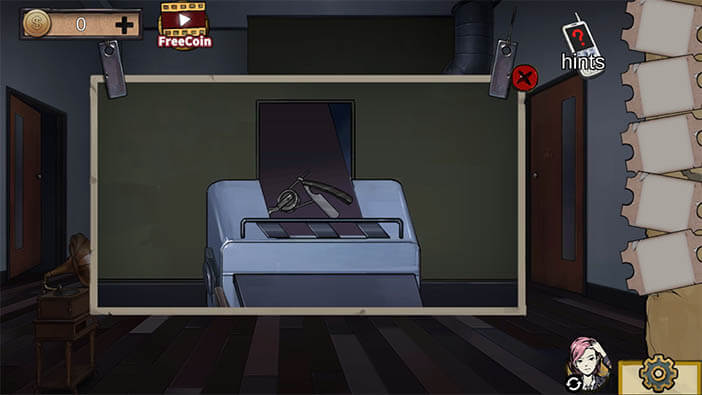
In this room take one half of a sculpture on the floor. Underneath the scaffolding pick up the plastic bucket along with the cube.
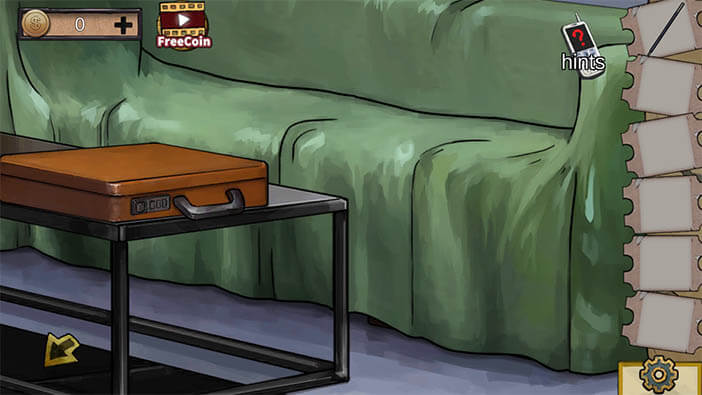
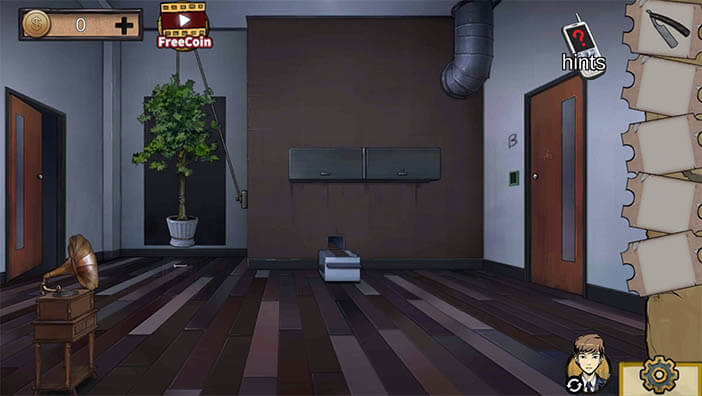
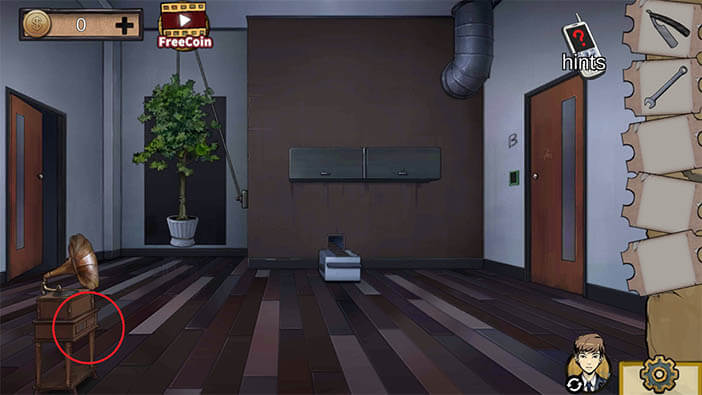
Go back to the first floor inside the lobby and place the cube on the box that is underneath the sofa, solve the puzzle, and take the battery that was inside.


Return with the battery to the ninth floor and tap on the green box that is located on the top of the scaffolding.
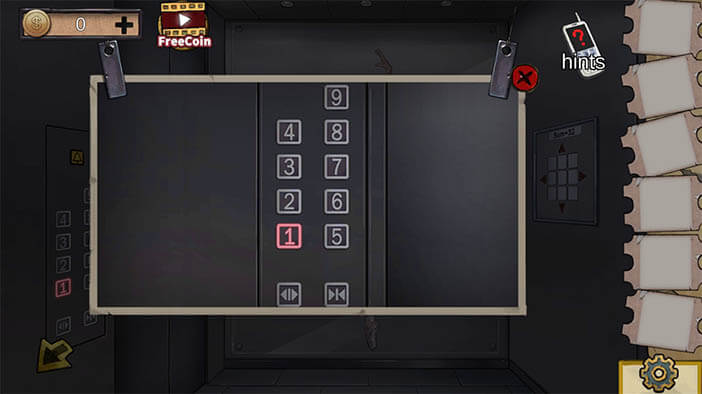
Insert the battery in the green box. The solution to this puzzle is drawn on the back of the elevator, and you need to add up the available numbers to 32.

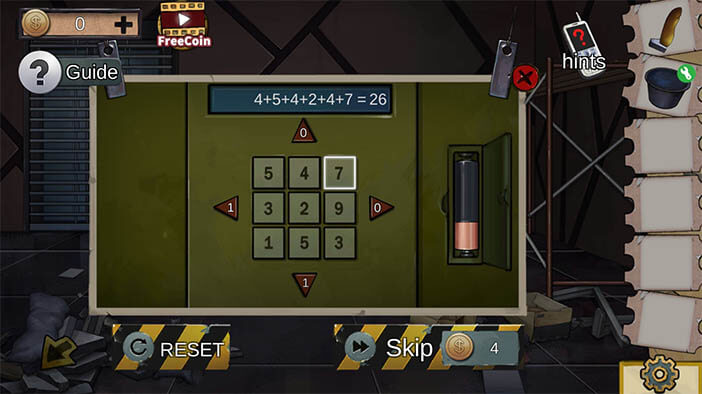

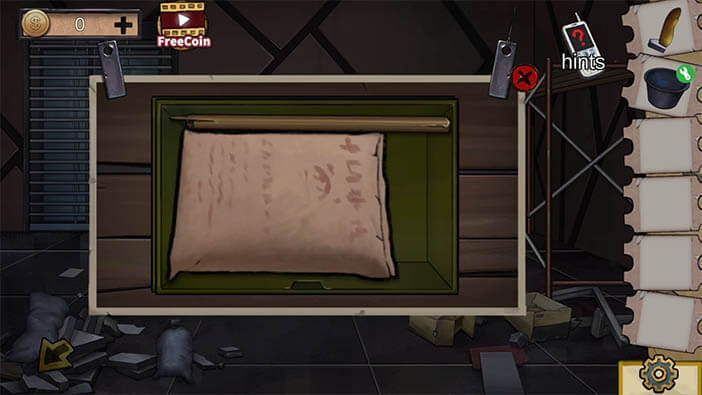
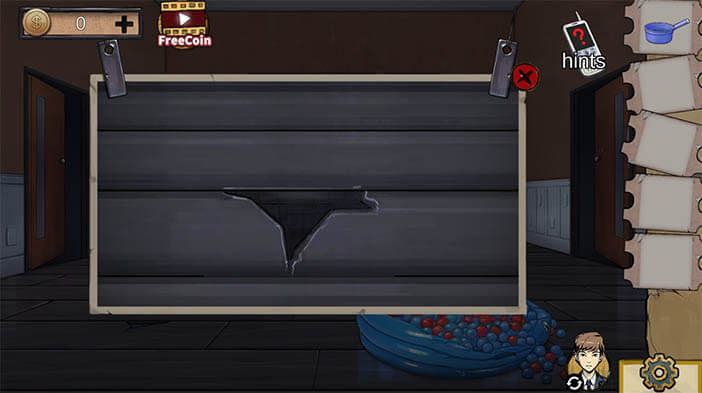
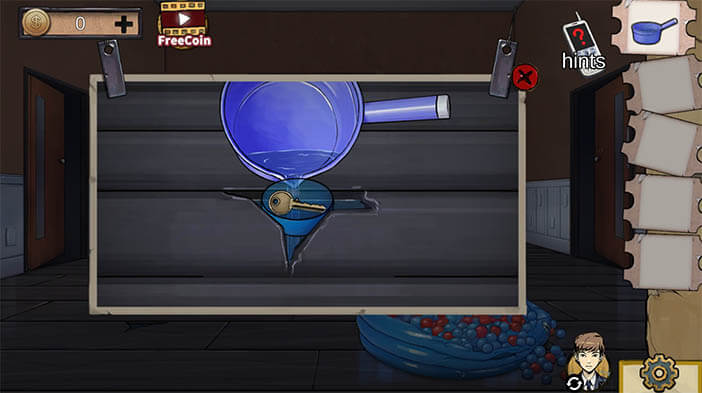
Once you finish the puzzle the box will open to reveal a sack of cement with a stick, take them both.
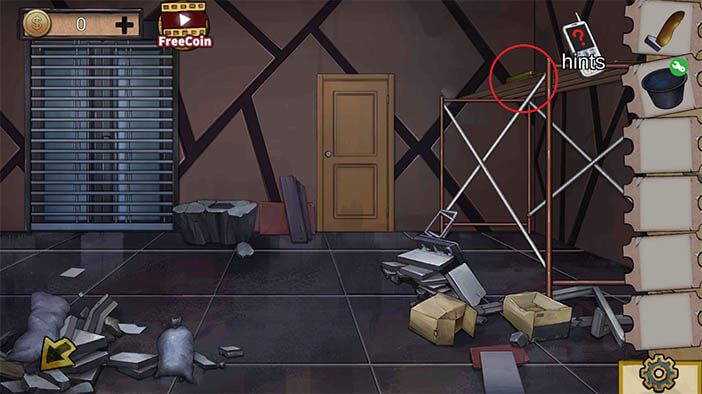
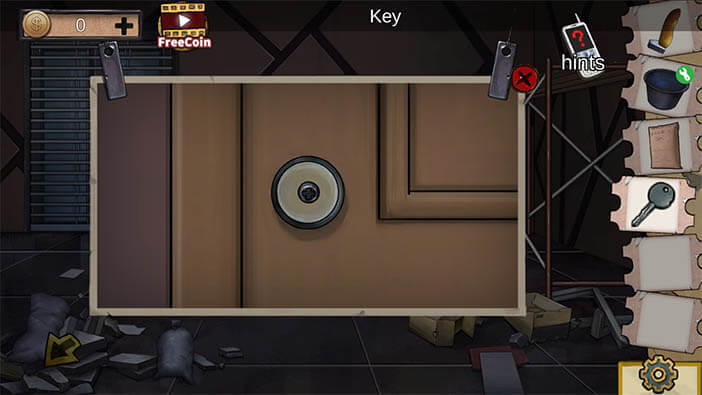
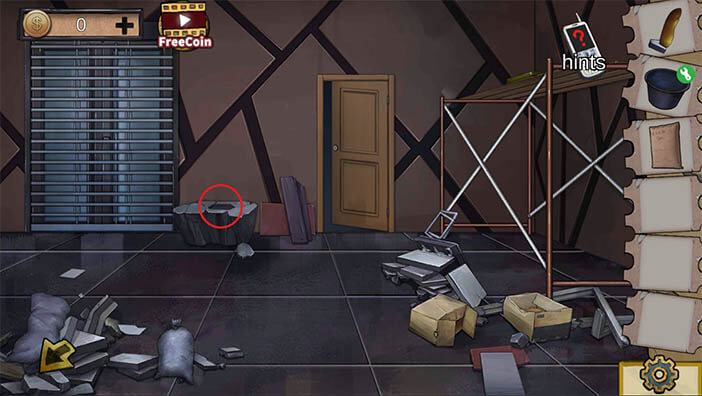
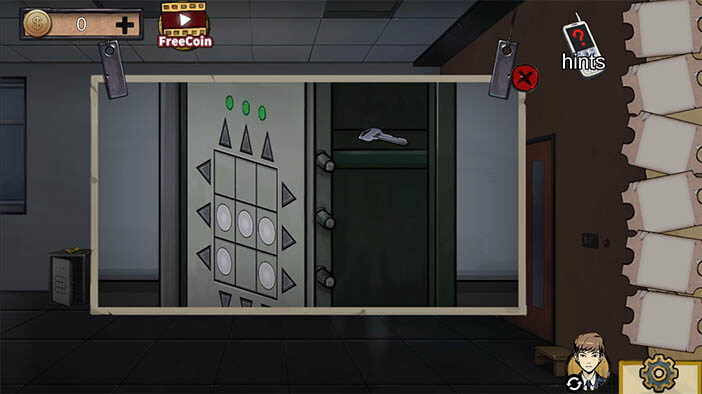
Use the stick to push out a key from the rubble on the floor.

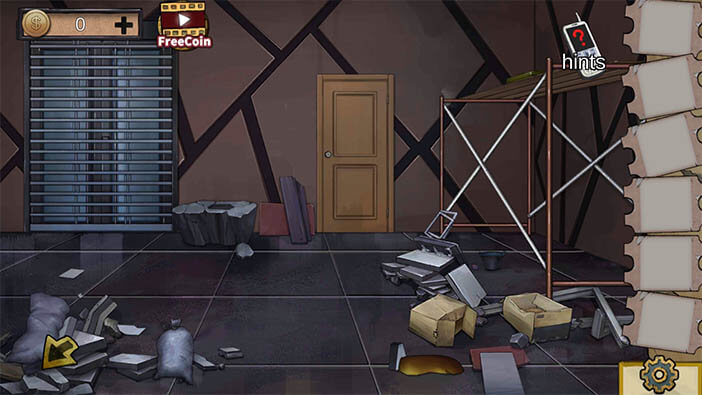
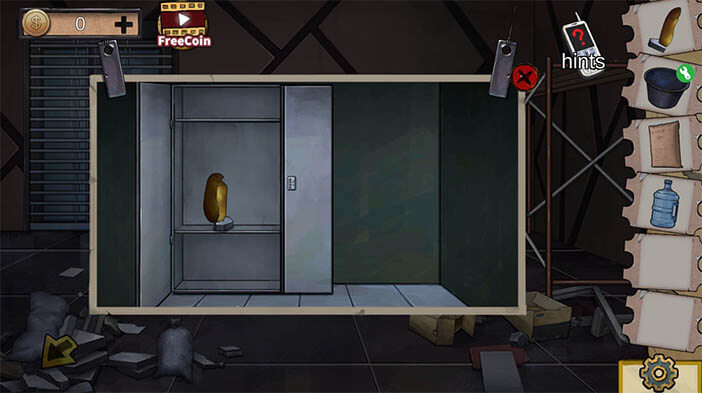
Use the key to open the door in the background.


Inside this room pick up the gallon water bottle.
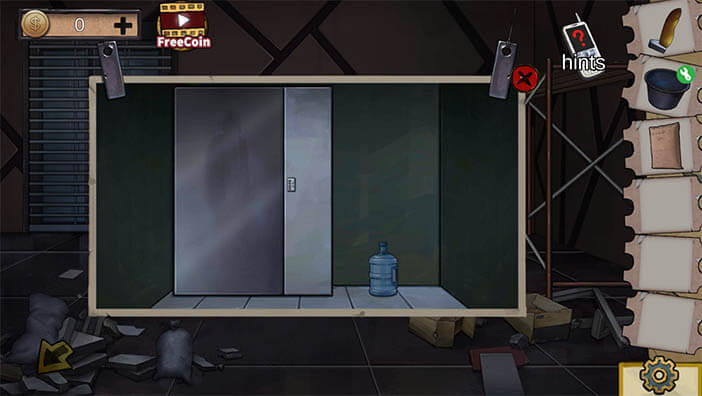
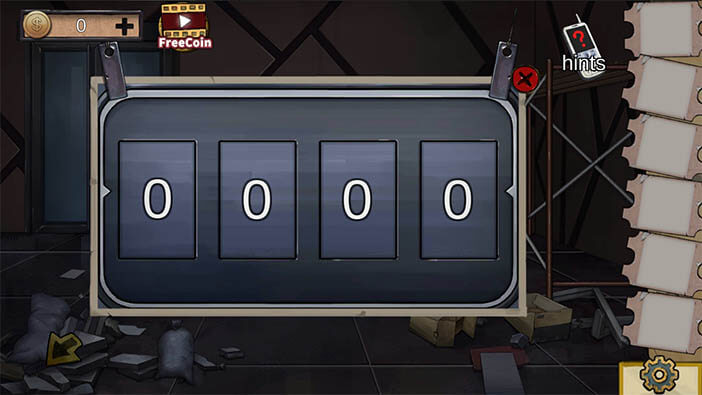
The password to the metal container in the back is located next to the elevator doors on the first floor written on white gravel.
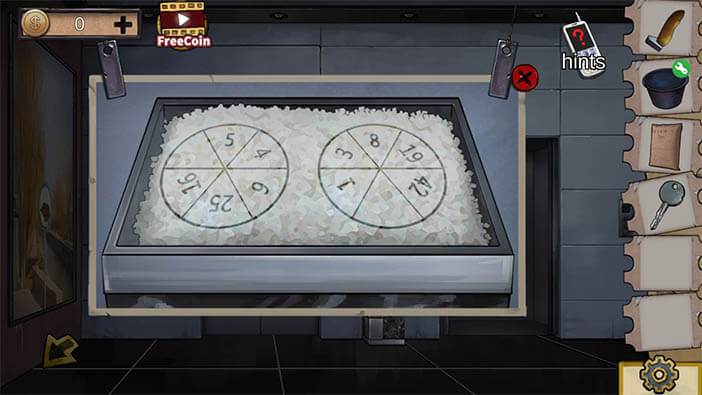

The solution is 3689. Inside the metal container, there is the second part of the sculpture.

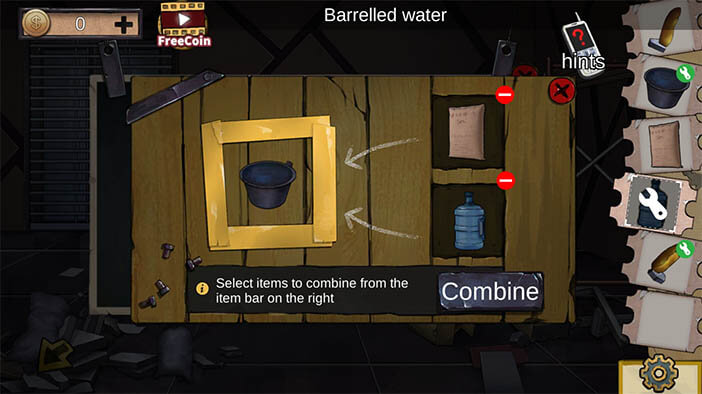
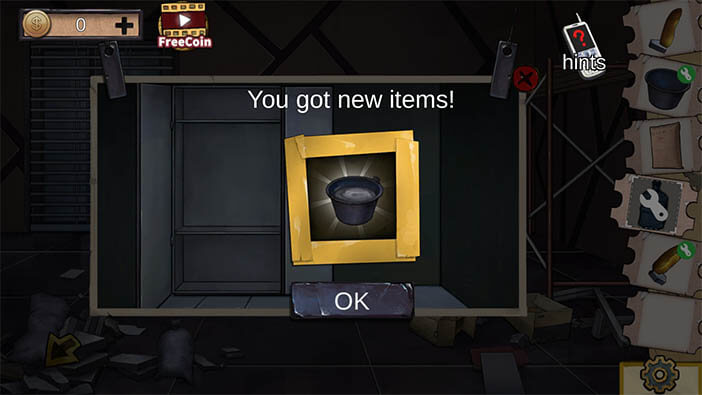
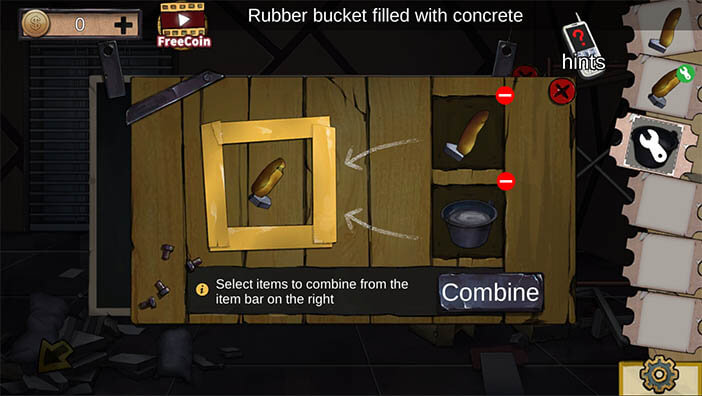
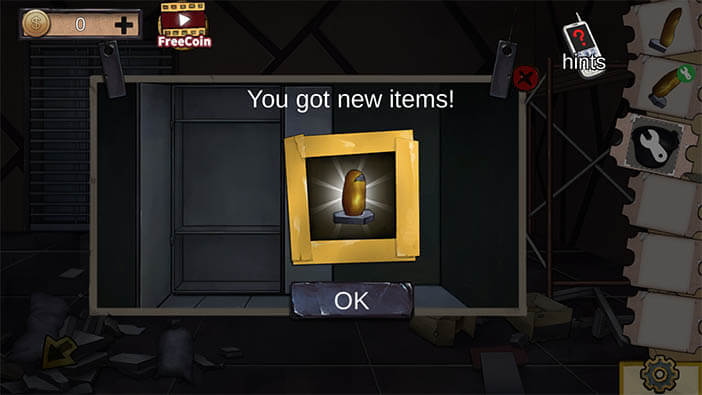
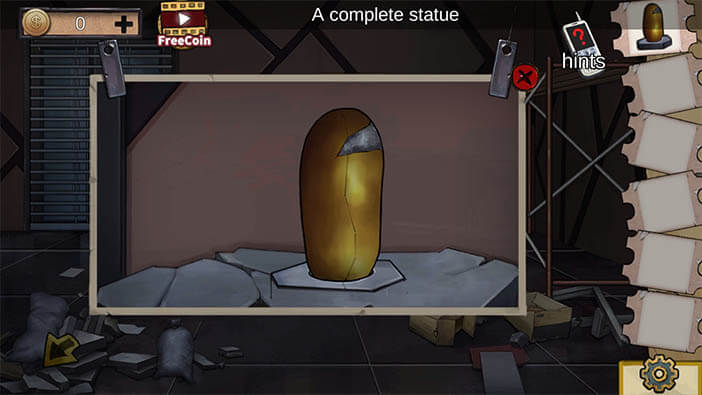
Combine the cement with water and combine two parts of the statue with cement.
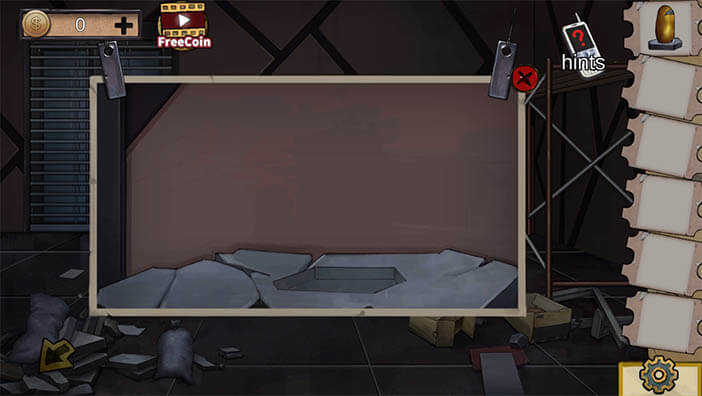
Place the statue in the polygonal hole, this will open the lattice on the doors to the left, to unlock it you will need a password number.
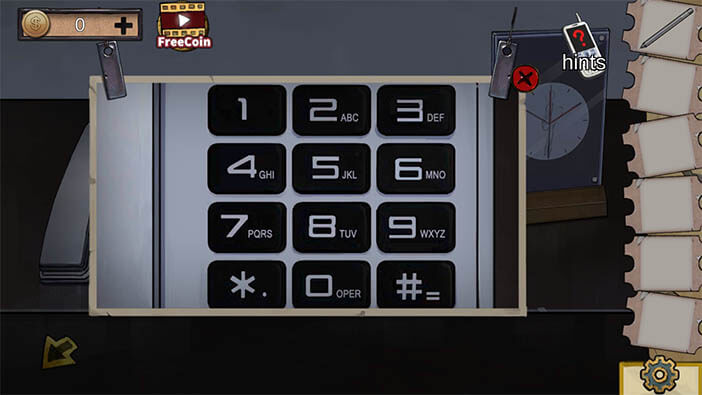
The number is located in the elevator referencing numbers on the landline phone back in the lobby. The solution to this puzzle is 4926.

This will open the doors to the next section and the second part of this Chapter.
In this Chapter, the police investigators will be separated again. In the first room you will play as Bowen, he will see on the glass barrier a solution to the puzzle on the Qiuyus side.
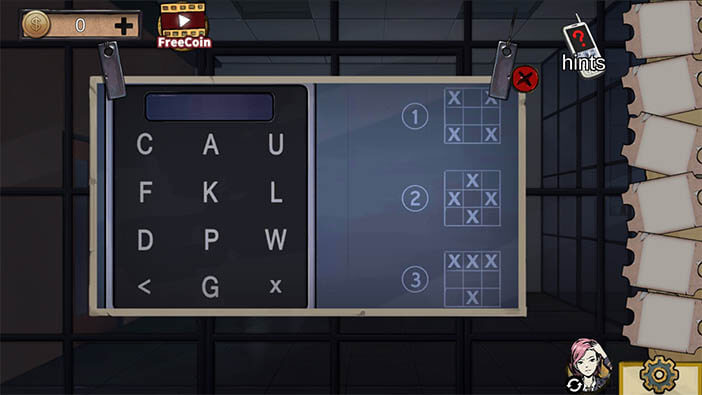
Go to Qiuyu and on the far left of this section zoom in on a box, the solution to the box puzzle is written on the glass where Bowen is located, or you can follow step by step below:
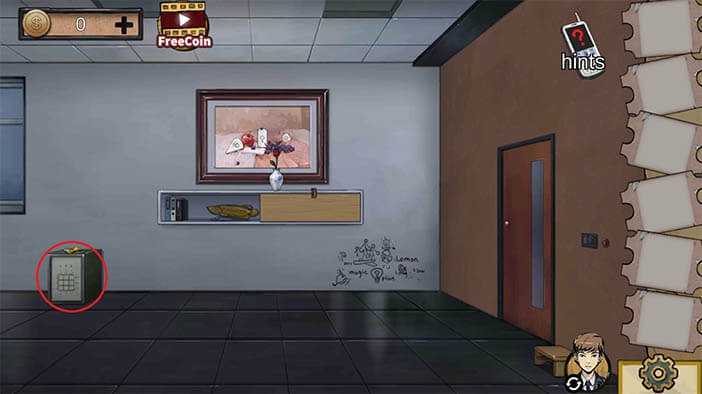


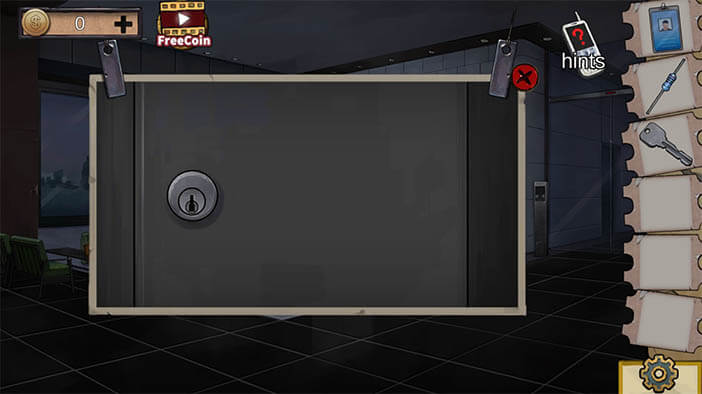
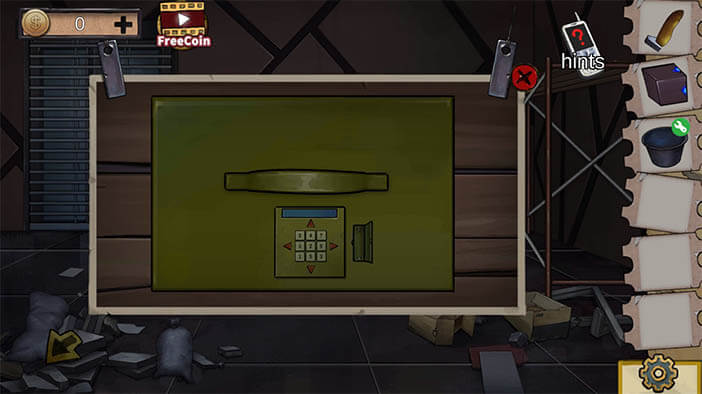
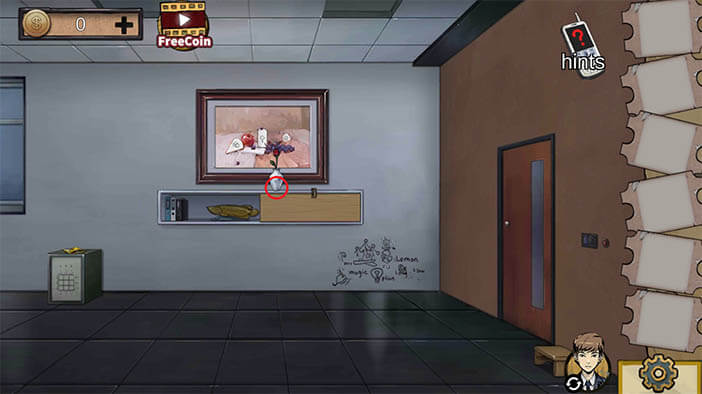
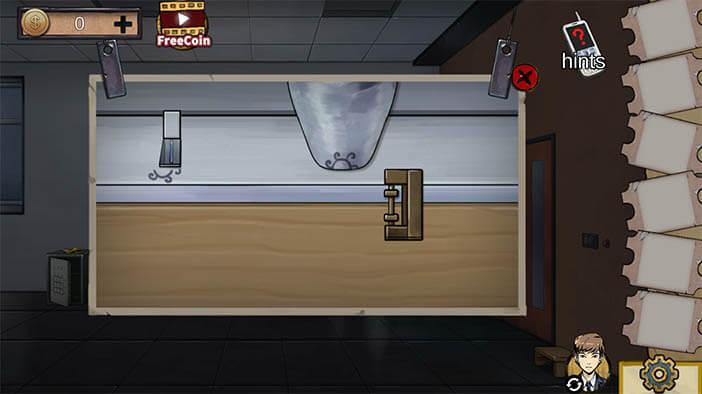
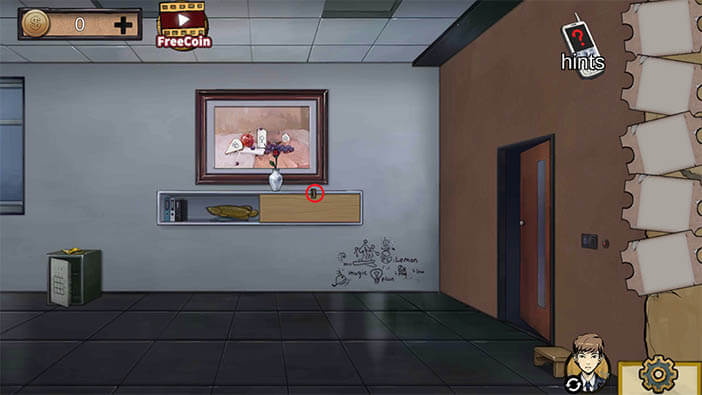
You will find a key inside the safe box. You can use it on the keyhole that is located underneath the vase. Inside this little hole, there is a plastic card.
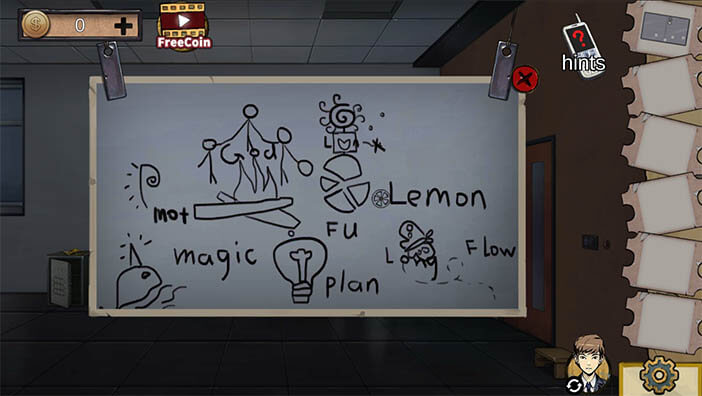
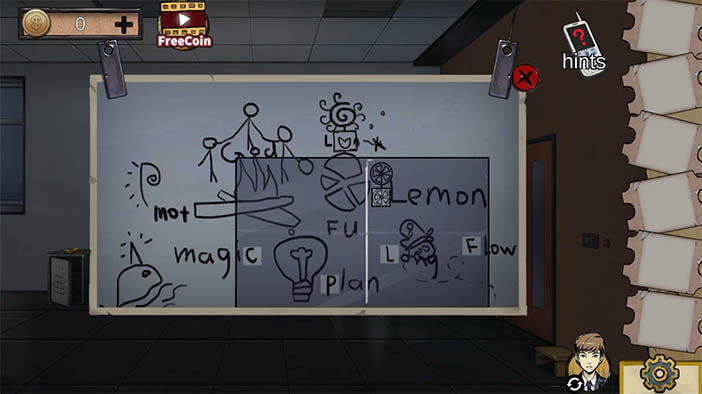
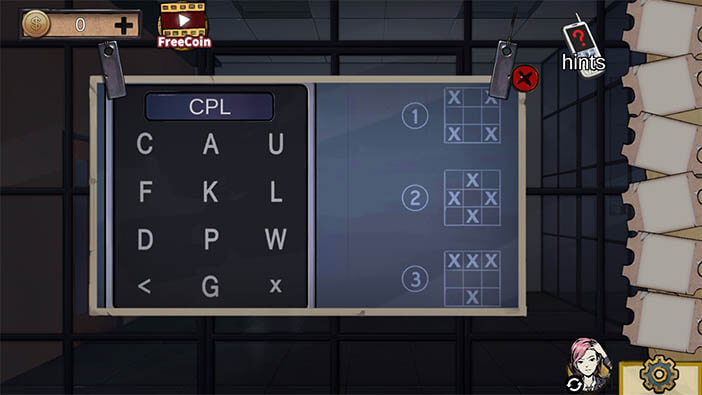
This card is used to get to the password that is hidden in the writing on the wall. Place the plastic card where the piece of a lemon from the wall will be inside the square field underneath the lemon on the card, all other letters will come into their designated spaces to reveal the password for the glass wall that is in front of Bowen. The password is CPLF.

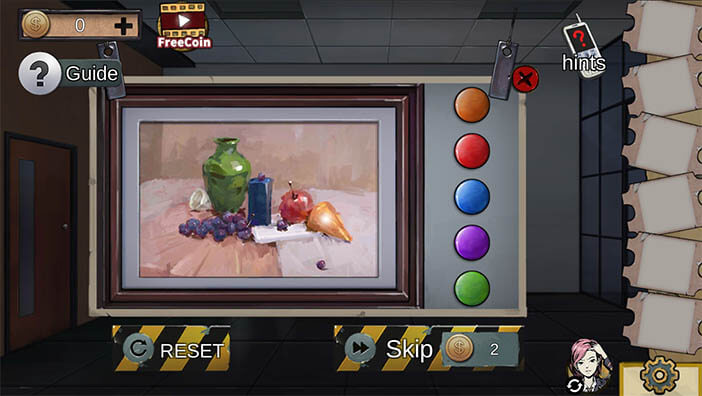
Once Bowen opens the glass wall the first obvious thing that he can approach is the picture right in front of him.
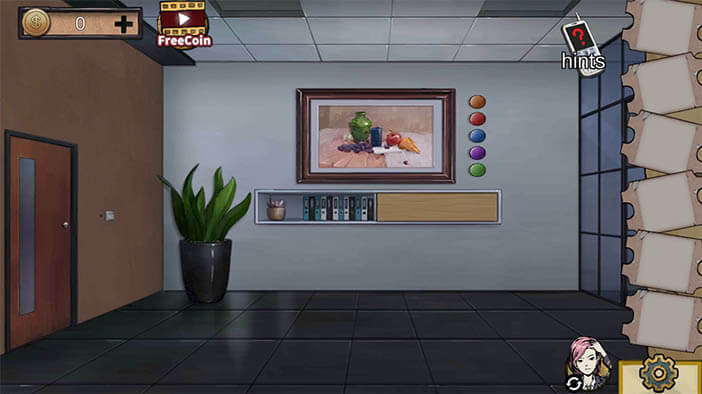
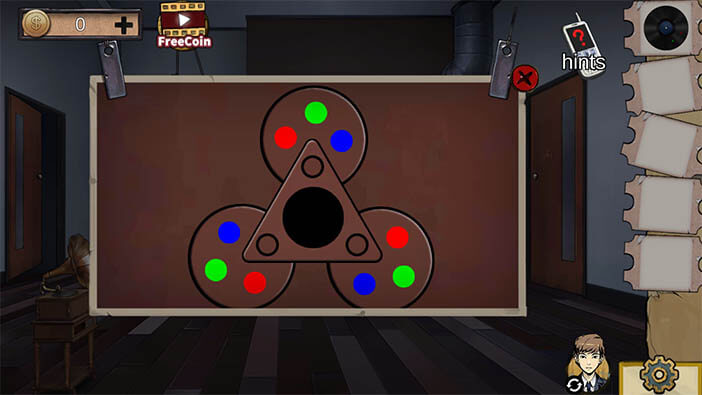
There is no direct solution to the picture puzzle since it’s random every time you approach it, so be mindful and tap on colors next to the picture once light shines on an object of that color. This will open a square hole at the center of the picture and give you a half of a hollow key.
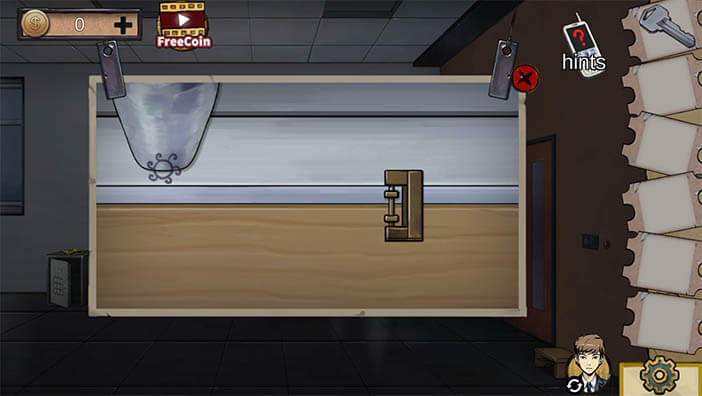
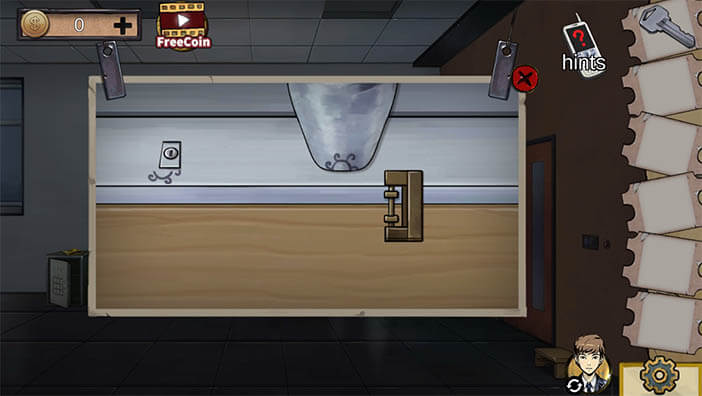
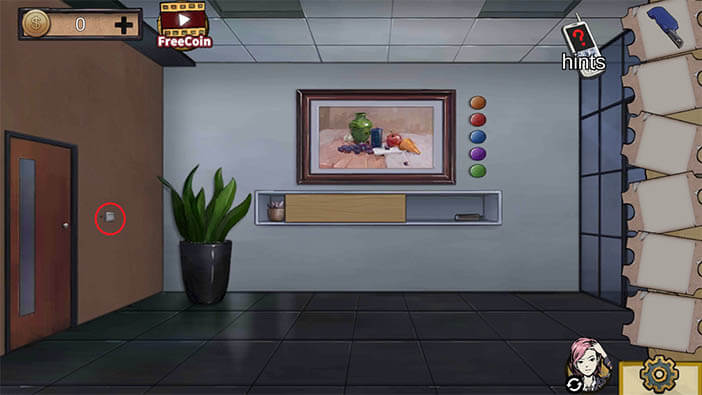
Right underneath the picture tap on the wooden panel and slide it to the left, take the lever that is on the inside.
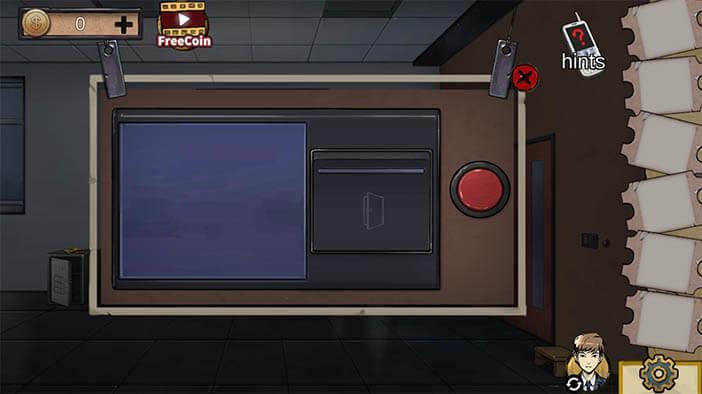
As Qiuyu zoom in on the far right side to the electronic door lock that is located next to the door and tap on the red button this will open the doors to Bowen.


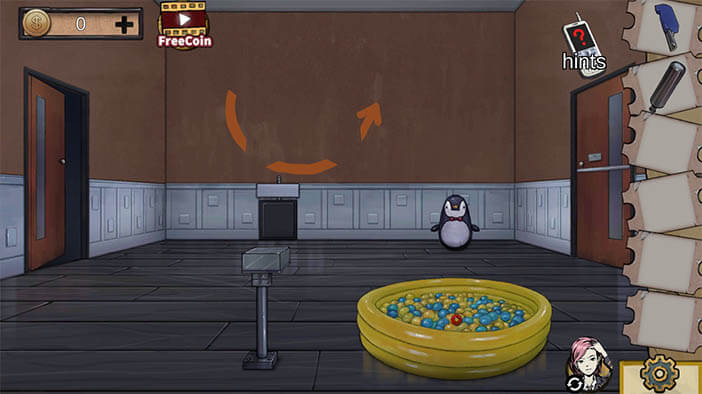
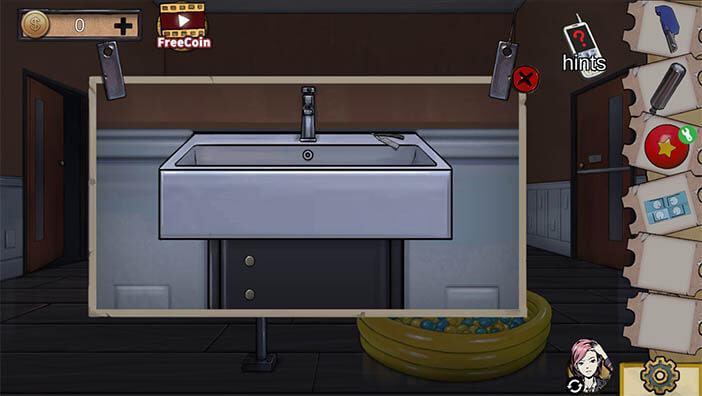
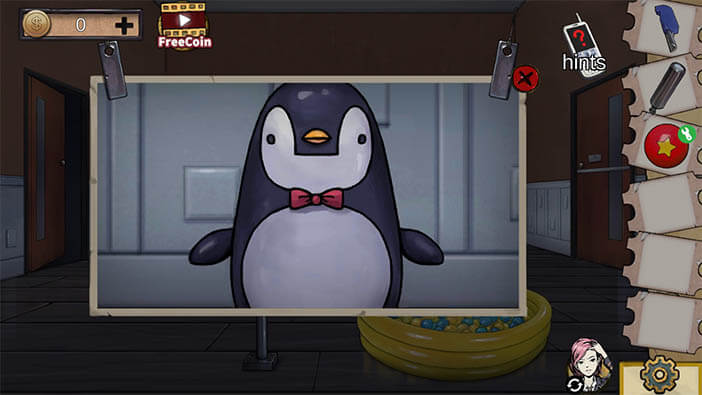
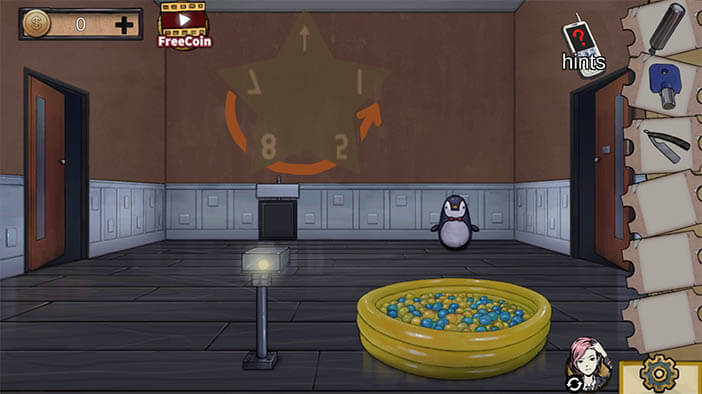
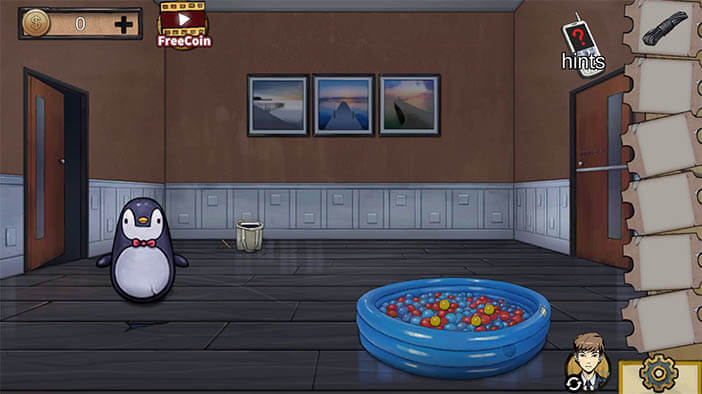
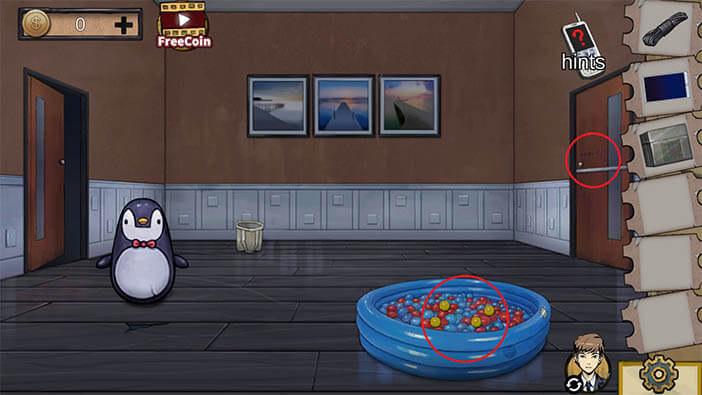
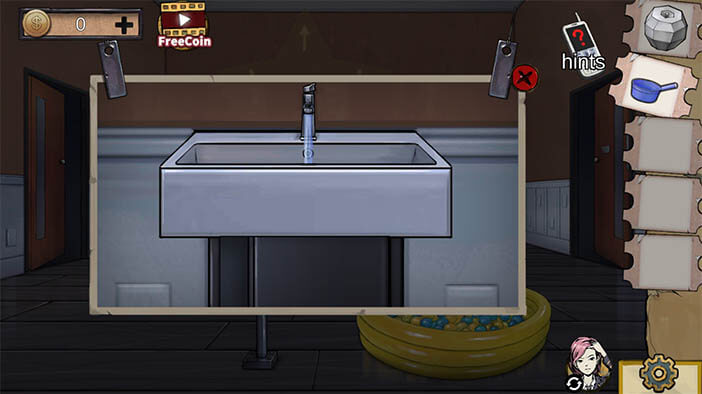
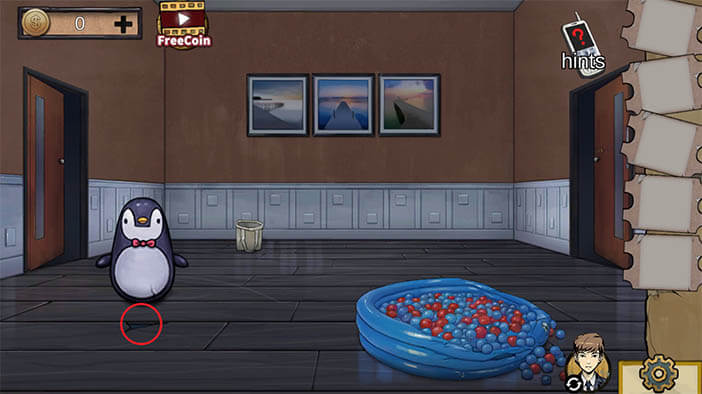
As Bowen go inside the next room and take the razor blade from the sink. Next to the sink, there is a penguin, tap on its beak and take the piece of paper that is revealed.

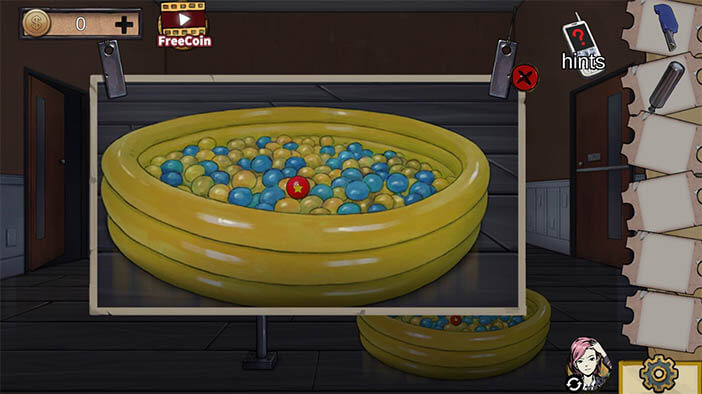
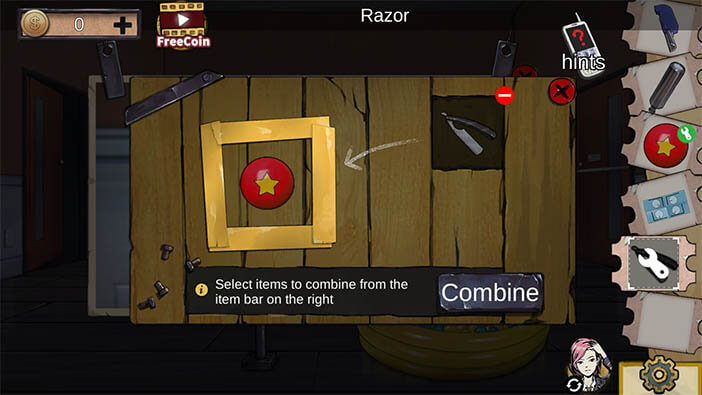
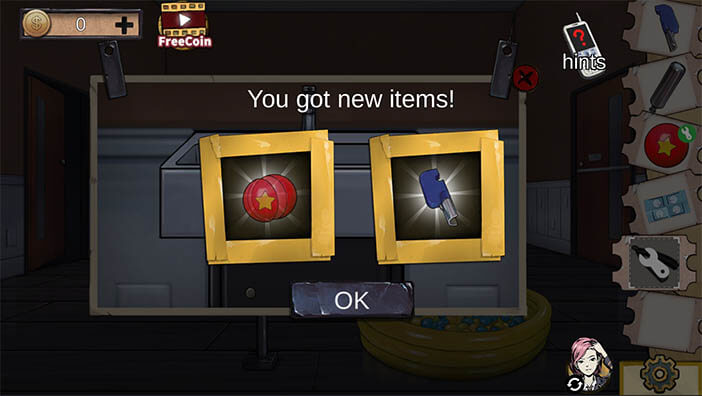
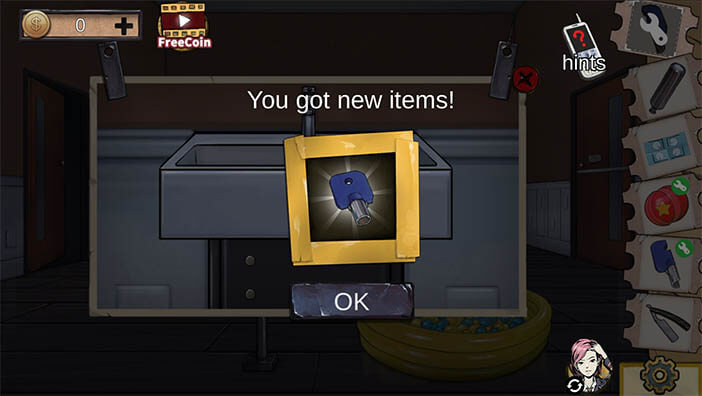
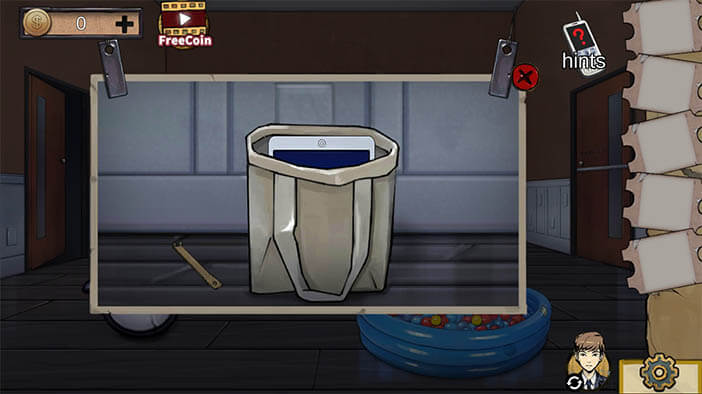
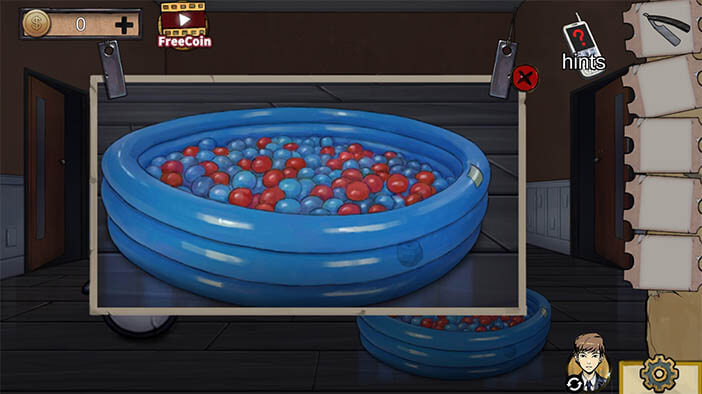
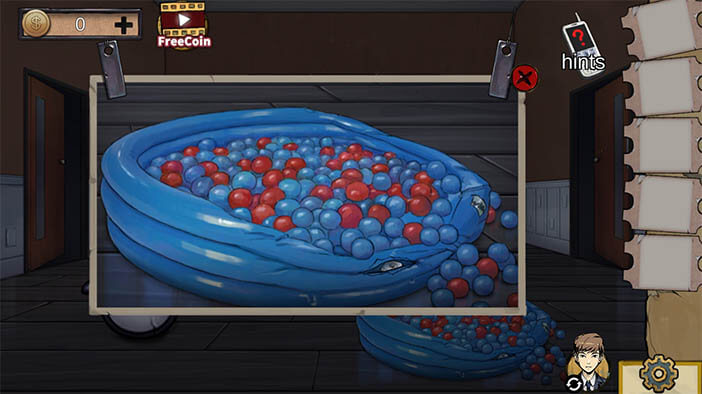
Take the ball with a star from the small pool, cut it in half with the razor blade, and take the second part of the hollow key. Combine the two parts of the hollow key and cut out the star from the remaining piece of the ball.

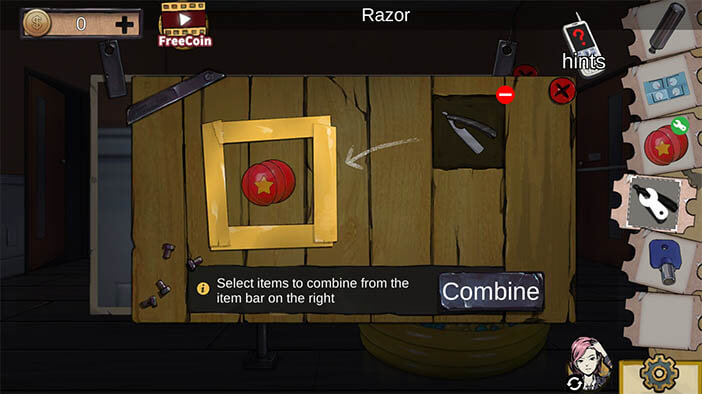
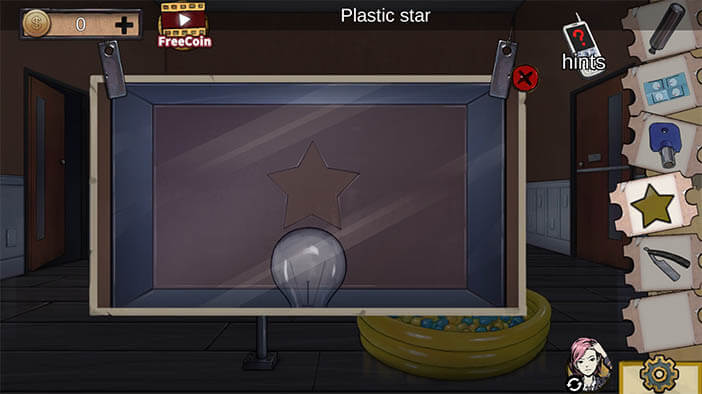
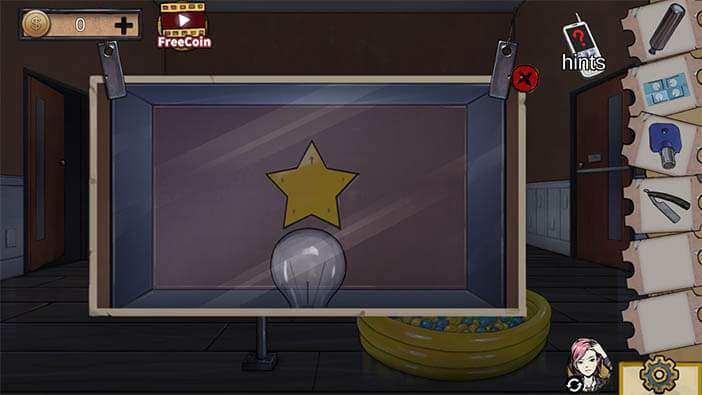
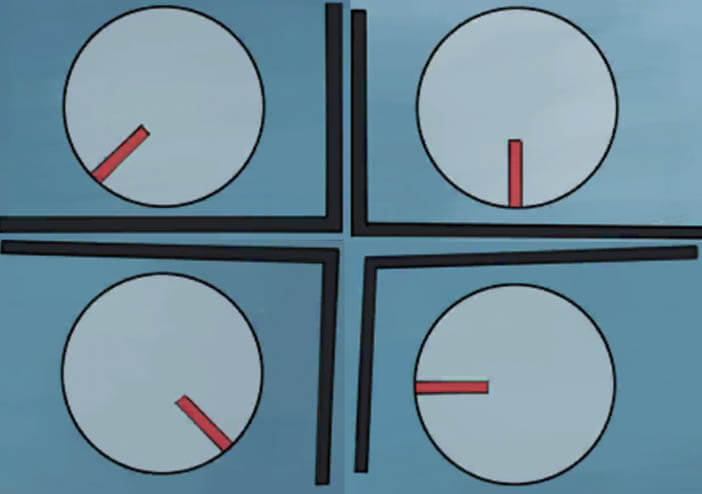
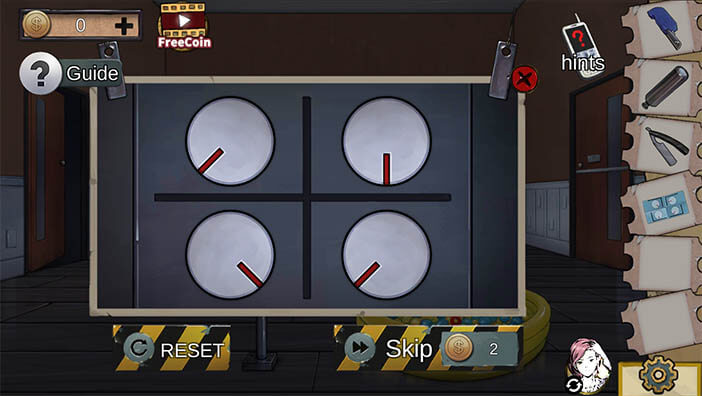
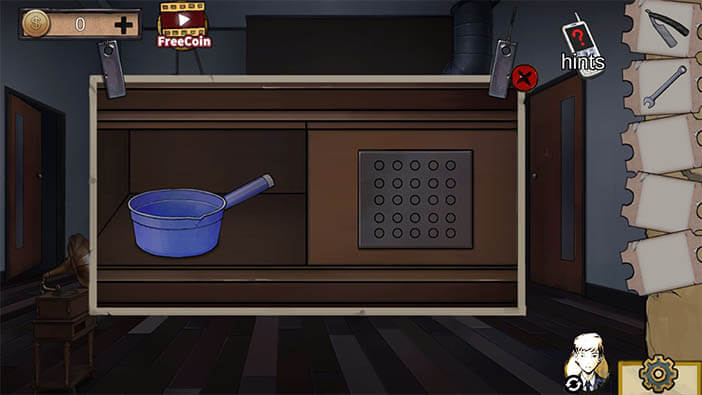
To the left of the inflatable pool, there is a platform with a glass box, put the yellow star inside the glass box, and tap underneath to solve the dial puzzle. Use the paper that you took from the penguin to solve the dial puzzle, this will turn on the lights and shine the star on the wall giving you the number combination that you need to open the second doors.
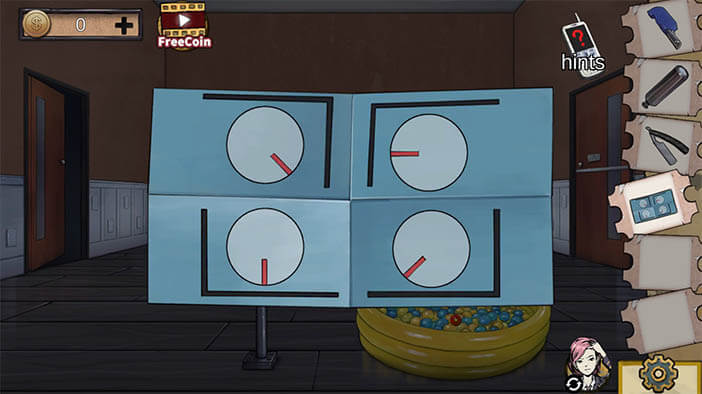
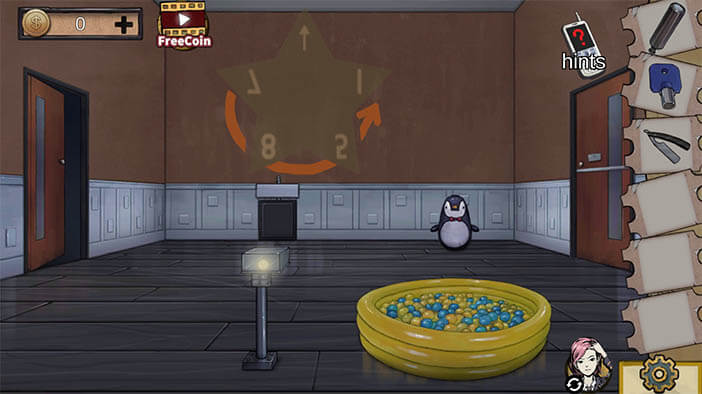
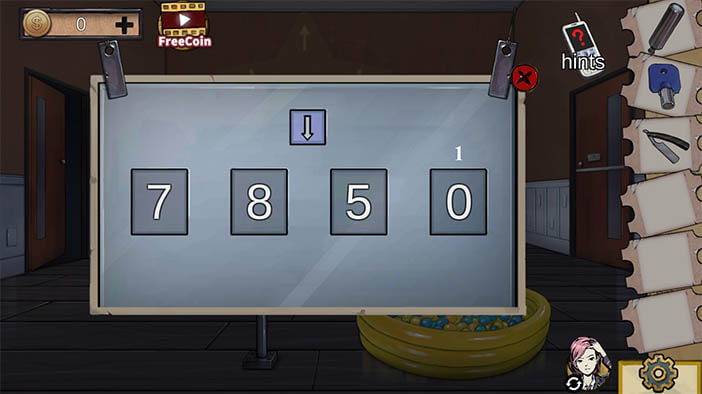
The number combination is 7851.
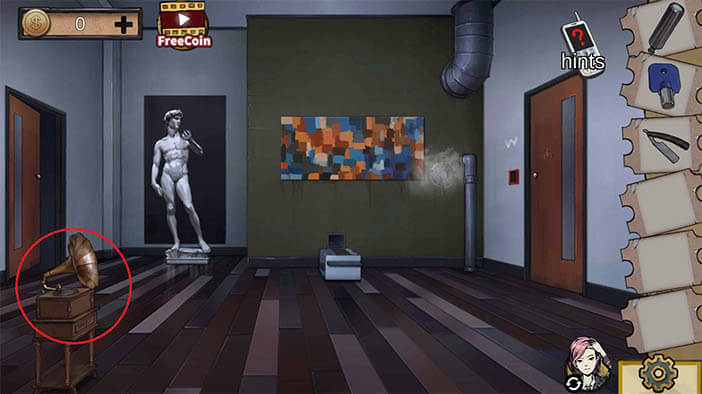
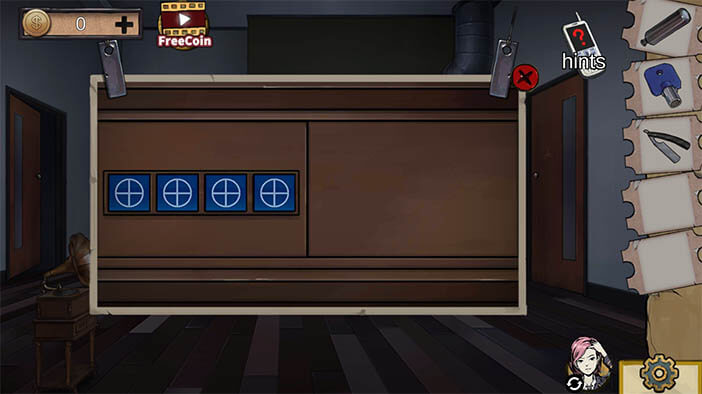
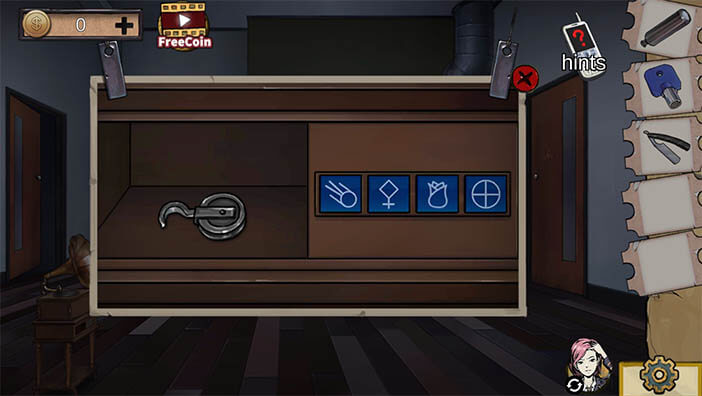
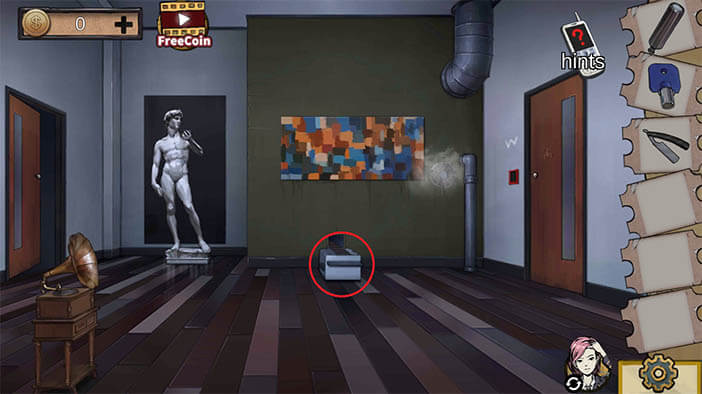
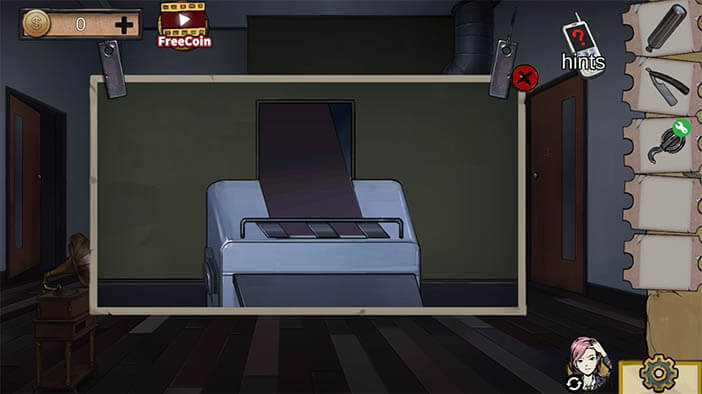
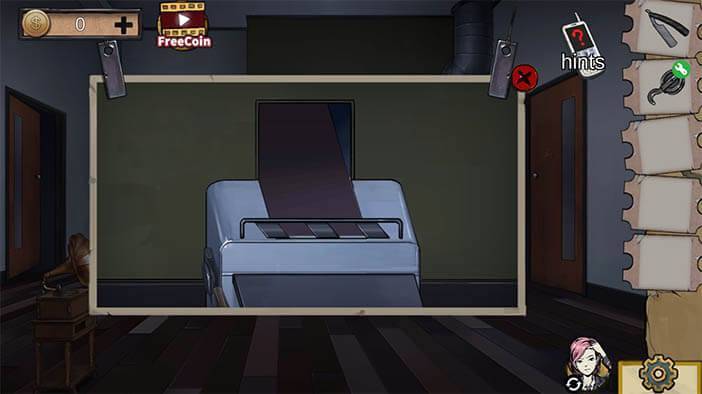
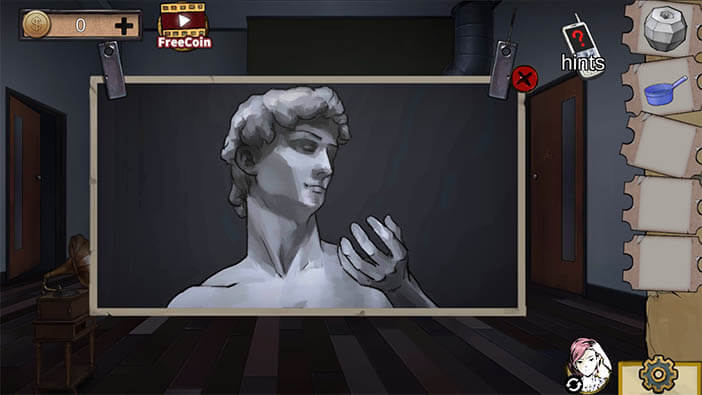
Inside the Michelangelo’s David section go to the gramophone cupboard and solve the puzzle on it, the solution is drawn on the picture of the first room that Qiuyu is located. The solution is the meteor, a female symbol, a flower, and a cross inside a circle. Take the pulley. The last thing that you can do in this room, for now, is put a lever on the conveyor belt that is located on the floor underneath the picture.
Now go back to the first Bowens section and place the hollow key next to the switch on the wall and tap on the switch, this will activate the lock on the Qiuyus side.


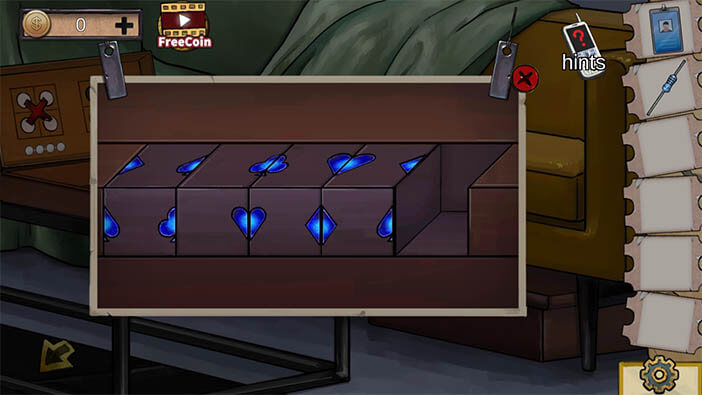
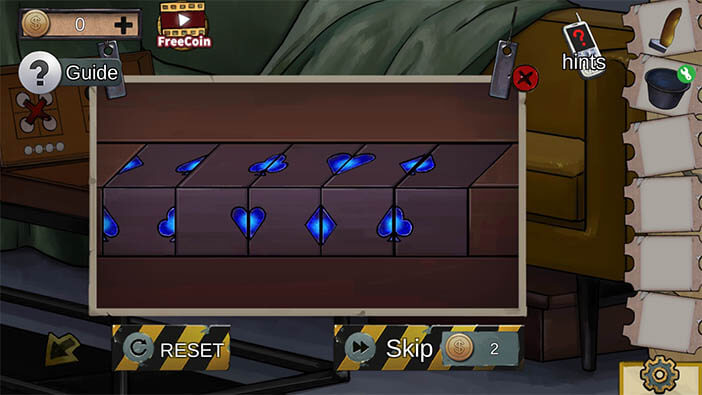
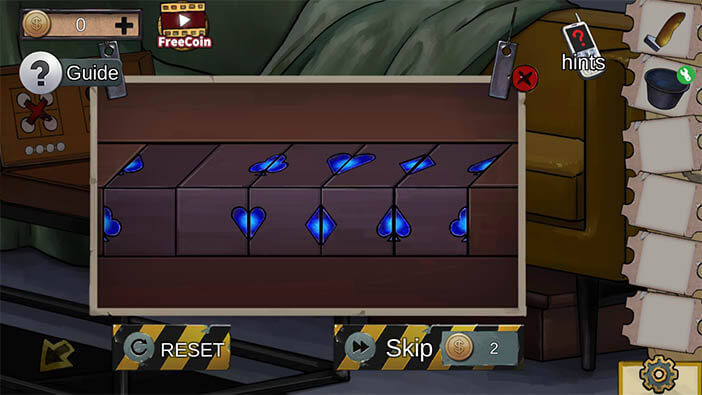
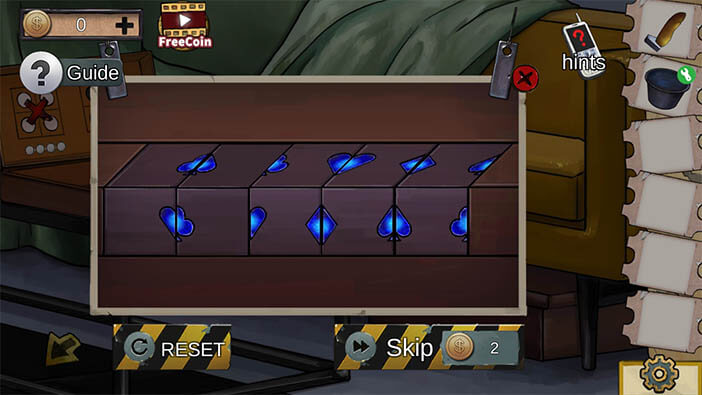
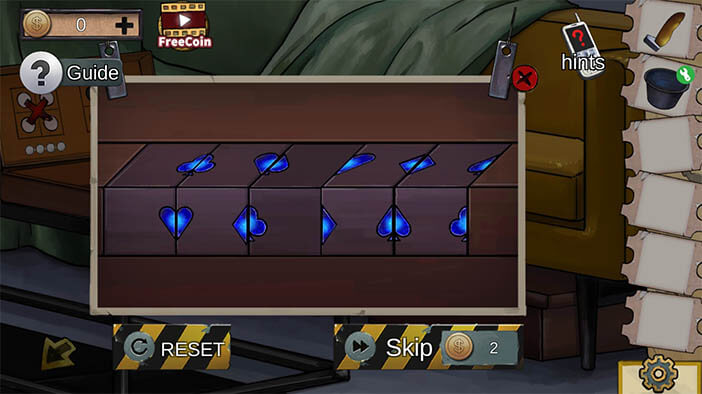
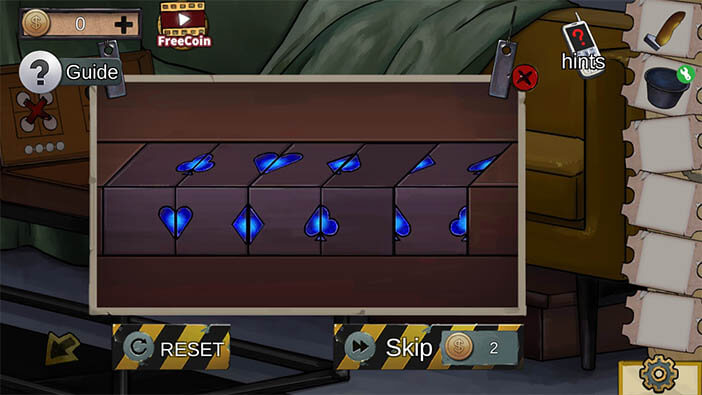
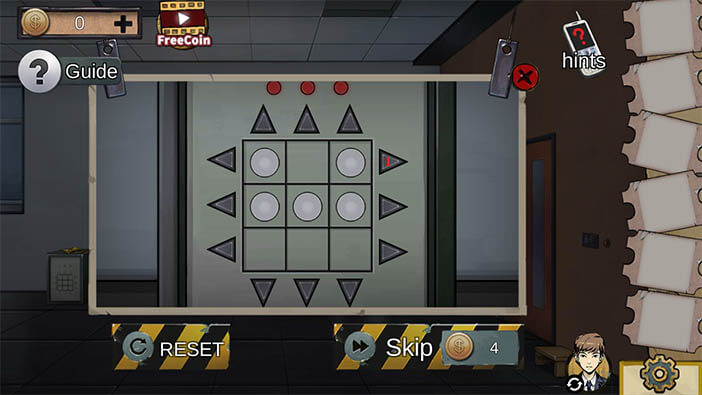
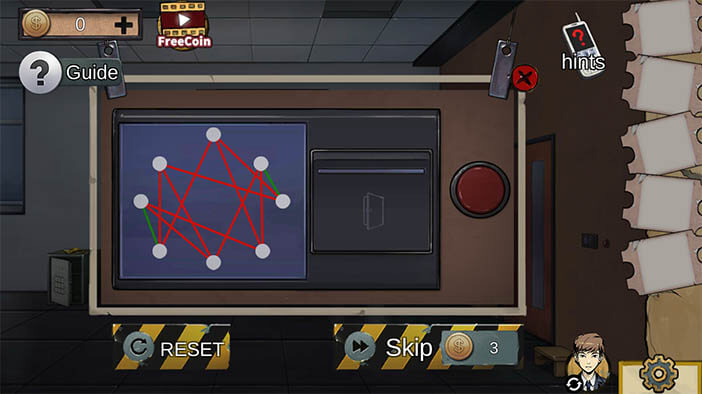
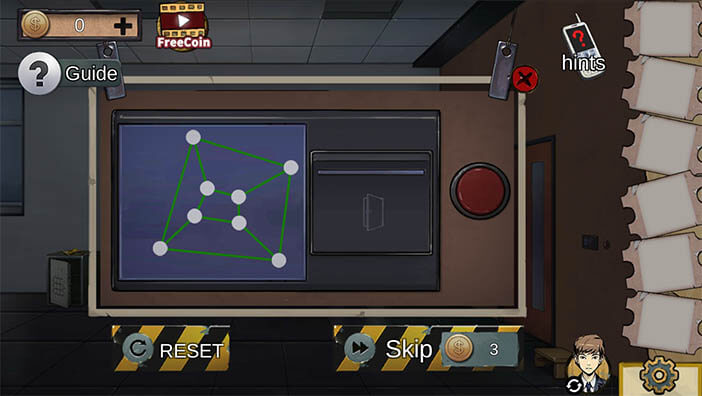
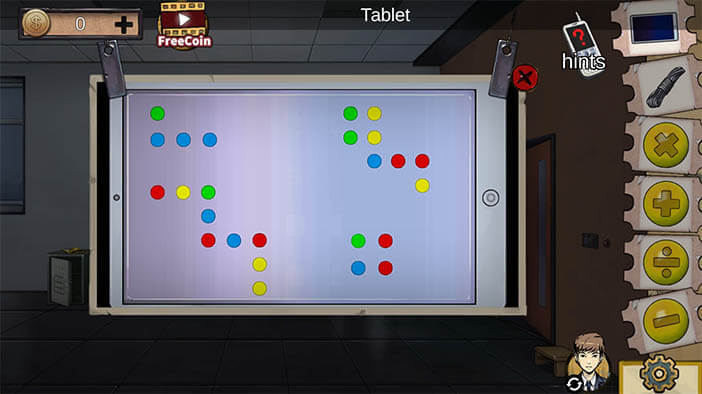
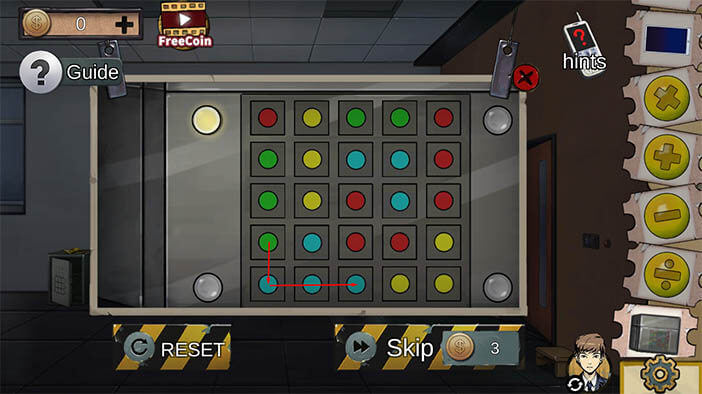
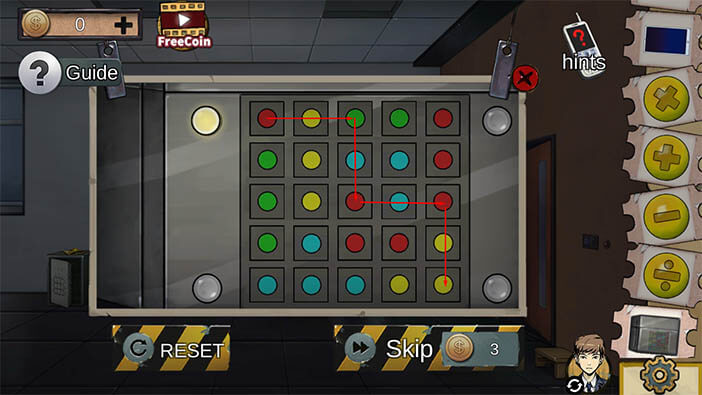
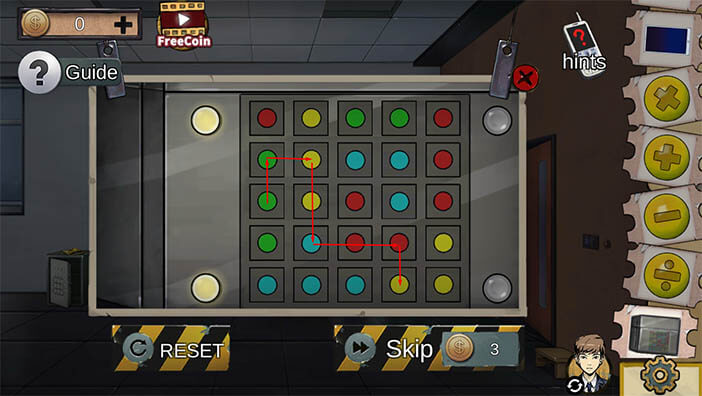
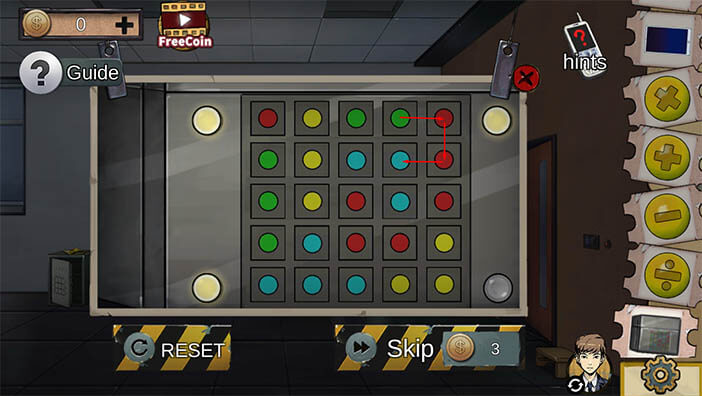
The point of this digital string puzzle is to have none of the connections intertwine between dots. They only need to be cleanly connected.
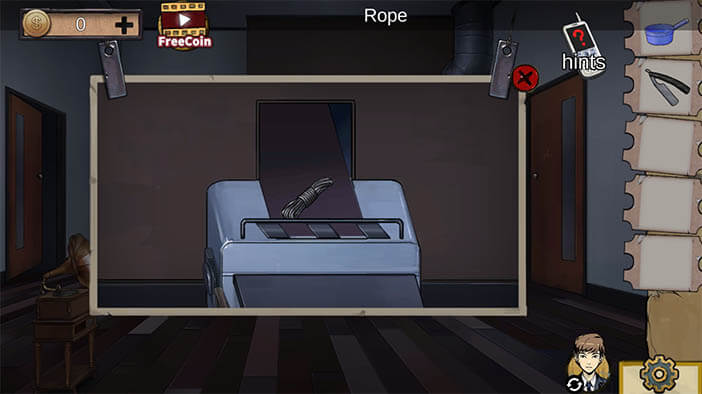
In the next section for Qiuyu, you can take off a rope from the penguin and push him back to reveal a hole in the floor.


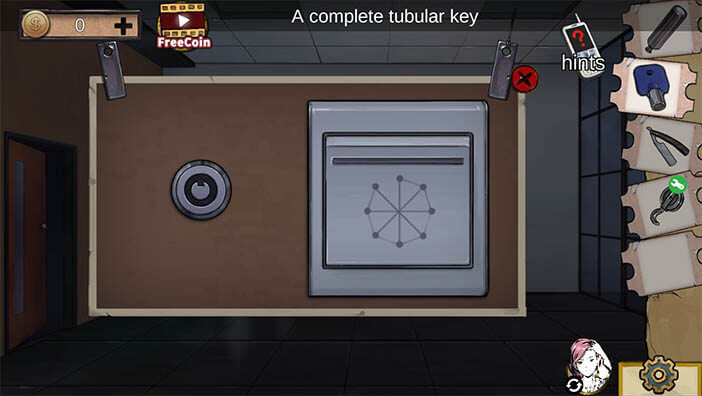
Close to the wall underneath pictures, there is a Chinese key and next to it there is a sack containing a tablet.
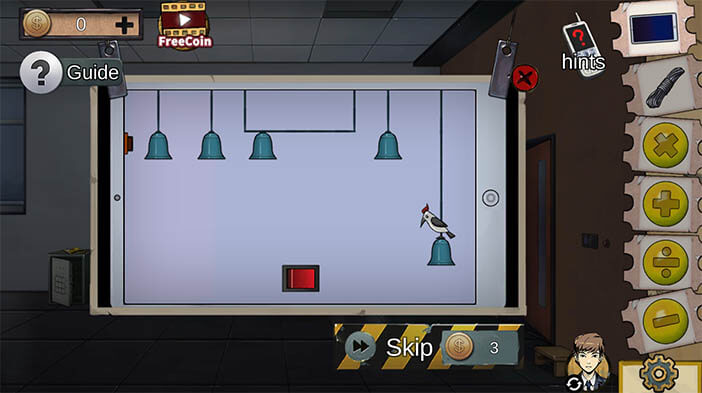
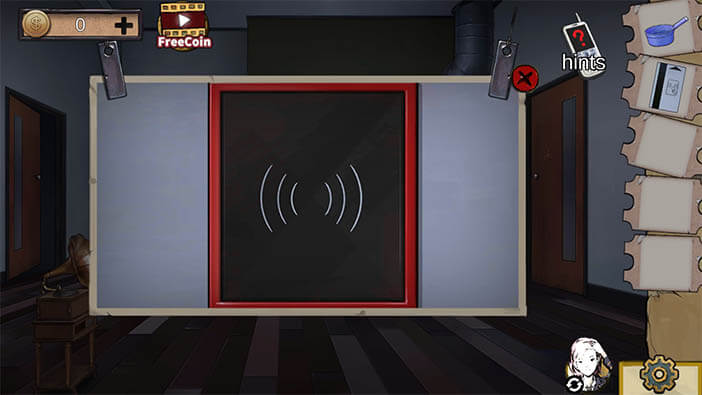
Inside the tablet there is a bell puzzle, timing is essential for this puzzle. Slide the horizontal moving bell to the right. When the bird starts climbing up half a second later, press the red button once the sound wave transfers to the first bell and almost immediately move the third horizontally moving bell to the left. When the last bell chimes the puzzle will be solved revealing a solution to a puzzle box that is hidden behind the wooden slide doors of the first section.
Now go to the first section and unlock that wooden slide door with the Chinese key that you just found. Take out the Iron Box and solve the puzzle just like it’s displayed on the tablet.
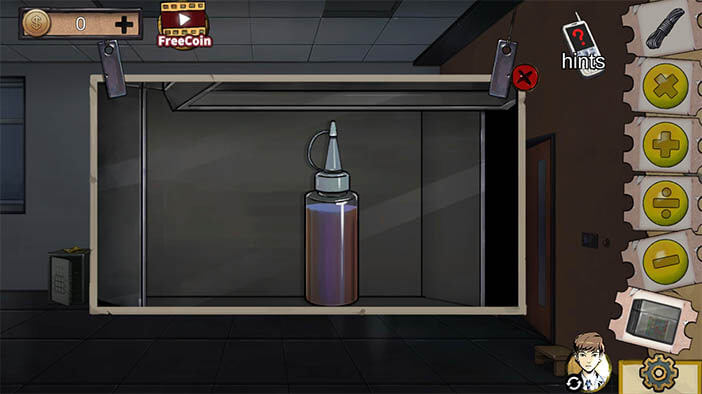
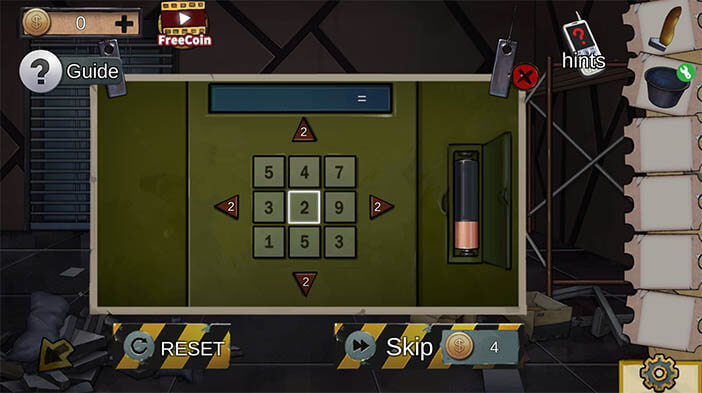
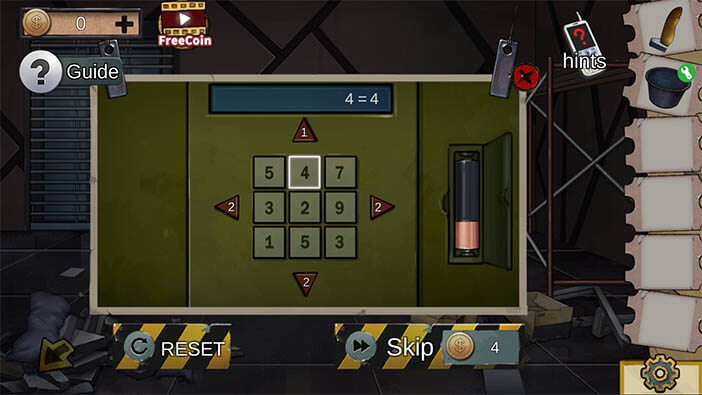
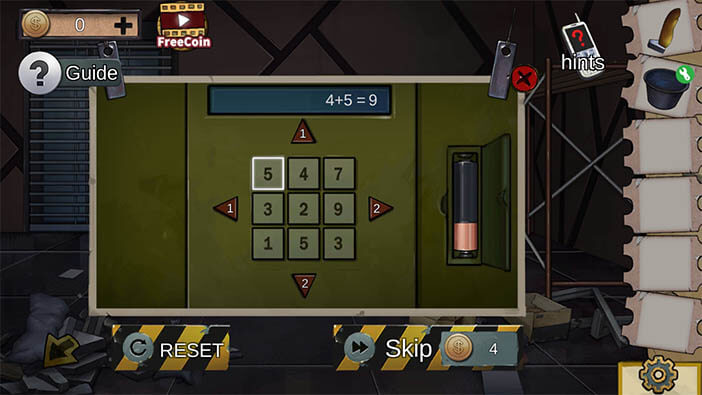
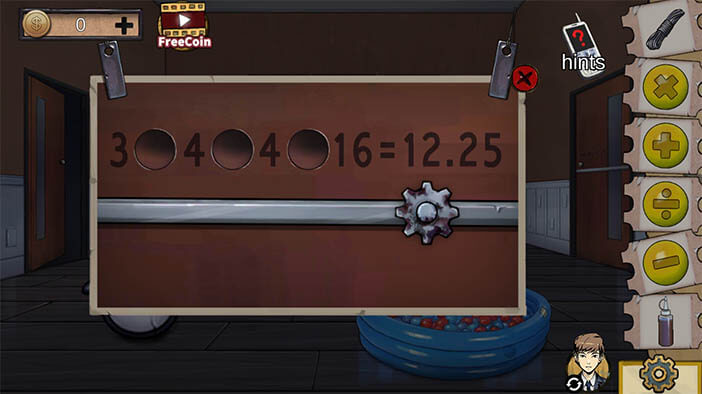
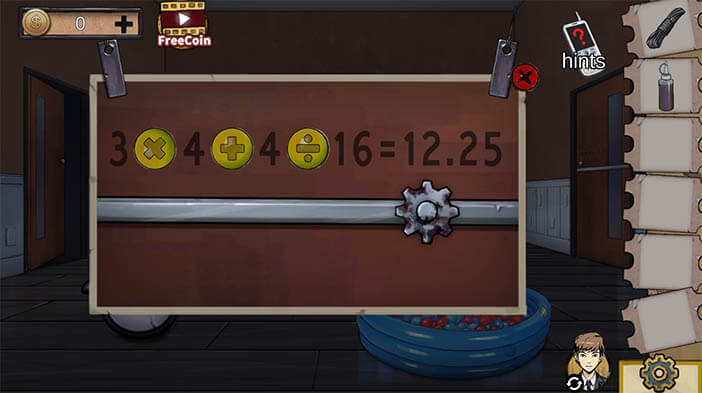
Once solved take out the lubricant oil. Return to the room with the penguin and pick up all the yellow balls from the inflatable pool. Go to the door and solve the equation and the solution is 3X4+4/16. Once solved the door will be unlocked but the lock is rusted so to open it you will need to put some oil on the lock and open the door.
Now as Qiuyu you will arrive in the conveyor belt room on her side. In this room, you can transfer items from Qiuyu to Bowen and vice versa.

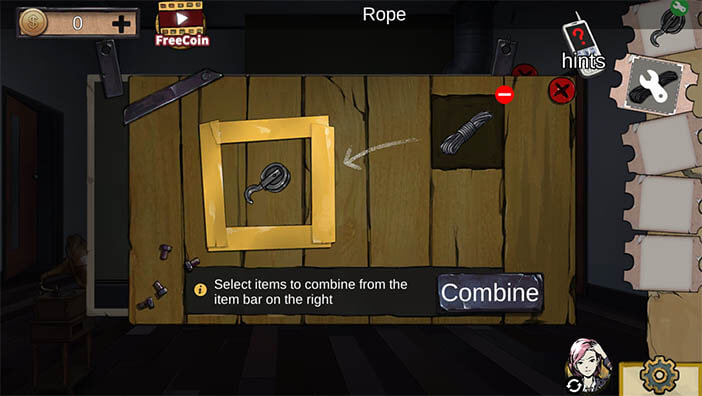
As Qiuyu send the rope to Bowen, as Bowen combine the rope with the pulley.
Send back to Qiuyu the razor blade along with the pulley with the rope.
Use the roped pulley to lift the plant that is located to the left of the conveyor belt. Pick up the wrench.

Go to the gramophone and solve the puzzle on Qiuyus side it would be a bit difficult to either show it in pictures so we will explain it in words. Follow the marked fields
A-E horizontal, 1-5 vertical
A1, E5, A2, B1, B3, B5, C1, B2, A2, C2, D1, A1, A3, A4, E3, C4, D4, D5, D3, D2, D3, D2, D1, D5, D1, D3, D5, D1, C1, B1, A1, B1, A1, C5, C1, C5, C1, C2, B1, D1, C5, E5, A5, B5, B4, B5, B4, E4, D4, C4, B5, D5, E5, D1, C1, D2
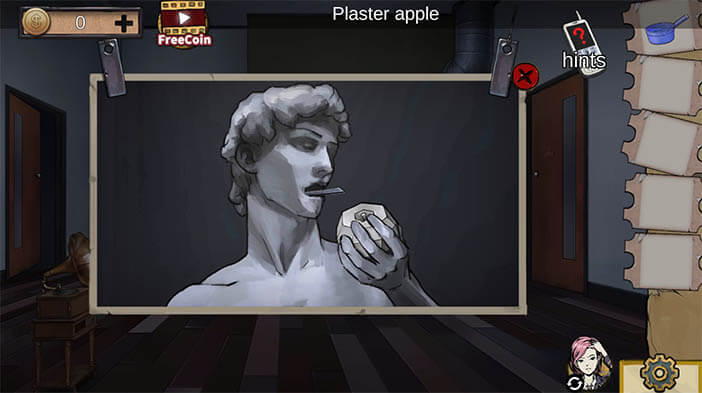
Pick up the plastic dipper. Go to the room with the inflatable pool and cut it with a razor where the round gray object is located. Pick up the gray plaster apple.
Go back to the conveyor belt and send the apple, the wrench, and the plastic dipper to Bowen.

As Bowen place the apple in the hand of David and take the access card from his open mouth.
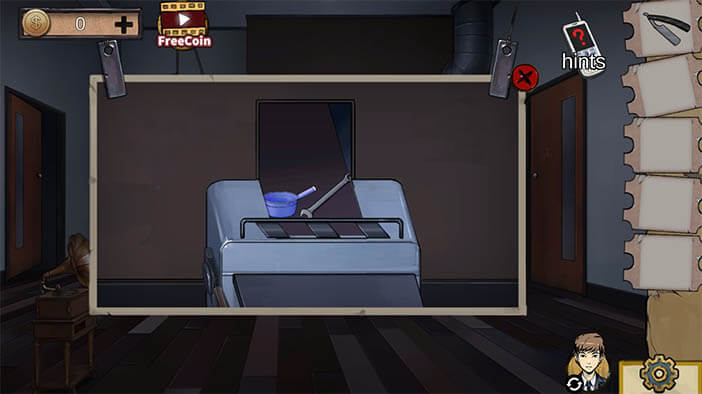
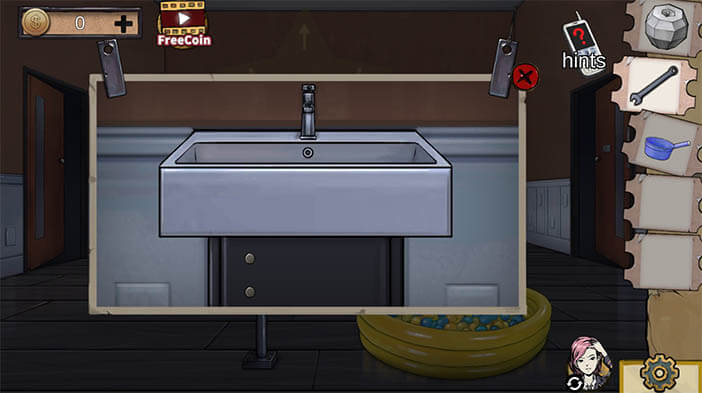
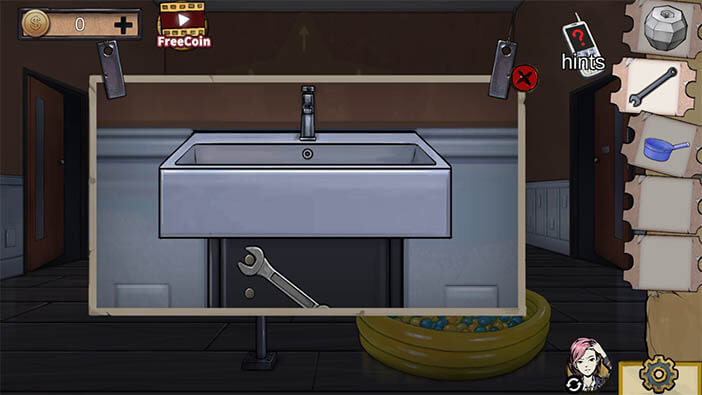
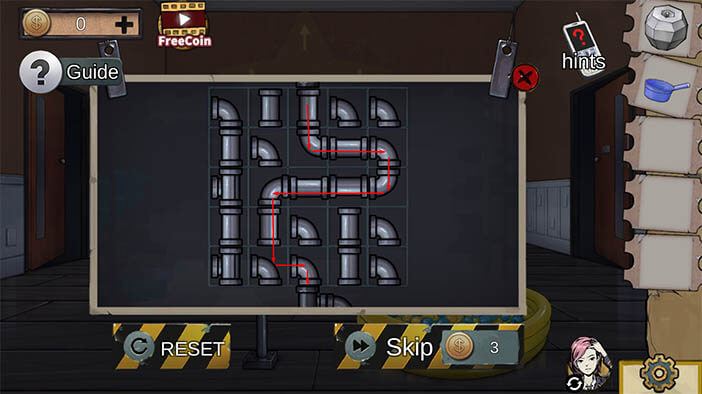
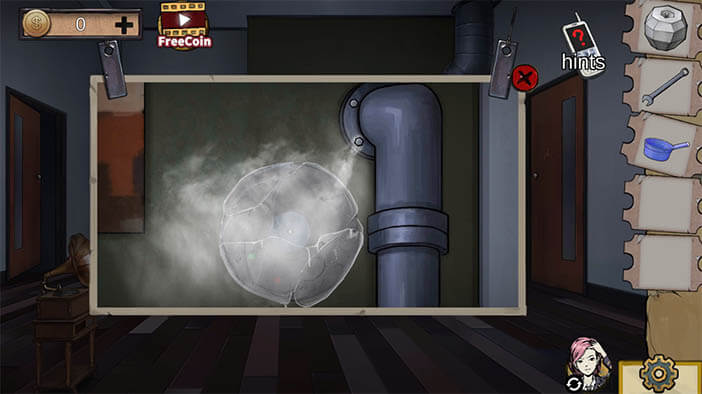
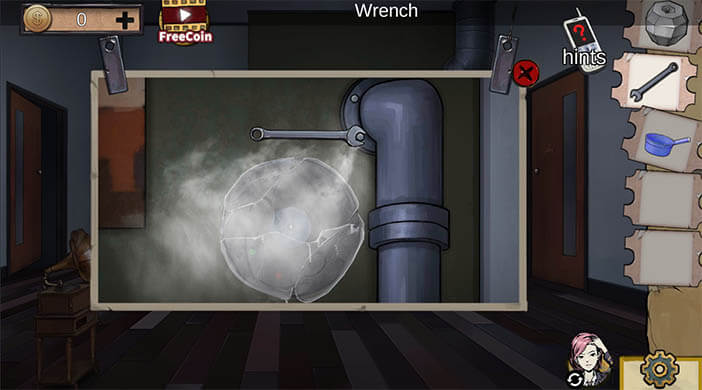
Go to the sink and open the compartment under it with the wrench, connect the pipes, and pour water in your plastic dipper.

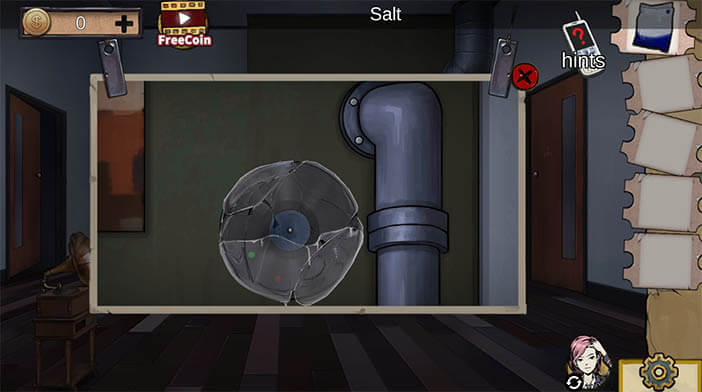
Now go to the room with the David statue. Close up the pipe that is next to the frozen record with a wrench.
Send the plastic dipper to Qiuyu. As Qiuyu go to the section with the pool and penguin and pour the water from the dipper into a hole that was covered up with the penguin earlier, this will bring up a key.
Take the key and open the cabinet in the gramophone room and take the salt.
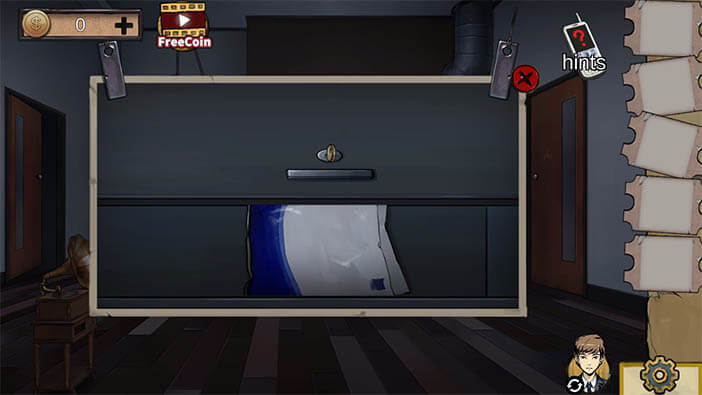
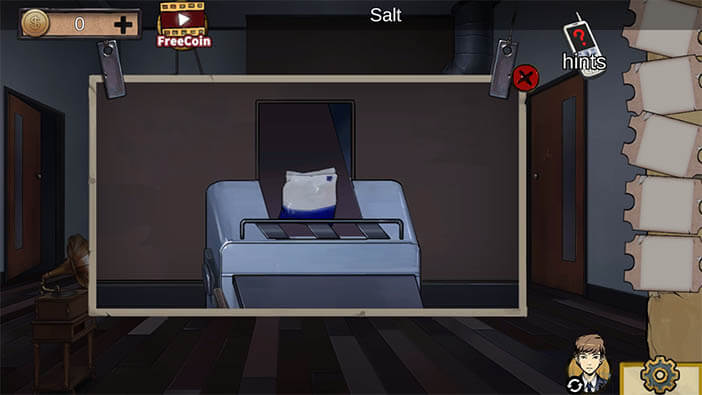
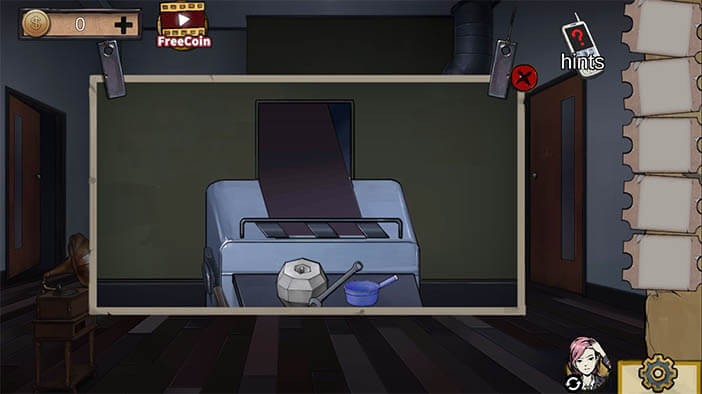
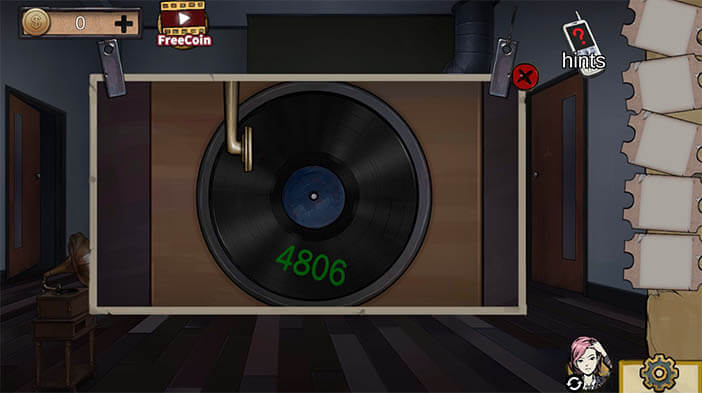
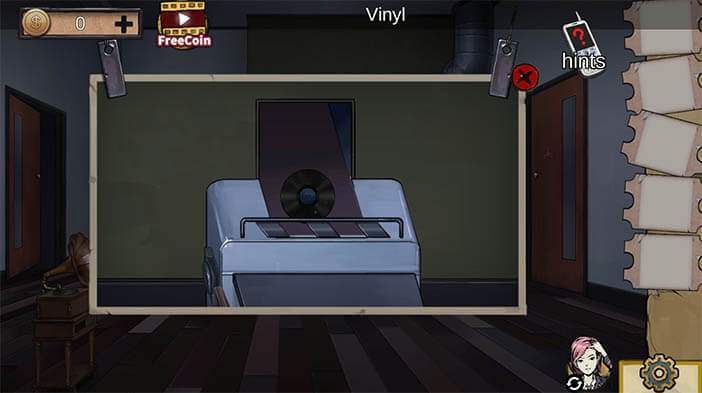
Send the salt by conveyor belt to Bowen. Defrost the record with salt and place it on the gramophone.
On the Bowens side, the gramophone will show a password for Qiuyus doors, the password is 4806.
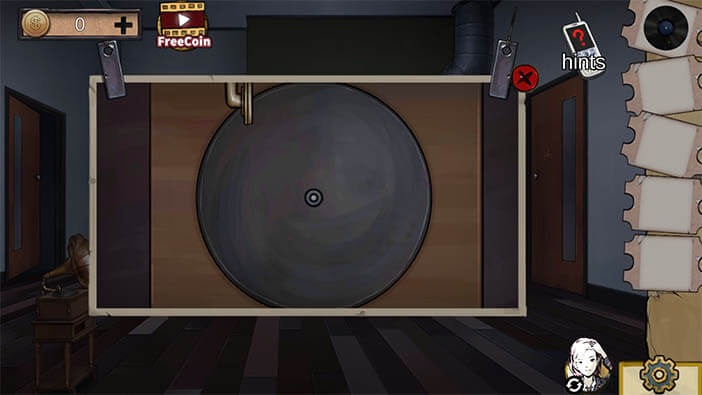
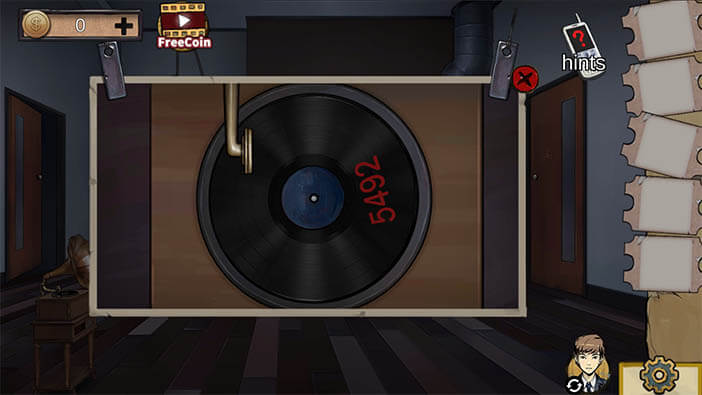
Send the record to Qiuyu and play it, the password for Bowen is 5492.
To open the Bowens lock dial you need to swipe the access card that you got from David’s mouth.
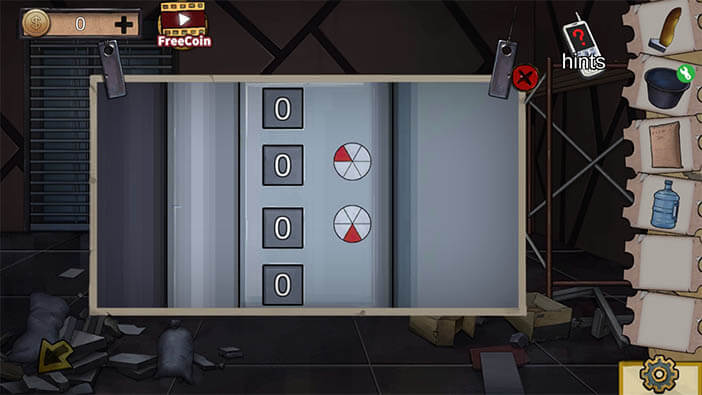
Type in both number combinations with Bowen and Qiuyu. Above each of the dial, there is a letter, B for black above the green dial,
and W for white above the red dial those are solutions for color puzzles on doors.

Turn the color dials until Bowen’s side is White while Qiuyu’s side is Black. The doors won’t open until both puzzles are solved. The fifth Chapter ends with Clown mocking police investigators.
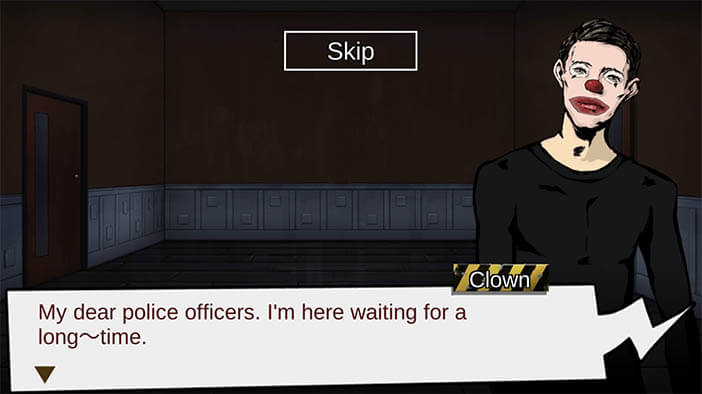
He gives them a choice either to chase after him or free the children from the room that is on the opposite of the Clowns escape route. They save the children and that’s how Chapter 5 ends.